
110 Cookson Lane | Whitefield, ME 04353 | 207-232-7600 | tim@lackeysailing.com
Snow Lily | Friday, December 14, 2012
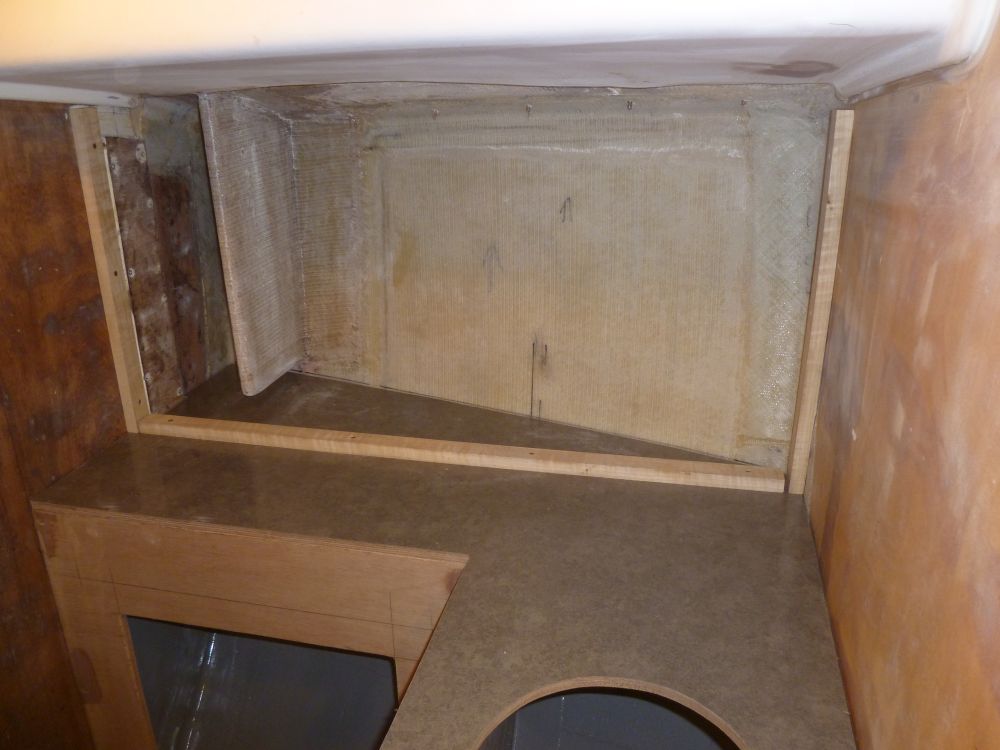
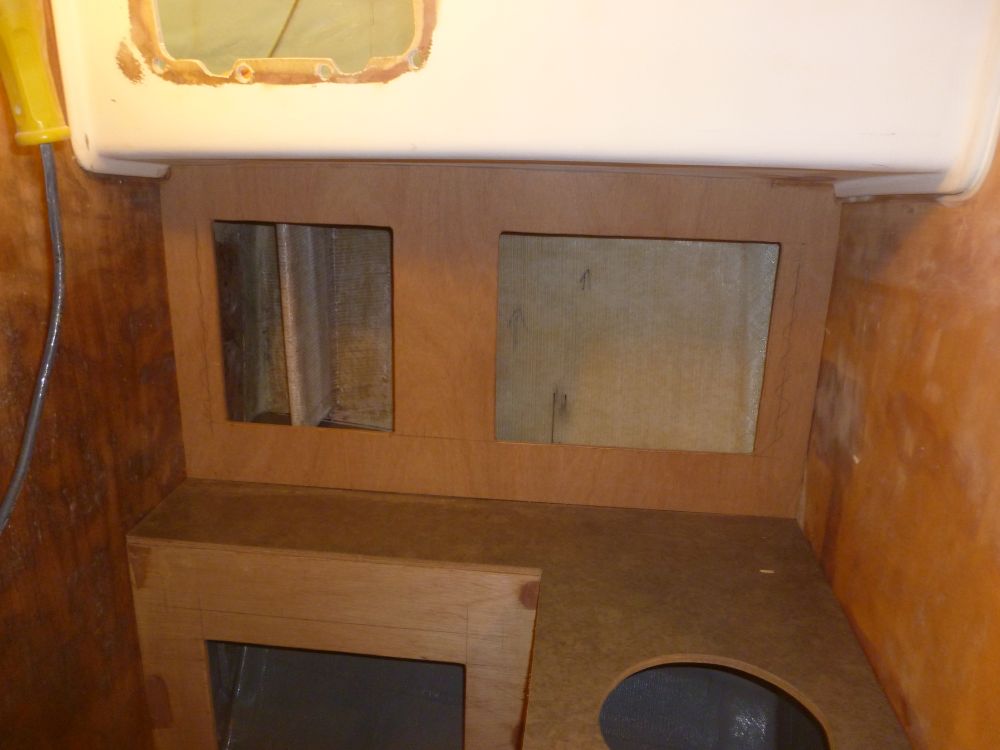
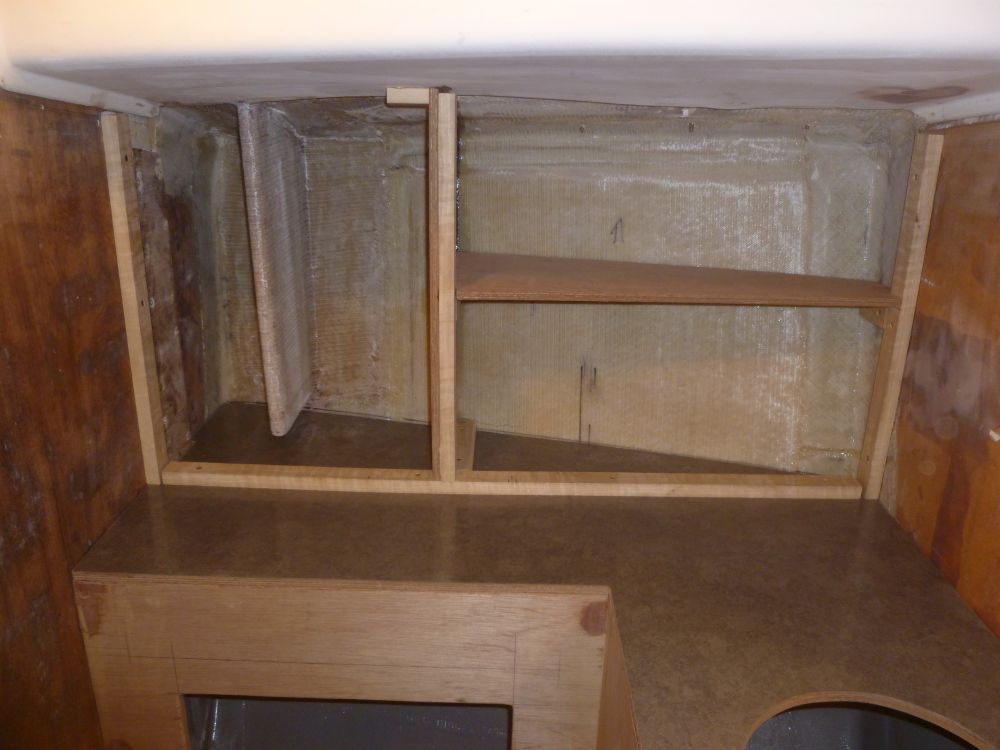
Now that the countertop was in place, I could continue building the upper cabinet for the head. To begin, I cut and installed support cleats on the bulkheads and countertop for the upper cabinet face; I'd laid out the lines for the cleats earlier.
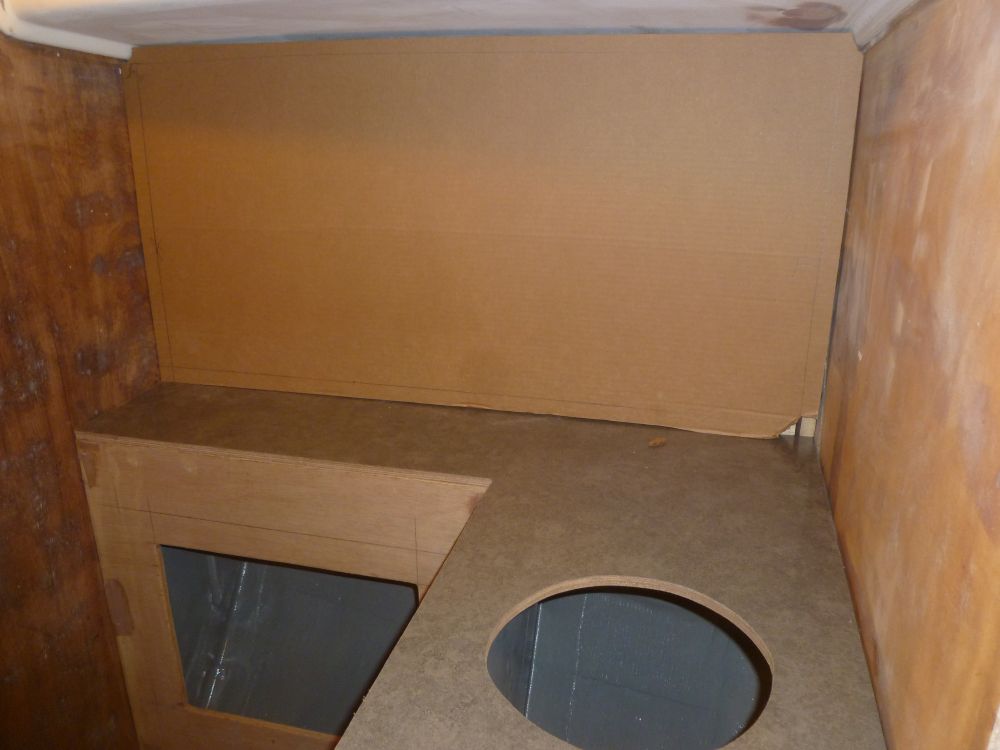
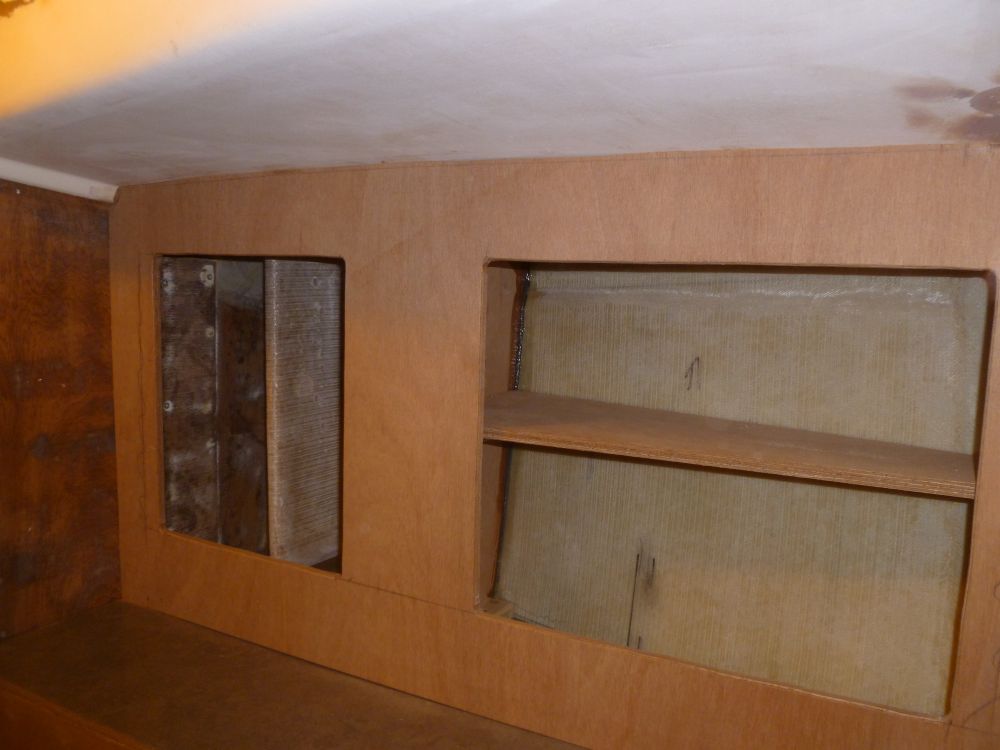
I cut a cardboard template of the cabinet face and used it to scribe accurately the edges of the panel.
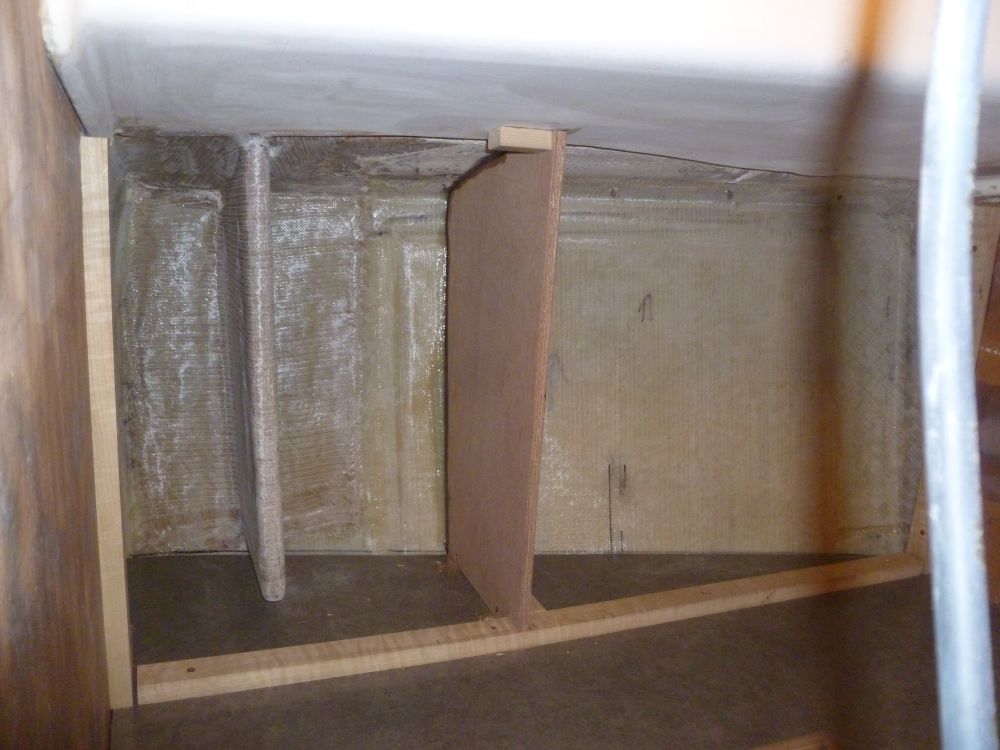
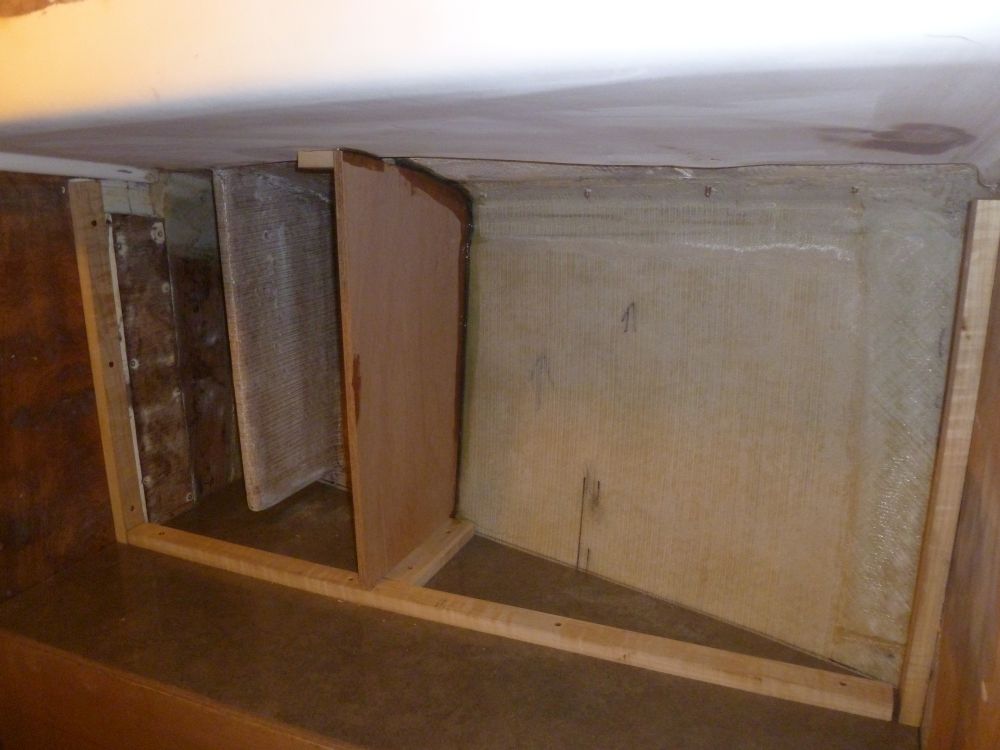
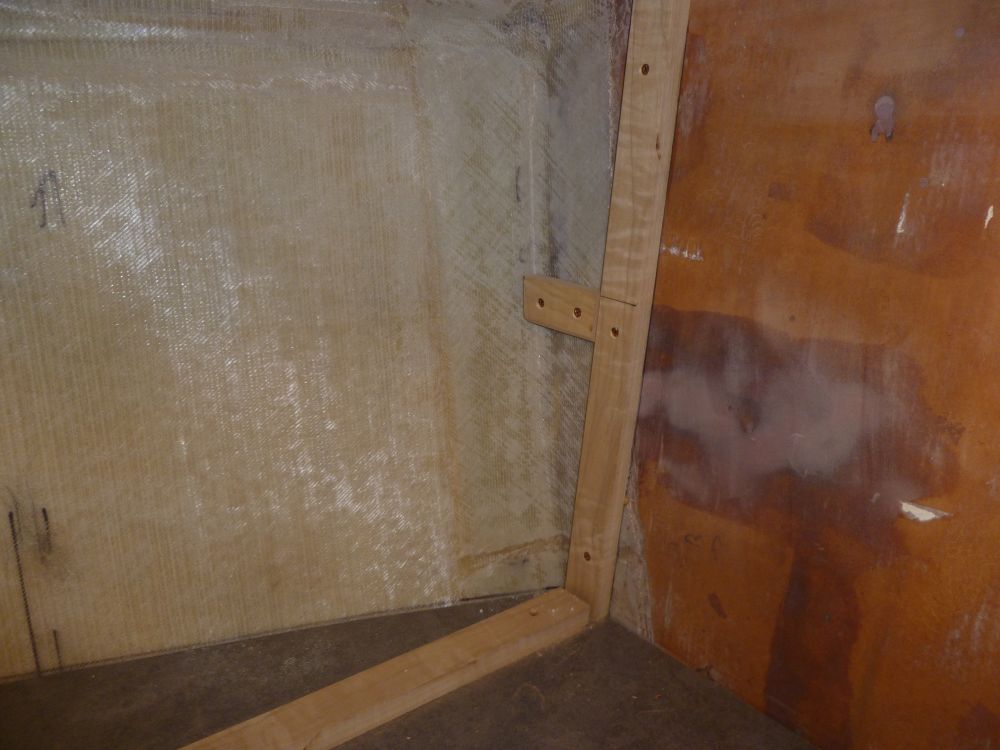
To divide the cabinet into two portions, I installed an additional support cleat and templated a small divider bulkhead to fit. The after section of the cabinet contained the main chainplate knee, and I left plenty of access room for inspection and chainplate installation. I left the small divider slightly oversized so I could mark a plumb line up its outer edge in exactly the right place, even with the cleat beneath.
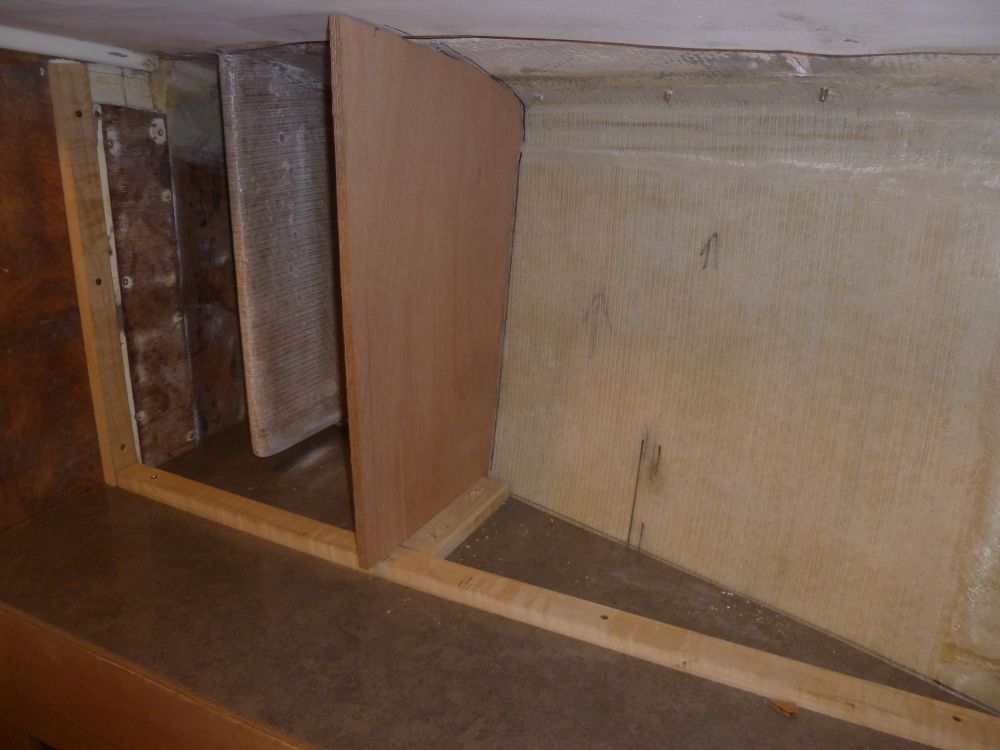
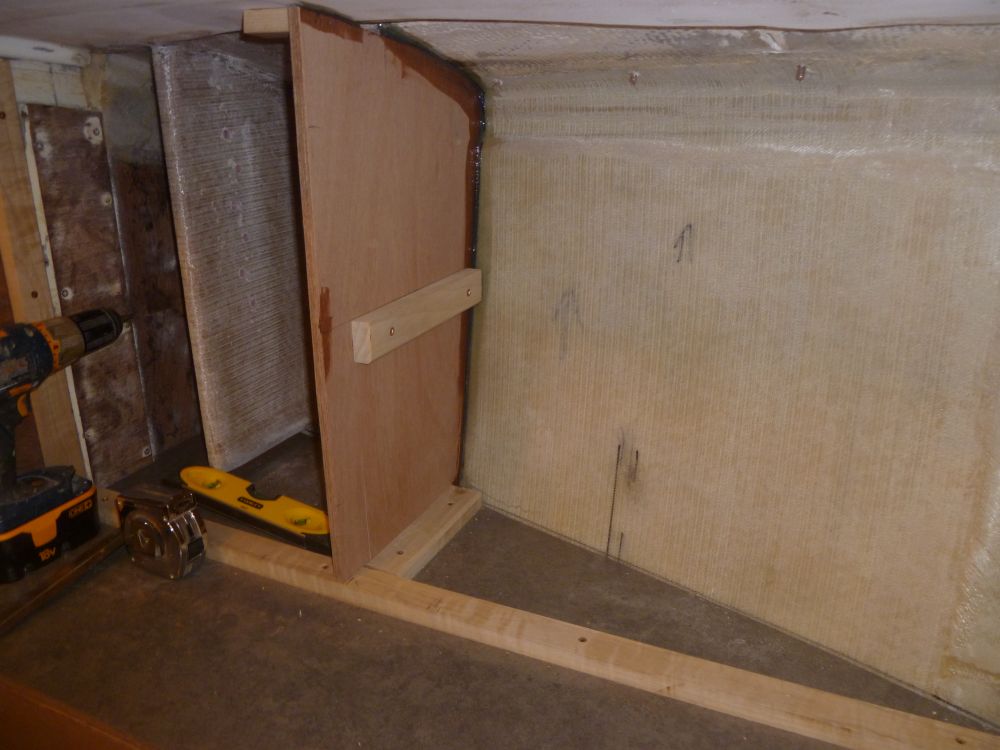
After trimming the divider, I installed it with screws and epoxy adhesive.
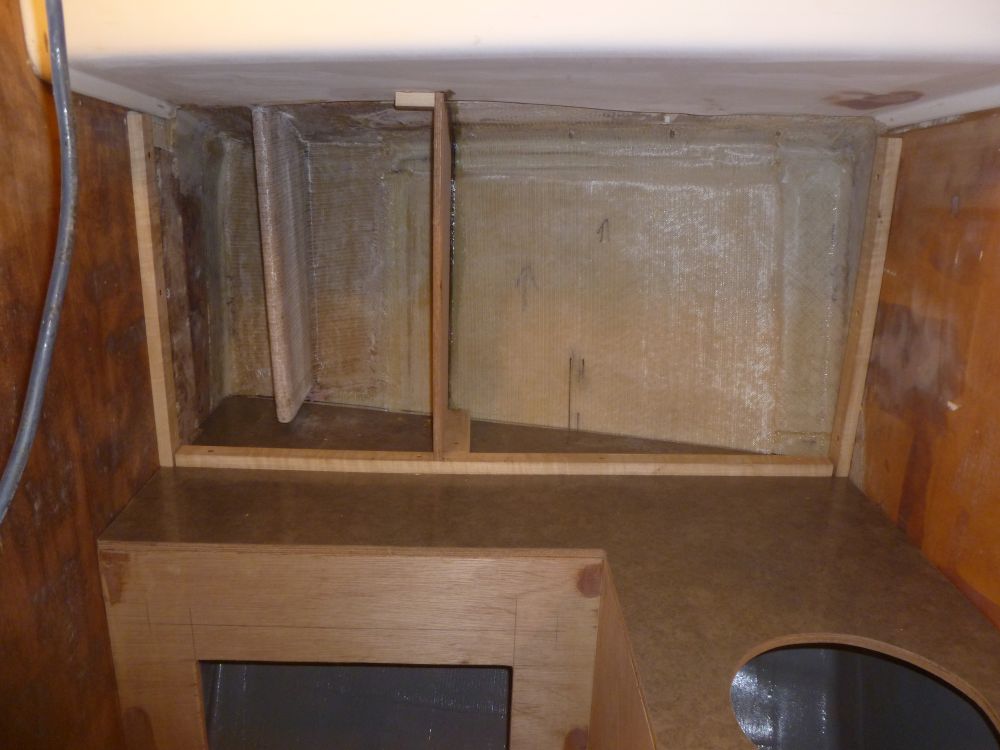
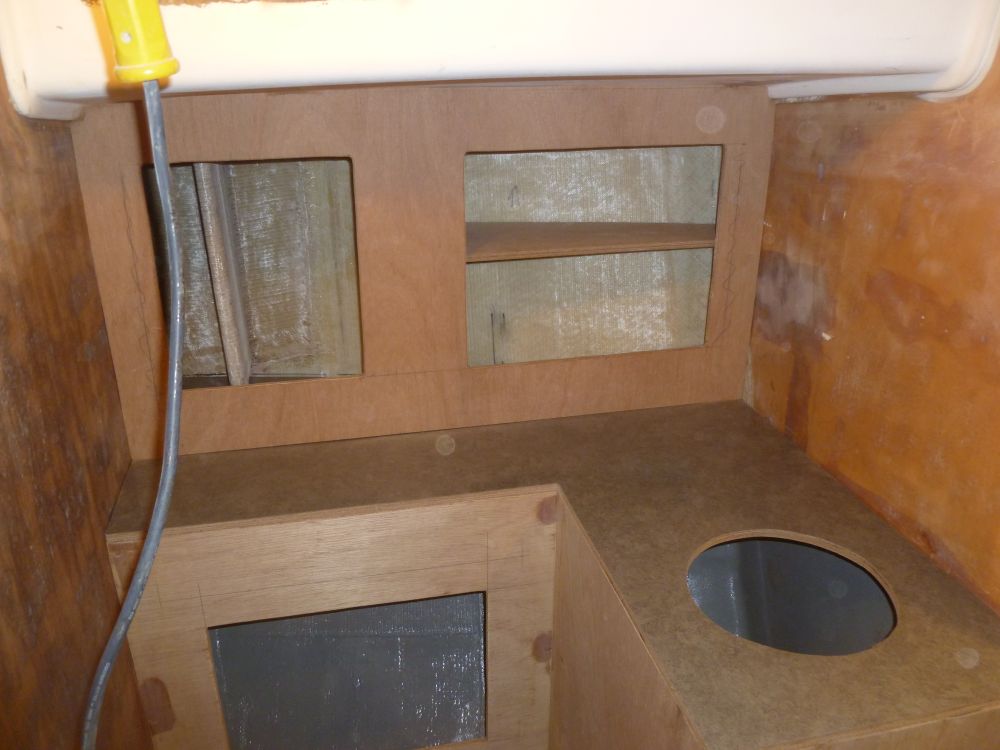
Using my template, I cut out the cabinet face from 12mm marine plywood, and trimmed it to fit tightly in the space. Before test-fitting, I laid out and cut the two locker openings.
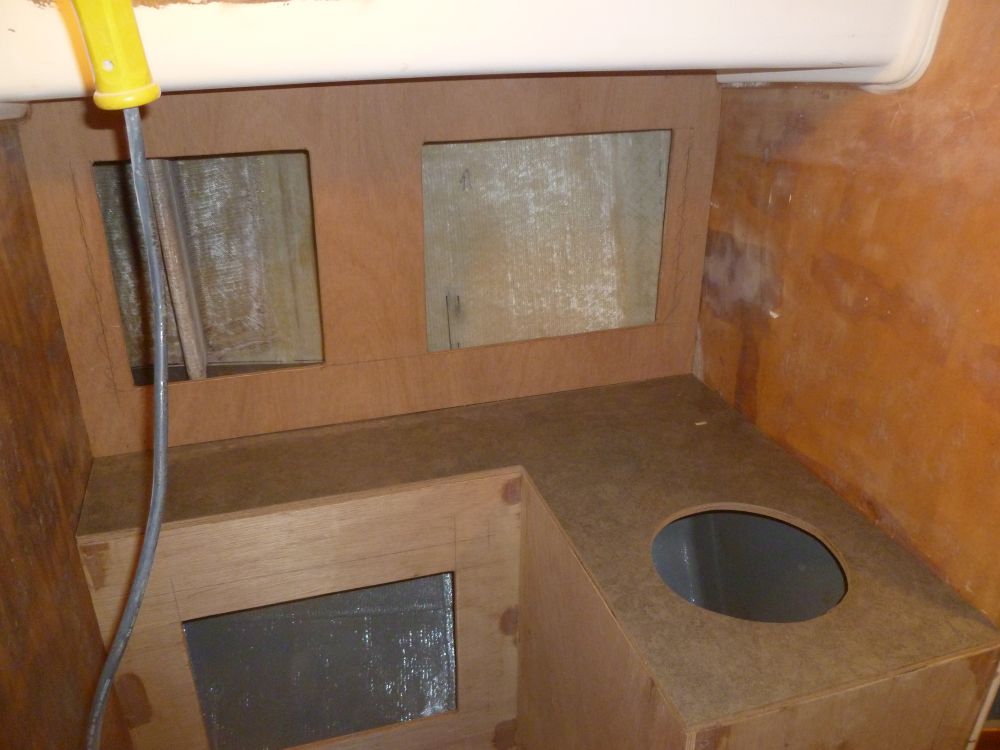
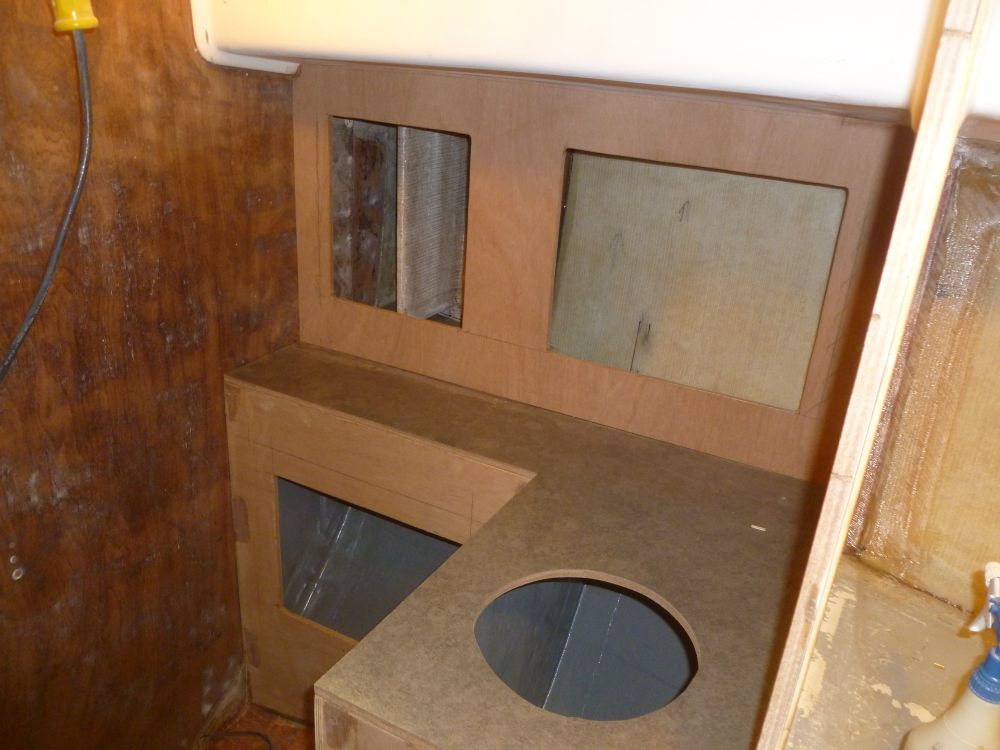
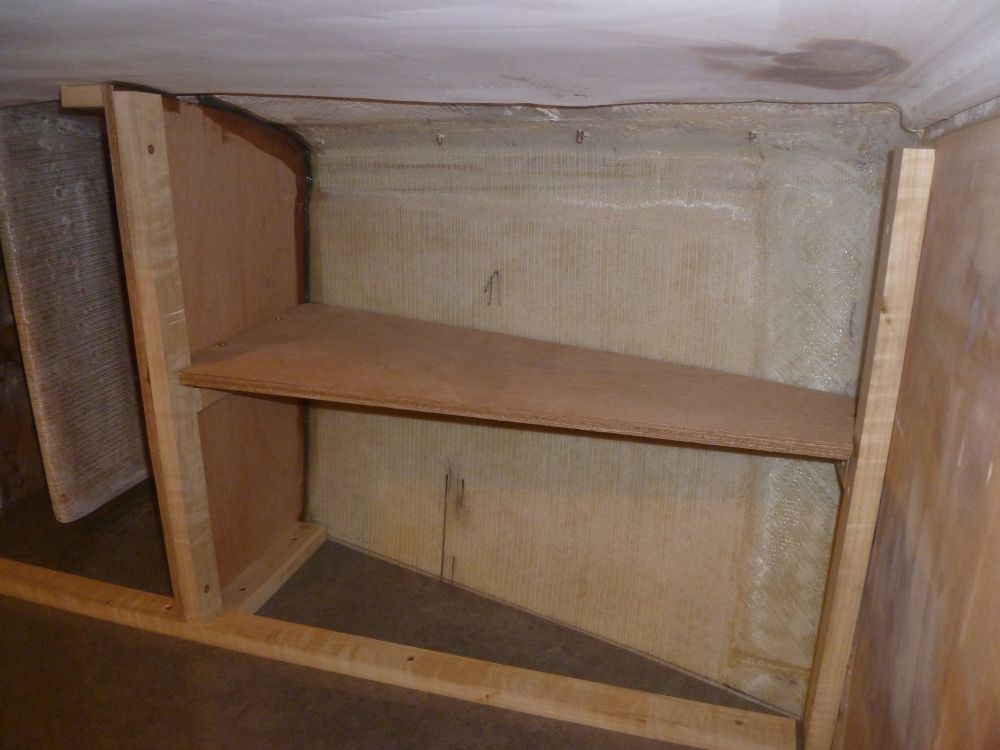
To subdivide the forward cabinet, I determined a likely location for a shelf, then cut and installed support cleats as needed. Then, from cardboard I made a template that I transferred to more 12mm plywood for the shelf, leaving the inboard (exposed) edge slightly short so I could add a hardwood strip later to hide the edge grain. These lockers would be painted within.
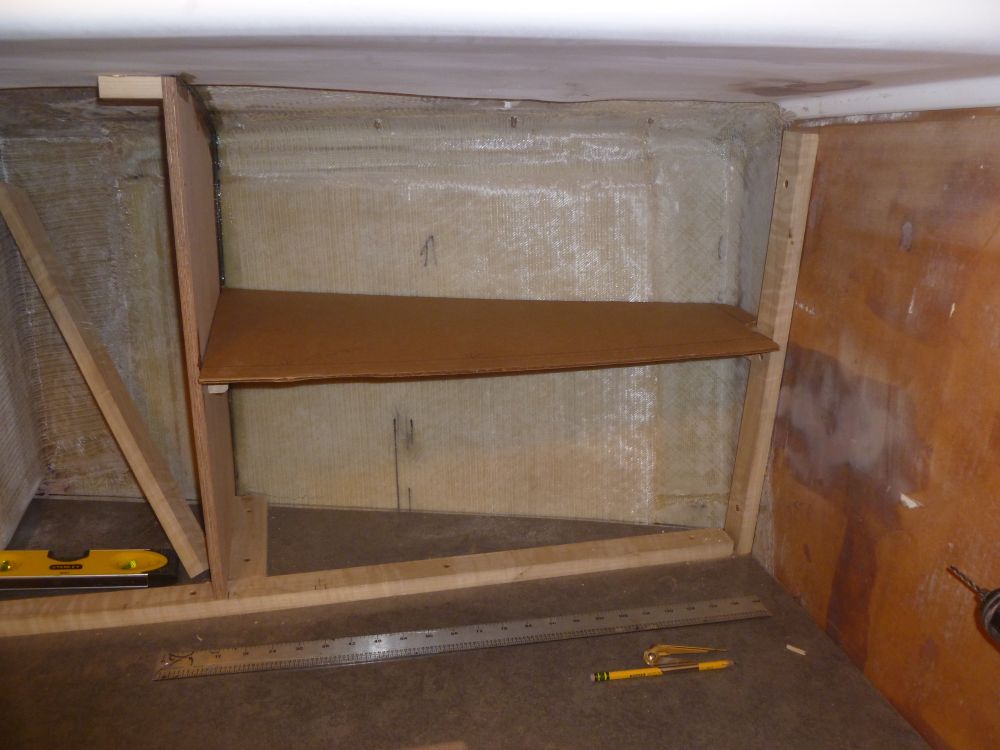
I'd leave the locker alone for the glue to cure before continuing with paint and final installation.

Total Time on This Job Today: 6 hours
