
| Skeedeen |
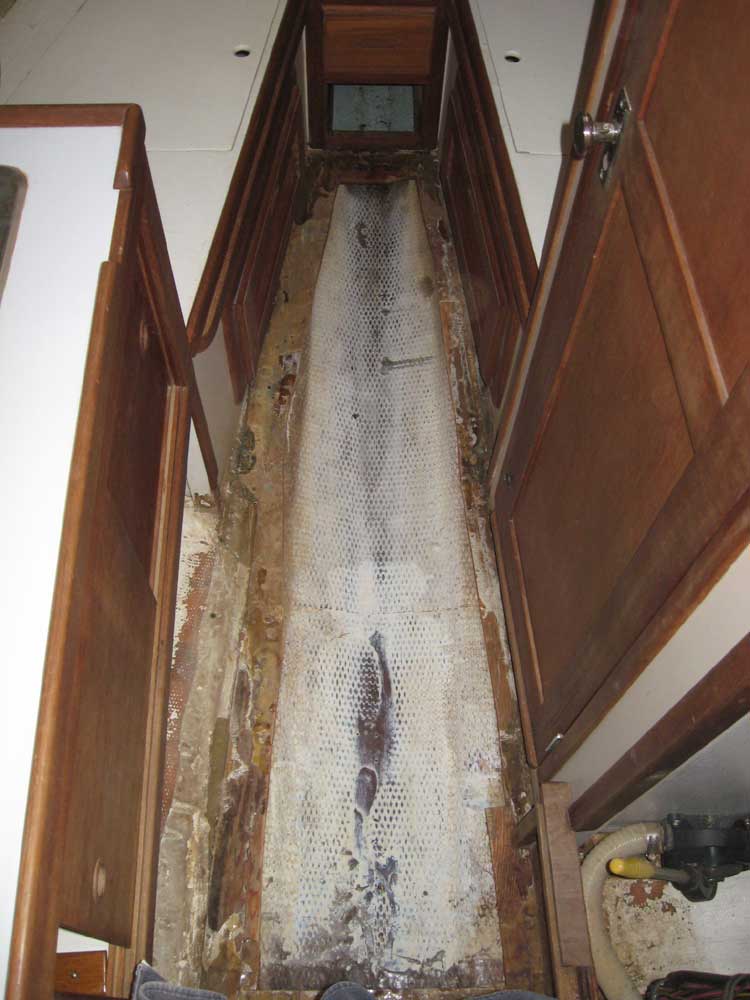
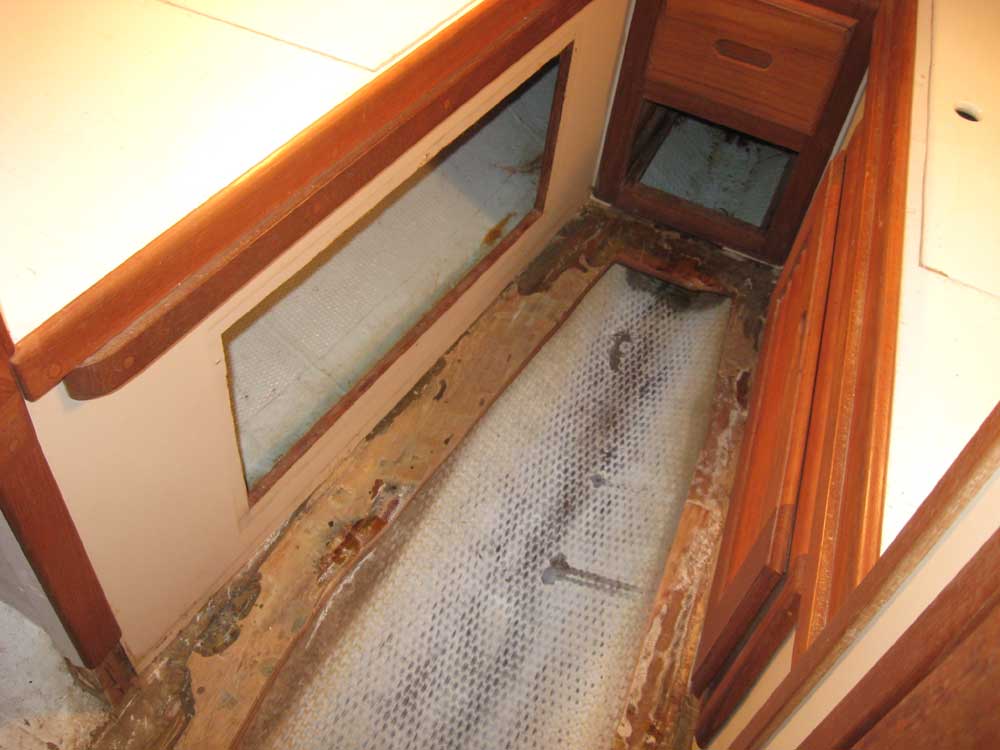
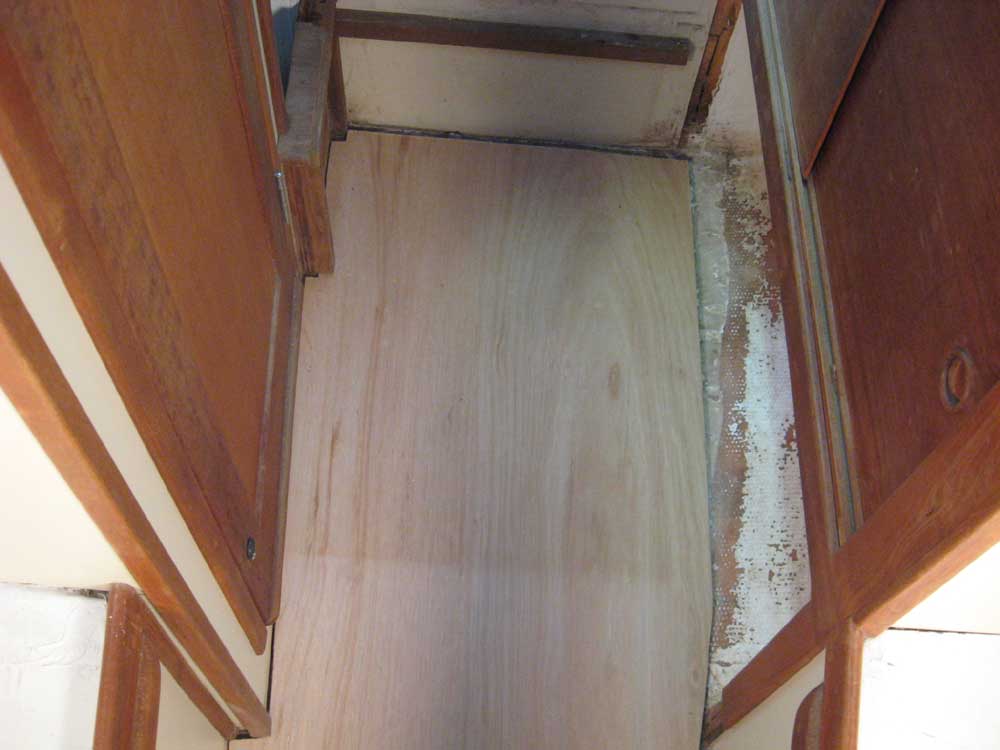
Friday, May 1, 2009 With the varnishing portion of the project complete, it was time to focus on the cabin sole replacement. My first step in that direction was to cut out as much of the remaining old sole as practicable, leaving a flange around the edges on which the new sole could rest. As discussed earlier, the practical limitations of the interior and cabin sole construction dictated this approach as the most logical and cost-effective means of replacement without getting into serious interior dismantling and rebuilding, which simply wasn't called for or desired here. Using a jigsaw and reciprocating saw, I removed as much of the old sole as possible, leaving about a 3" wide band around the edges. Then, I used a wide chisel to remove the ruined 1/4" thick plywood veneer from the substrate, which was still surprisingly well bonded in many areas. I cleaned up the detritus, and then, noticing again a trickle of water from the bow, removed a drawer to investigate and found a pool of water in the forward compartment, which I subsequently bailed out and cleaned up. |
 |
|
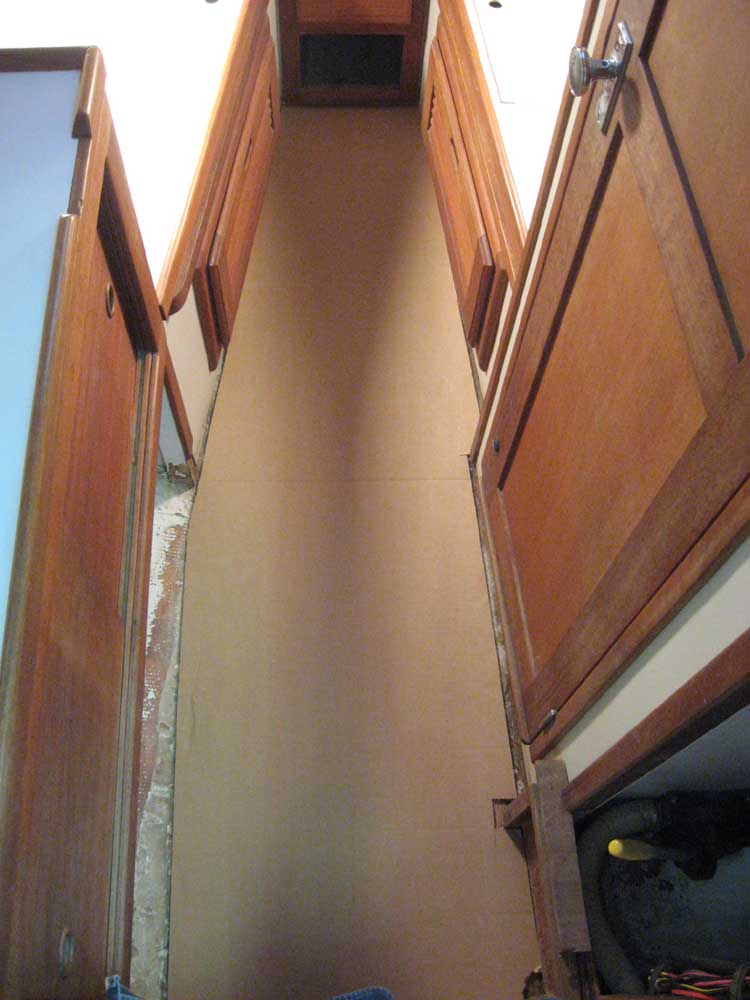
With the interior now fully prepared, I used my paper template of the old sole to create a full-size mockup on some corrugated cardboard, and proceeded to test-fit the "sole" in place. I made a couple small modifications and eventually got the cardboard to fit, but it was abundantly clear that I'd never get a plywood section of this size to fit in the space, as there were obstructions to prevent it from cleanly slipping into place: namely the teak cabinet door and trim located in the v-berth footwell. These protruded far enough into the air space that there wasn't room to install the full sheet. I could get the cardboard to fit because I could bend it, but clearly that wasn't going to work for the plywood. |
 |
|
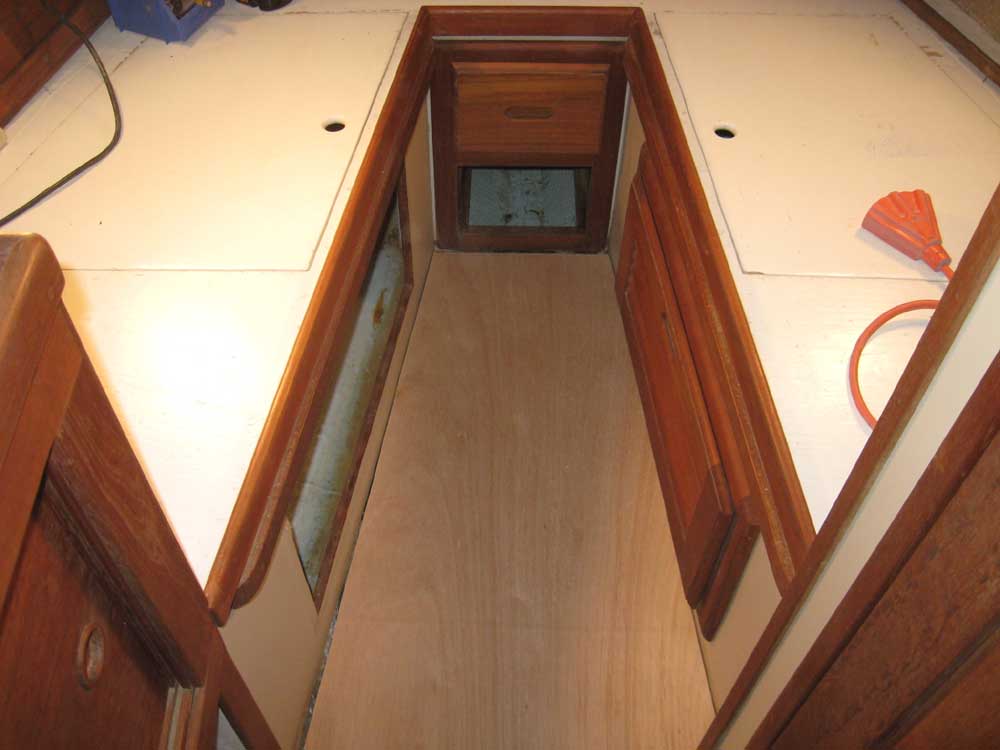
Reluctantly, but with no option, I removed the door and trim from the port side, removing the bungs and unscrewing the piece. With the trim and door removed, there was enough space that it looked like the "real" sole would fit cleanly. Satisfied with the fit of the mockup, I transferred the shape to a sheet of 9mm Meranti plywood, which I'd use to form at least part of the substrate, and cut out the piece. Then, I slipped it into place without much difficulty. I did need to keep the overall length of the piece a bit shorter in order to clear a permanent cleat at the aft end, but this area would be inside the step/locker when all was said and done, and I'd cover the gap with trim. |

 |
|
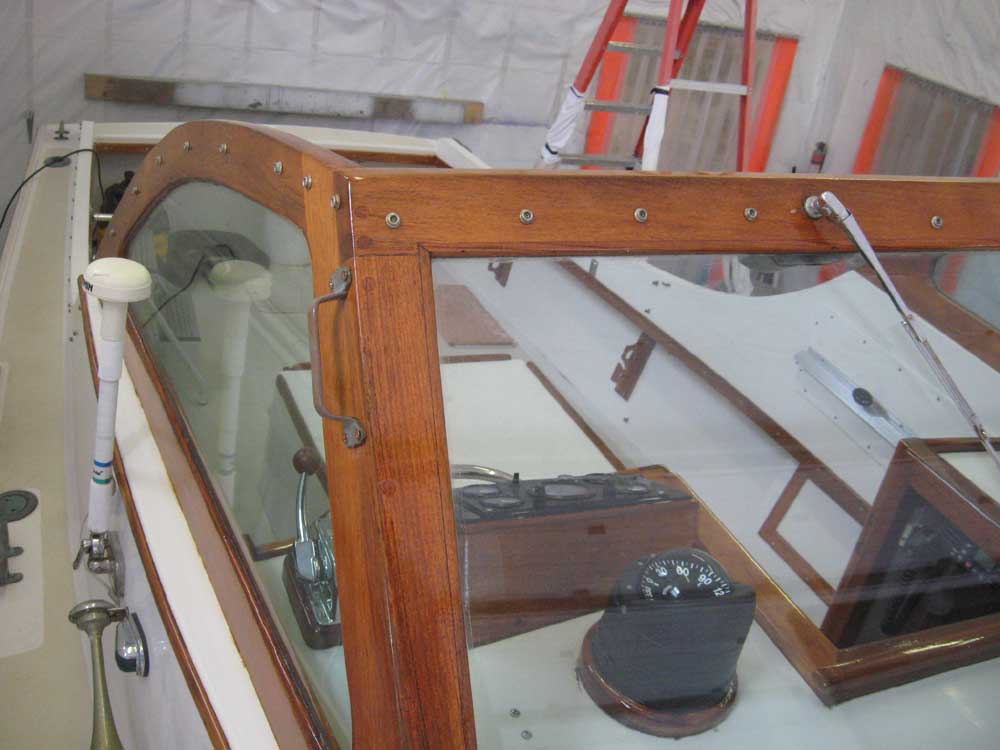
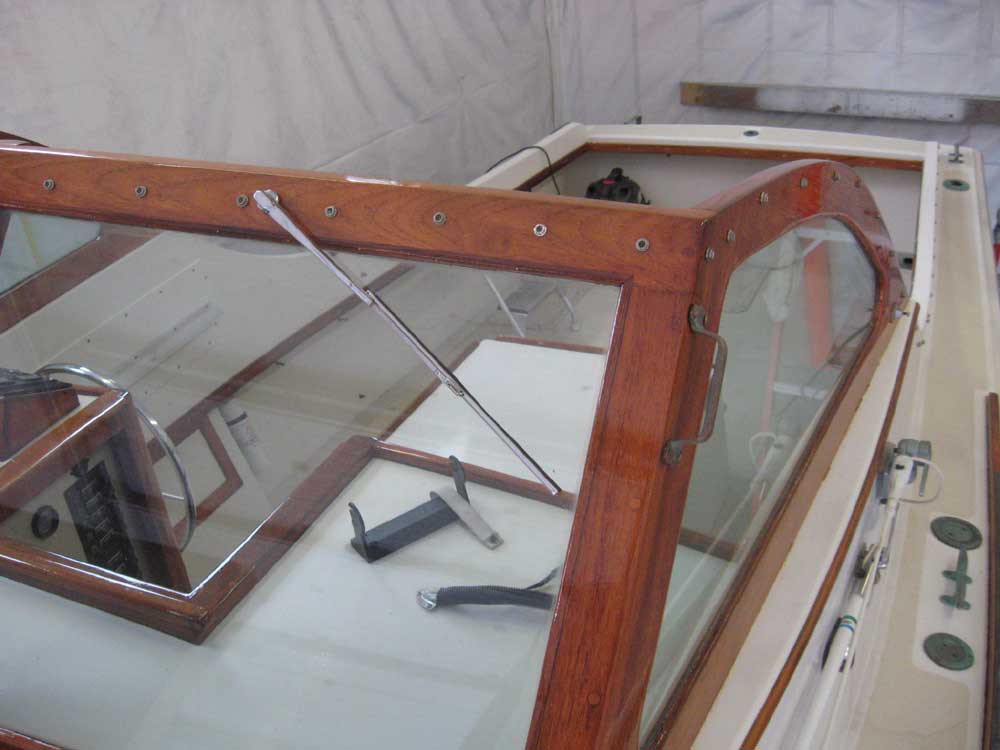
With some decisions on the final cabin sole surface/material and appearance still pending, this was as far as I could go on the sole today. Some new fasteners that I'd ordered arrived, so I spent some of the remains of the day installing the final hardware (bow mooring cleat, anchor roller, windshield handles) and trim (teak rod holders), completing that operation. I wrapped up the day with a final coat of varnish on the companionway top hatch pieces and installed the ship's batteries. |


  |
|
|
|
