| Skeedeen
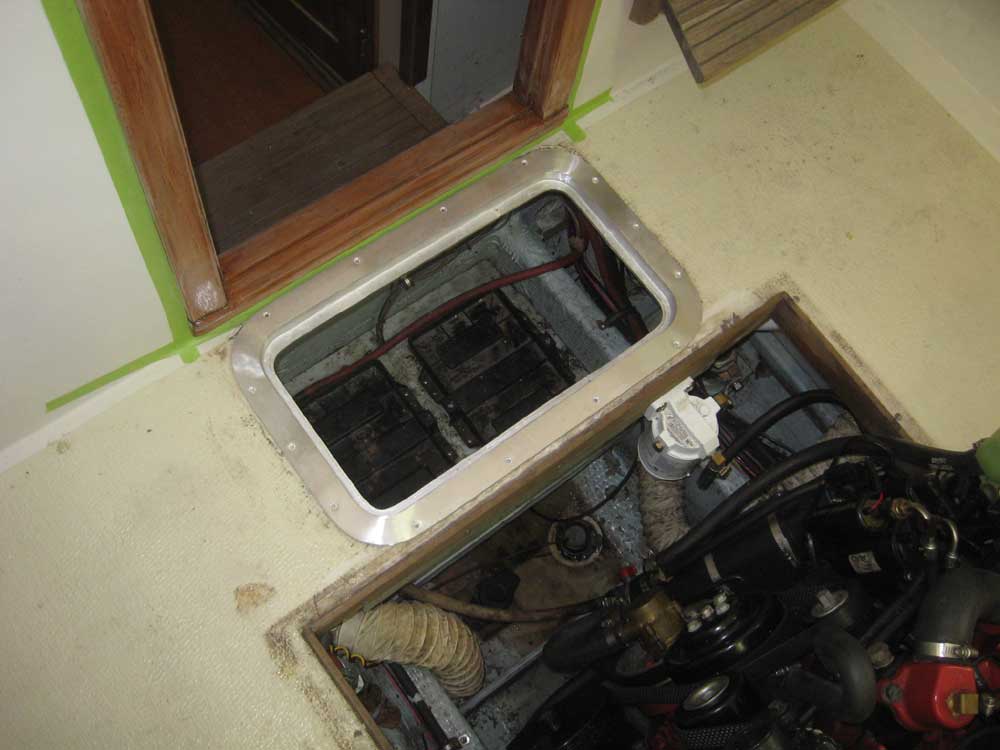
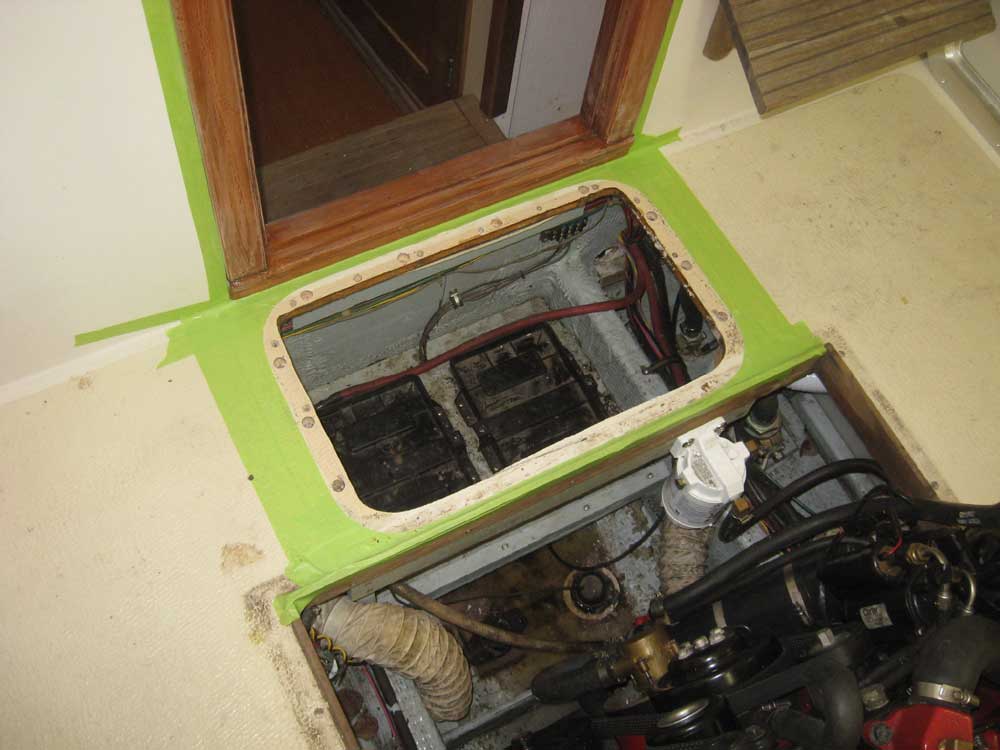
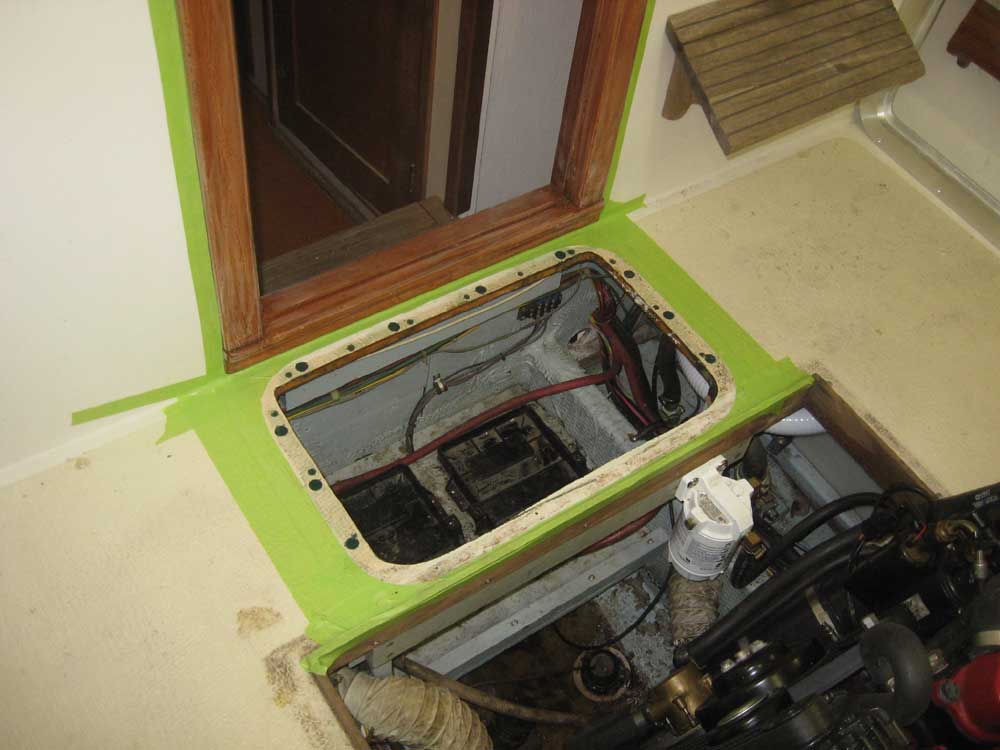
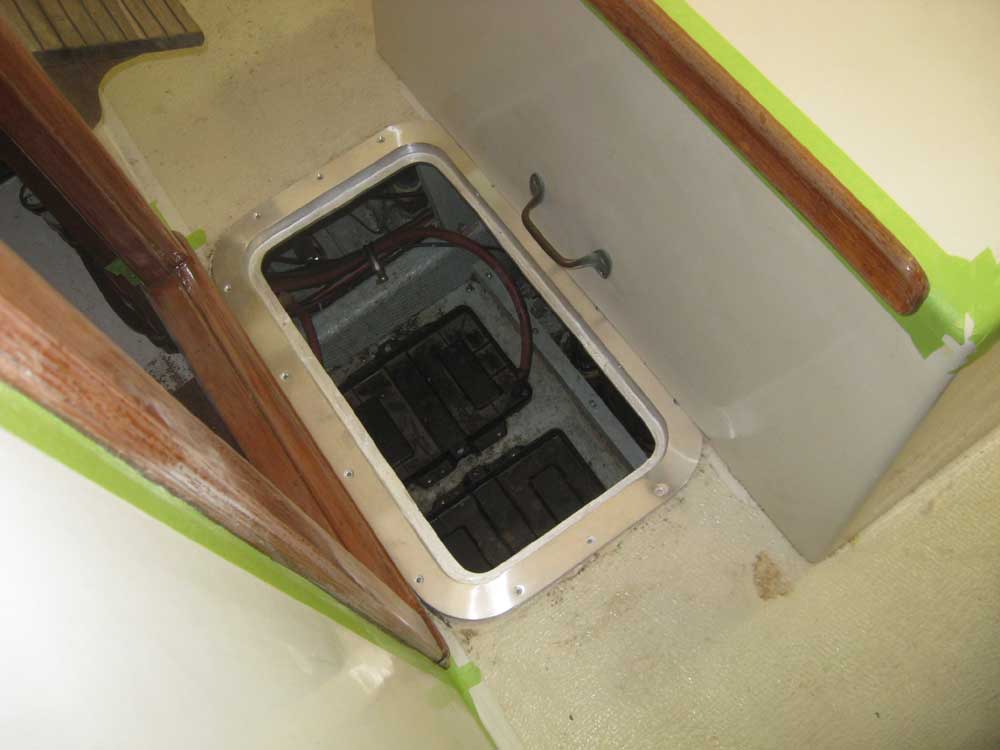
| Thursday, April 8, 2010 To start, I chiseled the new bungs on the windshield flush with the surrounding surface and lightly sanded, then applied spot varnish to the bungs to begin the buildup there. New materials for some of the jobs on the work list had arrived yesterday, so I pressed on with those tasks, beginning with the new aluminum deck hatch above the battery compartment. The existing opening was the correct size in length (the long dimension), but a bit too narrow in width. I traced a rough outline of the inside of the new hatch on the deck, then expanded the opening aft towards the engine box as required to allow the new hatch to slip into place. |
|
|
|
The old coring at the aft end was wet; the remaining sides of the original opening had been previously sealed and were in satisfactory condition. I dug out the bad material at the aft end and, with the hatch frame in place, marked all the screw locations so that I could overbore the holes to omit the core material around the fastener locations; later in the day, I filled the holes, and the reamed-out core at the aft end, with thickened epoxy. |
 |
|
The new hatch extended far enough aft that it interfered with the engine box cover; earlier, I'd measured the hatch to ensure it would fit, and had identified this small issue, so it came as no surprise. I simply needed to slightly modify the front of the engine box, removing about 1/4" of material in way of the hatch flange so the box would sit properly on the deck once more. I dug out the coring material from the newly cut edge so I could later fill it with epoxy. |
 |
|
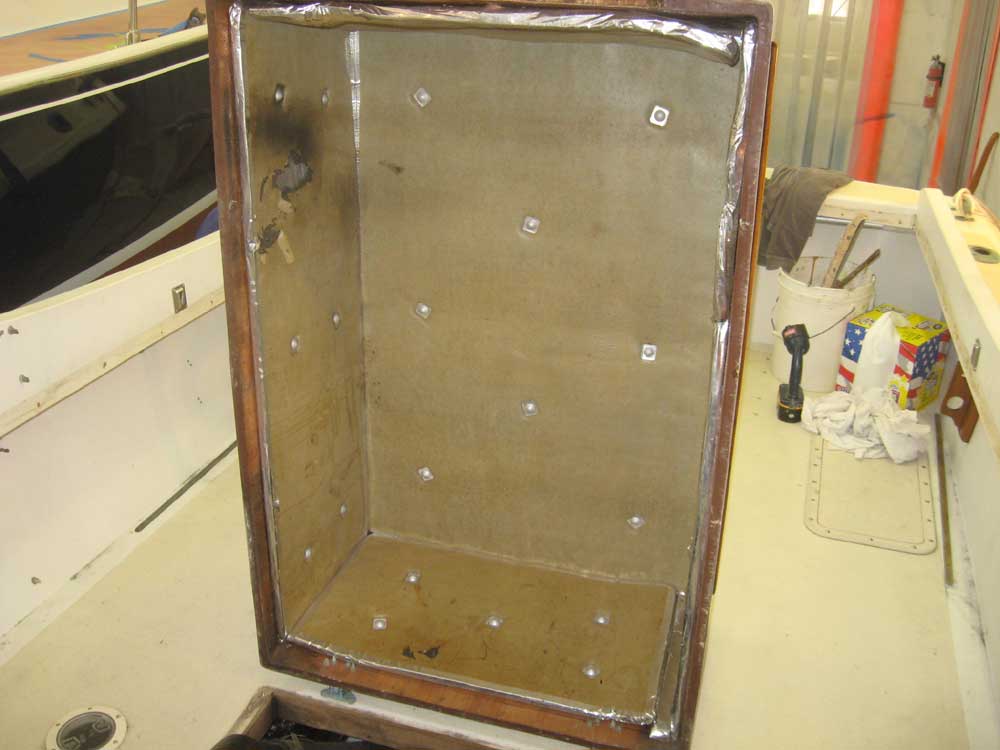
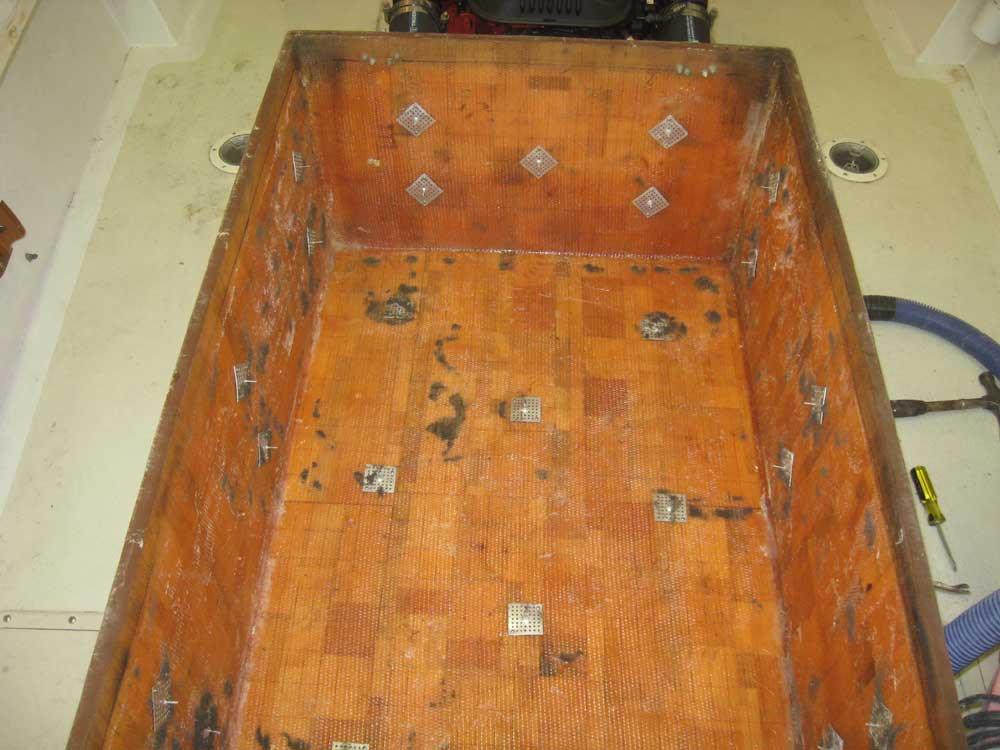
The engine box was lined with what was probably the original sound insulation. The owner requested that I replace this, so I began by removing the old material, after removing the pins in the engine box hinges so I could lay the cover down flat on the deck. |
 |
|
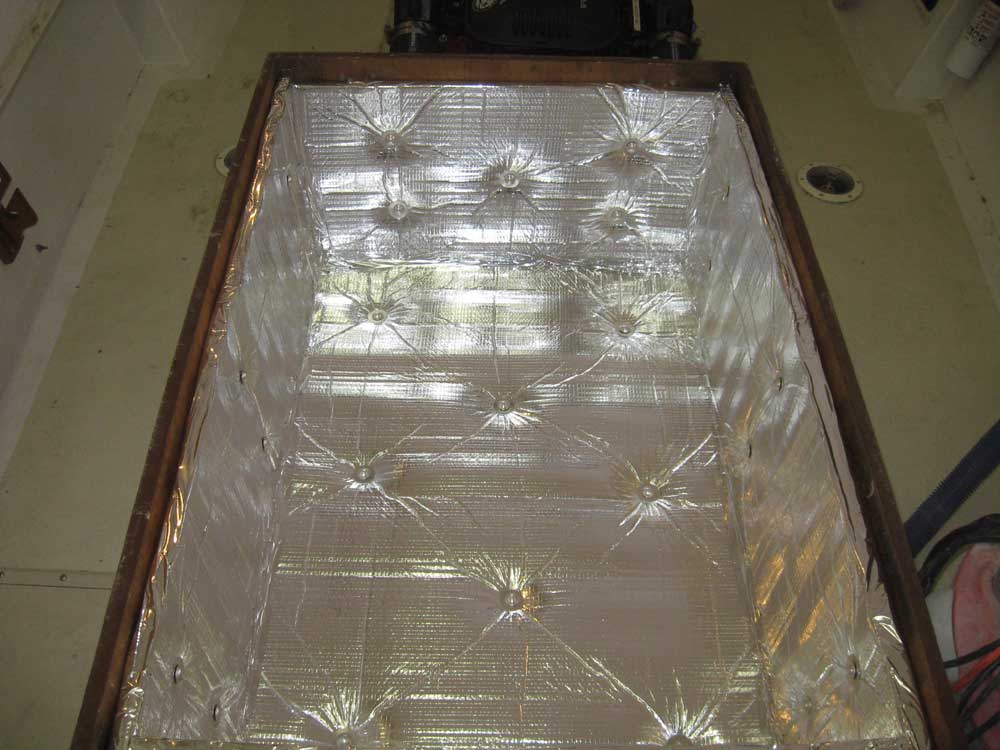
The new insulation used the same sort of fasteners as the old, so I saw no need to remove the old spikes that were secured to the inside of the engine box. Using the old insulation as patterns, I cut the new material to size, taped all the edges with the supplied tape, and installed the new pieces in the box. The new material featured a self-adhesive backing, and I secured the foam/composite insulation over the existing spikes with the new washers and trim heads supplied with the insulation, before finally taping all the seams between the panels with more of the aluminized tape. |
 |
|
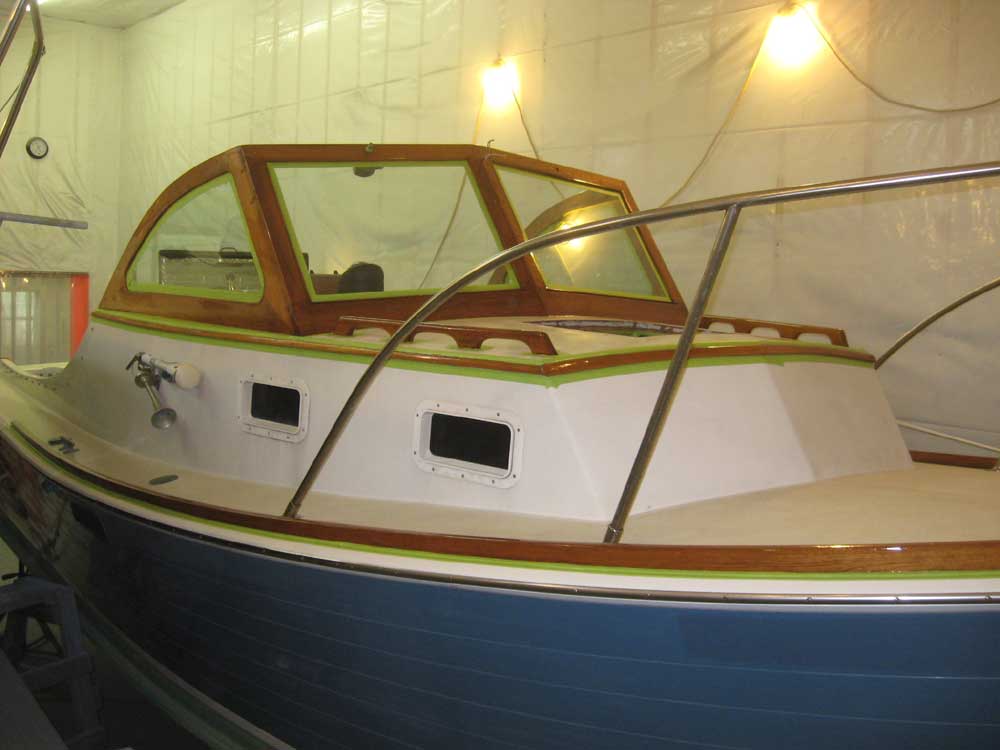
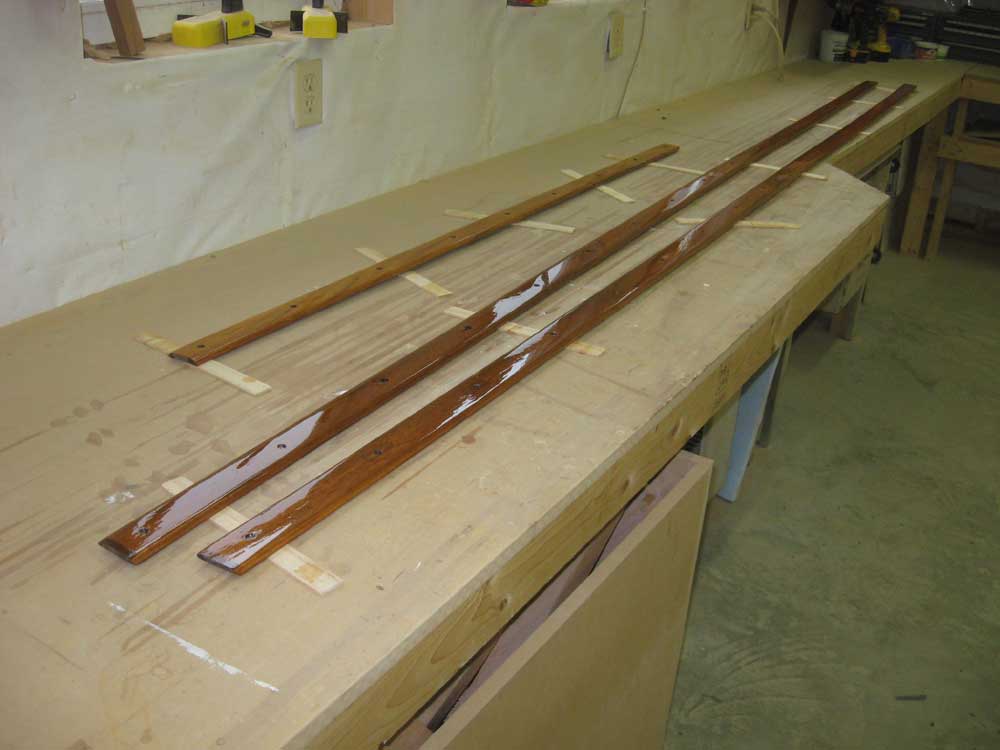
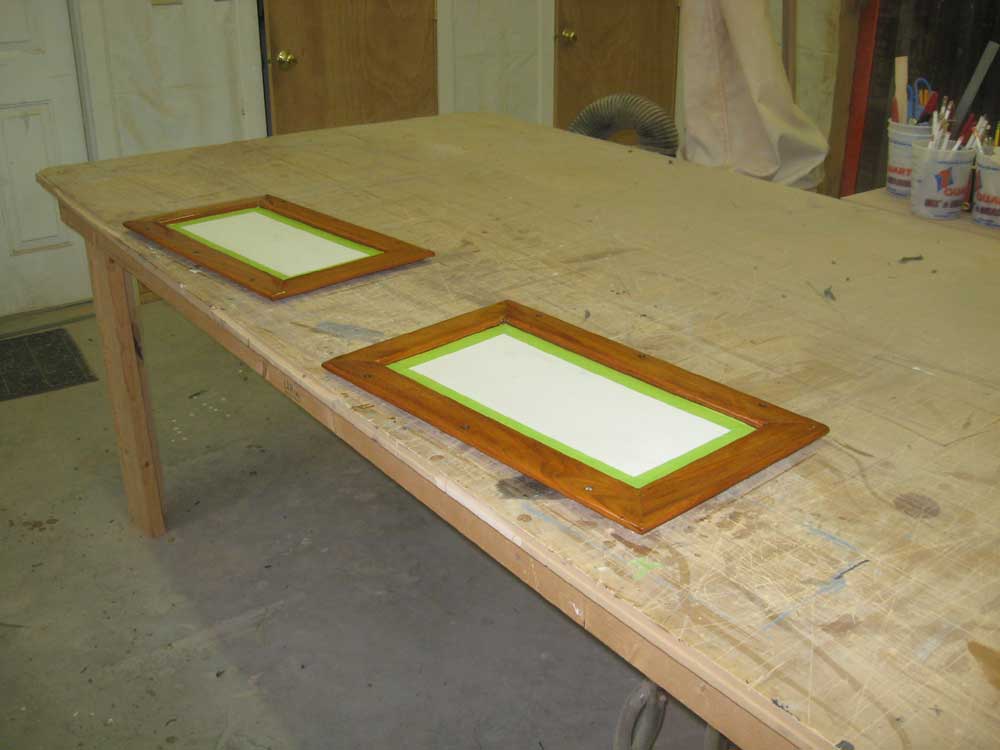
These tasks consumed most of the day, leaving me about two hours to do some varnishing. With not enough time to varnish the whole boat, I concentrated on the "outside" areas: the forward faces of the windshield, handrails, eyebrow trim, and toerails, plus assorted pieces of removable trim down on the bench. |
  |
|
|
|