
110 Cookson Lane | Whitefield, ME 04353 | 207-232-7600 | tim@lackeysailing.com
Sailmaster 131 | Tuesday, August 27, 2013
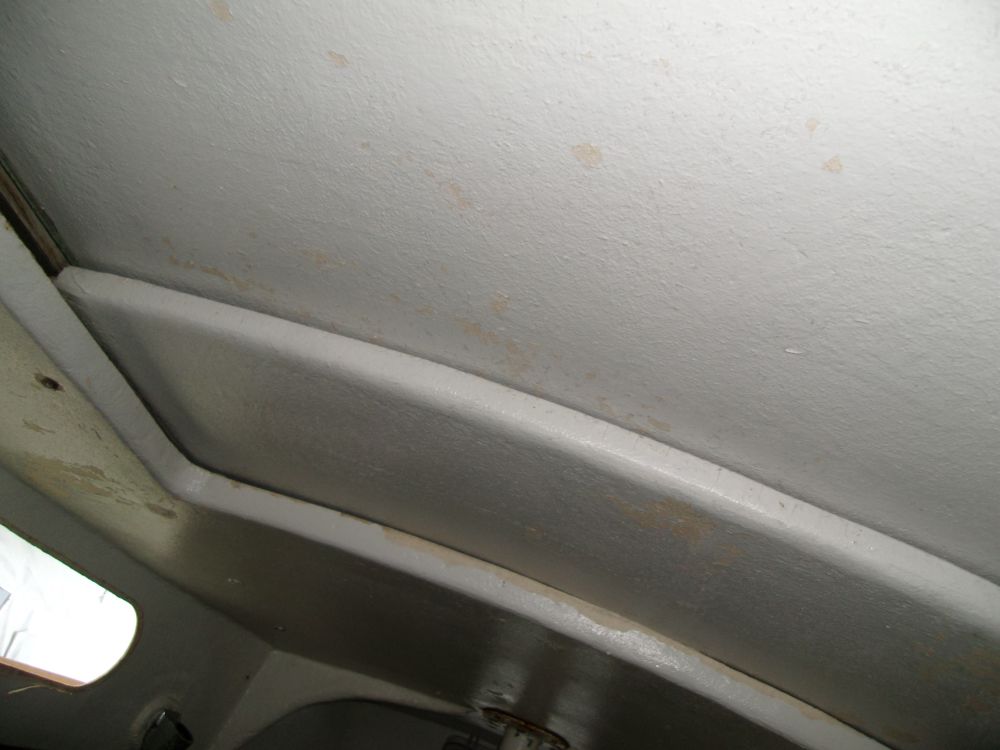
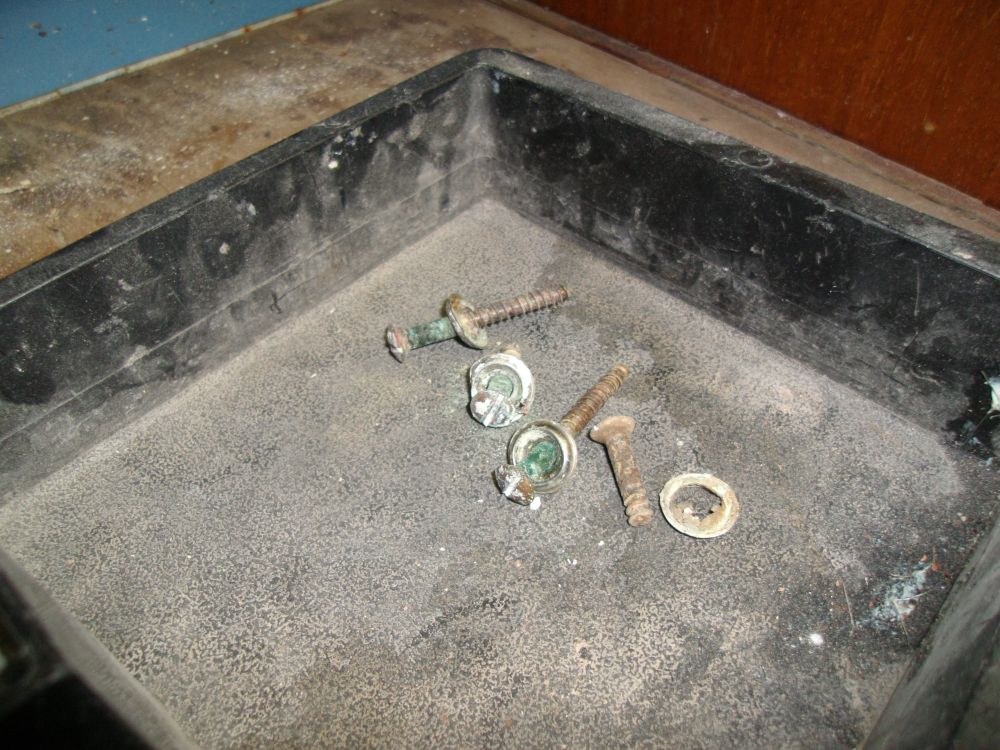
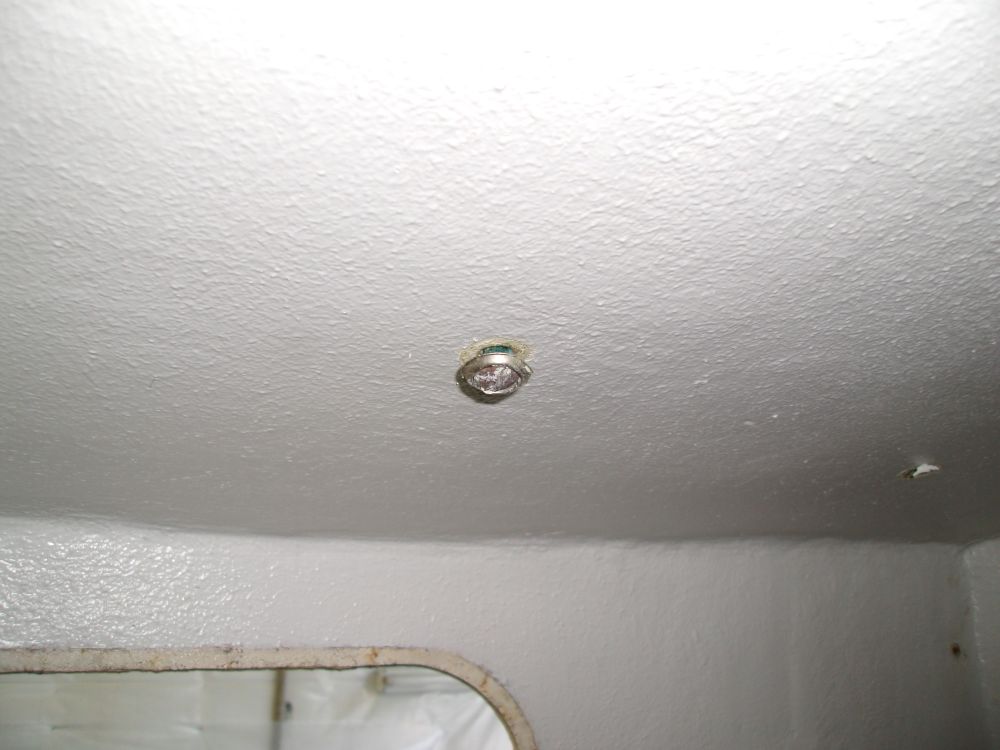
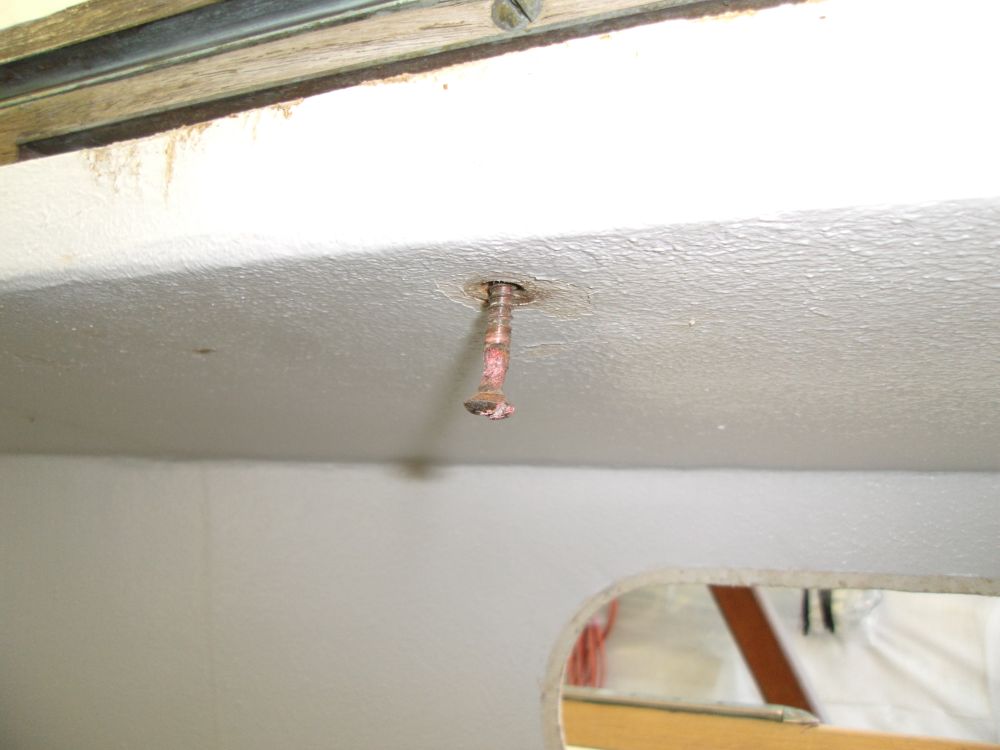
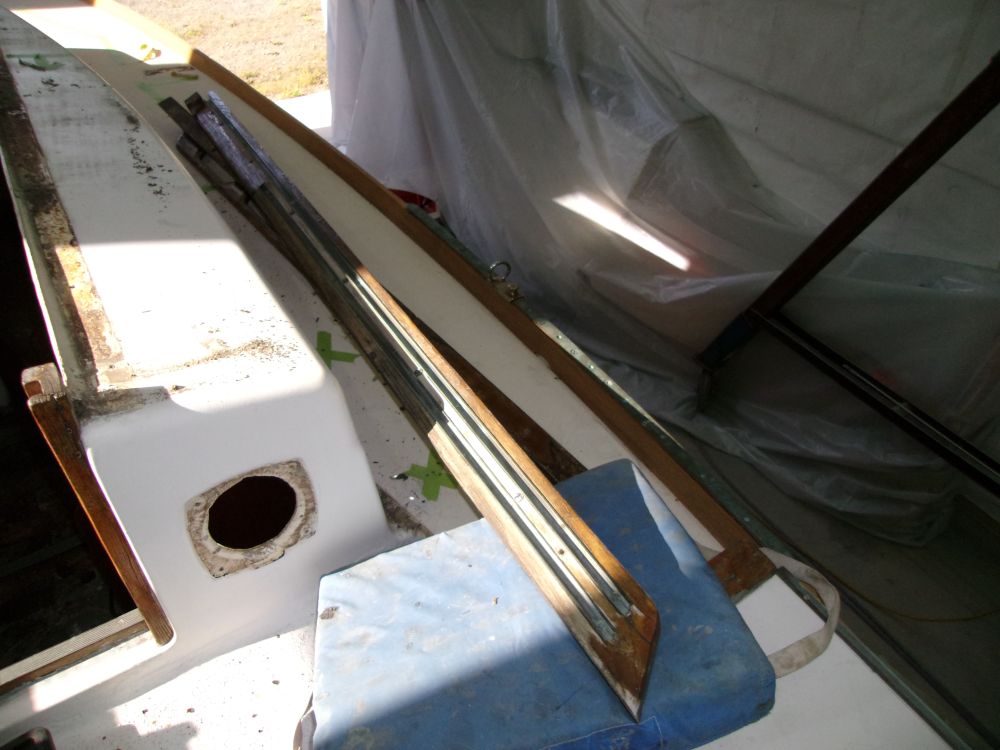
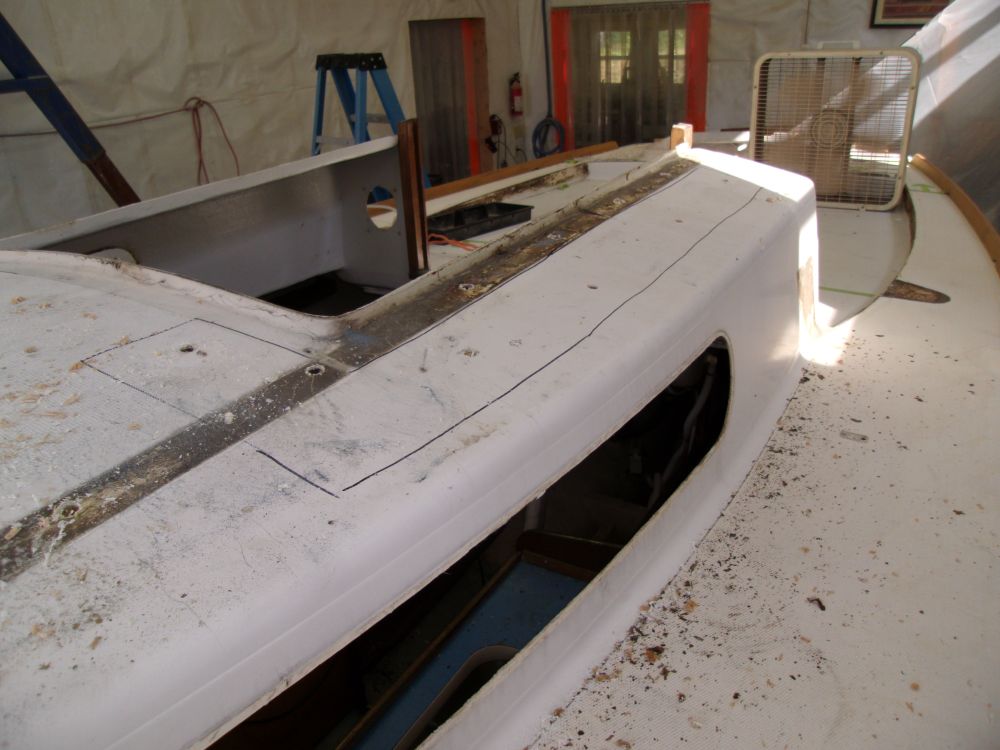
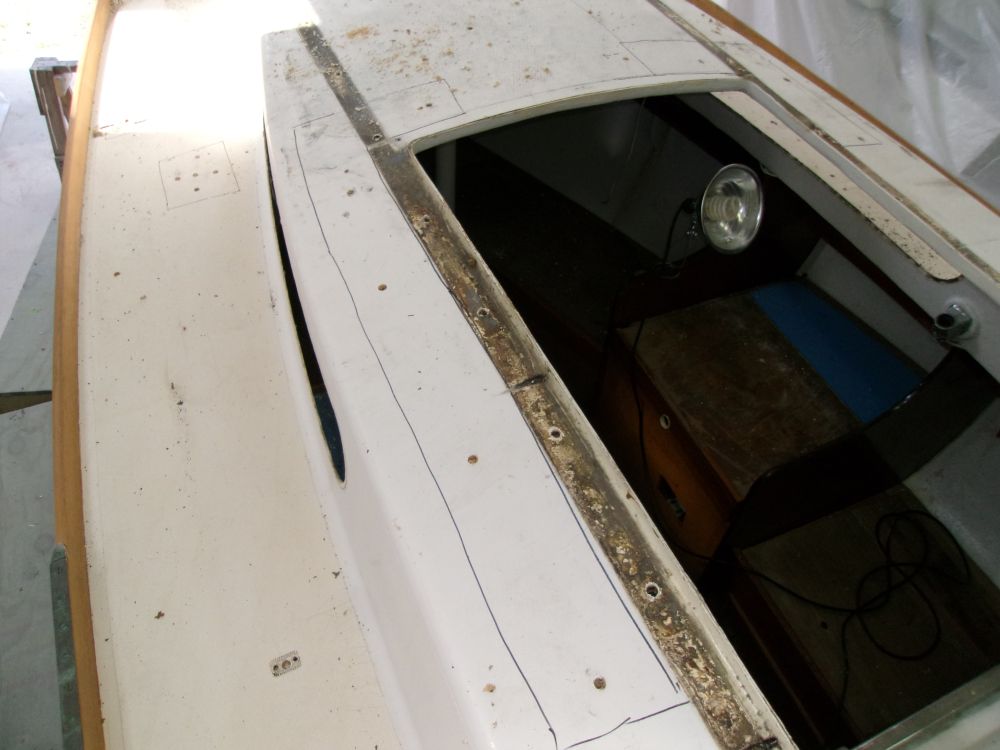
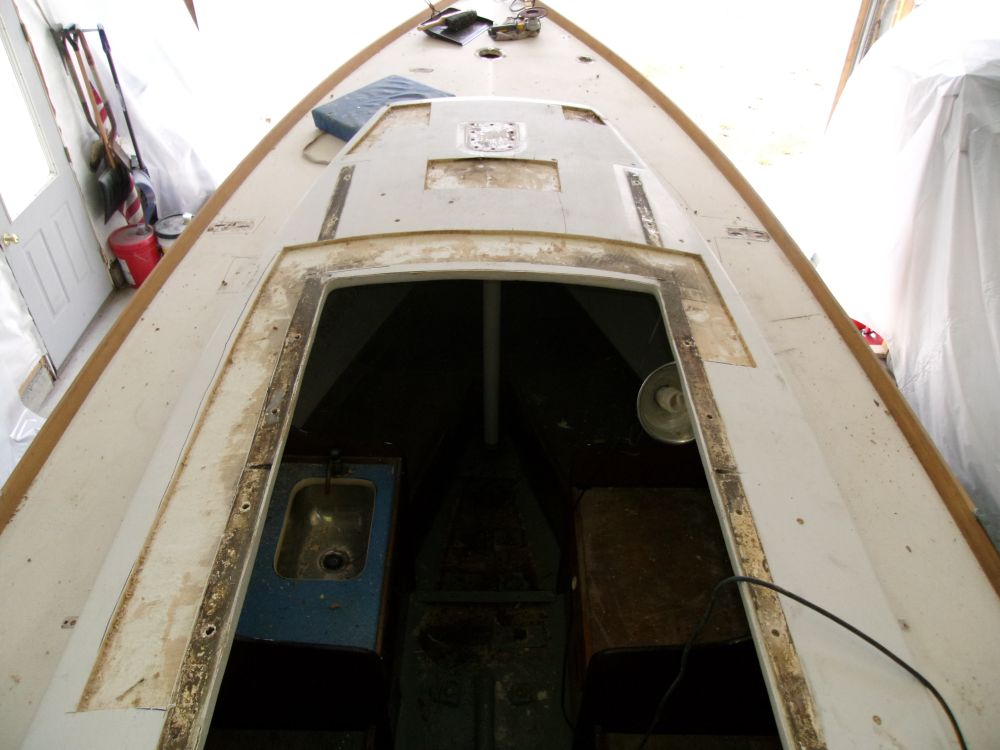
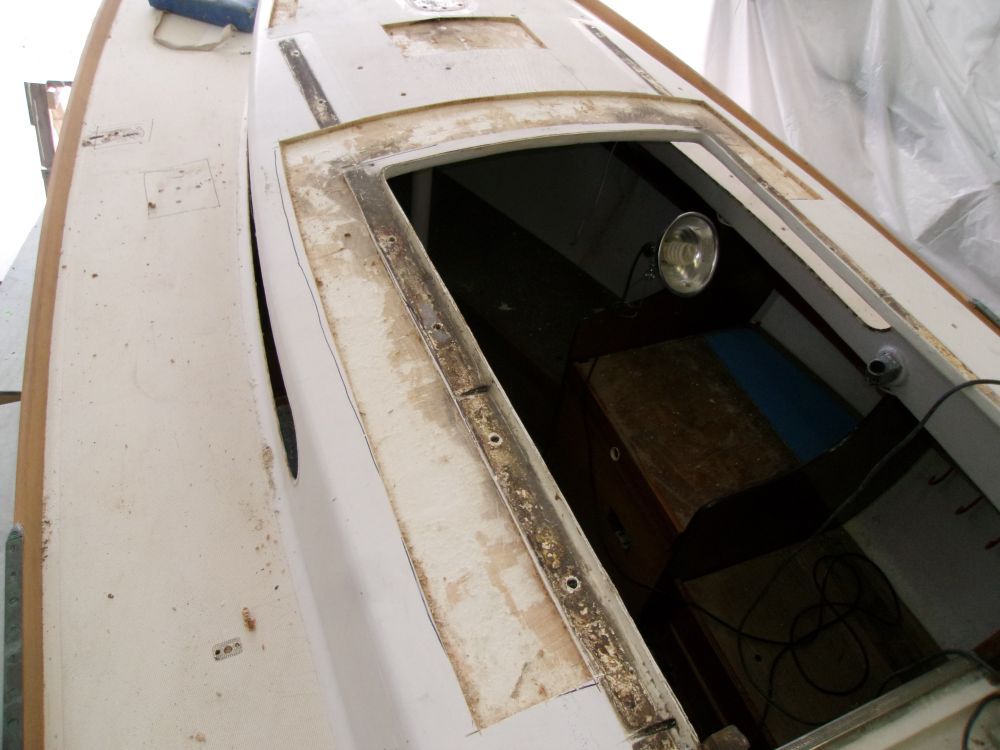
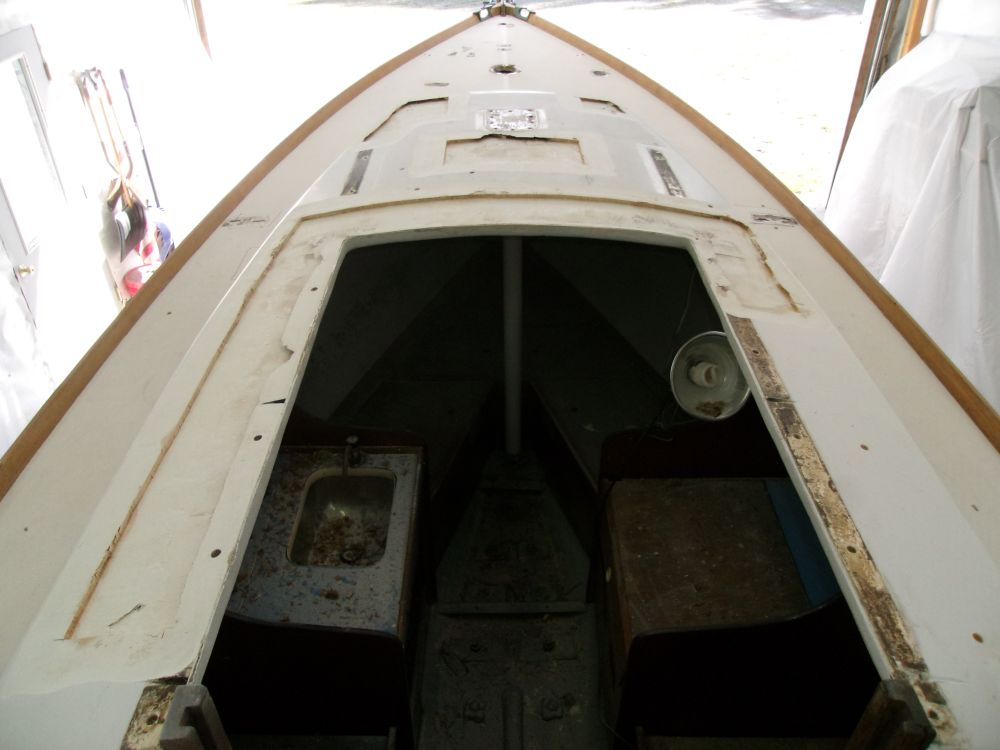
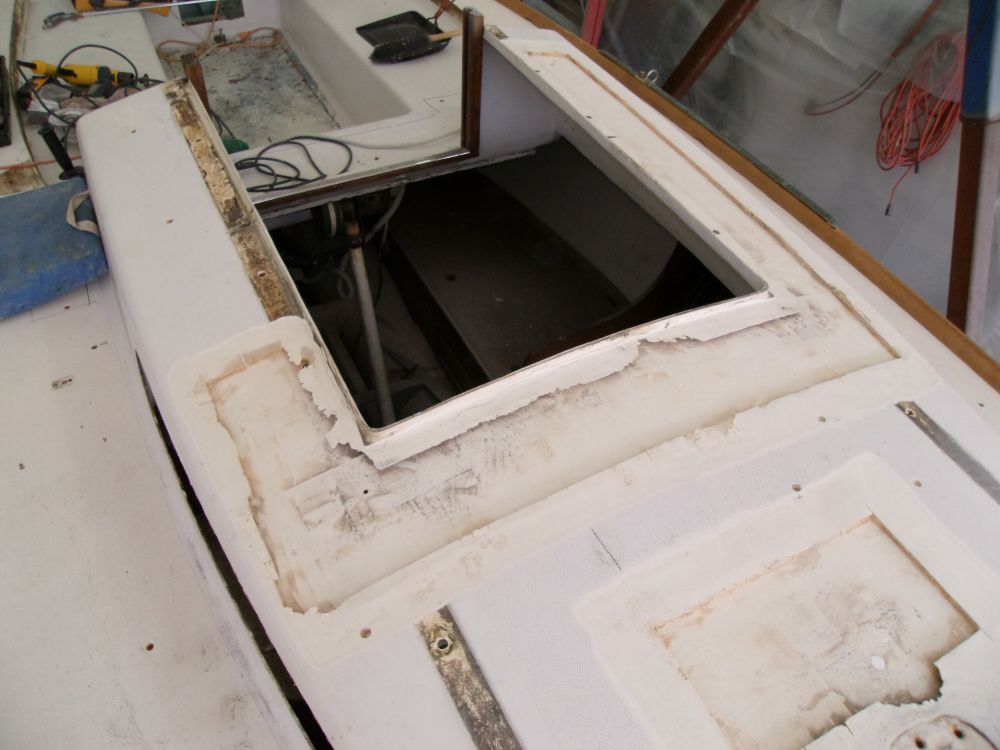
In order to gain better access to the coachroof for the upcoming core repairs, I removed the companionway hatch slides and rails. After studying the system, and finding no way to remove the slides without taking the rails off first, I prepared to remove the screws that secured the rails. The screws, accessible from inside the cabin, were in fair to poor condition, with the port side showing the worst condition--a combination of natural age and plenty of water infiltration over the years. Eventually, I removed all the screws, after which the rails and companionway slides came away easily. I set these pieces aside for later attention.

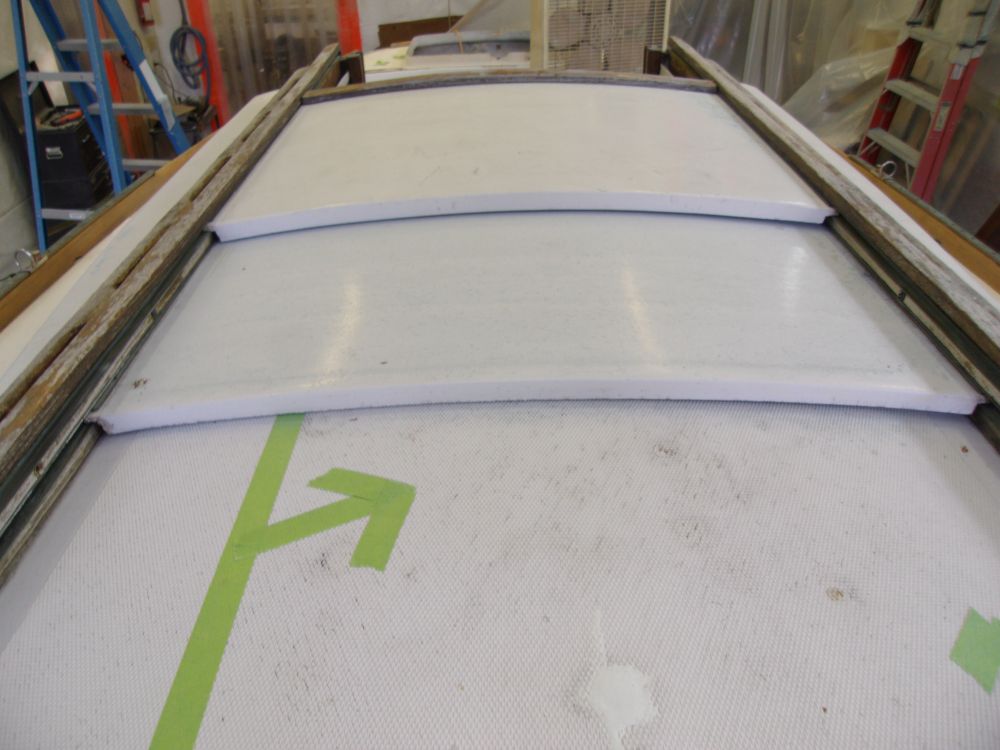
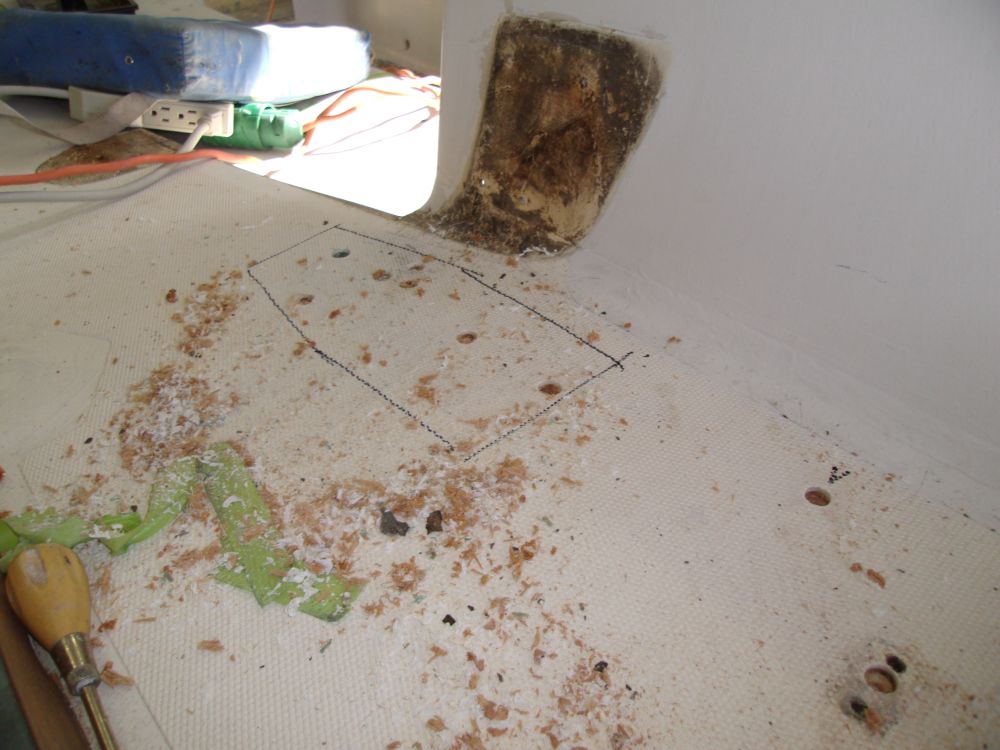
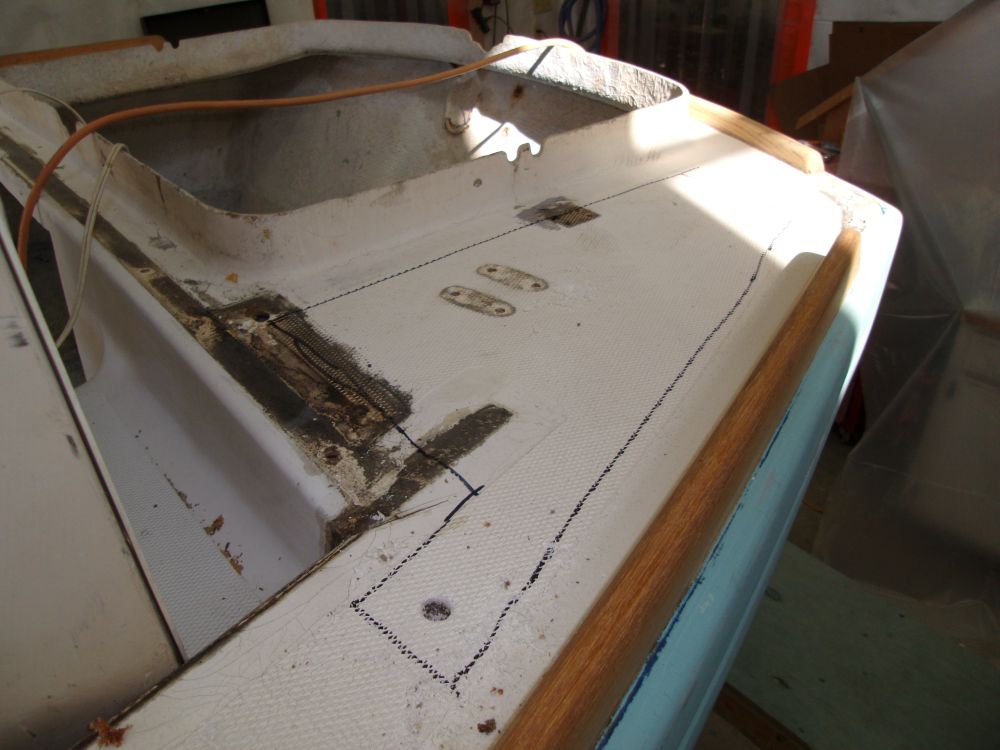
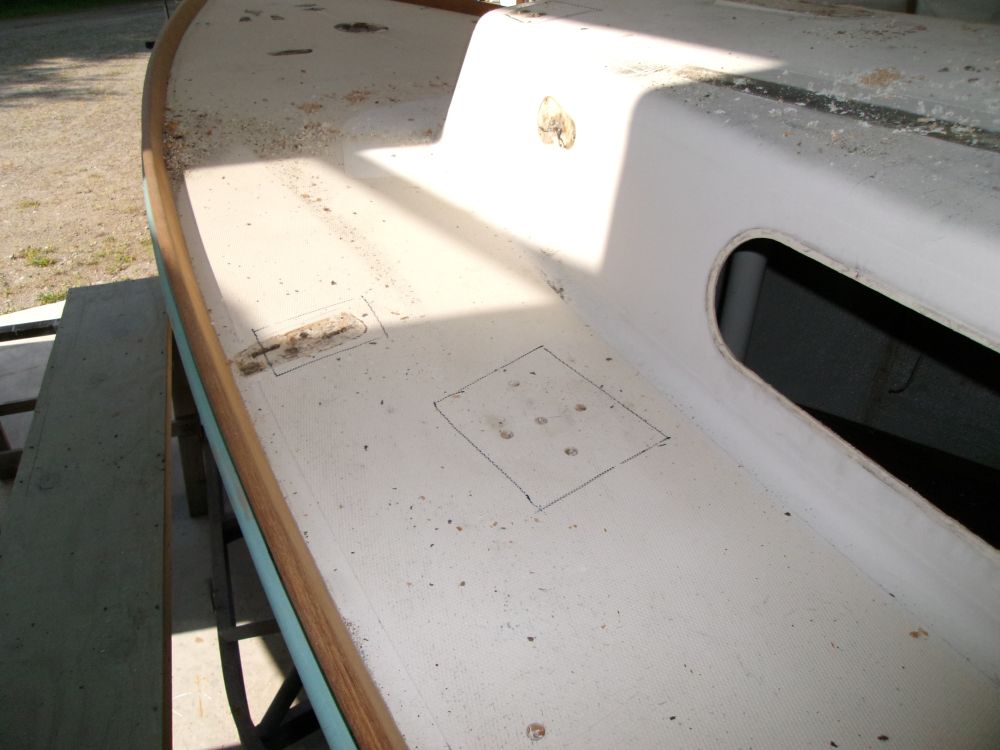
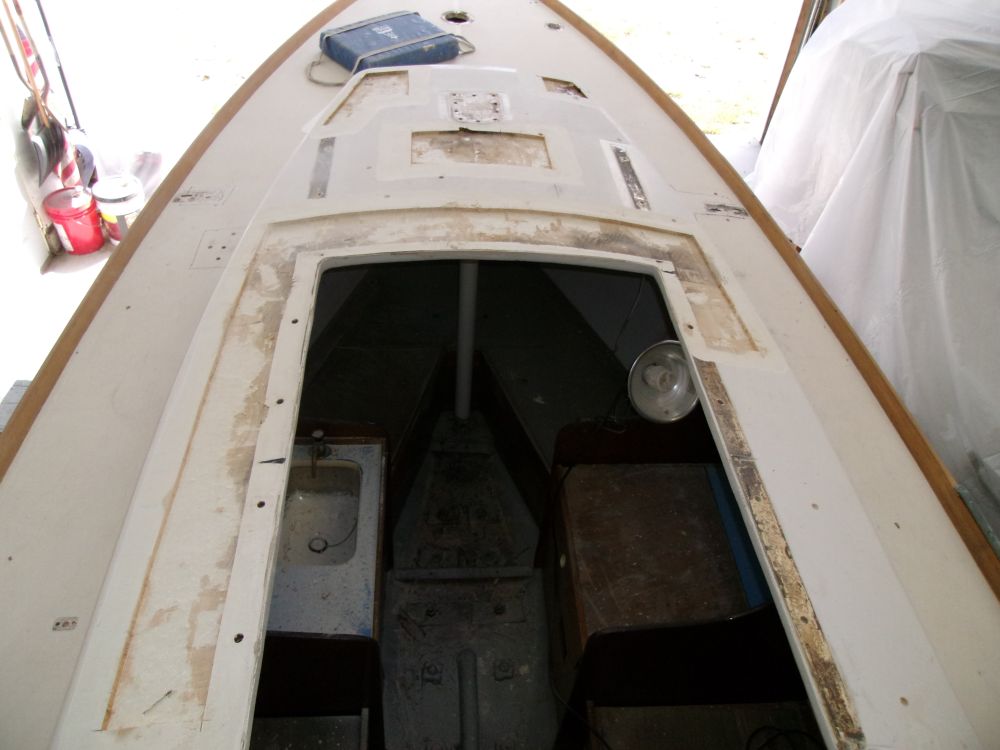
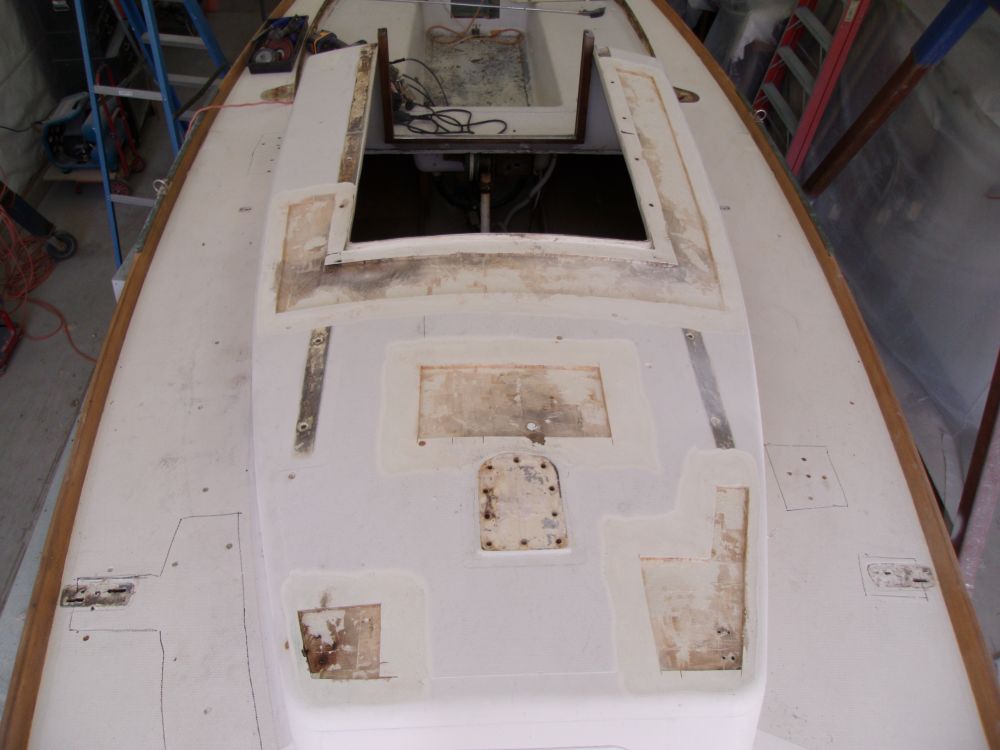
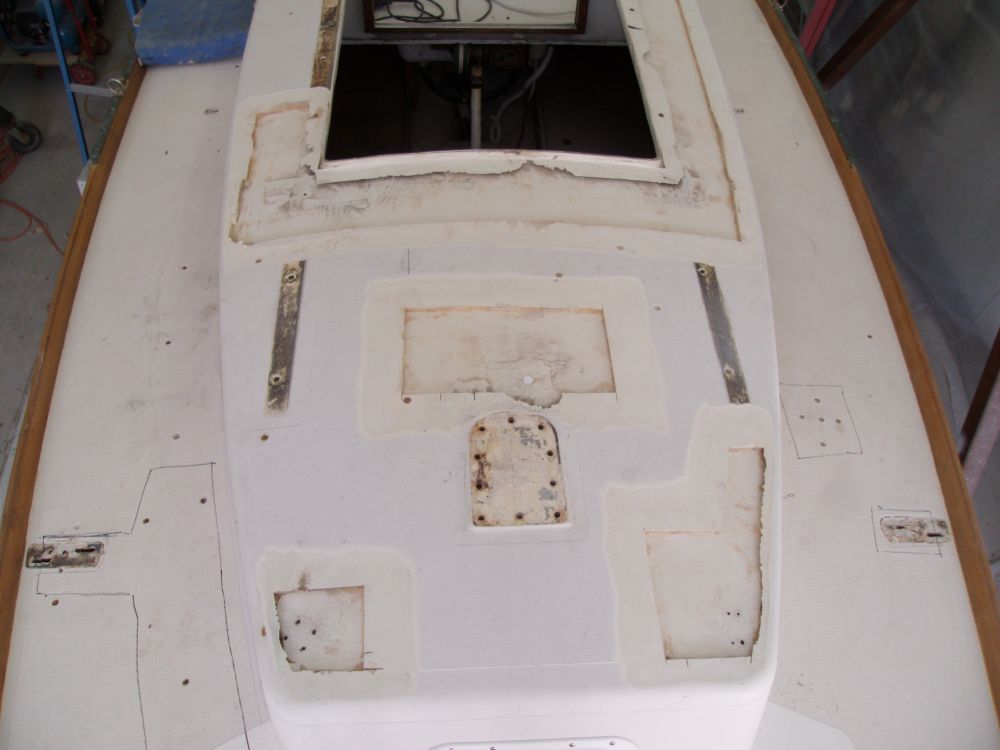
Before beginning the deck repairs in earnest, I reinspected the areas I'd earmarked earlier (plus other areas), this time using a drill to open exploratory holes to determine the actual conditions present. In this way, I proceeded over the entire deck, concentrating on the previously marked locations, and determined where I'd need to make cuts to remove the old core.
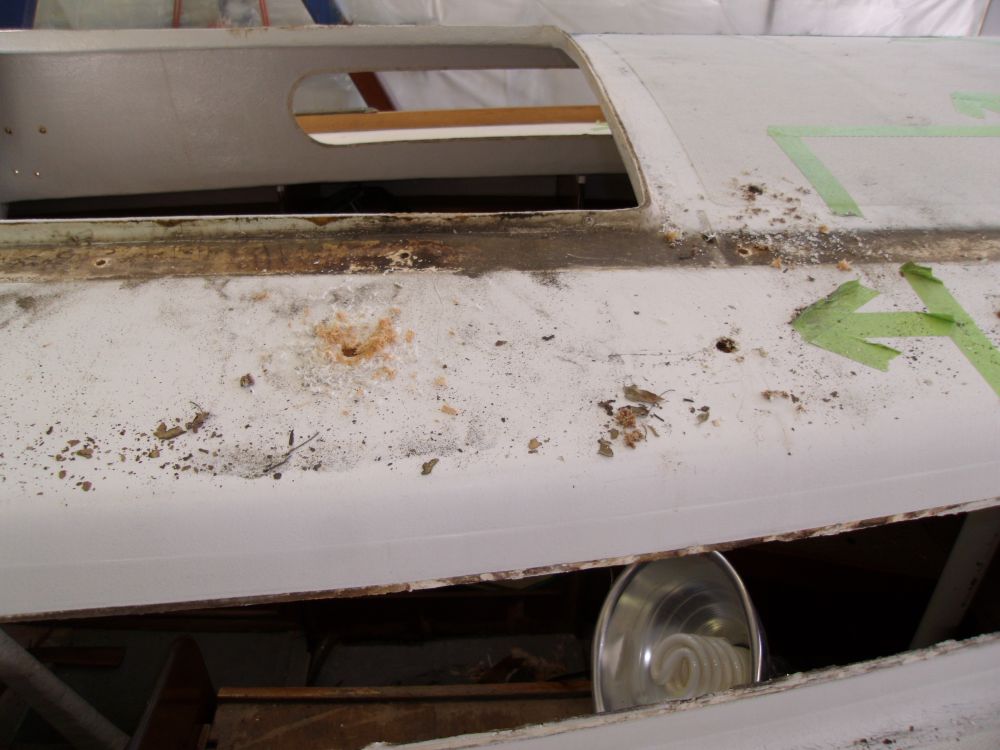
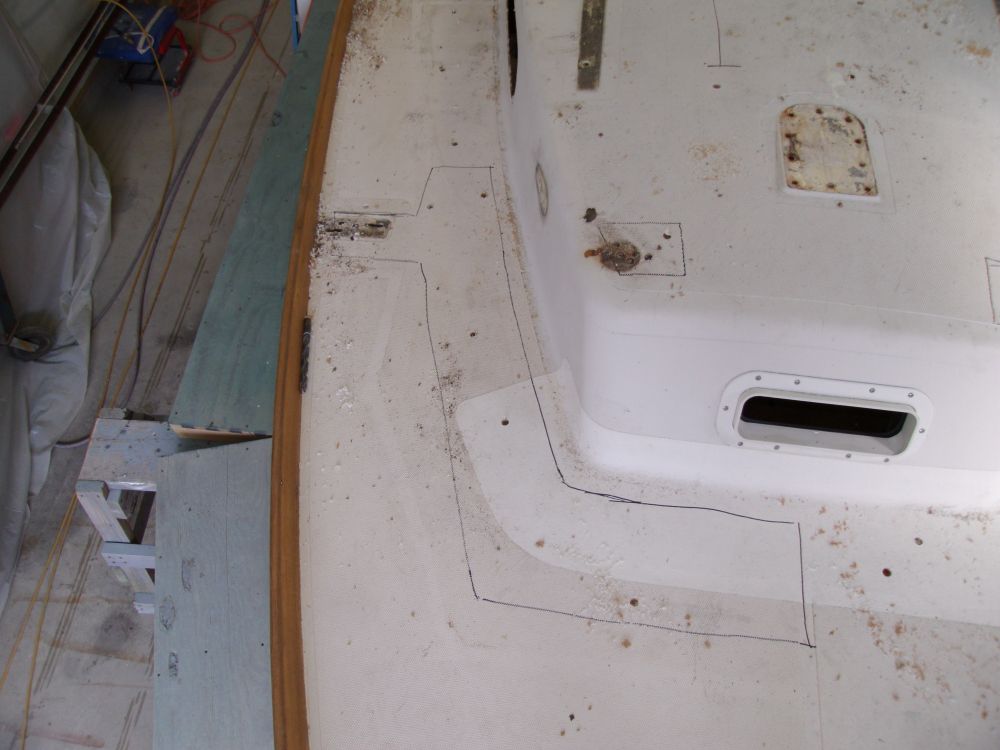
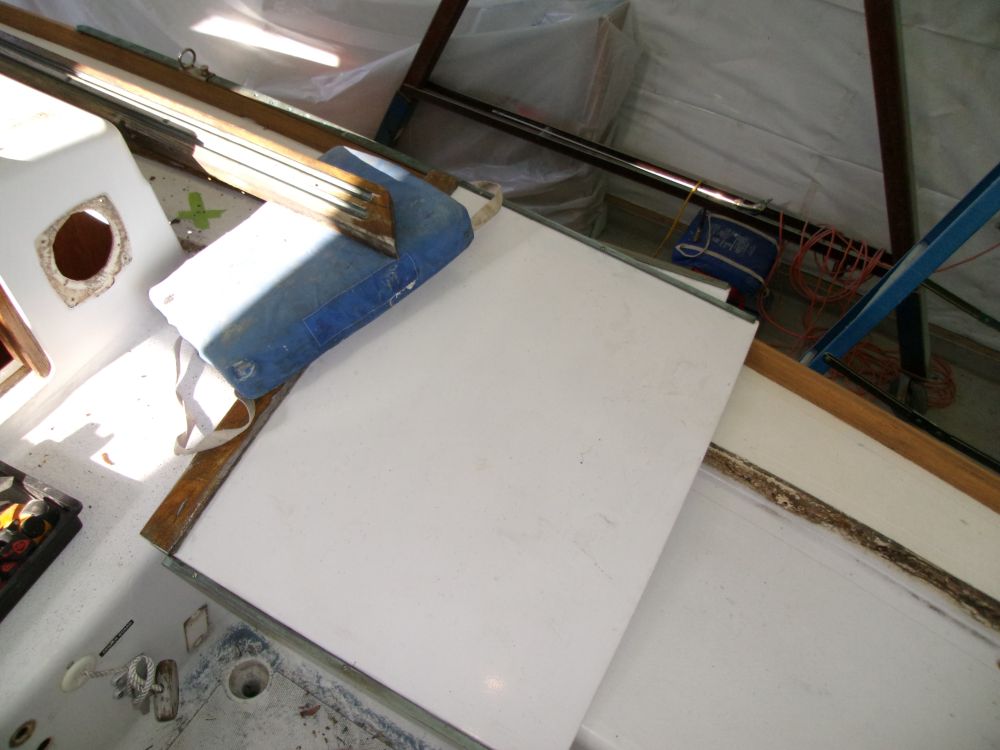
The bridgedeck had been previously repaired, and while my exploratory holes revealed thick, solid fiberglass at the top, the top skin was completely debonded from the core within, leaving a large void beneath.

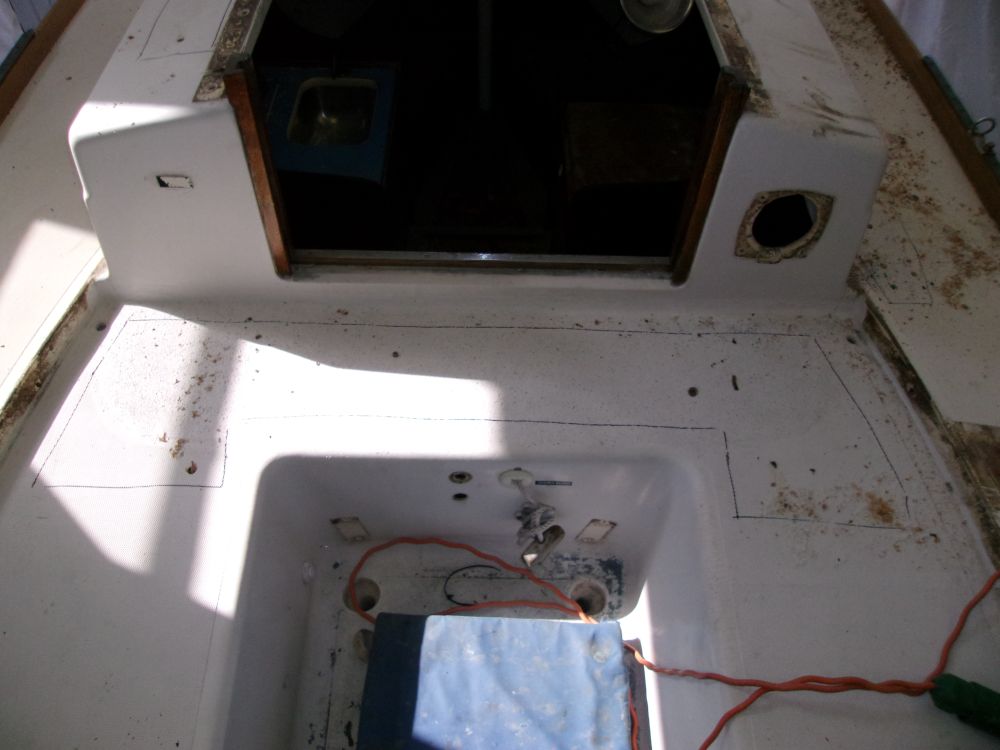
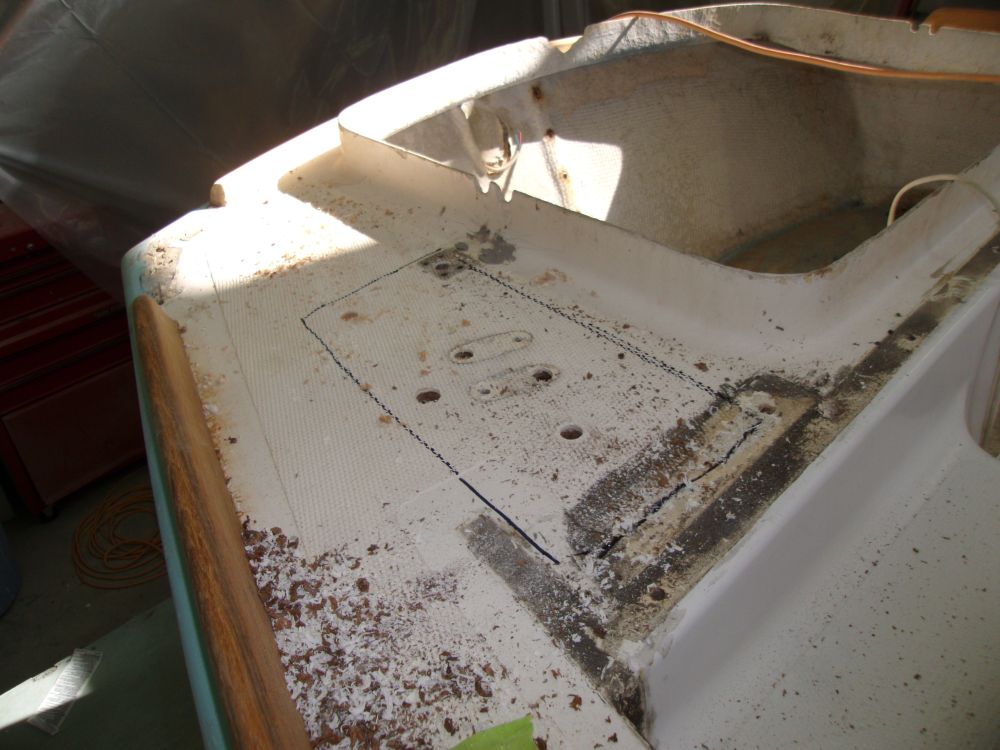
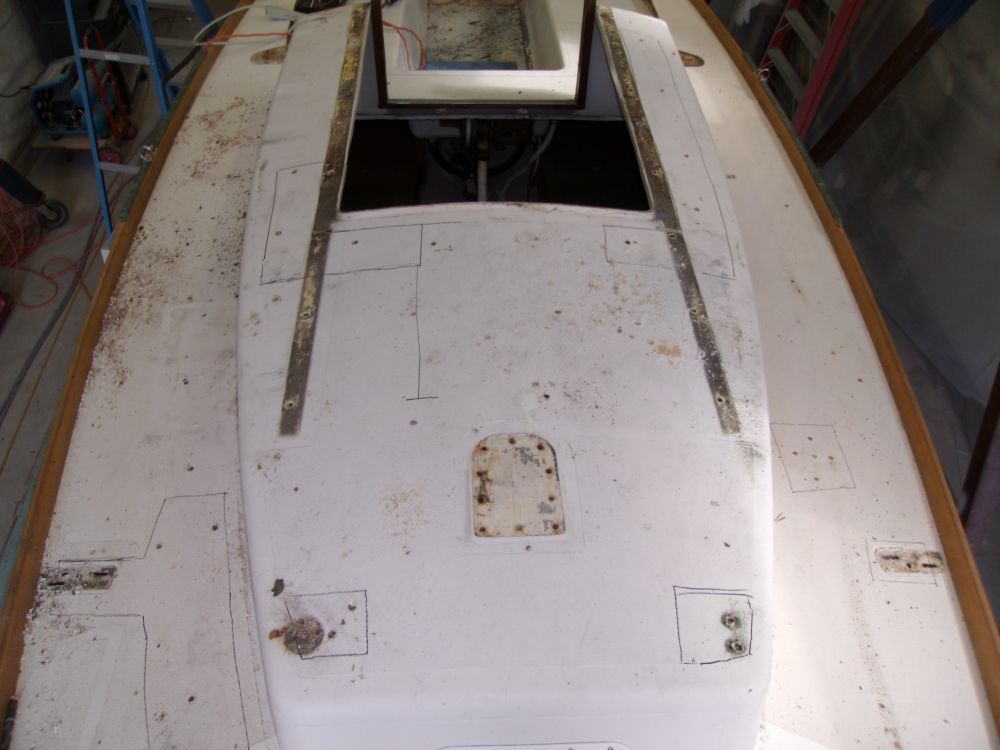
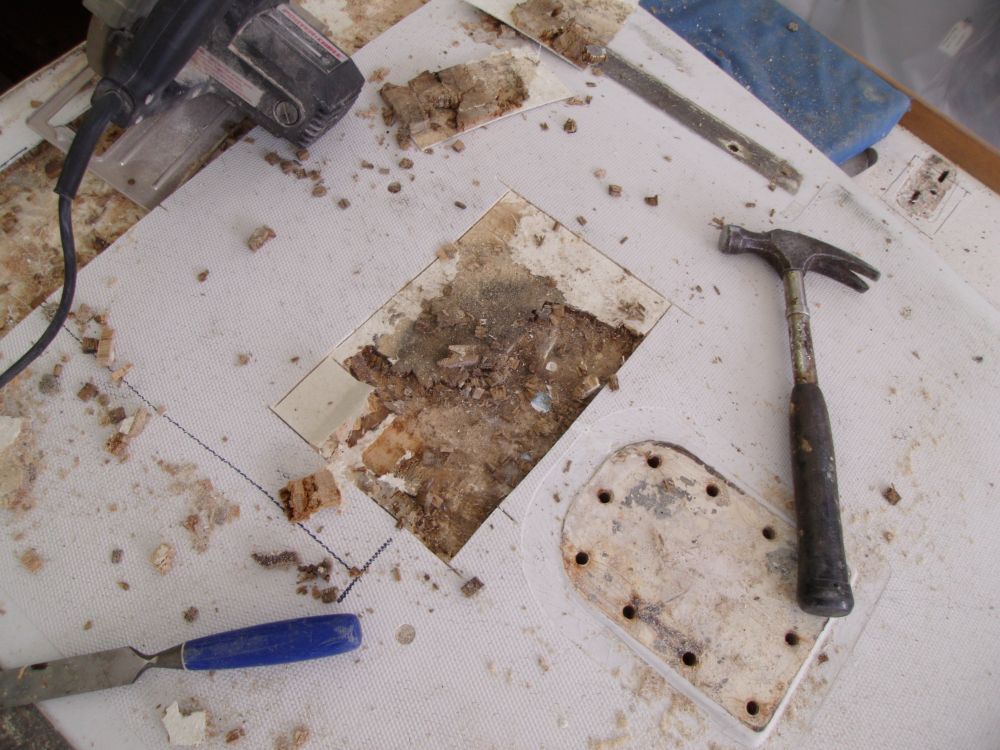
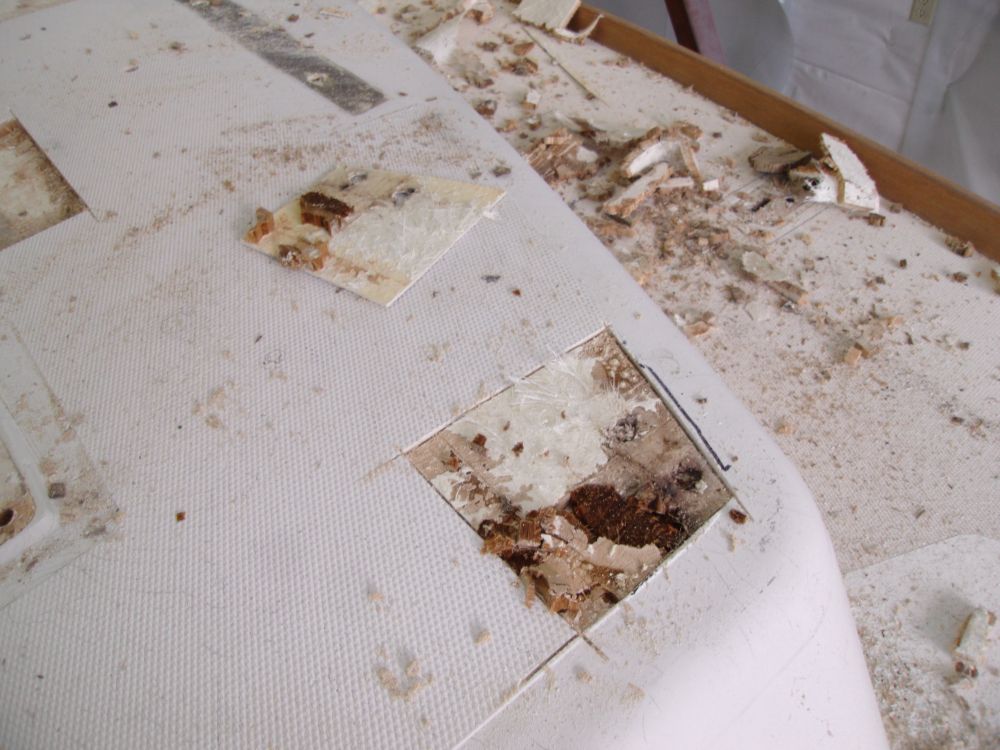
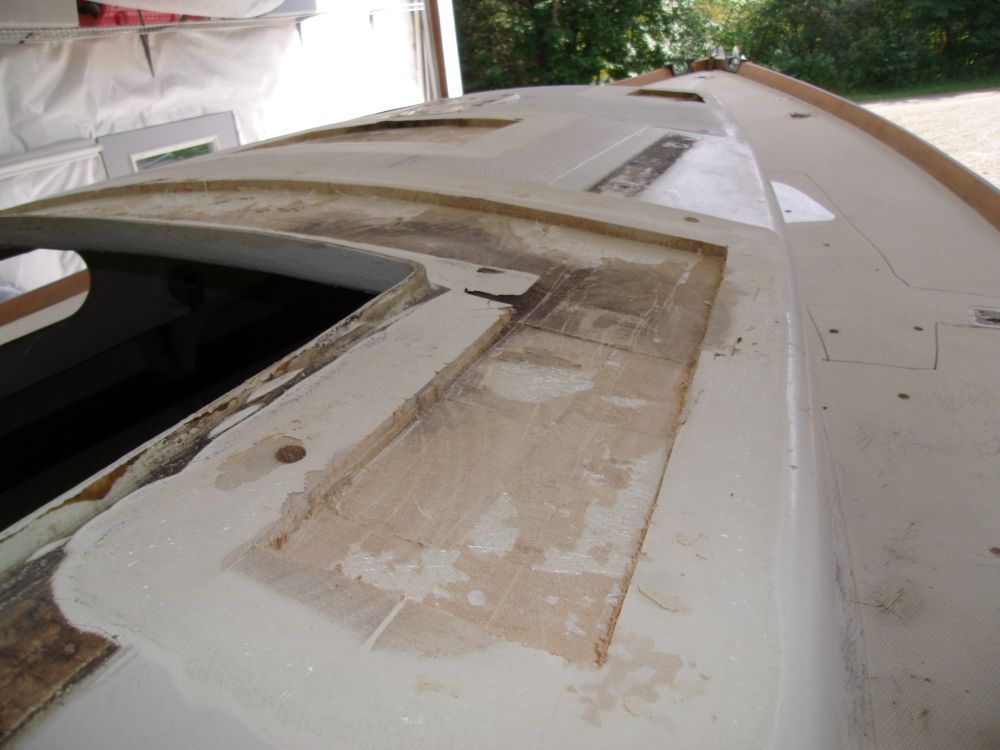
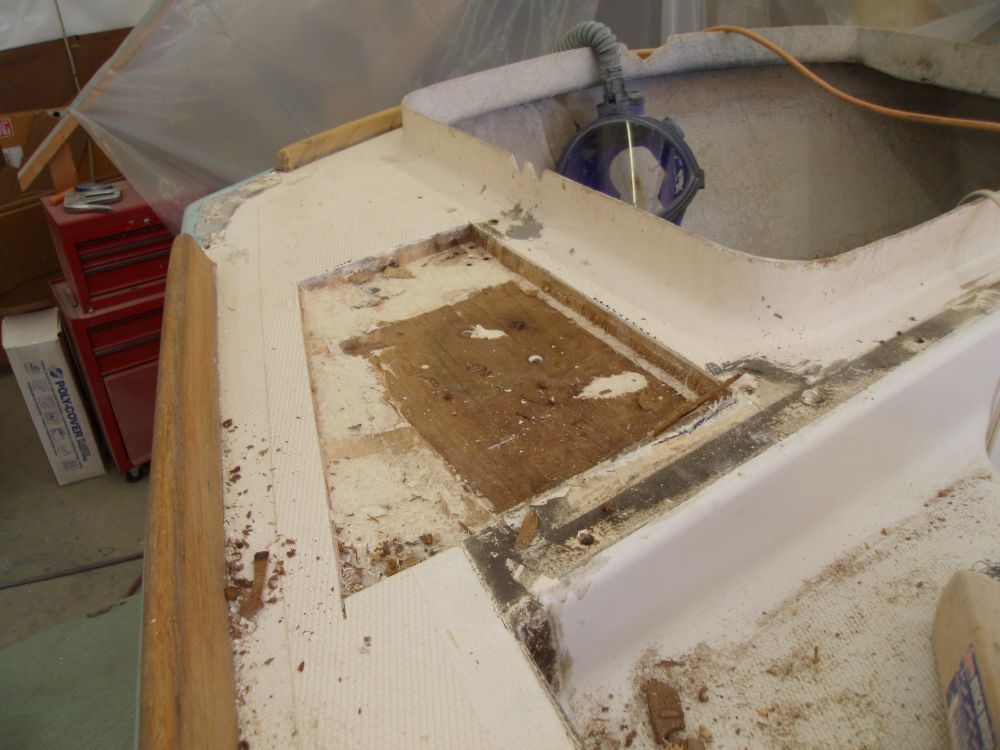
Starting with the coachroof, I used a saw to cut out the areas outlined by my previous testing, and removed the core--a combination of wet, water-damaged, stained, and intact balsa--from the open areas as needed. For the moment, I left the core beneath the edges, which I'd dig out later as required.
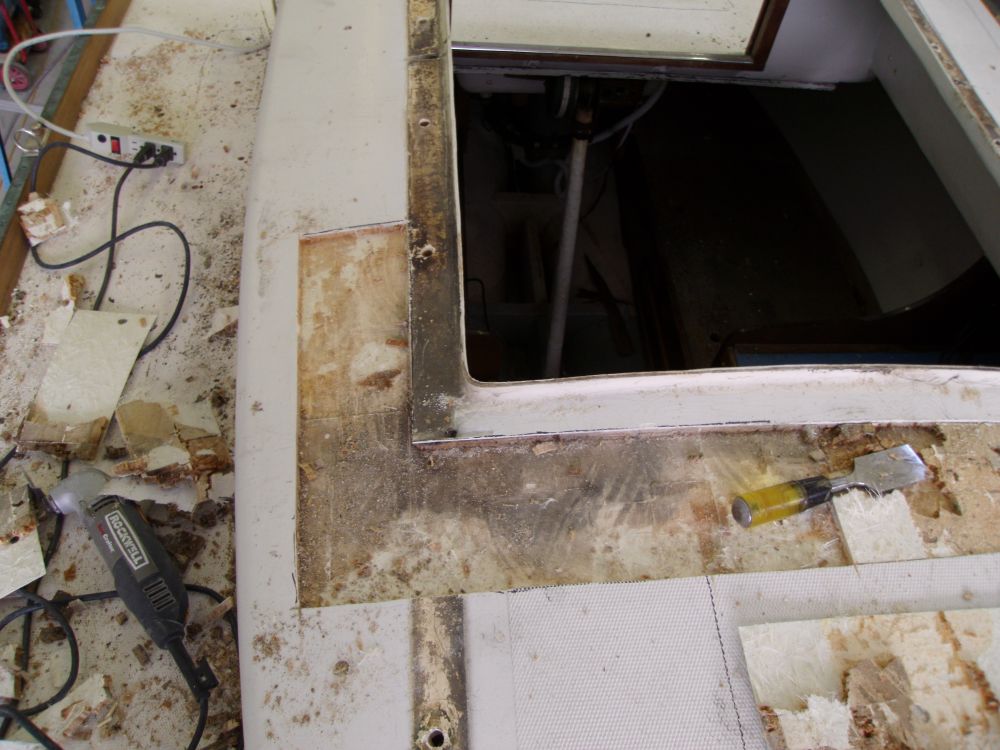
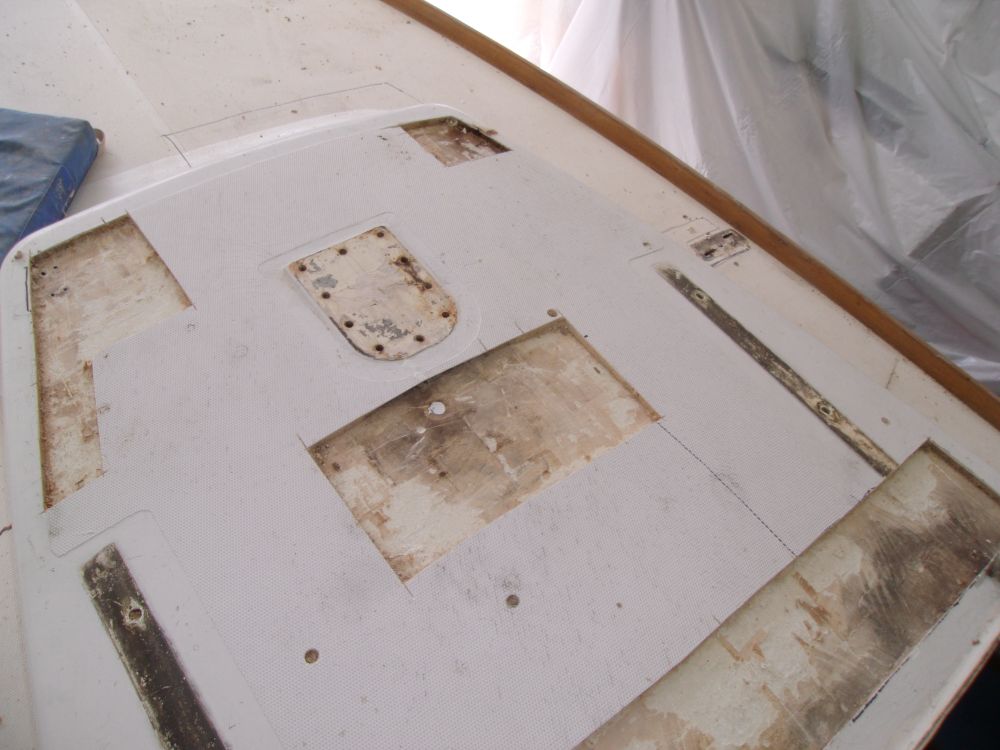
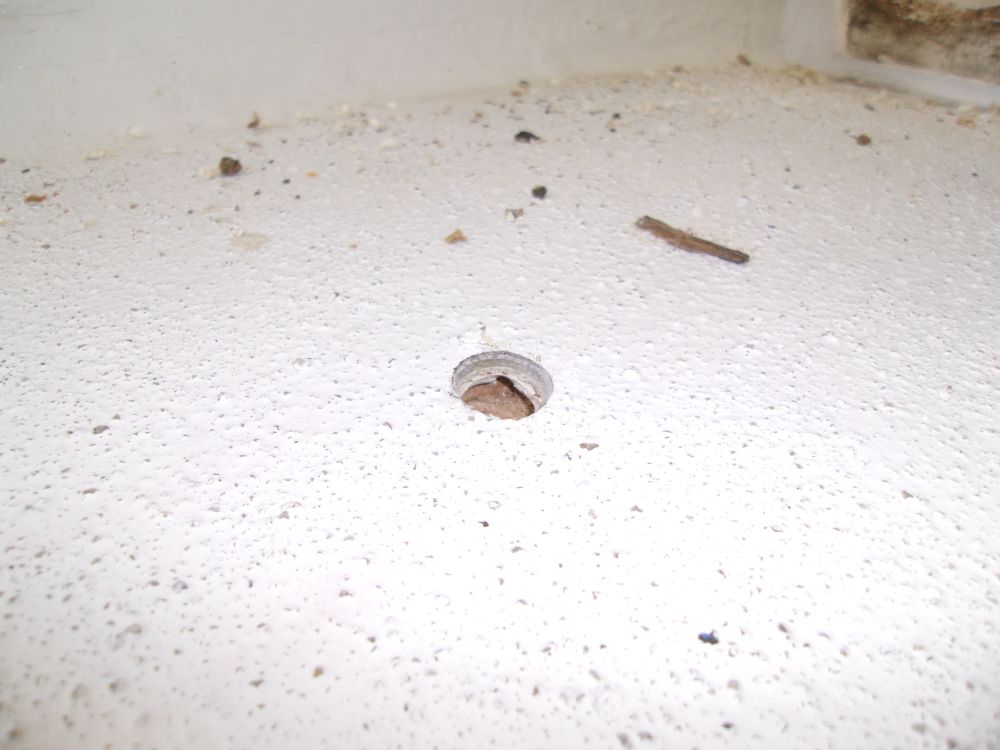
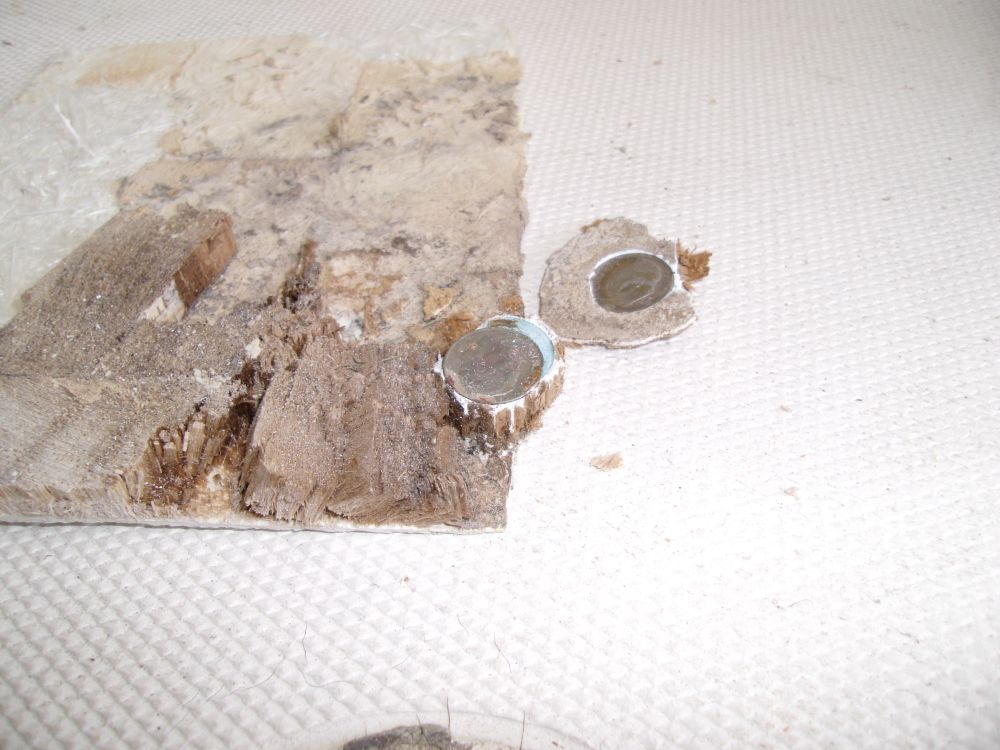
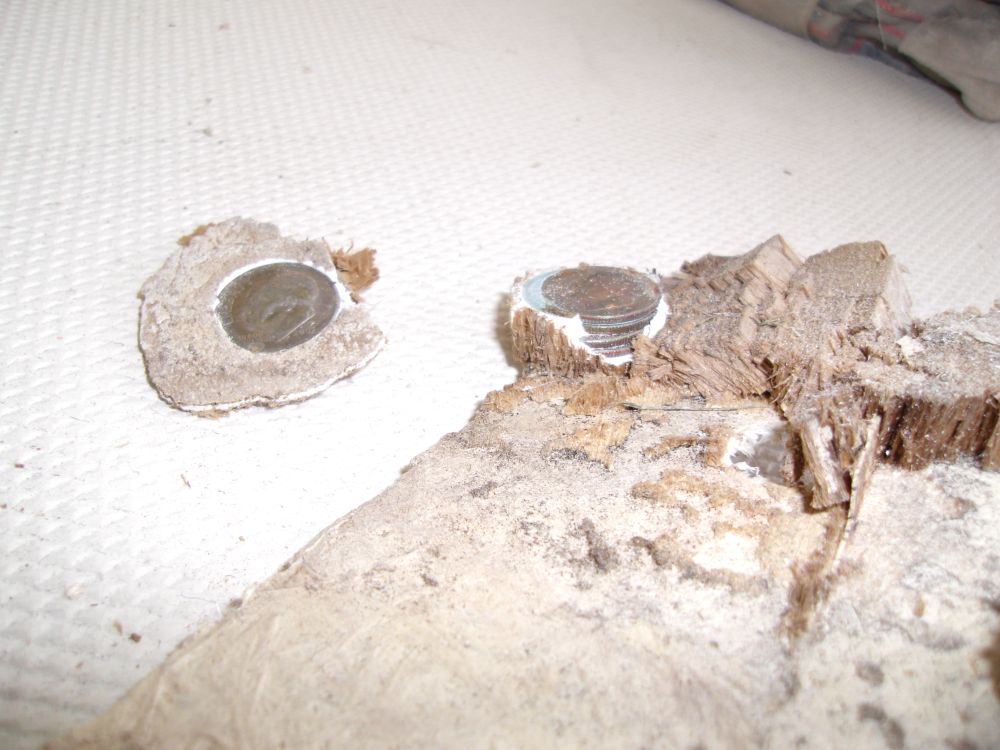
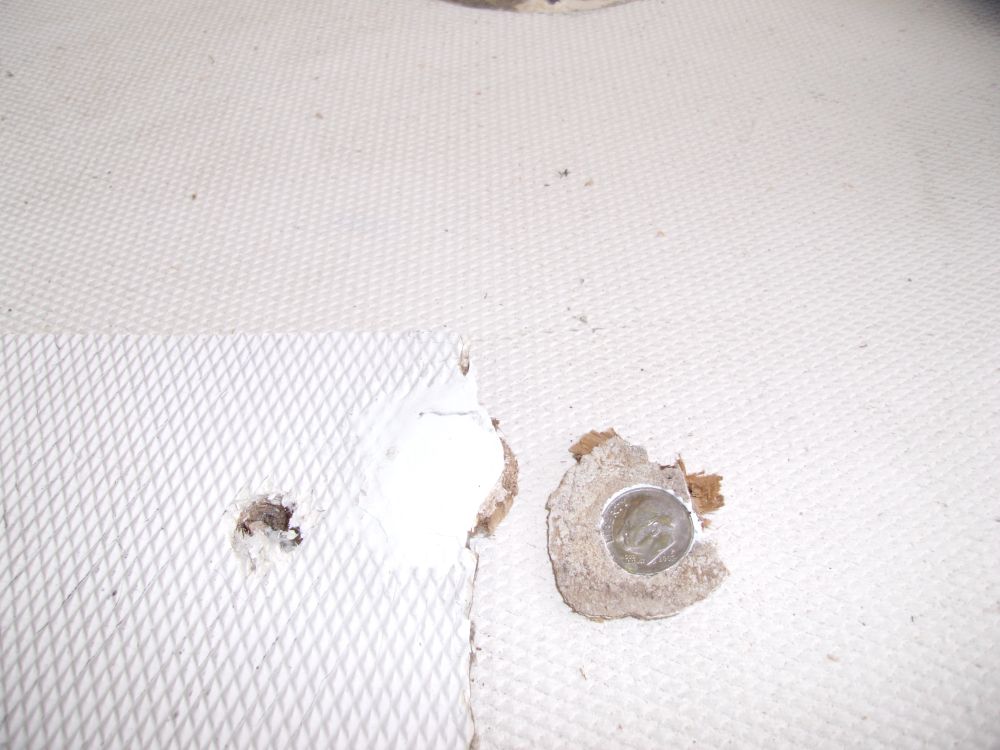
Just aft of the mast step, I uncovered a $0.50 repair--literally: five dimes, stacked up and (apparently) inserted through a hole in the top deck to do...something, though I wasn't sure what. I'd seen popsicle sticks used as a core "repair" in the past, among other things, but this was an amusing new find.
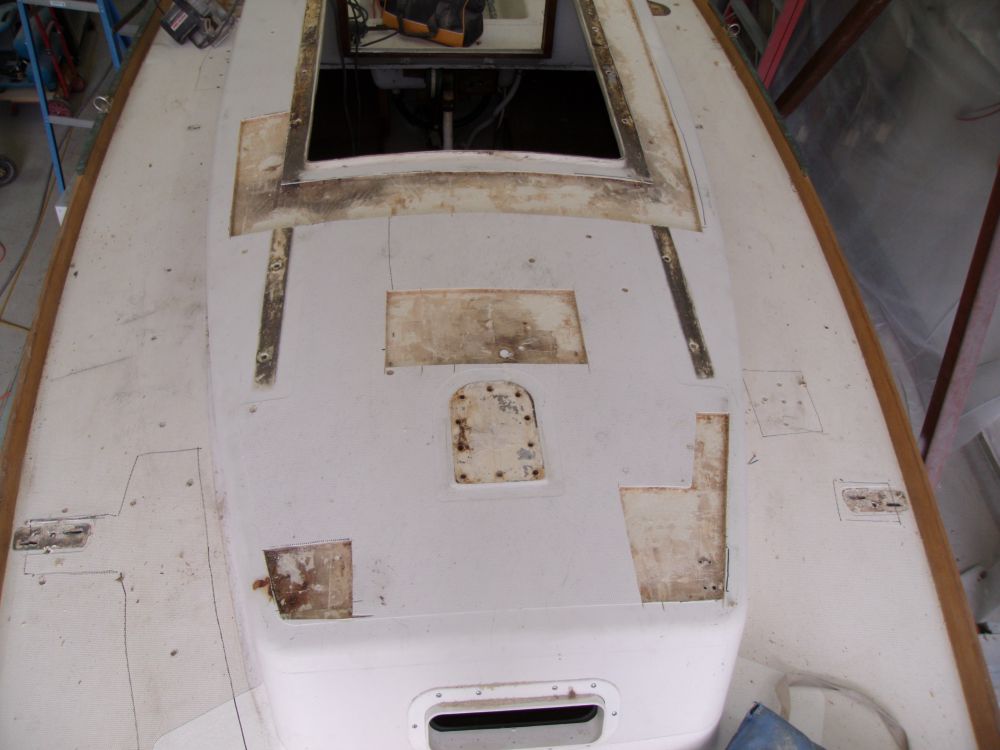
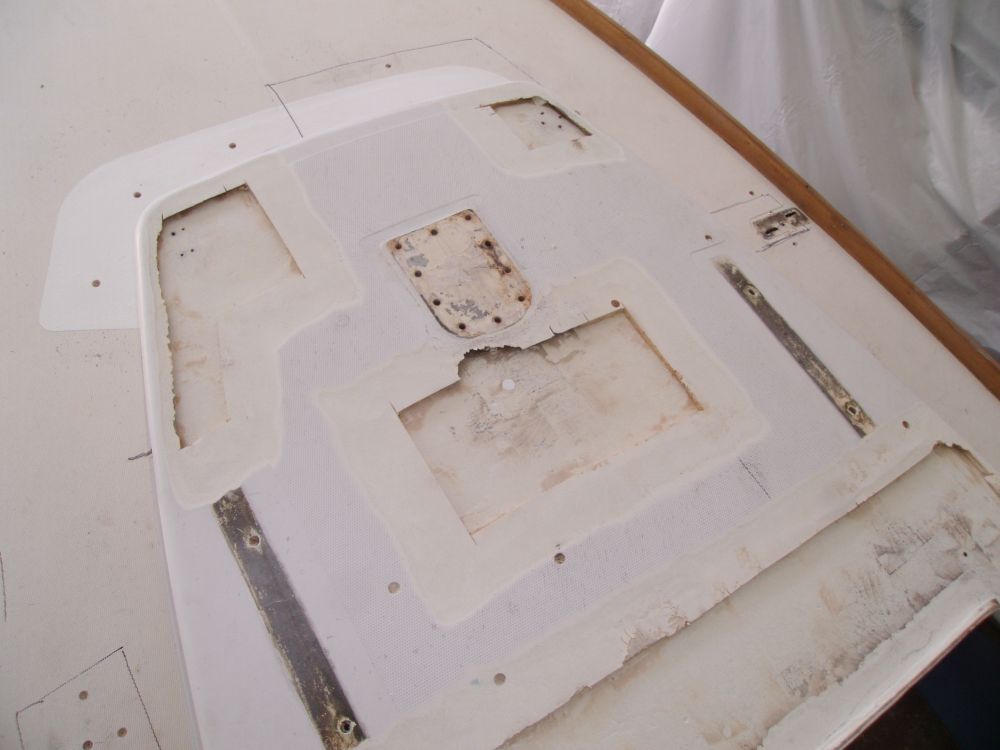
After cleaning up the core detritus, I ground around the edges of each open area to create a bonding surface for the eventual repairs, tapering the adjacent fiberglass from outside in. The laminate appeared to be largely chopped mat, set in a white-colored resin matrix, so the newly-ground areas didn't stand out much from their surrounds.
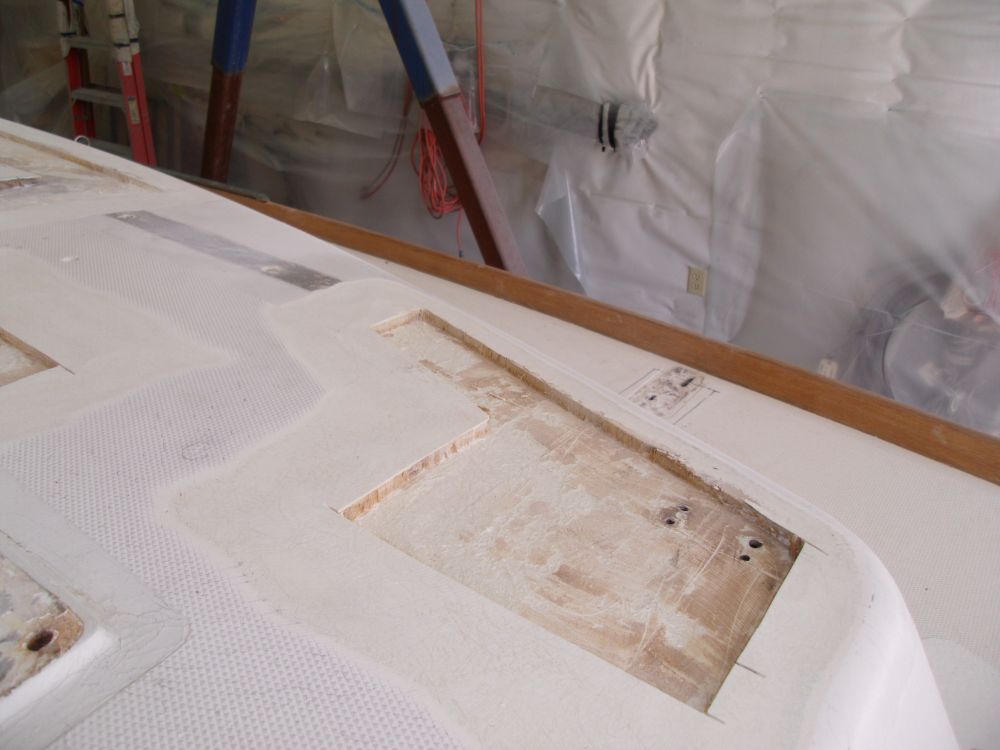
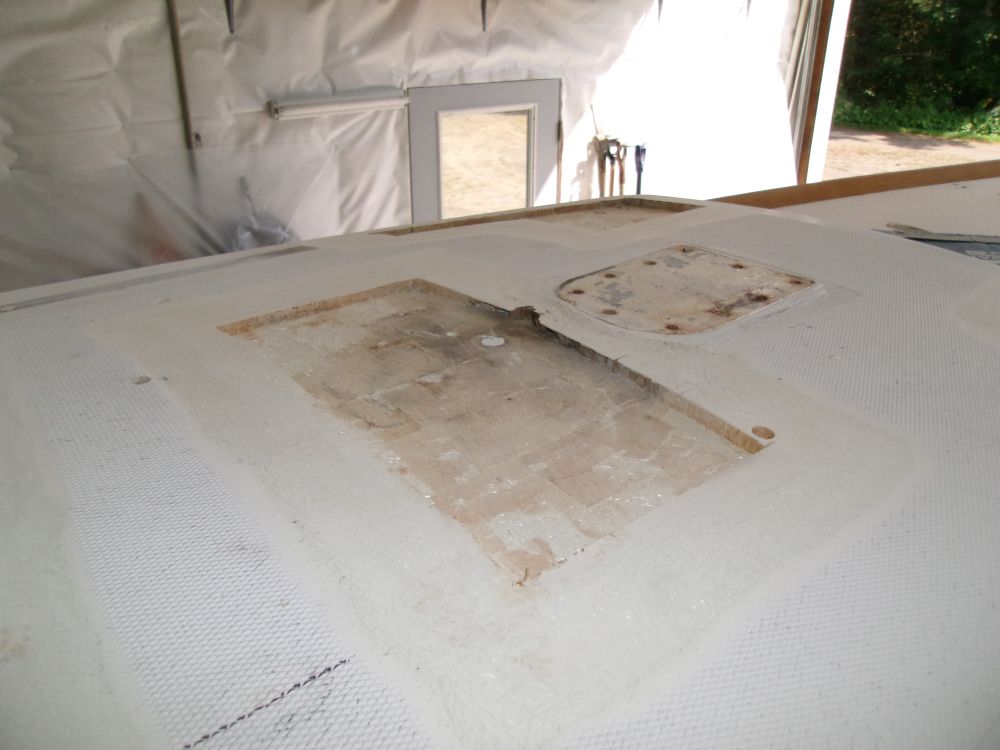
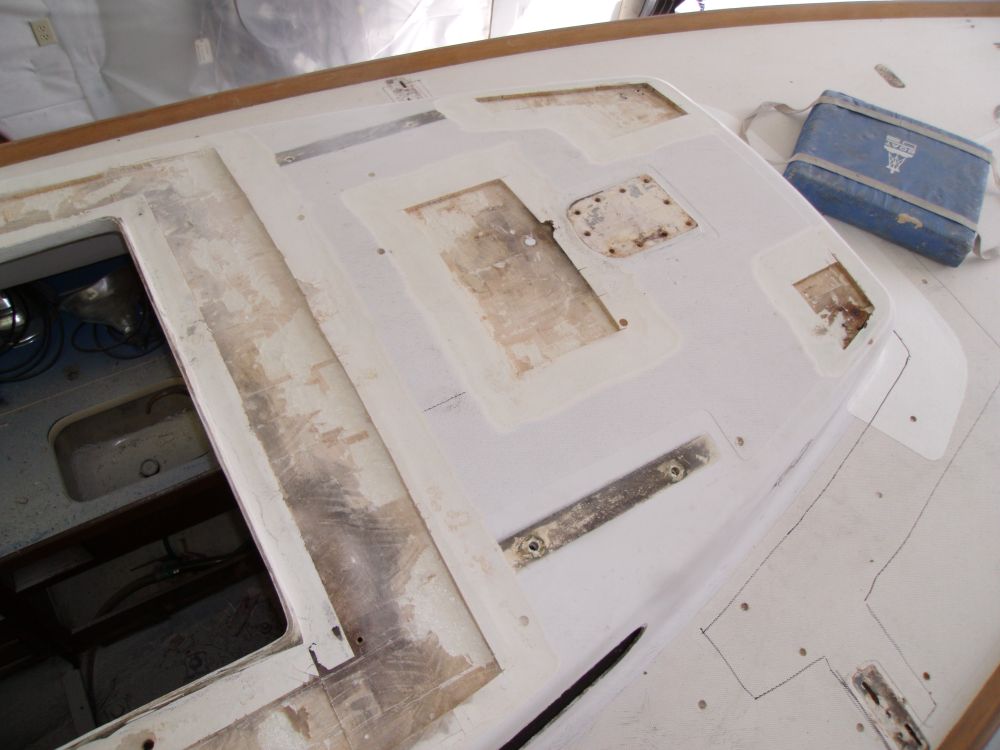
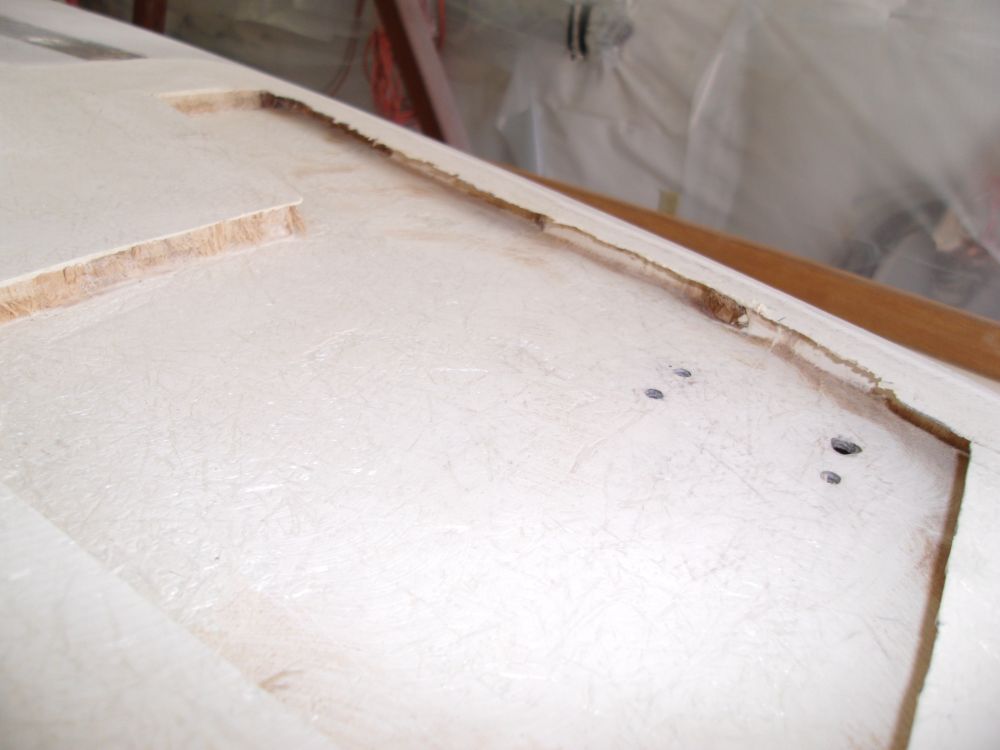
As needed, I reamed out bad core from beneath the edges of the decks around the various areas I'd opened up, scraping out all the worn and rotted core from the narrow openings using a variety of small tools. Wherever the core at the edge of the opening was sound--mainly at the inboard edges where I'd specifically made the deck cuts to reveal sound core--I left the core in place. Afterwards, I sanded the exposed inner skin to remove residual core and otherwise prepare the surface for future steps.
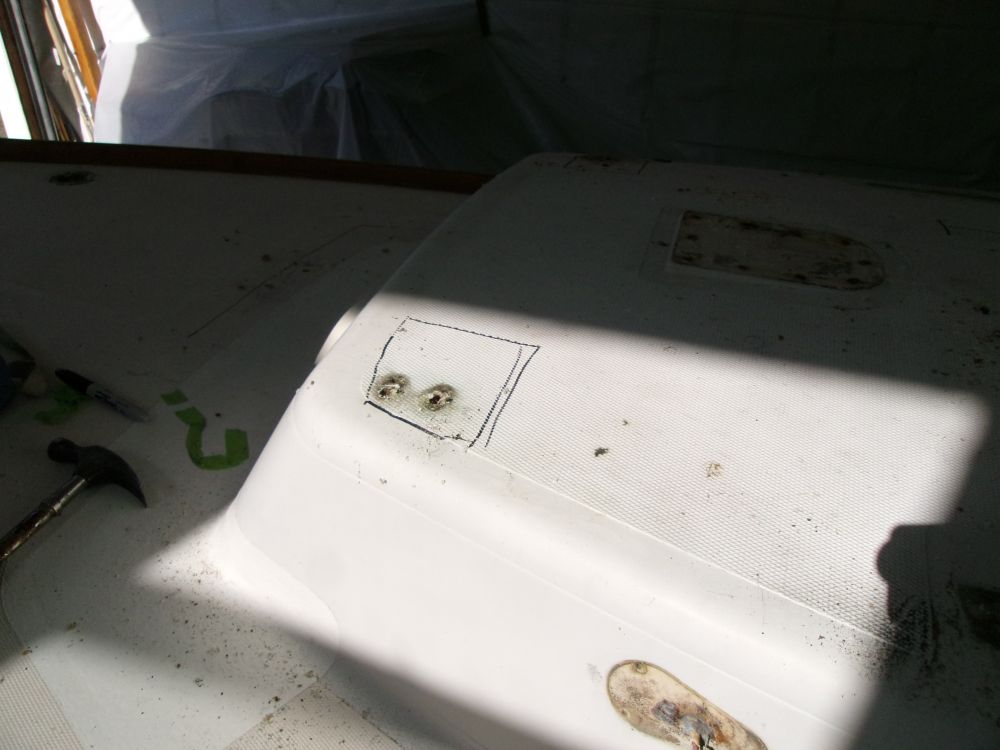
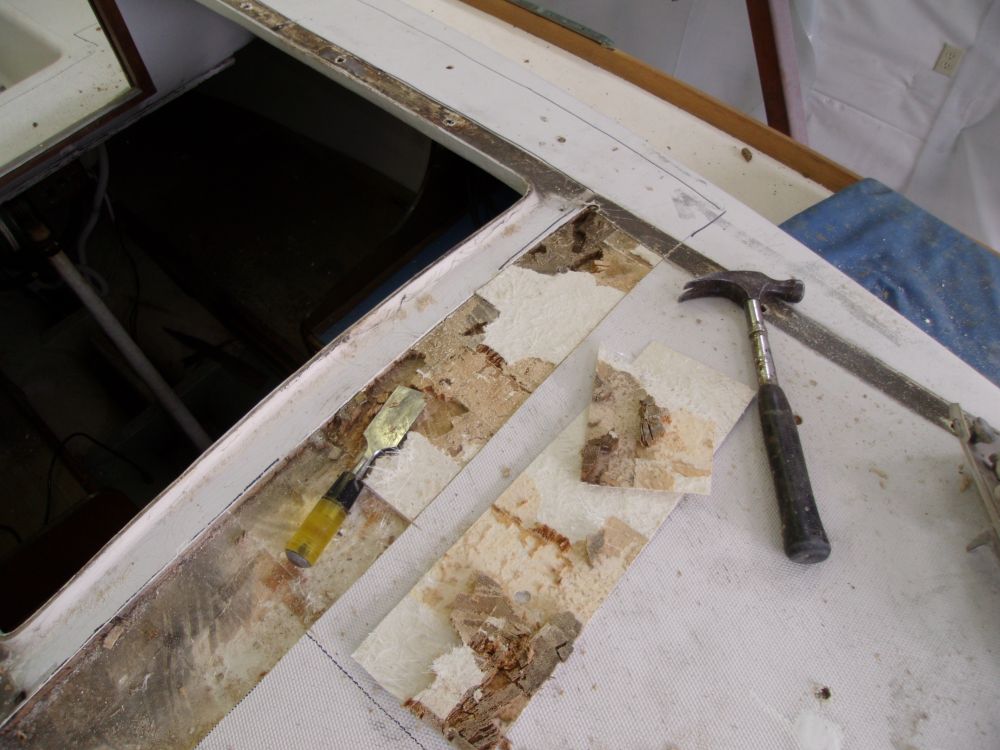
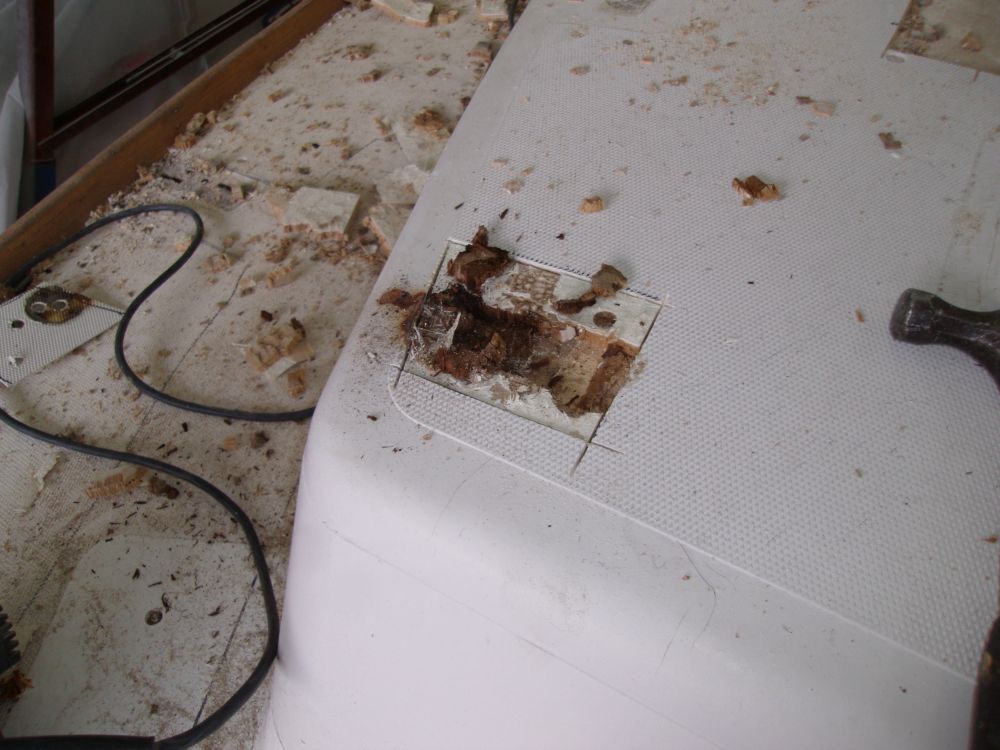
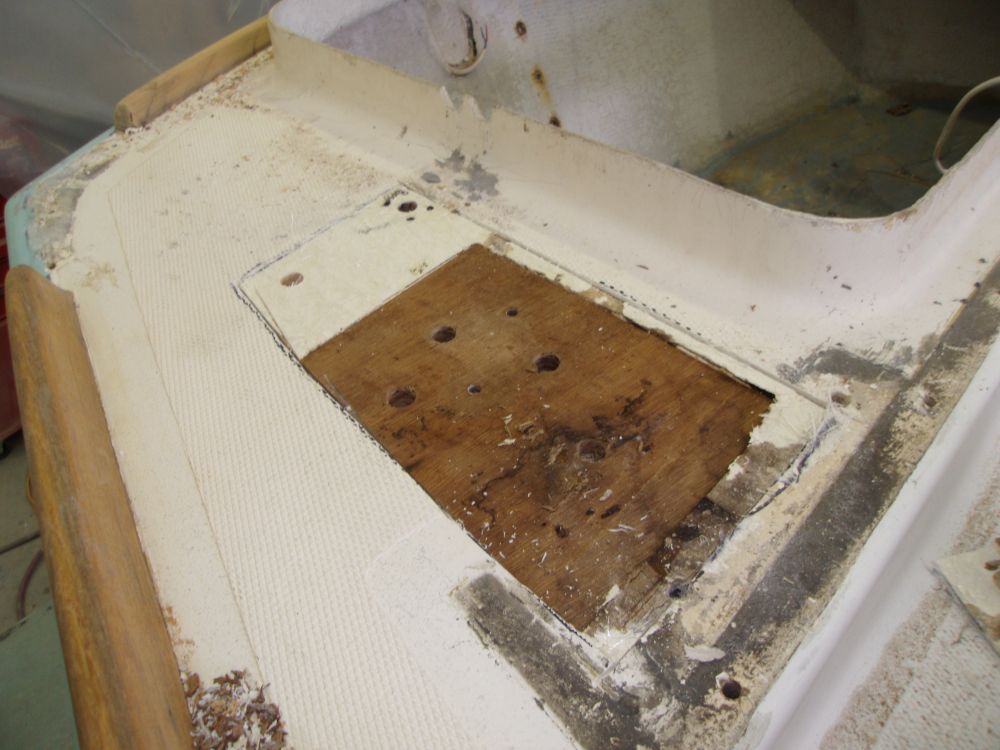
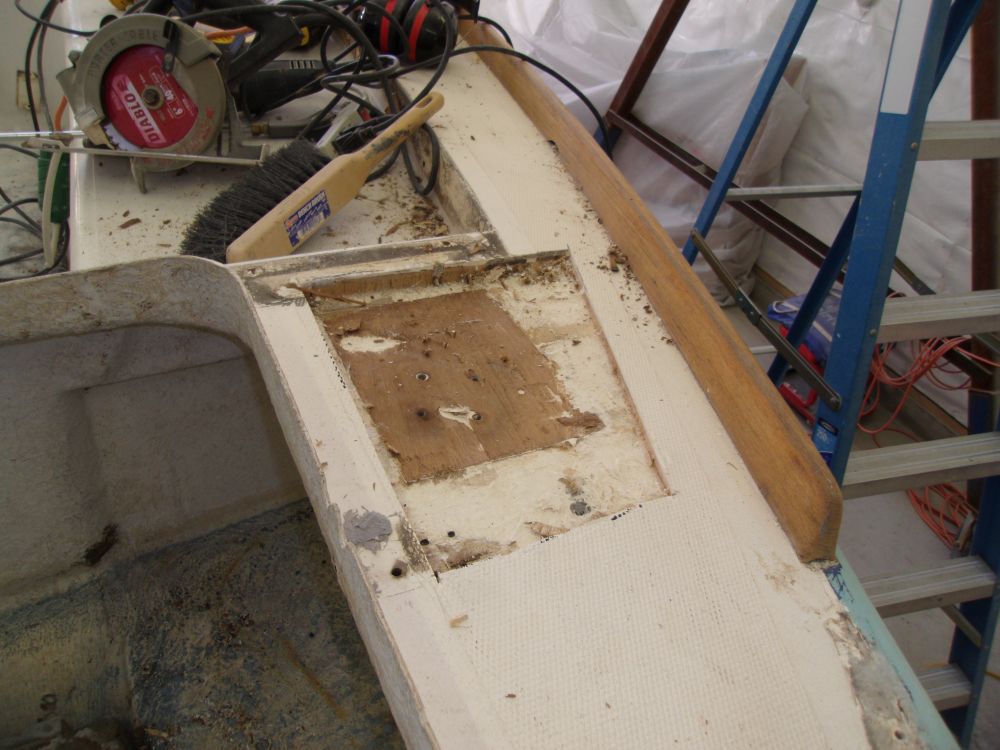
With a bit of time left in the day, I cut open a portion of the starboard poop deck and removed the core within. A large section of this area contained plywood, in way of the mooring cleat, but the plywood itself was delaminated.
Total Time Billed on This Job Today: 7 hours
