
110 Cookson Lane | Whitefield, ME 04353 | 207-232-7600 | tim@lackeysailing.com
Ms Lynne G | Tuesday, September 16, 2014
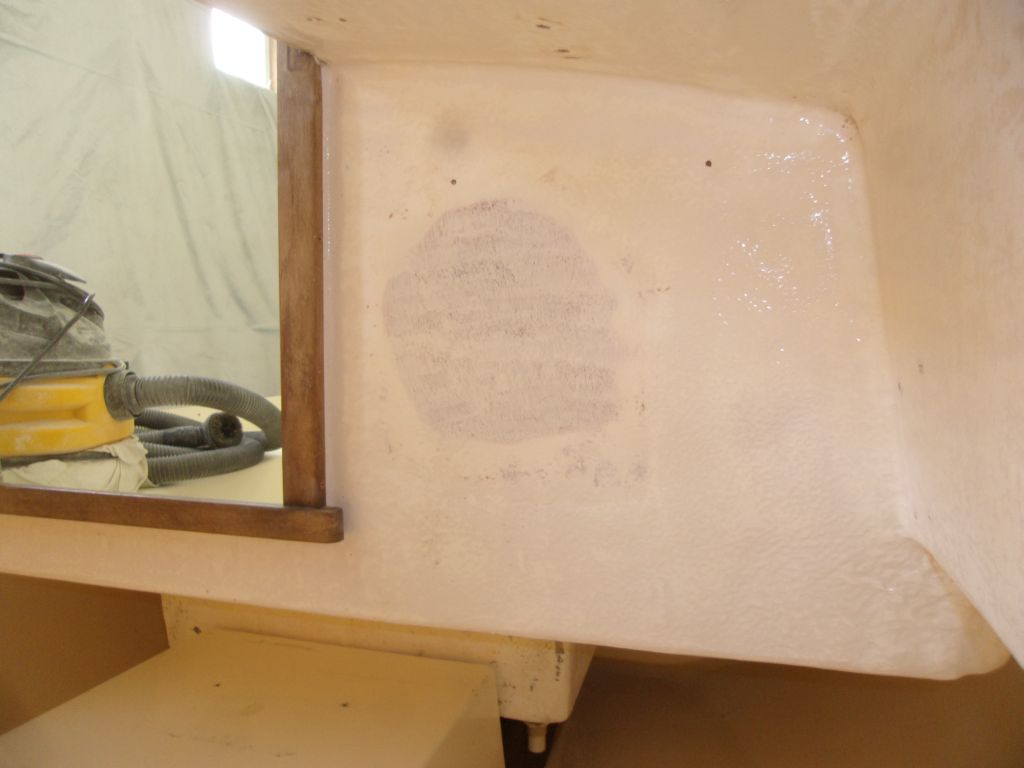
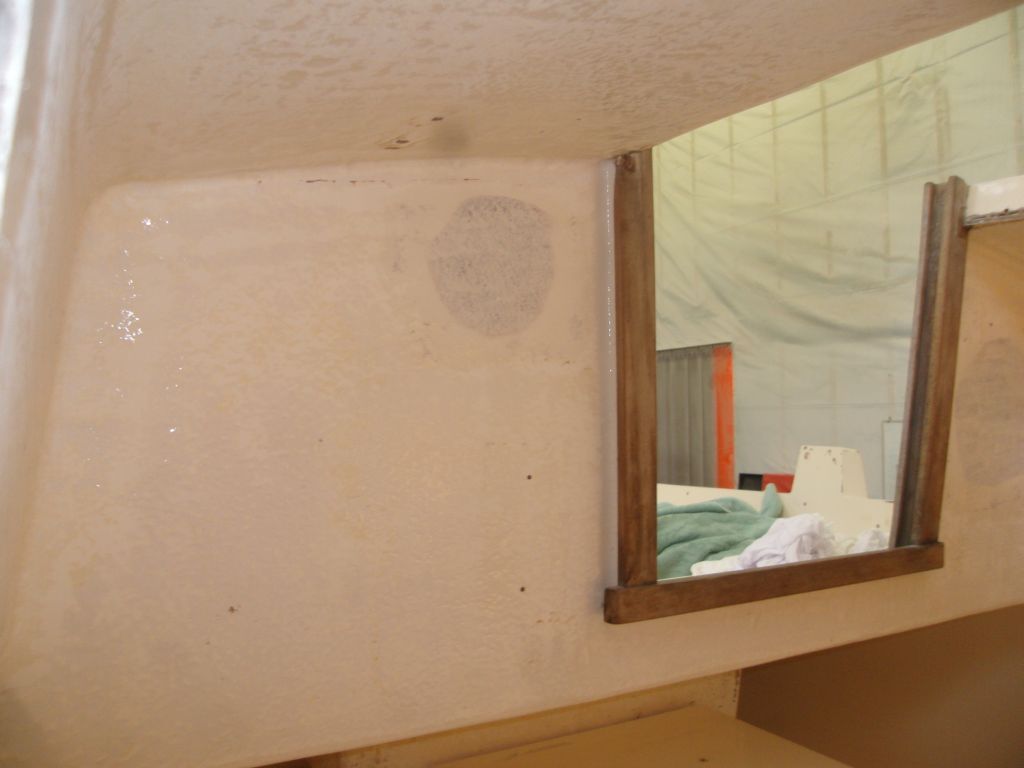
I completed a short round of sanding on deck, taking care of the cockpit area and those areas of the hull-deck joint and port openings where I'd applied more of the fine filler.
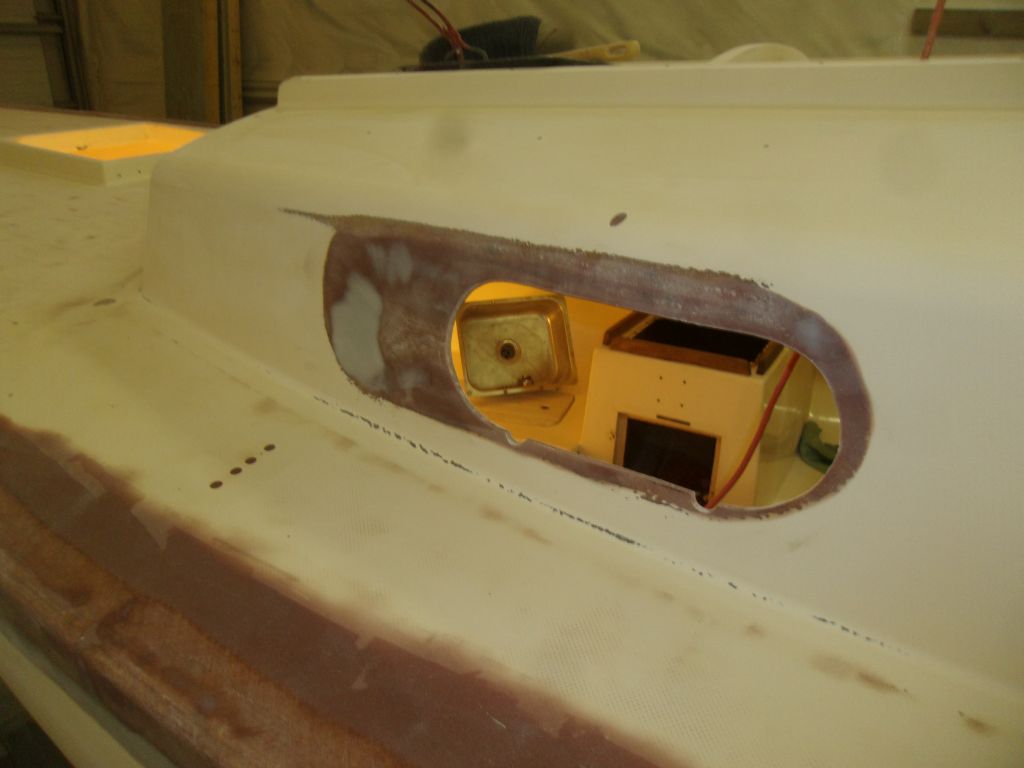
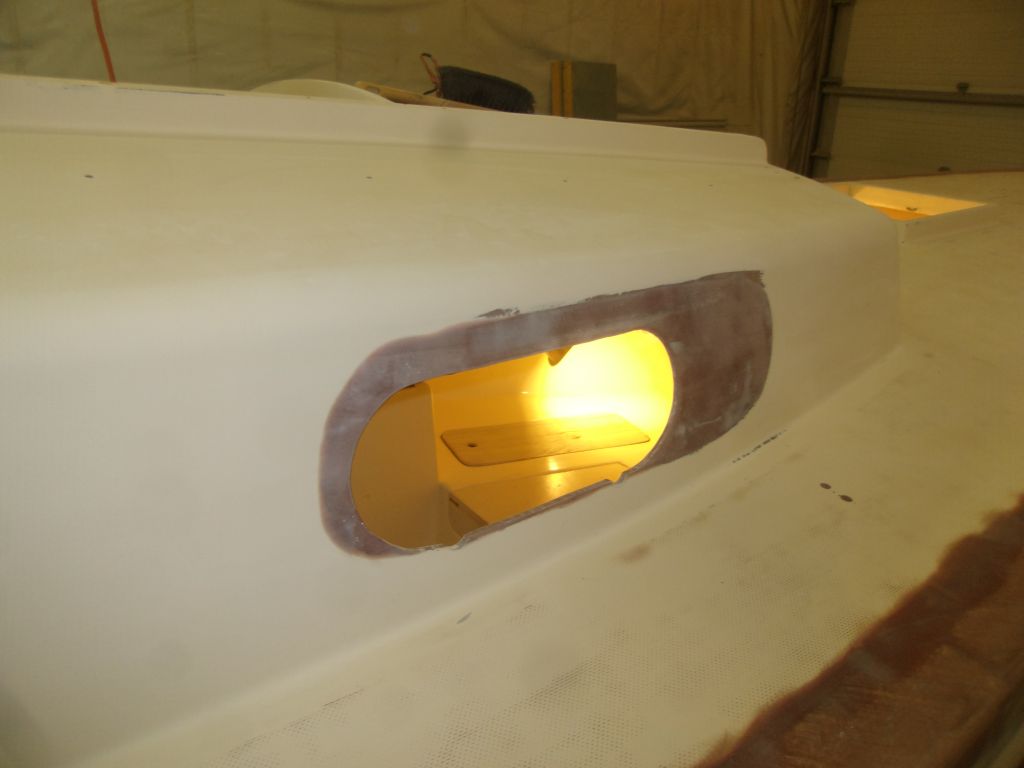
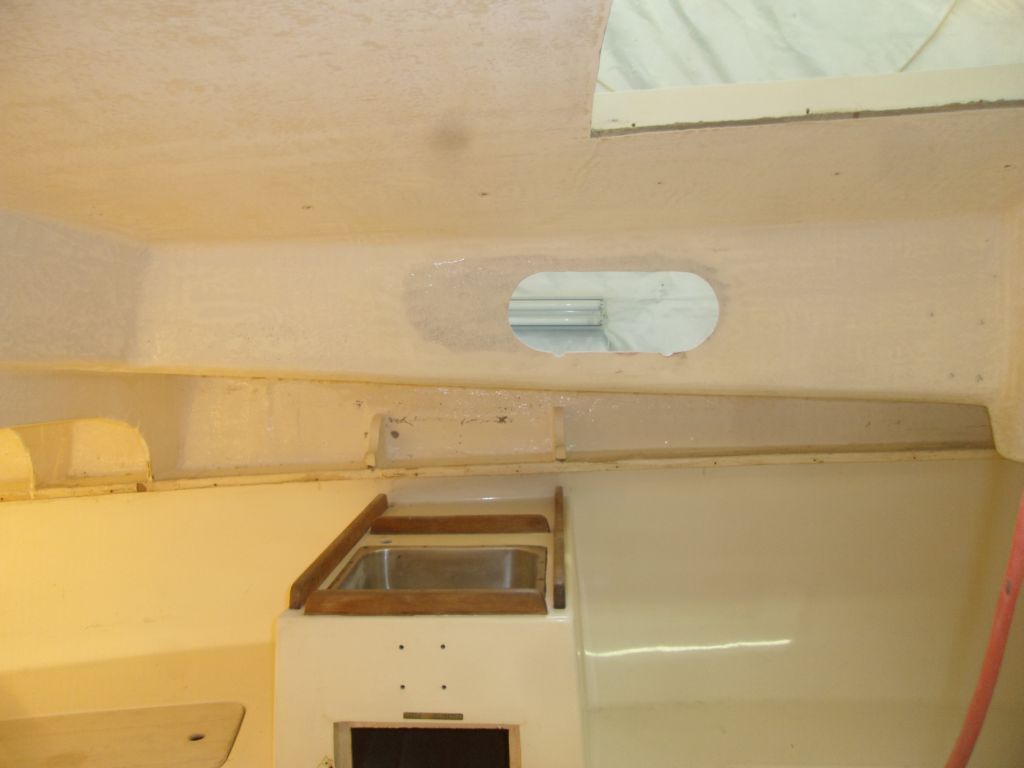
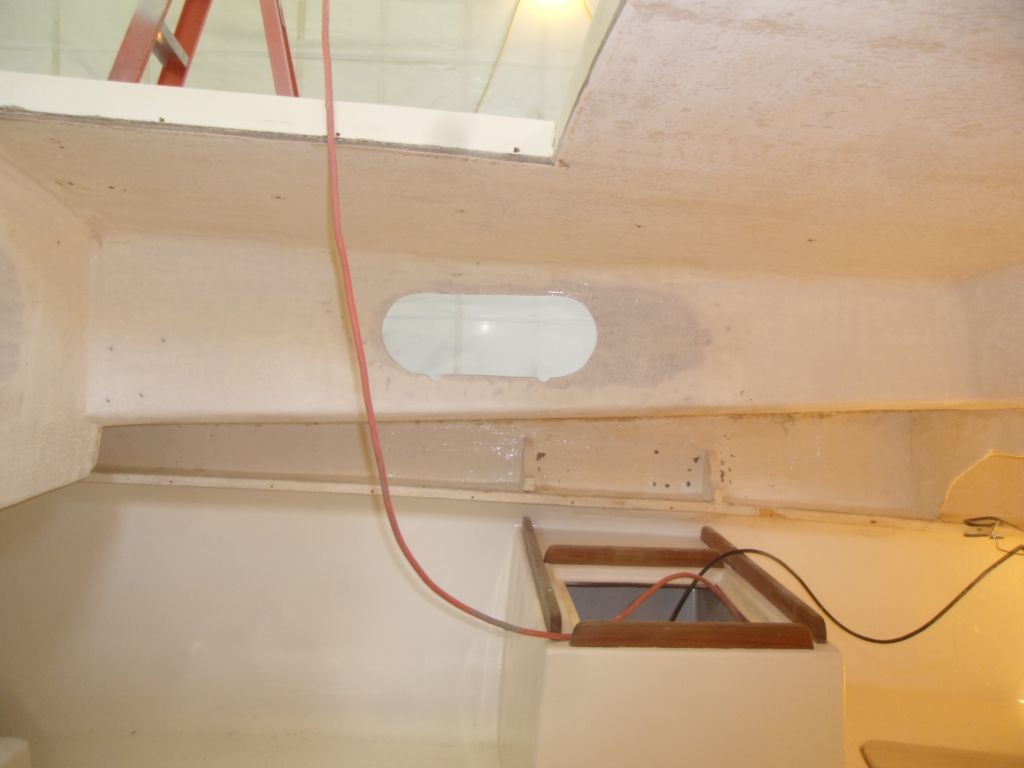
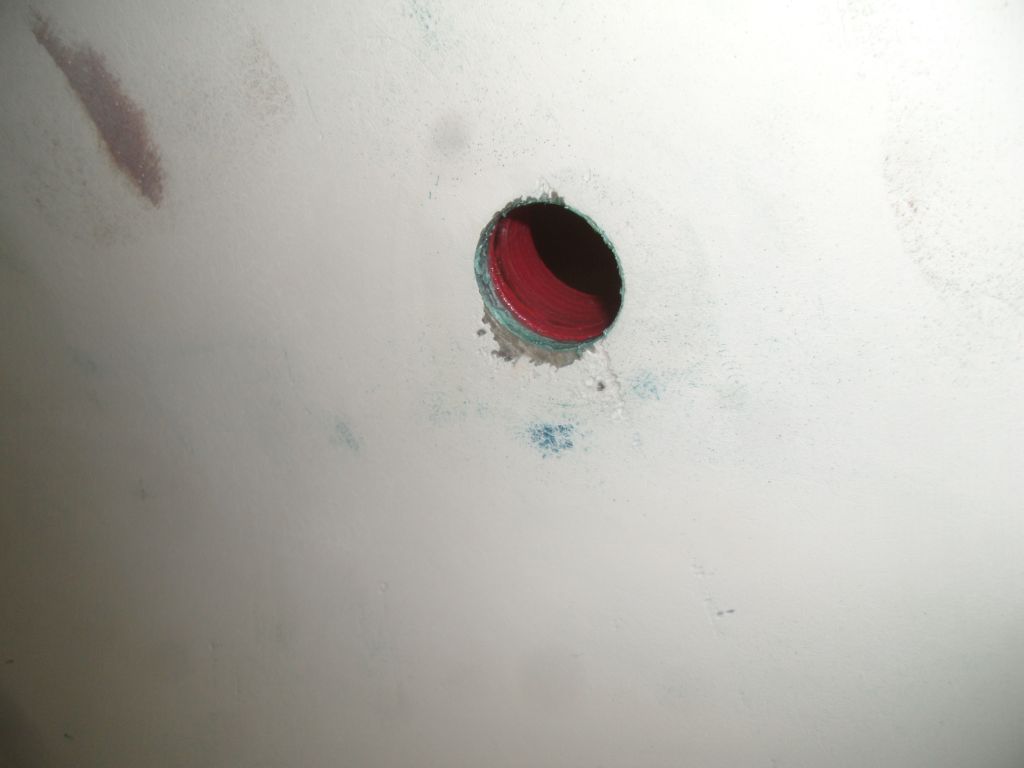
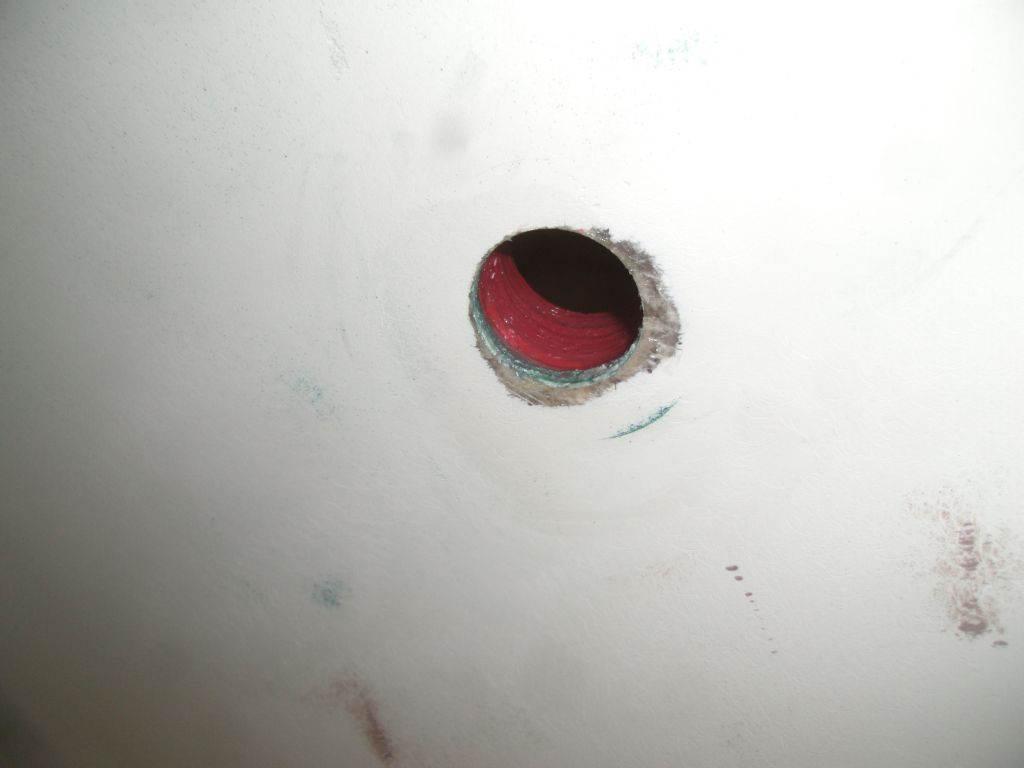
My upholstery contractor was back to template for the berth cushions in the cabin. Afterwards, I spent some time inside cleaning up (vacuum and solvent wash) and masking off various surfaces to prepare for overhead primer, coming up soon. First, though, I mixed up some 2-part epoxy primer and coated the exposed epoxy and fiberglass from the recent patchwork (ports and instrument holes). Because fresh epoxy resin often prevents one-part paints from curing properly, I used the epoxy-based primer as a tie-coat on these areas. Also, I created a sort of "faux finish" with the heavier primer to approximate the texture of the original surfaces nearby.
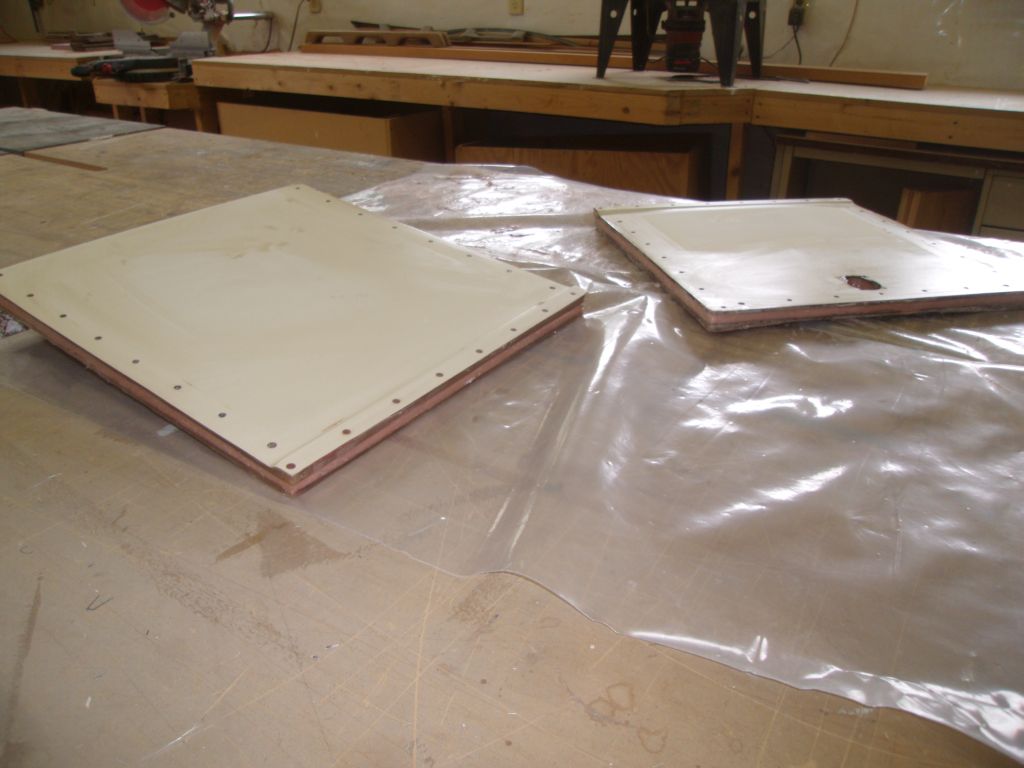
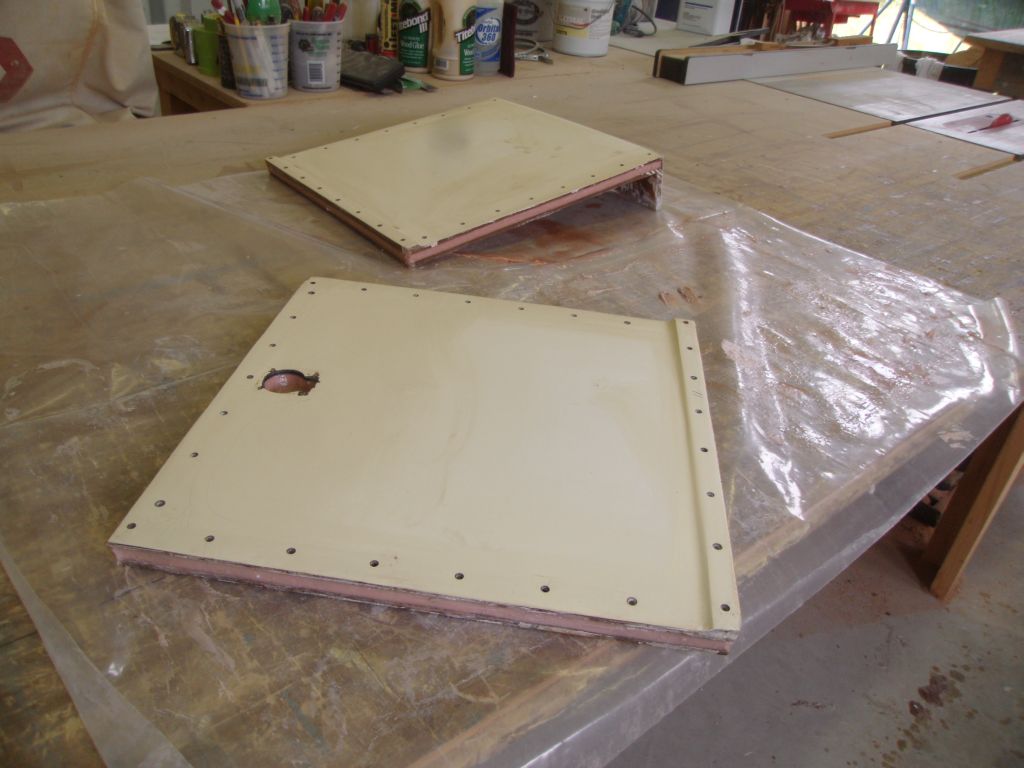
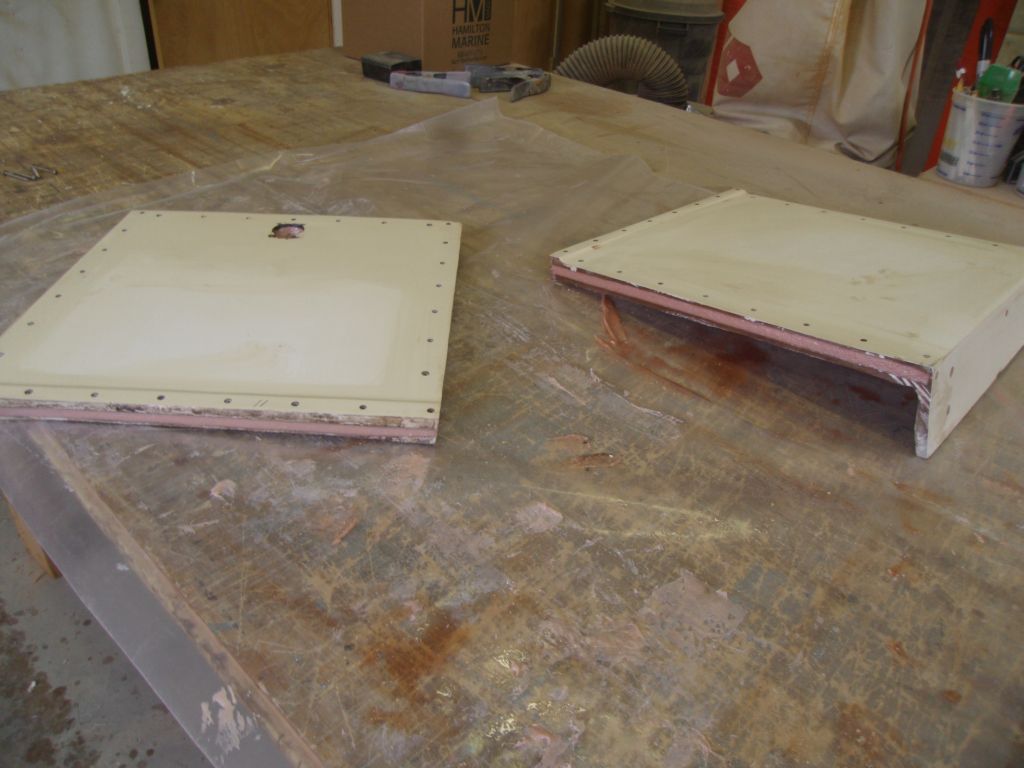
Using an epoxy mixture thickened with a high-density structural filler, I filled the edges of the lazarette and engine well hatches, packing the voids along the edges of each hatch.
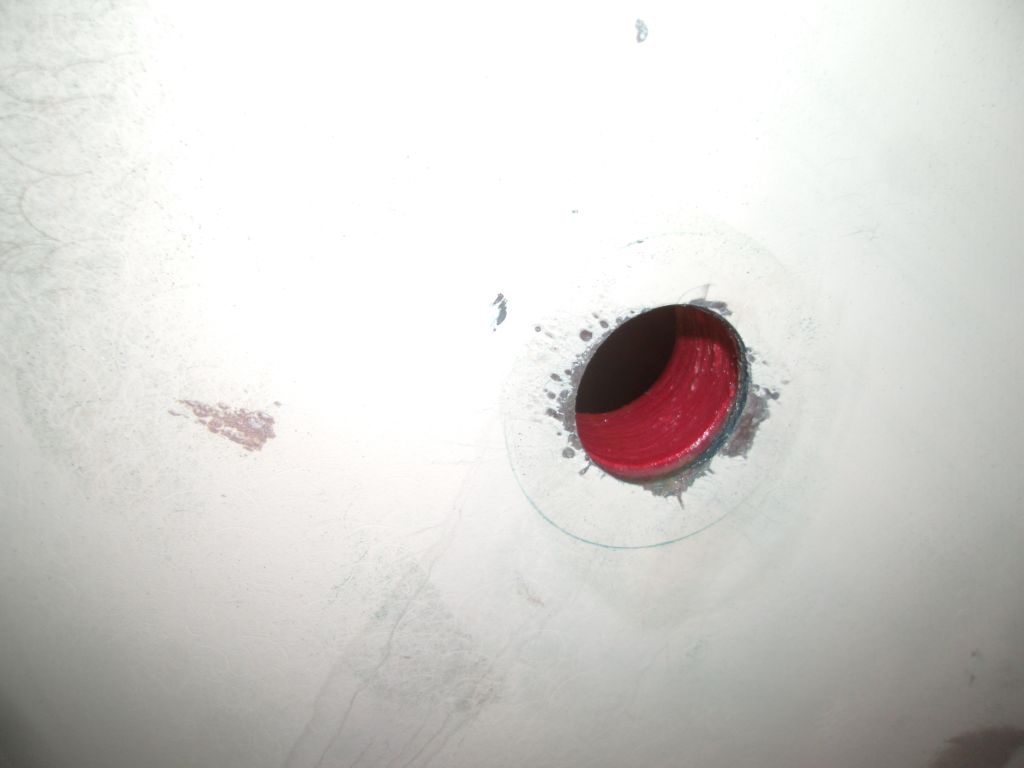
While I bided time before I could begin the real interior priming, I turned to the through hulls. As usual, I planned to use bronze through hulls and ball valves mated to Groco's flange adapter bases, all in 1" size to match the existing plumbing (sink and cockpit scuppers).
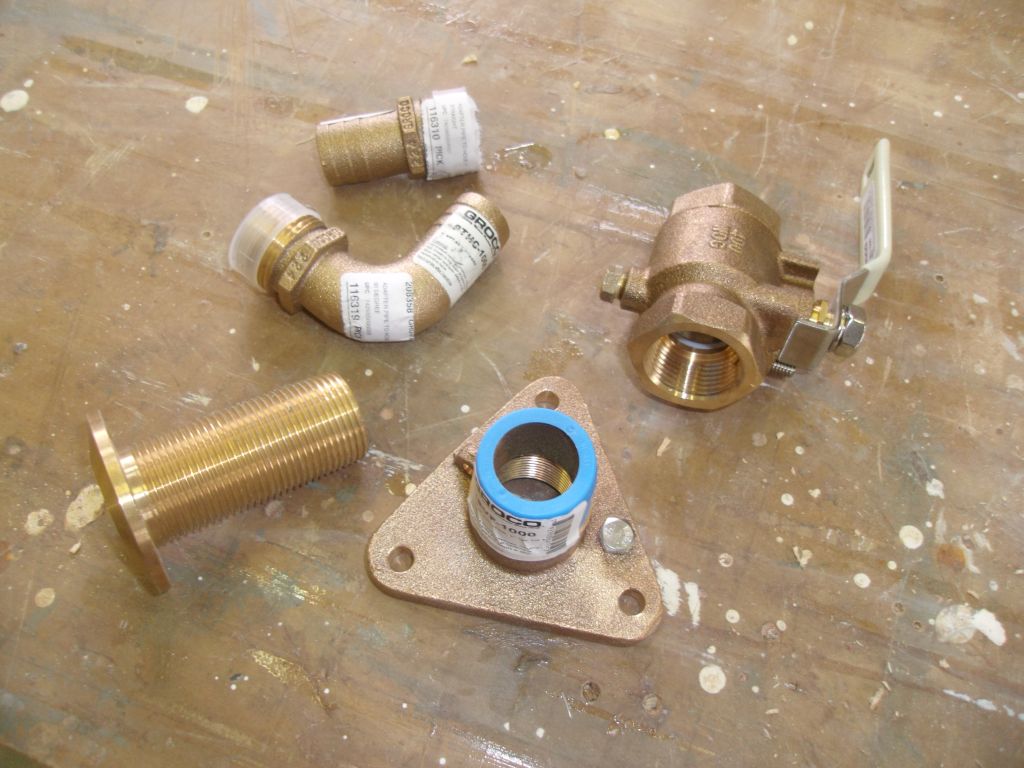
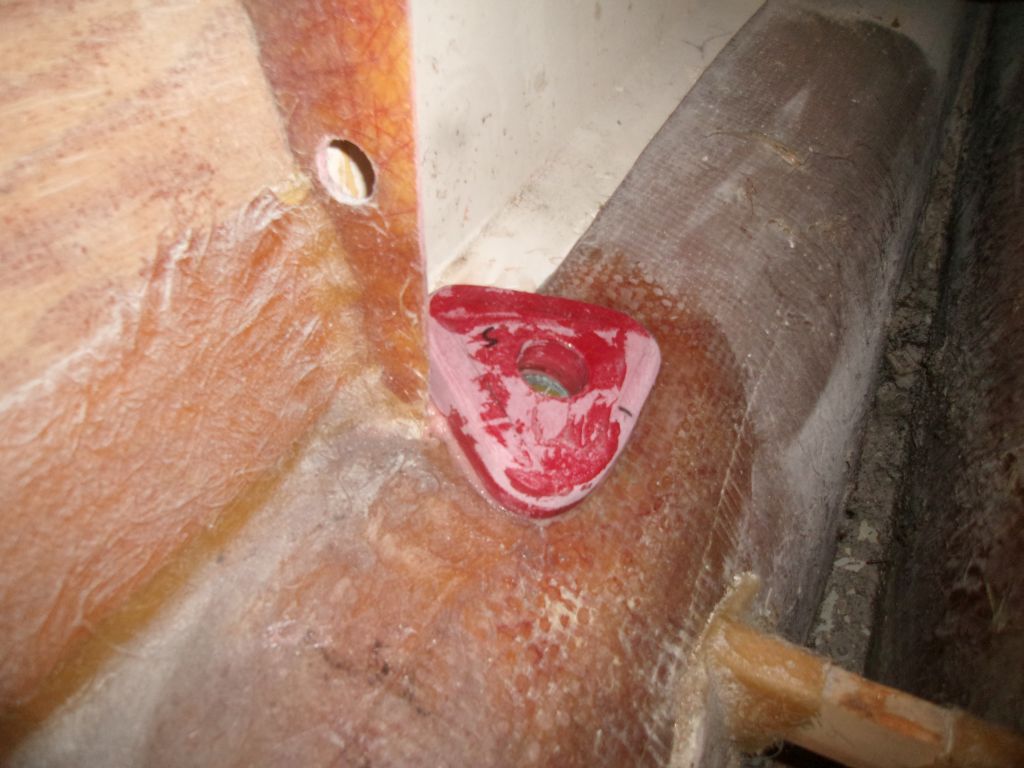
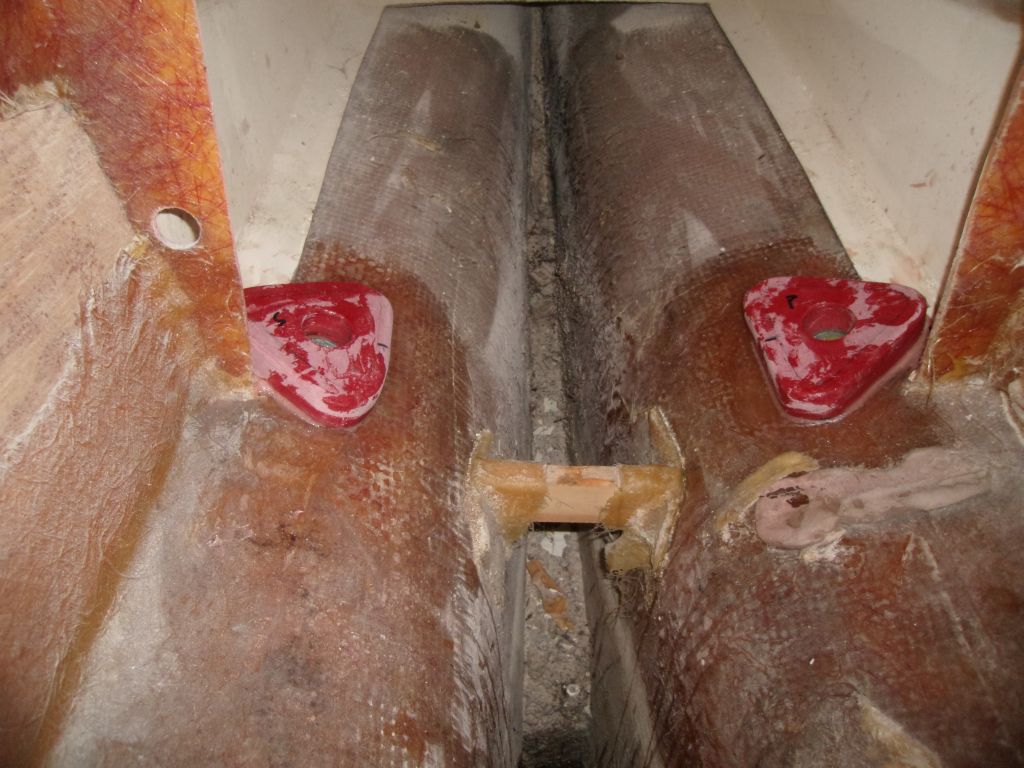
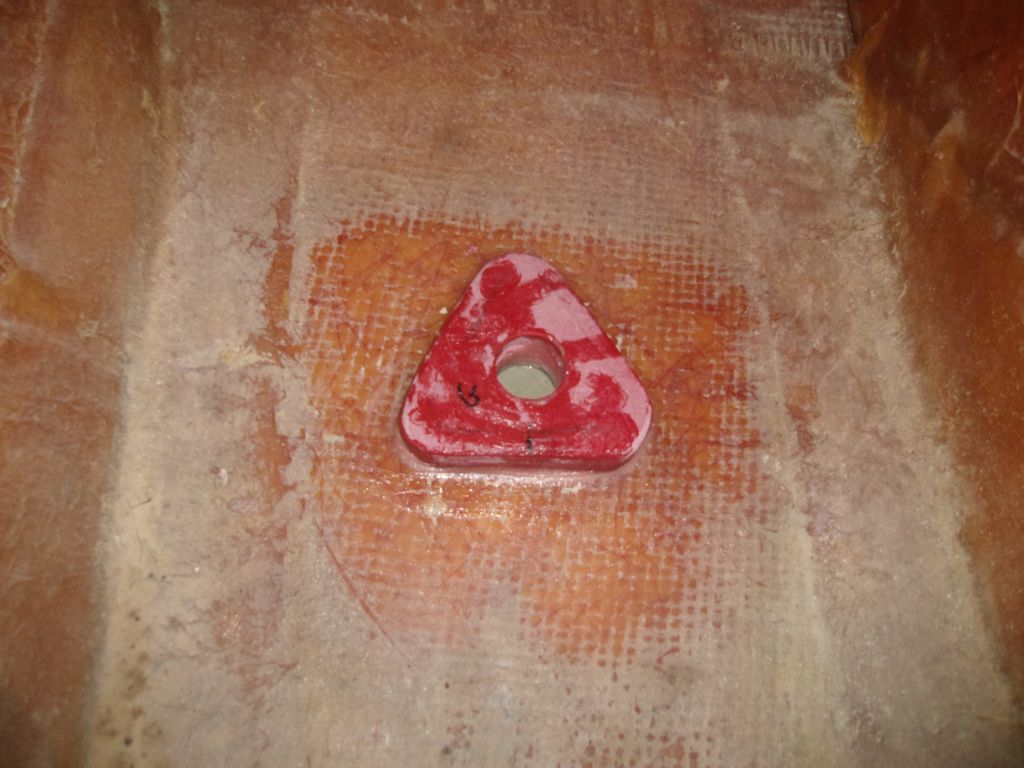
From 1" thick fiberglass sheet, I prepared three backing plates for the bases.
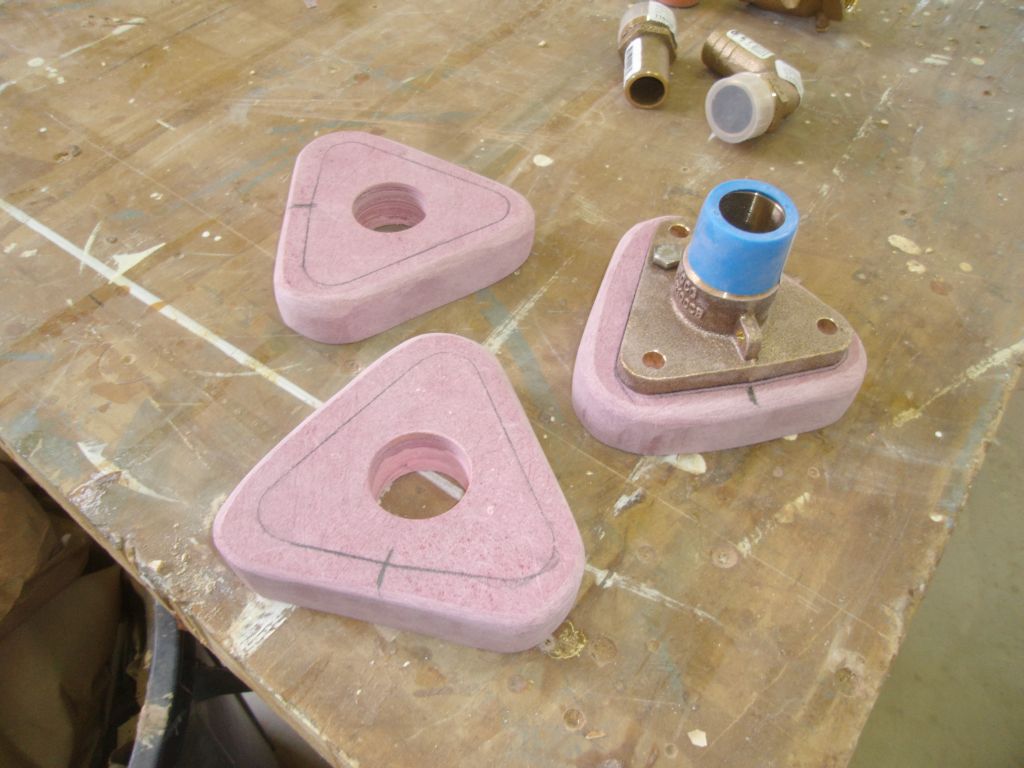
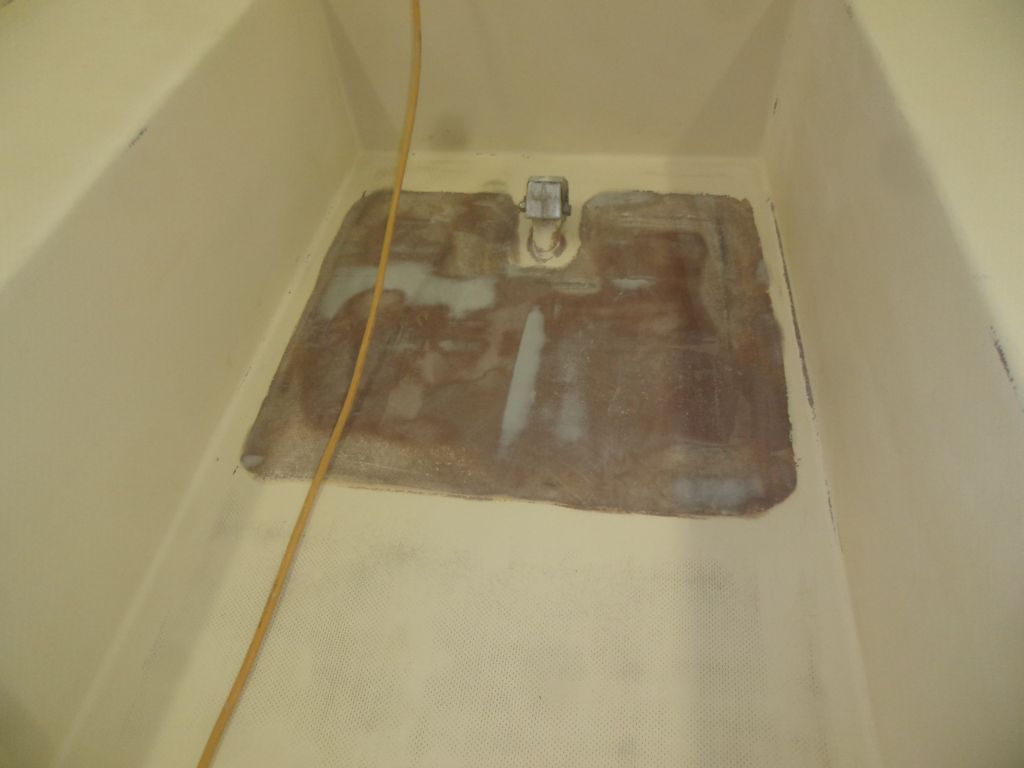
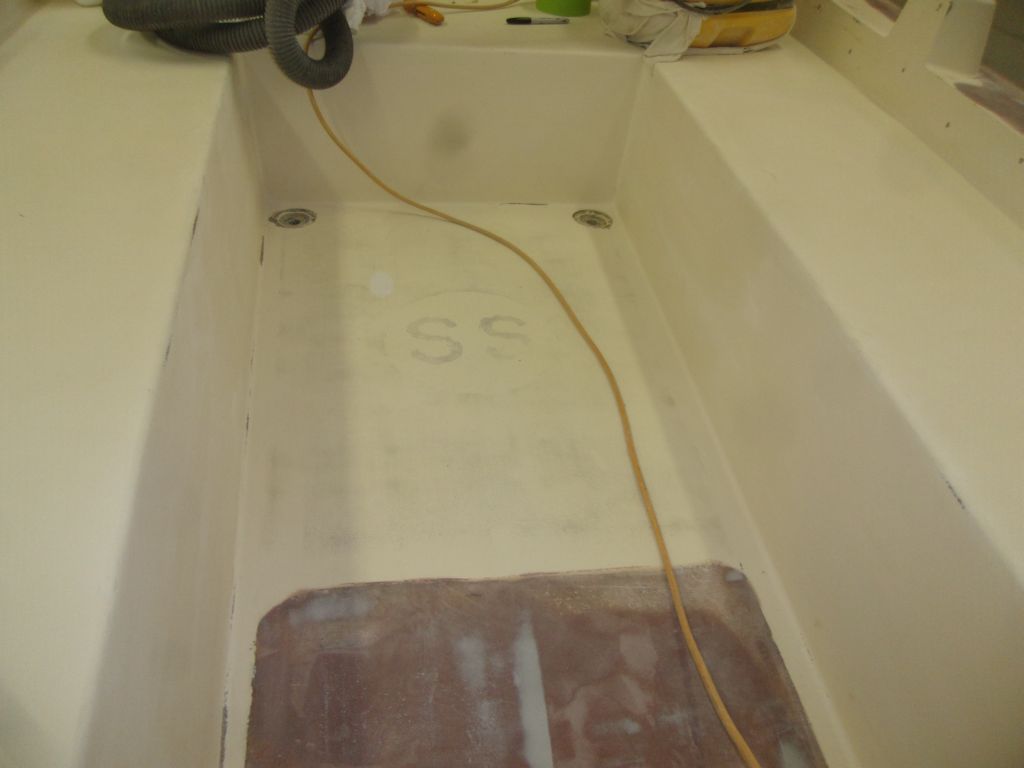
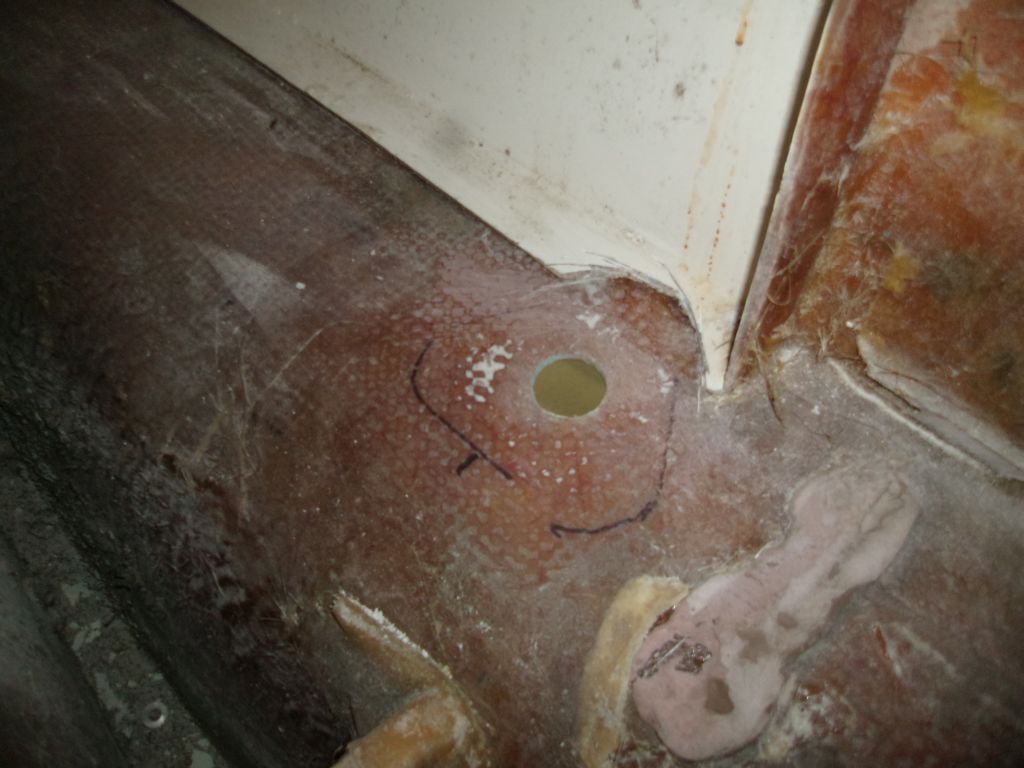
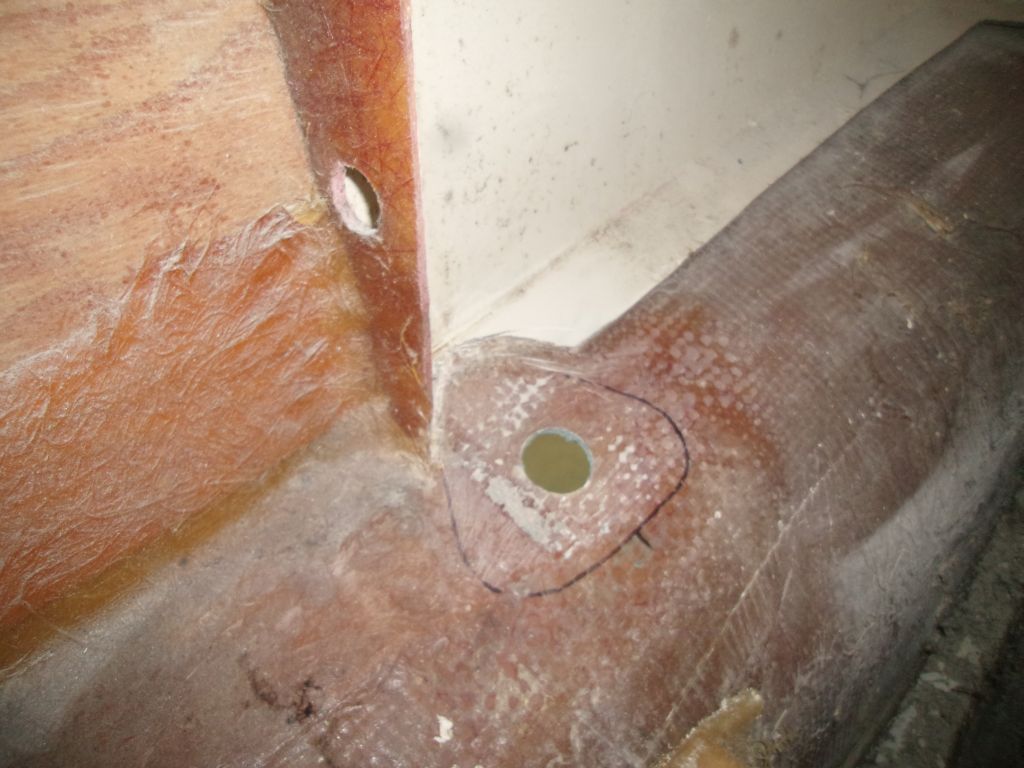
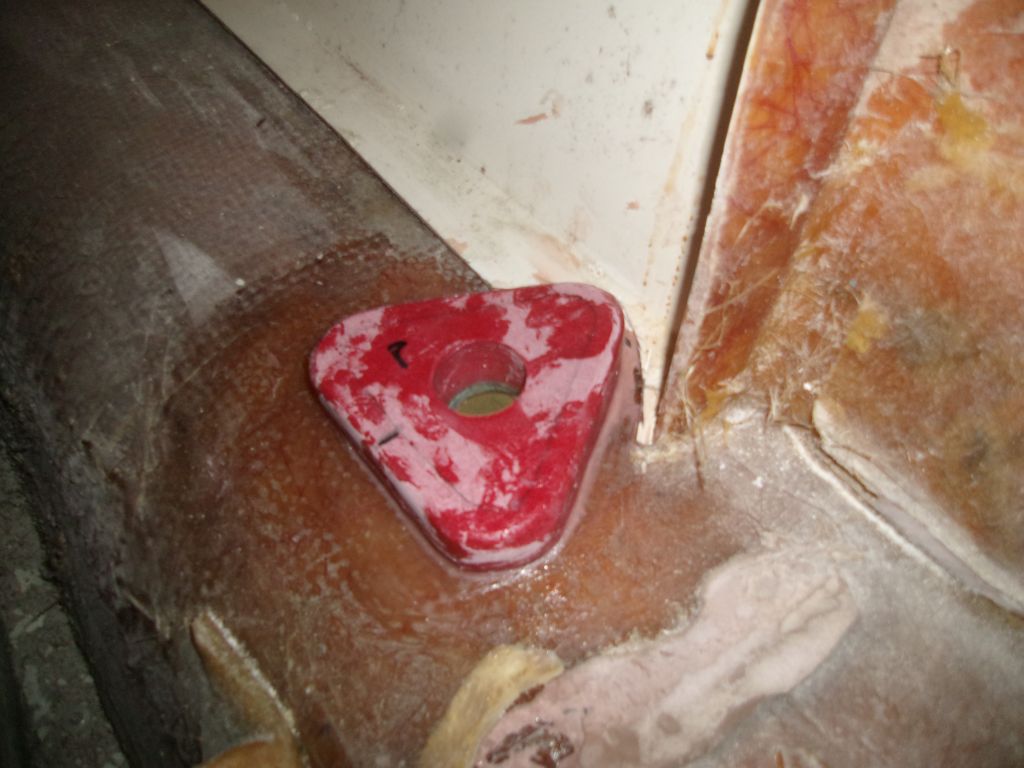
The interior liner projected a bit too far into the footprint of the cockpit scupper backing plates, so I marked the outlines of the plates and cut away the liner in these areas, allowing the backing plate to rest comfortably on the hull itself.
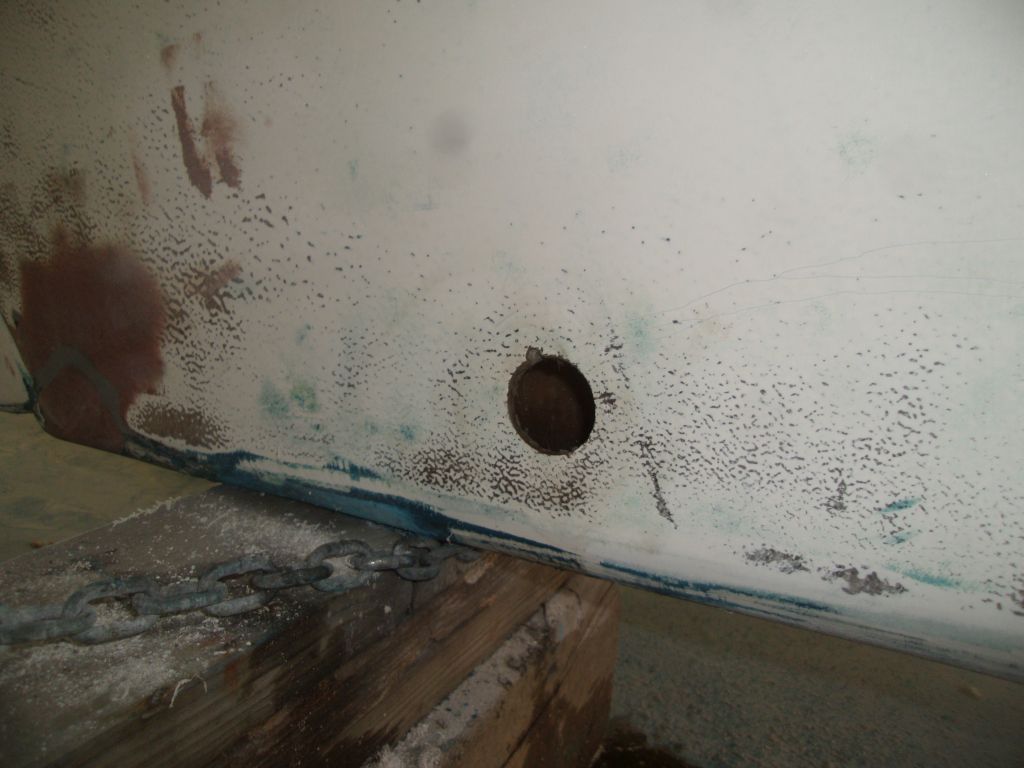
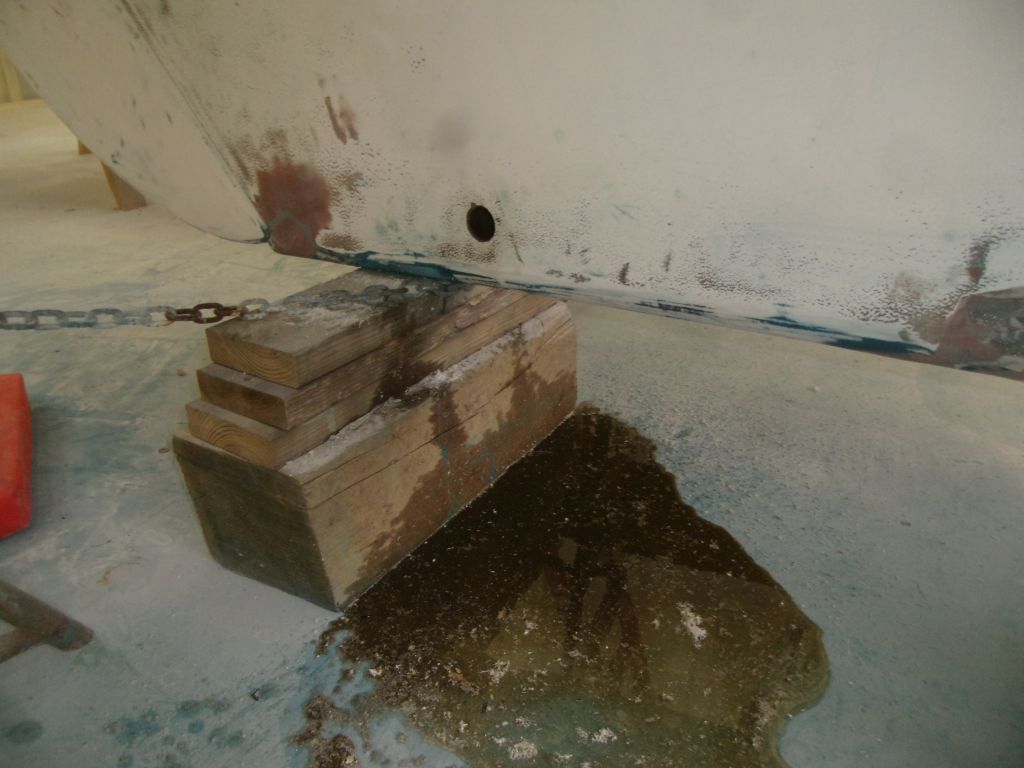
The small drain hole I'd drilled in the sump earlier in the project had taken care of most of the bilge water, but a couple inches remained below the level of the hole. Using the small hole as a guide for the top edge of a new, larger opening, I drilled a hole to accept a bronze garboard drain. This allowed most of the remaining water to drain from the bilge. I'd complete the drain installation later, along with the other through hulls.
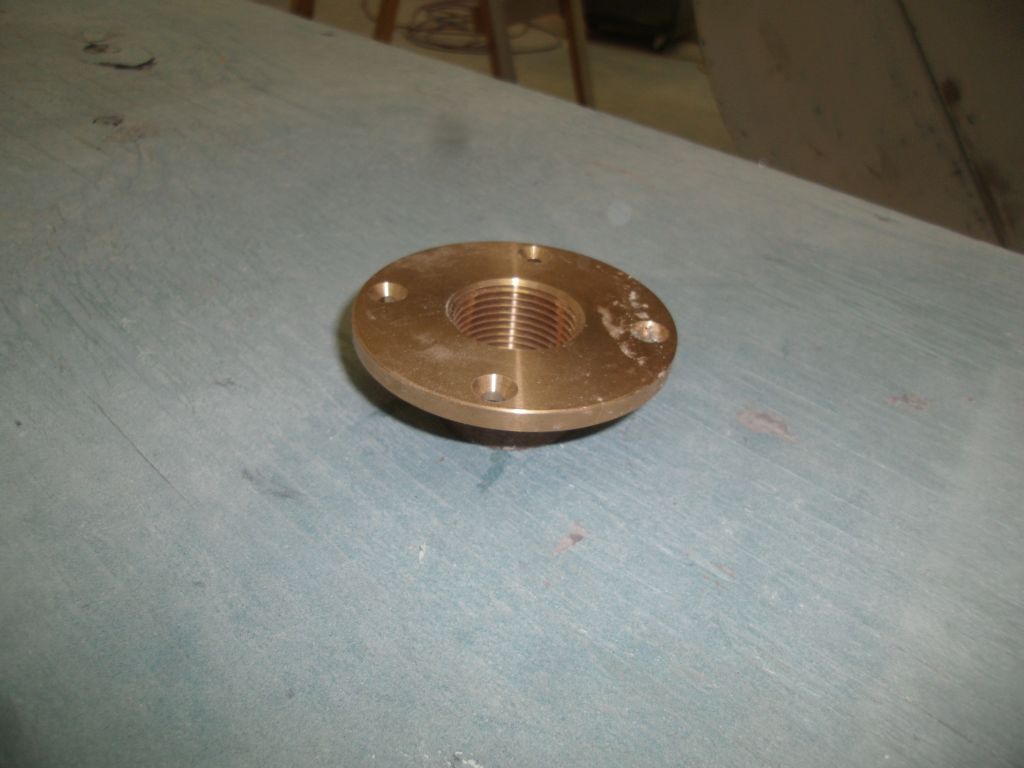
After final preparations and solvent-washing, I installed the three backing plates in thickened epoxy adhesive over the existing holes in the hull. After smoothing small fillets around the bases and removing excess epoxy from the holes and elsewhere, I left these to cure overnight.
Total Time Billed on This Job Today: 7
Hours
