
110 Cookson Lane | Whitefield, ME 04353 | 207-232-7600 | tim@lackeysailing.com
Ms Lynne G | Monday, October 27, 2014
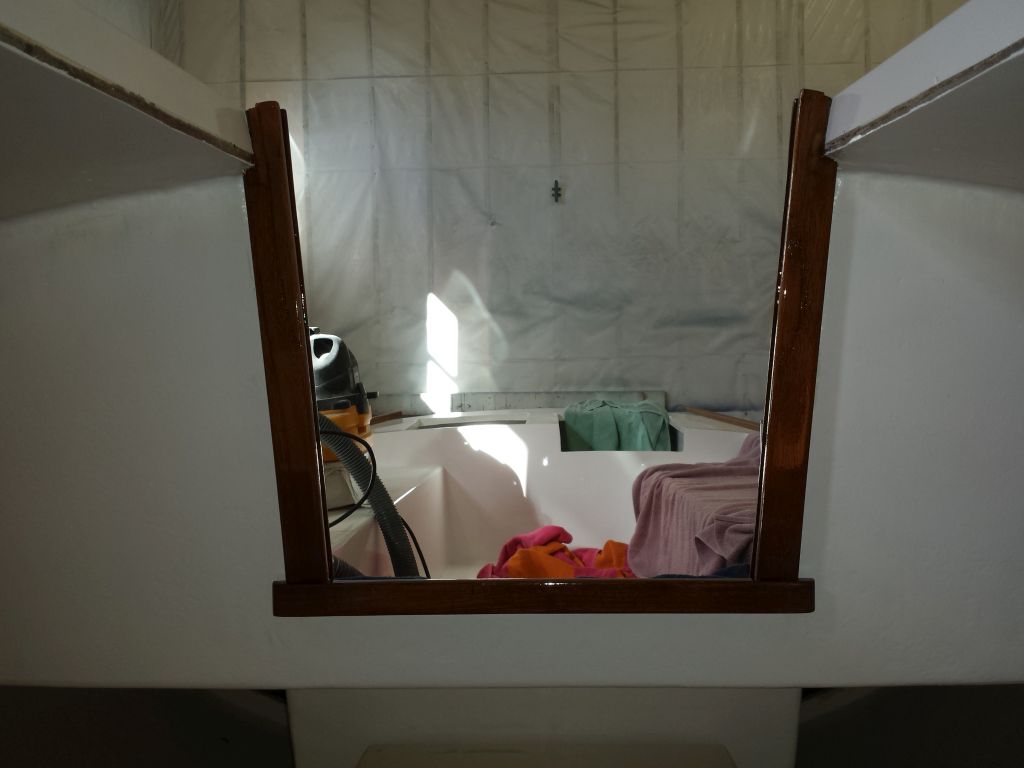
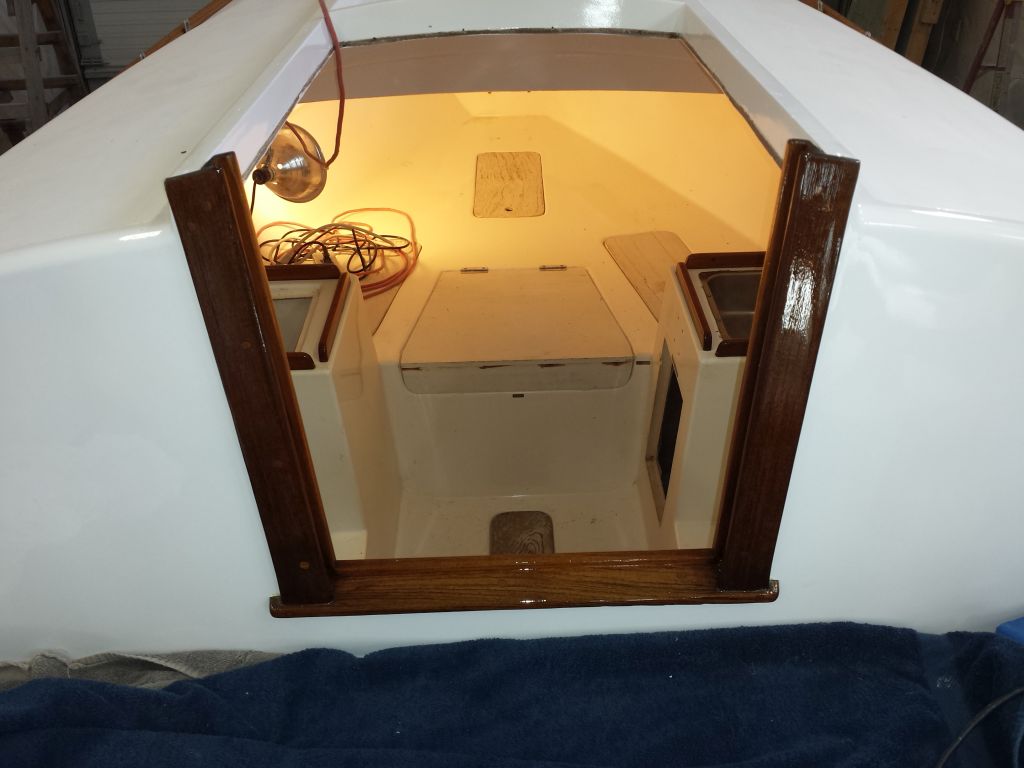
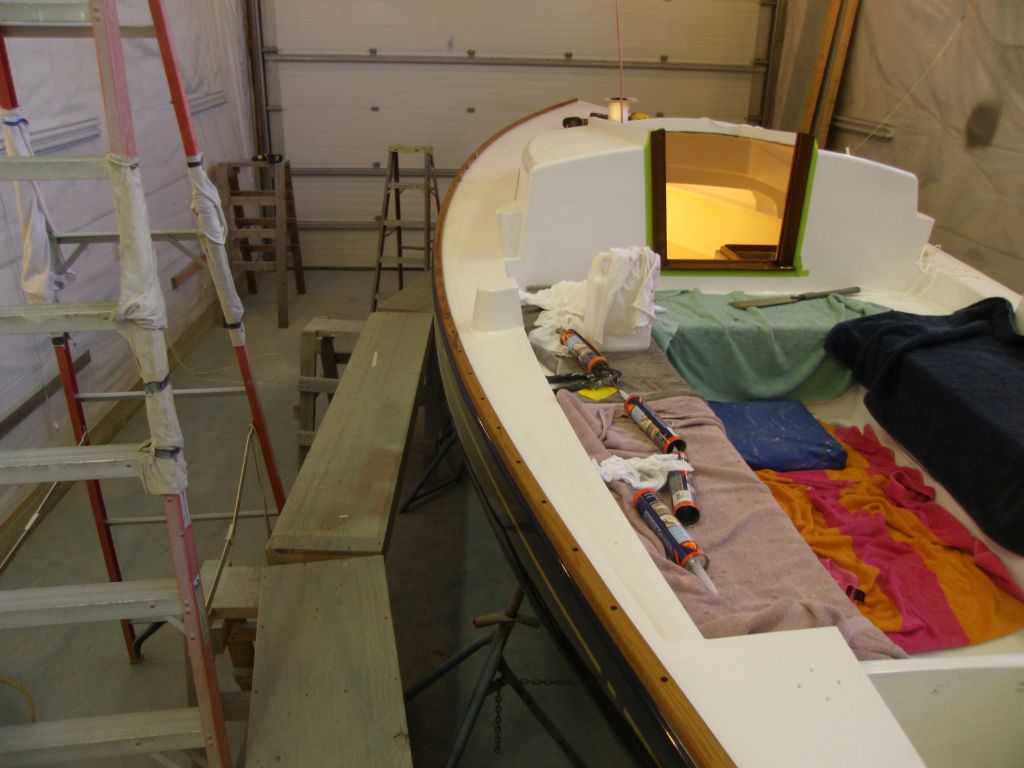
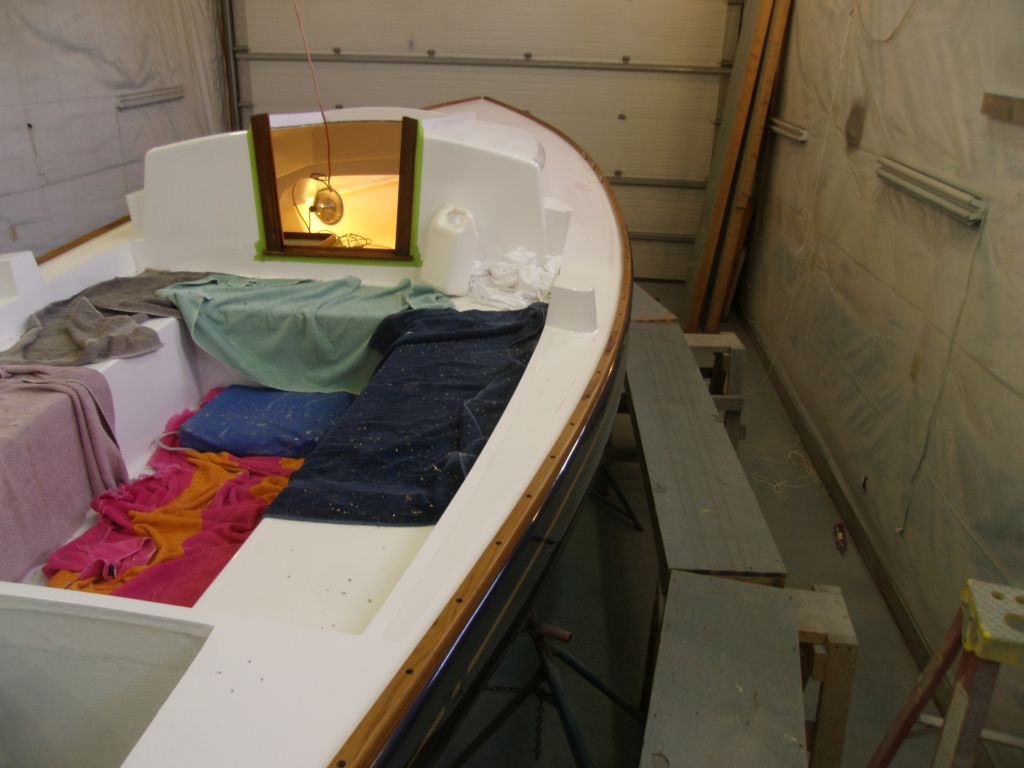
Over the weekend, I finished up the varnish work on the interior trim and companionway. (No flash in these photos, so everything looks very dark.)
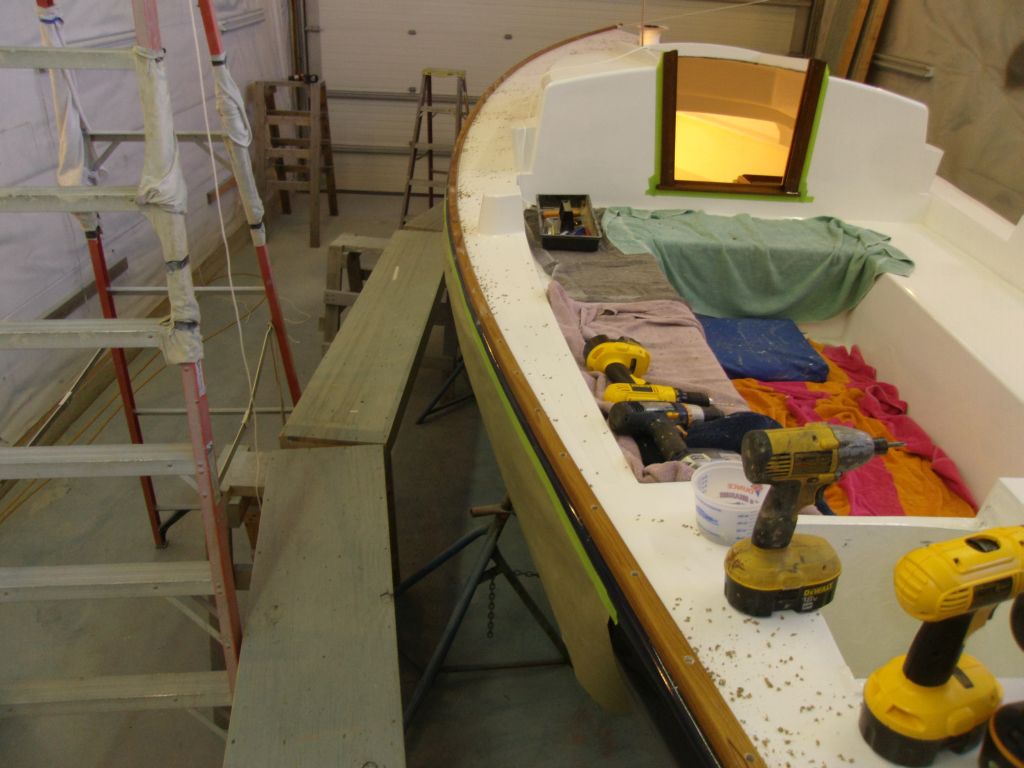
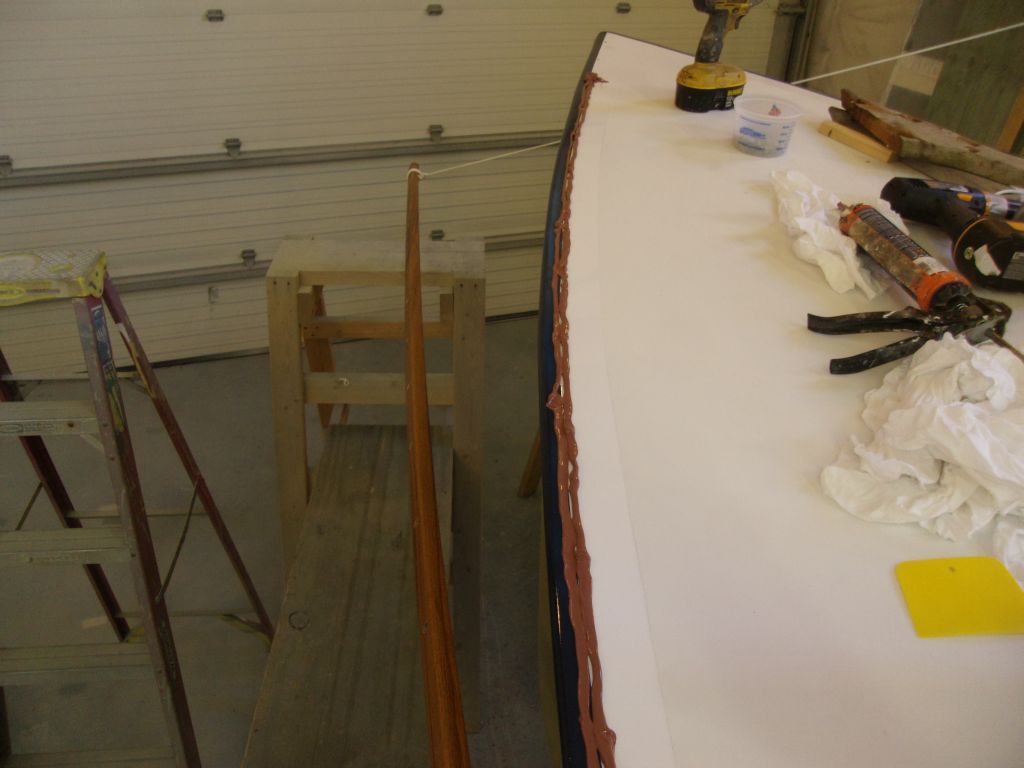
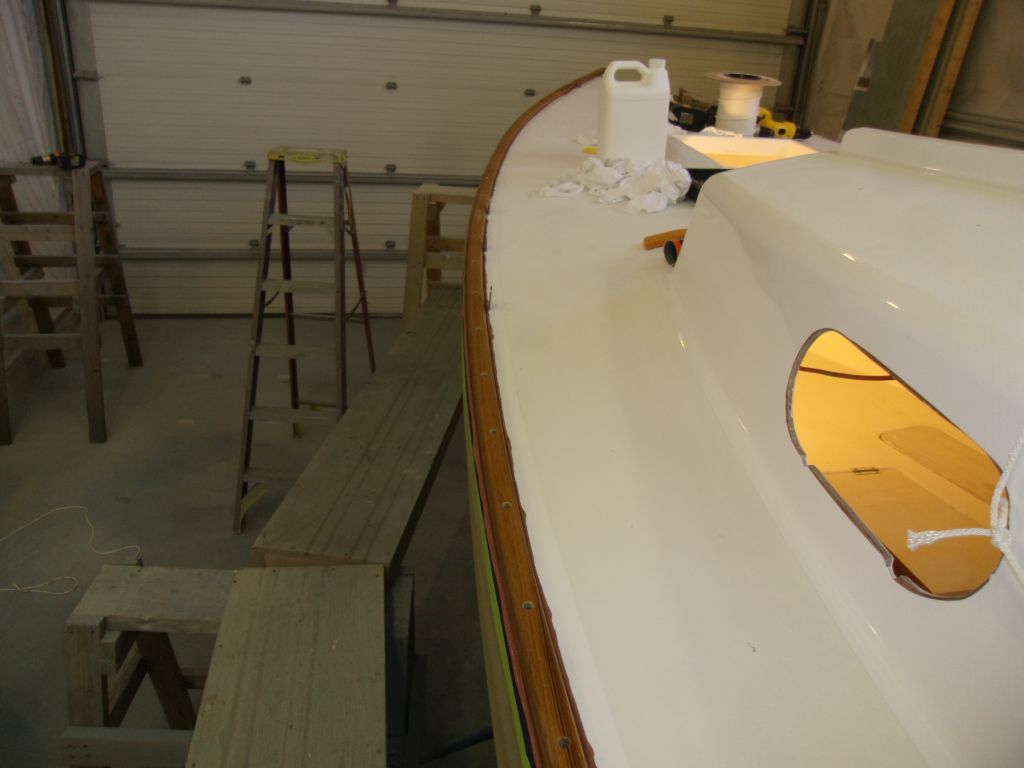
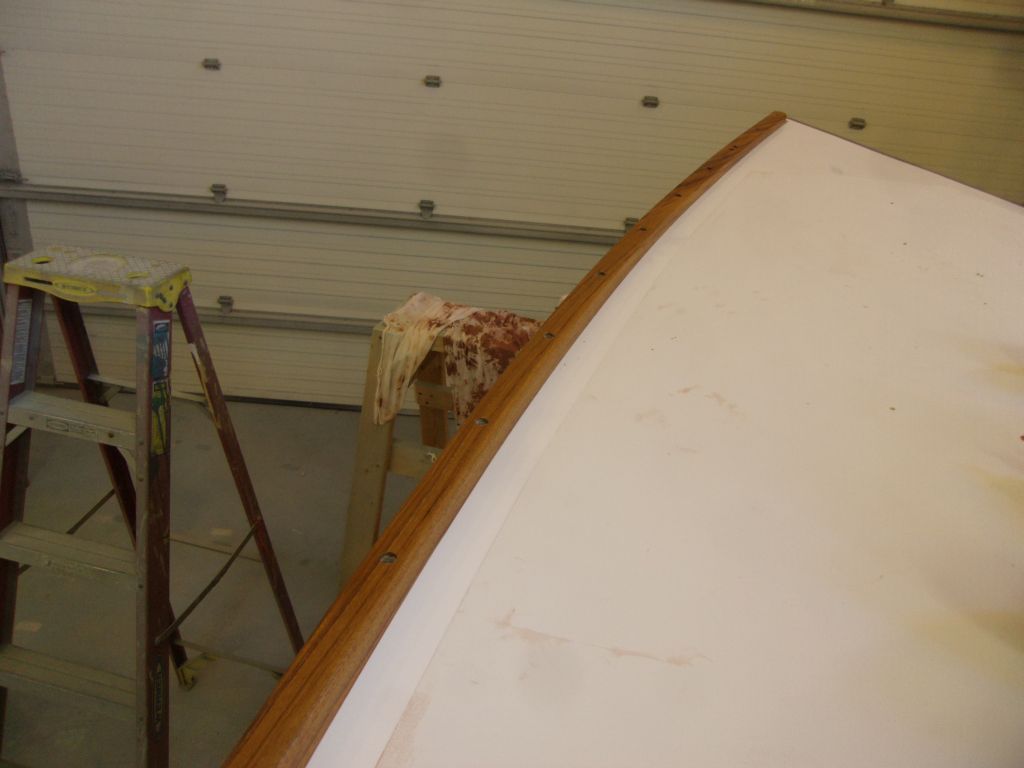
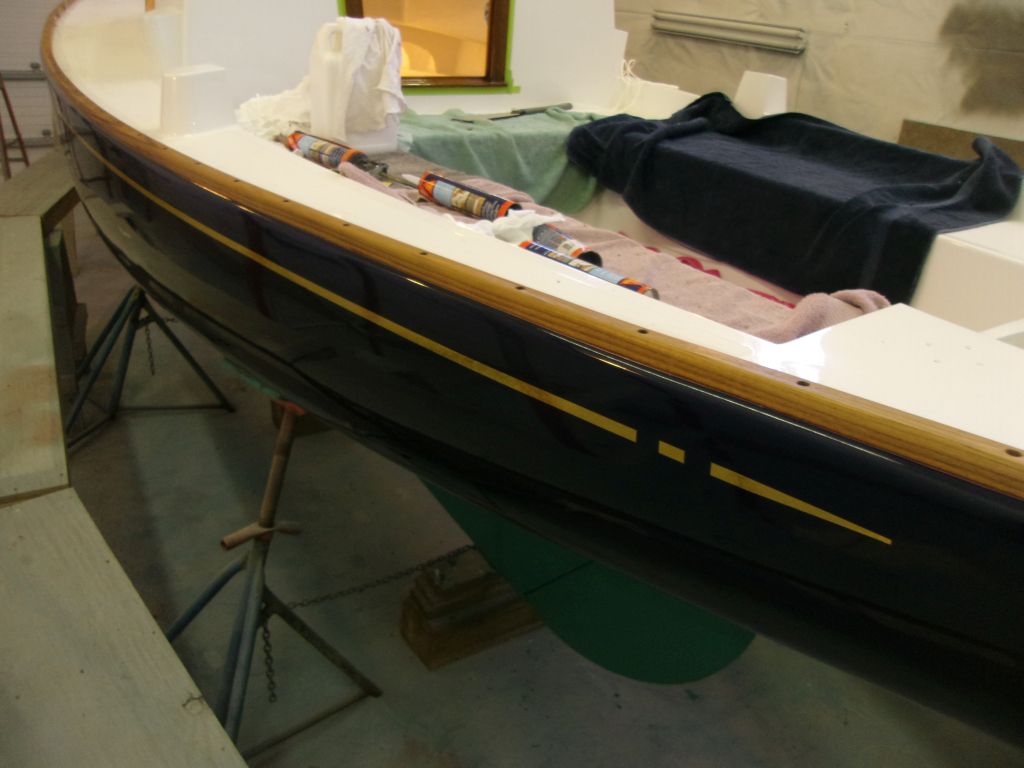
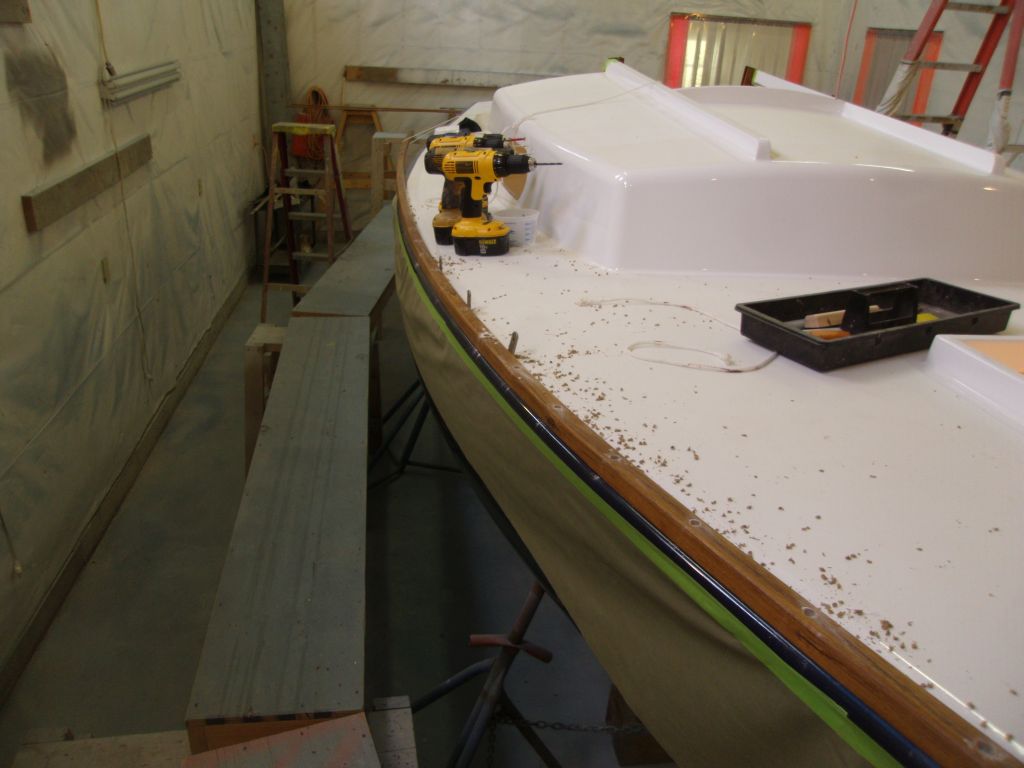
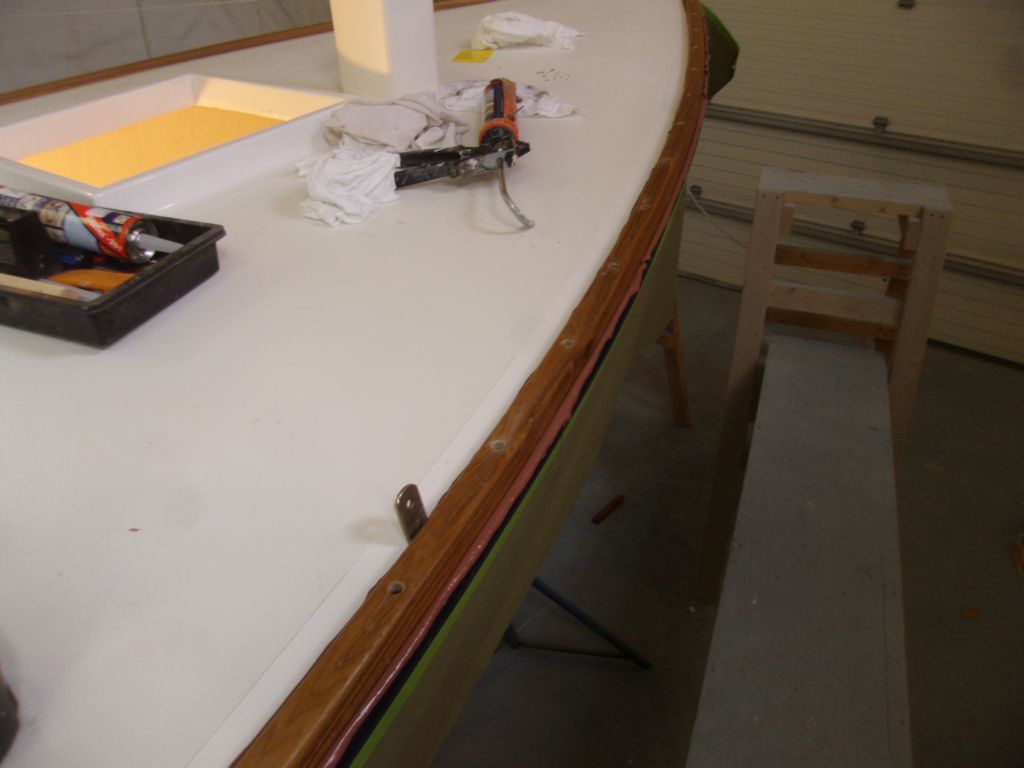
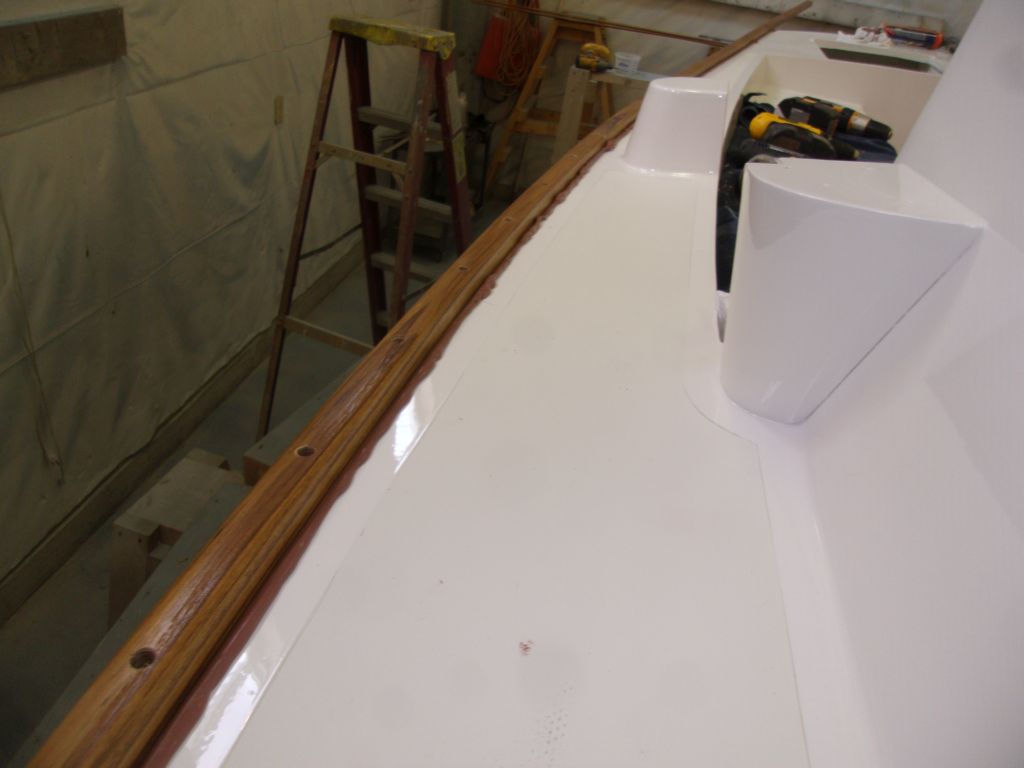
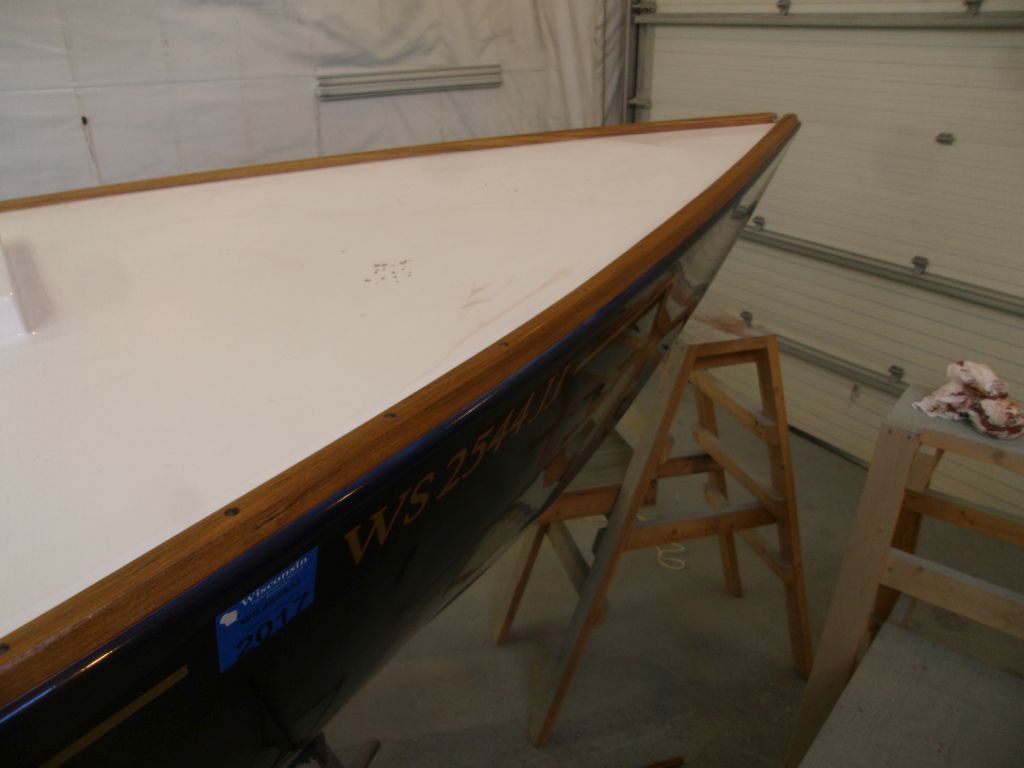
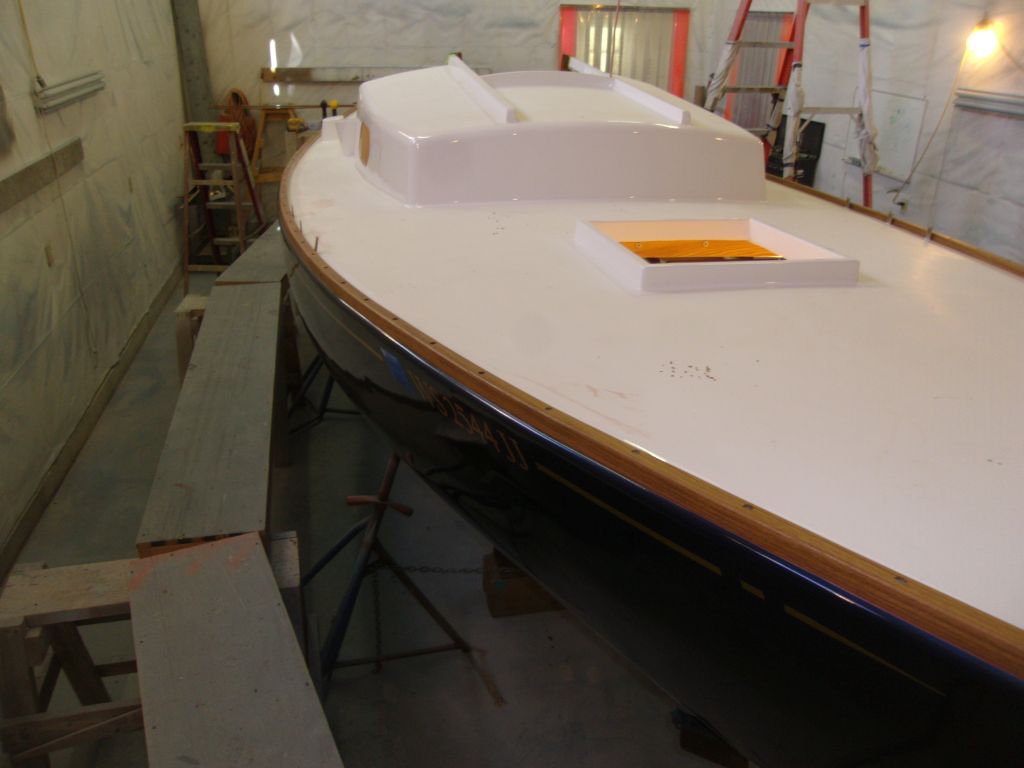
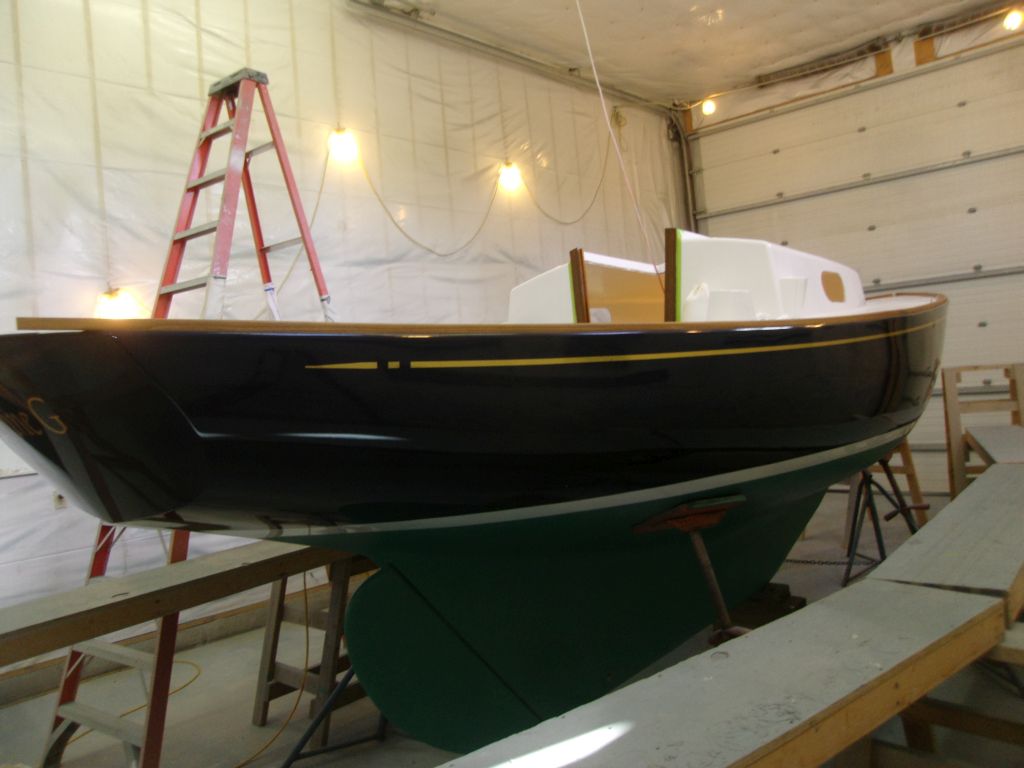
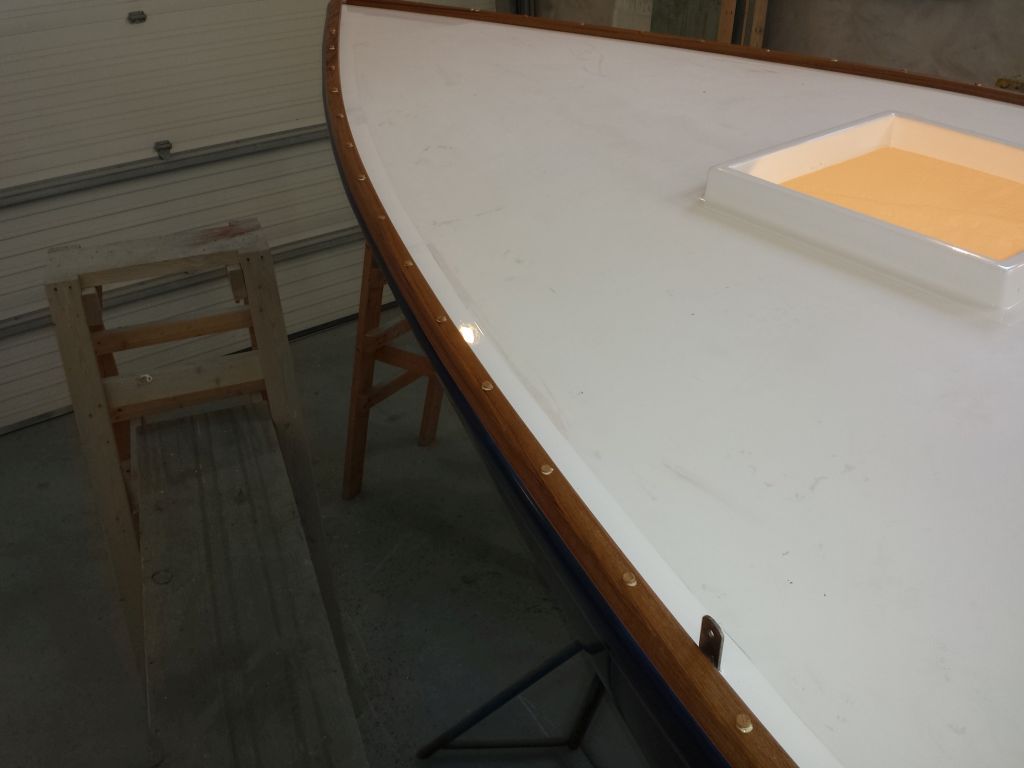
The day's main project was installing the new toerails. After getting set up with staging at deck height and all tools required for the job, plus preparing various lines to help support and bend the unwieldy rails during installation, I got started on the port side. Using the old stem piece as a guide, I made reference marks near the bow to suggest where the new stem piece might be, thus determining where the new toerail would eventually be cut. I also made some basic layout lines near the bow to show where the inboard edge of the rail should lie, just enough to get me started.
With lines strung here and there as necessary, I supported the toerail as needed along the length of the boat. Getting the bow started was (and always is) the hardest part, exacerbated in this case since this particular shape of rail seemed to want to turn on its edge and naturally bend that way, rather than the way I wanted it. So fighting the rail into its initial position and starting point was a challenge, but with lines and elbow grease I finally managed to start one screw, just aft of the line I'd made near the stem, and then, quickly, two more screws forward of this (these two screws, and this part of the toerail, would eventually be removed when I built and installed the stem piece).
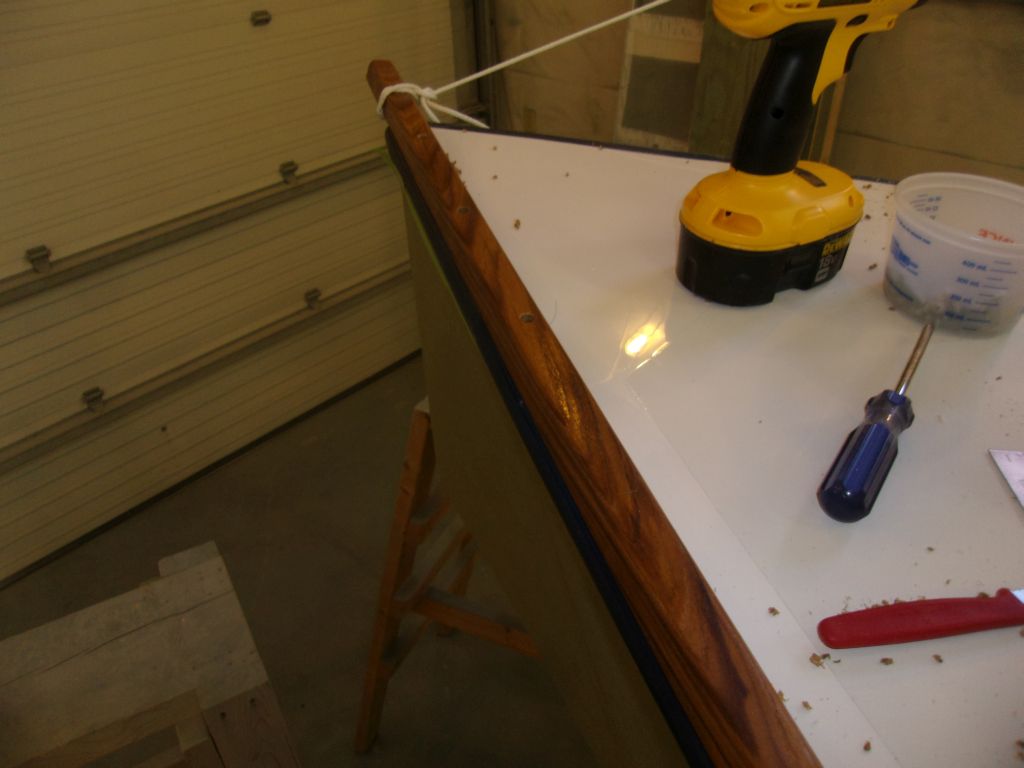
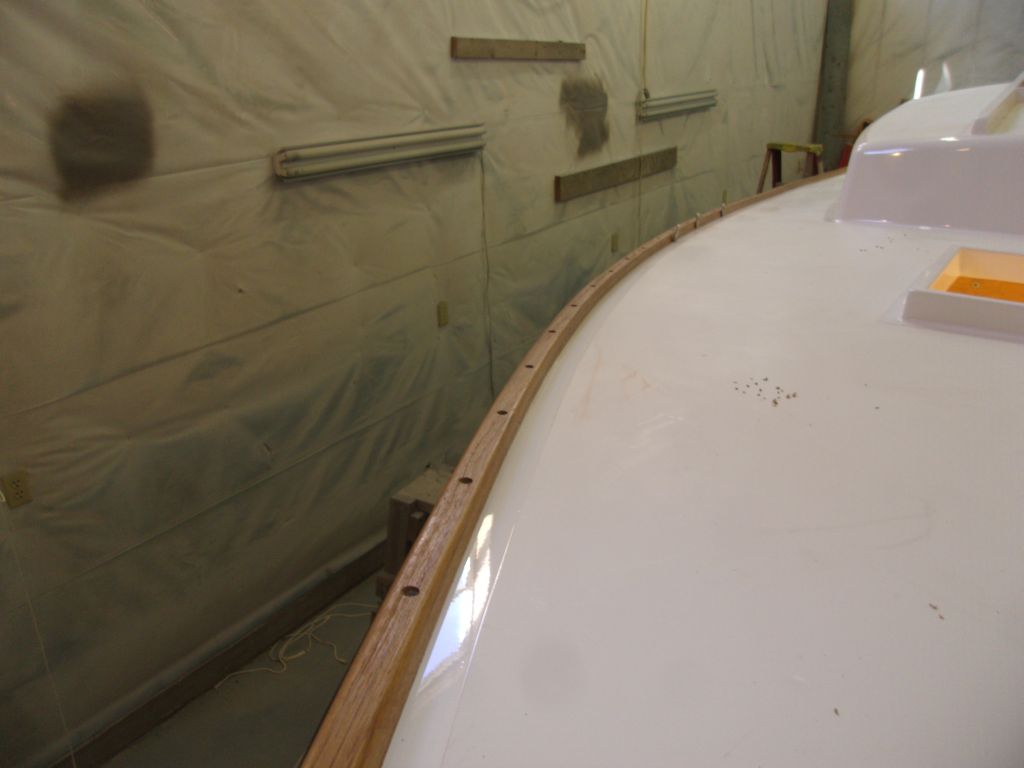
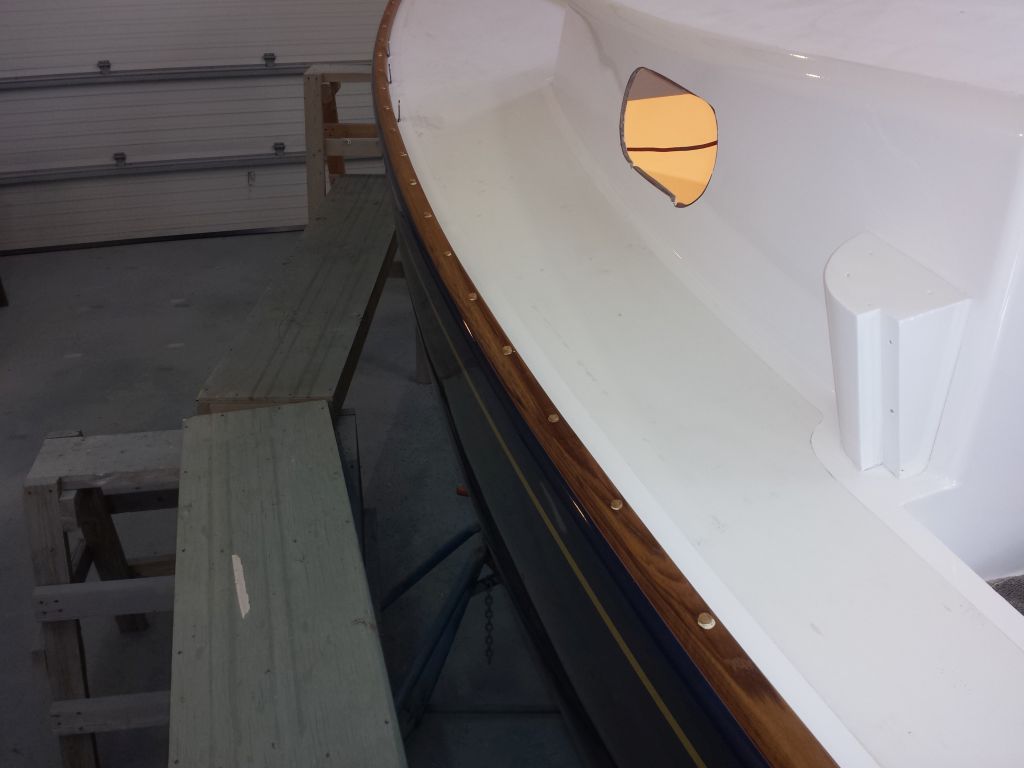
For each screw location, I first bored a 3/8" bung hole with a Forstner bit; then a pilot hole for the screw shank; then a smaller pilot hole through the deck; then a 10-24 tap to mill threads in the deck; and finally a 10-24 x 1" pan head machine screw.
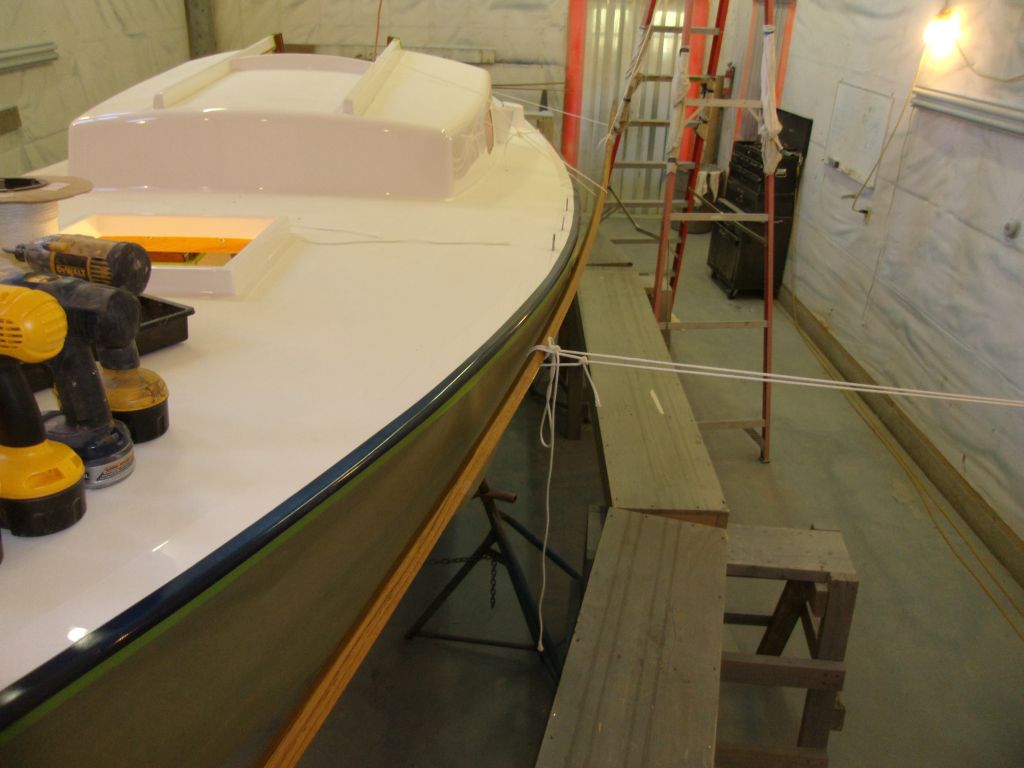

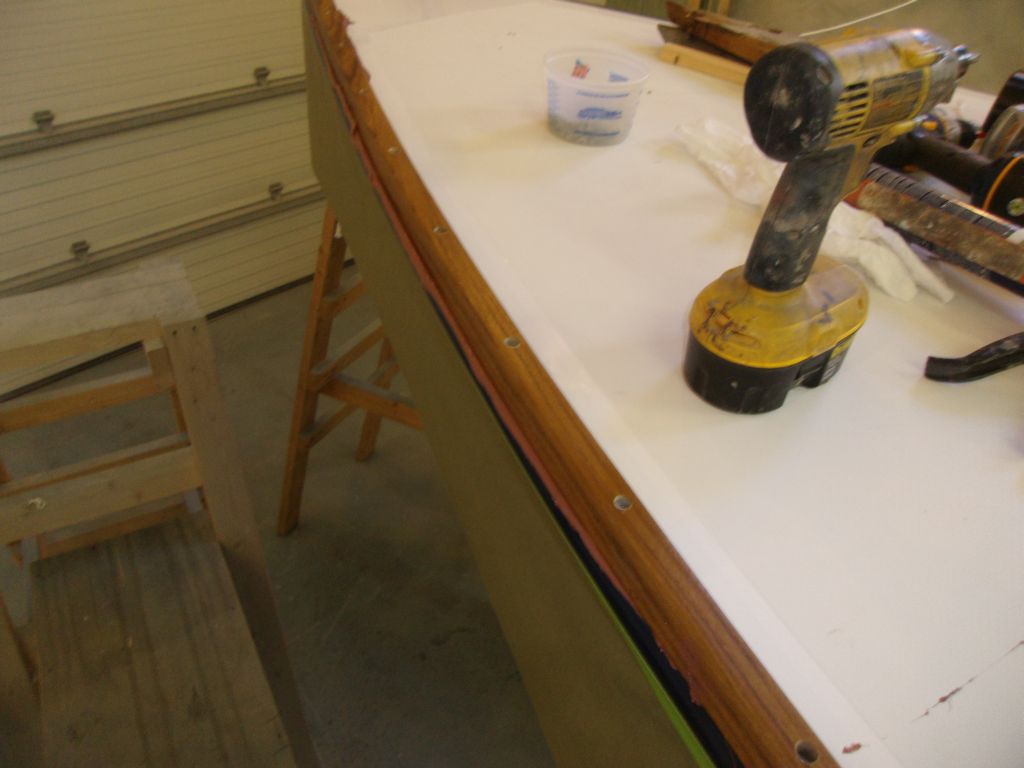
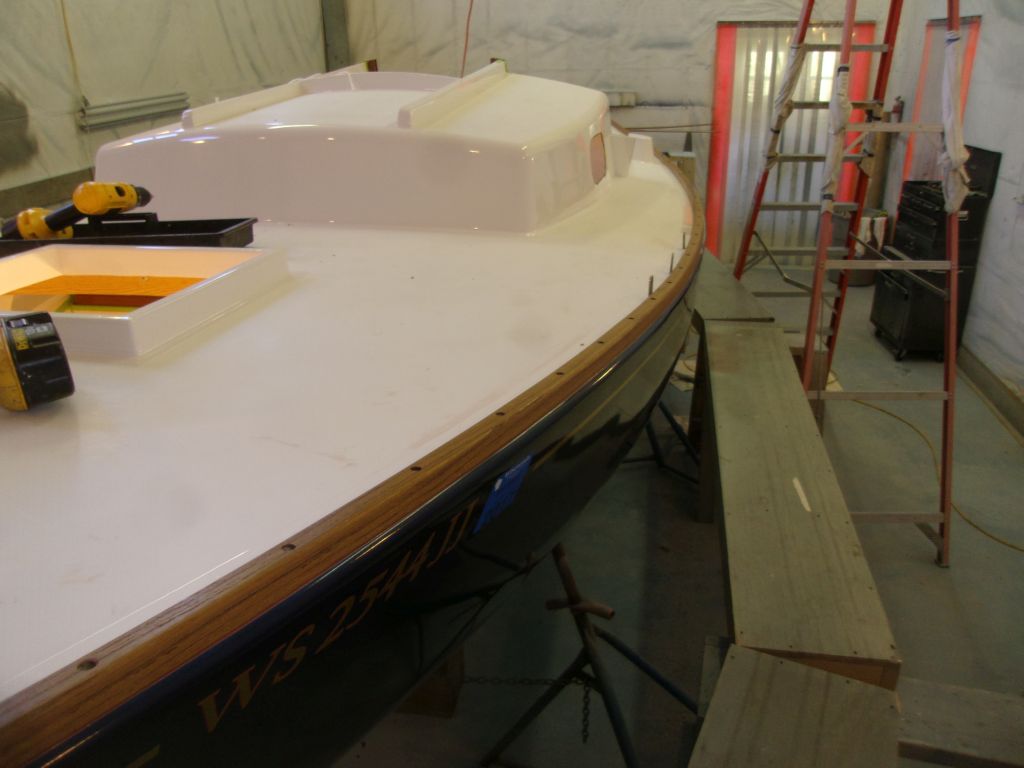
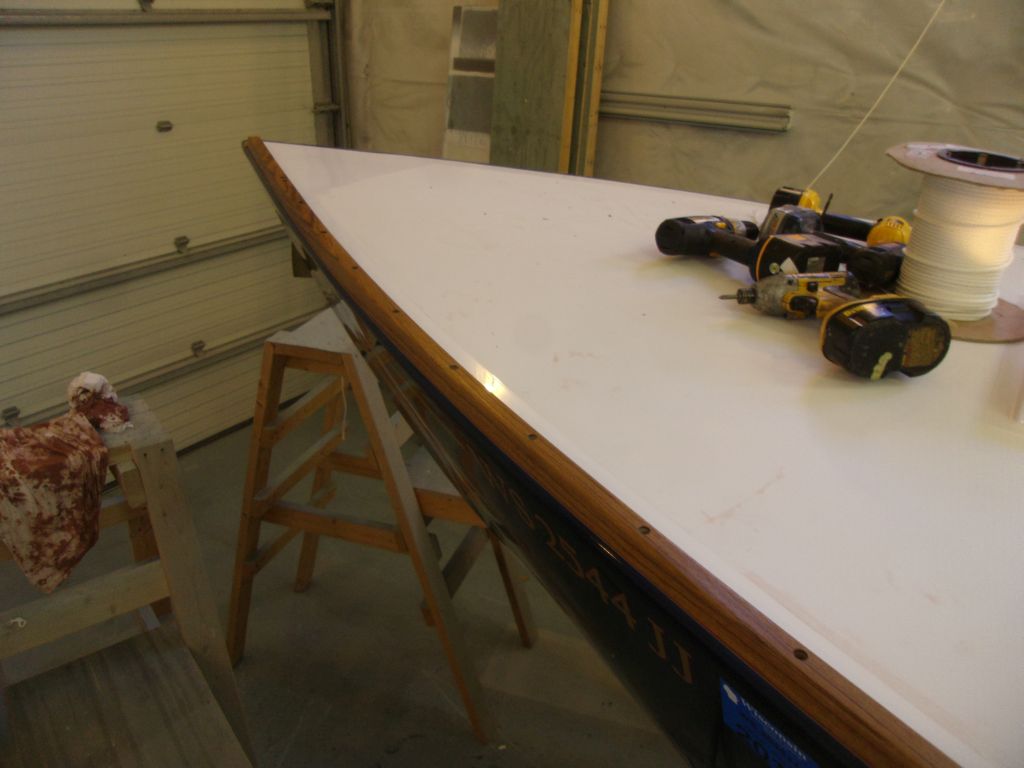
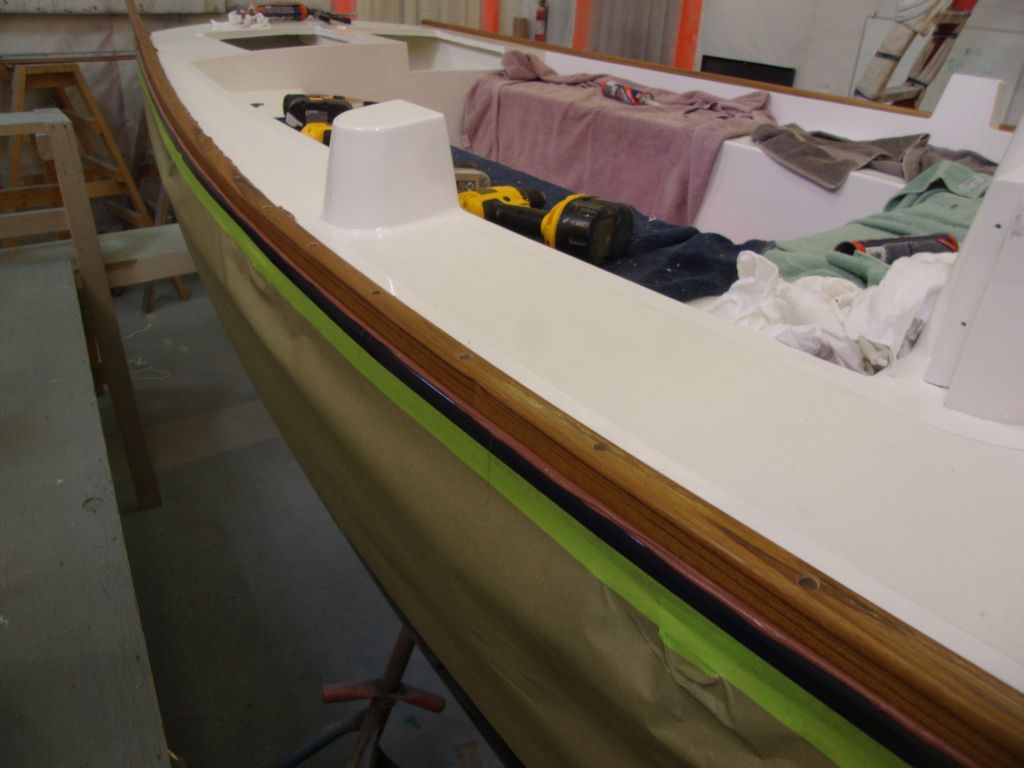
With the nervous part over with, the end well-secured, and the rail now able to maintain its correct orientation, I moved aft, installing screws every six inches and bending the rail into place as I went, adjusting as needed the lines to help support and bend the rail accordingly. Eventually, I reached the transom.
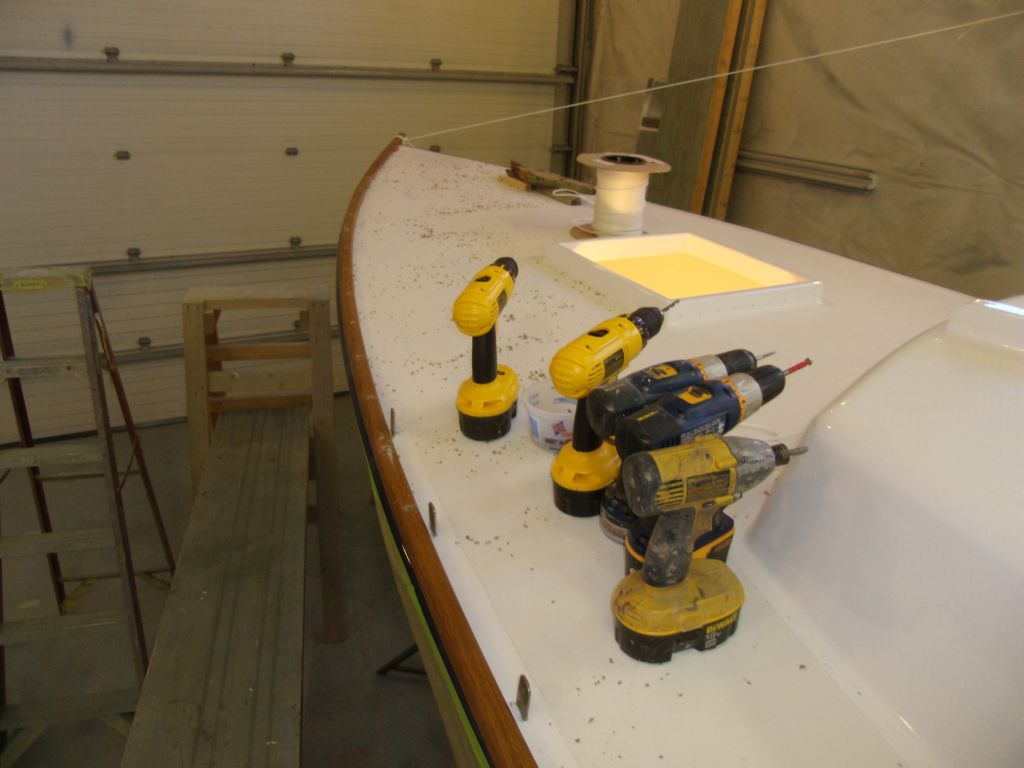
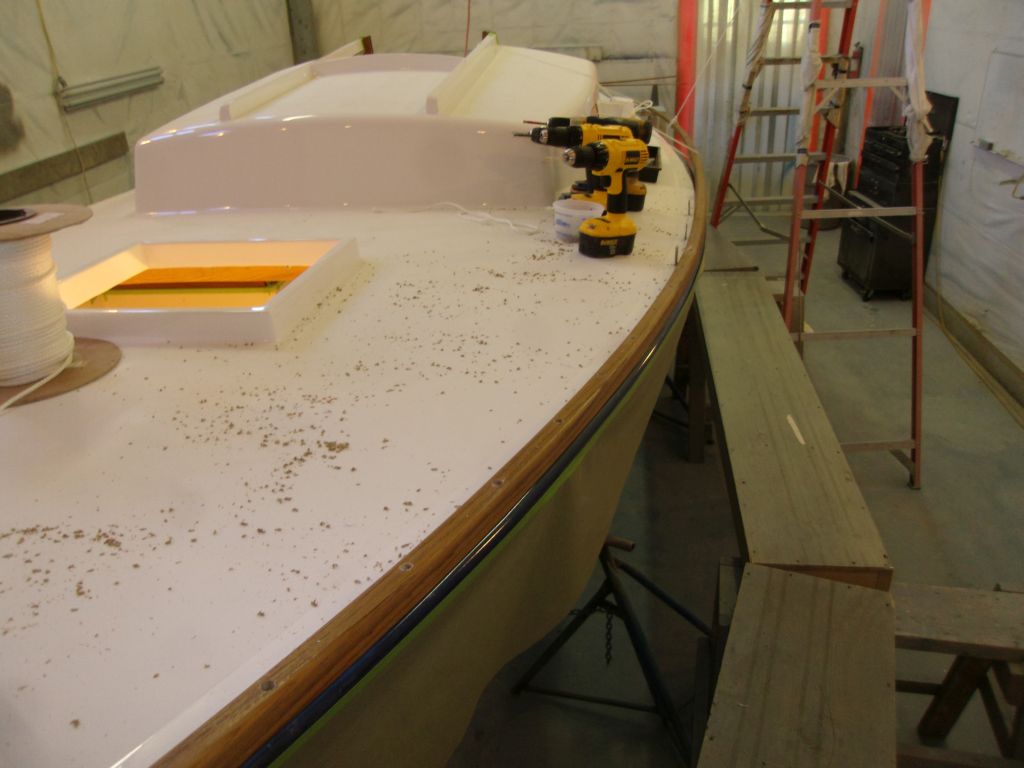
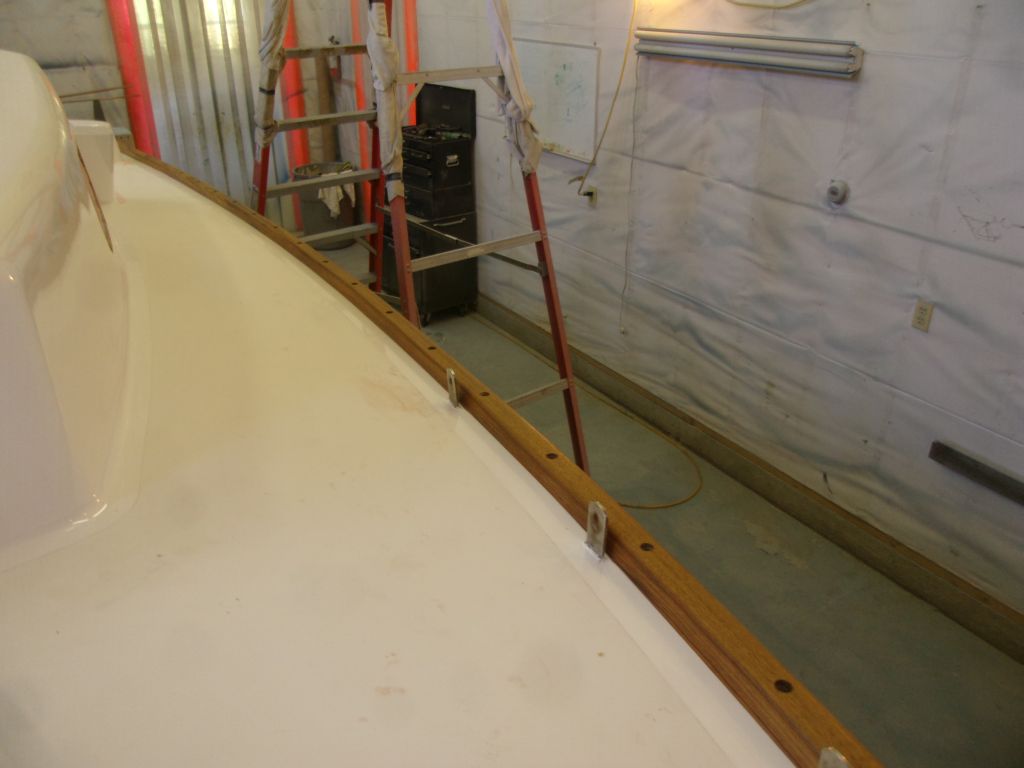
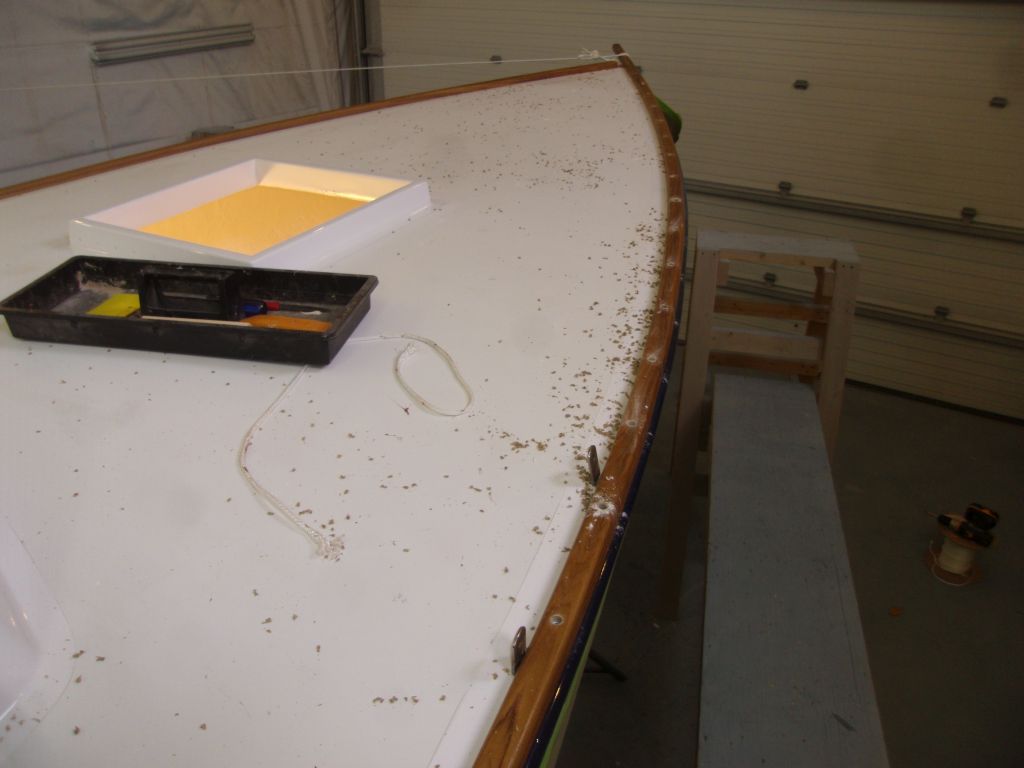
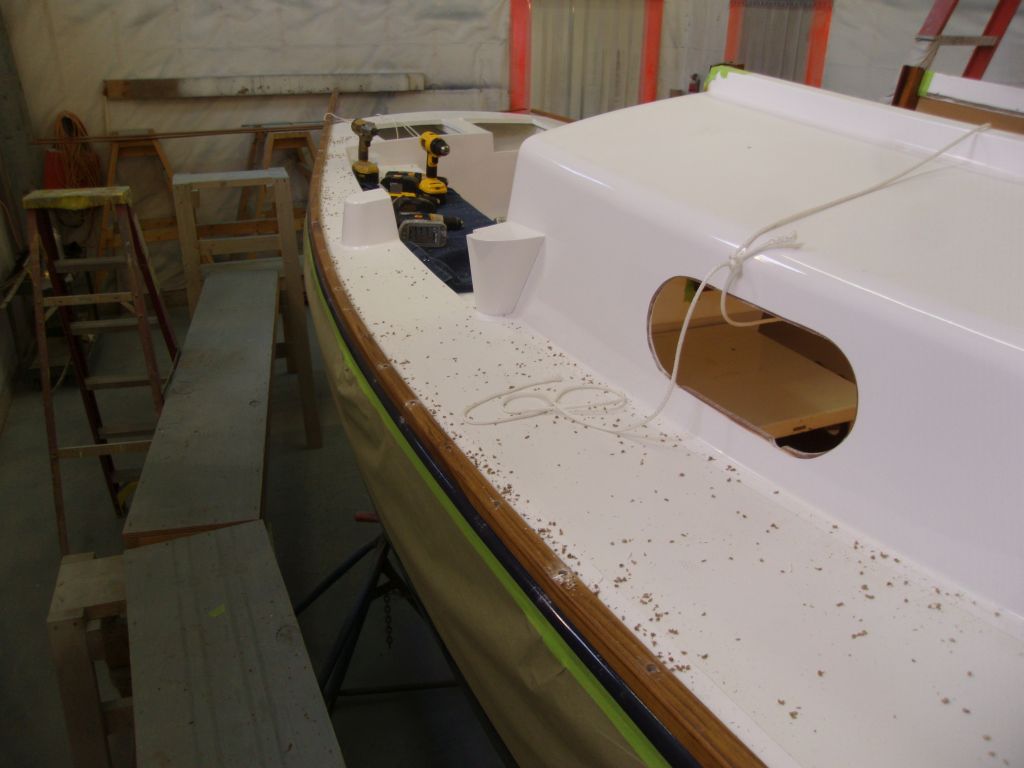
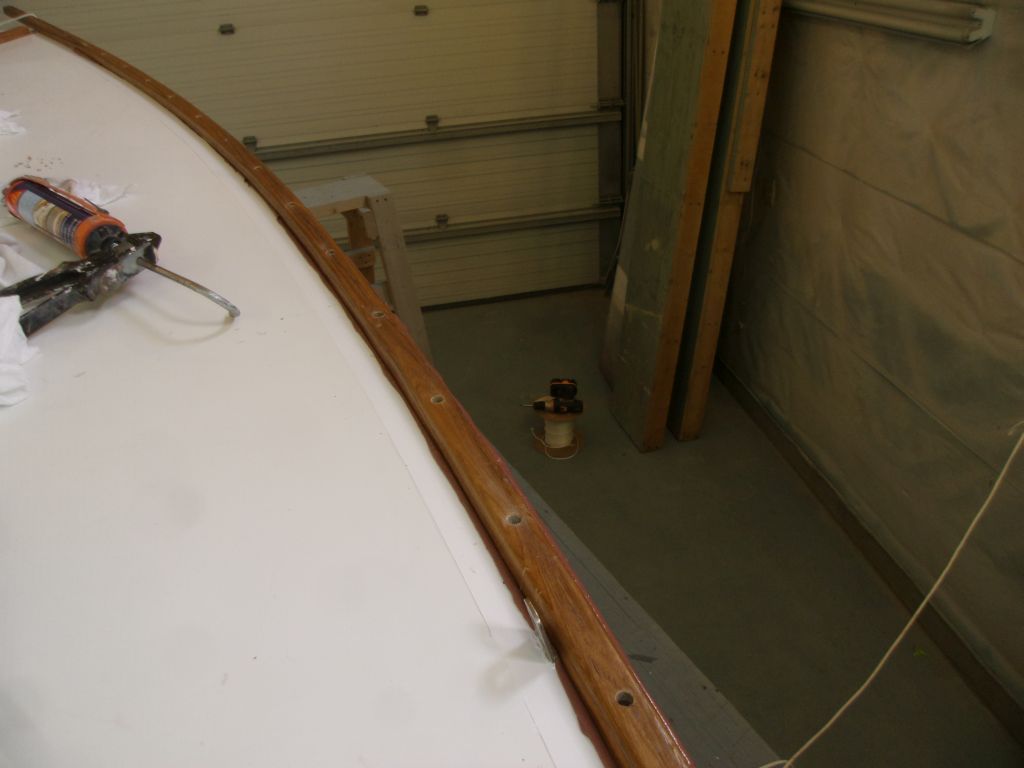
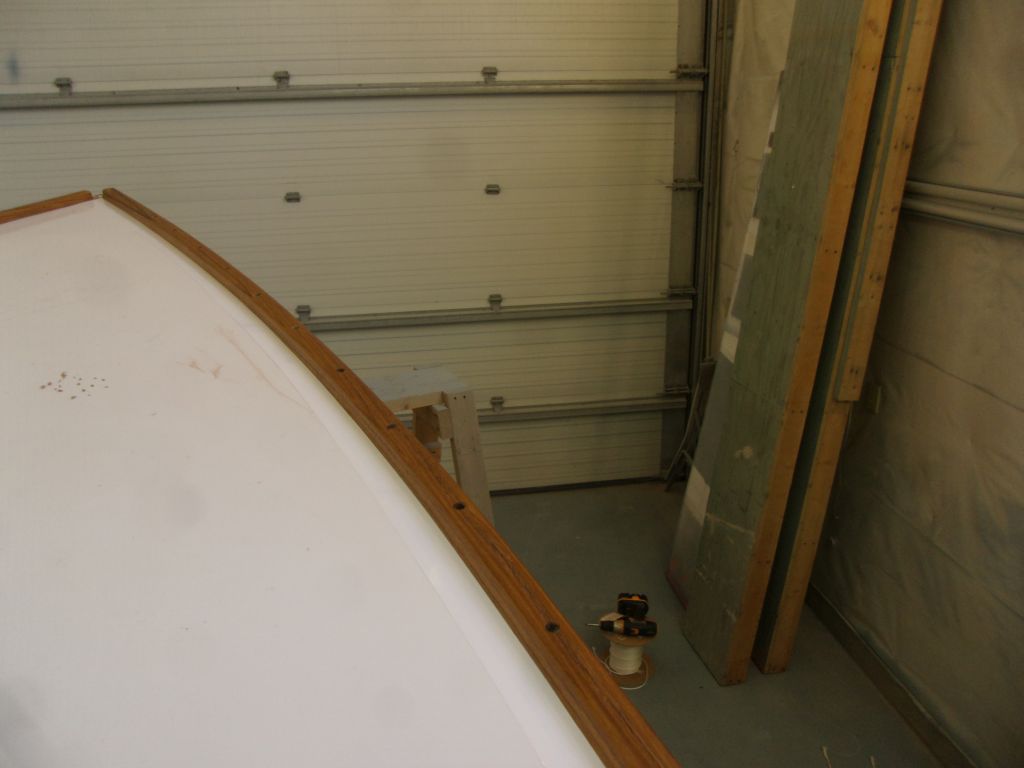
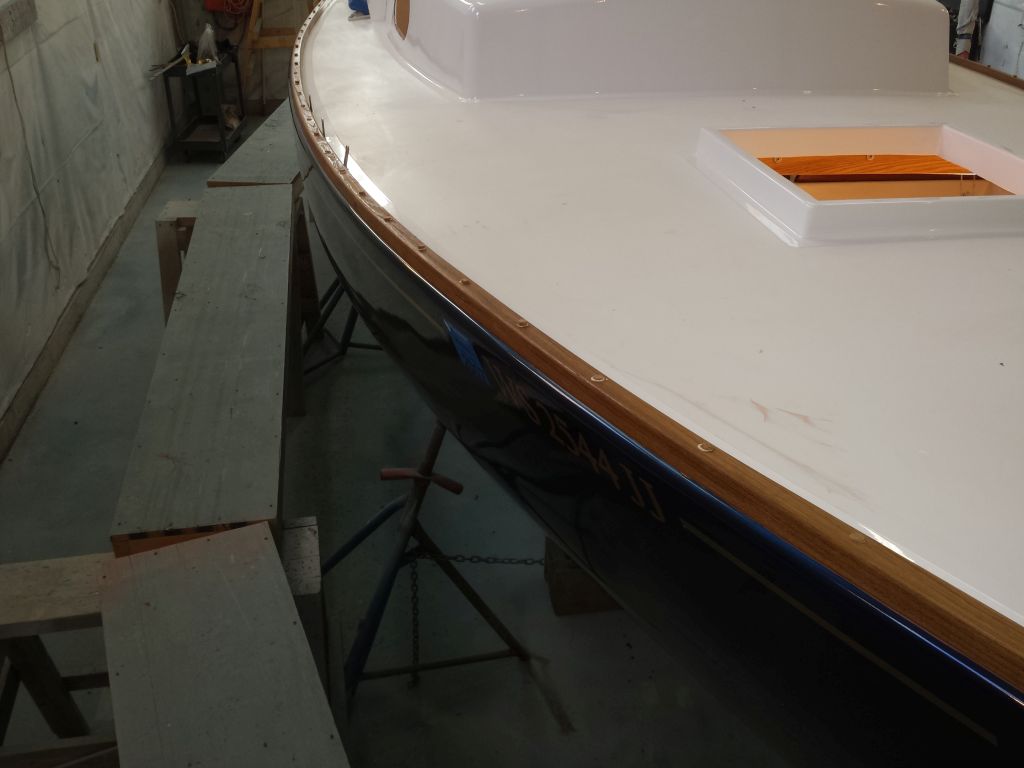
With the rail now dry-installed, next I removed it in reverse order, which was much easier than installing. Leaving various control lines in place, I let the rail run across the boat. Next, I milled small countersinks at each screw location in the deck, which would provide extra sealant right at the deck penetrations. Afterwards, I cleaned up the drill spoils and lightly solvent-washed the bottom of the rail, and the deck's faying surface.
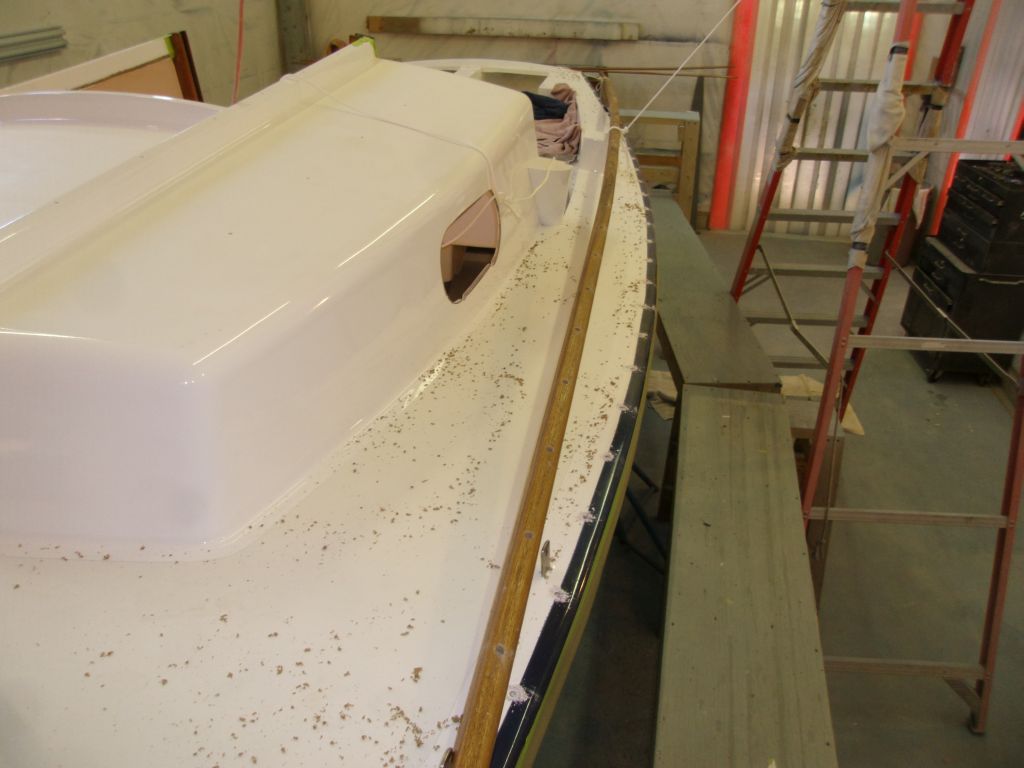
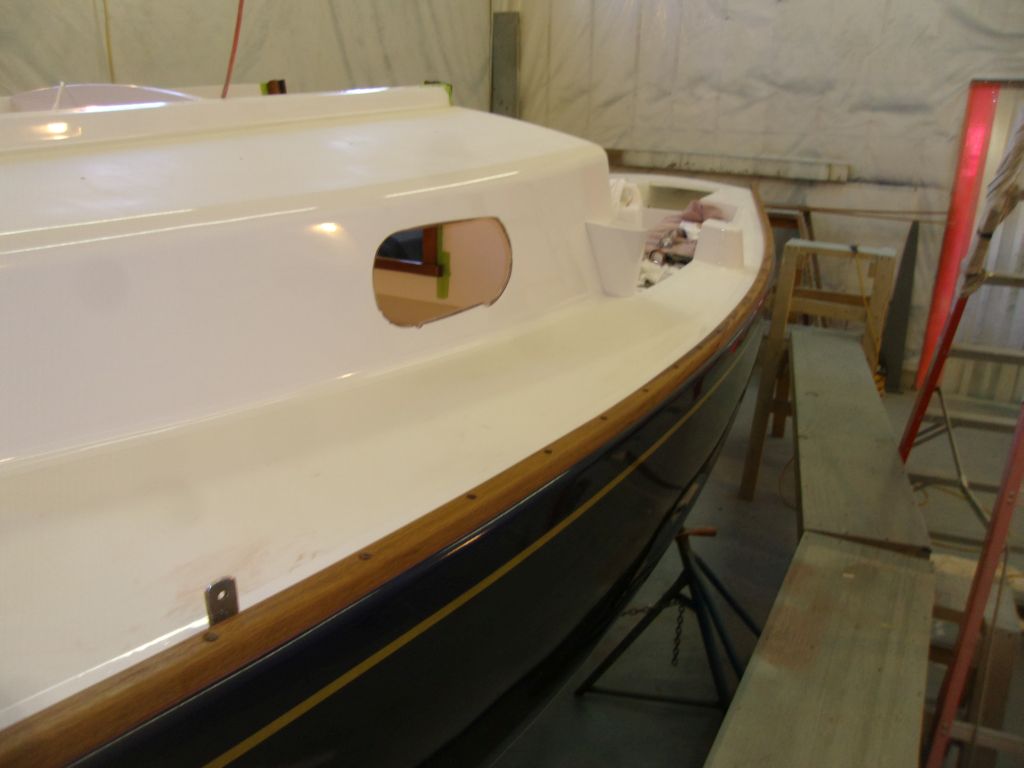
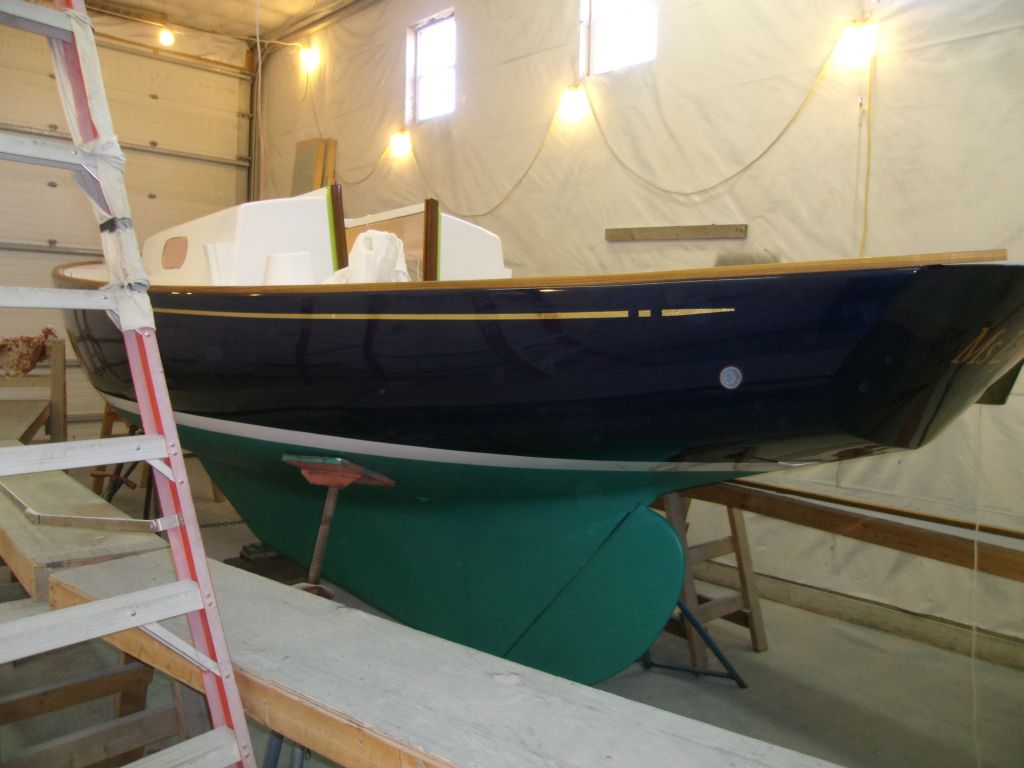
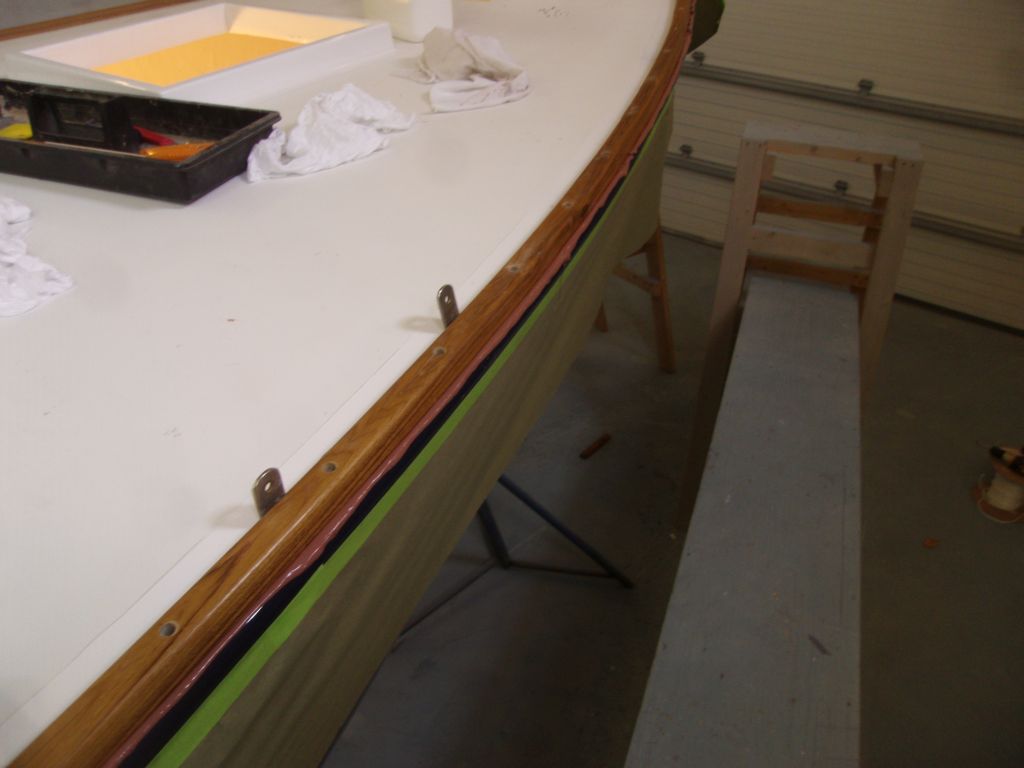
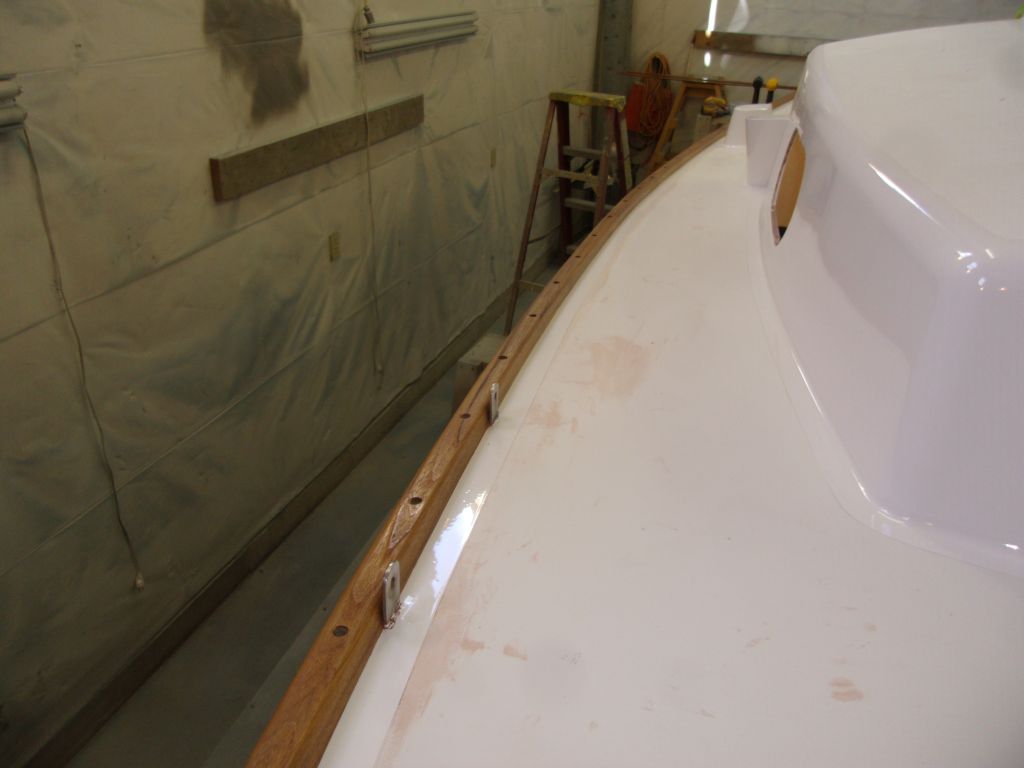
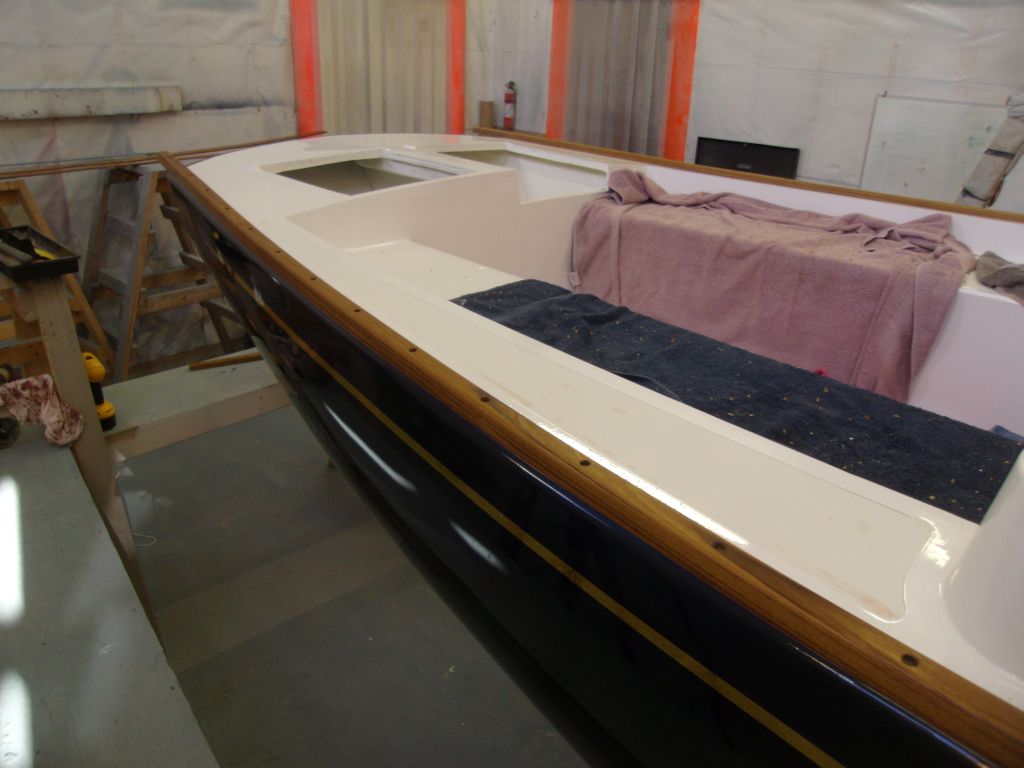
For final installation, I laid down heavy beads of brown sealant, starting at the bow. I left the forwardmost section near the stem unsealed since I'd eventually be removing a short section of the rail there when I installed the stem piece. Continuing aft and installing sealant as dictated by the rail's progress, I permanently secured the rail in place, squeezing out pleasing and consistent beads of excess sealant along the way as I tightened the rail into place.
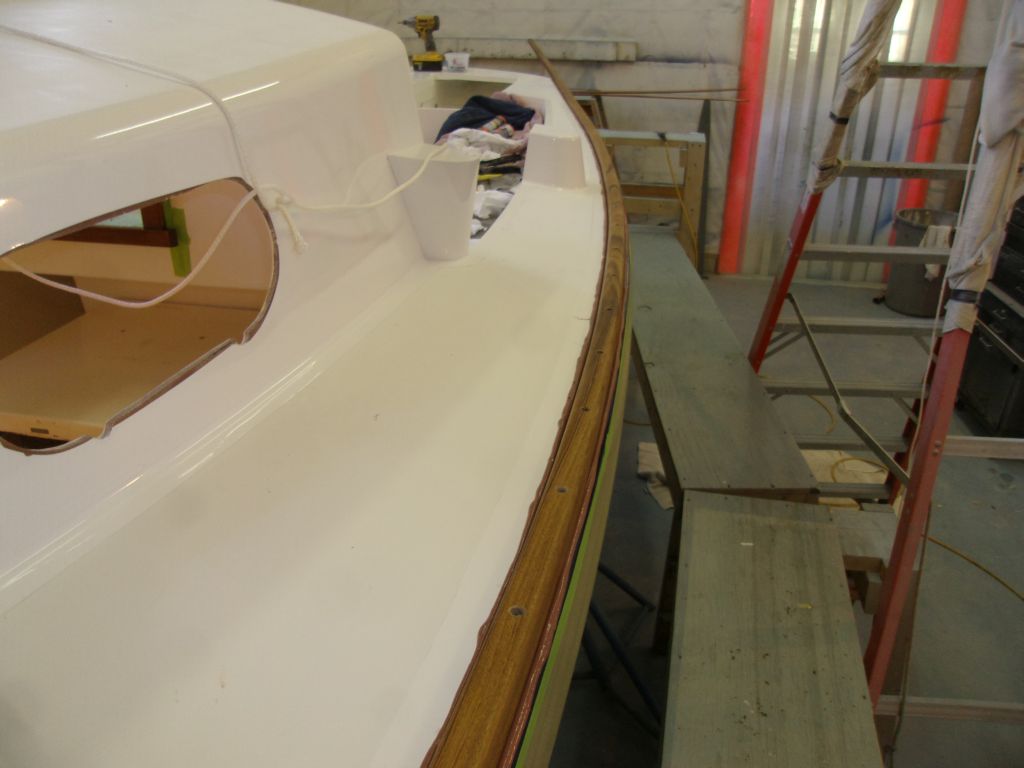
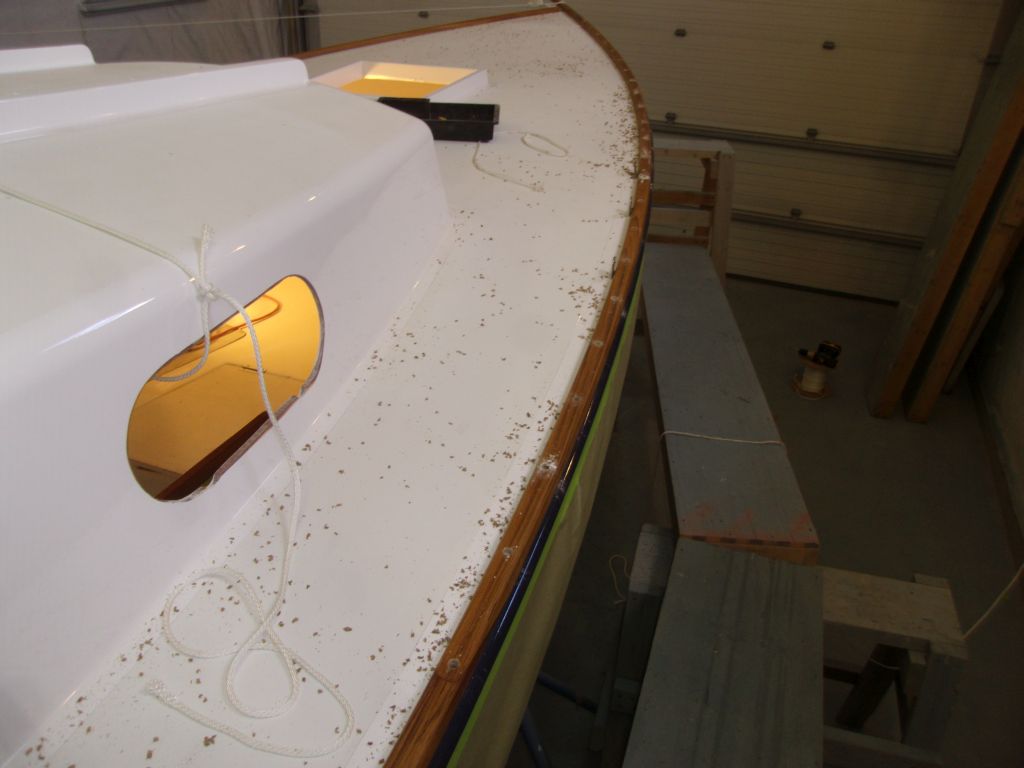
Afterwards, I cleaned up the excess sealant, and cut off the excess rail length bow (leaving room for the starboard toerail to bend in) and stern (still leaving some overhang at the transom pending final shaping and determination of the taffrail installation).

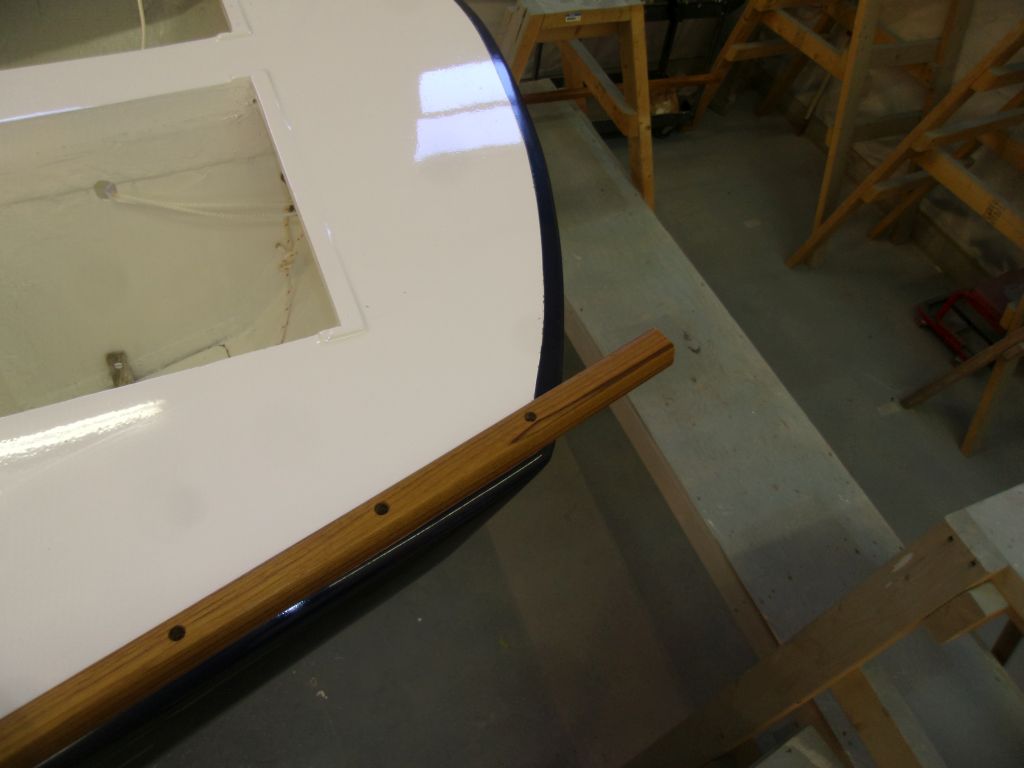
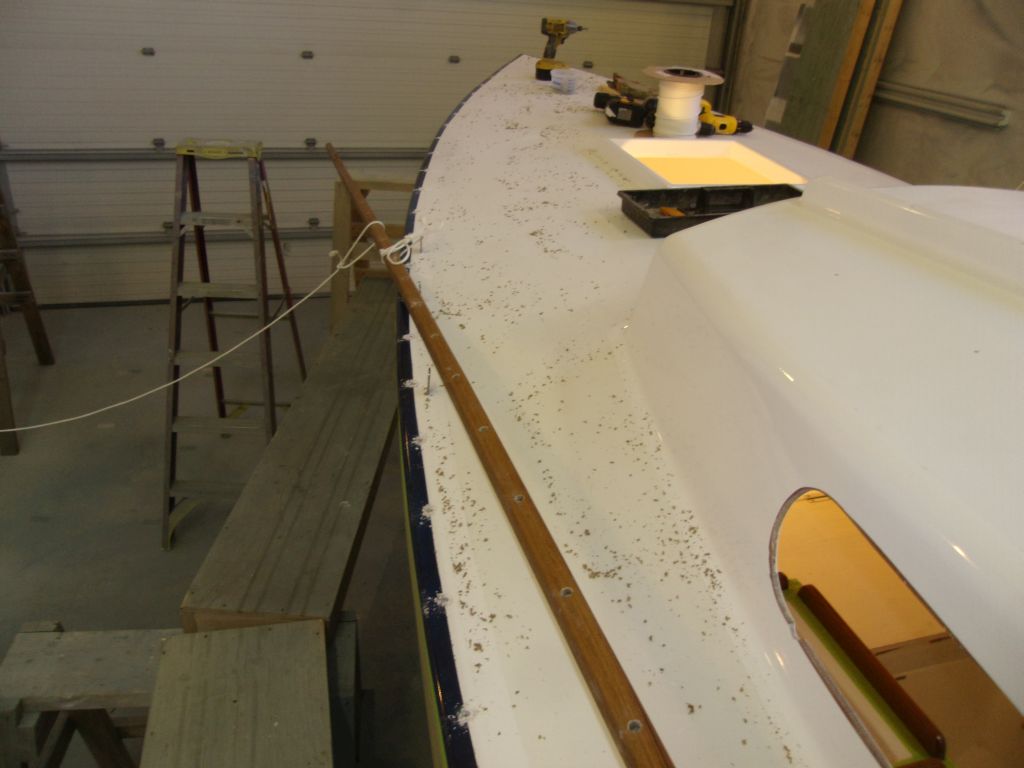
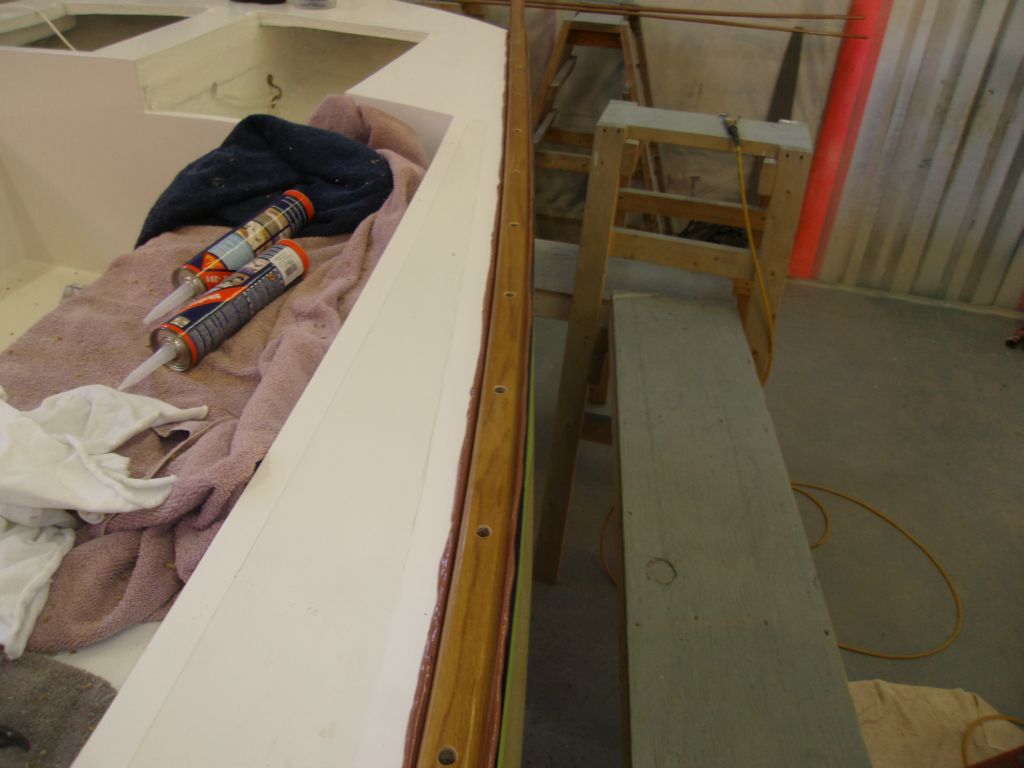
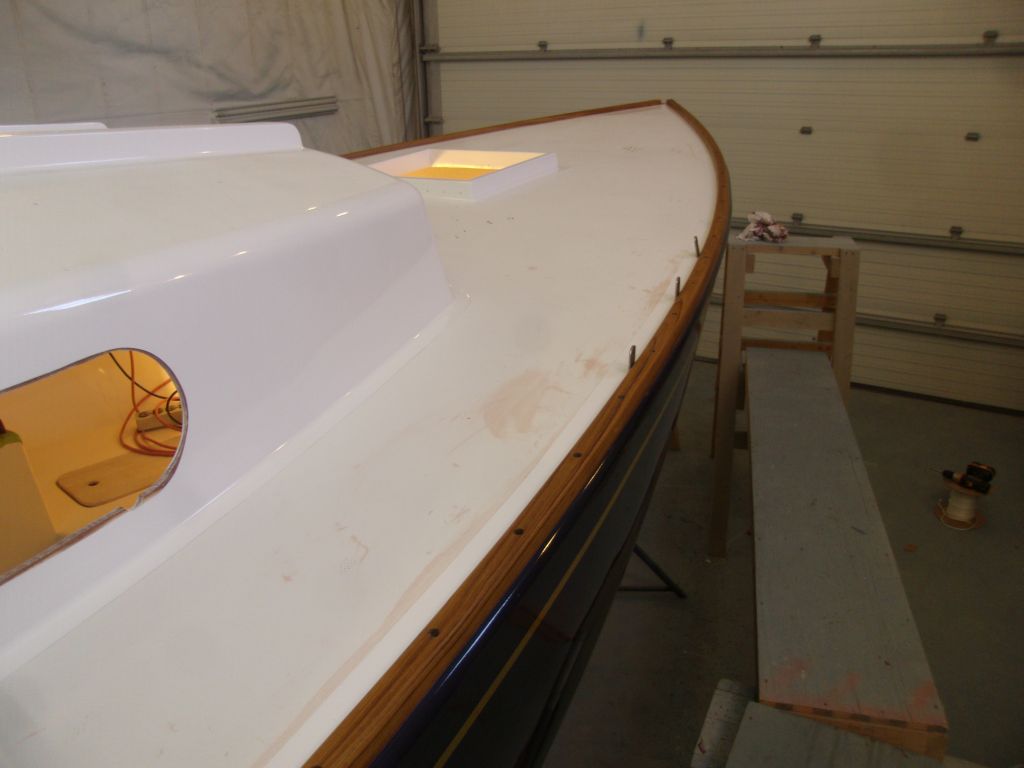
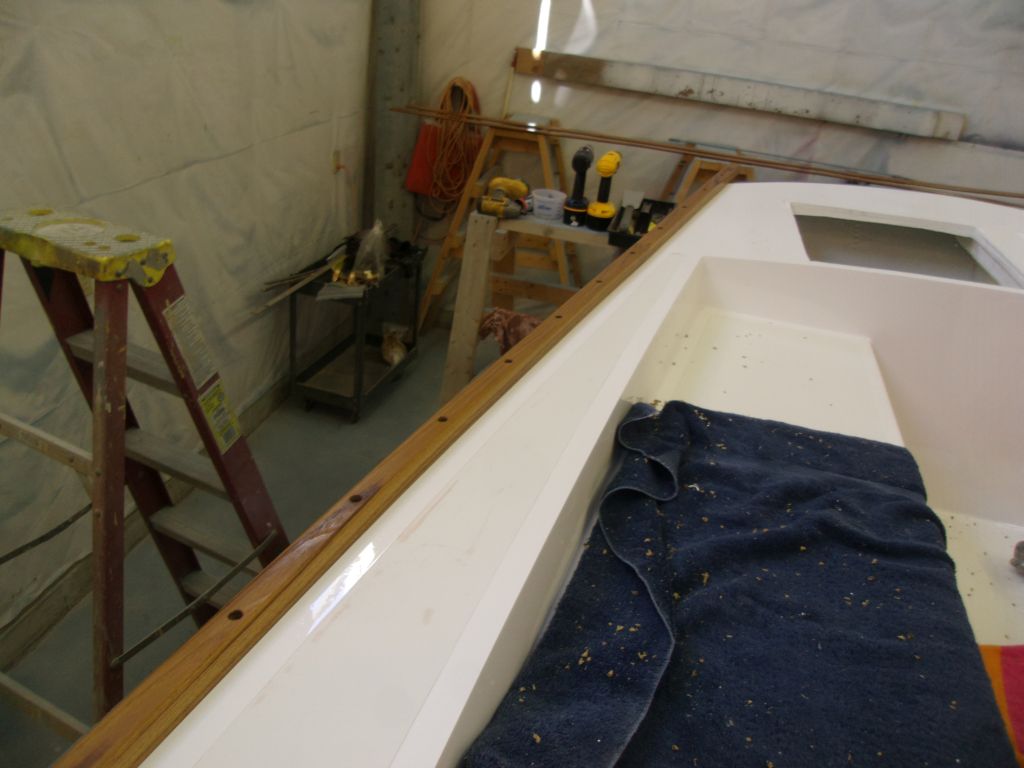
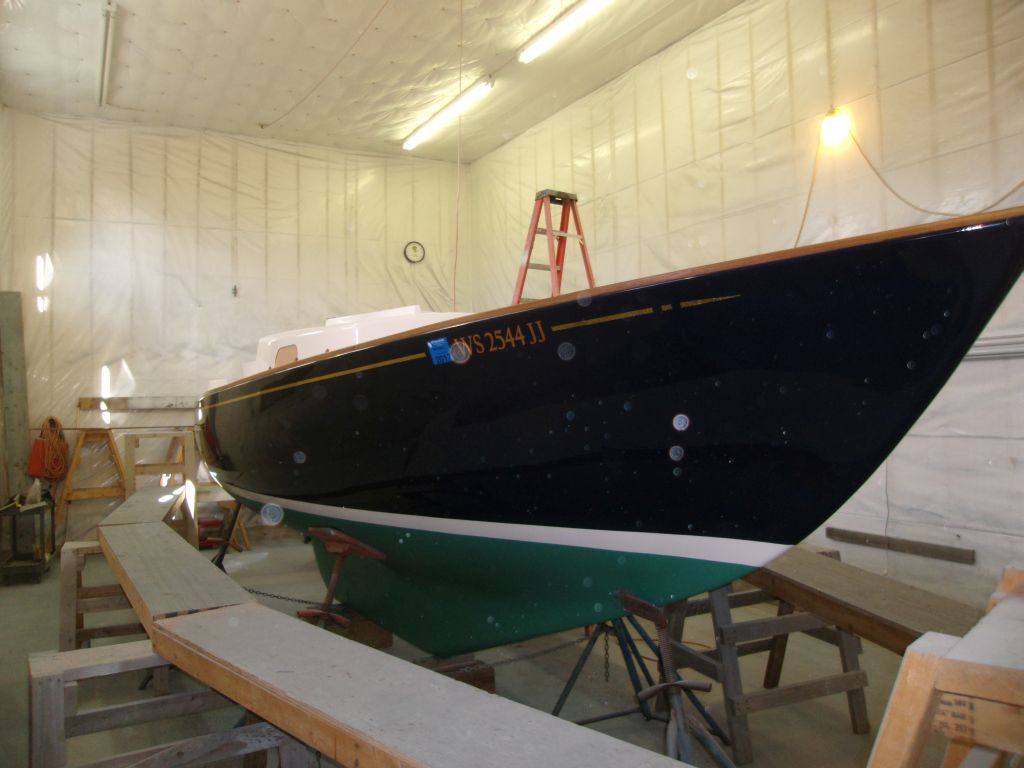
After moving my operation over to the other side, I repeated the process on the starboard rail. For some reason, this rail was even tougher to bend the forward sections into their initial position, and there were the usual tense moments getting two or three screws started to flatten and secure the bow, until which the whole length of rail was in jeopardy.

From there, it was just a matter of working through the steps, aligning the rail, and working aft till eventually I reached the stern.
As before, once I got to the transom, I removed all the screws, releasing the rail, and milled the countersinks in the deck before cleaning up the dust and chips and preparing for final installation.
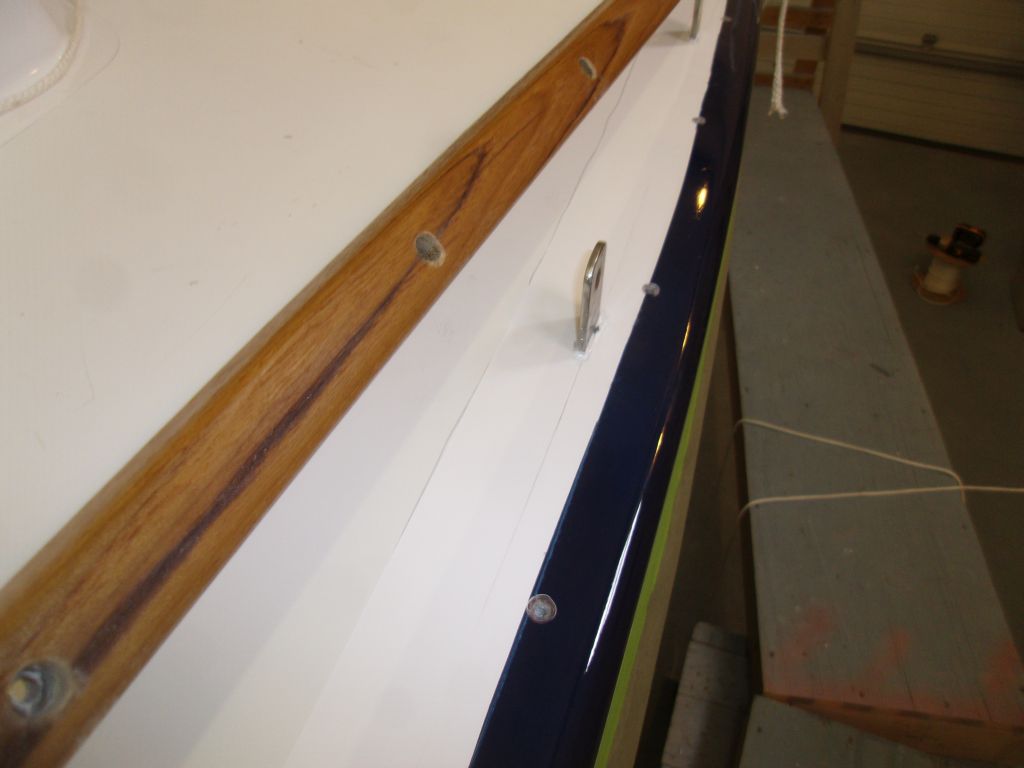
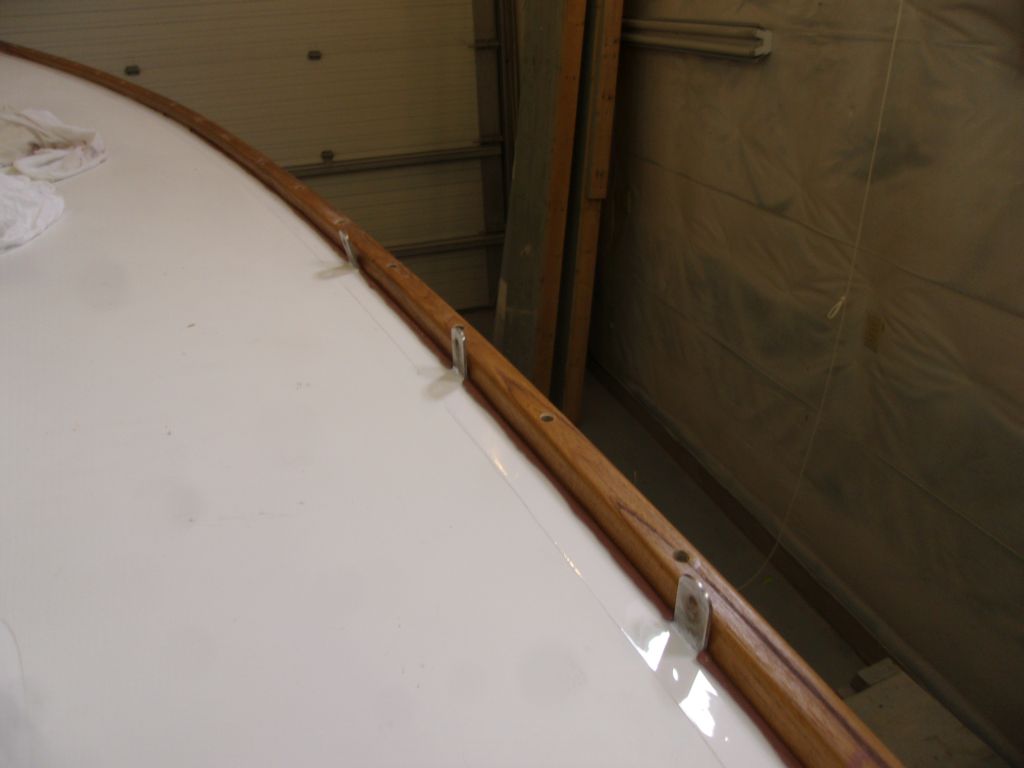
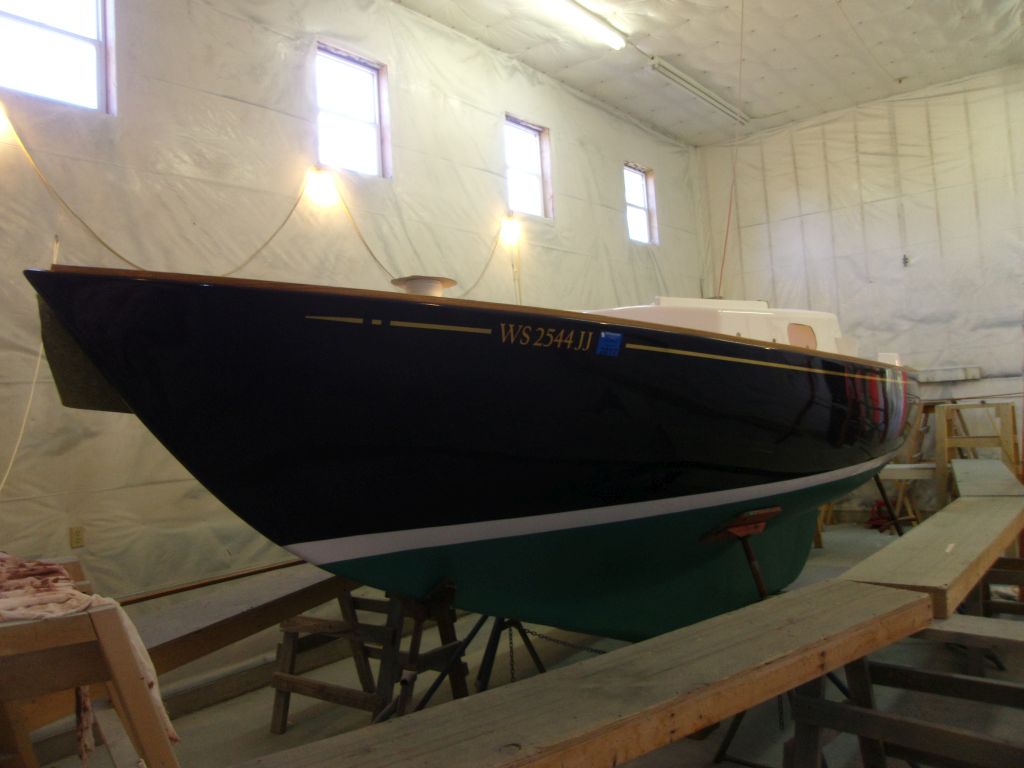
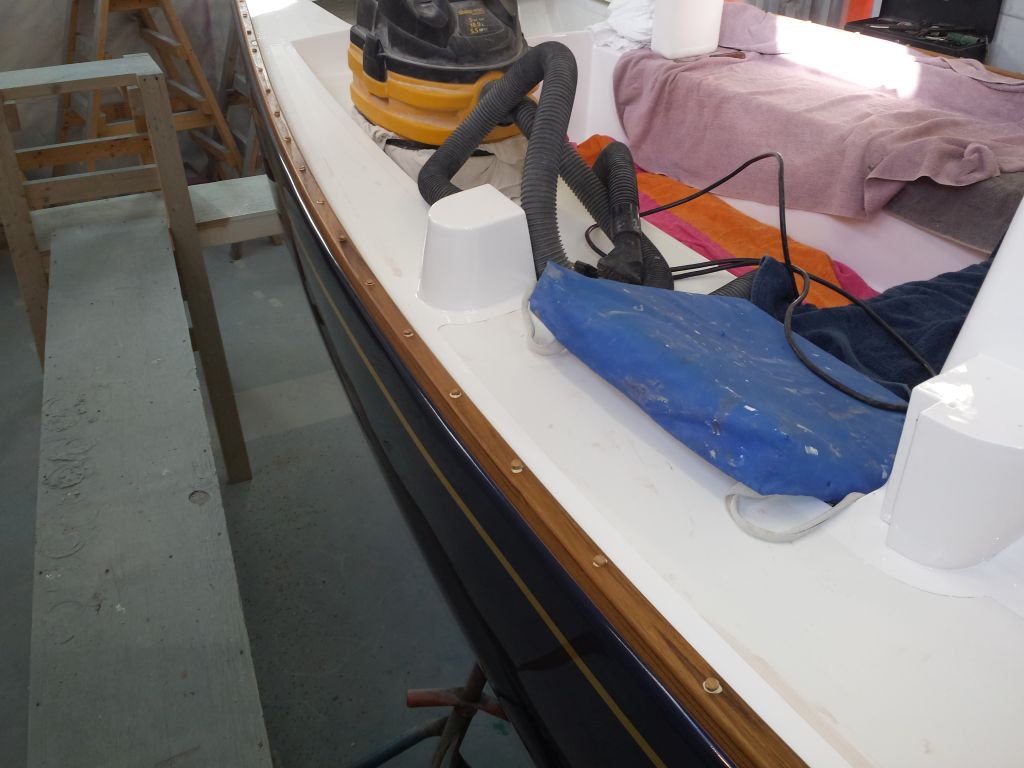
Finally, I cleaned up the excess sealant and cut off the overhanging ends.
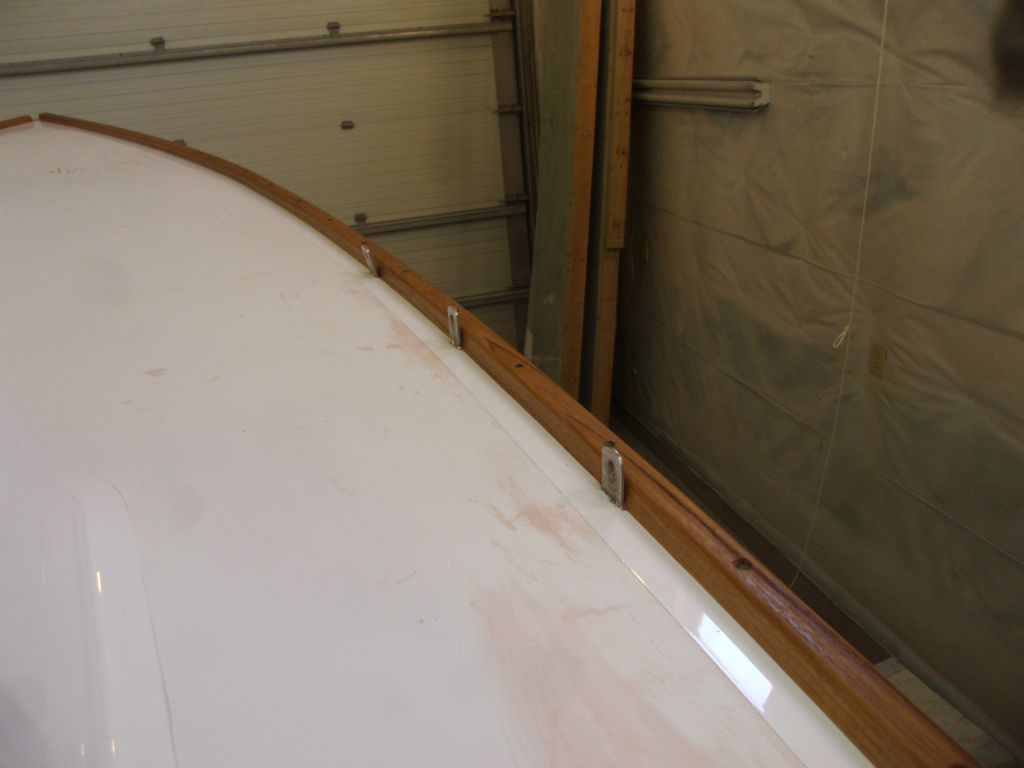
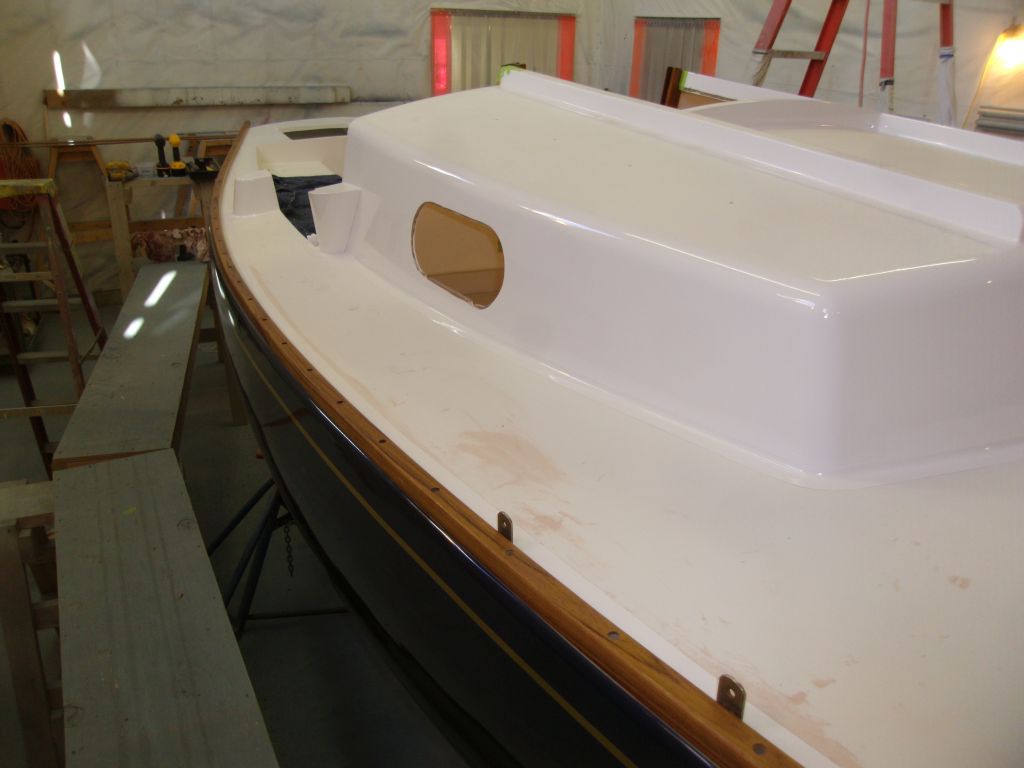
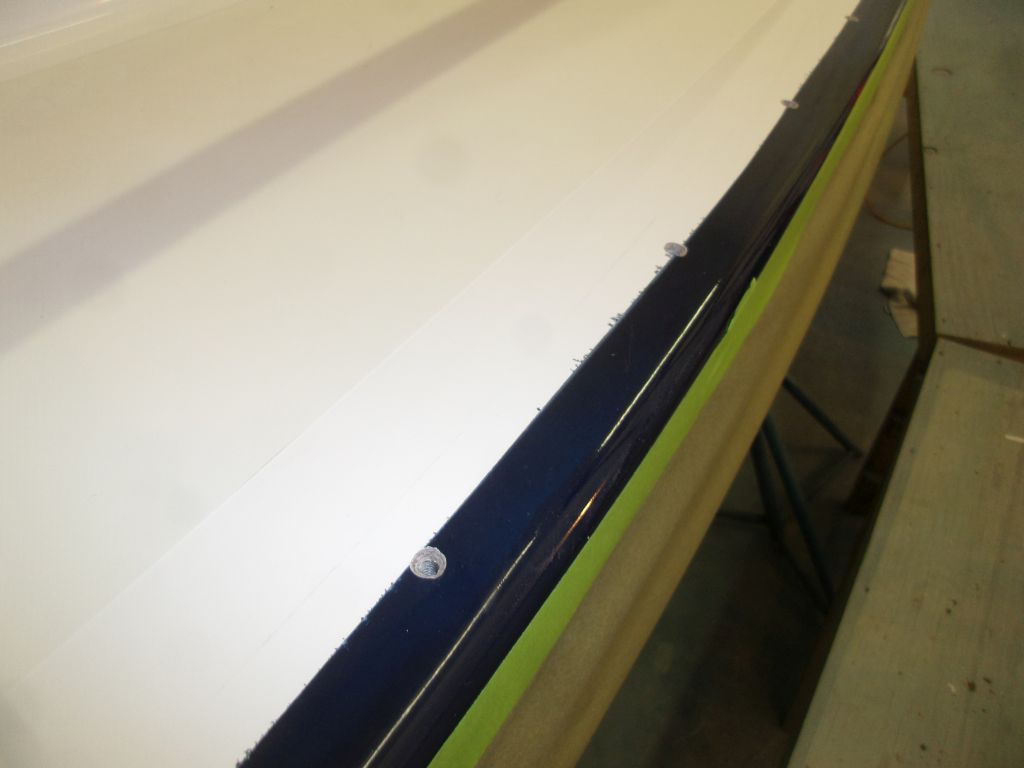
Next, I installed bungs in all the screw holes. I'd continue with the stem and taffrail next.
Total Time Billed on This Job Today: 7.5
Hours
