
110 Cookson Lane | Whitefield, ME 04353 | 207-232-7600 | tim@lackeysailing.com
Ms Lynne G | Thursday, October 23, 2014
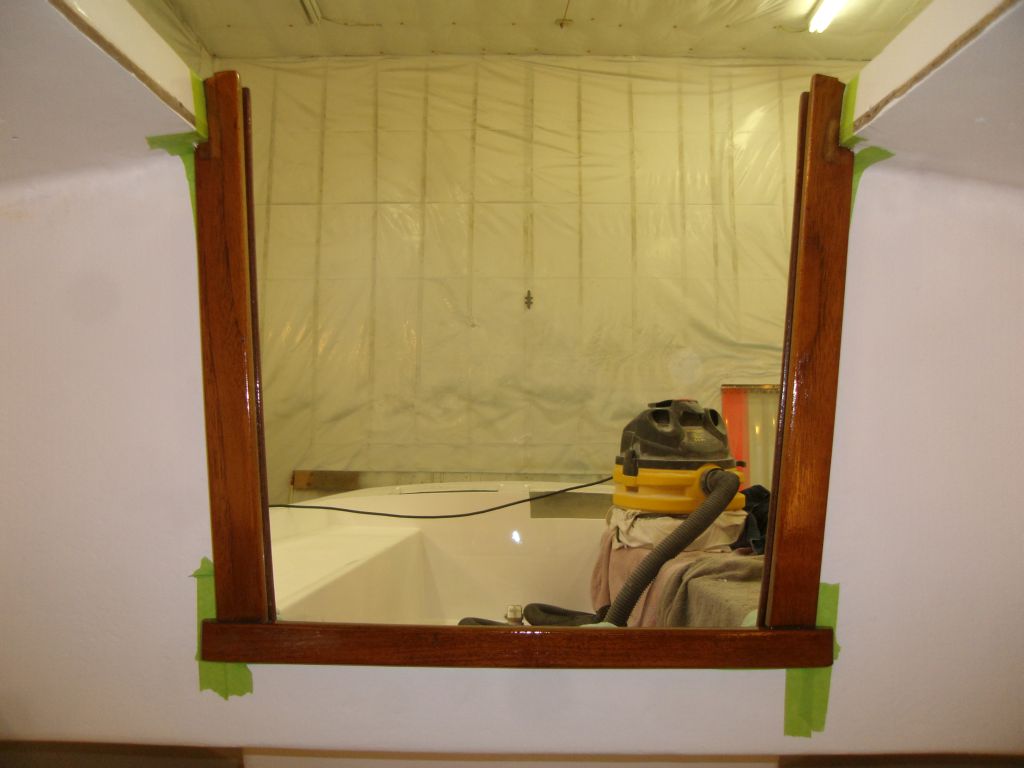
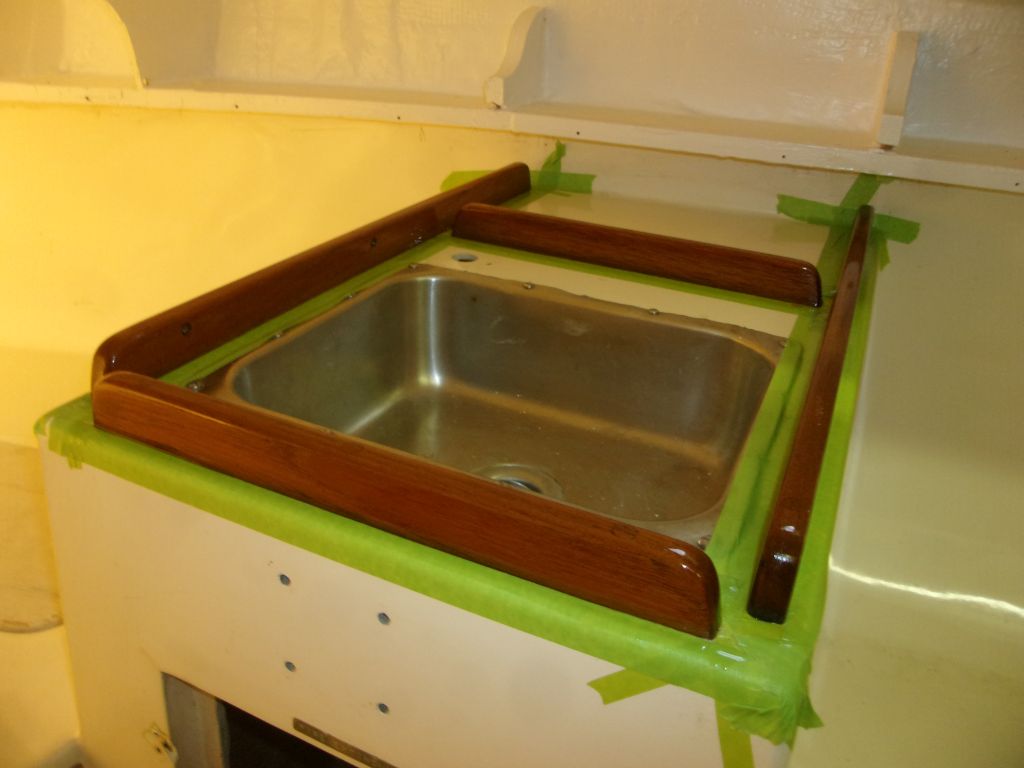
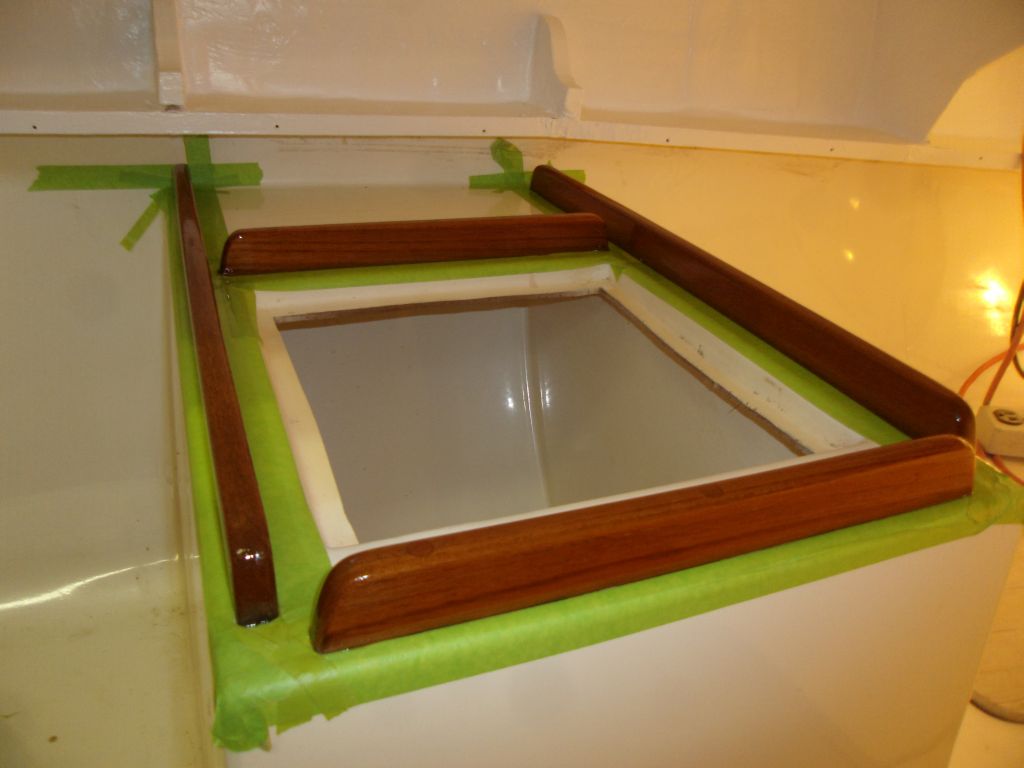
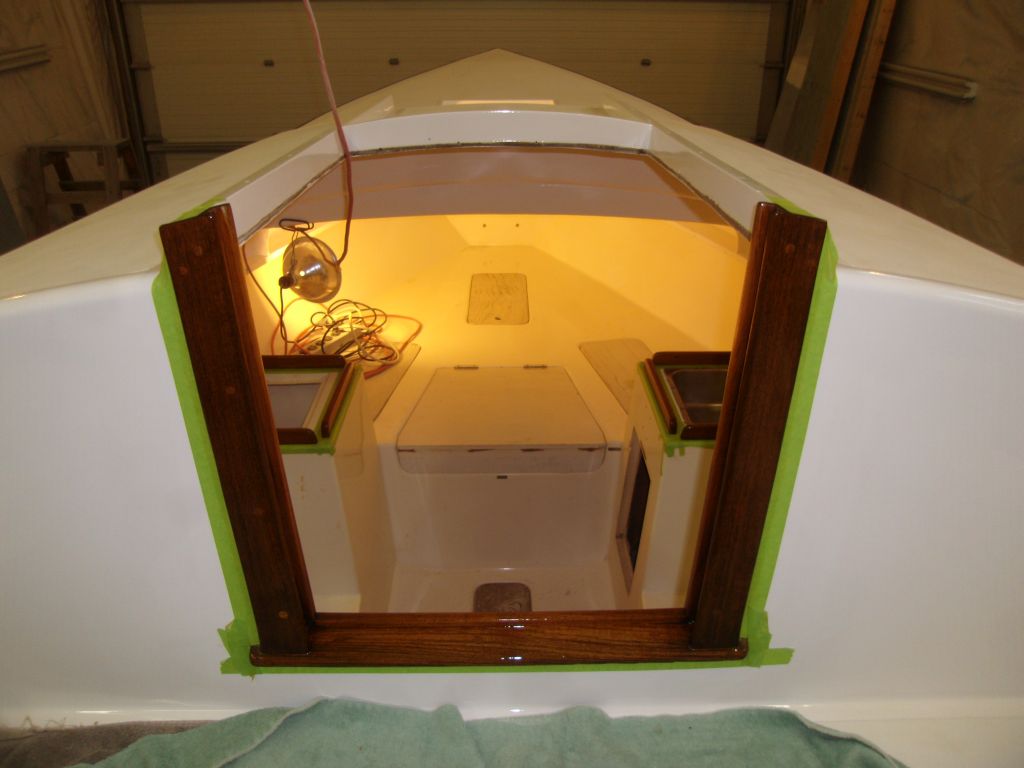
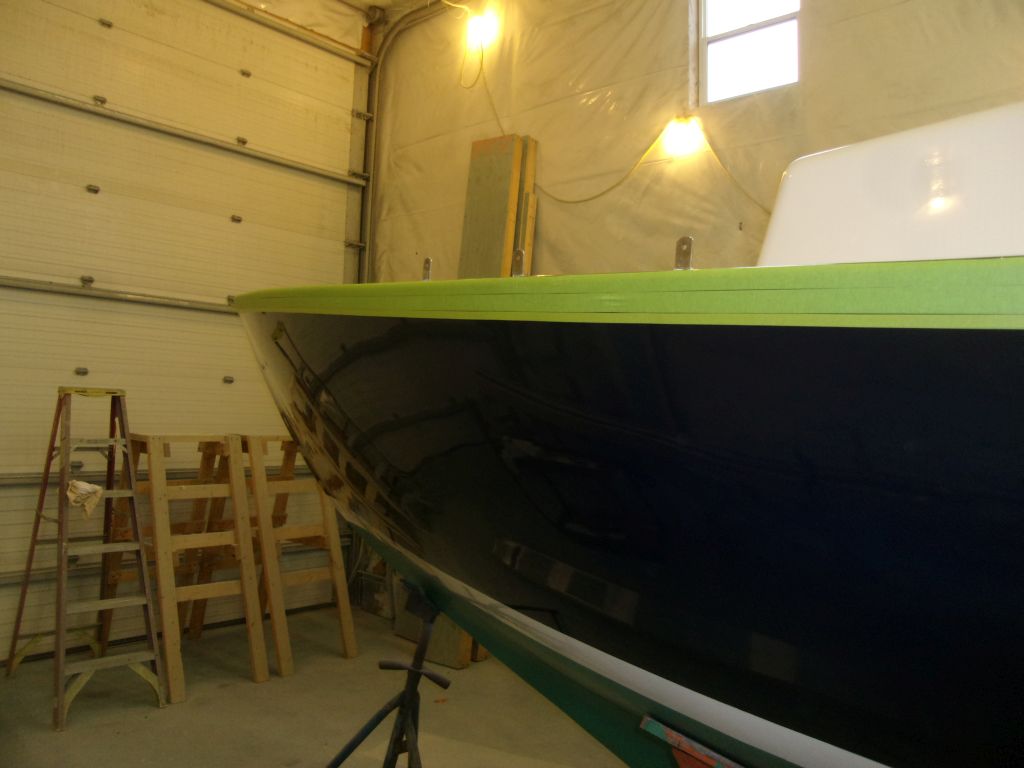
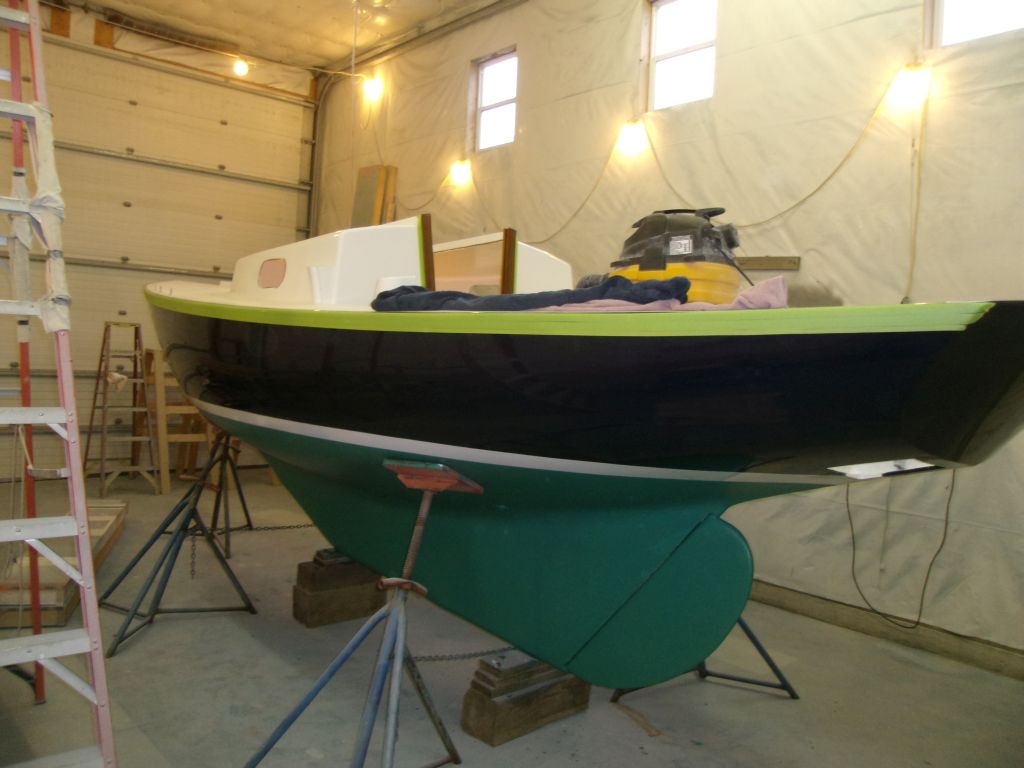
First thing, I worked on the varnish and miscellaneous paint work, sanding and applying another coat as necessary.
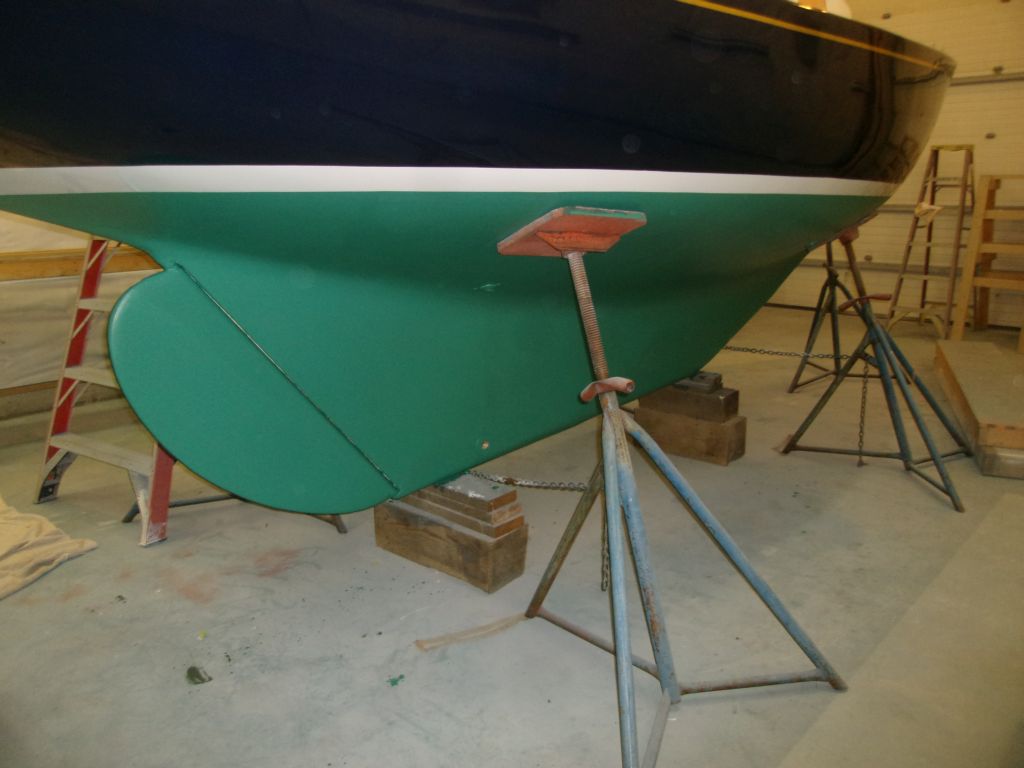
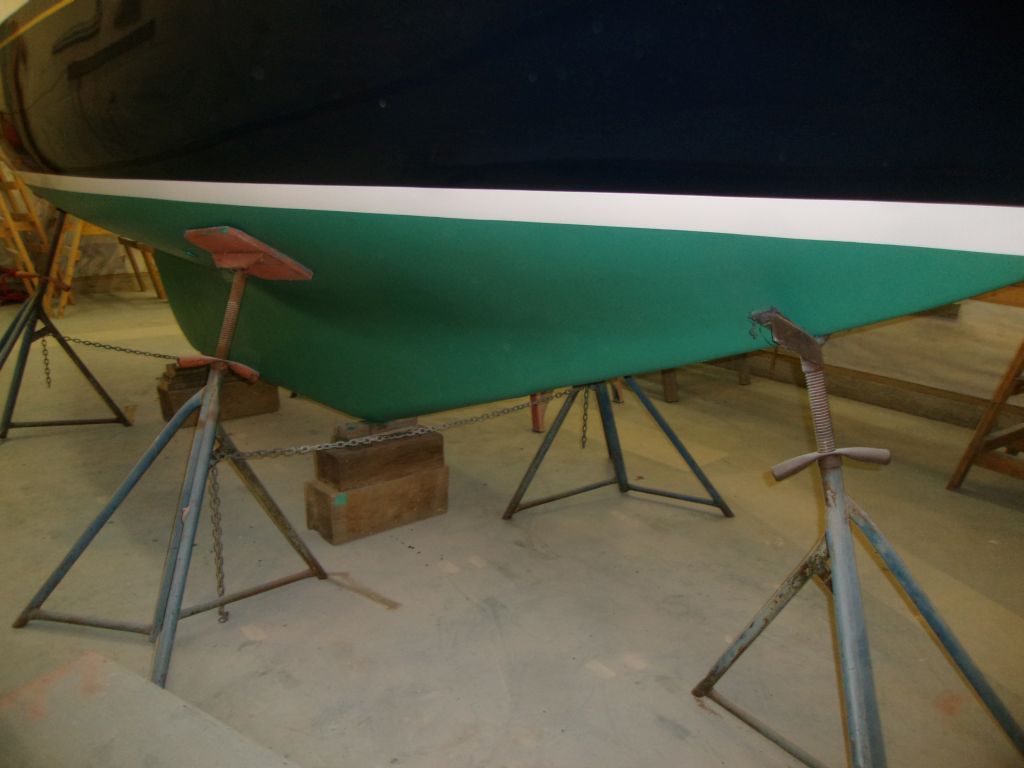
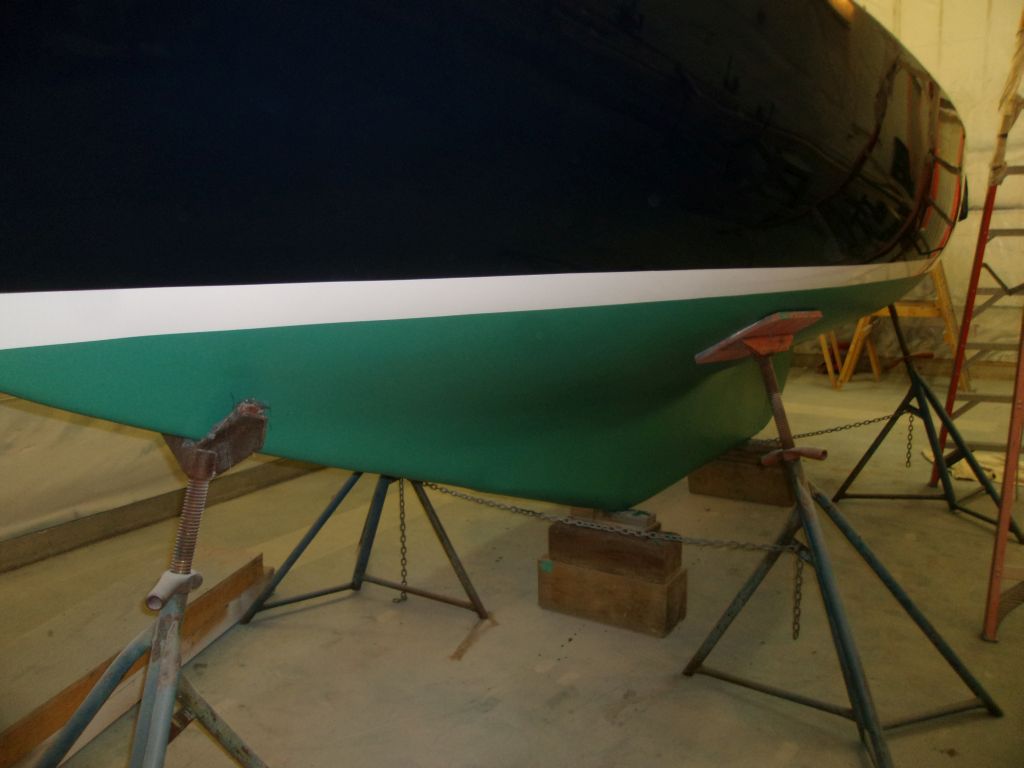
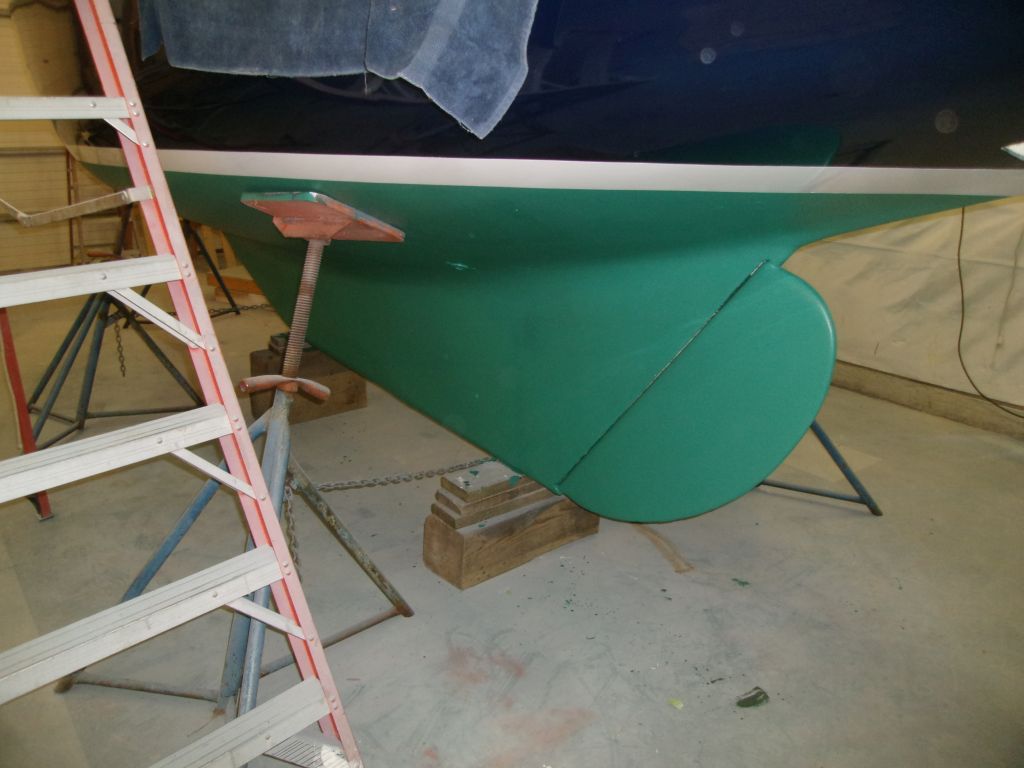
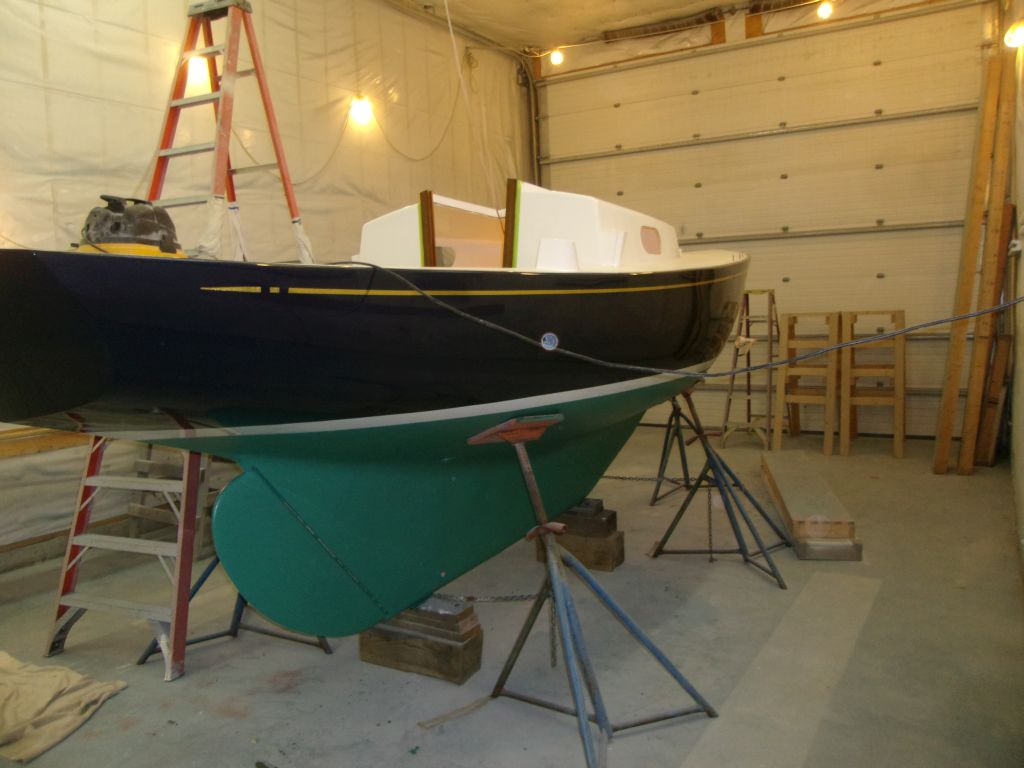
After repositioning the jackstands, I painted the patches on the bottom that had been beneath the stands during the second coat.
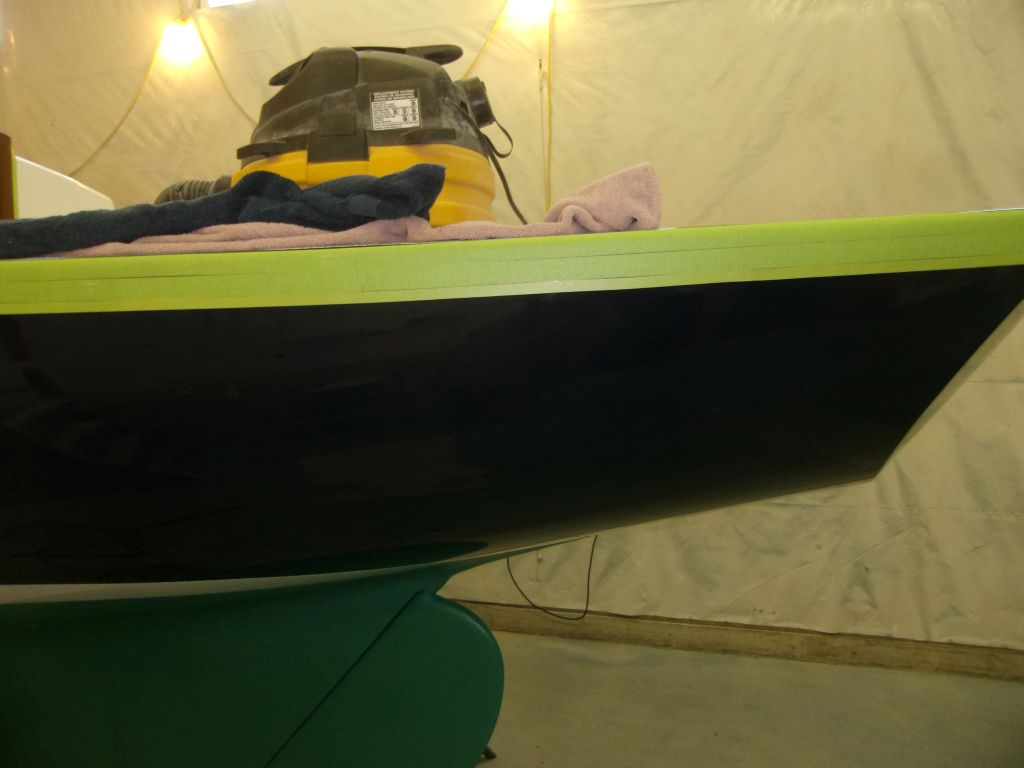
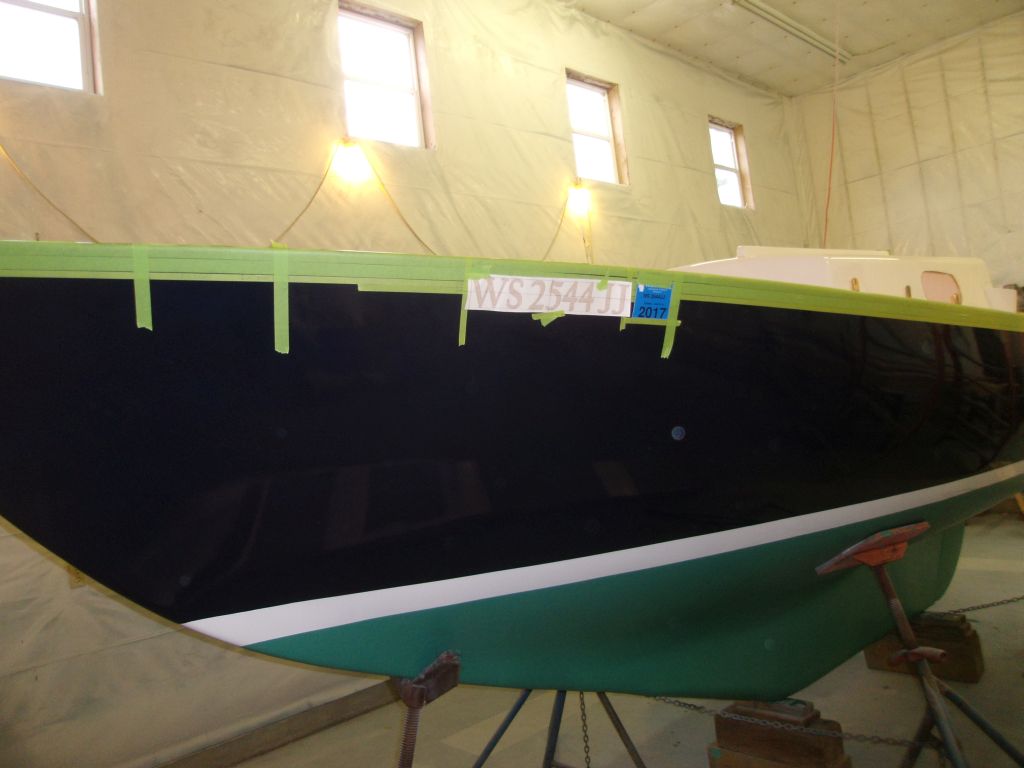
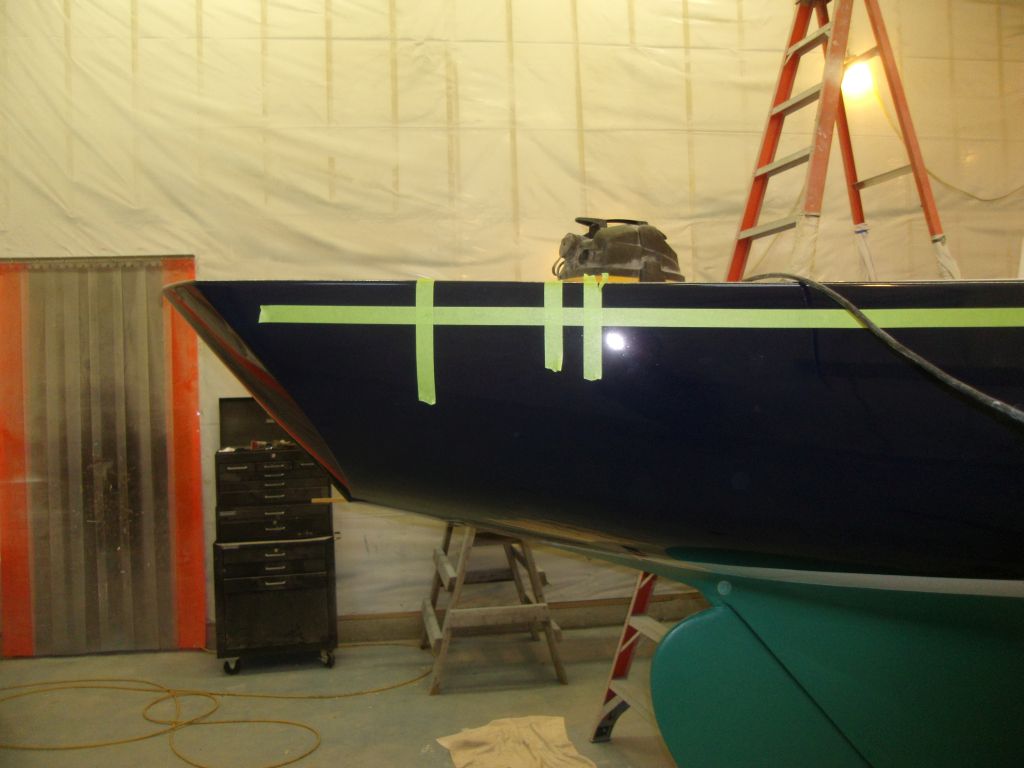
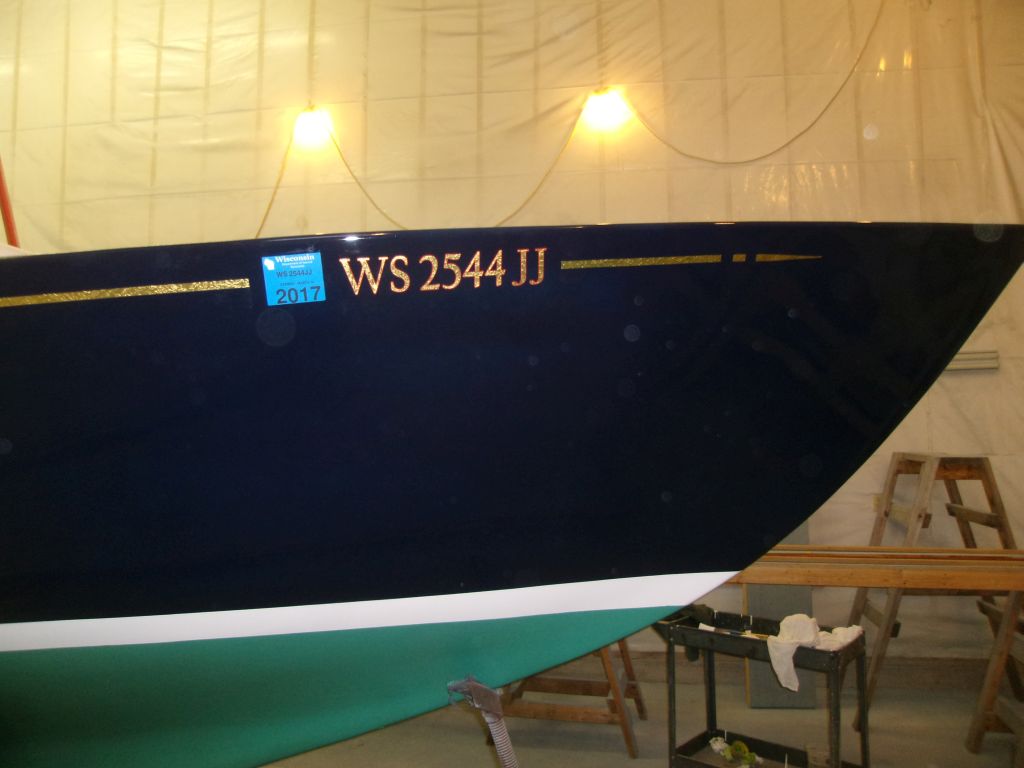
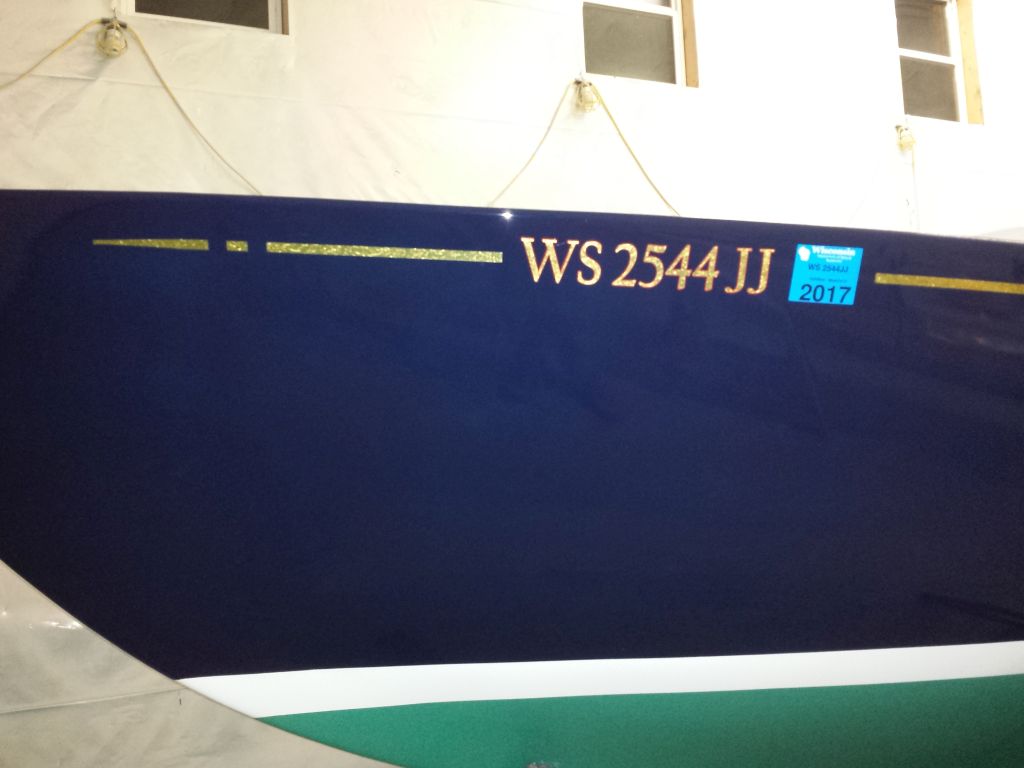
To install a cove stripe, I began by marking the new stripe's location with masking tape, starting with a strip at gunwale height (eyeballed in line with the deck), and adding additional widths of tape below, fairing each by eye, till I reached the location I wanted, or 2-1/2" below the gunwale, which I determined after trying both 2" and 3" from the gunwale, neither of which looked correct. To test the position, I installed a 1/2" masking tape stripe in the chosen position on the starboard side, and removed the alignment tape above to ensure that I liked the position.
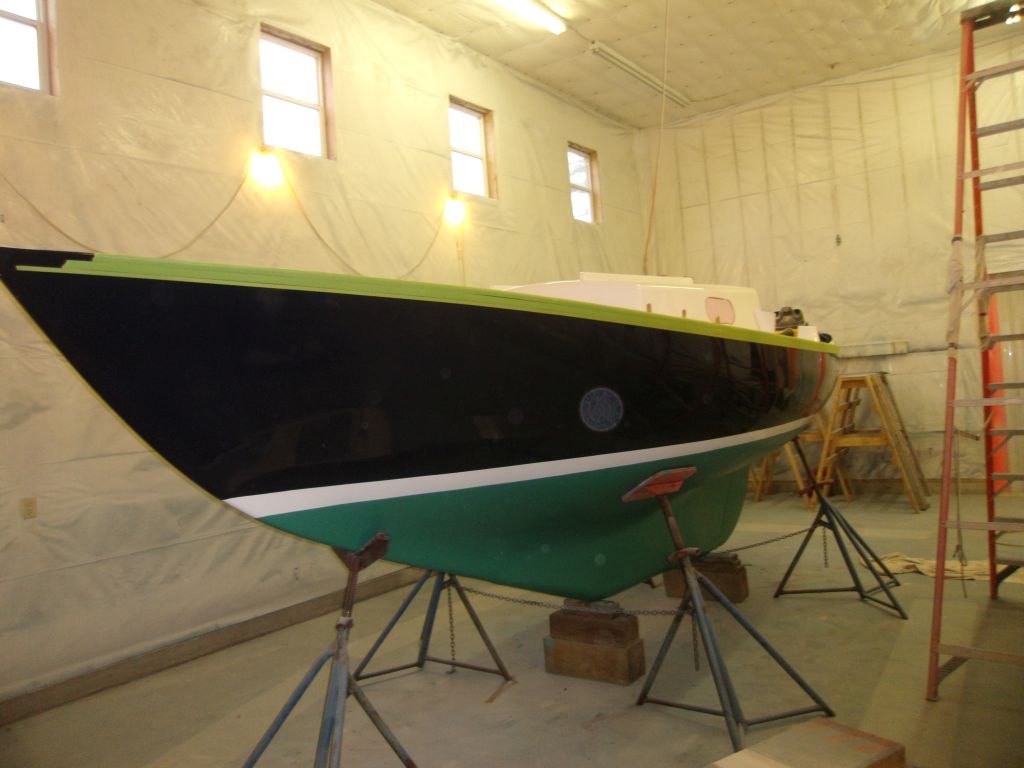
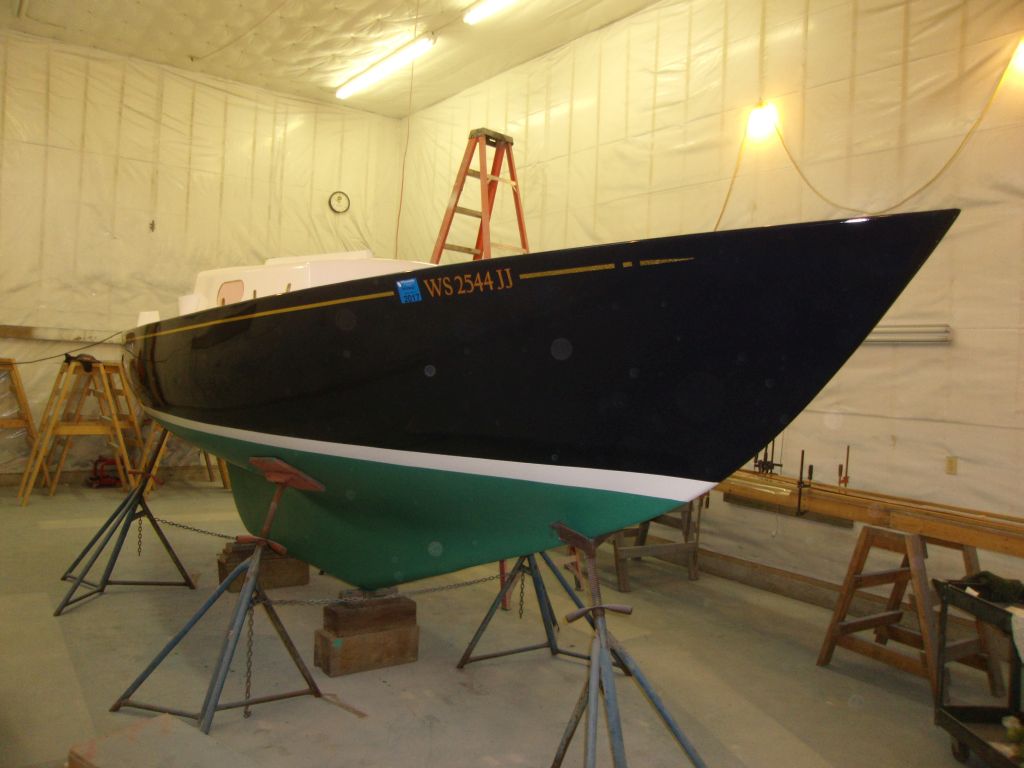
At the bow, I needed to incorporate registration numbers and a sticker, and after various test iterations I determined to begin the cove stripe 24" aft of the stem, with an arrow and a dot, then a 12" span of cove stripe (I tried 24", but it pushed the numbers oddly far aft), then a space for the registration numbers and state sticker. This all looked right to me, so I made notations on the tape above the final stripe location for reference when I installed the gold-leaf vinyl.
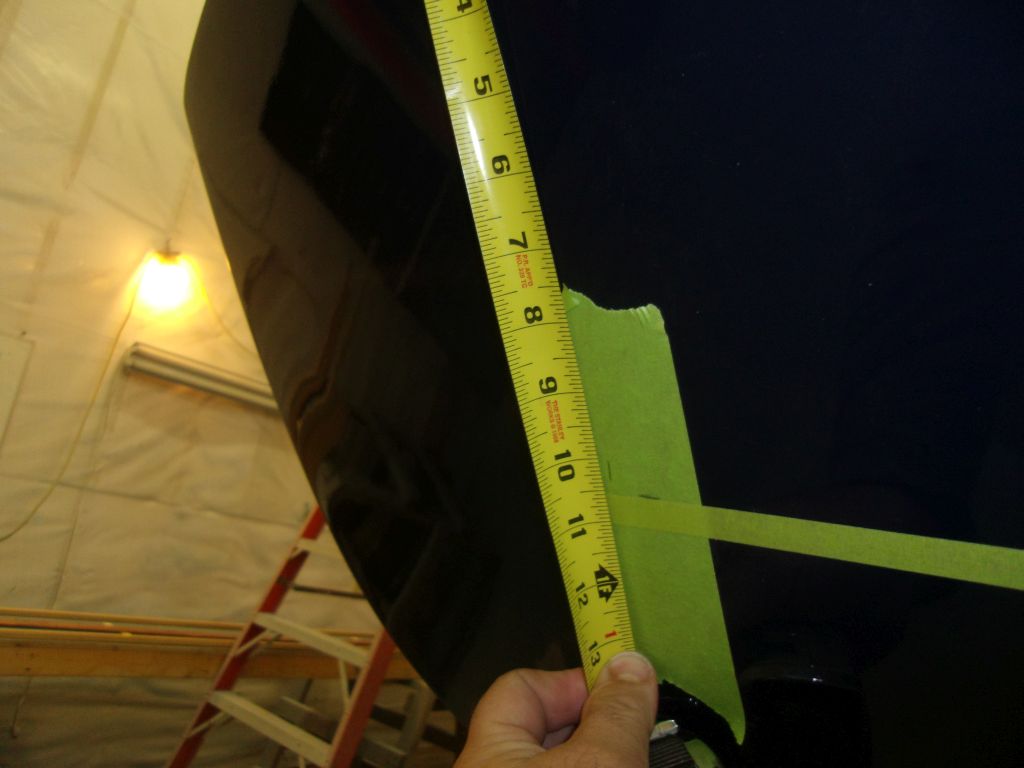
At the stern end, I chose to end the cove stripe 12" forward of the transom, with an arrow and dot to match those at the forward end.
On the starboard side, where I'd removed the alignment tape strips earlier, I reinstalled one strip of tape above my fake cove stripe to give me the line of reference required for the actual stripe.
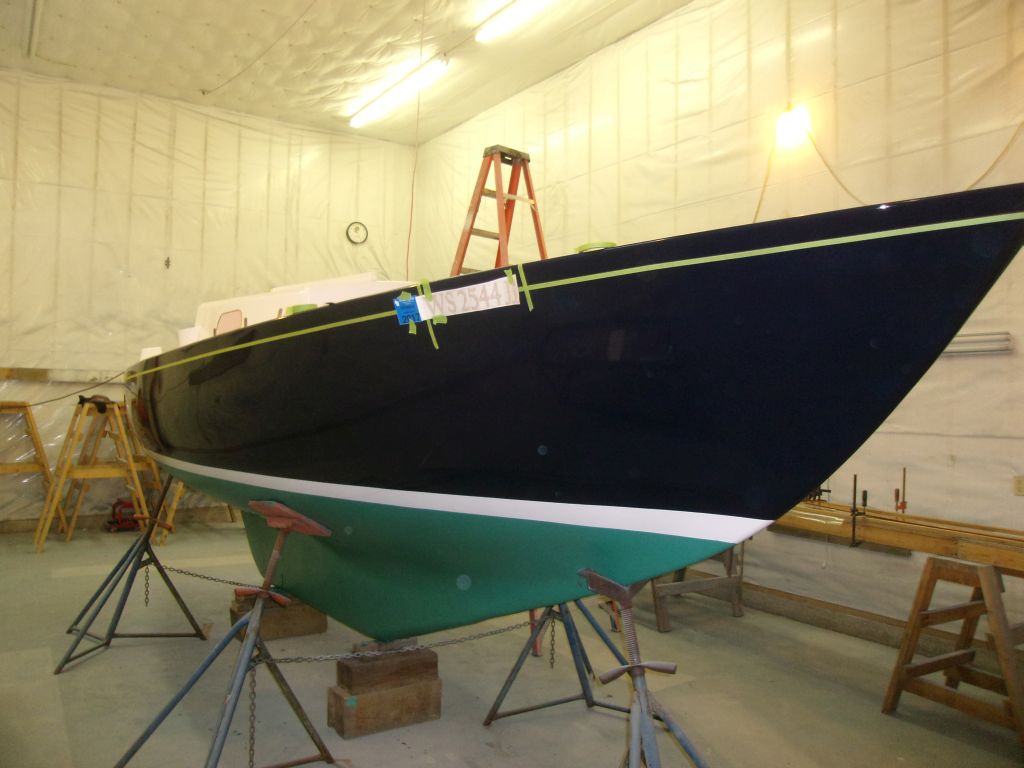

With the layout complete, I installed the vinyl striping, registration numbers, and the state sticker. The sticker was an unfortunate travesty of aesthetics, but you can't fight city hall. Obviously sticker-design bureaucrats have never owned a nice boat.
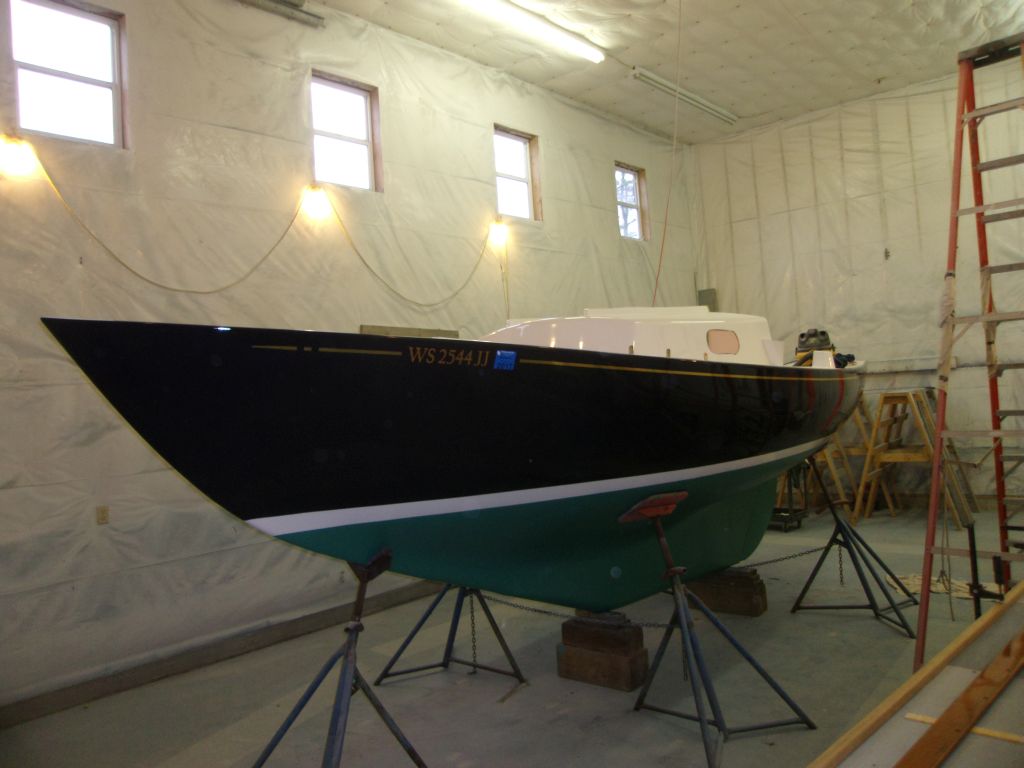

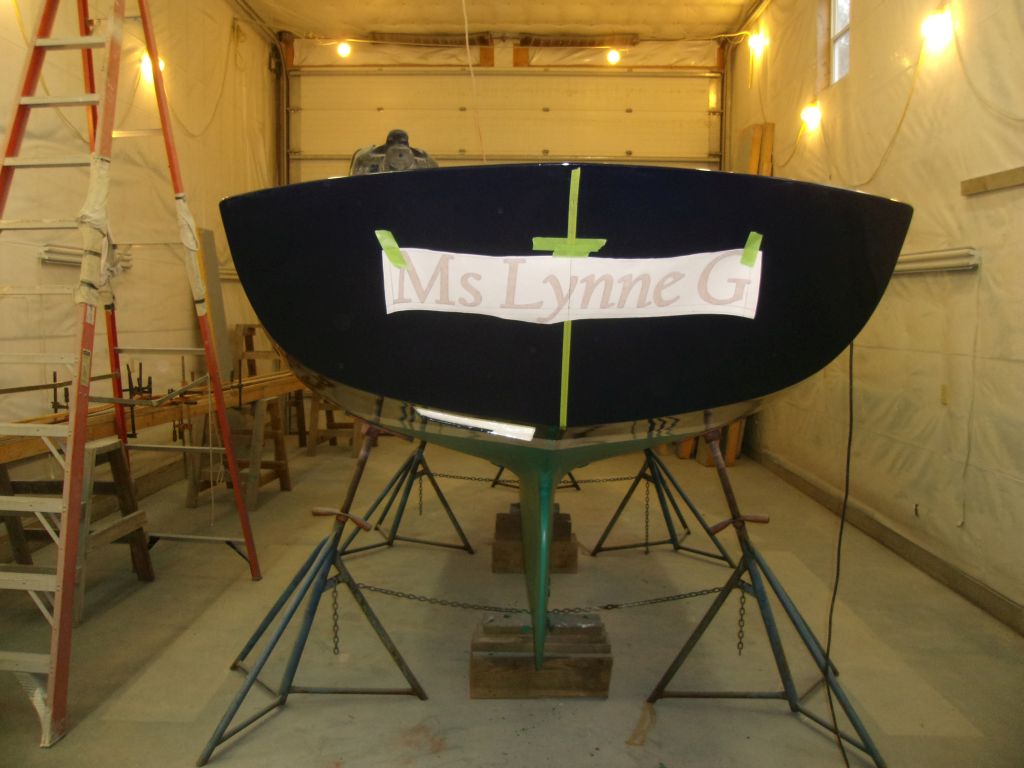
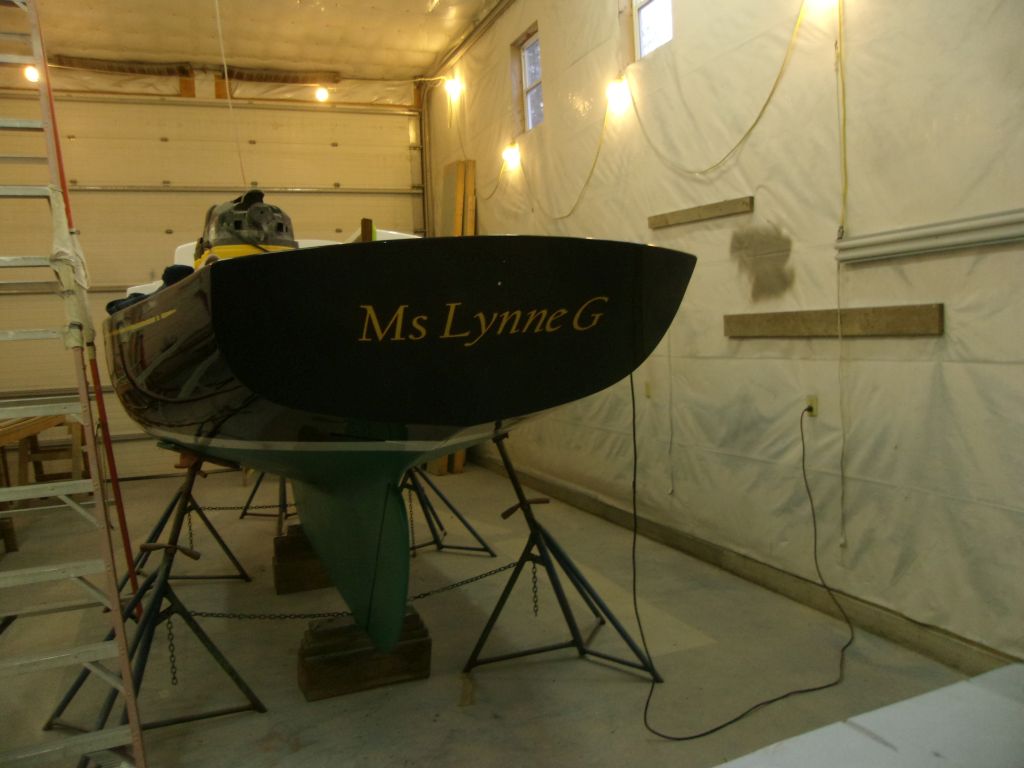
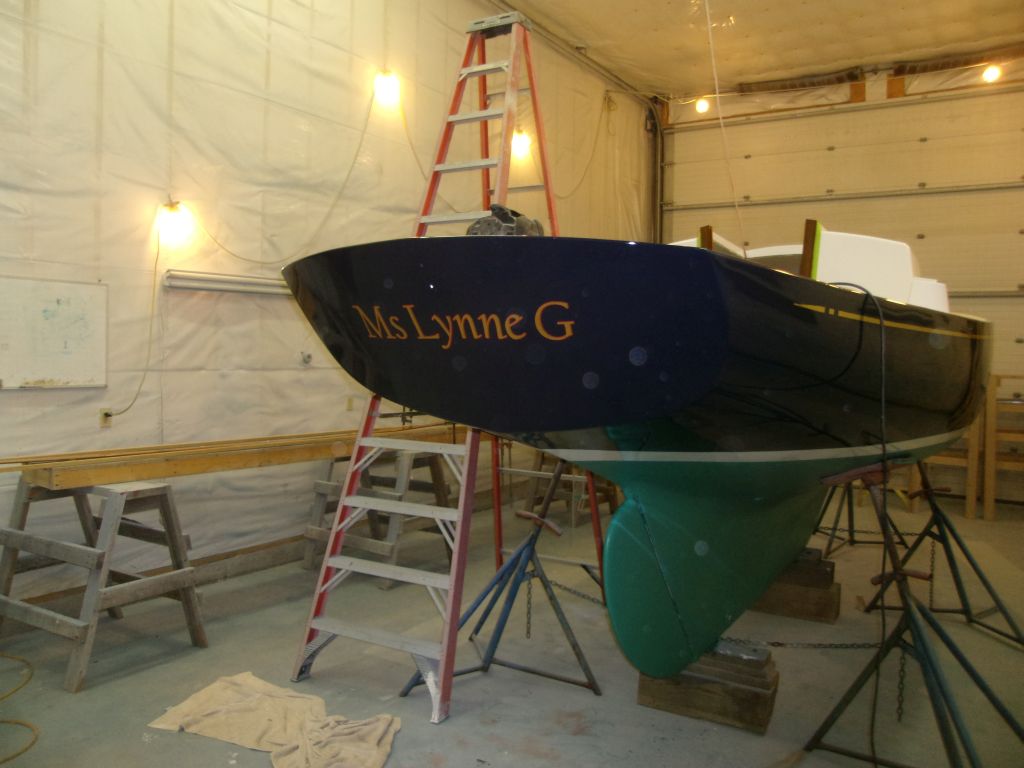
Next, I turned to the boat's name. On the transom, I first laid out a vertical centerline, then determined the final height of the name. To ensure I didn't interfere with the backstay chainplate (not in place at the moment), I temporarily held the chainplate in place and marked its lower extent on some tape. With the name and its backing paper held temporarily in place, I adjusted the height to where I thought it should be: above the horizontal centerline of the transom, but not squeezed too close to the chainplate or the top of the transom. There was no hailport to install, so the name could take center stage.
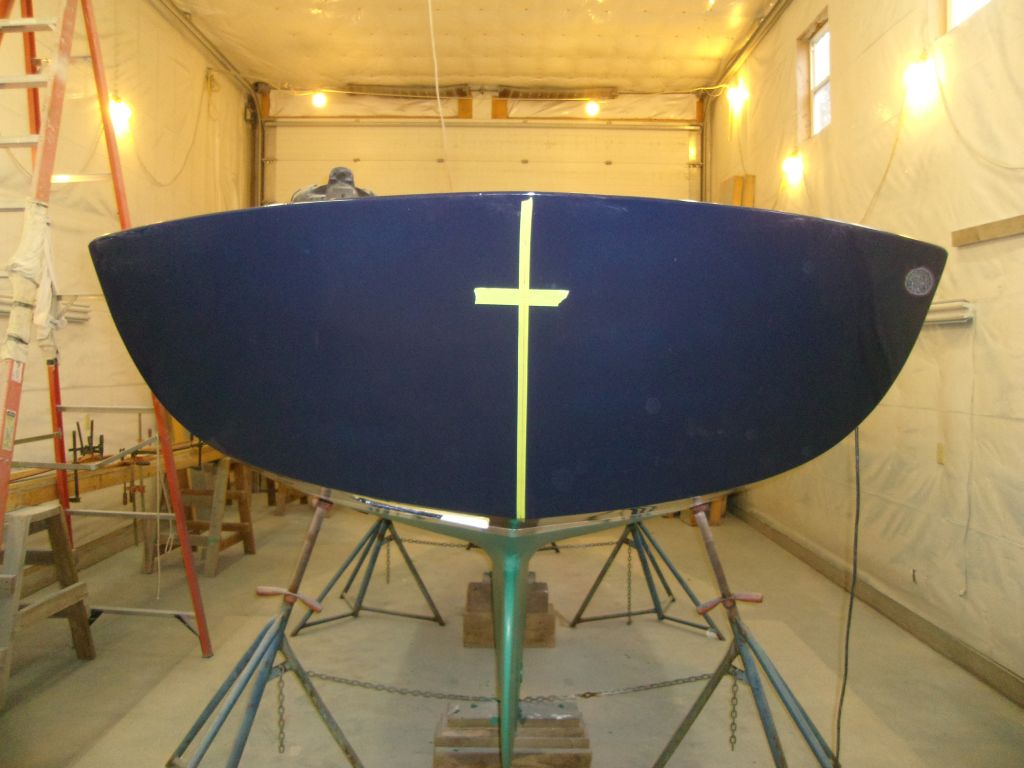
With the vertical position of the name determined, I laid out a horizontal alignment mark at the desired height. For my own installation purposes, I made this taped line 1/2" below the actual baseline of the name, so that the tape wouldn't interfere during installation; I'd drawn a corresponding alignment mark on the vinyl mask paper. I used a level to mark several areas off the vertical centerline, and connected them with masking tape, checking the two ends to double-check that they were the same distance from the deck edge above. (I'd already re-checked the boat's level status after moving the stands around.)
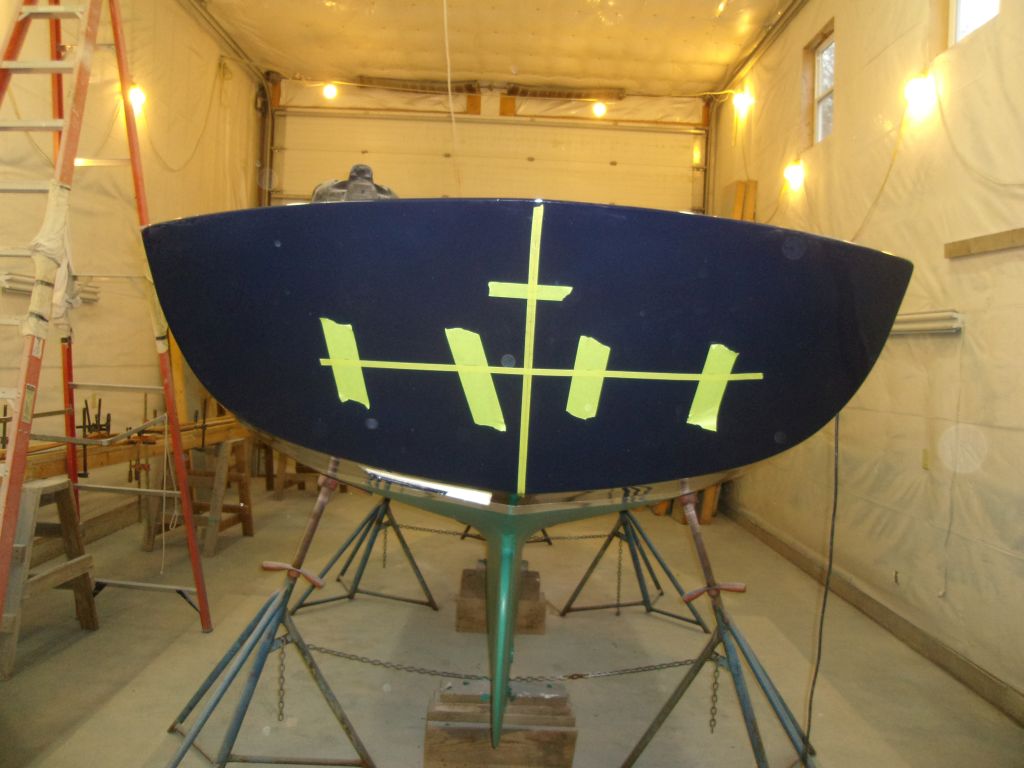

The curvature of the transom meant that the name would curve upwards at the edges unless I corrected it by creating a slight arc in the name, though its final appearance would be straight and level. So where needed, I cut the backing to allow me to reposition the lettering according to my horizontal layout line. Each edge of the name curved up about an inch from the final line till I made the adjustments needed.
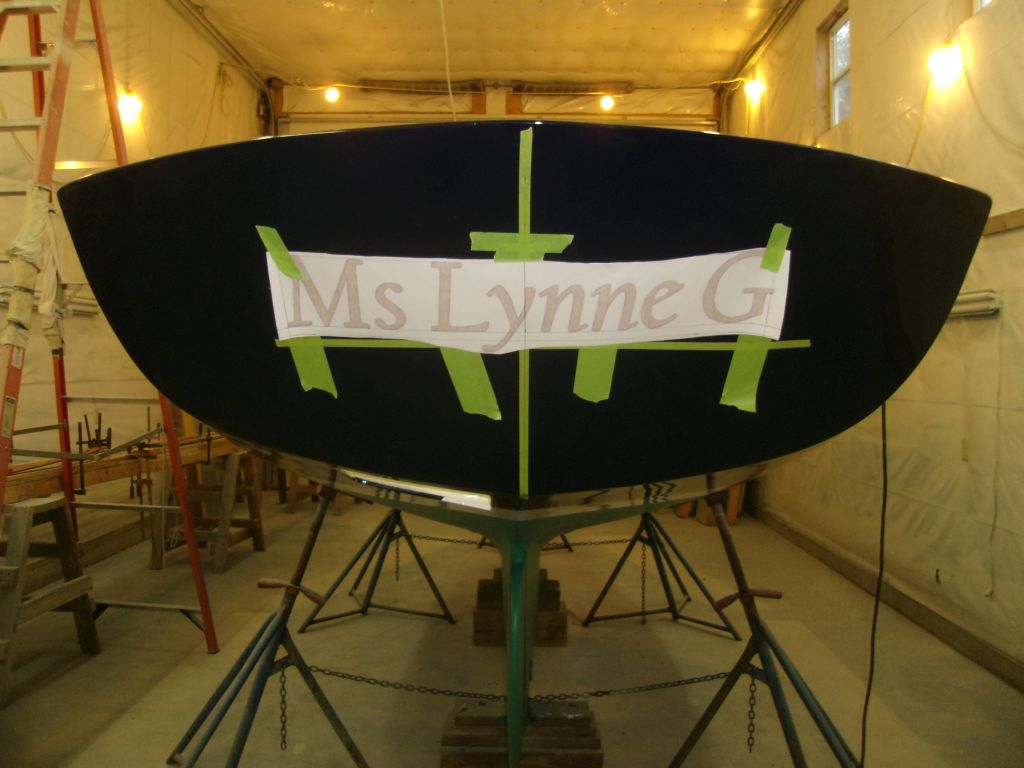
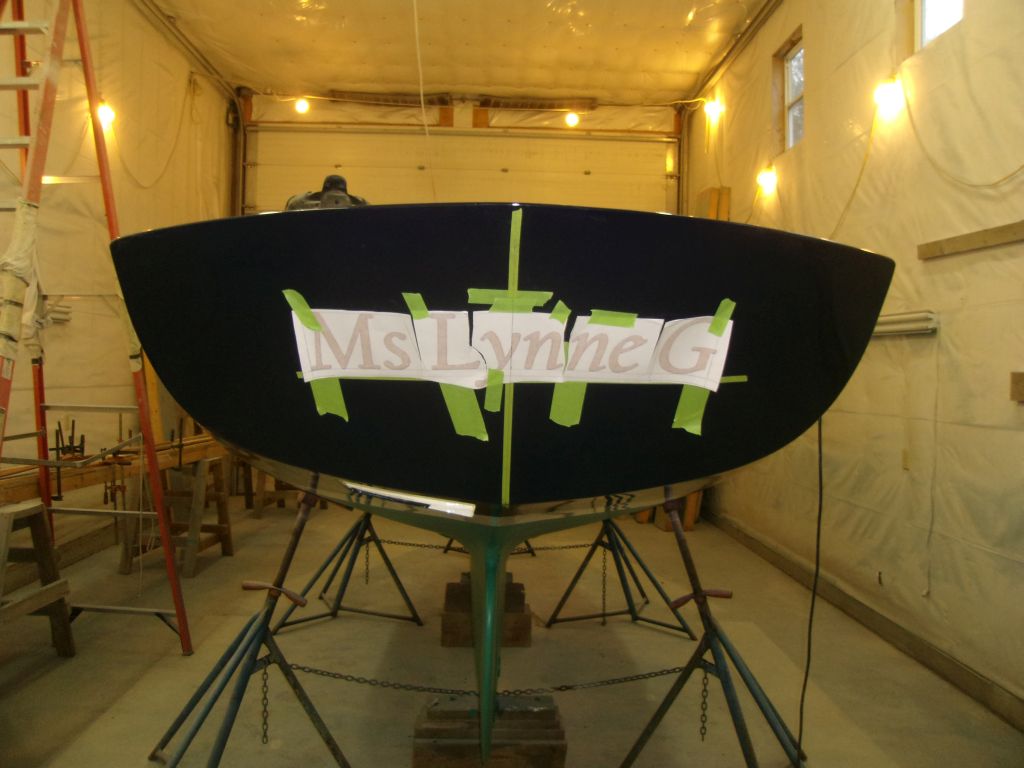
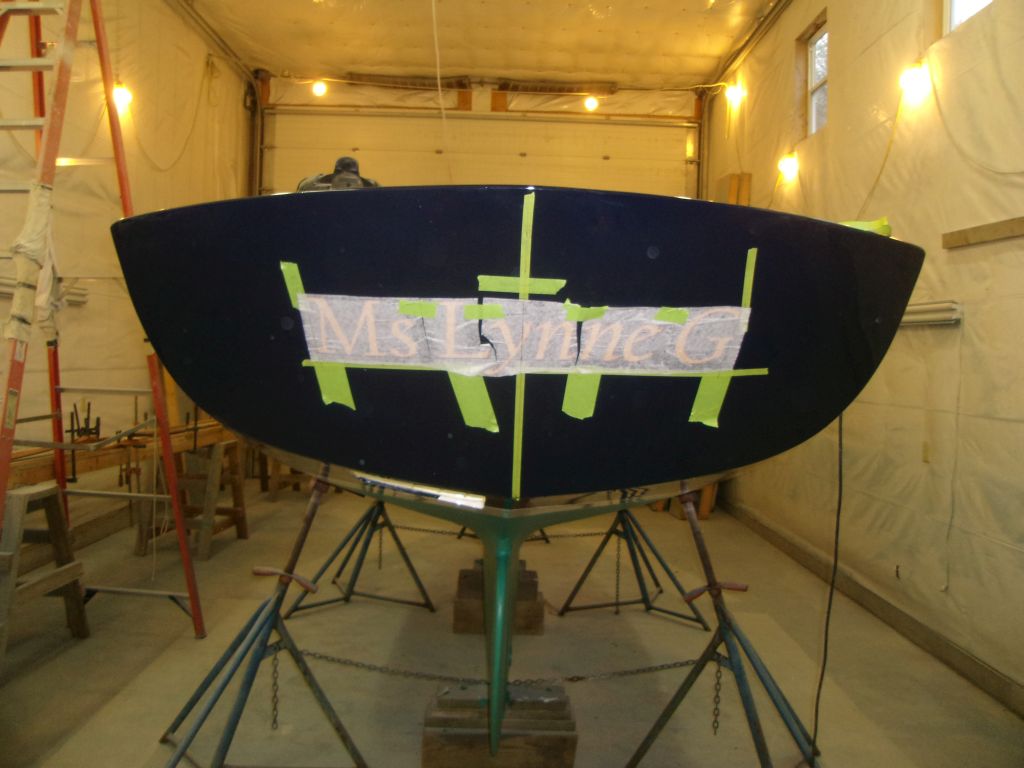
Leaving only a few salient alignment guides in place, I removed the rest of my layout tape, then installed the name, aligning it with the horizontal taped layout line and vertical centerline. The name was gold leaf vinyl with a dark red outline.

I spent the remainder of the day going through the hardware to be reinstalled and determining the fasteners needed, and whether or not I had them in stock.
Total Time Billed on This Job Today: 7.25
Hours
