
110 Cookson Lane | Whitefield, ME 04353 | 207-232-7600 | tim@lackeysailing.com
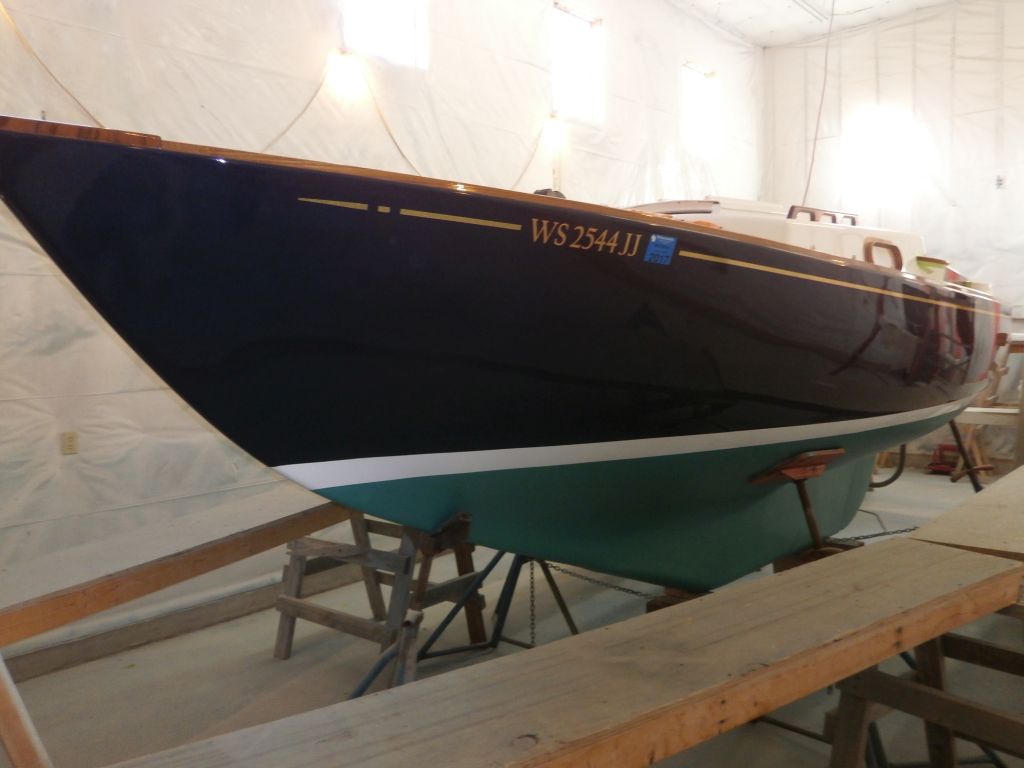
Ms Lynne G | Saturday, November 8, 2014
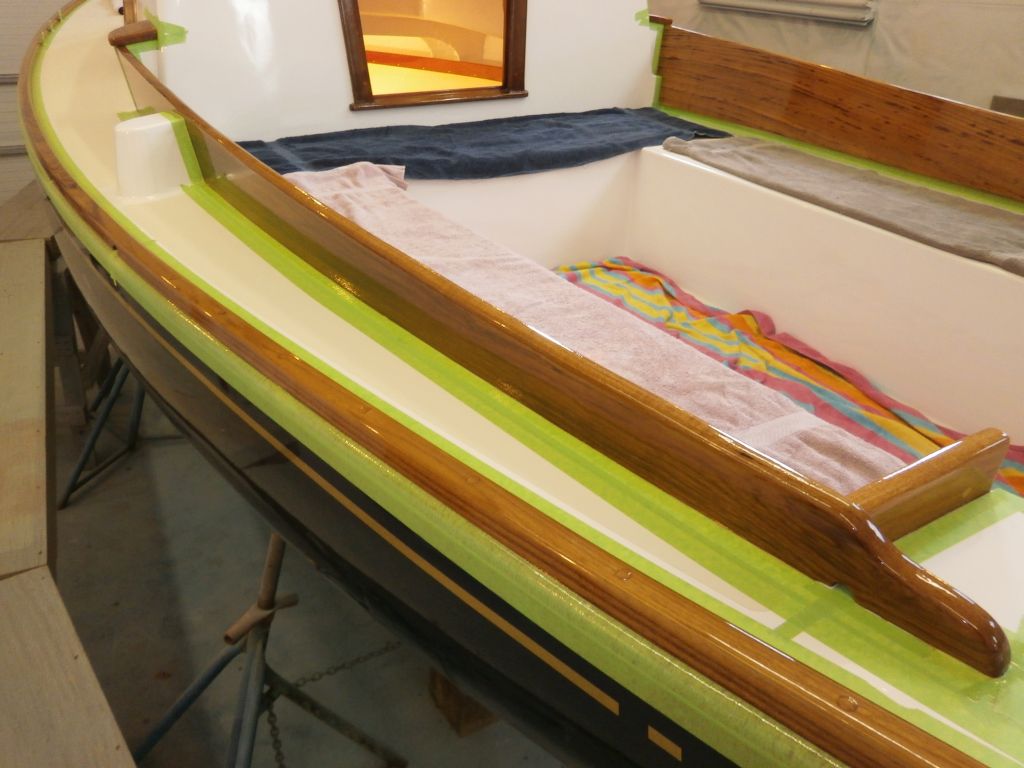
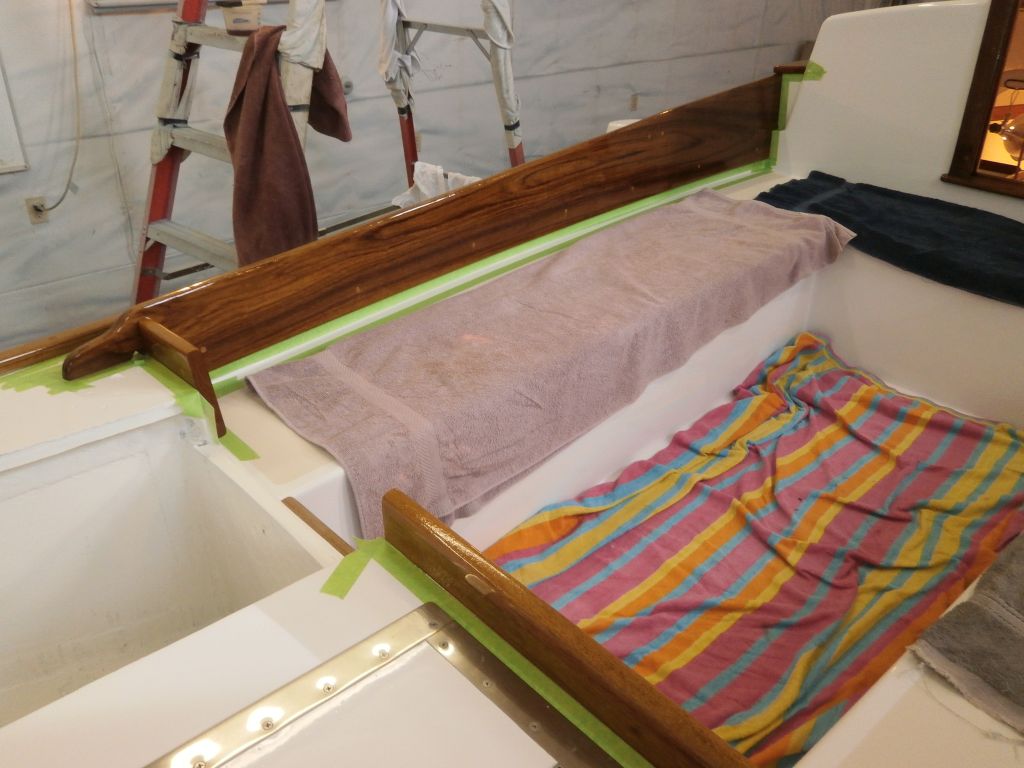
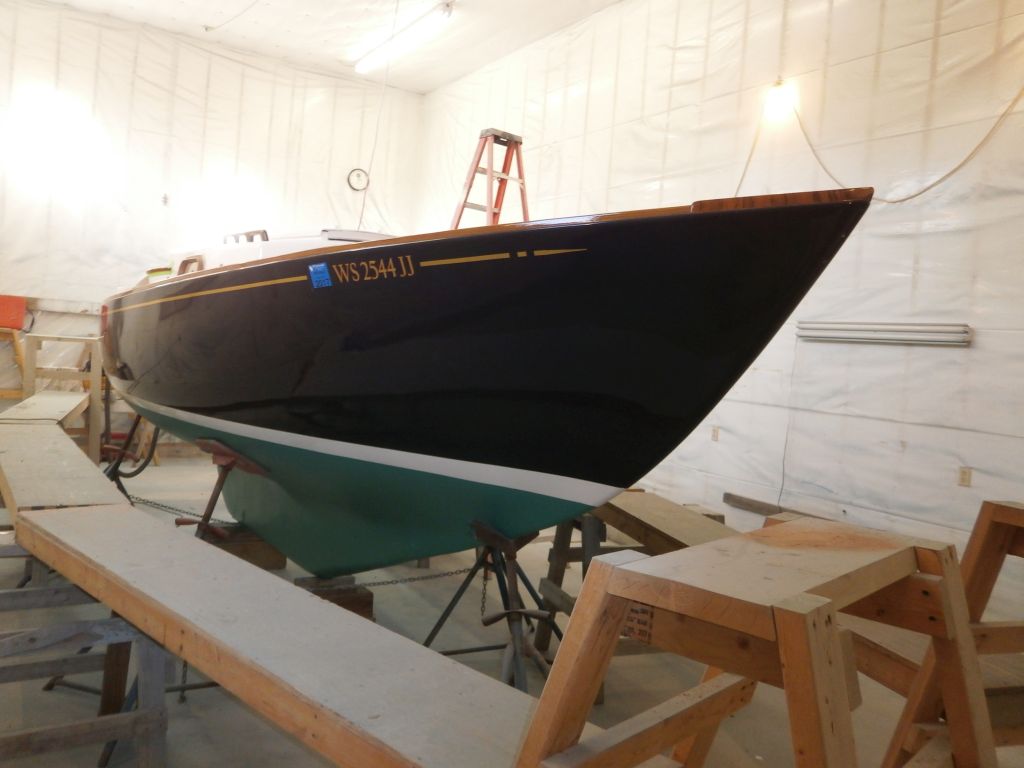
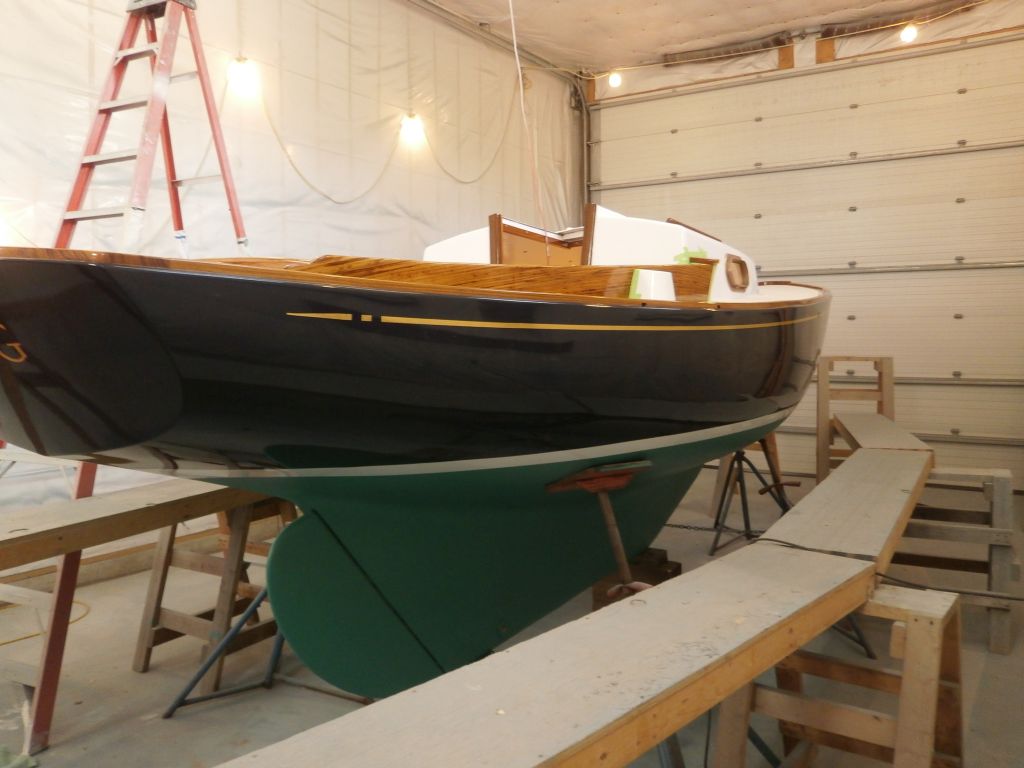
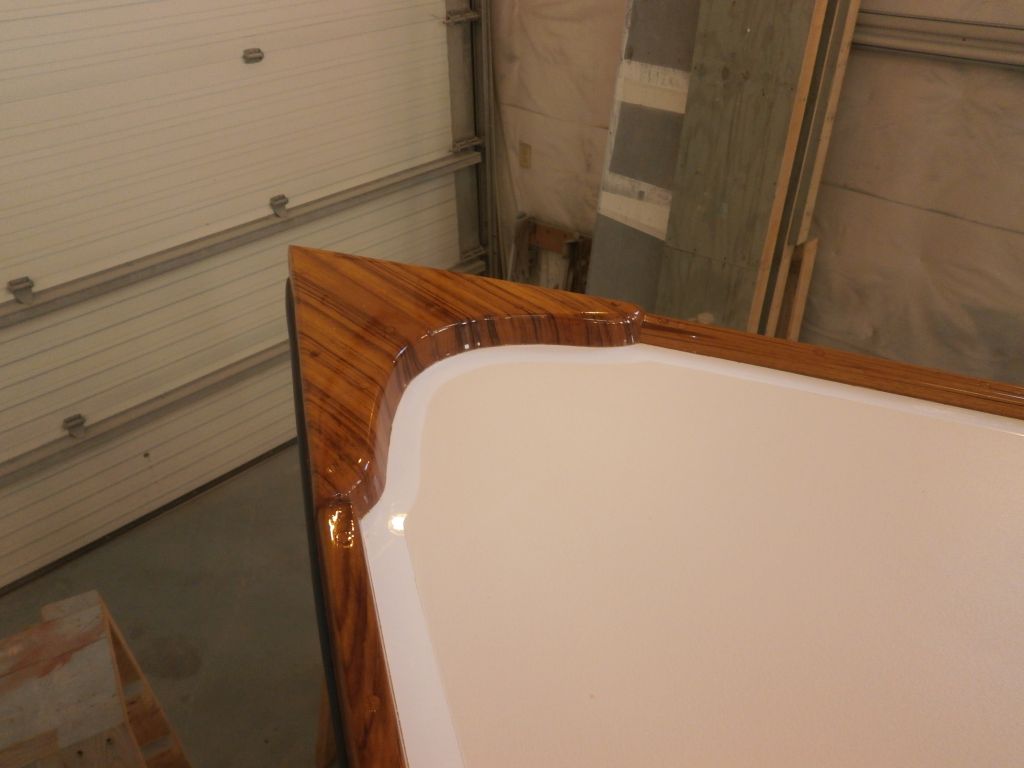
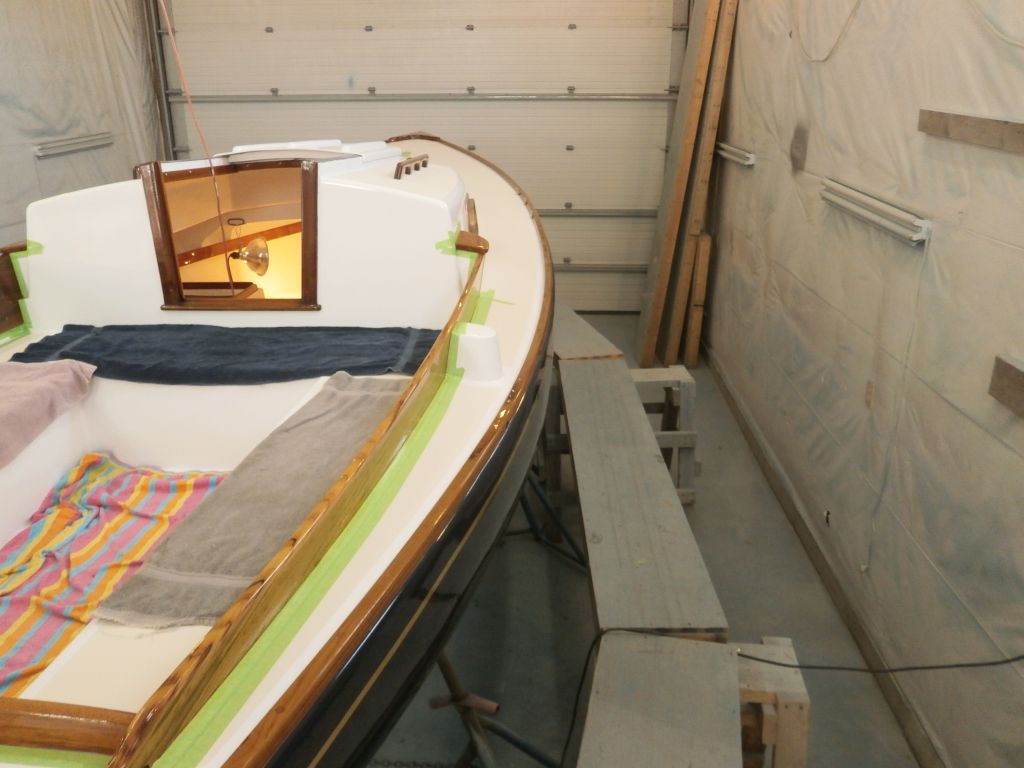
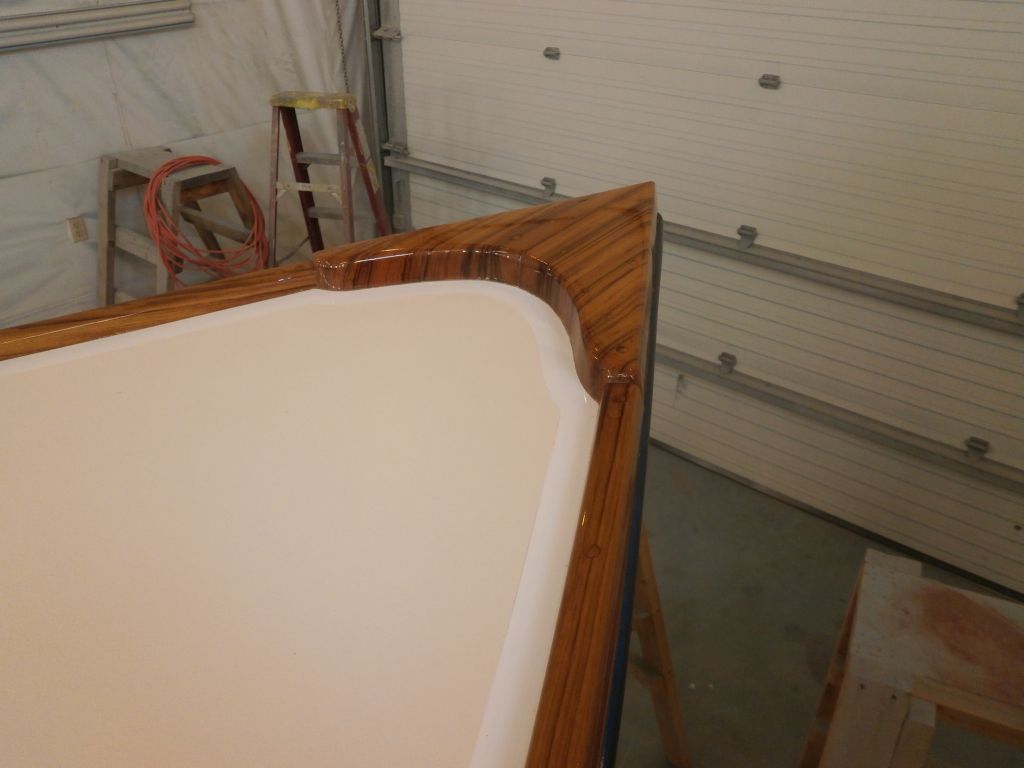
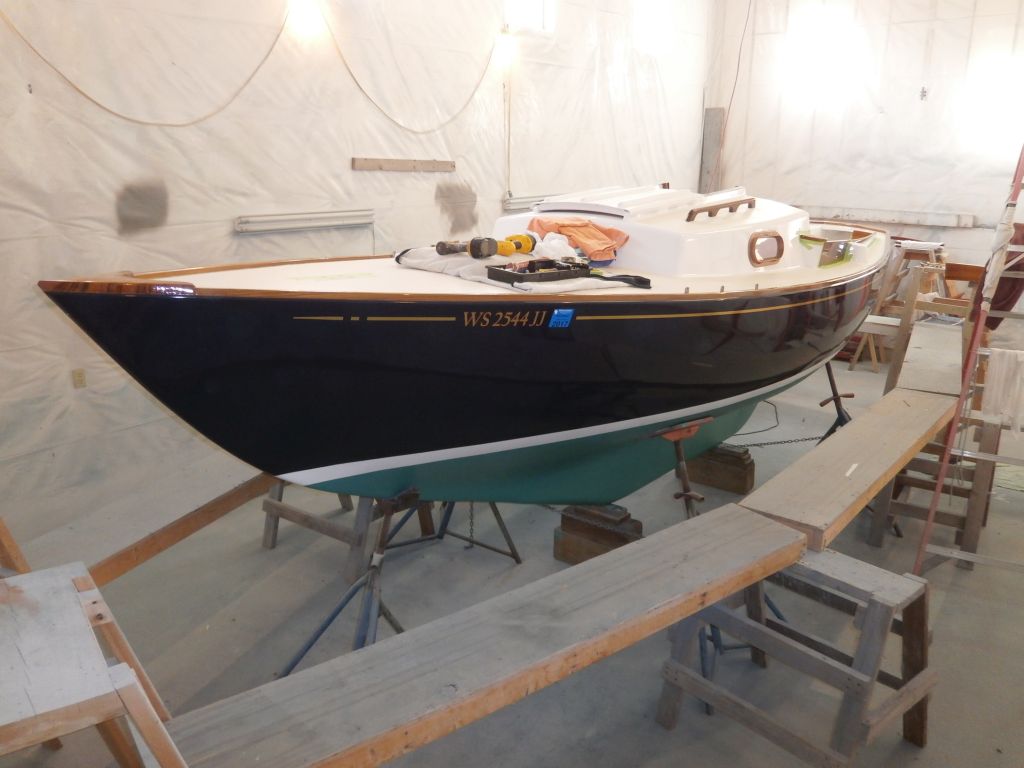
With sufficient varnish coverage (6 or more coats on all areas) on the toerails, and with them looking good, I deemed the varnish work there complete for now (exterior varnish work is never truly complete). But I began the day lightly sanding the coamings to prepare them for their continuing varnish work later in the day.
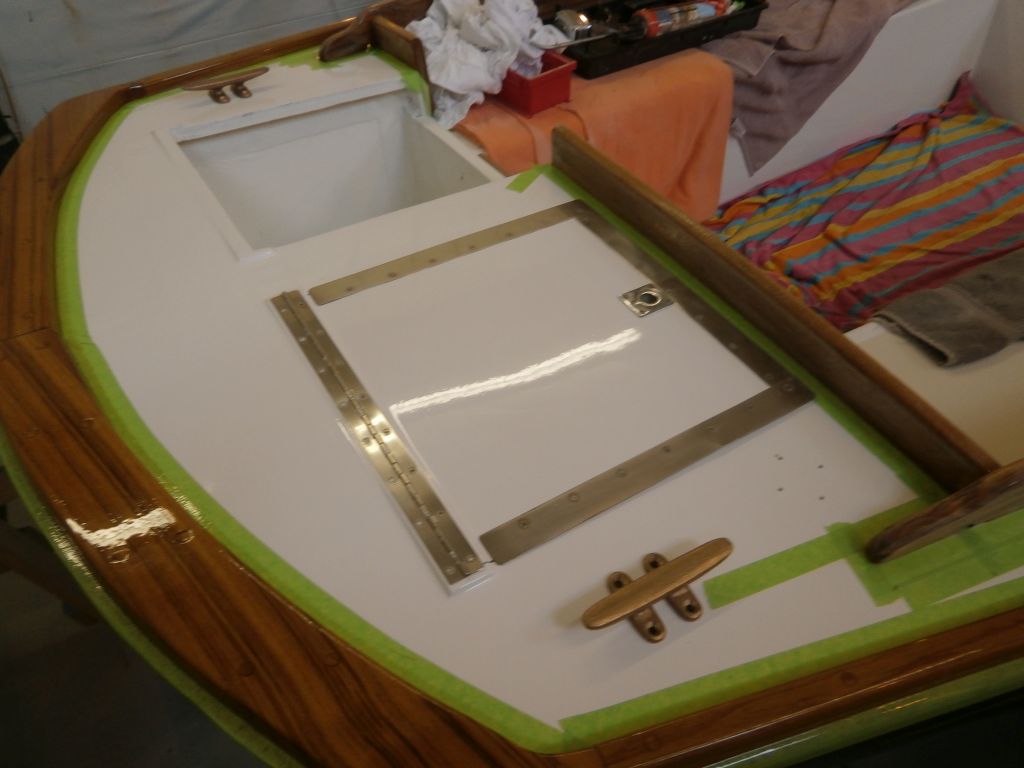
Next, I turned to the companionway hatch and rails. I reinstalled the two stainless steel tracks with sealant and new screws, then slid on the companionway hatch from the forward end before reinstalling the after stop, which incorporated the companionway "tongue" latch.
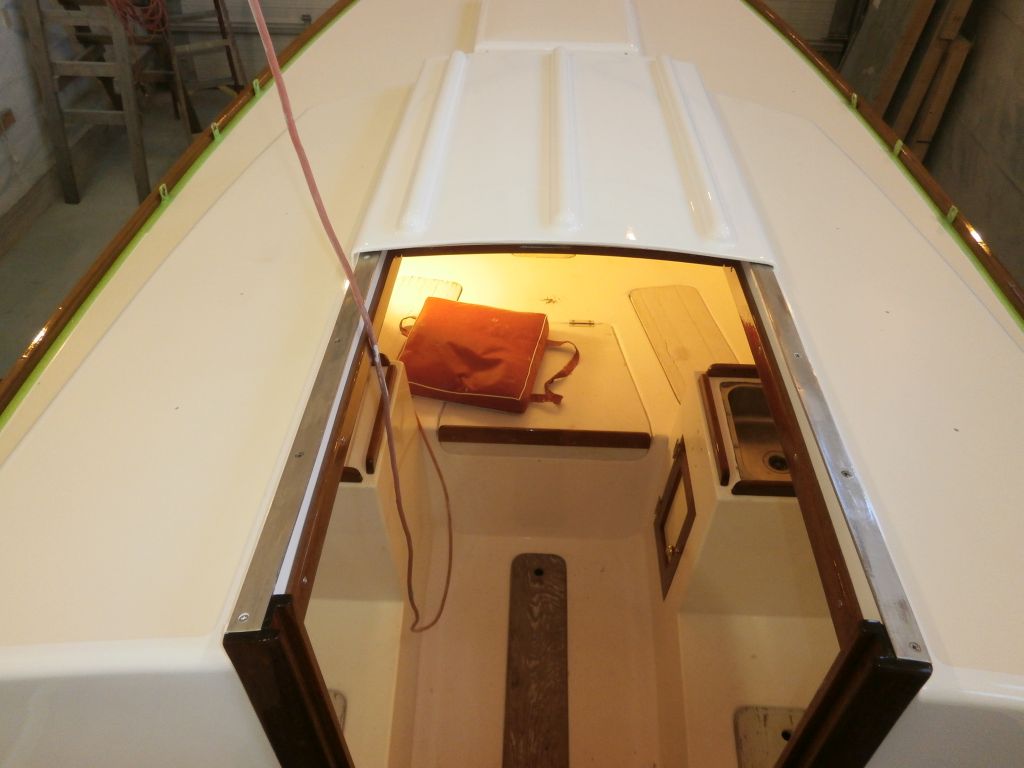

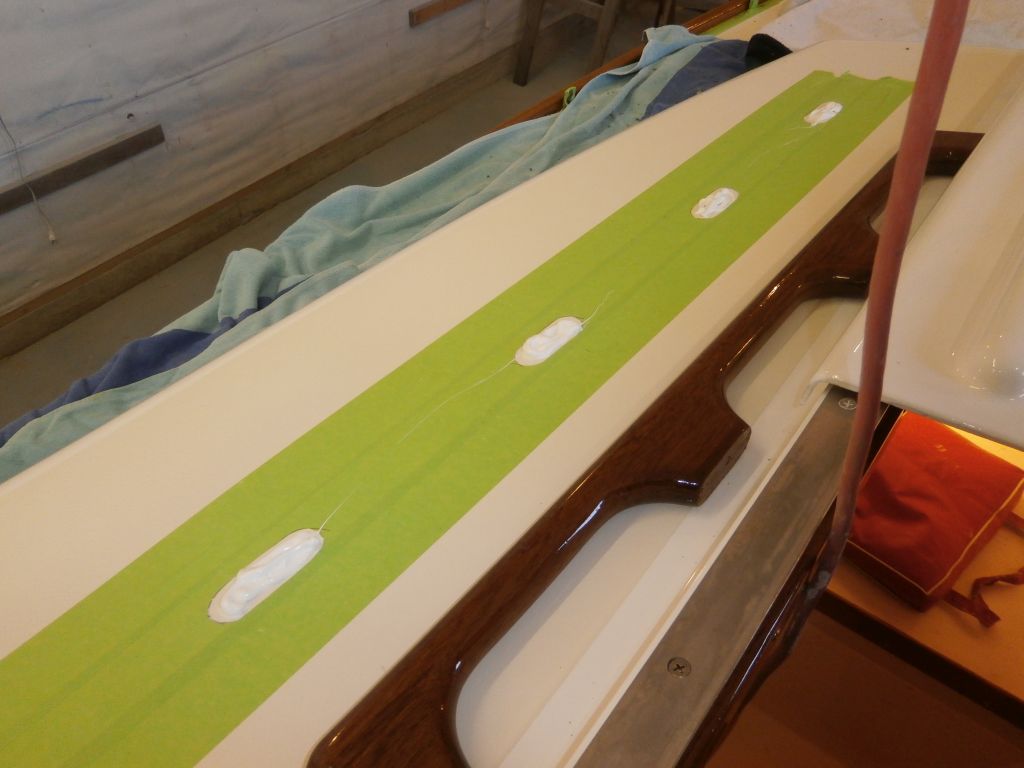
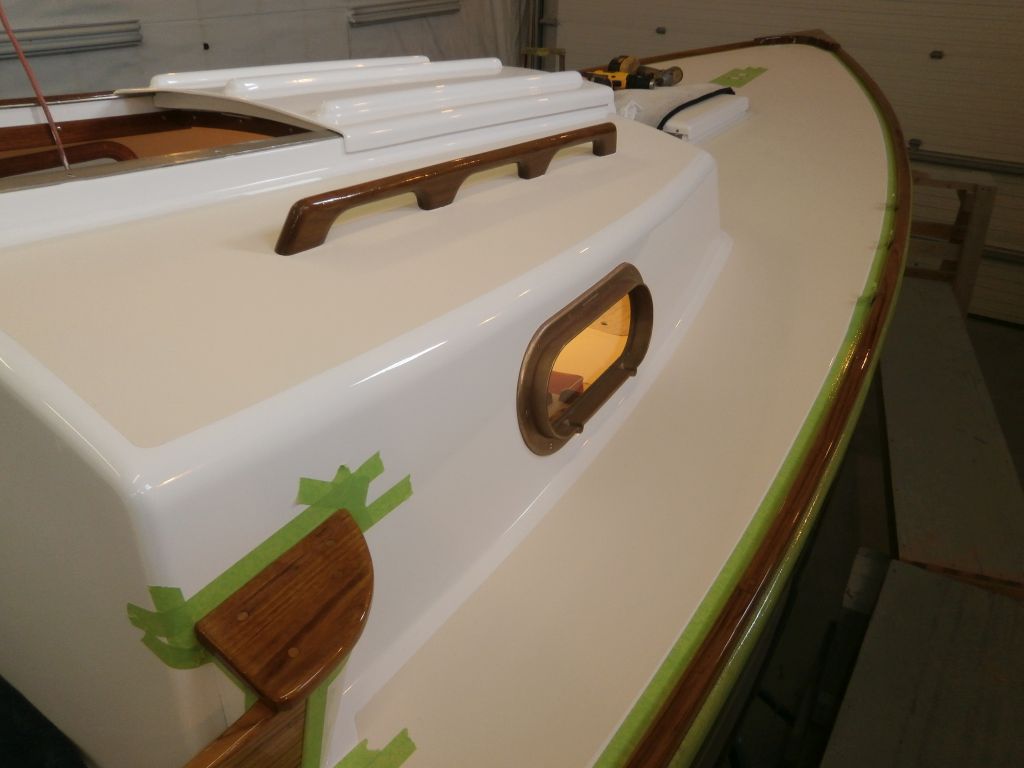
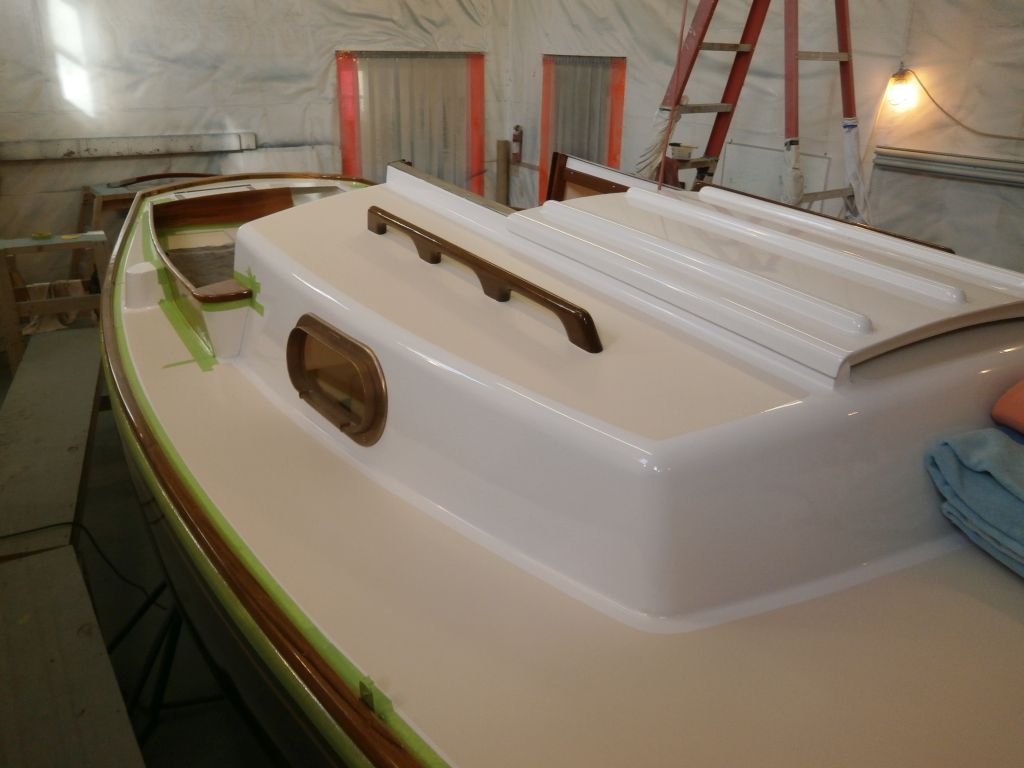
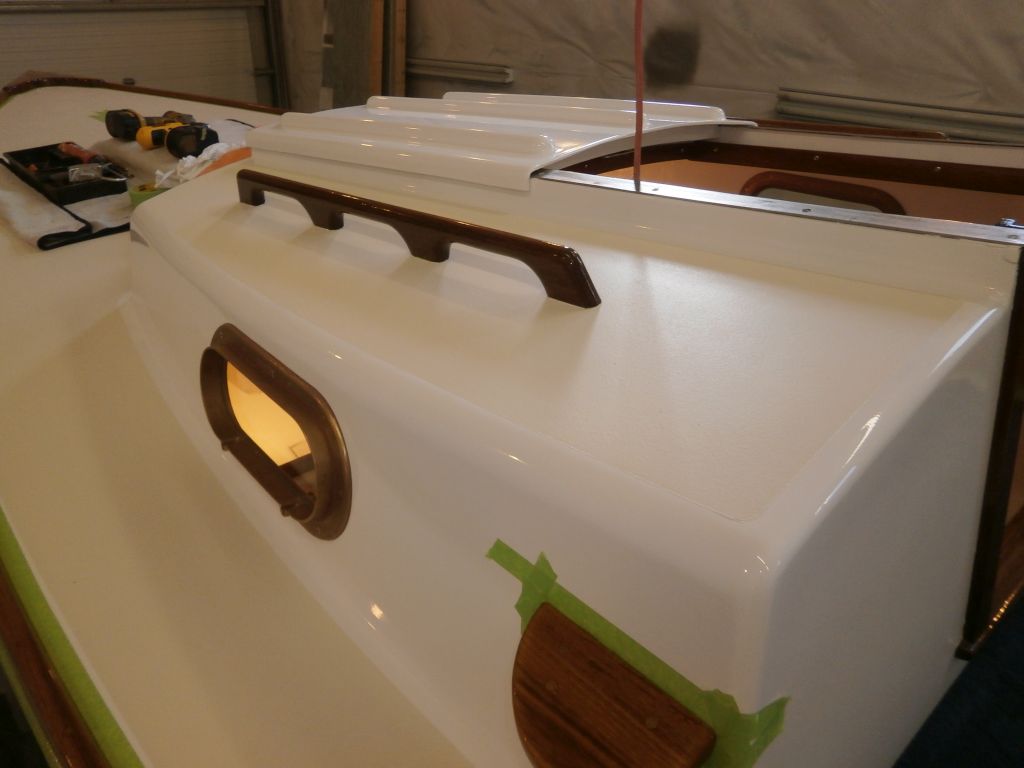
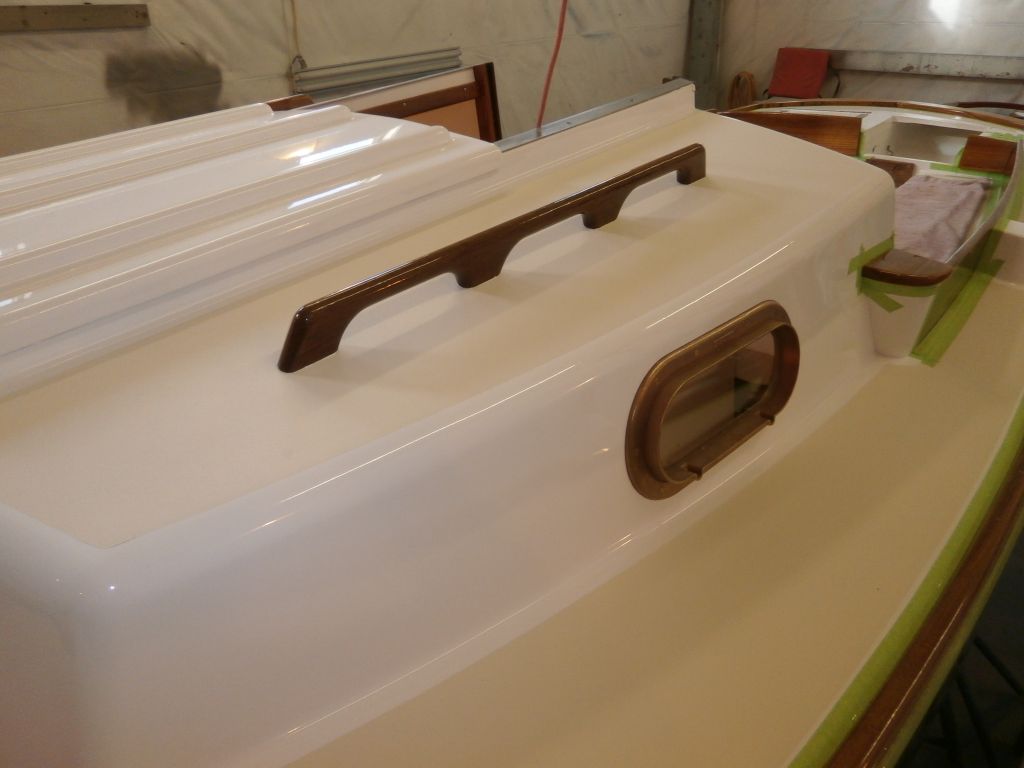
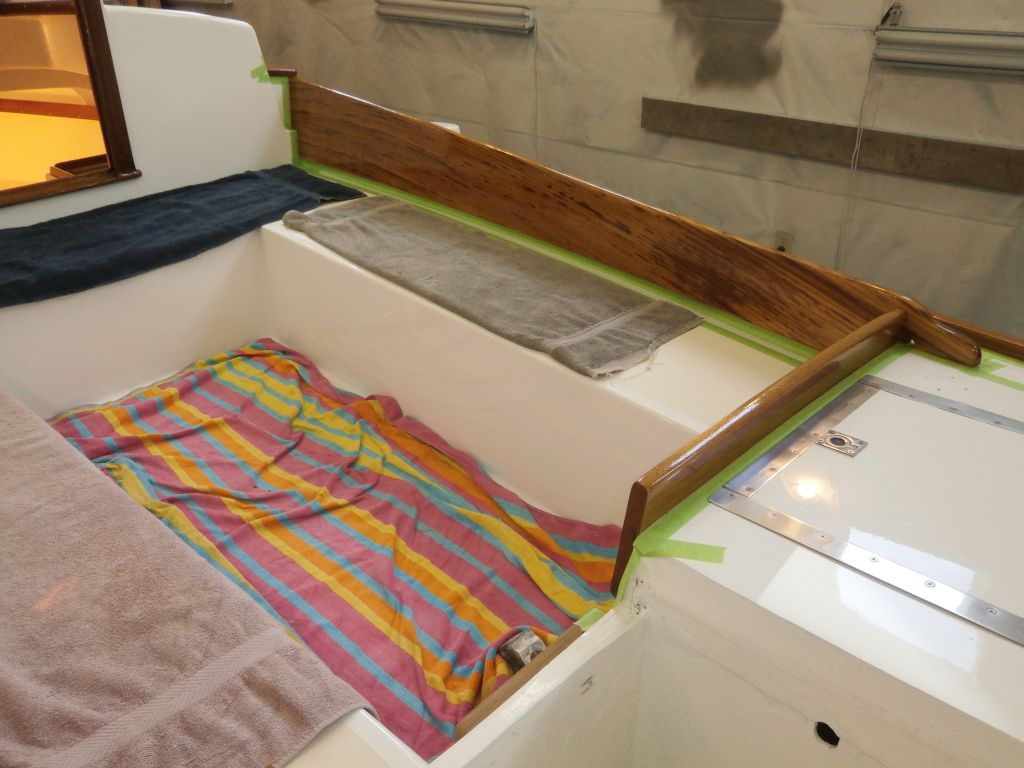
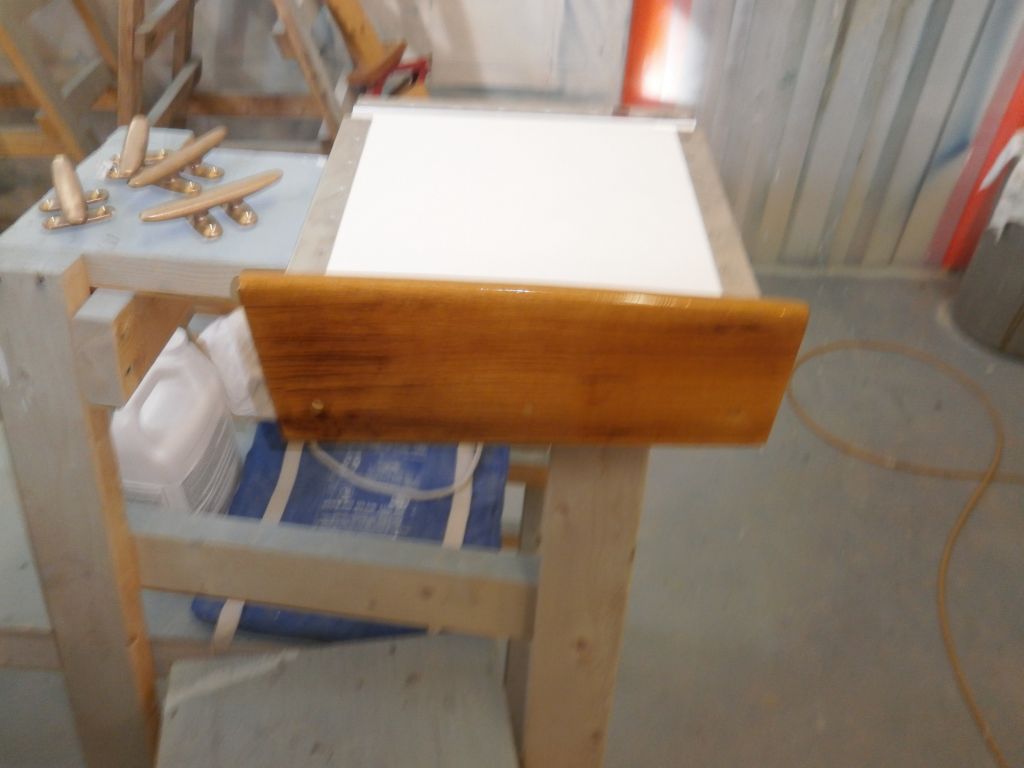
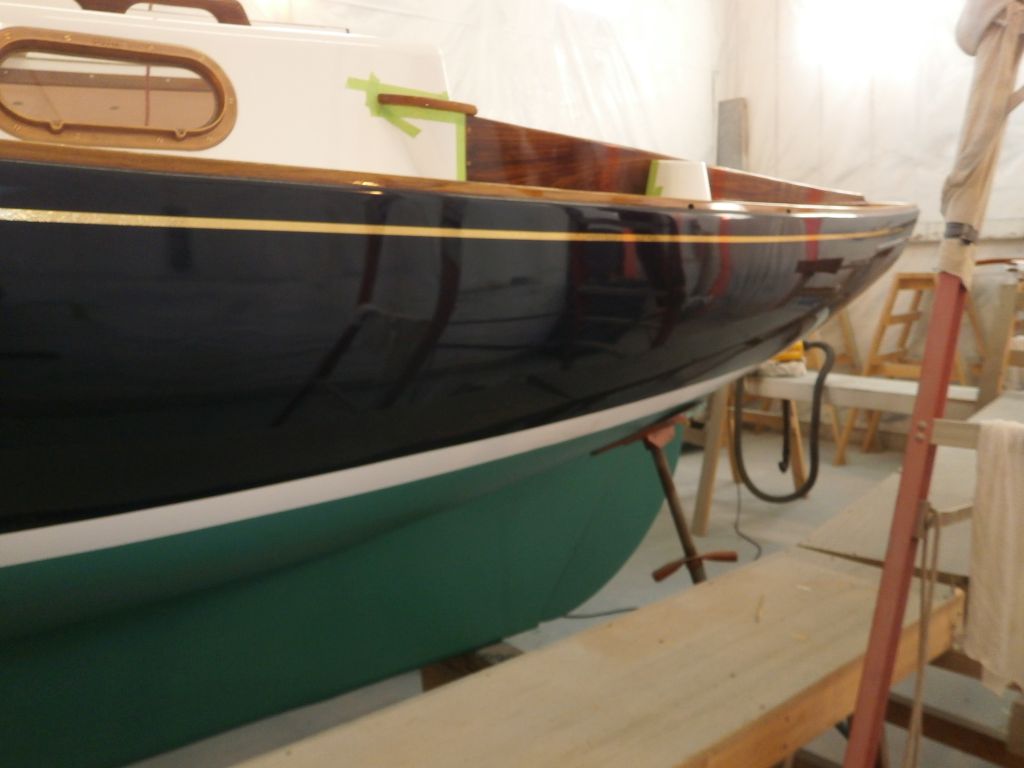
Afterwards, I installed the new teak handrails, which I'd already varnished separately. These fit the same holes left over from the original rails, something I'd determined long before. For each rail, I masked off the decks, then located the rail according to the existing holes in the cabin top, removing the masking tape from the rails' footprints.
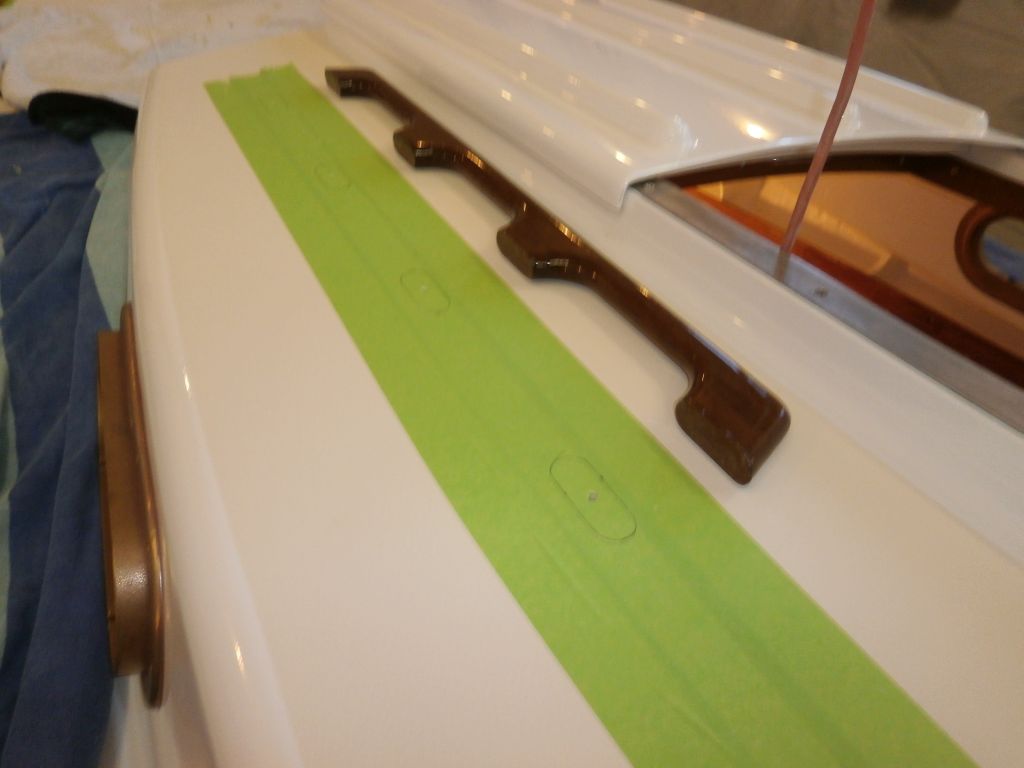
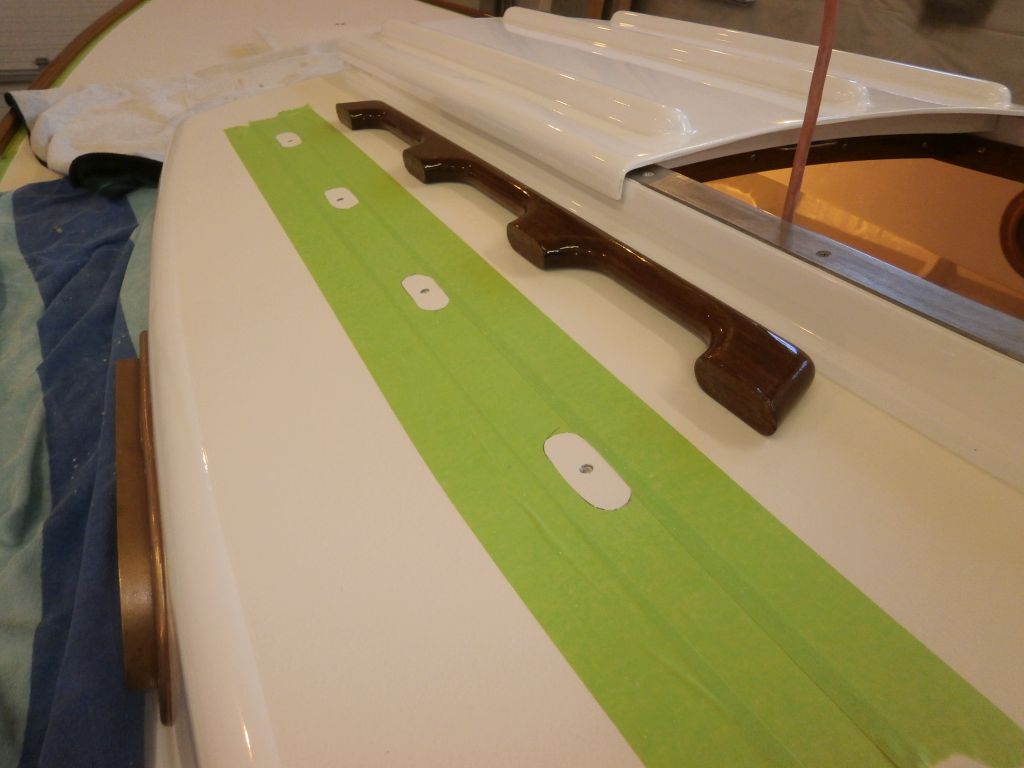
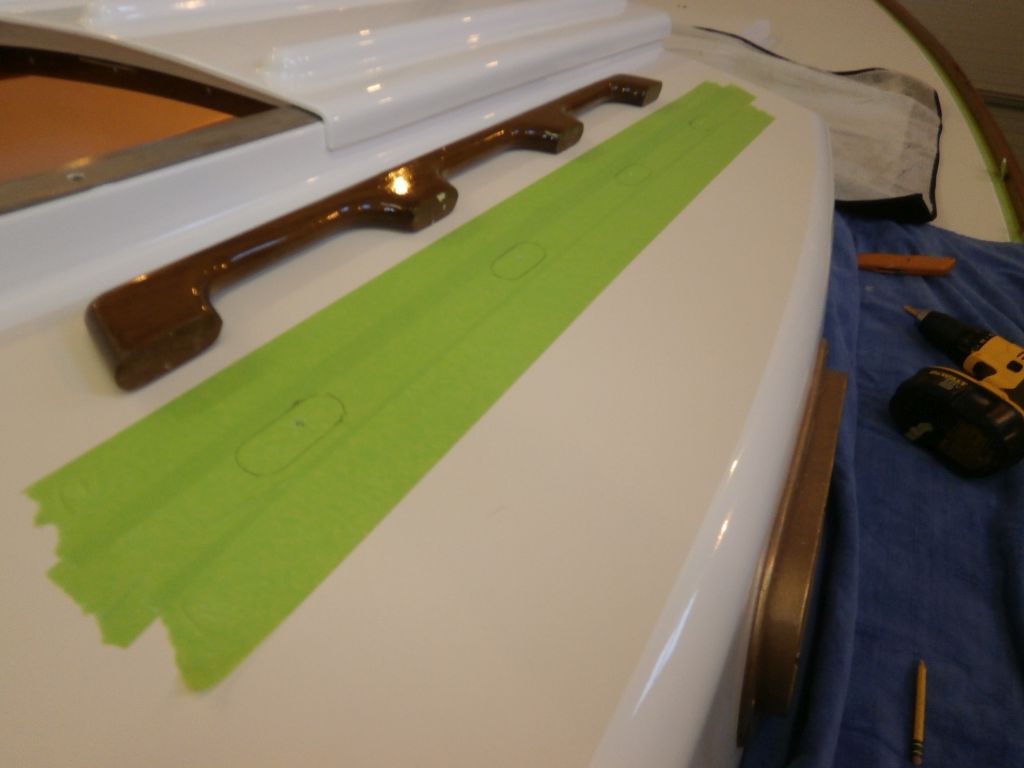
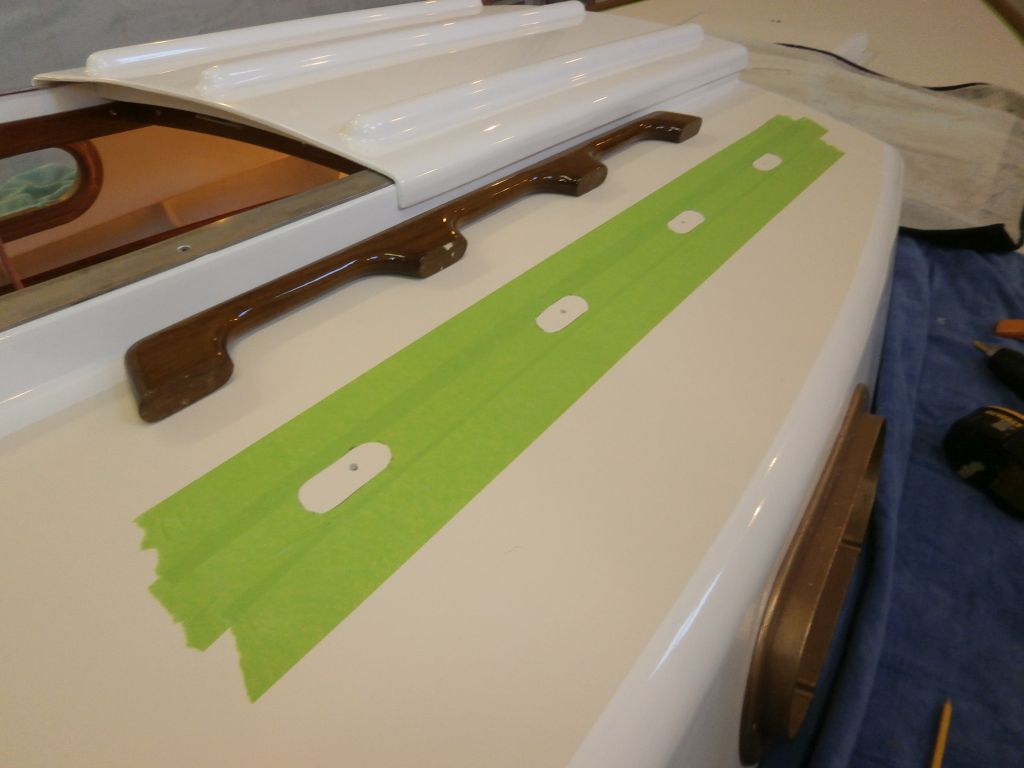
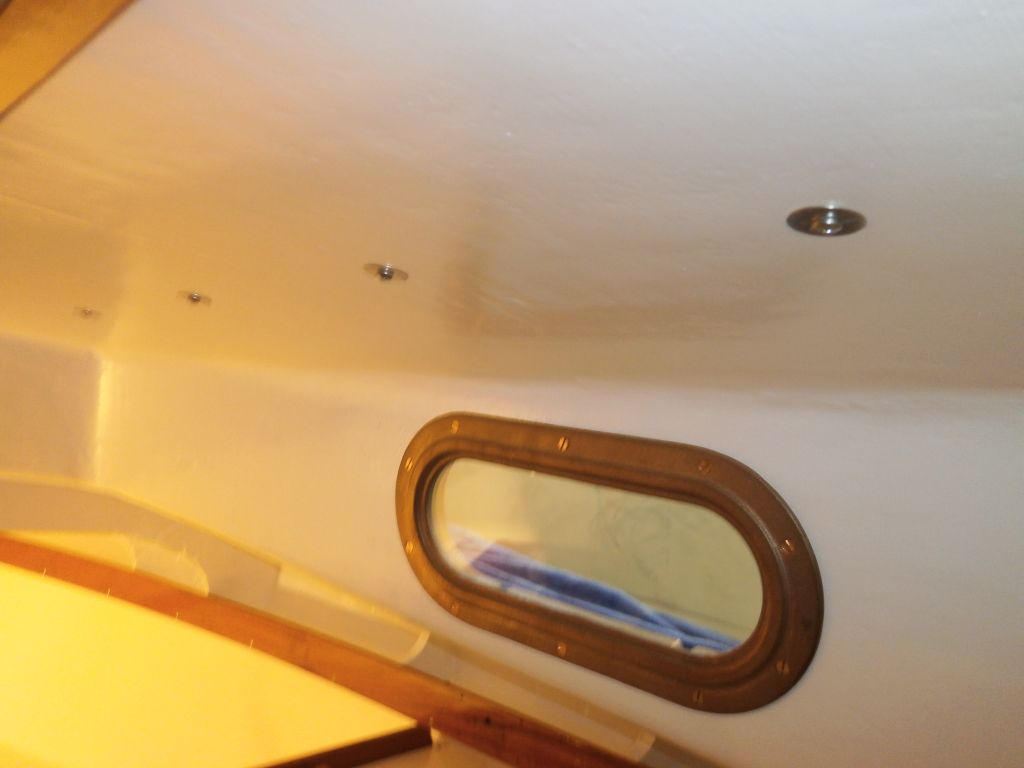
Holding each rail in place from above, I used a drill from beneath to mark the fastener holes in the base of the rails, then predrilled pilot holes in each rail base as needed. After installing plenty of sealant, I fastened the rails in place from below with #10 screws and fender washers.
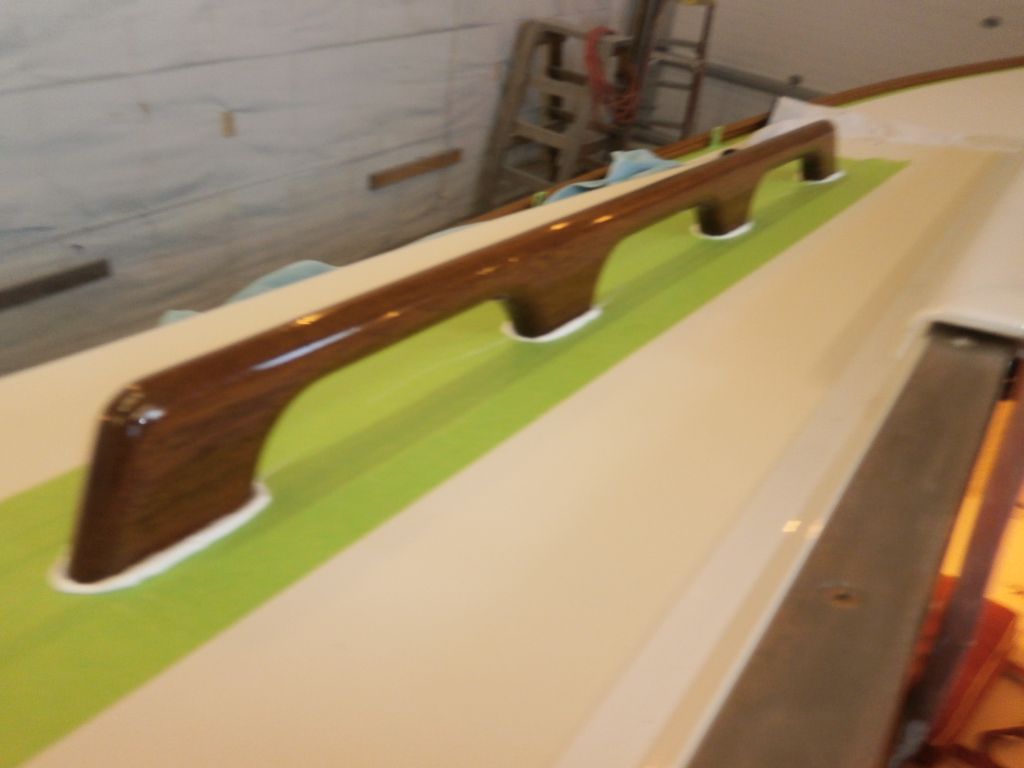
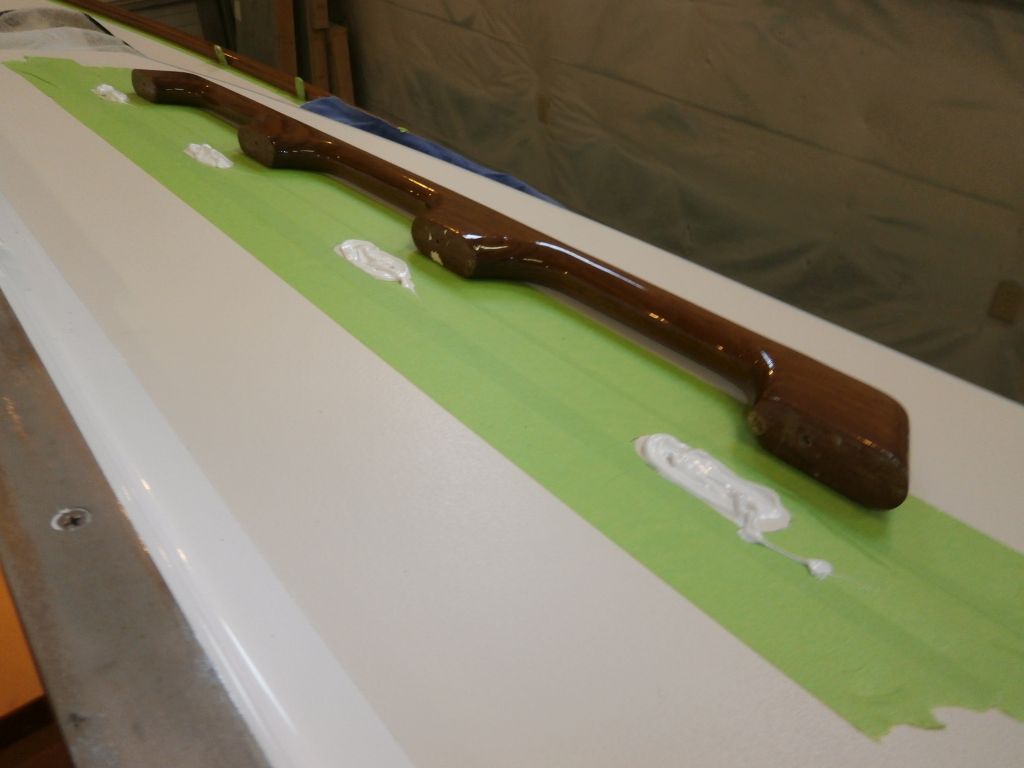
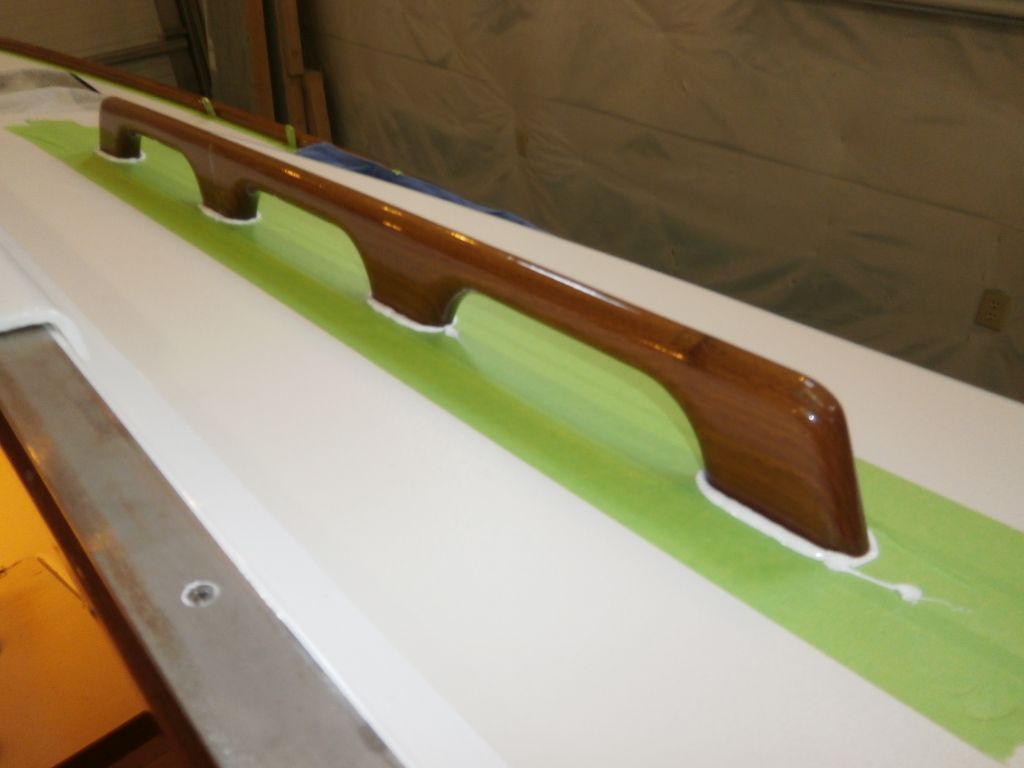
Then, I cleaned up the excess sealant and removed the tape, completing the installation.
Through a conscious effort at simplification and removal of unnecessary clutter, the owners had pared down the deck hardware to a pretty minimum level. Because of the construction of the deck and location of various hardware, only the bow cleat and new pair of stern cleats required any core-isolation preparations before the hardware itself could be installed; other installations, few as they were, would be located in areas of the deck that happened to contain no core.
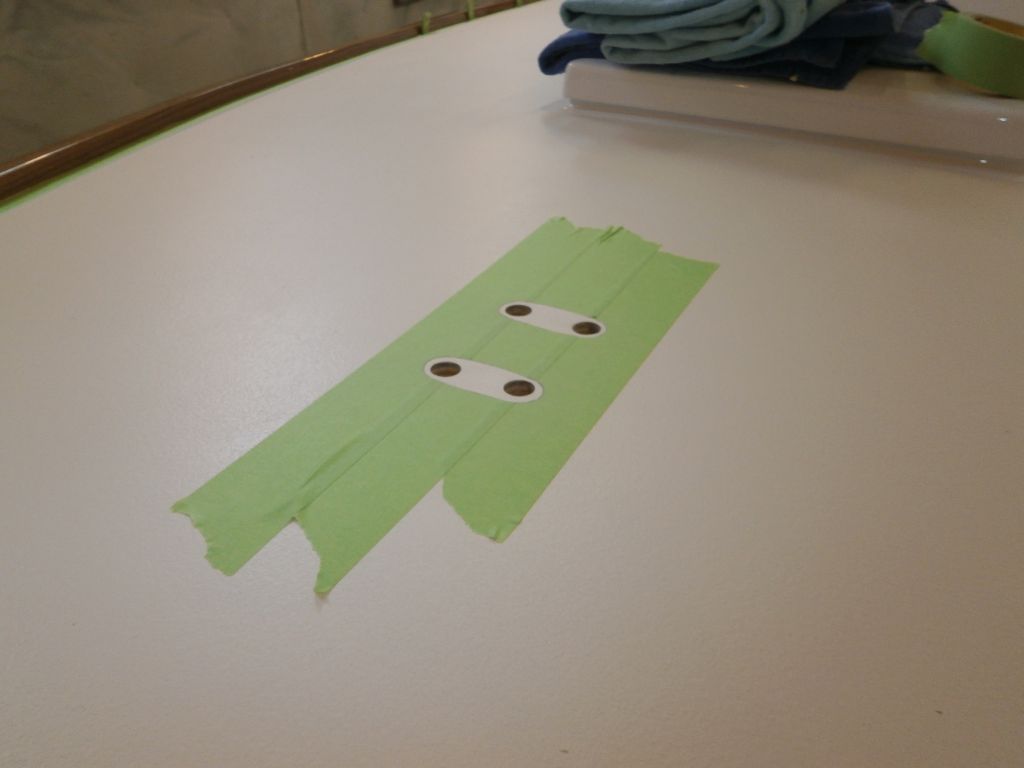
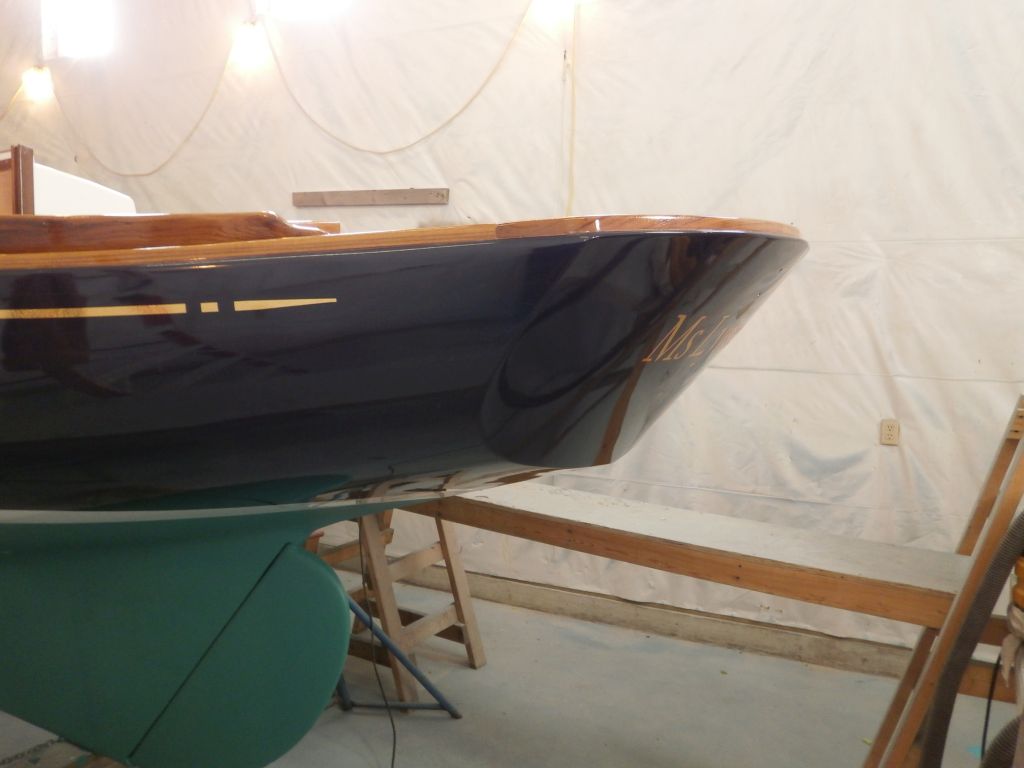
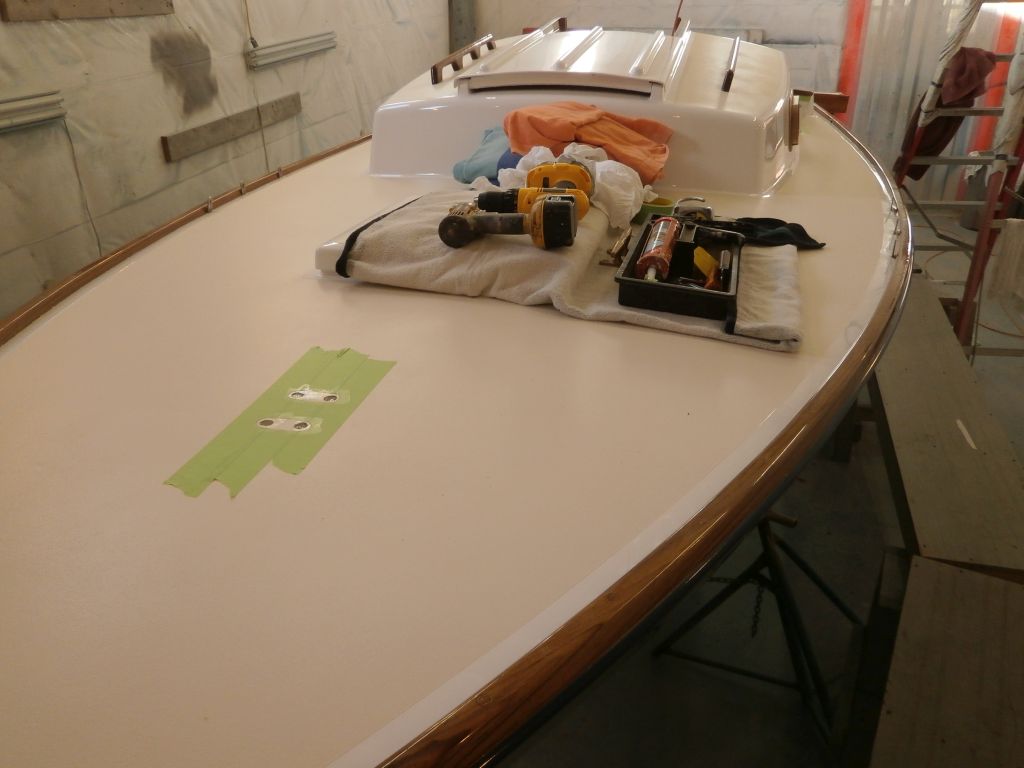
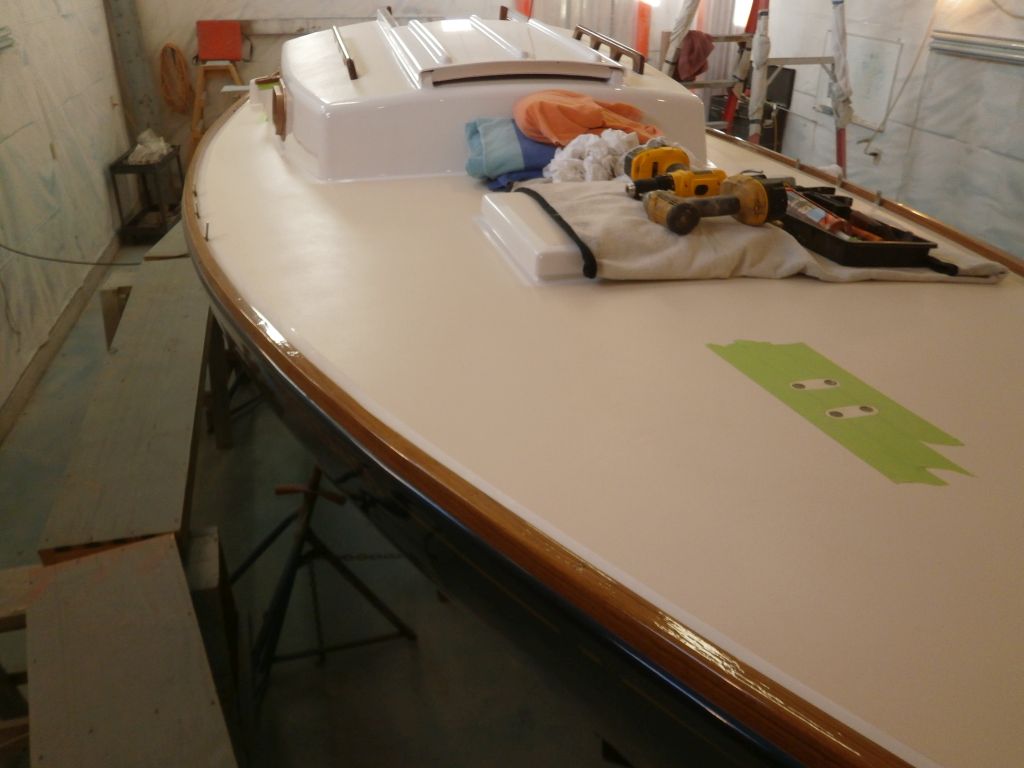
Using old holes still in place belowdecks, I located a pilot hole from beneath to mark the forward mooring cleat's location on the foredeck, then, from above, masked off the deck and lined the cleat up properly and marked its base outline before overdrilling the bolt hole locations with a 5/8" Forstner bit, which removed the core (plywood through the foredeck's centerline) from the future bolt locations.
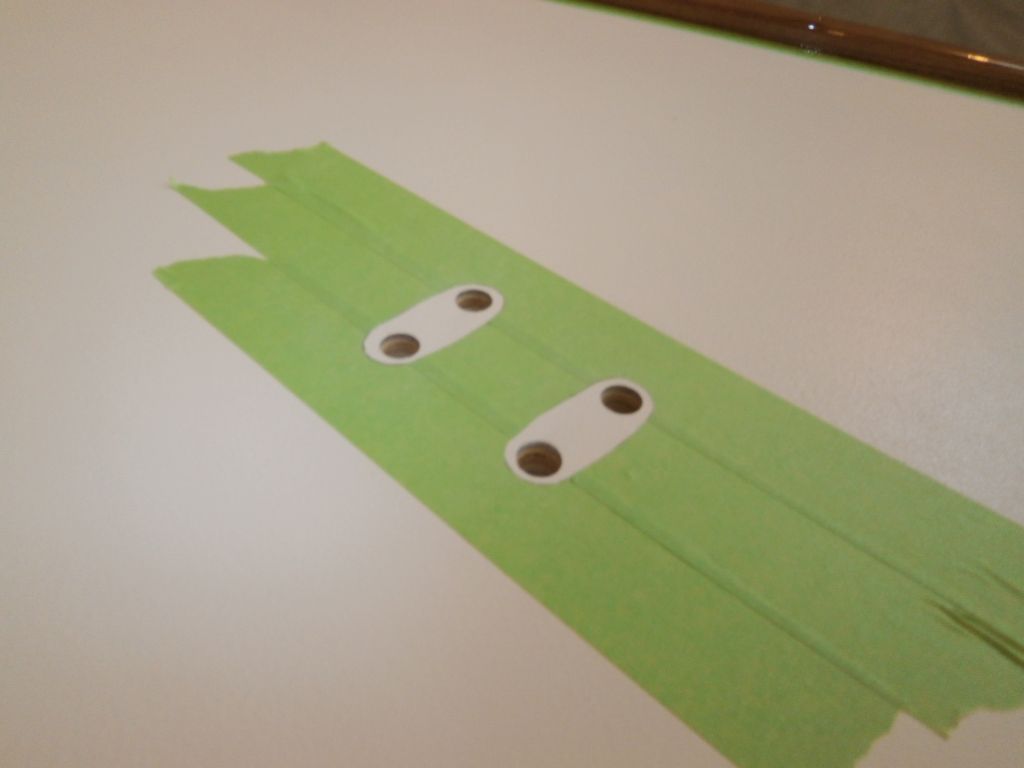
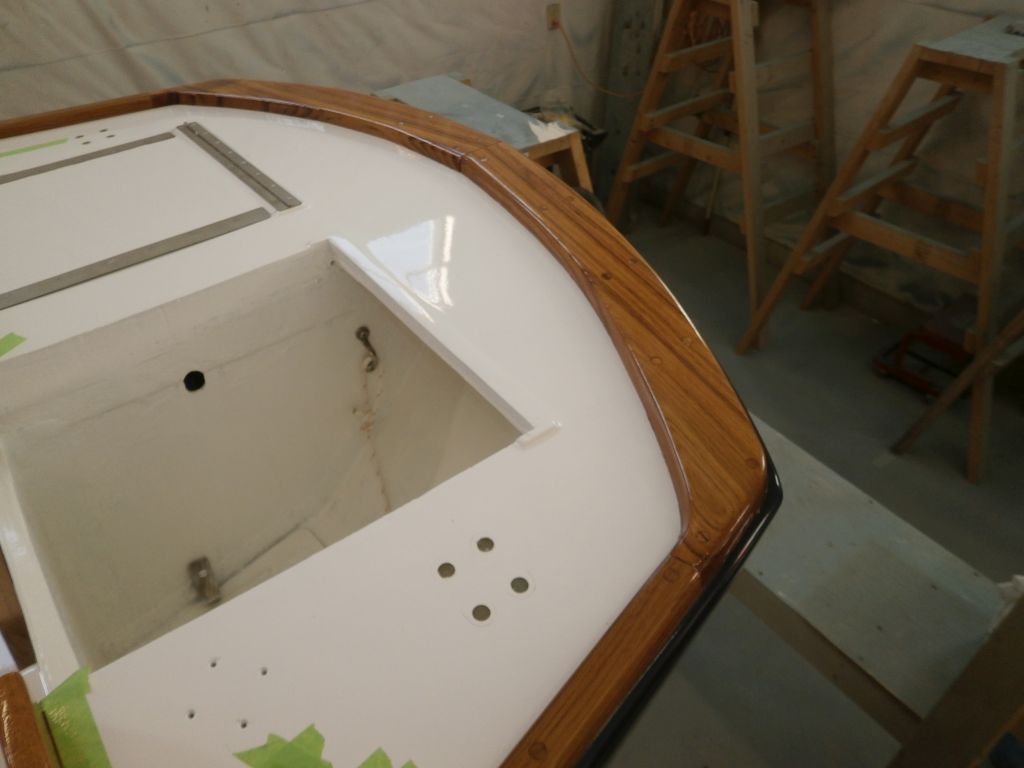
On the poop deck, I eyeballed the locations of two new stern cleats, which would replace the original centerline cleat, and, after marking the cleats' final locations, drilled through the deck and core at each fastener location with a 1/2" Forstner bit, again removing the core from these areas.
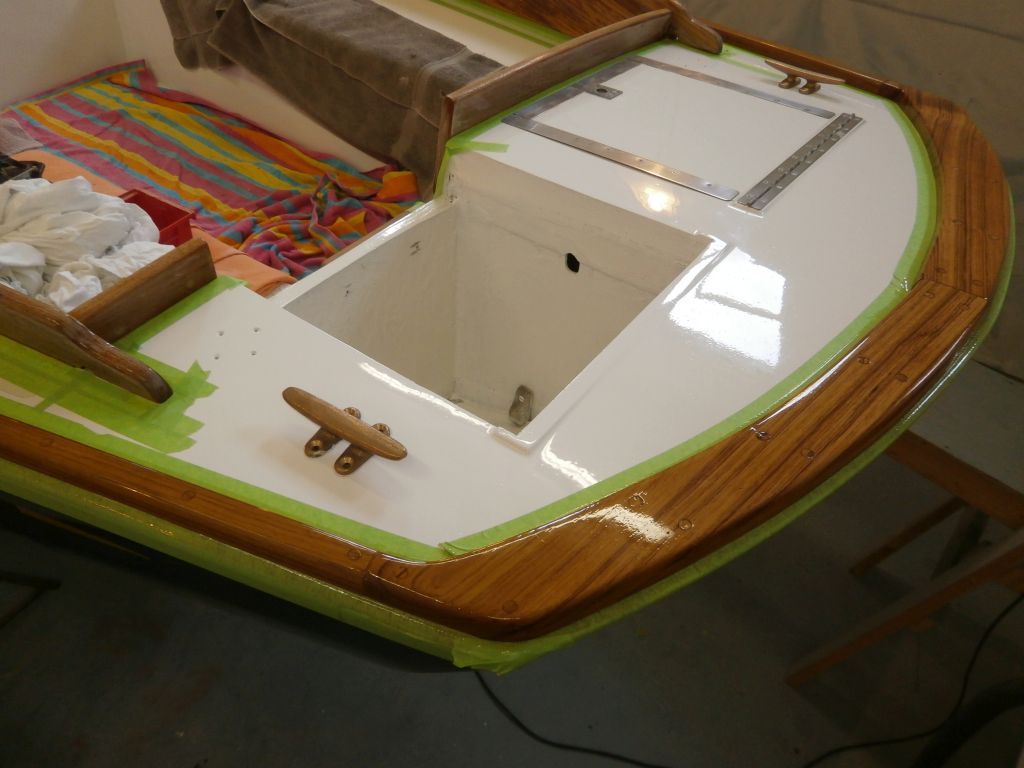
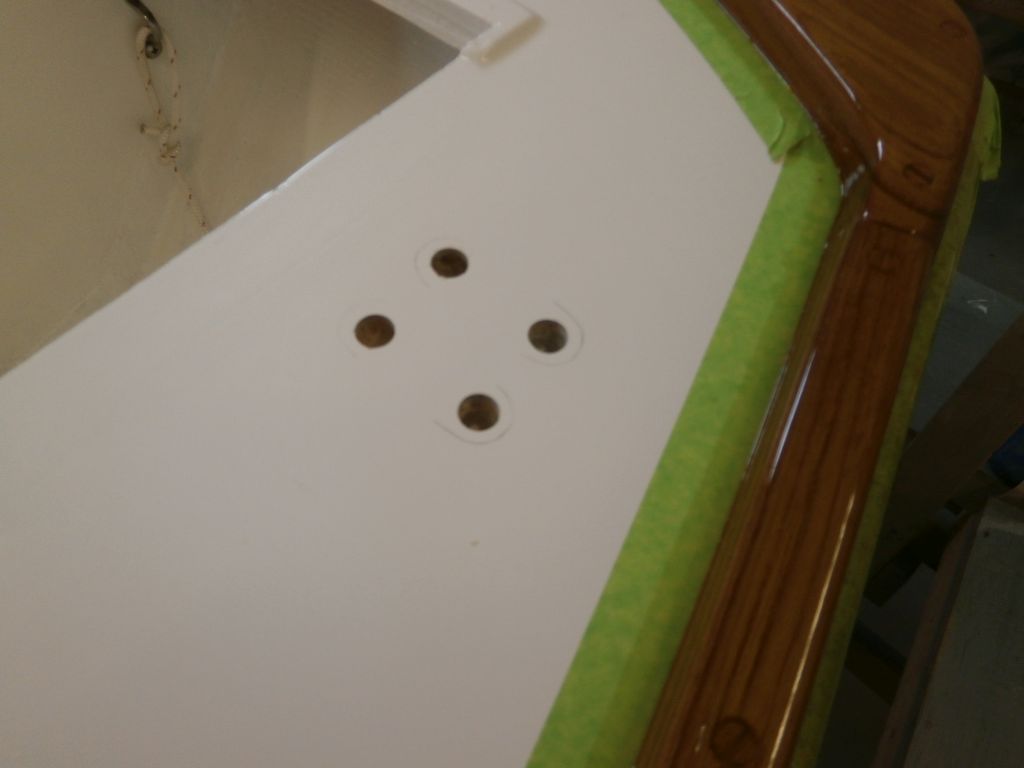
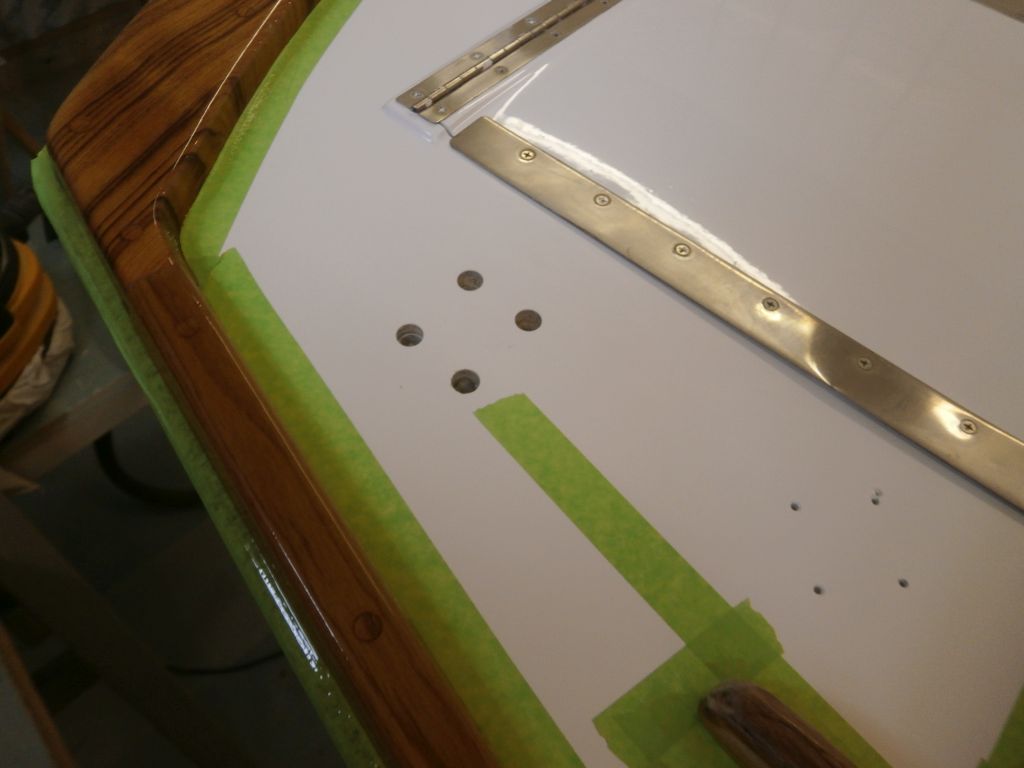
Finally, I filled the resulting voids with a thickened epoxy mixture.


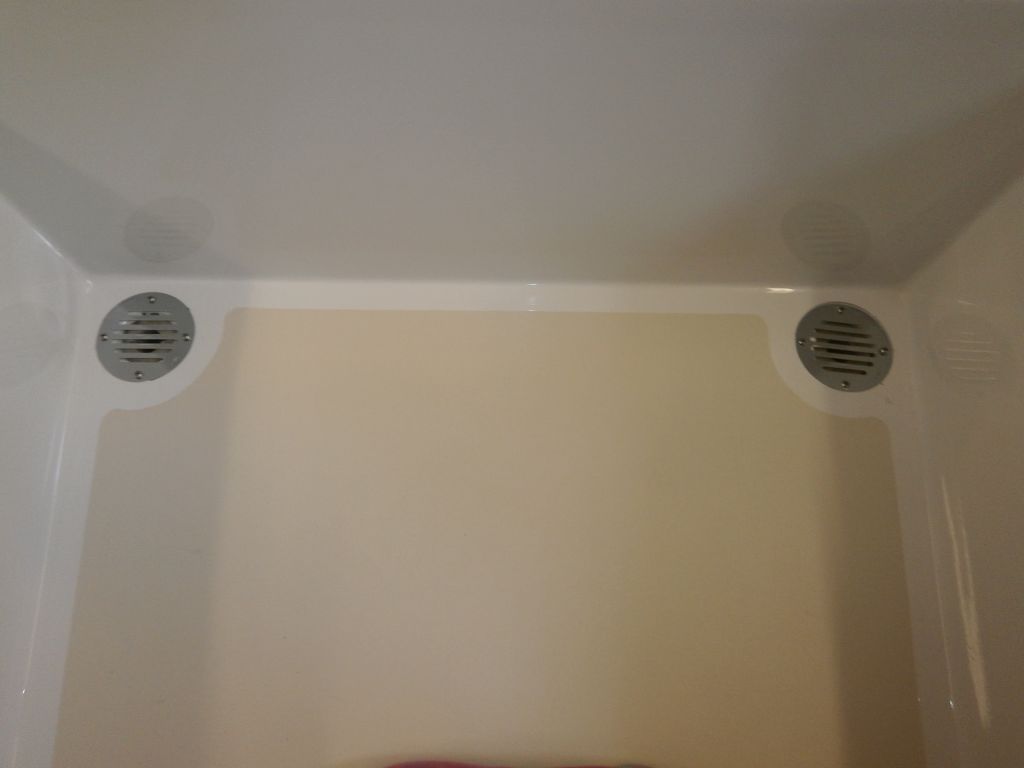
In the cockpit, I installed two new scupper debris screens over the scupper drains, using sealant at each fastener location.
After final cleanup and preparations, I applied the fourth coat of varnish to the cockpit coamings.
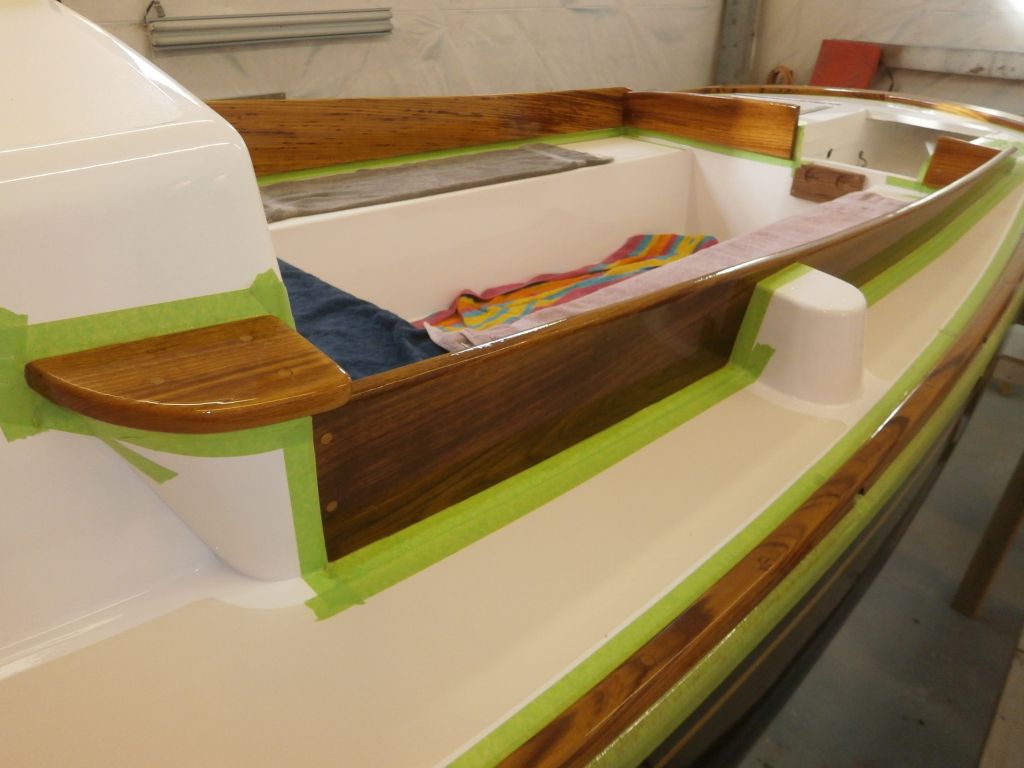
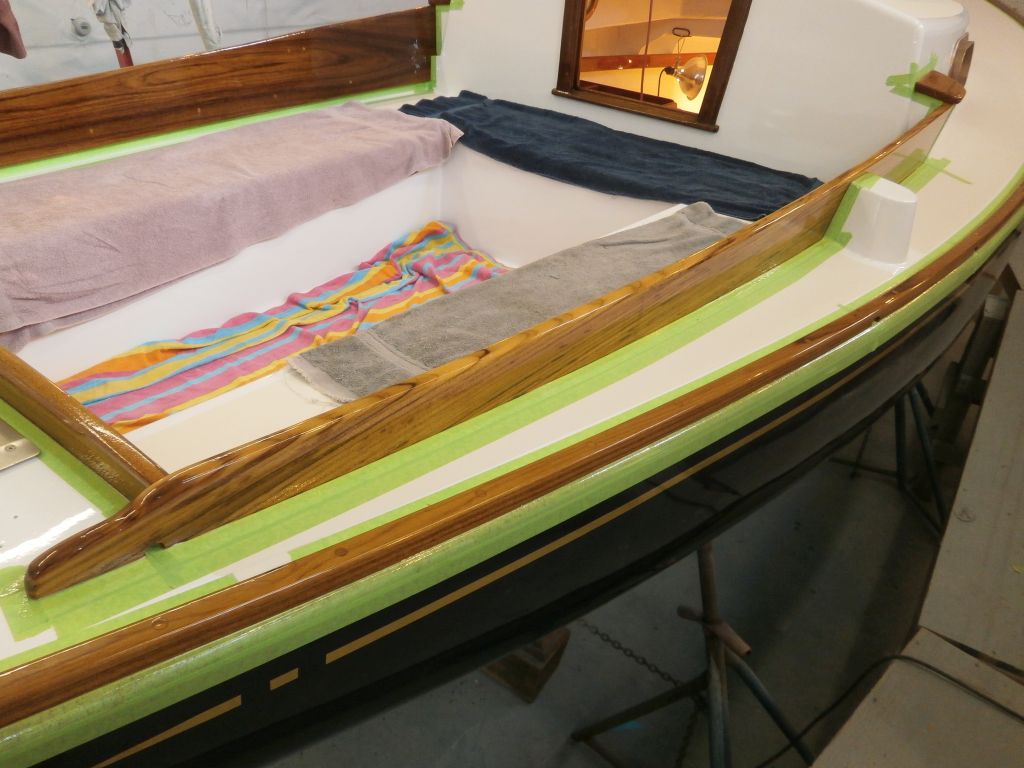
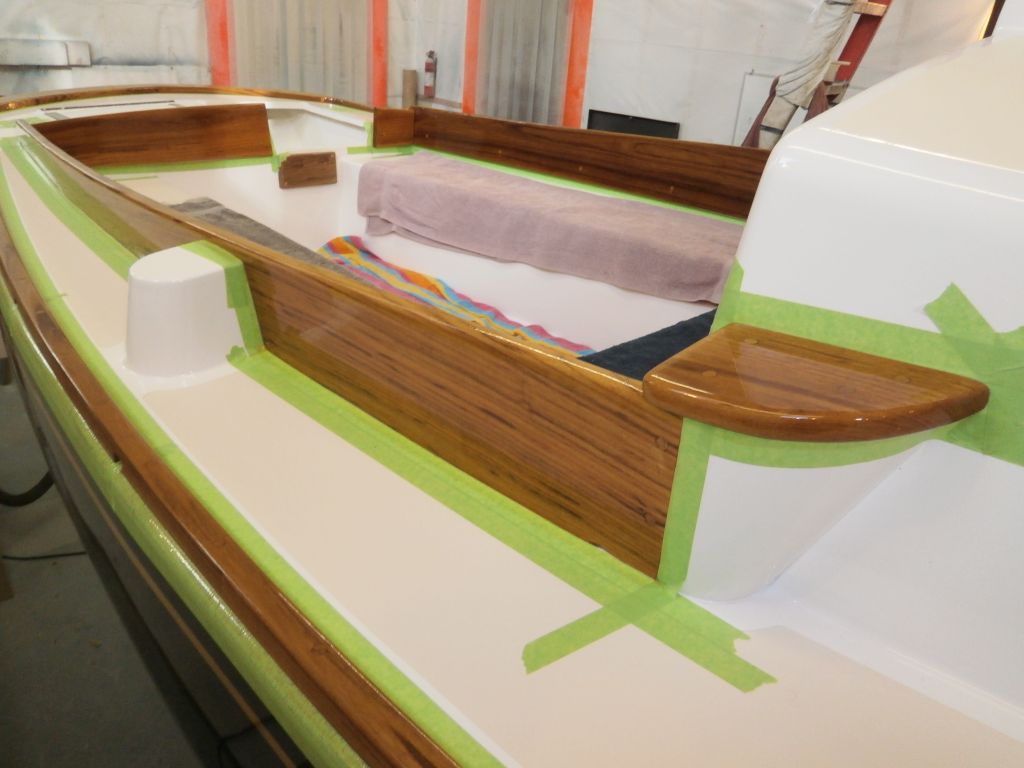
Finally, with my goals for the day checked off, I went ahead and removed the masking tape from around the toerails, as I'd a bit of time on hand and this would save valuable time on another day.

Total Time Billed on This Job Today: 5.25
Hours
