
110 Cookson Lane | Whitefield, ME 04353 | 207-232-7600 | tim@lackeysailing.com
Khasanah | Sunday, March 31, 2013
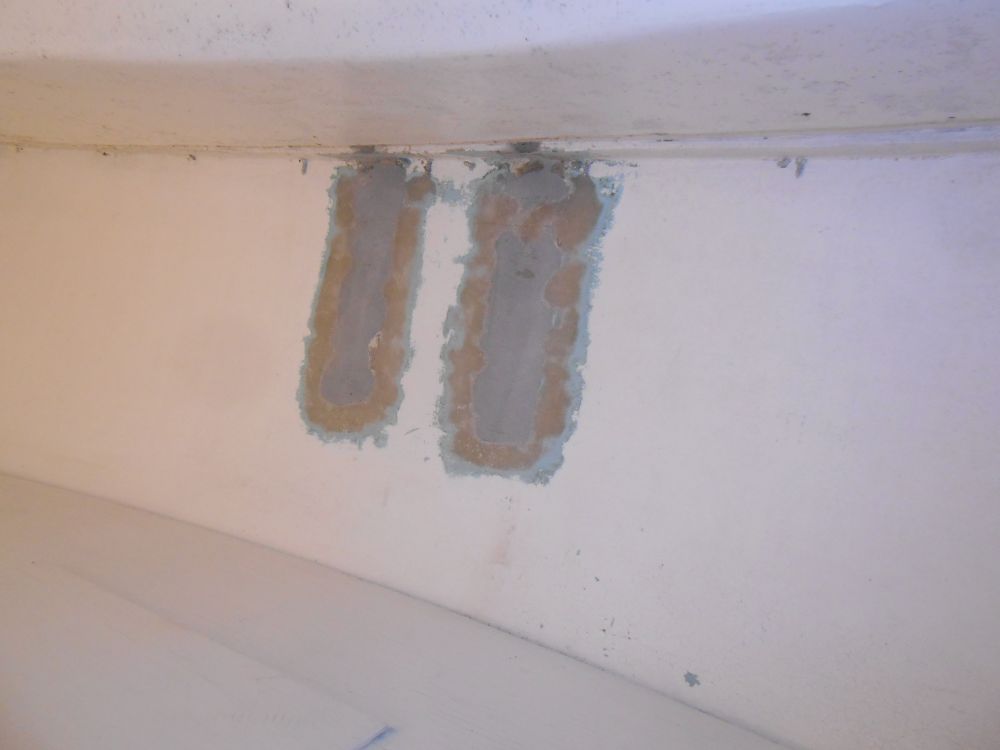
To prepare for installing the new chainplate blocks, I sanded smooth the bonding surfaces inside the boat, removing any remnants of the old plywood and adjacent paint. Meanwhile, I washed and lightly sanded the epoxy-coated new blocks to prepare them.

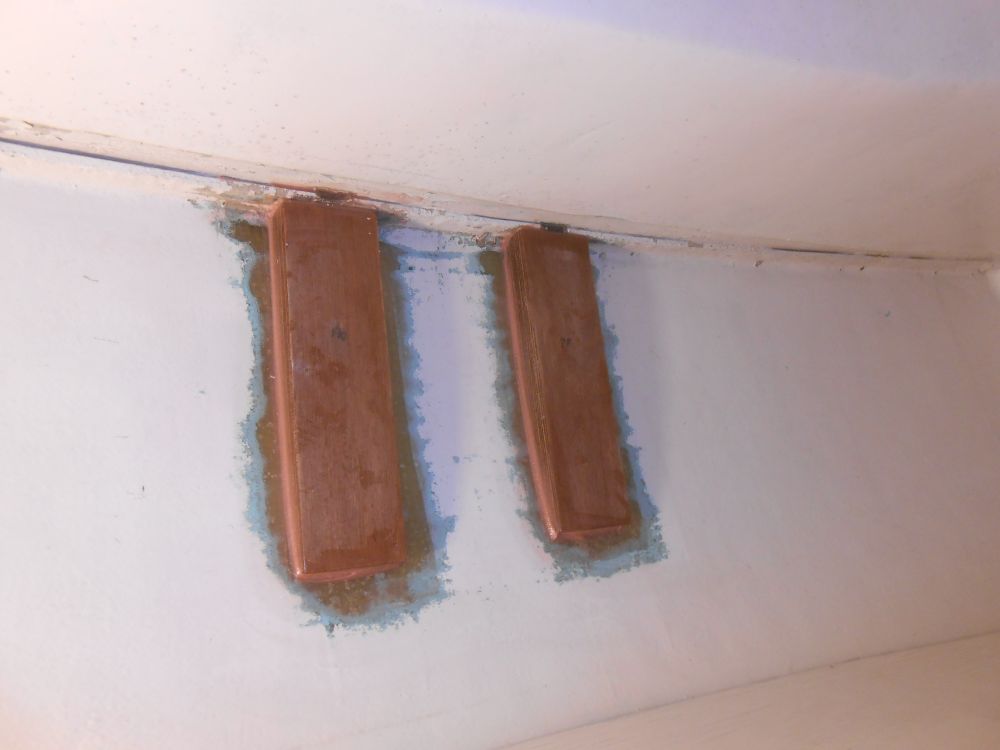
After cleaning up, I installed the new blocks in epoxy adhesive, coating the back surface and top edge where the blocks met the underside of the deck, and forming small fillets at the edges.

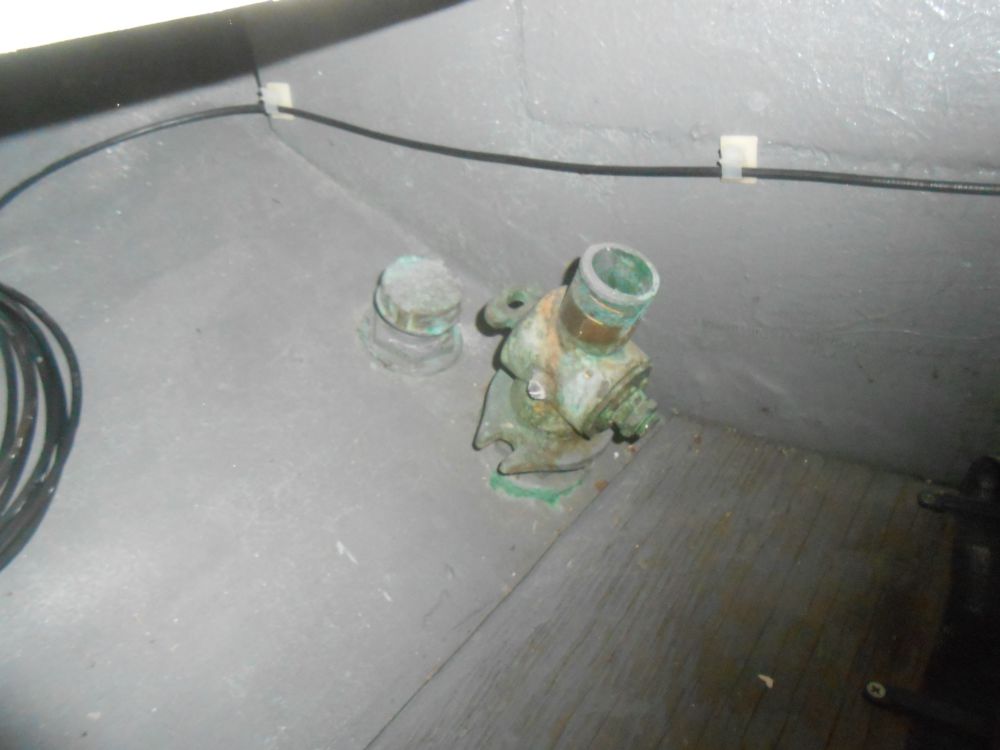
Two old through hull fittings remained from an old MSD installation, and the owner requested I remove them and patch the holes. After making an attempt to unscrew the fittings--wishful thinking--I cut them away and removed them, then cleaned up the holes and ground away paint from the inside.
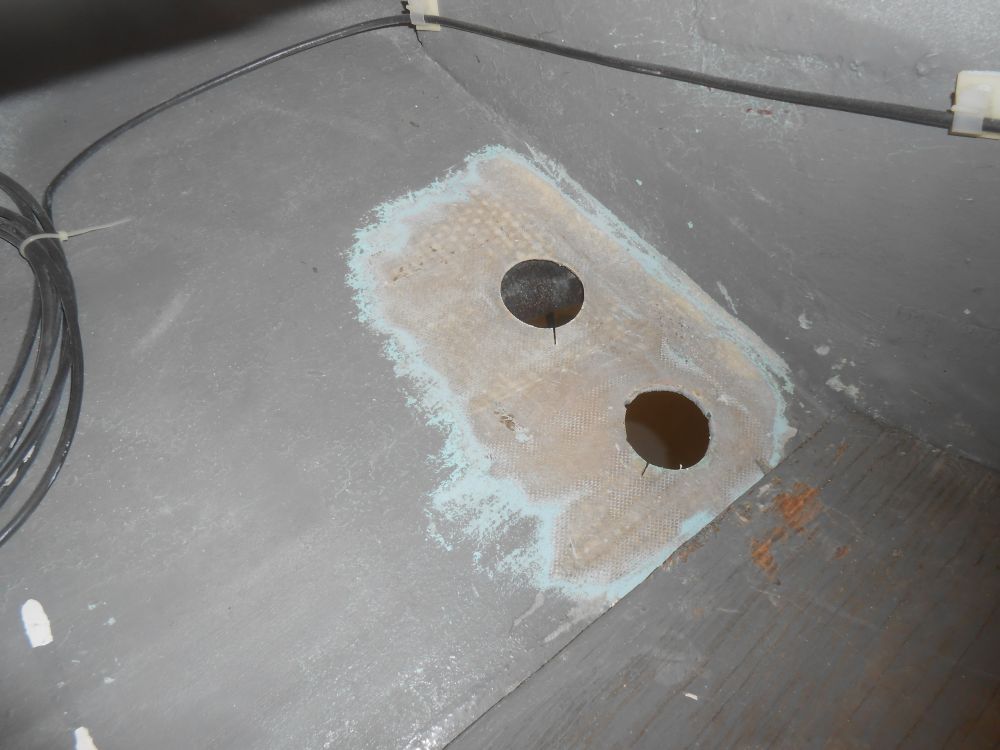
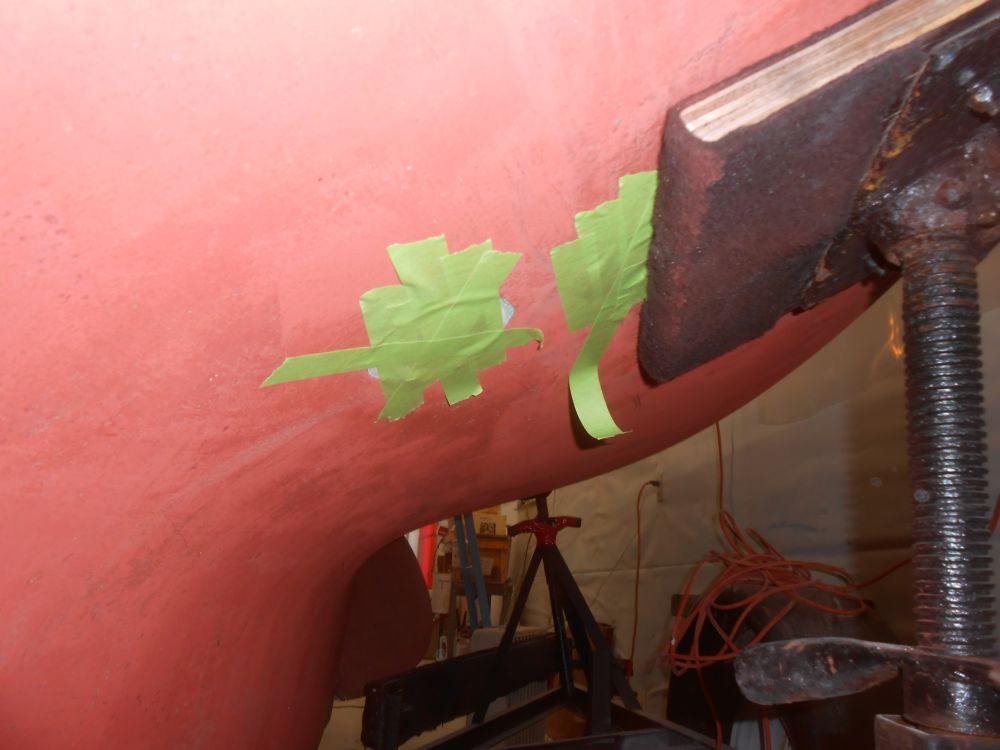
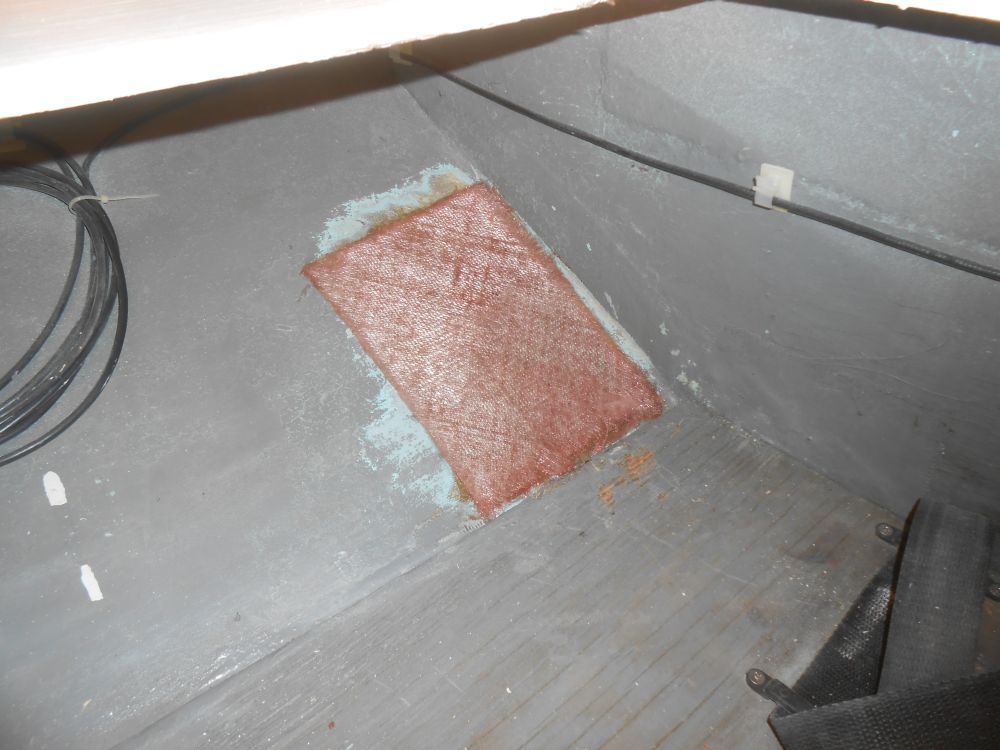
Outside the boat, I found that one of the fittings was partially hidden beneath one of the trailer pads, adjustment of which eluded me for the moment, since the screw was frozen. However, I could get enough access for the moment in order to tape over the holes for filling, and I'd deal with the pad and the remaining patch work on the exterior another time. For now, after masking over the holes from outside, I filled he holes with an epoxy mixture to form a plug, then applied fiberglass over the inside of the two holes.
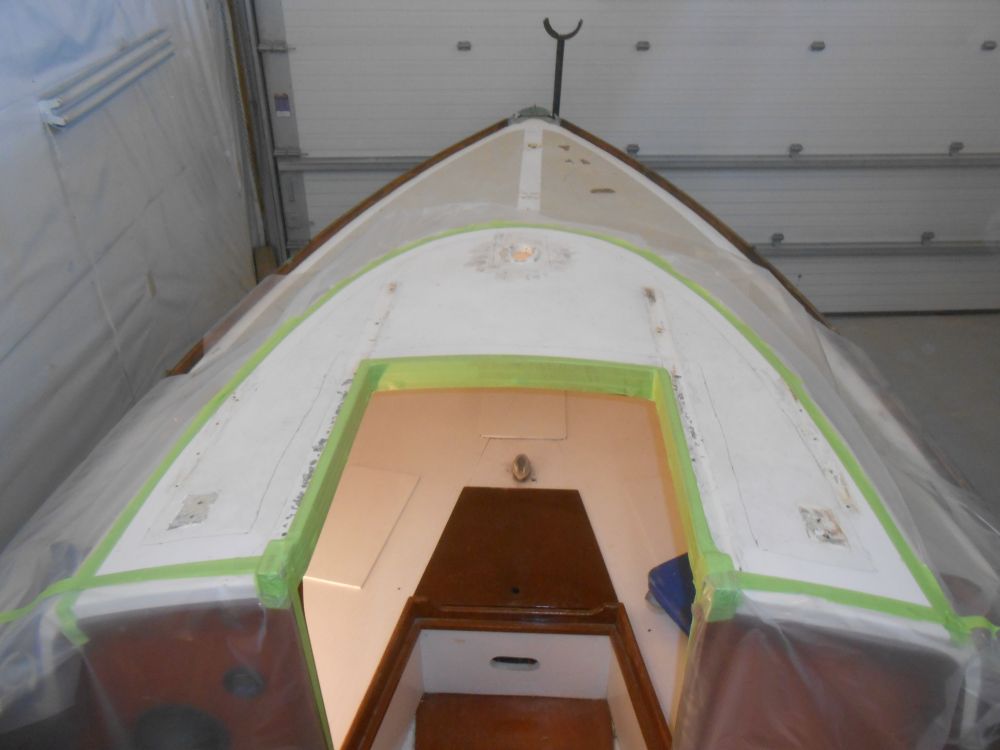
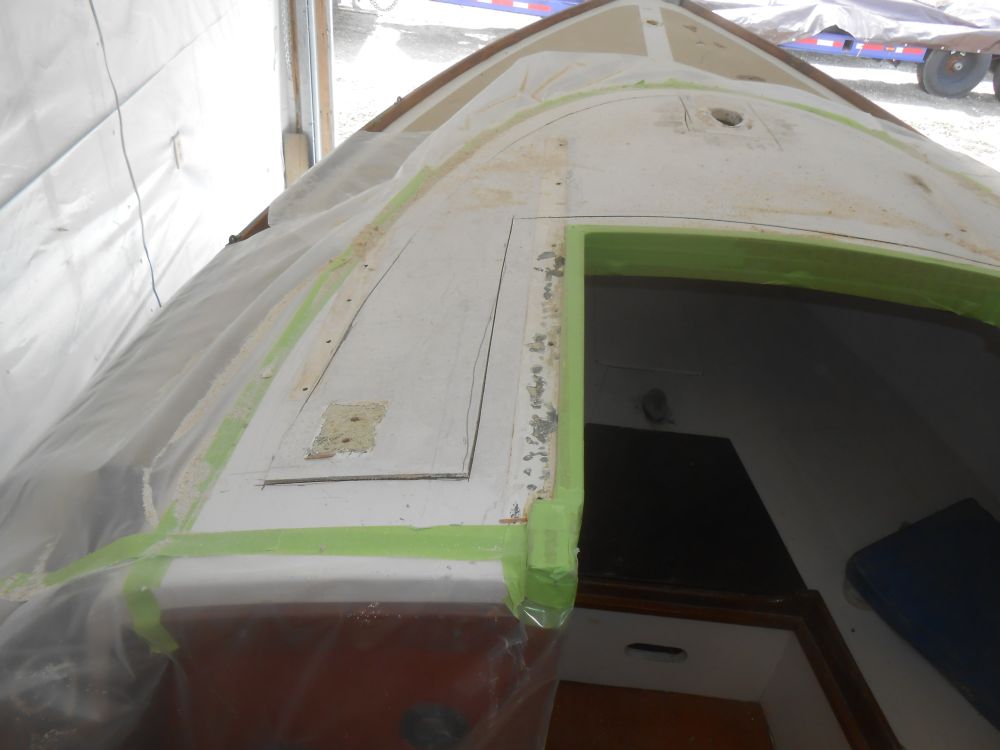
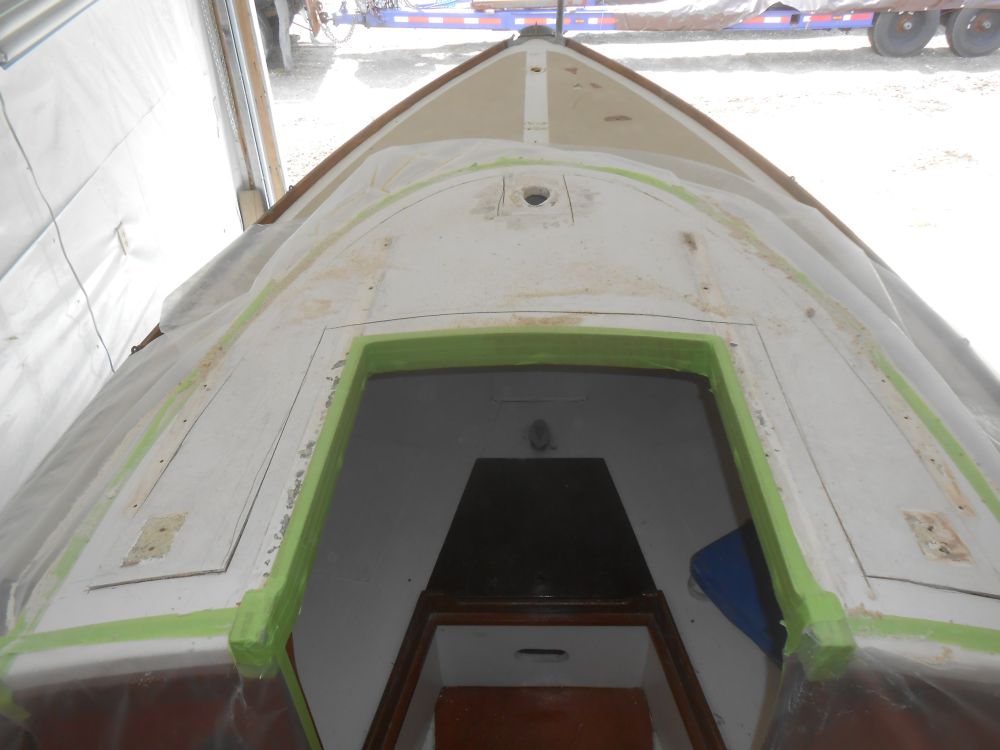
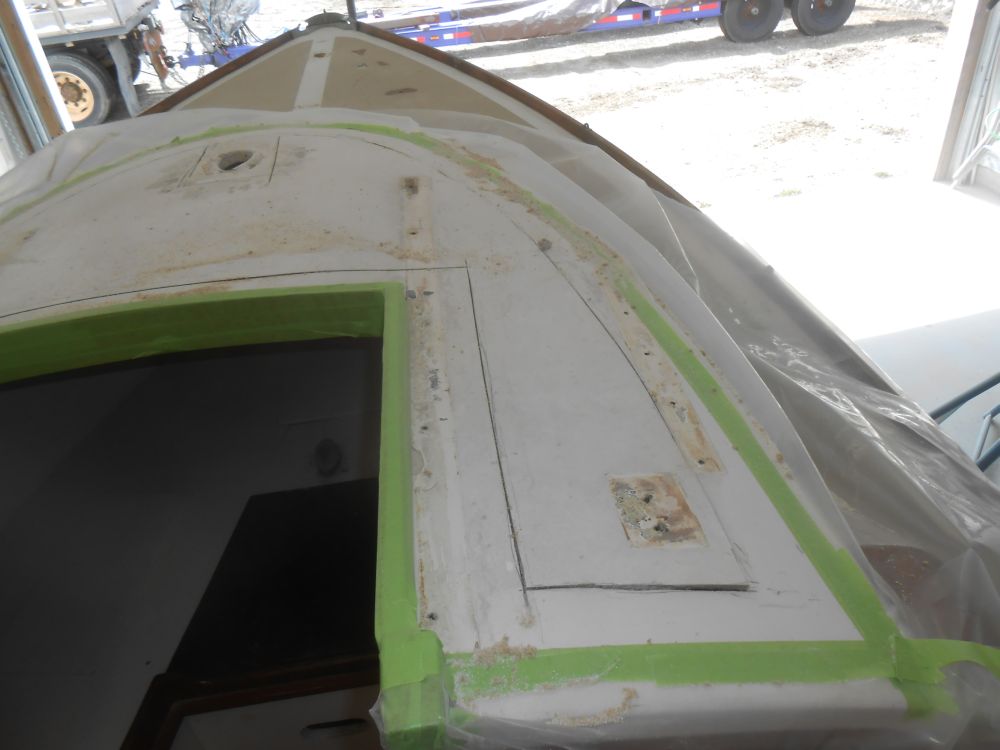
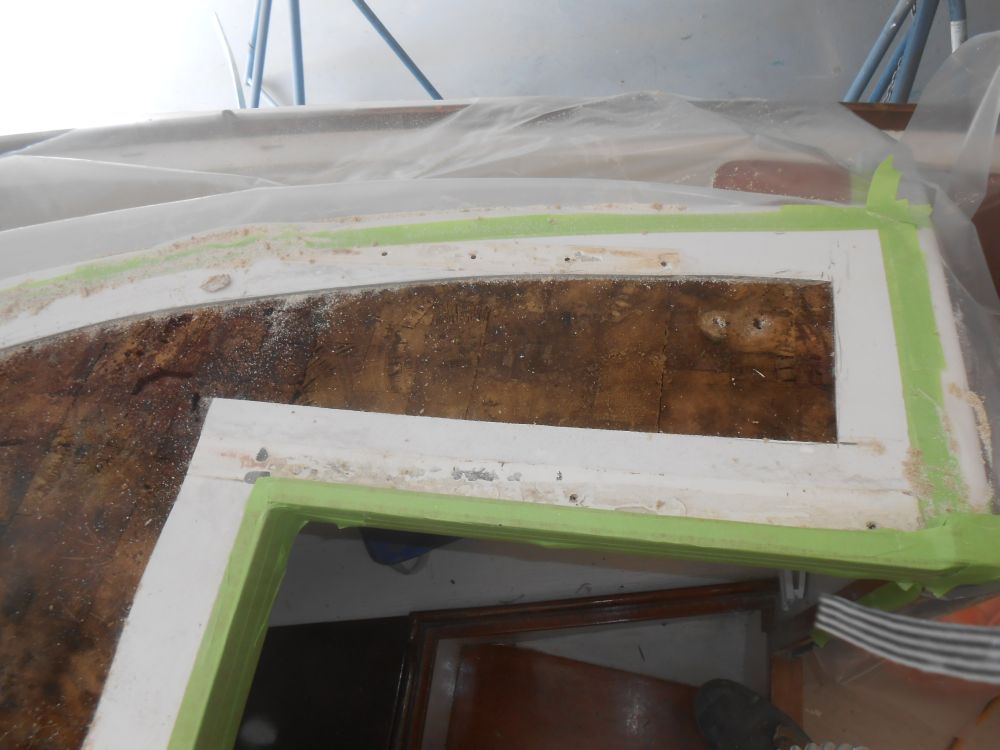
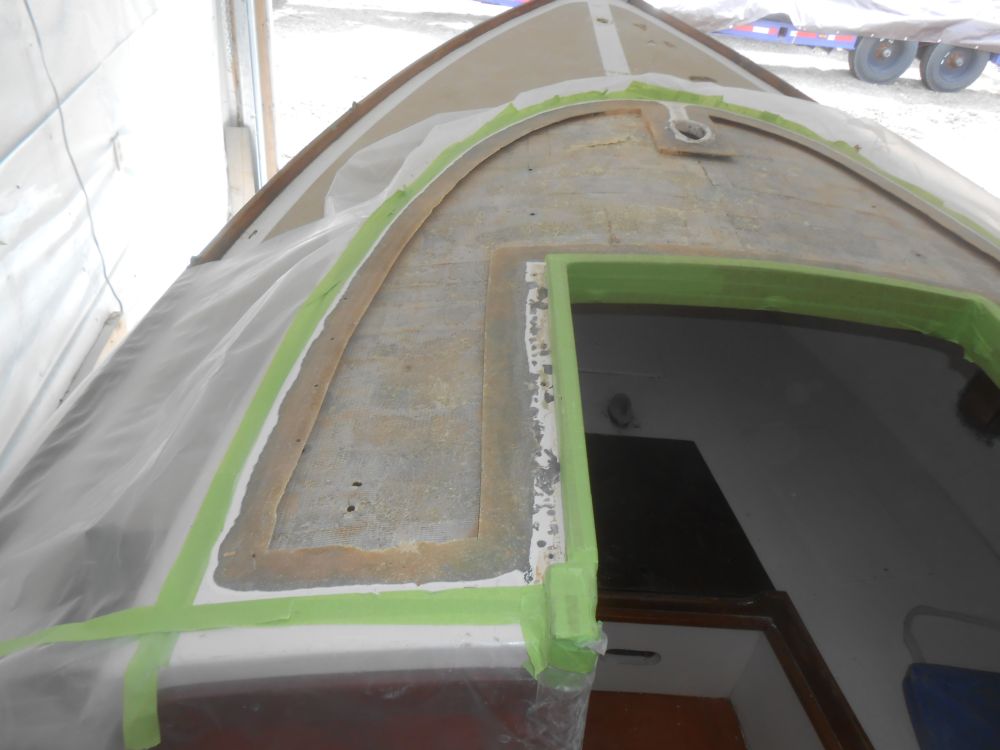
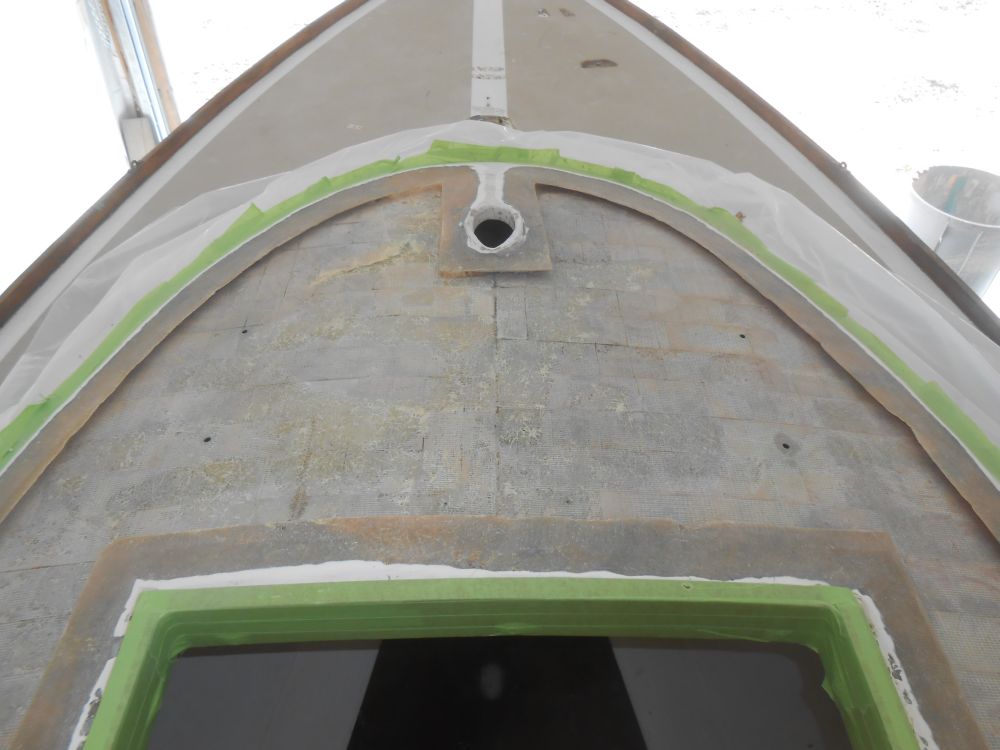
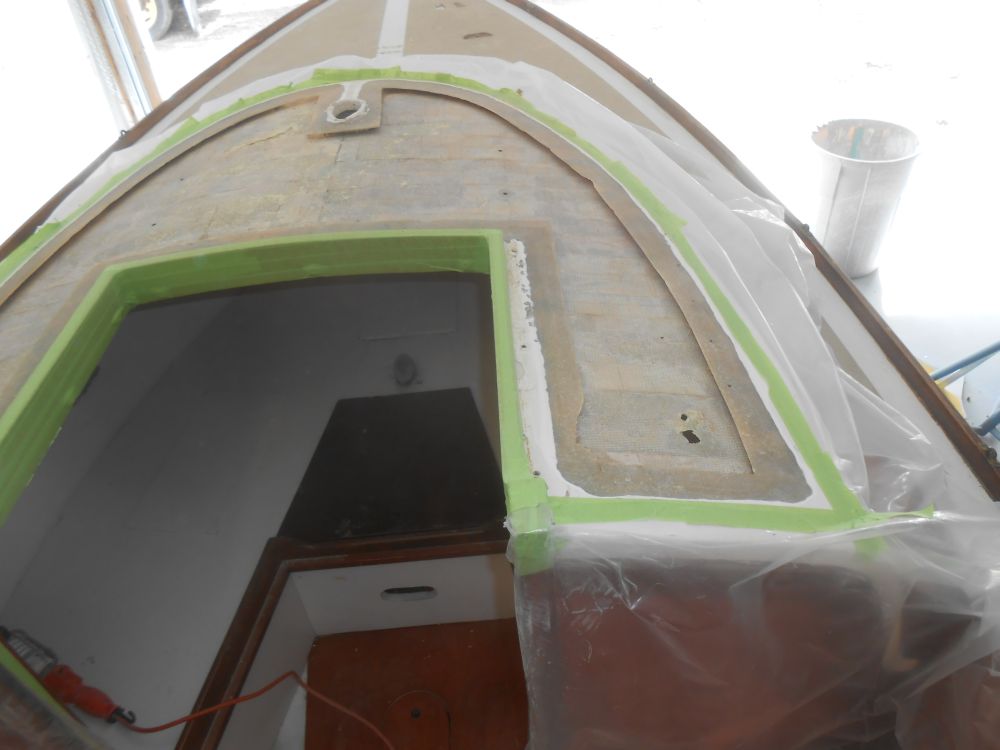
Next, I made some preparations for the coachroof repair. I made reference marks a few inches in from the edge of the coachroof all around, leaving enough space for tying in the new laminate with the existing structure without coming too close to the edge of the core, which ended before the downturn to the sides of the cabin trunk, and also far enough in to allow room for a border of original gelcoat outside of the repaired area, making finishing more straightforward. Then, I masked off around the outer border and applied plastic all around to protect adjacent areas from the upcoming work.
Following my penciled-in cut line, I cut away the top deck skin with a saw. The entire top skin came loose in a single piece, as it was virtually totally unbonded from the core within. As anticipated, the core was largely wet and in poor condition, with one remaining dry area just to port of the mast partners.
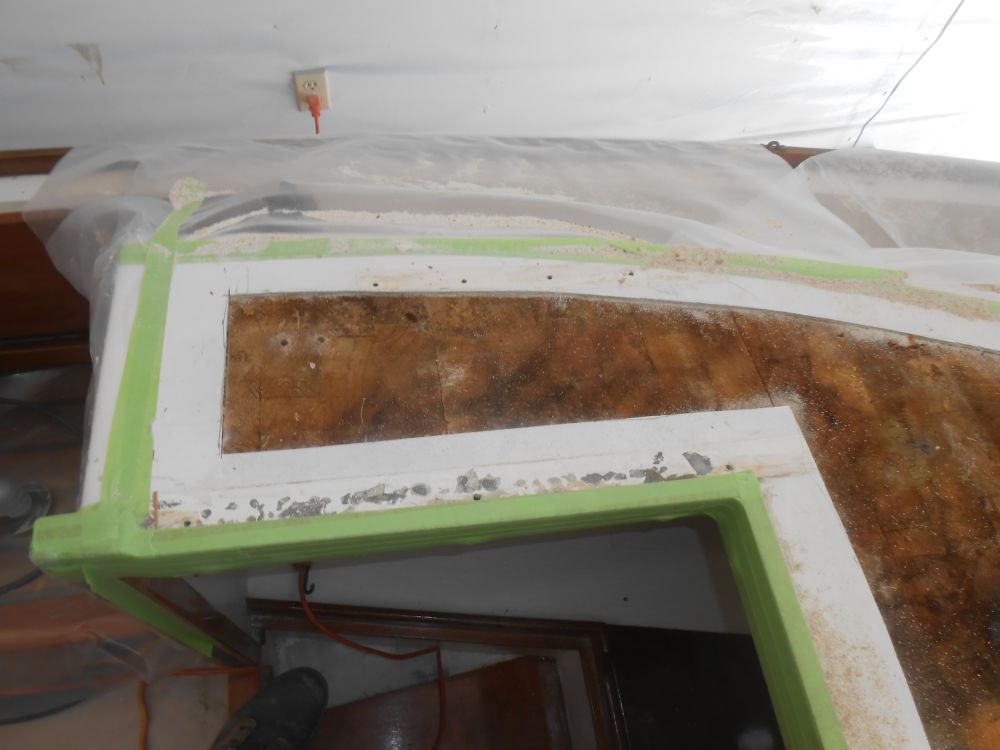
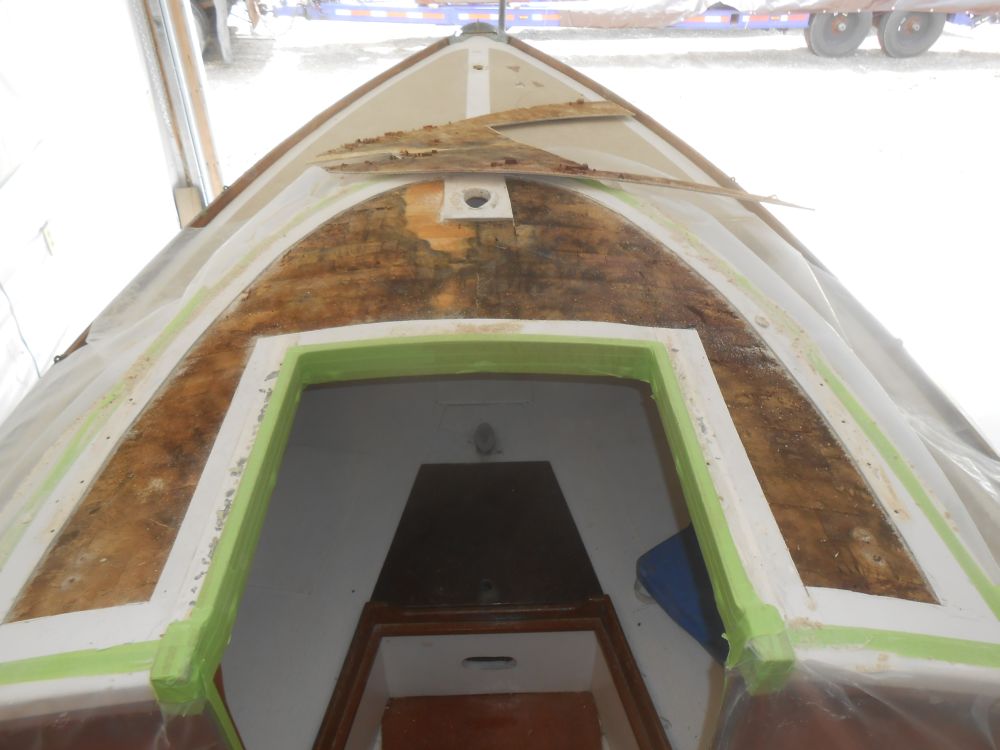
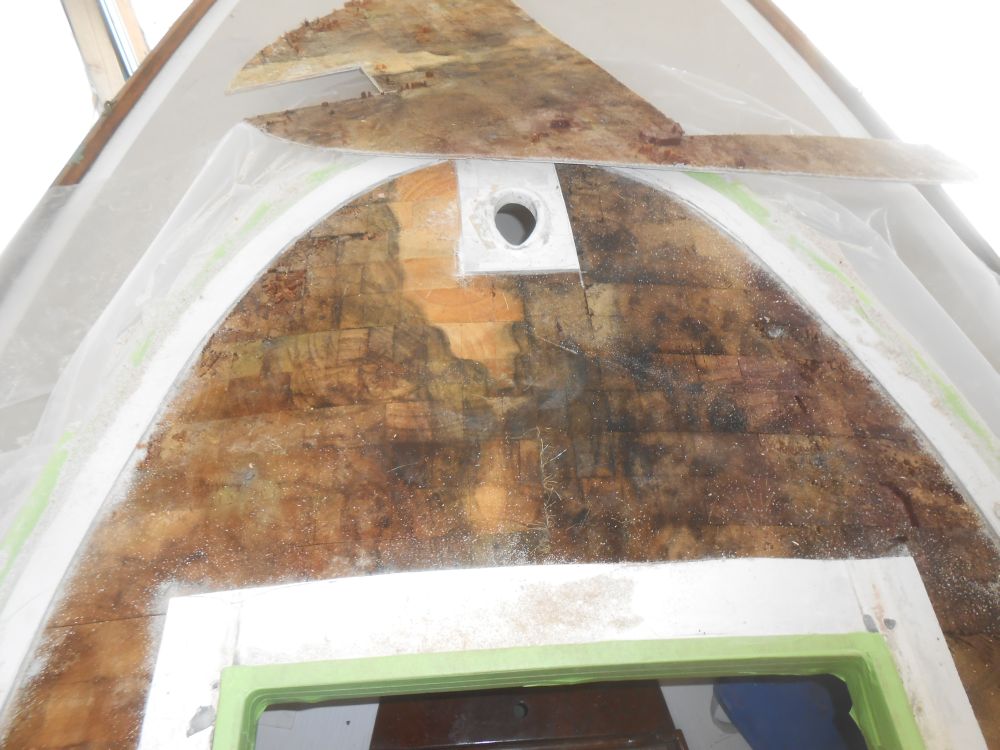
I removed all the old core from the space, which went pretty easily although the core was surprisingly well bonded to the inner skin. Once I'd removed the field, I reamed out the spaces beneath the flanges at the perimeter to remove the remaining core within, and ground the edges of the repair to later accept the new top laminate and provide a bonding surface with the original material surrounding the repair.

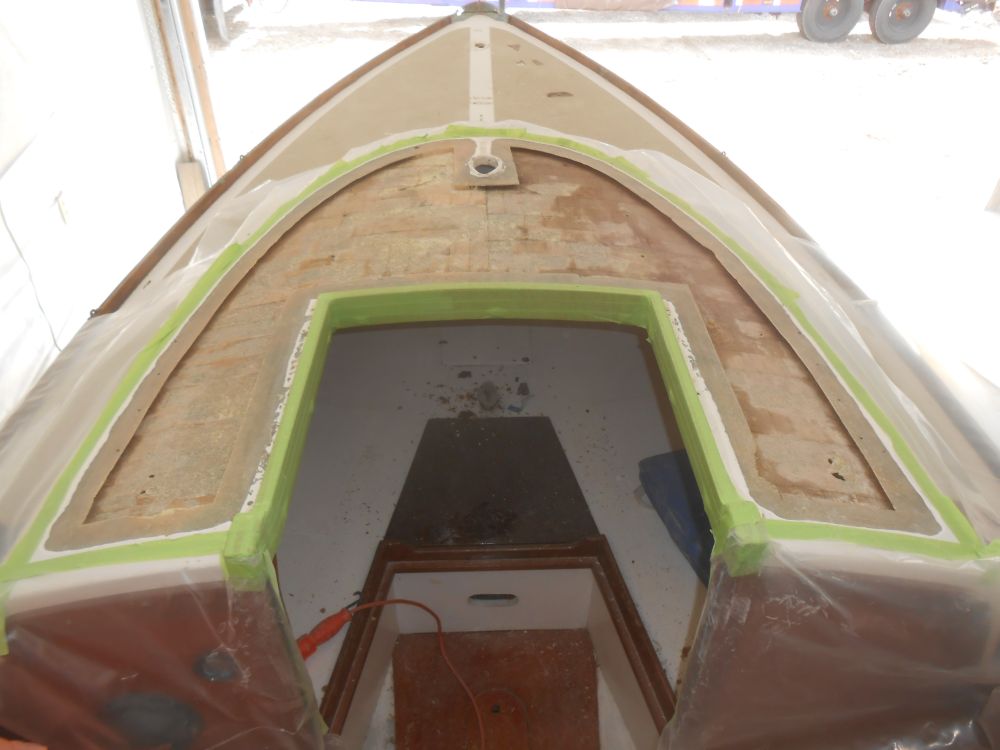
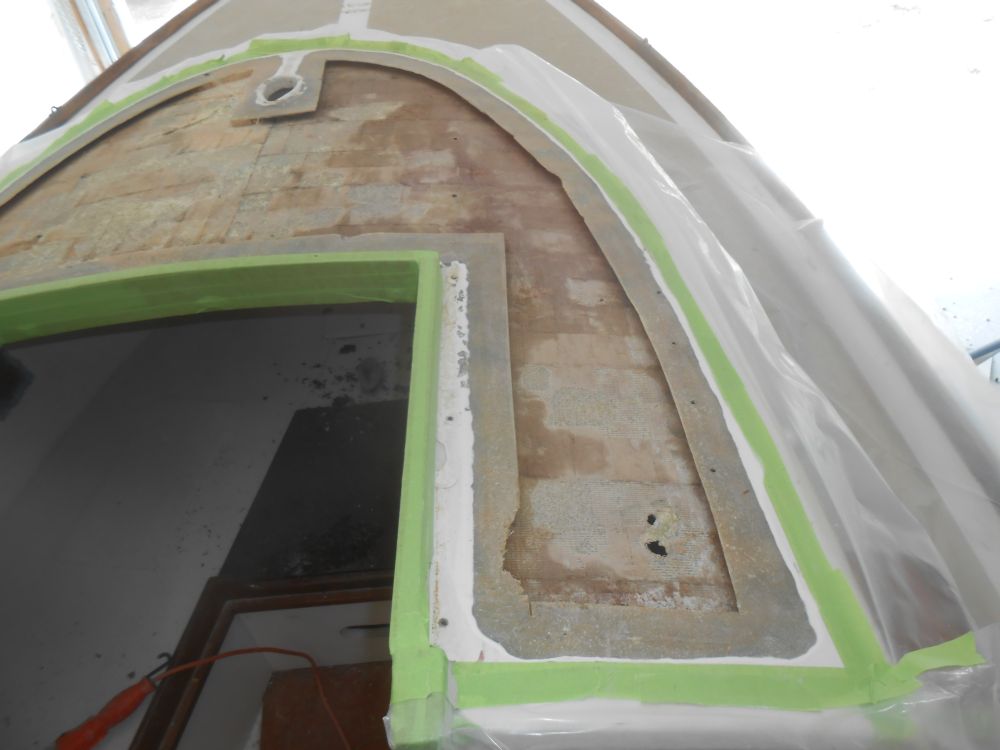
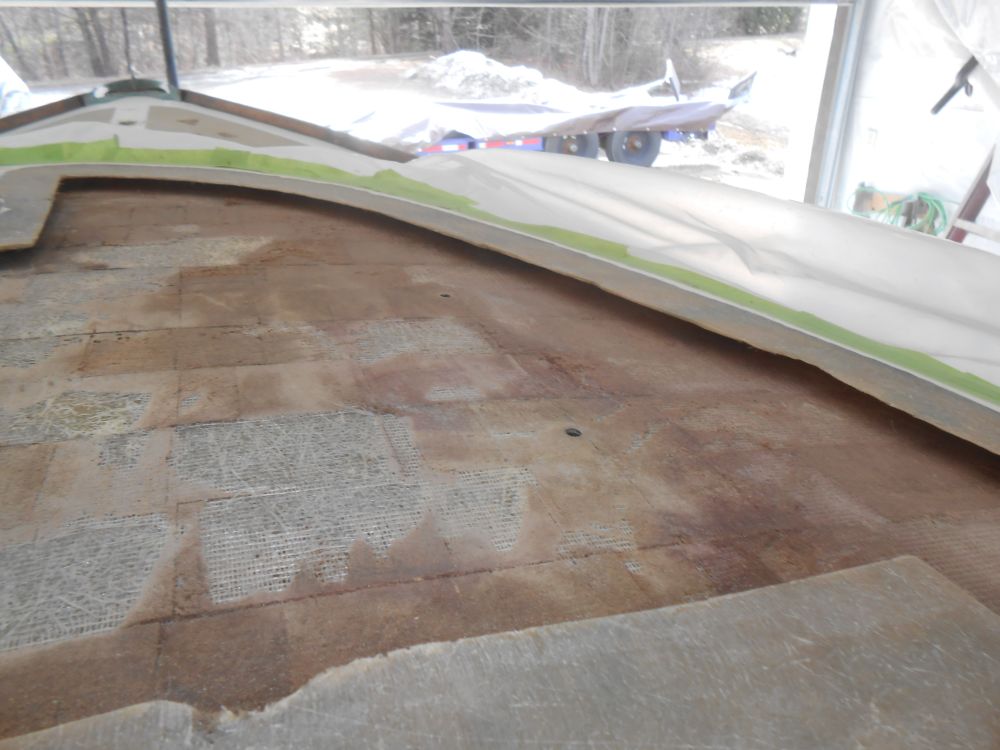
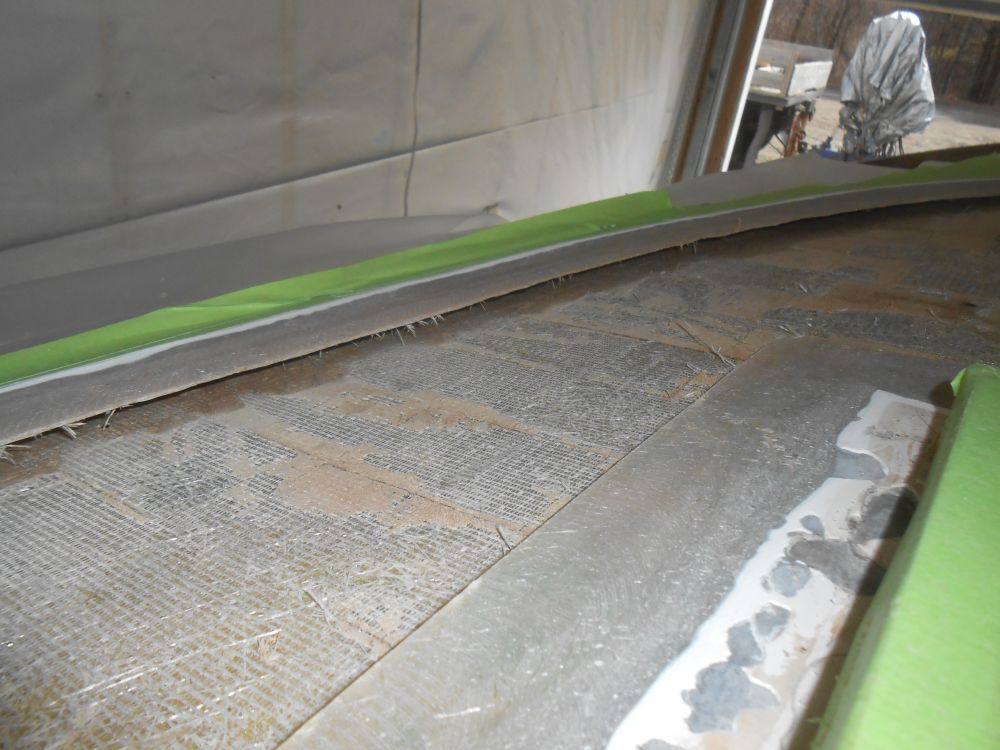
Finally, I sanded the inner skin to remove old core, resin, and scrim and to generally prepare the surface for the next steps.
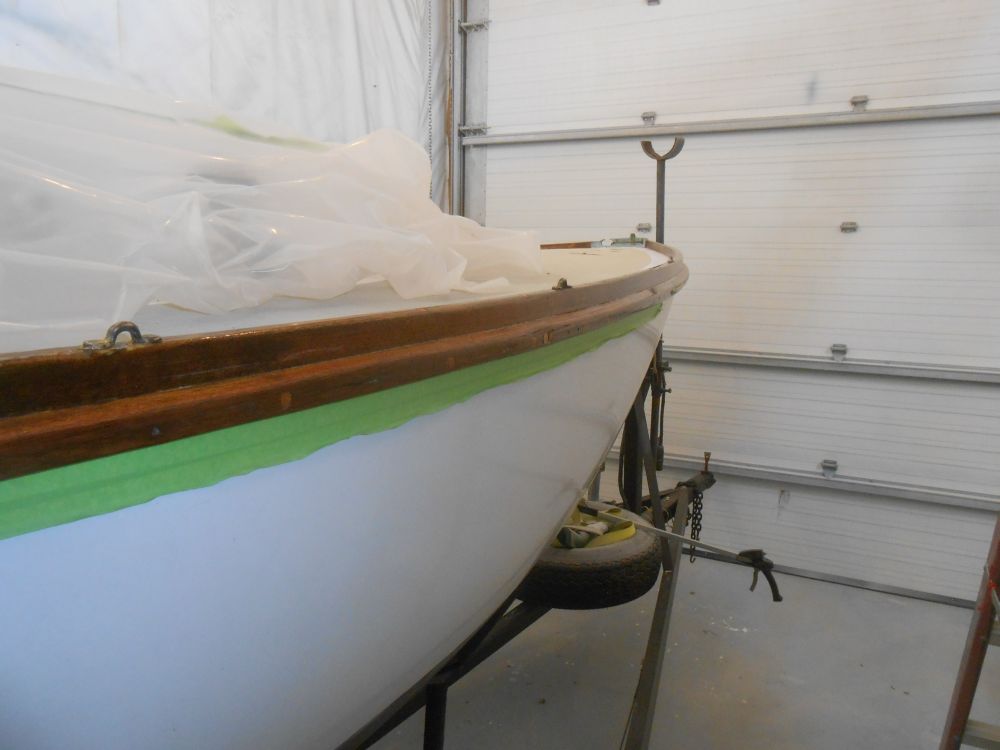
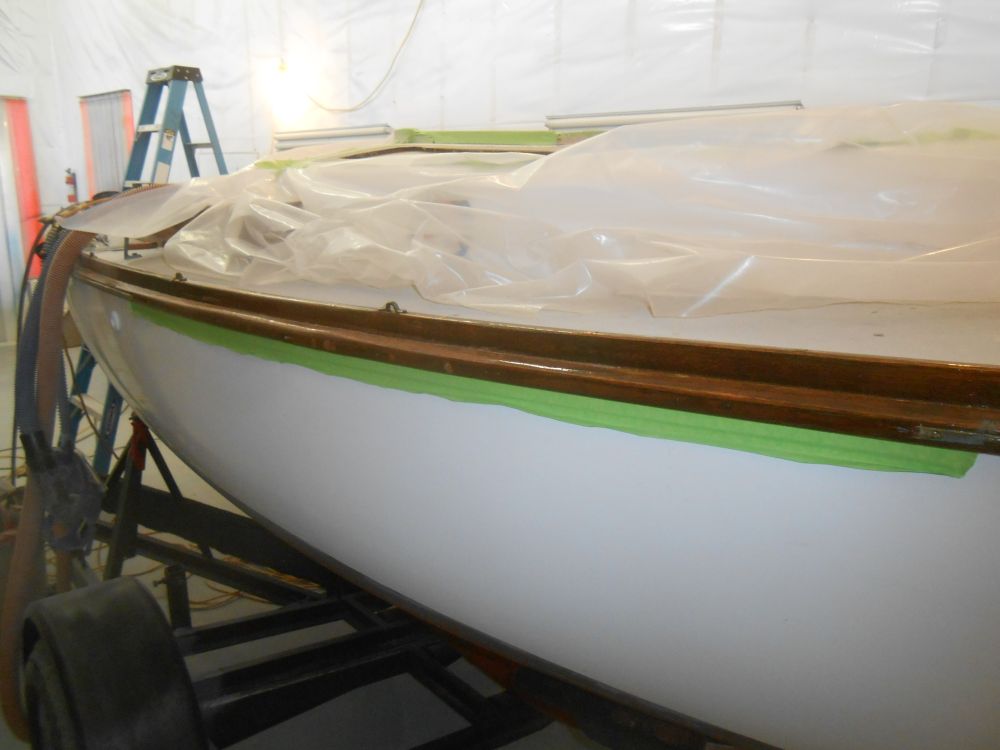
To round out the day, I applied a coat of varnish to the repaired area of the rubrail and toerail on the starboard side, and another light coat of fairing compound to a couple areas on the aft deck.

Total Time on This Job Today: 7.25 hours
