|
|||
|
|
~ The bLog Home ~ |
||
| Continue to December 2007> | |||
|
SUNDAY, OCTOBER 28, 2007 |
|||
|
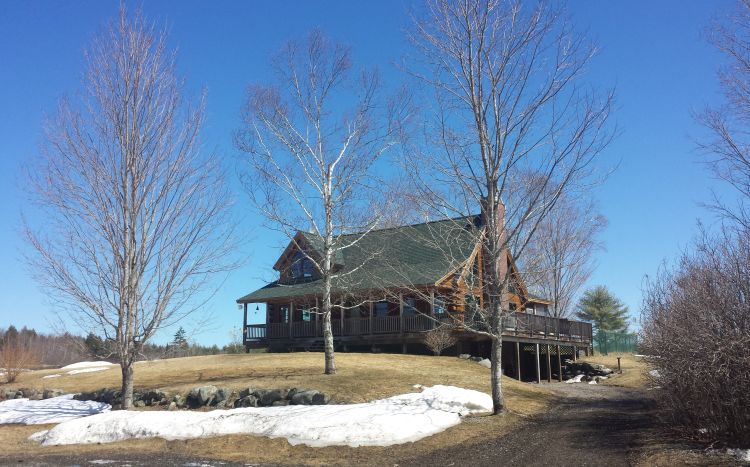
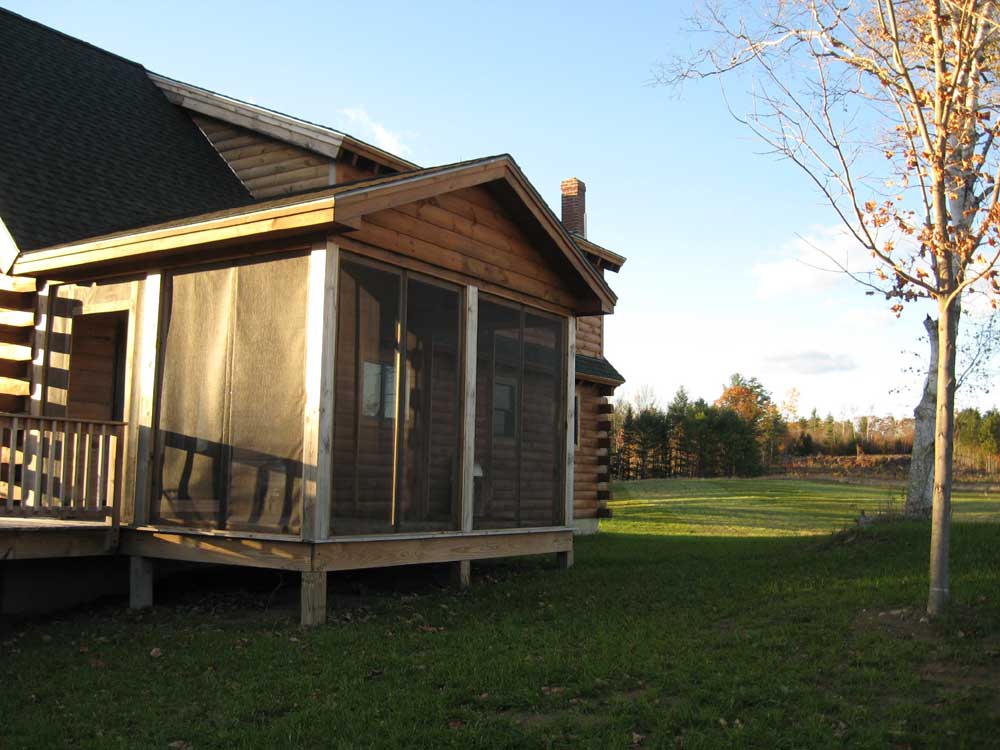
Last weekend, I took advantage of a pleasant weather day on Sunday to wrap up the exterior staining. I stained the trim and soffit around the front and back porches. For now, I left the posts unstained; staining these would be a more finicky process that was best left for later. |
|||
|
|
|||
|
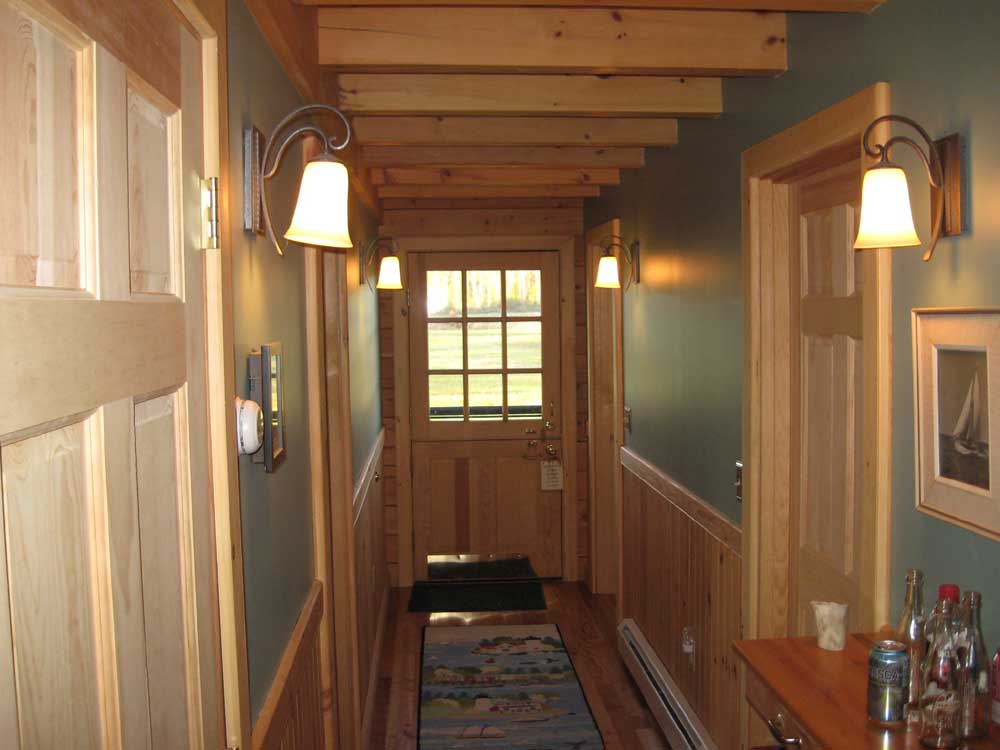
Then, today I finished up the interior
trim in the house. The only thing not complete had been the
door trim in the downstairs hall (5 doors total); I had postponed
installing this trim repeatedly over the past year, since installing
it required some small spacers to make up the difference in wall
thickness between the upper part of the walls (drywall) and the
lower part (pine wainscoting). While the addition of the
spacer wasn't a challenging thing, it was just one more obstacle to
an otherwise simple job. Plus, it seemed that every time I
thought of the job, I had painting or other delicate work going on
in the shop that disinclined me from using my table saw to rip the
1/4" pine spacers required. Between this and the normal levels
of procrastination, it took some time to eventually turn to the
task. In the event, today I decided was the day to finally get this done. Previously (much earlier), I had milled, sanded, and finished the pieces for the trim, so really all that remained to do was to install them. And over the course of about 3 hours, I did just that. After determining on the first door how much of a spacer I needed (1/4"), I cut a series of strips 1/4" thick and 3/4" wide from a wide board down in the shop. For each door, I first set the trim against the frame to see where the spacers would be needed, then secured spacers to the back side of the trim as necessary, using 5/8" brads in my brad gun. From there, it was a simple matter of nailing the trim up normally. I hadn't realized how much the lack of trim bothered me till I saw the hallway with all the trim installed. Check check: another item off the list. |
|||
|
|
|||
|
|||