
|
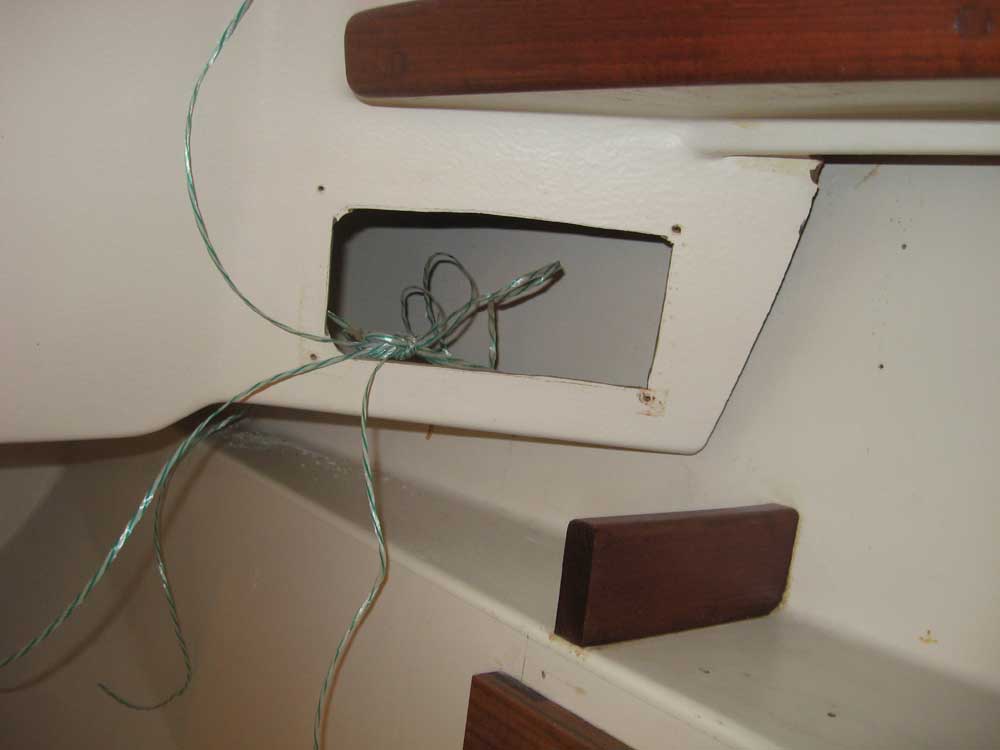
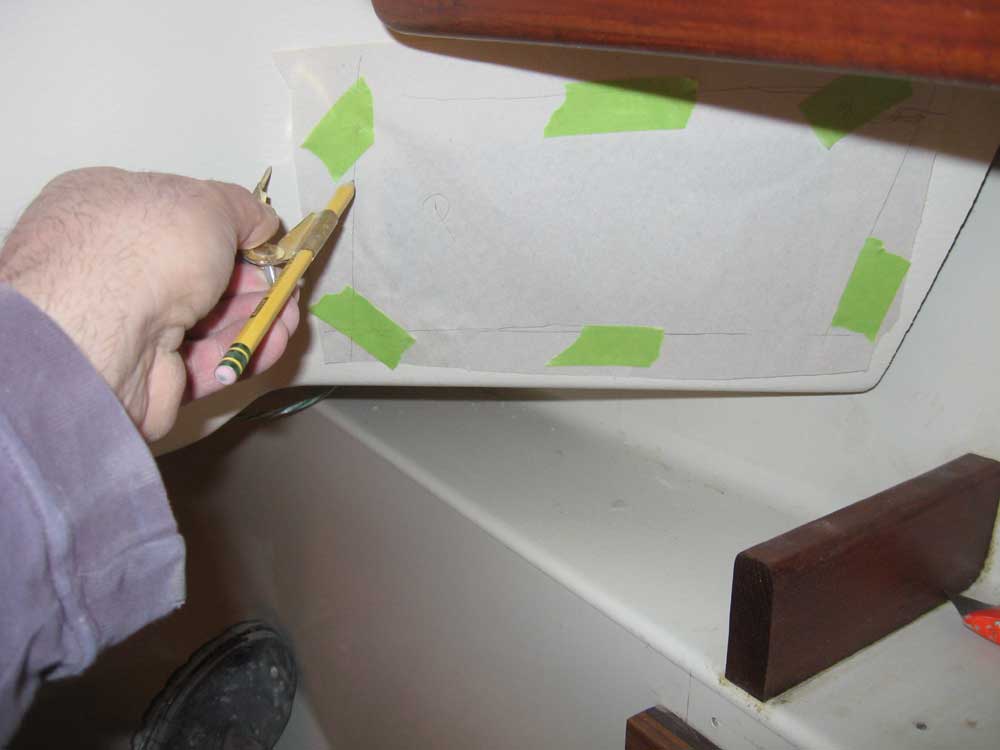
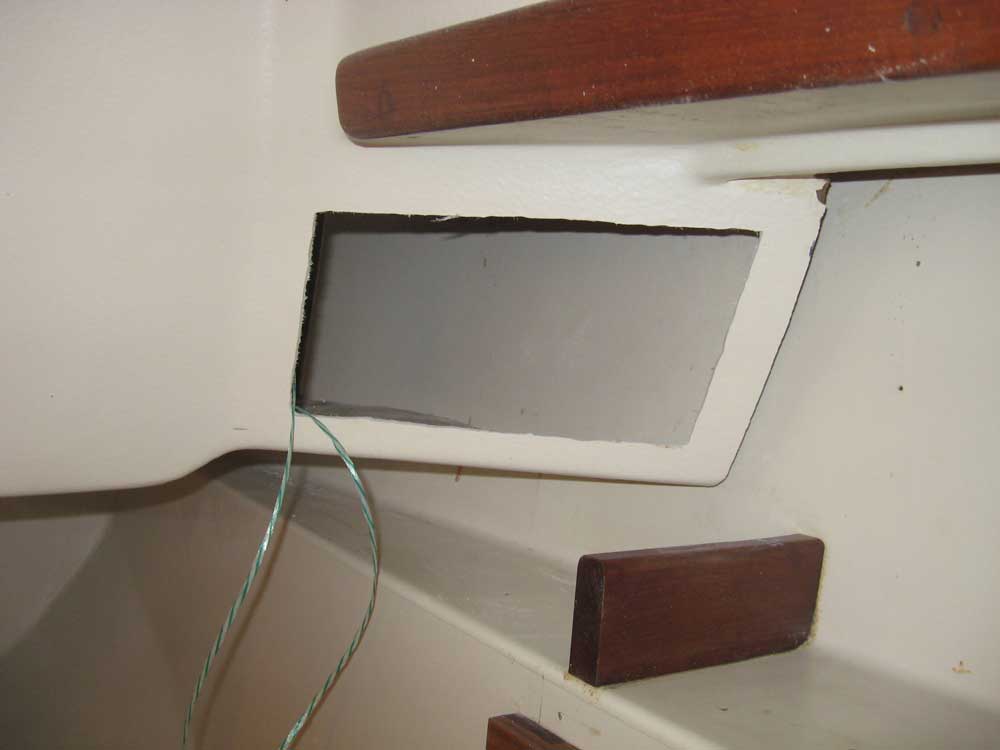
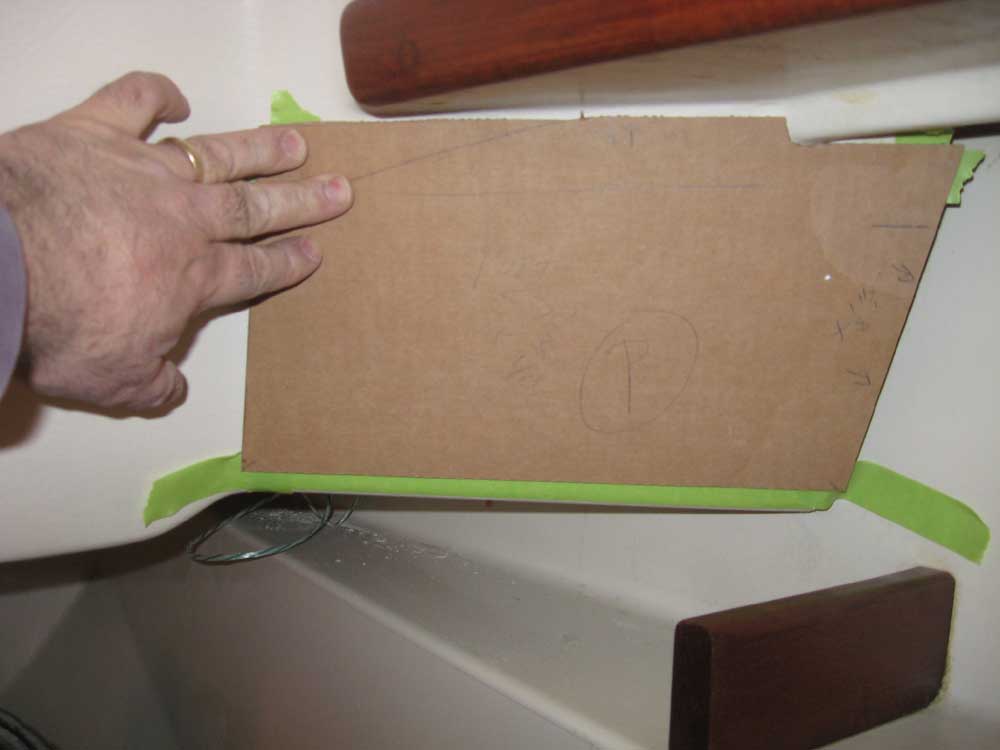
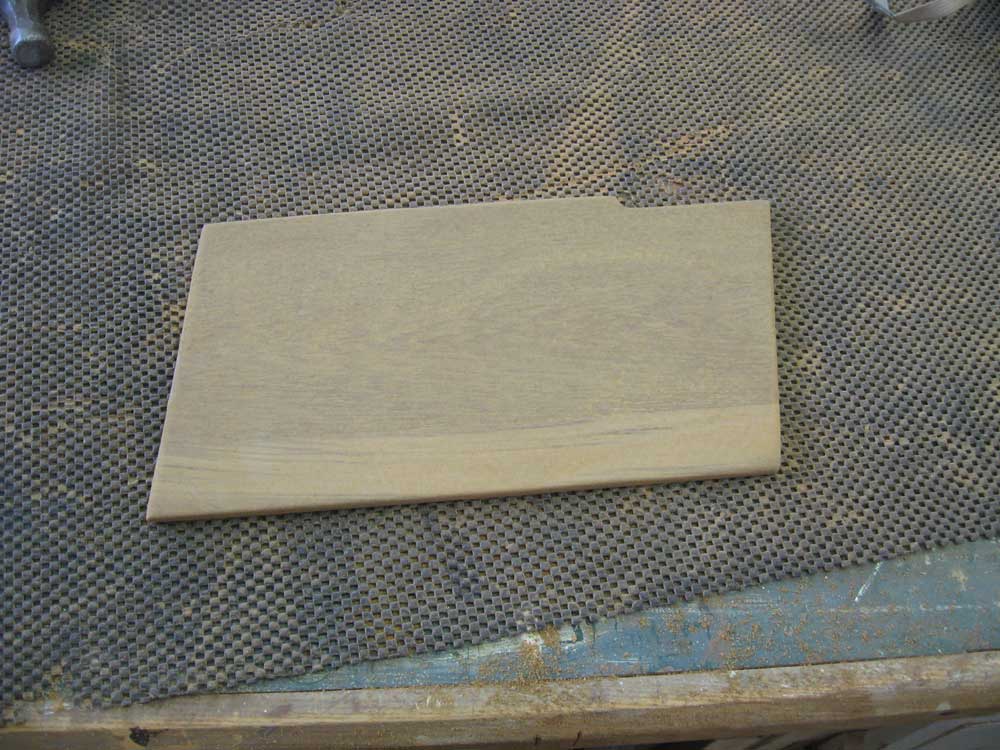
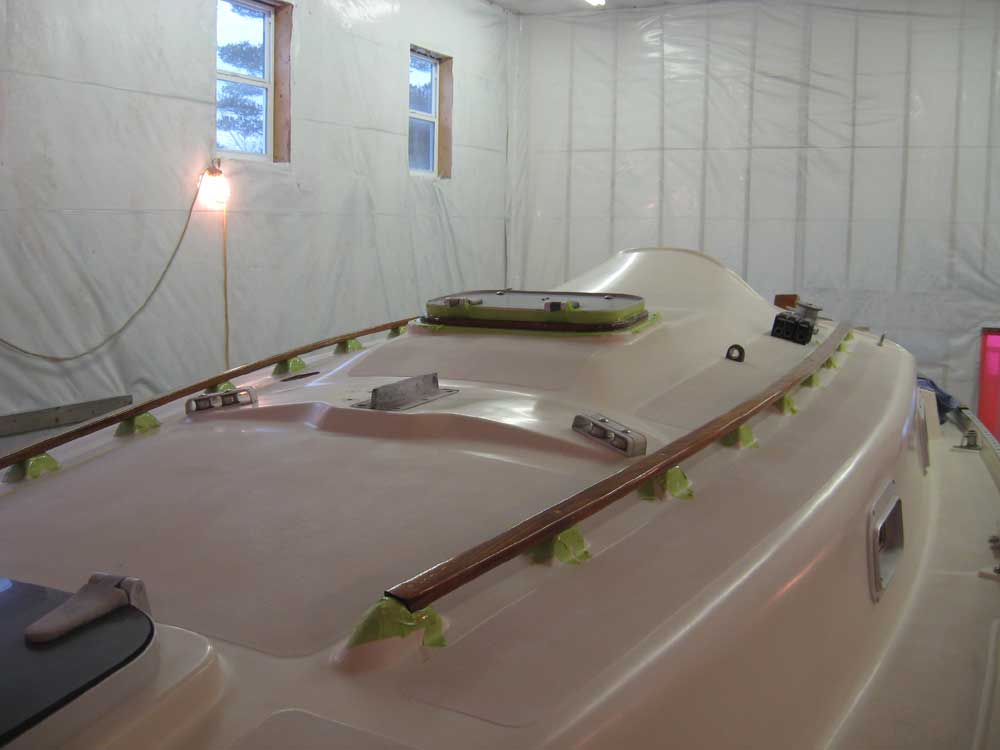
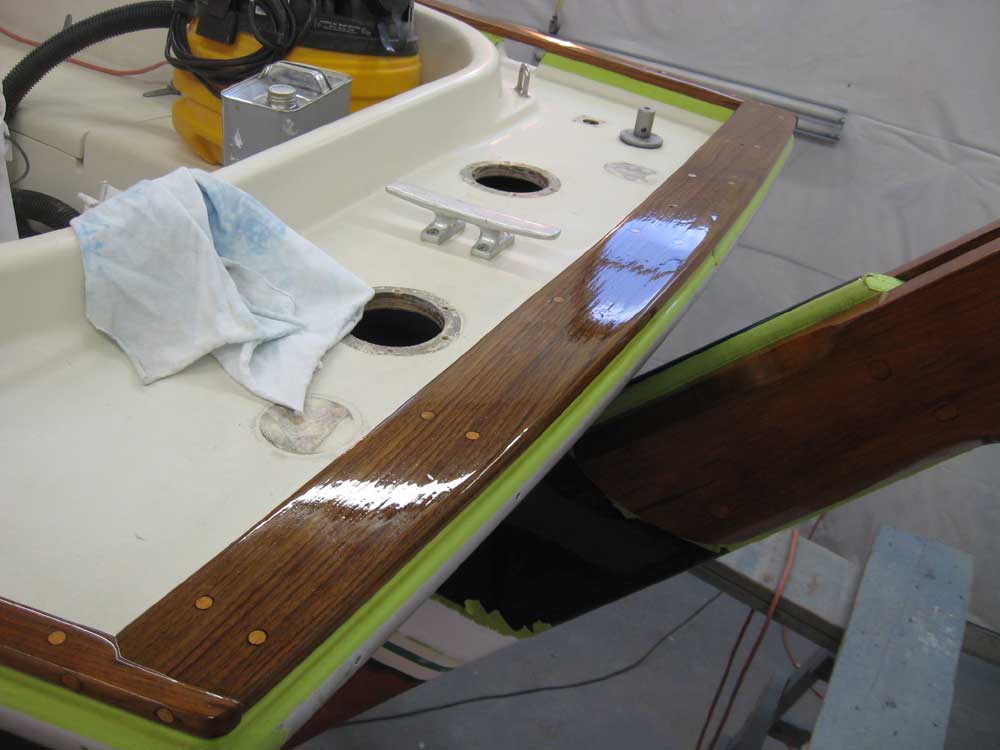
Equinox Project | Wednesday, February 18, 2009 After beginning the day, as usual, by sanding all the exterior brightwork, I moved on to some preparations for the electrical system installation. To begin, I attended to the two areas of the molded deck liner where the old electrical panels had been installed, and where I planned to install the new ones. Since the new panels were of different layout and dimension, changes were in order. To cover the old openings, I chose to build wooden backing boards that would not only cover the openings and provide a sturdy base for the new panels, but also add some additional warmth to the cabin in those areas. To begin, I made a paper template of the areas in question, using a scribe to mark the contours and shape of the panel areas. I used the paper template to make cardboard templates of the actual shapes, both port and starboard, and after some fine-tuning arrived at the final shapes and sizes for the two pieces. Next, I enlarged the openings in the fiberglass, leaving roughly a 1" flange all the way around to which I'd later install the wooden panels, which in turn would support the electrical panels. I resawed some 7/8" teak into two thicknesses, each about 5/16" thick, and on these slimmer boards laid out the panels using my cardboard templates, after which I cut out and sanded/cleaned up the panels. That was about as far as I could go until I received the actual electrical panels. The photo sequence below shows the port side; I followed the same process for the twin panel on the starboard side. |
 |
|
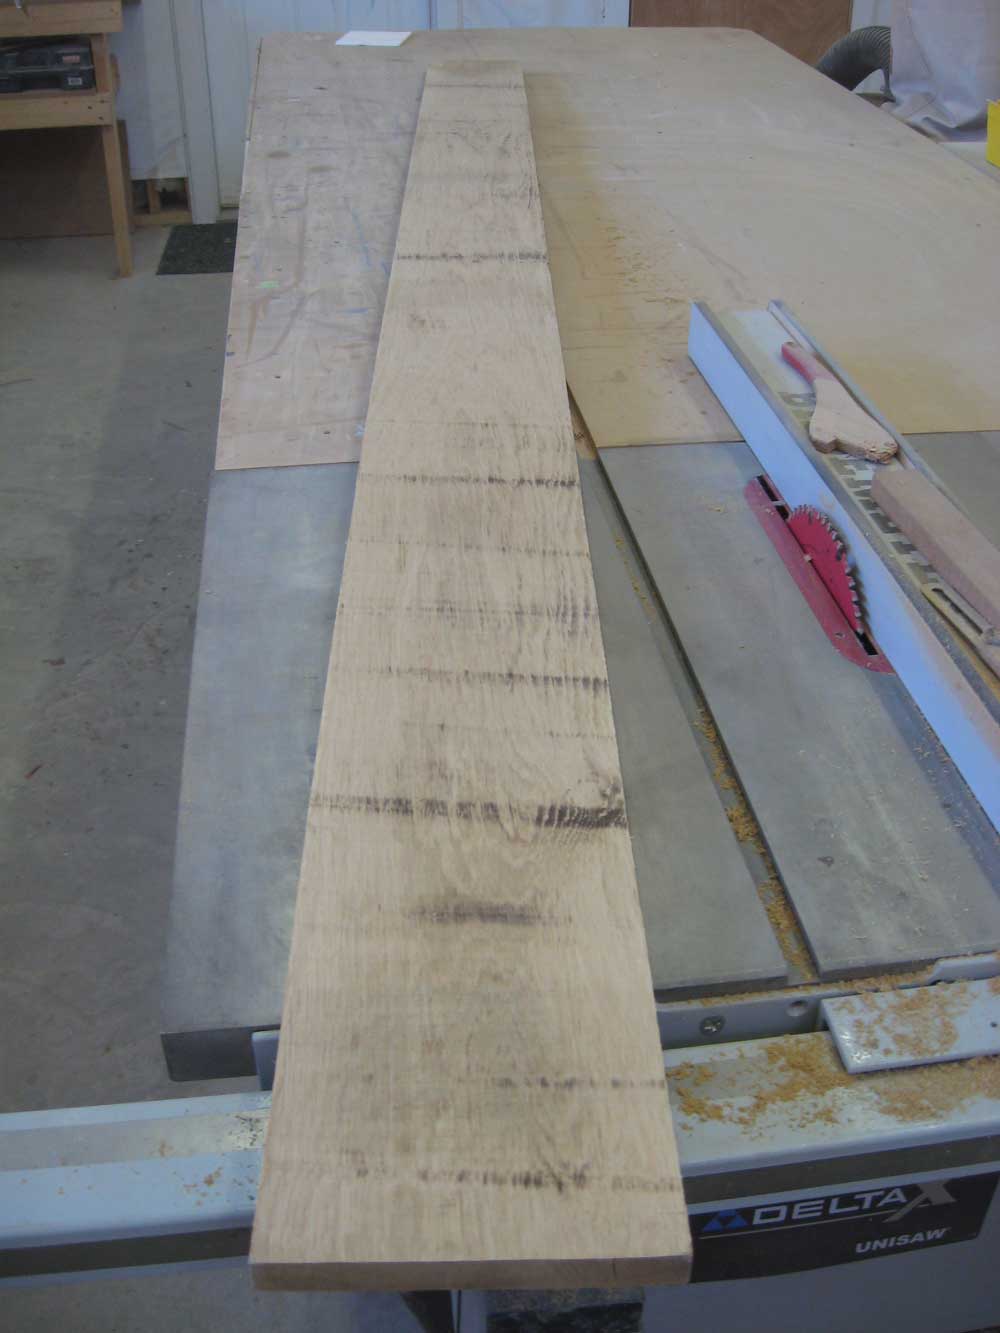
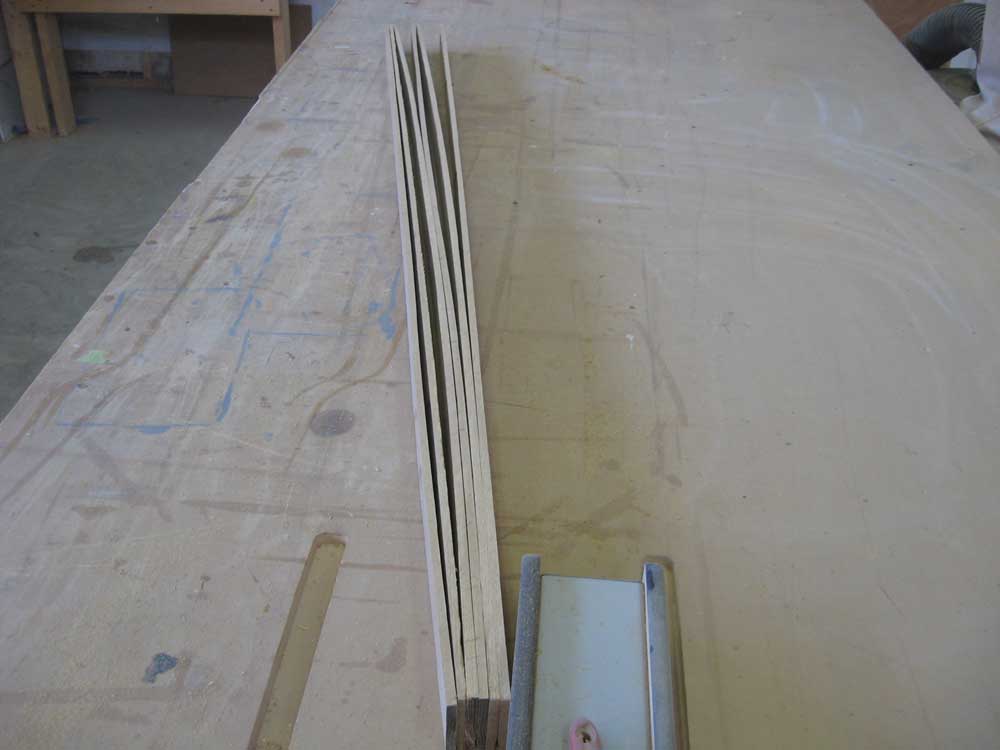
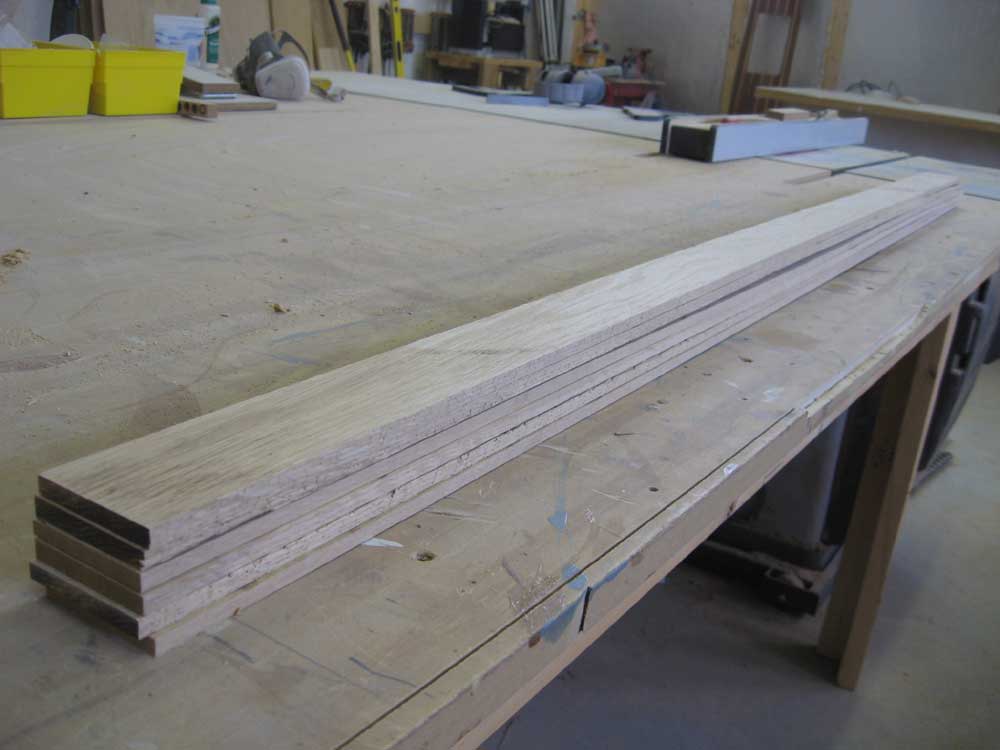
While I was working with wood, I surface planed a piece of rough white oak stock,, straightened one edge, and cut two, 2" widths, each about 62" long, each of which I then resawed into three, 1/4" thick planks, giving me six planks, each 1/4" thick, 2" wide, and 62" long. These planks were the raw material for a new laminated deck beam I'd been requested to make to reinforce the deck-mounted mast step from beneath. In order to continue the construction, I'd first have to make a template of the area, which I planned to do in the near future. For now, I had the stock prepared, and I needed to move on to other things. |
 |
|
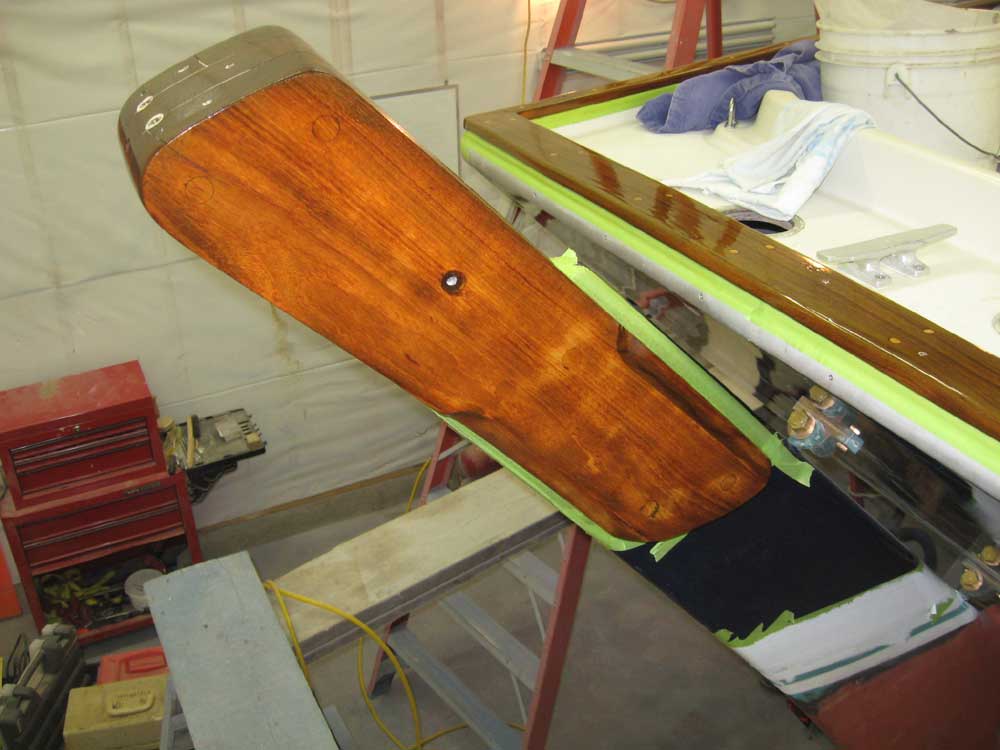
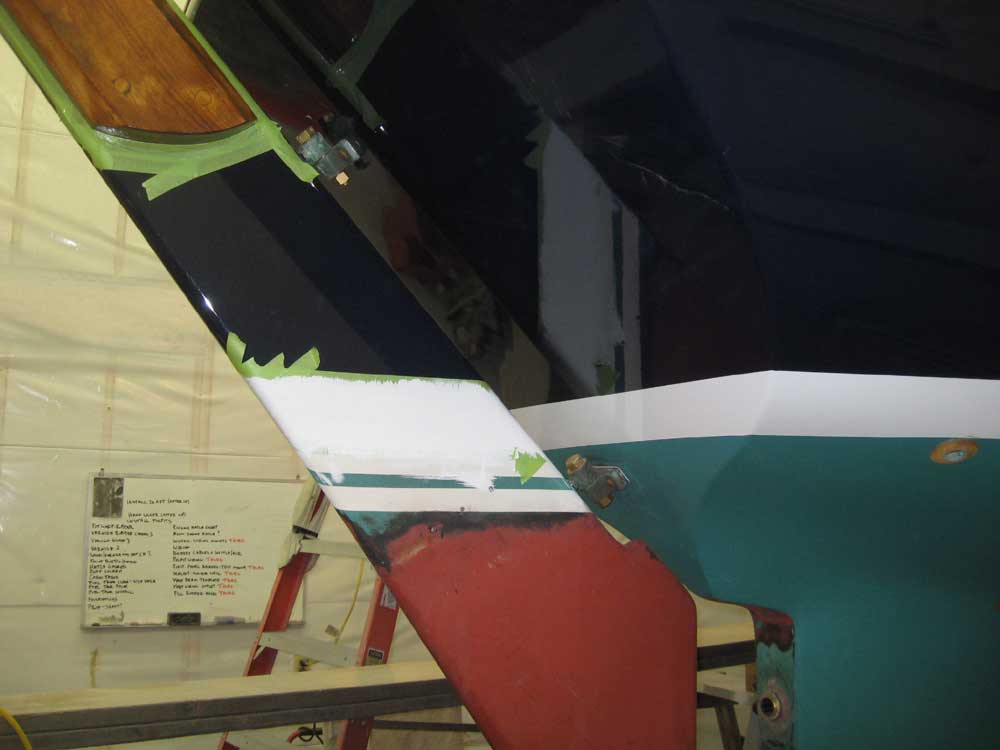
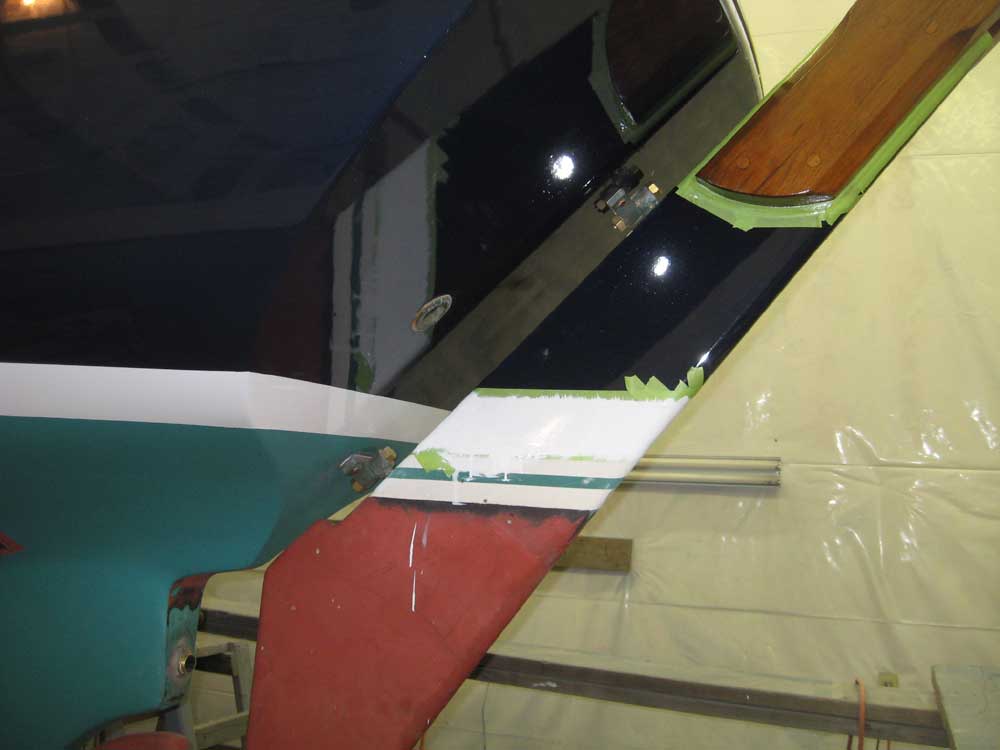
After cleaning up a bit, I spent the remainder of the day applying another coat of varnish to the exterior trim, rudder, tiller, and swashboards, and applied a third coat of Alexseal snow white to the rudder boottop. |

 |
|
|
|
