
|
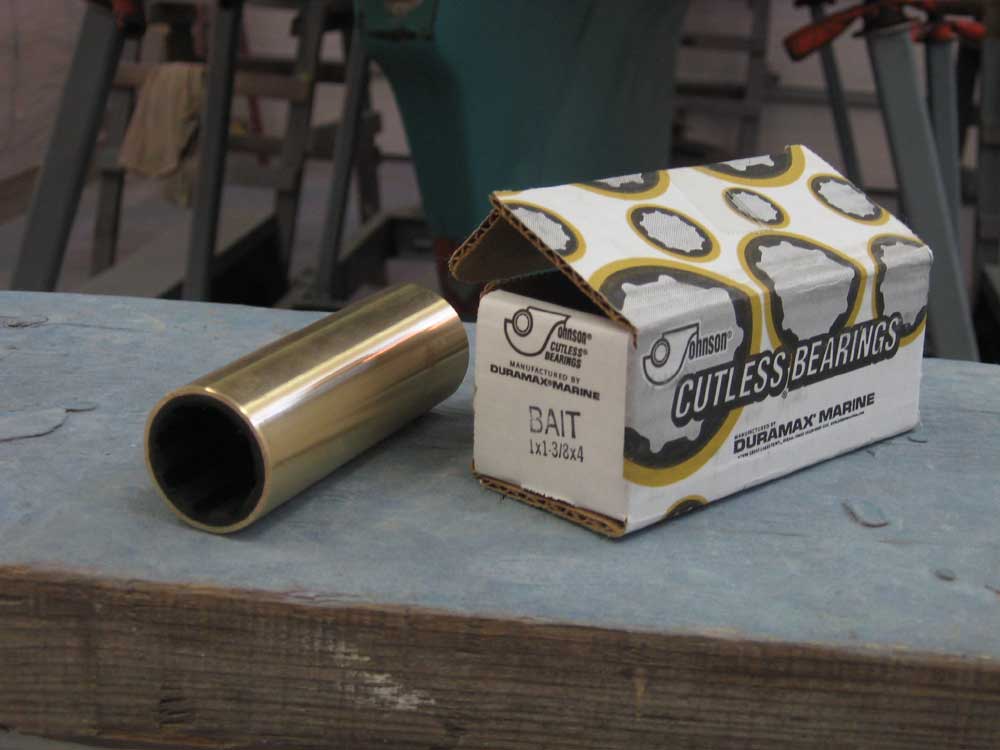
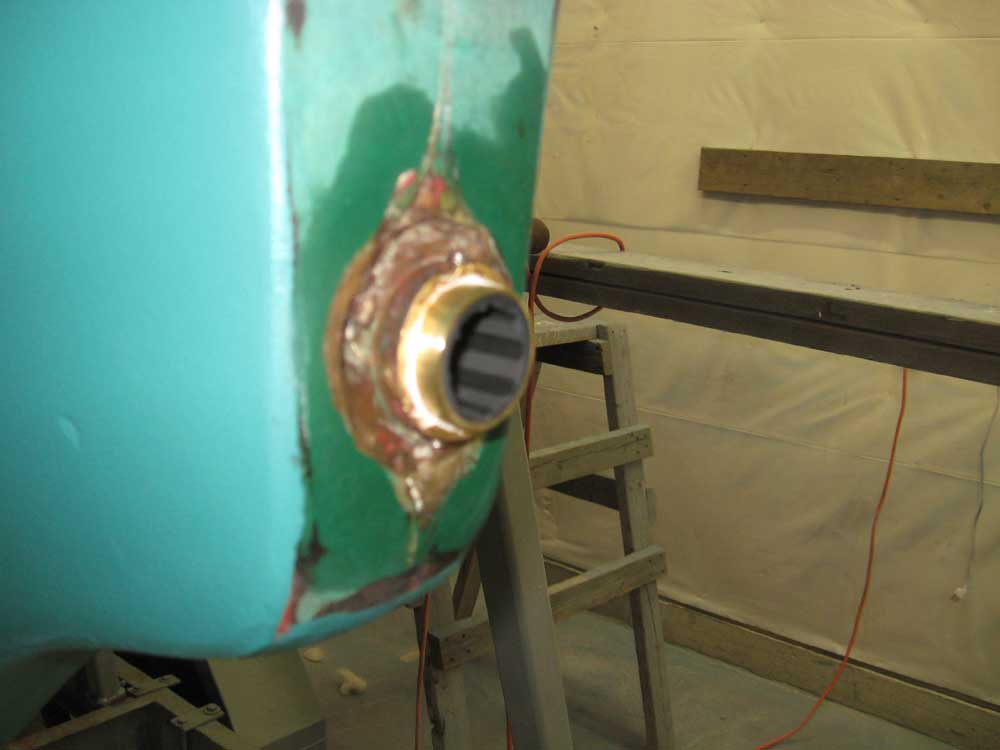
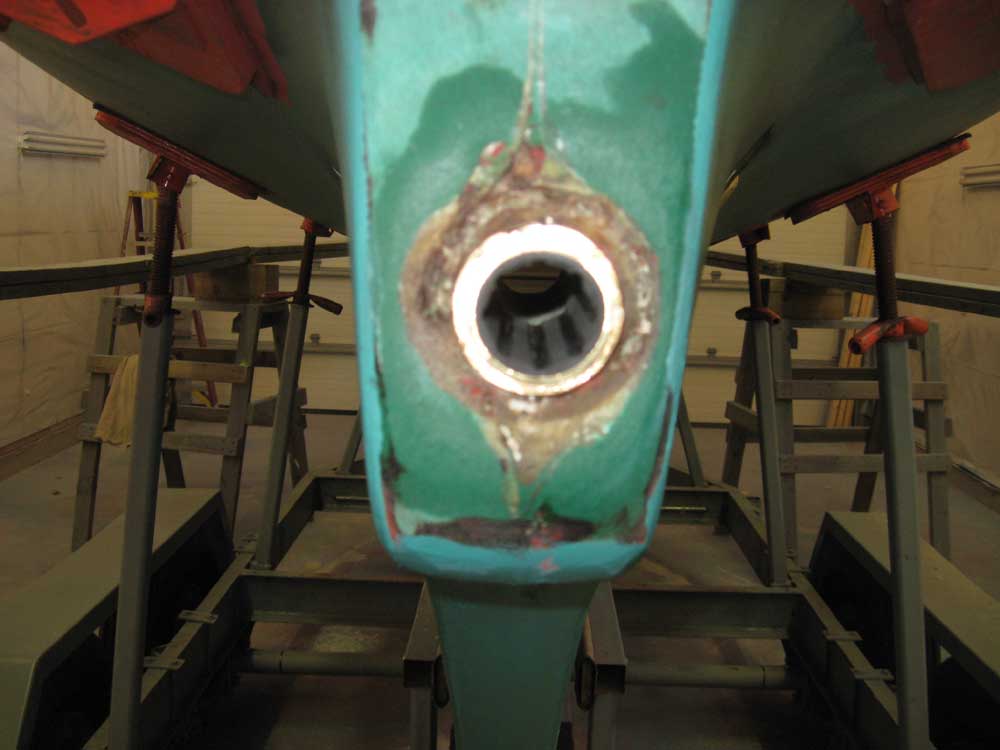
Equinox Project | Wednesday, February 4, 2009 In an effort to quickly rid my list of one more line item, I began with a simple job: installing the new Cutless bearing. Earlier, I'd removed the old one, with some effort, but fortunately (and as expected), the new installation proceeded without issue. I re-tapped two setscrew holes that were already in place in the existing brass/bronze stern tube, and then inserted the new bearing, securing it with two new set screws. I left a bit of the bearing extending beyond the stern tube to allow for easier future removal. (I am not sure why these pictures are blurry...sorry.) |
 |
|
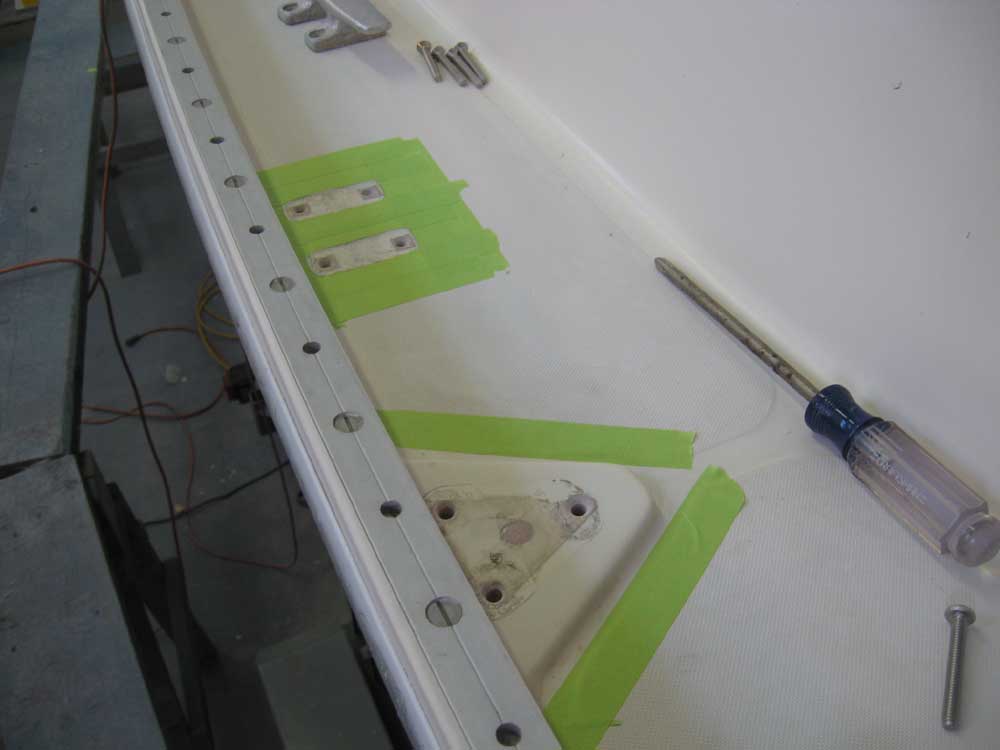
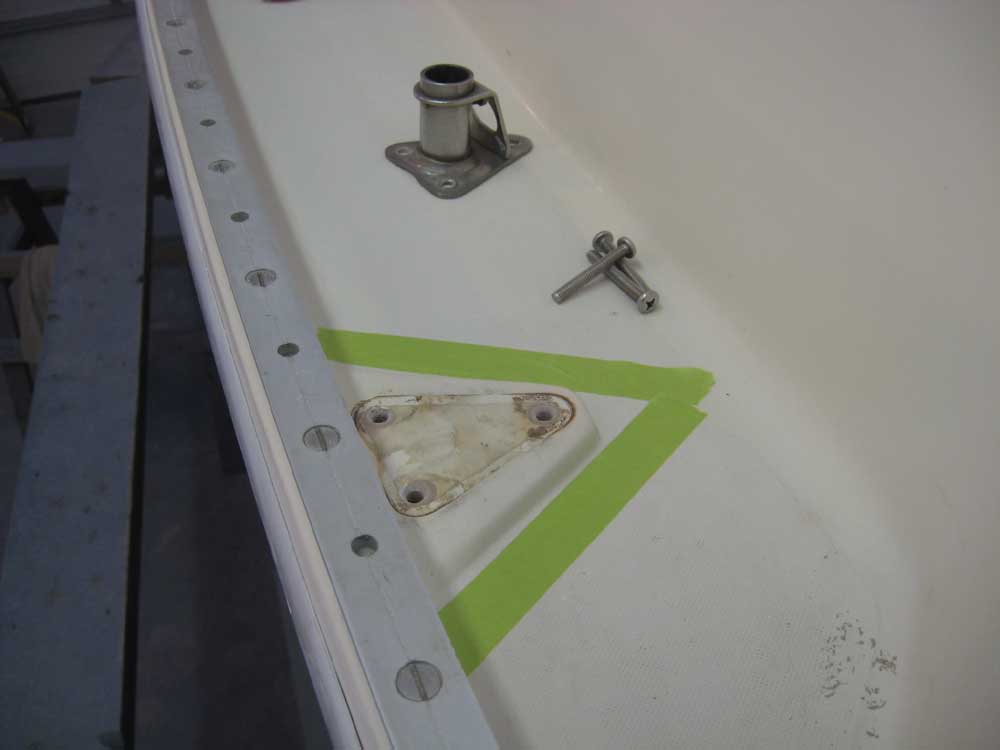
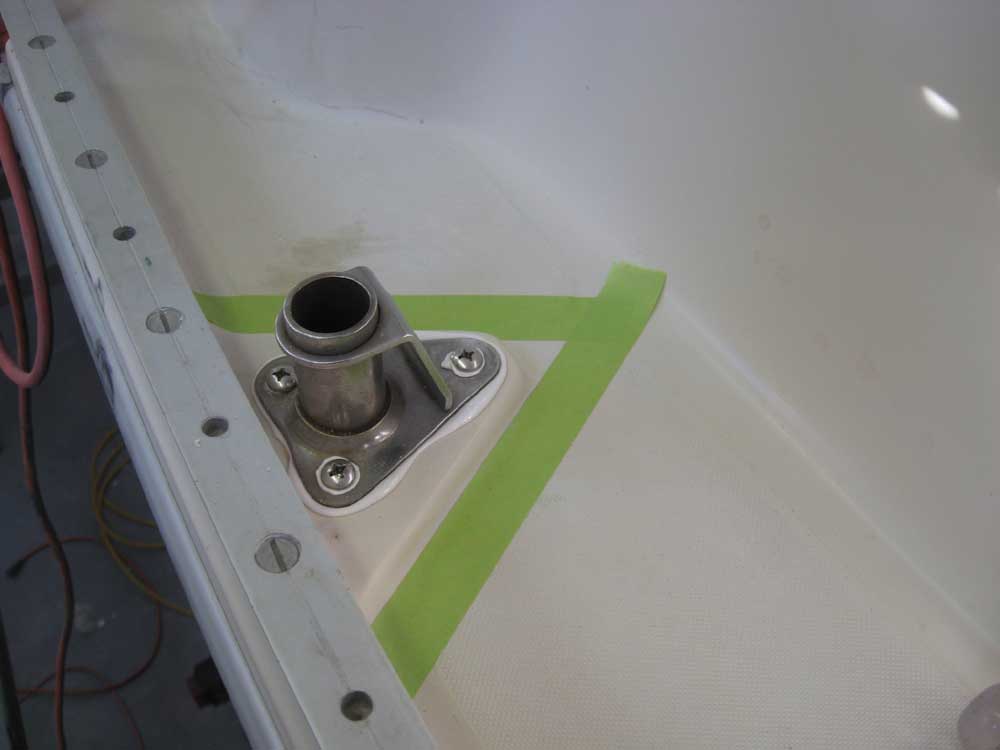
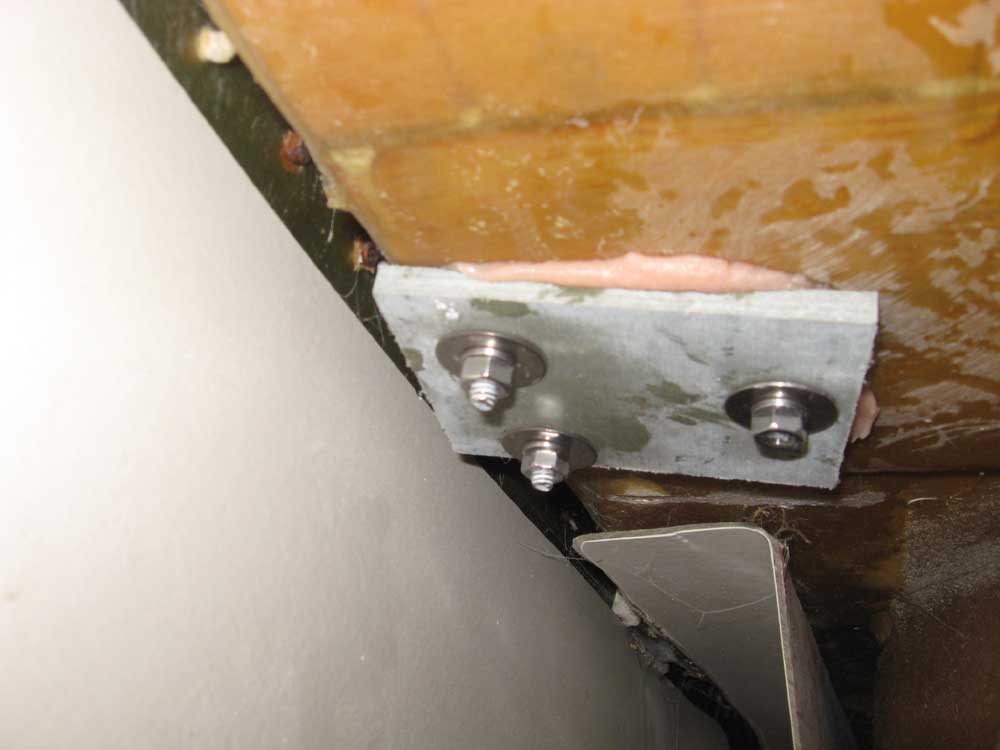
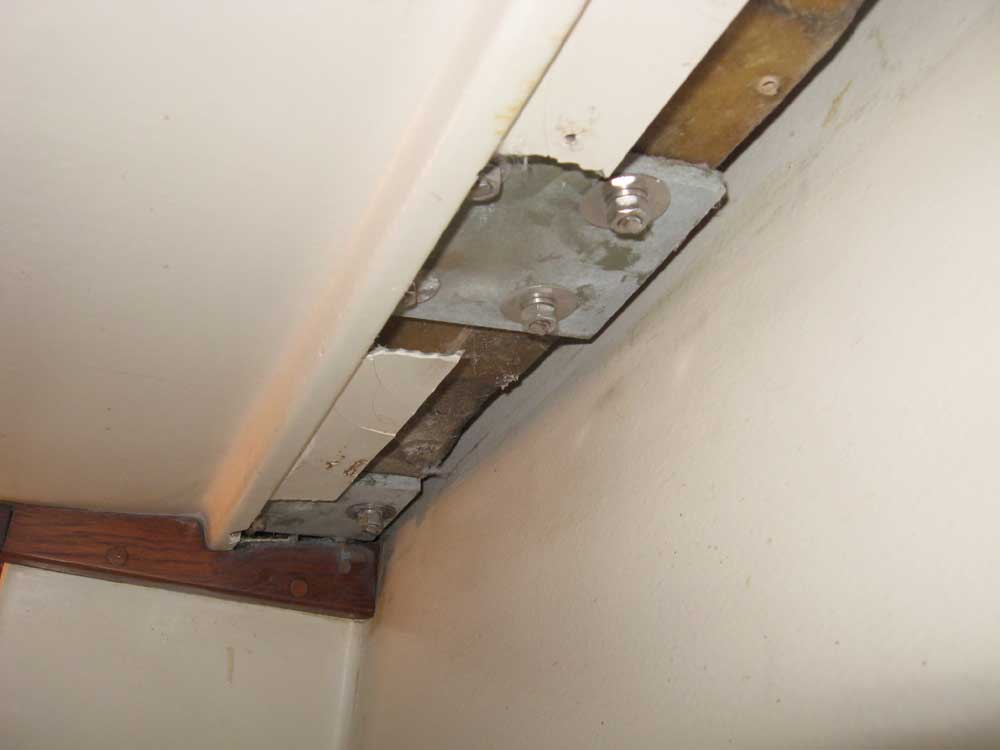
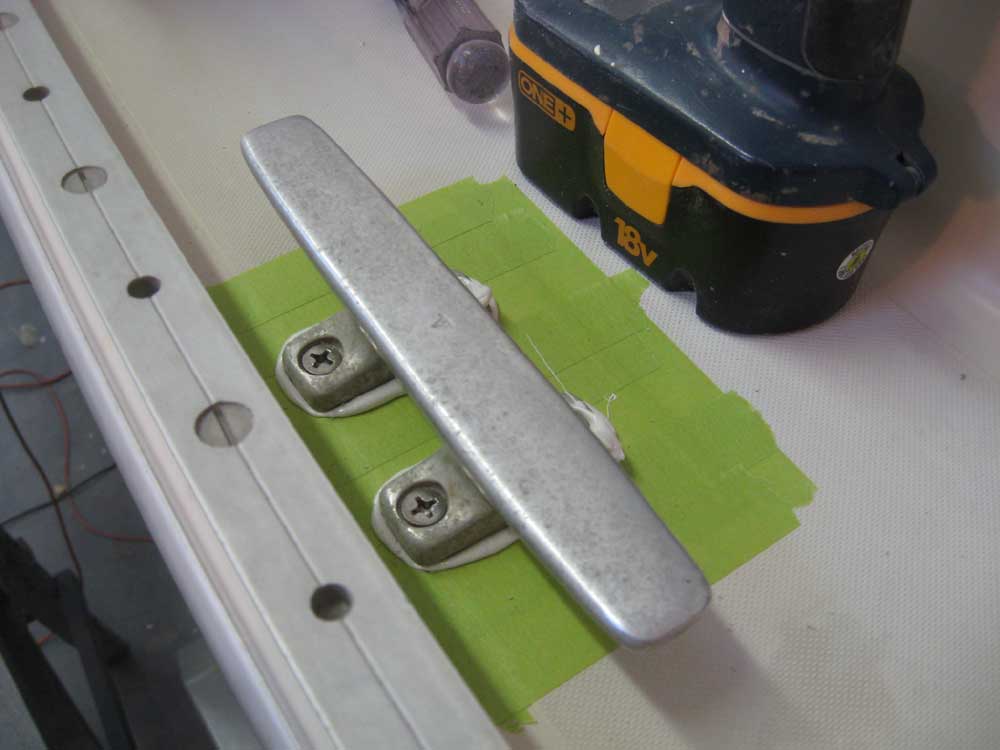
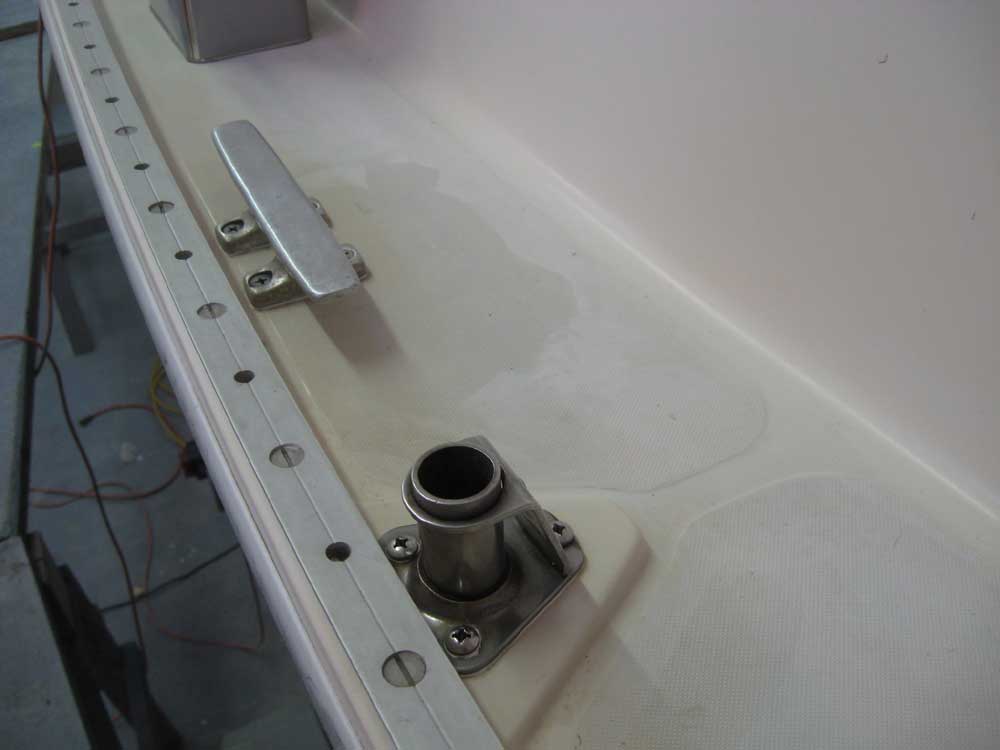
I spent the remainder of the day working on deck hardware, starting with some cleanup of the existing hardware to remove old sealant (silicone!) and prepare the pieces for reinstallation. For now, I concentrated on the stanchion bases, midships and forward cleats, and bow pulpit bases, to correspond generally with those areas of the deck which I had already cleaned and polished. As things turned out, even this was apparently too aggressive an expectation for the day. With the hardware cleaned up, and new fasteners, tools, sealant, and related items collected and scattered about the deck, I moved on with the installation process. I soon realized that I'd have to wait on the bow pulpit bases for now, since I'd have to run some wires for the pulpit-mounted sidelights first, as these wires needed to run and be sealed through one of the pulpit bases (starboard aft in this case). I further realized that I hadn't yet installed backing plates beneath the forward cleats, so I took a moment to glue those in place so that I could install the cleats tomorrow. Moving on, I drilled and tapped fastener holes for the stanchion bases. On the first hole, I discovered that with the molded, raised area beneath the stanchion base, plus the deck thickness, plus the added thickness of the newly-installed 1/4" backing plate, my standard tap threads were not quite long enough to satisfactorily tap the holes all the way through. Since I didn't have an extended tap, I solved the problem by slightly overboring the top 1/4" or so of the holes' depth to allow the shank of the tap to extend just a bit into the hole, and therefore for the tap flutes to penetrate all the way through properly: one additional step to elongate the overall process. At each hole, I also milled a small countersink at the top, to create a wider area to contain an extra reservoir of sealant during installation around the fastener shank. Finally, with all the holes drilled and the spoils vacuumed up, I masked off the nonskid as needed around the hardware to make cleanup easier, particularly around the breast cleats, which were located directly on the nonskid pattern. With all preparations finally complete, I began the final installation, starting with the starboard aft stanchion base. I applied plenty of polysulfide sealant, and screwed the base down from above, using 1/4-20 x 2" panhead screws (SS). This first installation went swimmingly, with no liner beneath this particular area. I knew the design of the interior/deck liner was going to create installation challenges for the midships and forward stanchions, and the breast cleats, but I didn't anticipate it being quite so time-consuming as a result. Rather than go into exhaustive detail on the problems, suffice it to say that myriad factors, between the design of the liner, the additional thickness of the backing plates, fastener length, and more, conspired to make installing two simple items (mid cleat and mid stanchion base) extremely frustrating and time-consuming, to the extent that it took most of the afternoon to get these jobs done. But I finally managed to secure the hardware, including nuts and washers belowdecks, and I cleaned up the excess sealant from above. |
 |
|
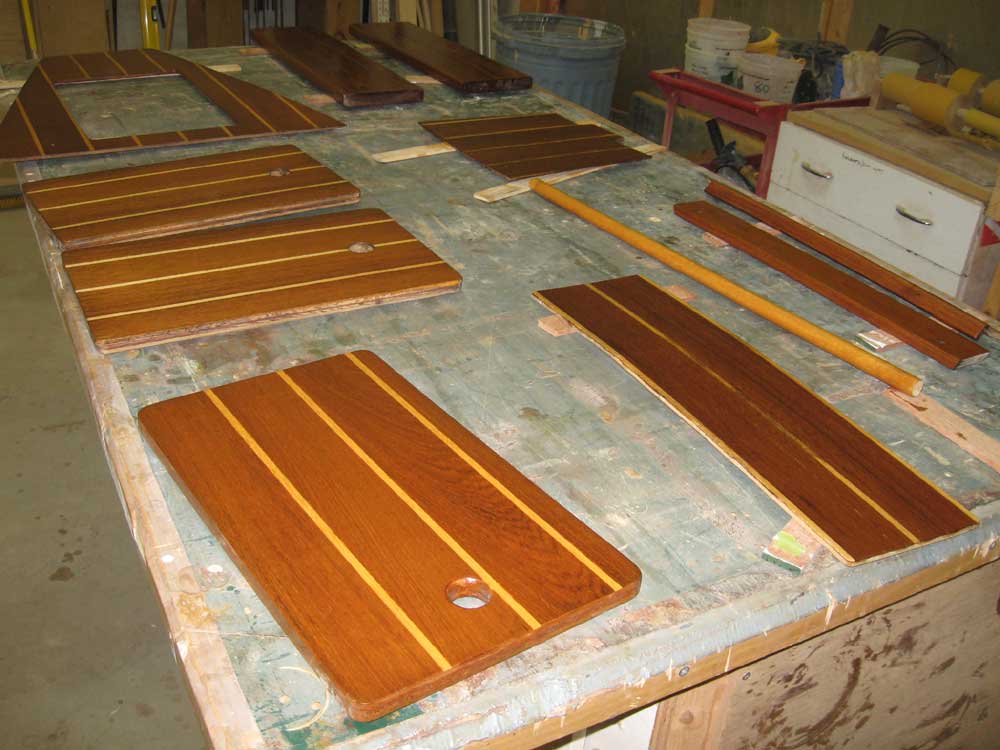
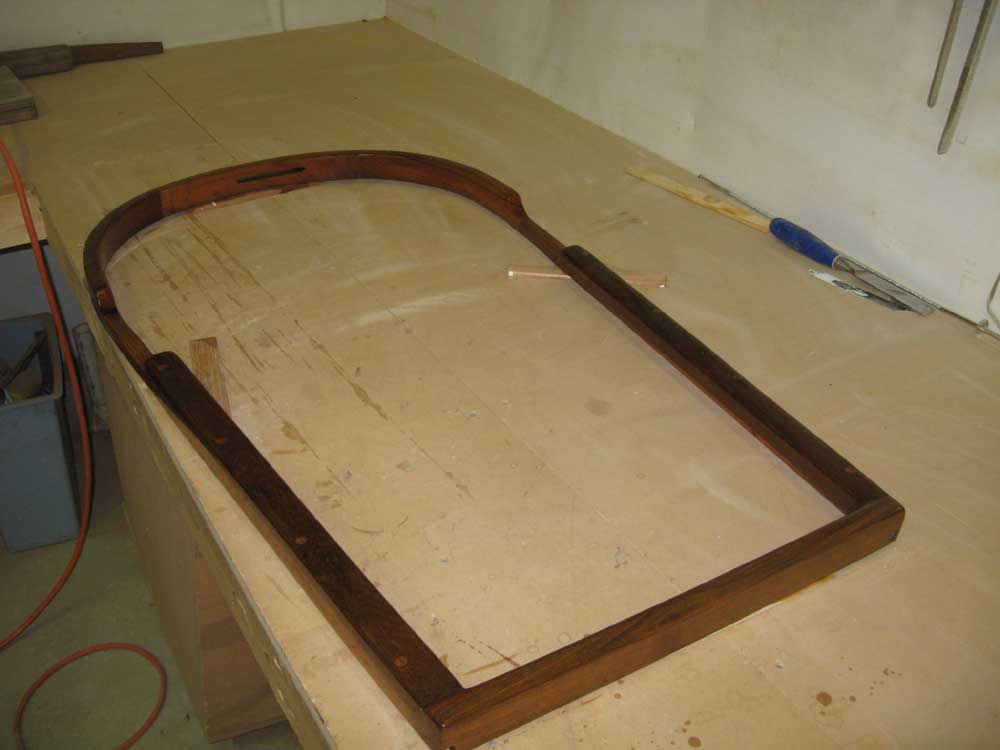
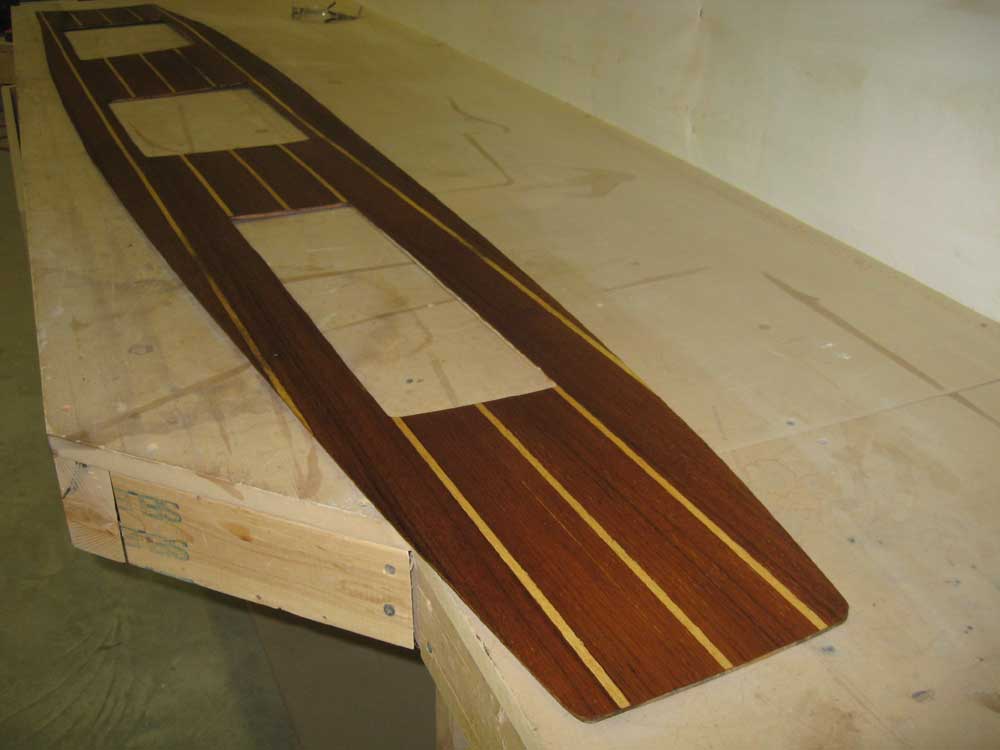
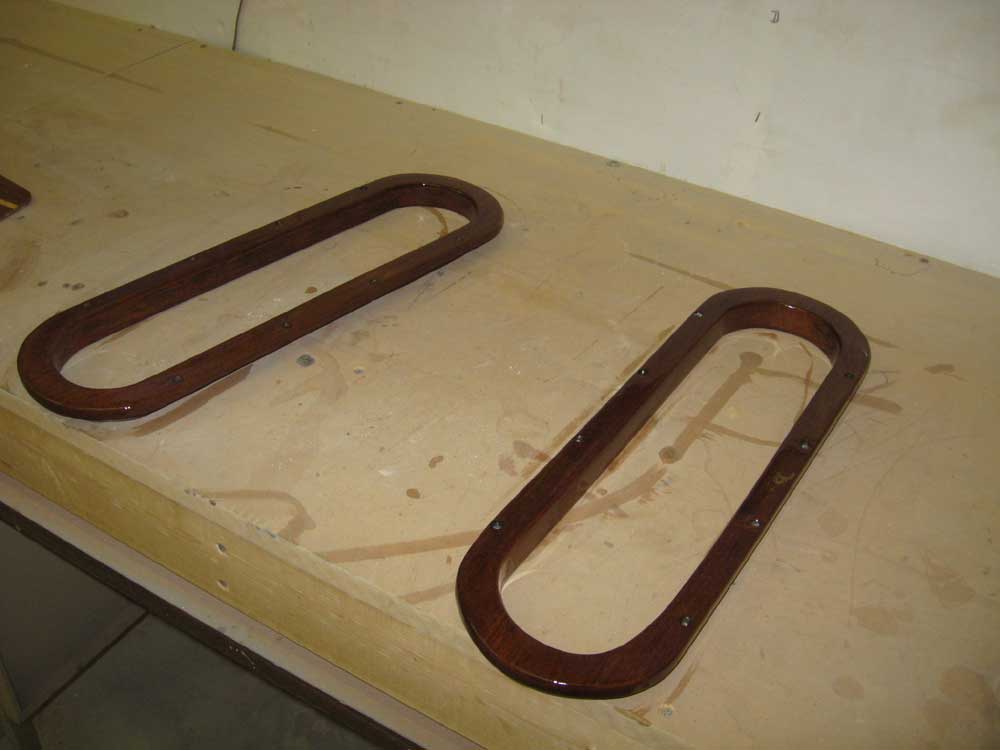
I had hoped (and expected) to get further than this, but rather than continue with the hardware installation, since the day was running late I moved on so that I could apply varnish to the cabin sole pieces, companionway trim, and other trim pieces that I'd been working on of late. With sufficient base buildup on the interior pieces, this time around I applied satin varnish; the exterior pieces, such as the companionway trim and trim rings for the cockpit coaming storage lockers, received yet another coat of gloss varnish as I continued the build on those pieces. |
 |
|
|
|
