|
|
~MENU~ |
| Home |
| The Concept |
| The Boat |
| Bringing Her Home |
|
Weekly Progress Log |
|
Daysailor Projects |
| The Boat Barn |
| Resources |
| Other Sites |
| Email Tim |
|
|
| Unbuilding: Interior Demolition | |||
|
The entire interior will be removed down to the bare hull. Whatever can be saved for another use will be, but there is limited material worth saving. |
Interior Demolition | ||
| Engine Removal | |||
| Parts Removal | |||
| Projects Menu | Deck Removal | ||
|
Update 1: 7 January 2003 | Update 2: 28 April 2003 | Update 3: 25 May 2003 | Update 4: 3 June 2003 |
|||
|
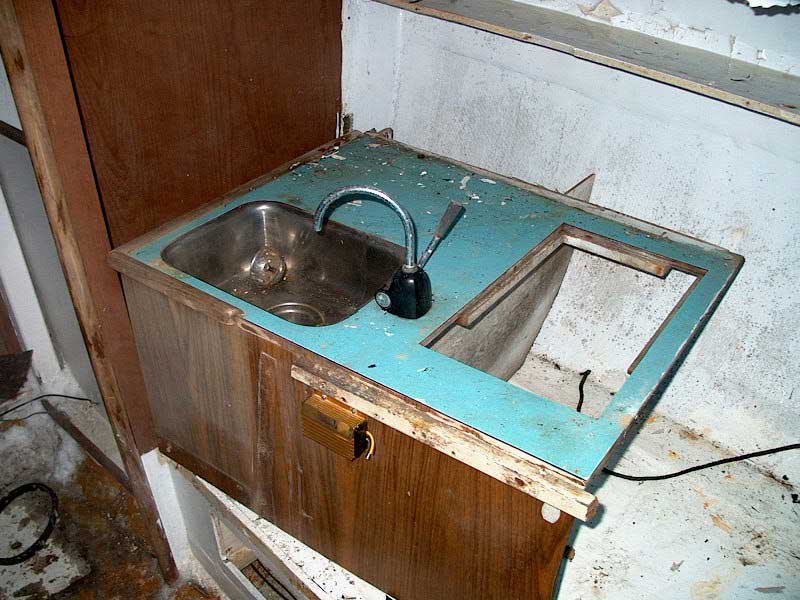
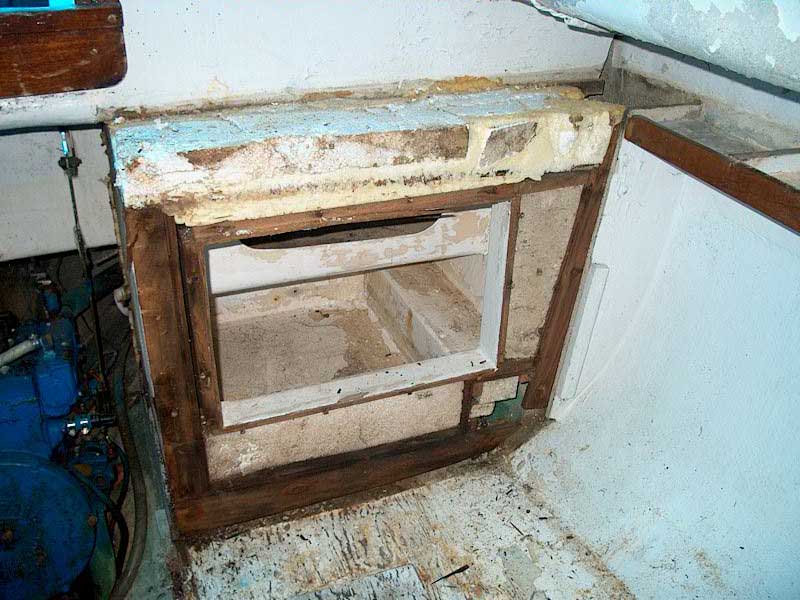
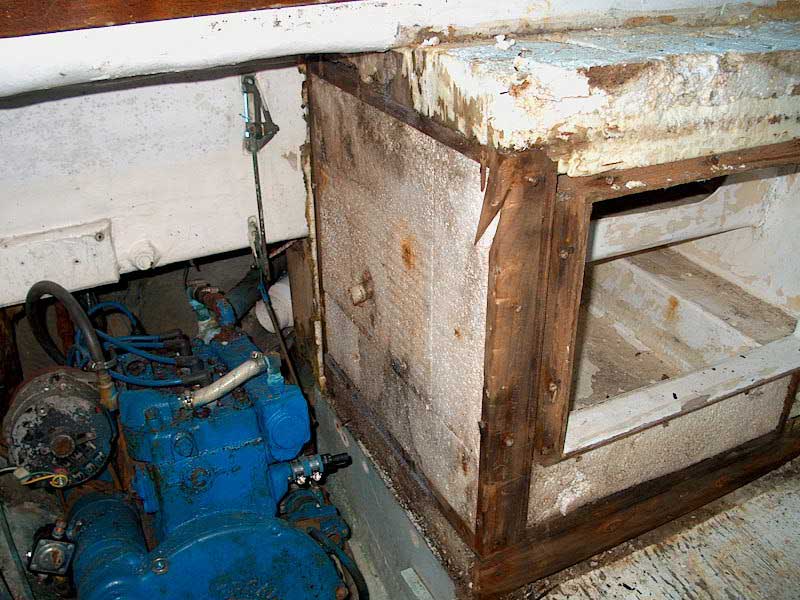
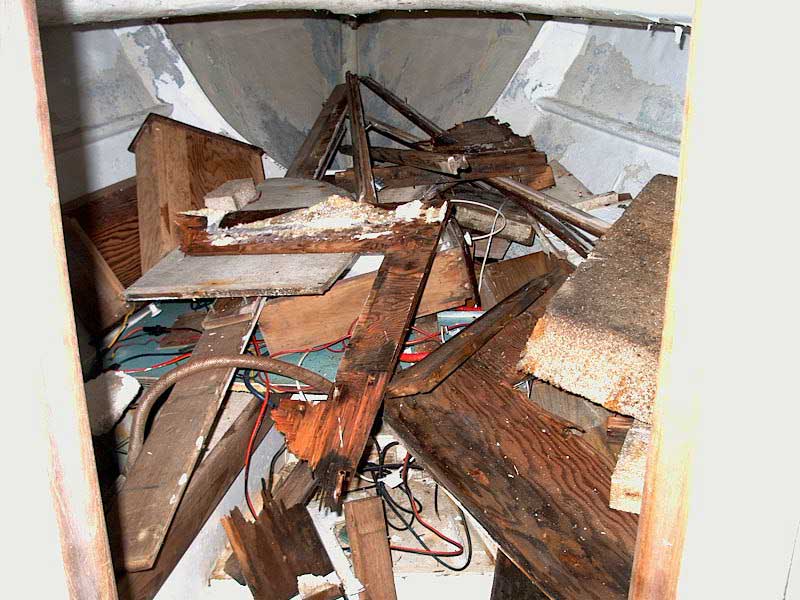
Interior demolition began on a whim on a sunny winter's day. I went up on the boat to check whether or not I could easily remove the salon backrests for a friend, and ended up grabbing some tools and beginning the demolition of the interior that very afternoon. In about an hour, or perhaps an hour and a half, I removed the galley module, much of the icebox, all the teak trim pieces in the salon, and most of the wiring in the salon and engine room. With several feet of snow piled up outside, and nowhere to store the junk, I threw it all up into the vee berth for the time being. Later, I'll throw it all outside to the ground and sort through for any usable stuff. Most of it will end up in the weekly trash pile, though. There's much more to come, demo-wise, but this was a fun start.
|
|||||||||||||||||||||||
|
Sometime later, I returned and ripped out the rest of the icebox with more physical persuasion. I forget when I did this. The sun was out, it was warm--what a pleasure after a really lousy week before. I started the day doing some varnish work on #381 Glissando, and, with that done, needed something else to do, so I decided to collect all the junk from inside the daysailor and throw it down onto the ground, clearing the way for further demolition. At first, I just folded back the aft part of the cover, figuring I'd leave it on. It was hot out, and very stuffy inside the boat without any ventilation. I got to thinking about it, and decided that it was stupid to kill myself inside a blue hothouse, with no compelling reason to actually leave the covers on. What, exactly, am I trying to protect? The whole deck and interior will be removed, so if any of the wood gets wet--who cares? So I decided to remove both tarps. It was nice to expose the boat again...well, sort of. I can't wait to move it from where it sits--it's way too prominent from the house, and was never intended to stay where it is for very long. When Glissando goes in the water soon, I may just move the Daysailor to that spot for now. Pictures tell the demolition story better than I could, so here we go: |
|||||||||||||||||||||||
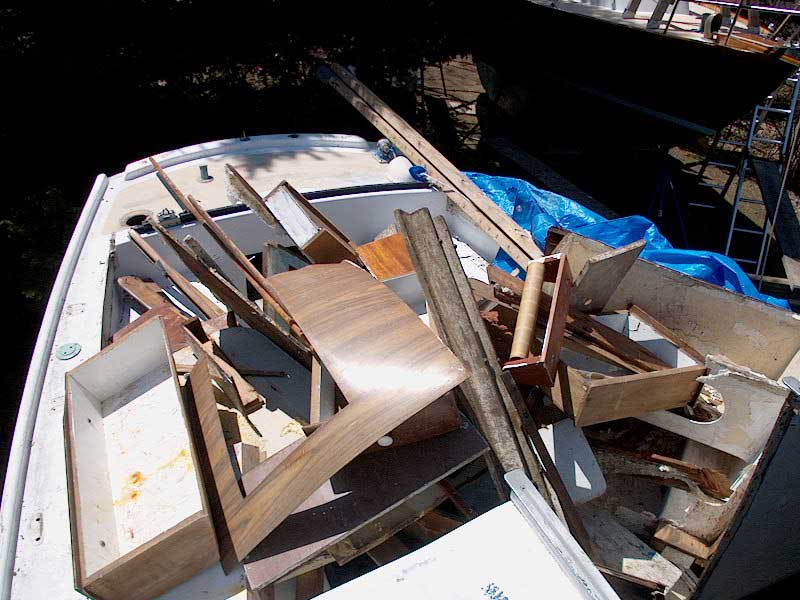 |
All the large pieces made a pretty impressive pile in the cockpit. |
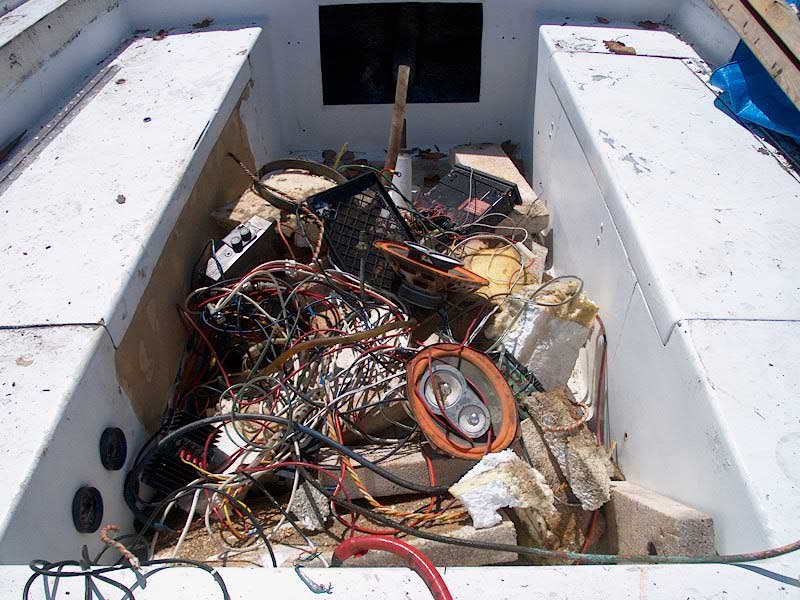 |
Here are the "electronics" from the boat--an assortment of old wire and lousy speakers and junk. | ||||||||||||||||||||
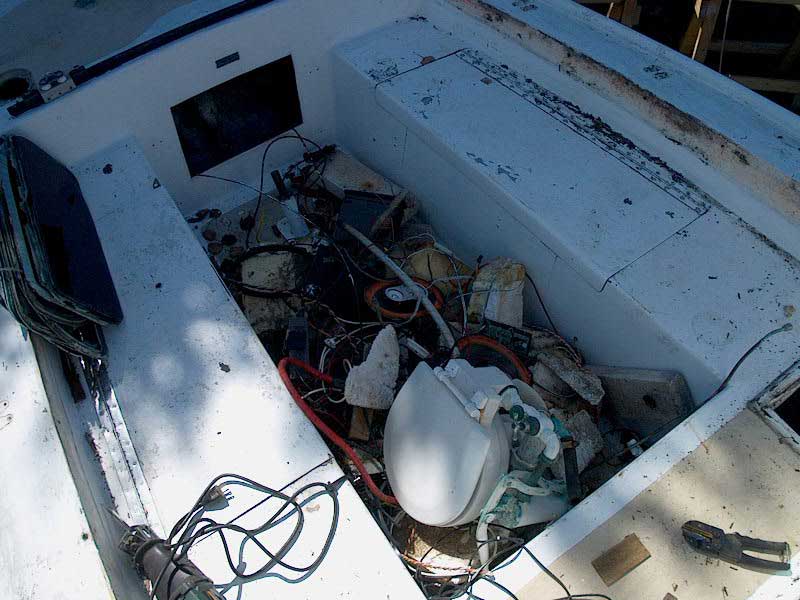 |
Here is a final round of junk from the interior--pieces of Styrofoam, hoses, and the lovely toilet. |
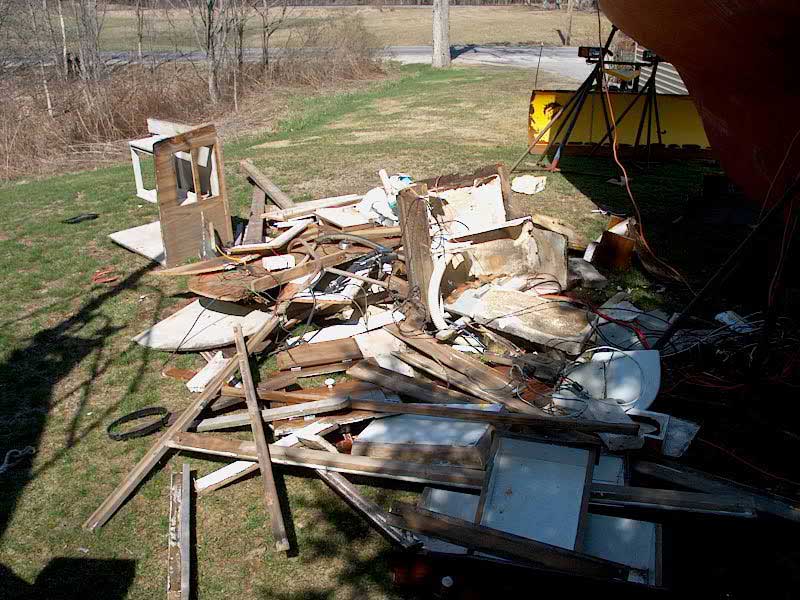 |
The pile looked equally impressive once it was down on the ground next to the boat. | ||||||||||||||||||||
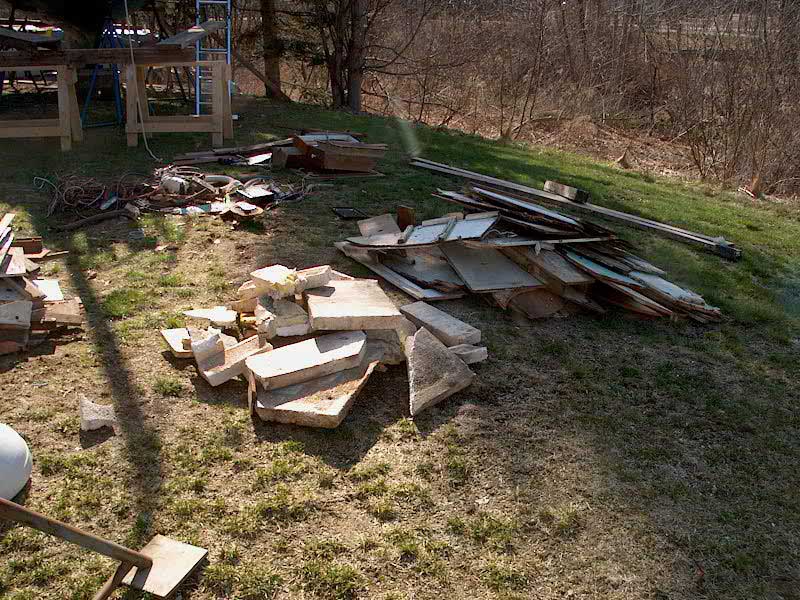 |
Later, I sorted the pile to make it easier to throw away--large pieces, smaller pieces, foam, wire, etc. I stuffed the small stuff in trash bags and piled the rest at the curb. I love my trash guys. They take everything. |
 |
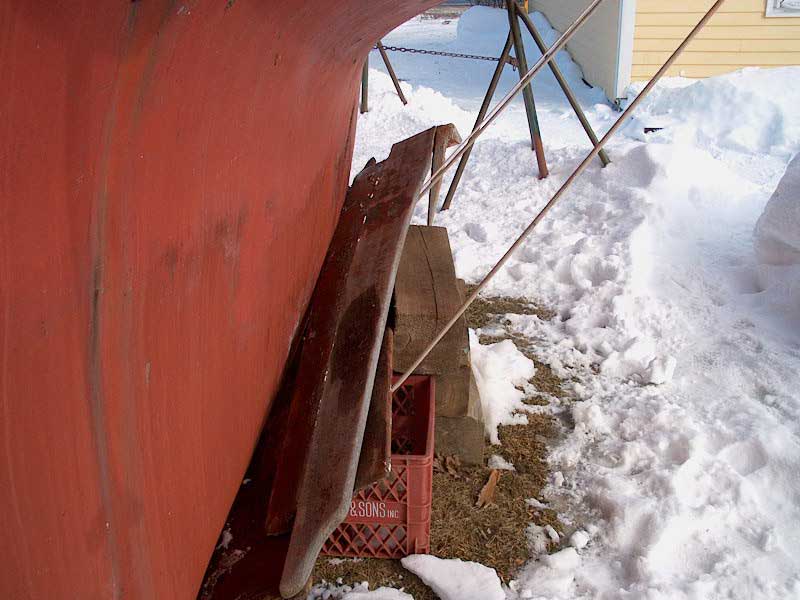
This is the pitifully small "save" pile---teak fiddles and trim, mostly, with a few other pieces. | ||||||||||||||||||||
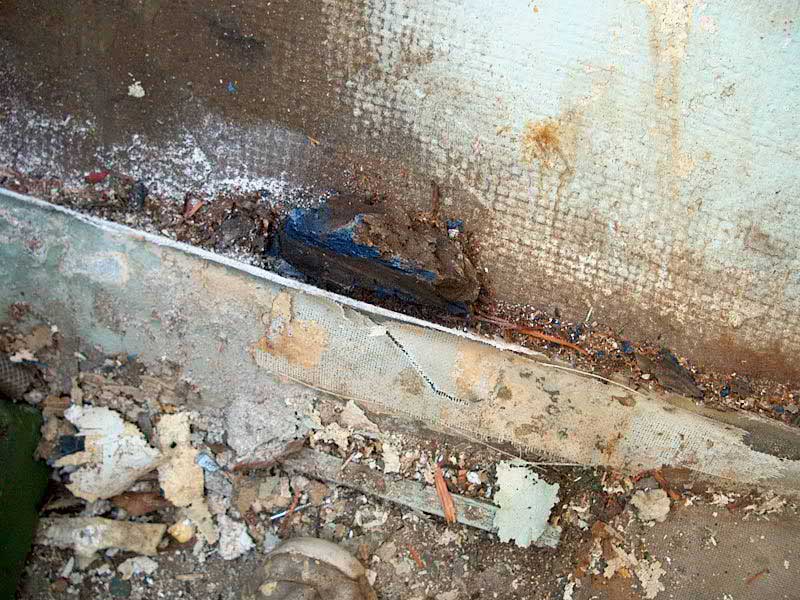 |
With things cleared out, I started removing the settees in the salon. Behind each vertical settee panel, I found this big gob of blue gunk holding the vertical panels in place. The gunk was about opposite the forward end of the engine room. It looks like the builders set the plywood into this gunk, let it cure, and then applied the tabbing that actually held the pieces in place. Interesting approach! |
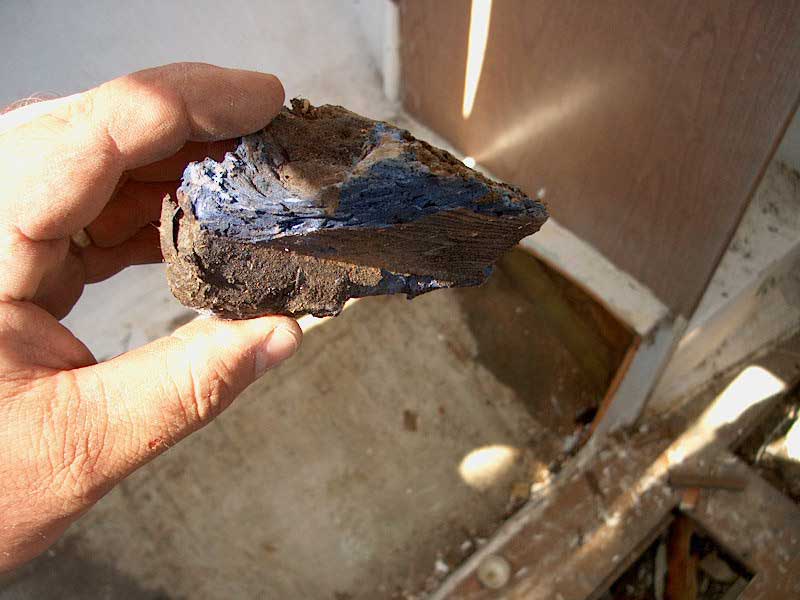 |
Here is a close-up of one of the blue gunk pieces. You might be able to see the flat impressions where the plywood sat. These things broke free from the hull with a good hammer whack. | ||||||||||||||||||||
 |
I removed the bronze port frames from the salon. The small ones had already been removed by the previous owner; the large frames belong to him as well. They're in great shape and only need a little cleaning up. |
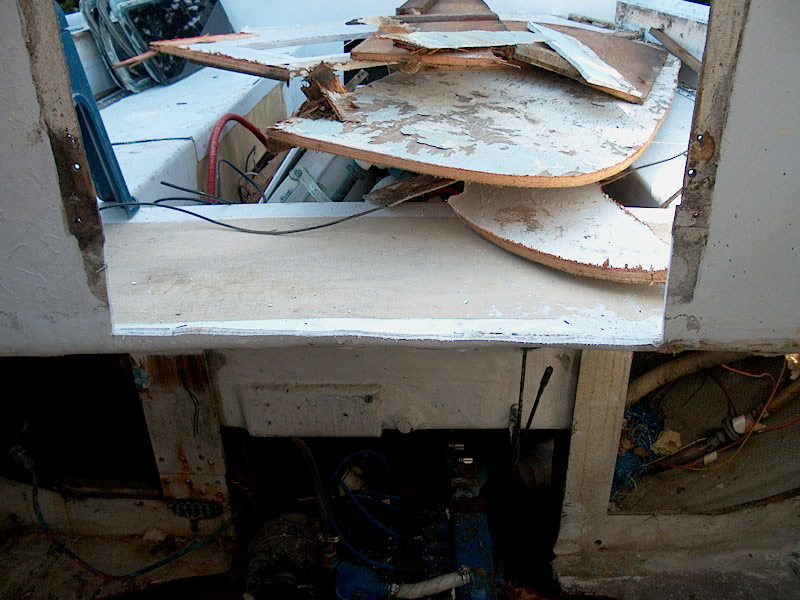 |
With no wooden trim and no ladder, I was already sick to death of clambering over the annoying 1/4" thick, 4" high lip remaining at the companionway, so I cut it off. Much better! | ||||||||||||||||||||
 |
I wonder how many people skinned their shins on this ridiculous thing, poking up through the cockpit. I have no idea what it was for, but it makes me hurt just looking at it. |
 |
Armed with a Sawz-all and a pitifully small collection of blades (why am I always out every time I need to use the saw?), I removed parts of the settees, port and starboard. The blades I had didn't much like cutting through the thick fiberglass tabbing at the hull end of the settees, so I stayed inside that line, removing the bulk of the material. Later, I'll cut off the remaining sections. | ||||||||||||||||||||
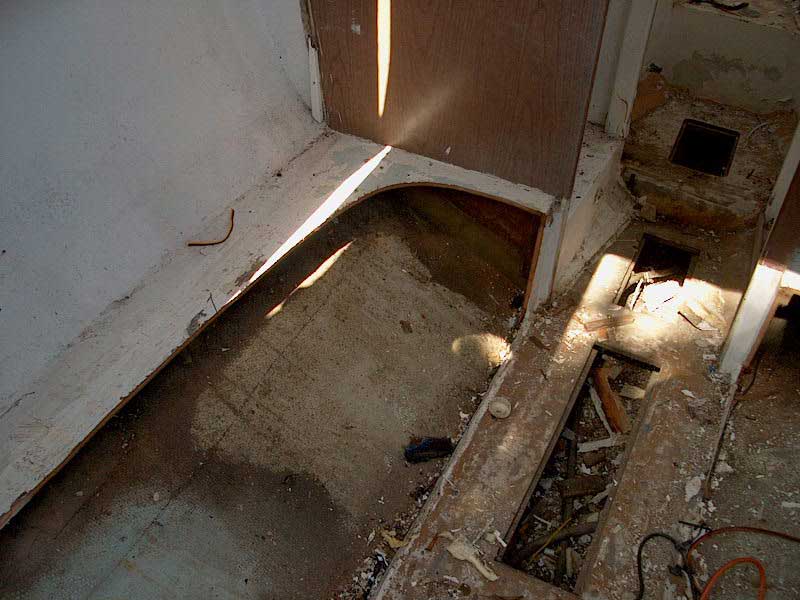 |
Port settee looking forward. I can feel the boat opening up inside! |
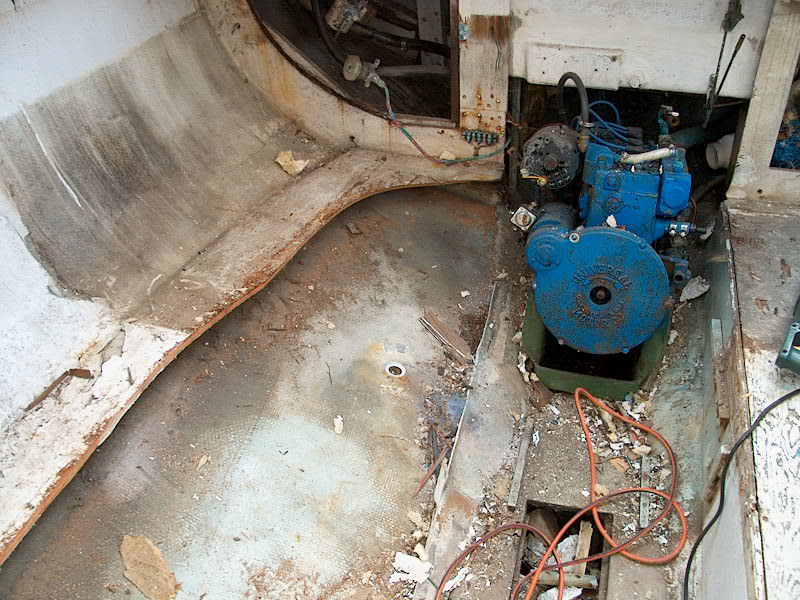 |
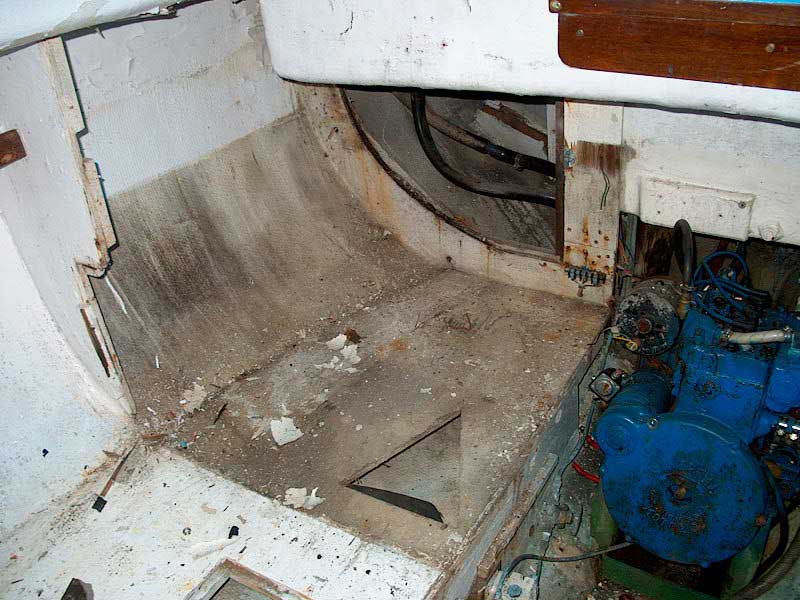
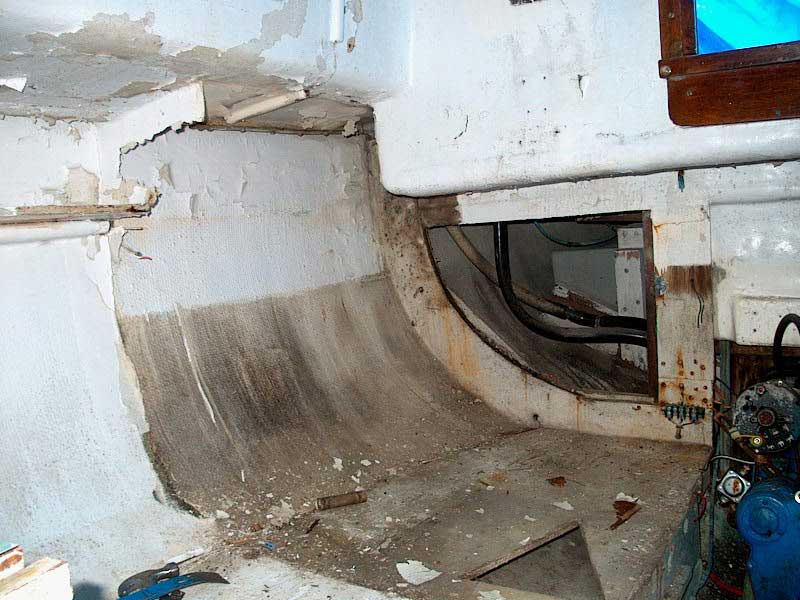
Starboard settee looking aft, towards where the galley was. I also sawed off the short fiberglass stumps where the hoses attached for the galley sink drain. All through hulls will be removed and sealed, with new ones to be installed wherever they need to be later (much later) in the building process. | ||||||||||||||||||||
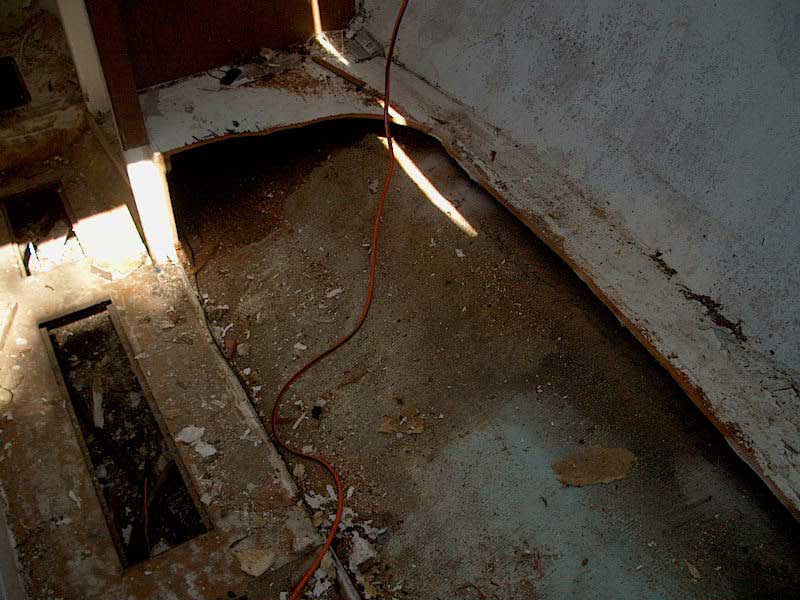 |
Starboard settee looking forward |
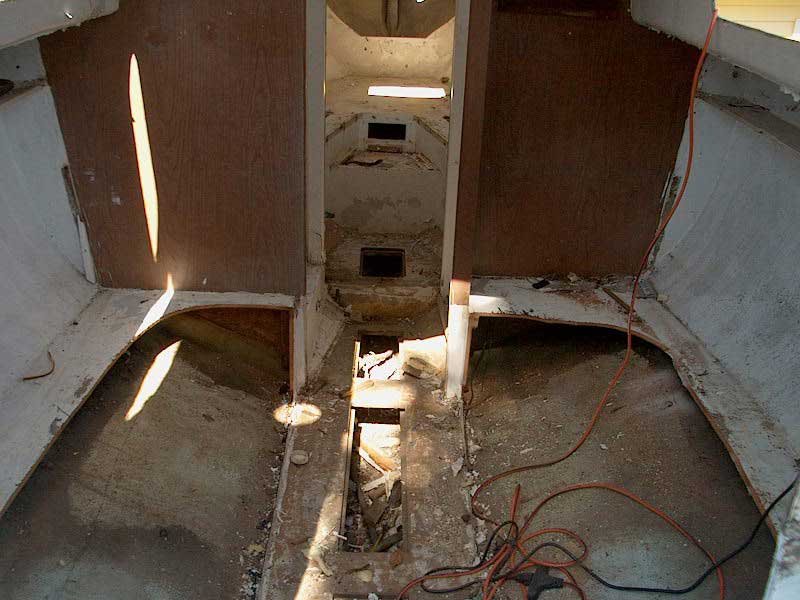 |
Salon looking forward from the companionway after removing both settees, or the greater part thereof. | ||||||||||||||||||||
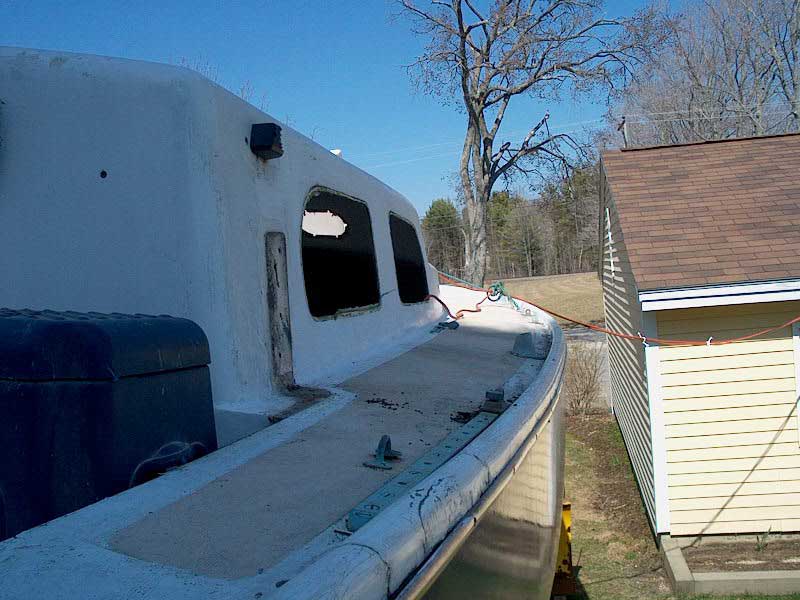 |
Does anyone really wonder why this is the perfect candidate boat for this destructive project? These decks are a horror show. |
 |
Cleaned out, ports removed, and free of blue tarps. I decided it didn't matter a hoot if water got inside; it's all coming out anyway. There is a drain hole in the bilge, so water won't build up inside (at least not until the disgustingness of the bilge plugs the small hole...I'll take care of that.) | ||||||||||||||||||||
|
|
|||||||||||||||||||||||