
|
|
~MENU~ |
| Home |
| The Concept |
| The Boat |
| Bringing Her Home |
|
Weekly Progress Log |
|
Daysailor Projects |
| The Boat Barn |
| Resources |
| Other Sites |
| Email Tim |
|
|
| Boat Barn: Framing Detail (Page 2) |
| Barn
Home Page
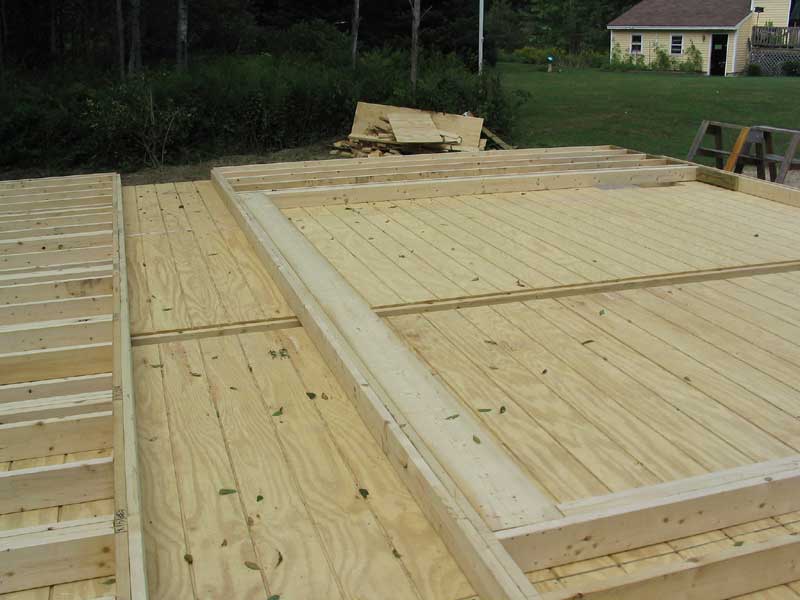
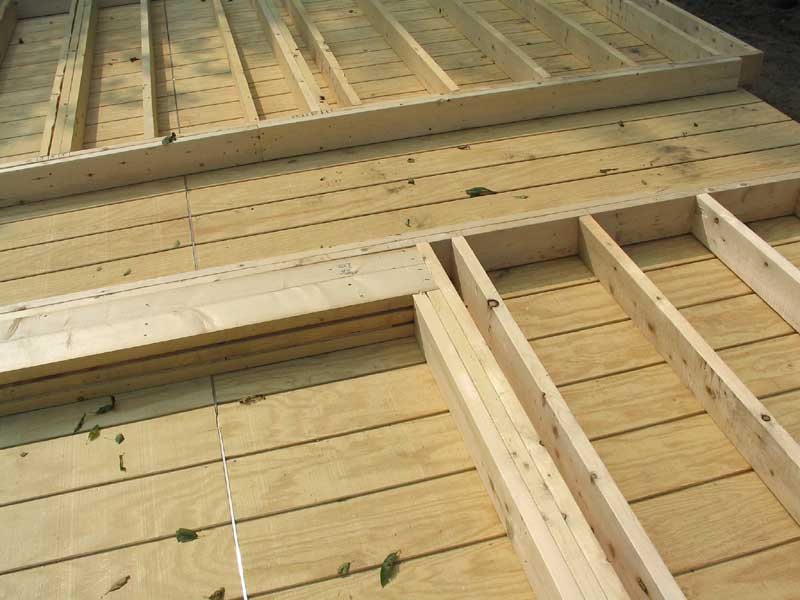
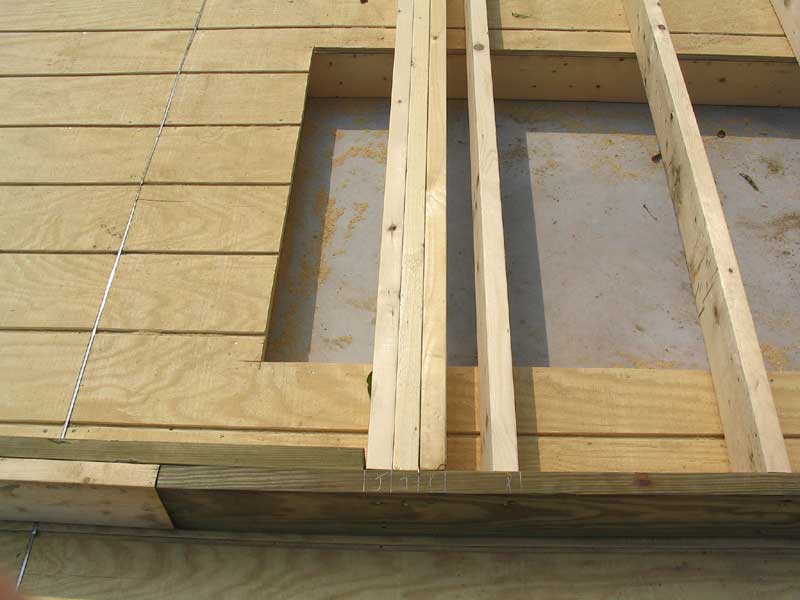
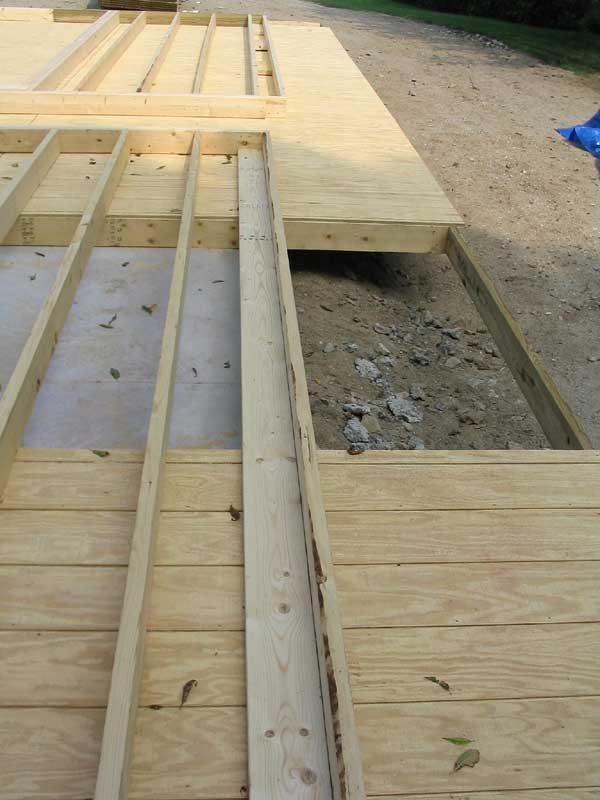
Boat Barn Framing Detail (Continued) These pages are dedicated to highlighting details of the barn framing for my--and others'--future reference. Please click on any of the
photos for a full-size version. |
 |
15
The rough openings for windows in the back (west) wall are identical to the ones for the clerestory windows in the south wall. There are five windows framed, centered on the longitudinal center of the barn, and located with the bottom edge 3'-6" above floor level. This will provide an ample 6" space above the 36" bench I plan to build along the entire wall. |
 |
16
This shows the five window openings. The bottom of the wall is to the right in this photo. |
 |
17
Here we have an image showing the framing above and below the windows in the back wall. The jambs between each window are tripled to channel the loads carried by the wall to the foundation, just as they are on the clerestory windows on the south wall.
|
 |
18
The back window headers, and framing above the headers to the top plate. |
 |
19
The doubled top plates for the end walls feature a 5-1/2" gap at the end, onto which a piece secured to the side walls will overlap when the walls are raised. |
 |
20
Framing for the portion of the front wall outside of the 18' wide door opening is straightforward. |
 |
21
The large main door opening. AS temporary bottom plate spans the bottom of the opening; this will be removed once the wall is secured in its vertical position. |
 |
22
This is a view from another direction, showing the overall size of the main door, and the framing details of the header, jack studs, and other framing members. |
 |
23
The main door header is identical in construction to the window headers, though longer, obviously. It's triple 2x10s with double 1/2" plywood spacers to fill out the thickness as needed. |
 |
24
Part of the main door header, showing the double jack studs inside the main stud at the edge of the opening. |
 |
25
This is the bottom end of the same studs shown in photo 24. Note how the pressure-treated bottom plate is extended slightly past the studs to allow a temporary section of bottom plate to be secured between the sides of the opening. |
 |
26
To provide a place for the sidewalls to be nailed to the end walls, opposite corners of the end walls feature this full-length nailing stud. |
 |
27
The other, opposite ends of each end wall feature evenly spaced blocking instead of full-length nailing studs. |