|
|
~MENU~ |
| Home |
| The Concept |
| The Boat |
| Bringing Her Home |
|
Weekly Progress Log |
|
Daysailor Projects |
| The Boat Barn |
| Resources |
| Other Sites |
| Email Tim |
|
|
| Boat Barn: Electrical | ||
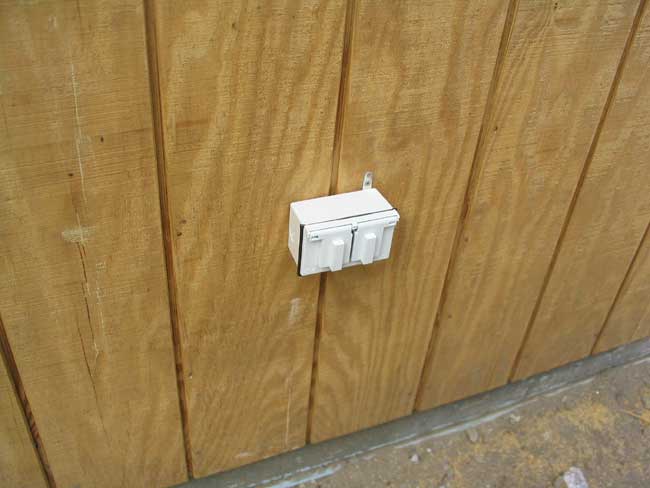
The electrical system will feature numerous wall outlets and ceiling lights for proper illumination. |
Framing Framing Detail Photos |
|
| Raising the Walls | ||
| Roof and Trim | ||
| Electrical Rough In Details Panel |
||
| Insulation/Windows/Doors | ||
| Barn
Home Page
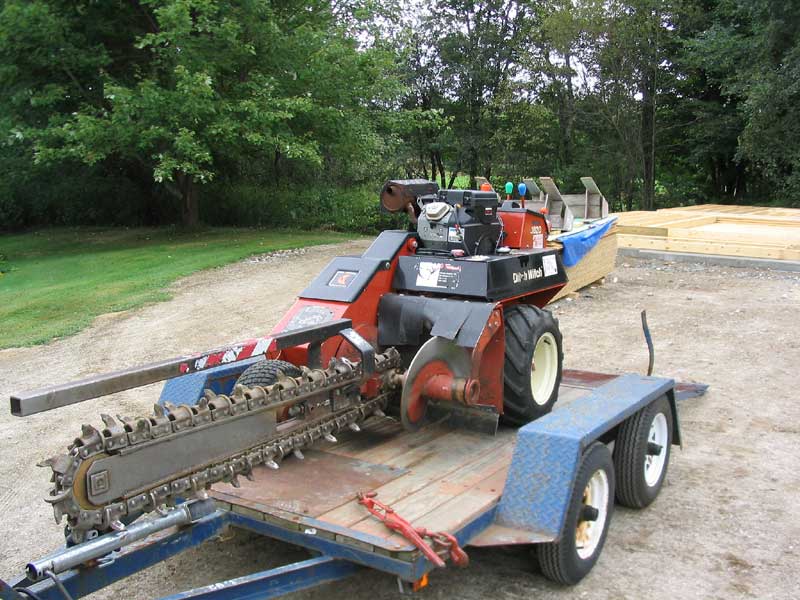
Monday, August 25, 2003 The barn requires good electrical service, of course. Several weeks earlier, before any of the barn work had actually gotten underway, I had consulted with an electrical that I use from time to time about what would be required to get power out to the barn, and the best way to go about it. He came over and chatted with me for a time, and we worked out a plan. I planned to do most of the electrical work myself, but wanted a professional to deal with the main feed and panel, especially since it involved reworking the main service panel in the house. The distance between the closest corner of the barn and the house was about 115', including about 15' of run directly beneath the deck on the back of the house. Connecting the new cable run to the barn with the house service would require some fiddling, as access from the outside to where the panel is is a little interesting because of a 14' house addition that was added sometime in the past. In any event, the plan we came up with involved installing a new master panel in the house, and moving the existing house panel out to the barn for the service there. To run the cable, I was to install PVC electrical conduit underground between the house and barn. Once the new slab was poured and in place, I could install the conduit at almost any time. I had to wait for the slab, obviously, so that I knew exactly where to run the conduit. For ease and convenience, I chose the front right corner (near the entry door) for my eventual panel location, and decided to run the conduit to that location. Even though the trench required for electrical conduit only needed to be 12" or 16" below the surface (unlike the 48" required for plumbing--which I am not installing to the barn), the distance involved was too great to dig by hand. I decided to rent a trencher, usually referred to as a Ditch Witch (for a common name brand).
|
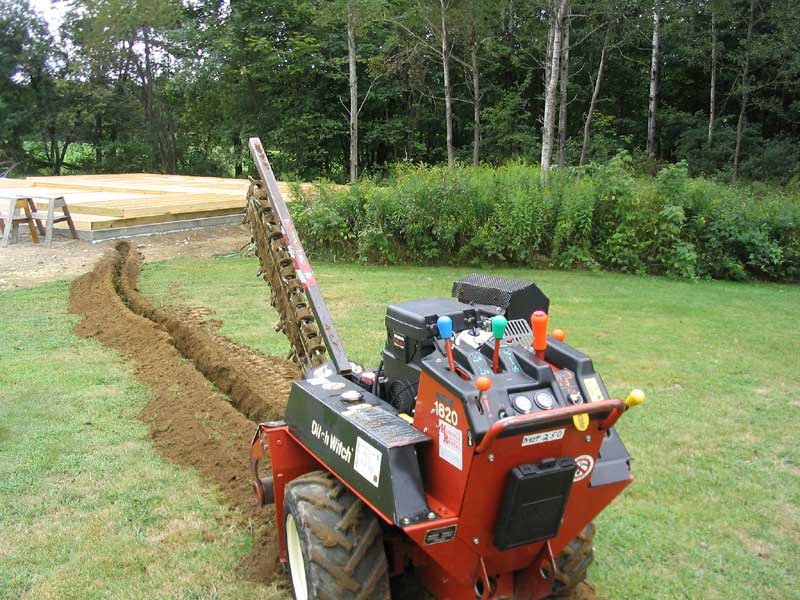
 I
positioned the machine where I wanted to start digging the trench, fired
up the evil-looking digging chain thingie, and went to work. Despite
some minor directional issues (my trench didn't end up as straight as it
could, mostly because of my inexperience adjusting the direction--very unusual
to drive), I had the 100' of trench dug out in all of 10 or 15
minutes. I couldn't believe how quickly it went. I had to turn
the machine around and begin trenching from the barn side as well, which
meant that I needed to meet up with the other half of the trench partway
out. It's a good thing I wasn't one of the engineers on the Chunnel
project, because I didn't do that well. As soon as I started digging
from the barn end, I saw that I needed to make a course adjustment, and as
a result this part of the trench ended up with a decided arc to it.
Oh well! It doesn't really matter much, as the conduit can bend
enough. I
positioned the machine where I wanted to start digging the trench, fired
up the evil-looking digging chain thingie, and went to work. Despite
some minor directional issues (my trench didn't end up as straight as it
could, mostly because of my inexperience adjusting the direction--very unusual
to drive), I had the 100' of trench dug out in all of 10 or 15
minutes. I couldn't believe how quickly it went. I had to turn
the machine around and begin trenching from the barn side as well, which
meant that I needed to meet up with the other half of the trench partway
out. It's a good thing I wasn't one of the engineers on the Chunnel
project, because I didn't do that well. As soon as I started digging
from the barn end, I saw that I needed to make a course adjustment, and as
a result this part of the trench ended up with a decided arc to it.
Oh well! It doesn't really matter much, as the conduit can bend
enough. |
|
|
|
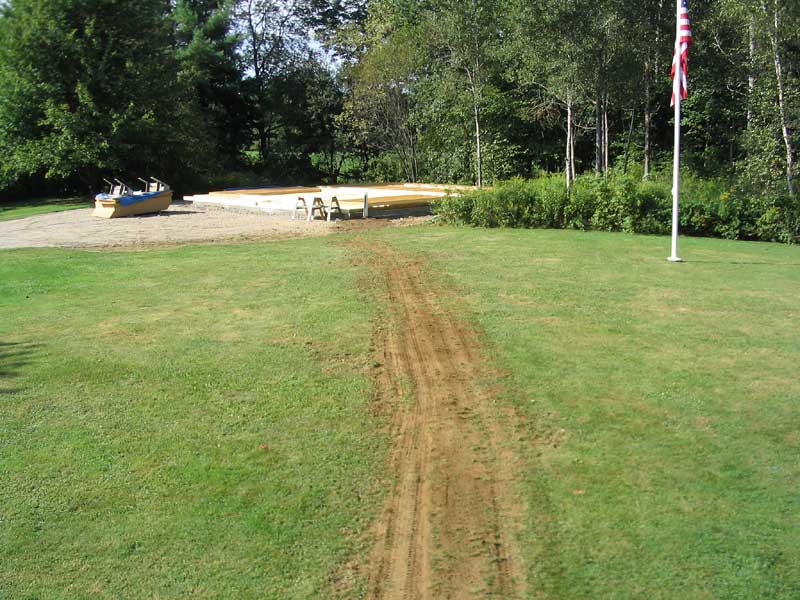
It was anticlimactic, really. In short order, I had the machine loaded back on the trailer, and went to return it--another 20 minute trip. $63.60 later (despite the shortness of time I actually used the tool, I felt this was money well spent), I was done, and headed to the nearby warehouse store for some electrical conduit. I picked up 12, 10' sections of 2" conduit (for the main cable), and 24, 10' sections of 1" conduit (for two runs for phone, cable, Internet, or future additions), along with some elbow fittings and a new, longer electrician's snake that I'd need to pull wires through. I also found some polypropylene messenger line designed for pulling wires, so I picked some up so I could run some through each conduit for ready use in any future addition later. |
|
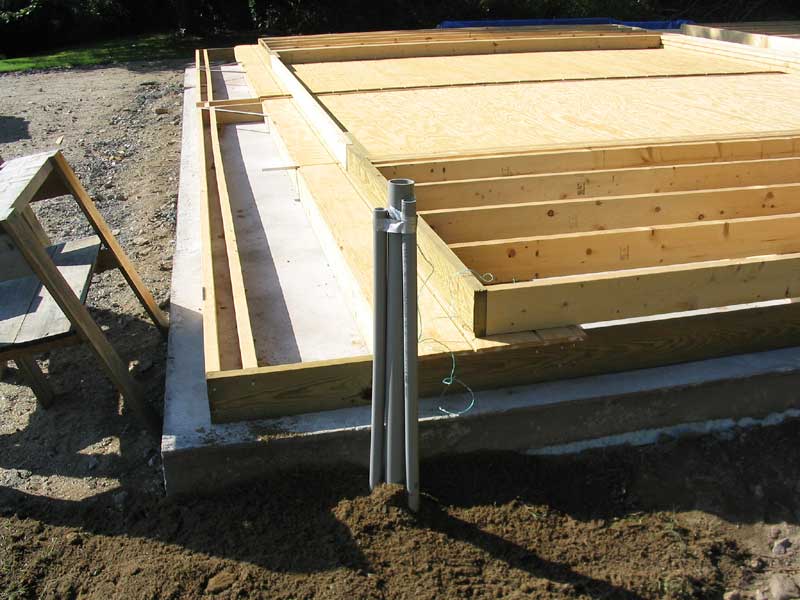
Back at home, I unloaded and distributed the conduit along the run. Beginning at the barn end, I assembled the pieces. (Sorry, no pictures of this part.) The 2" conduit went together easily with some gray PVC glue at the joints. I added a 90° elbow at the barn end, and a 3' stub up vertical piece for later use to tie into the barn. When I had most of the sections assembled (stopping short of the back deck, where I still needed to dig a trench the remaining 18' to the house), I lay the 2" conduit in the trench, pushing it as close to the bottom as possible. Then, I began to work on the two lengths of 1" conduit, which I decided to install for additional wire chases and for phone lines, cable lines, and Ethernet cables for Internet access. It's easy to put extra conduit in the ground; why not add some, thought I? |
 The 1" conduit was
irritating to work with. Each section of electrical conduit features
one flared end, which is designed to slip right over the regular-sized end
of the next piece. In theory, this works well--and did work well,
with the 2" conduit. However, many of the pieces of 1"
seemed to have distortion at the ends, meaning that the flared section
wouldn't fit without a fight. I developed a series of solutions to
this problem as I went, including using a drum sander to ream out the
opening, cutting off the end part of the flare to expose a section farther
up that seemed wider, and gently squeezing the flare with pliers to sort
of bend it back into shape. Eventually, and with far more effort
than should have been necessary, I prevailed. As with the larger
2" conduit, I stubbed up 3' sections of vertical conduit at the barn
end. The 1" conduit was
irritating to work with. Each section of electrical conduit features
one flared end, which is designed to slip right over the regular-sized end
of the next piece. In theory, this works well--and did work well,
with the 2" conduit. However, many of the pieces of 1"
seemed to have distortion at the ends, meaning that the flared section
wouldn't fit without a fight. I developed a series of solutions to
this problem as I went, including using a drum sander to ream out the
opening, cutting off the end part of the flare to expose a section farther
up that seemed wider, and gently squeezing the flare with pliers to sort
of bend it back into shape. Eventually, and with far more effort
than should have been necessary, I prevailed. As with the larger
2" conduit, I stubbed up 3' sections of vertical conduit at the barn
end. |
|
The ground beneath the deck was happily sandy and quite loose, so digging by hand wasn't bad. I used a garden trowel to dig, along with my hands for scooping out loose dirt once it was freed by the trowel. After some time (I don't know how long it took--not too bad), the trench was complete, and I finished the three sections of conduit, cutting the final pieces to length as needed and adding stubs at the house end like the ones at the barn end.
|
|
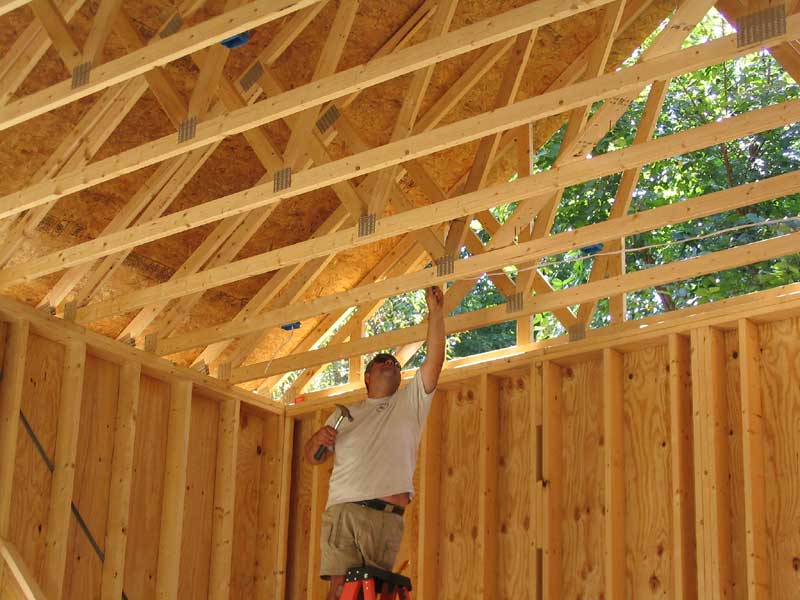
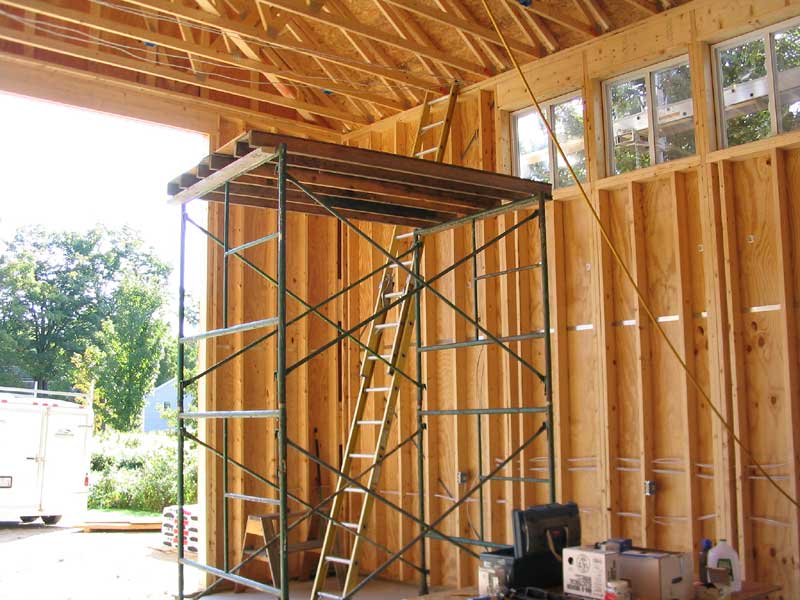
Thursday -Saturday, September 11-13, 2003 Electrical Rough-In After a few weeks' delay waiting for the barn construction to progress to a point where wiring could be installed, a flurry of activity over a few days saw the installation of most of the wiring inside the barn, as well as a new panel and main electrical feed out from the house. During two evenings earlier in the week, I had installed the myriad plastic electrical boxes needed for the many outlets, switches, and ceiling fixtures that were to be installed in the barn shop. Following a schematic that I had drawn up, I installed over 50 boxes in the walls and ceilings.
|
|
|
|
I couldn't imagine having done the job without the rolling staging. Oh, it would have gotten done, but it sure would have been less convenient, and more time-consuming. Having the right tool for the job is simply priceless. Unfortunately, Bob and I spent a good part of the day chatting, slowing up both of our respective work schedules. Oh well... |
|
|
|
|