| Circe
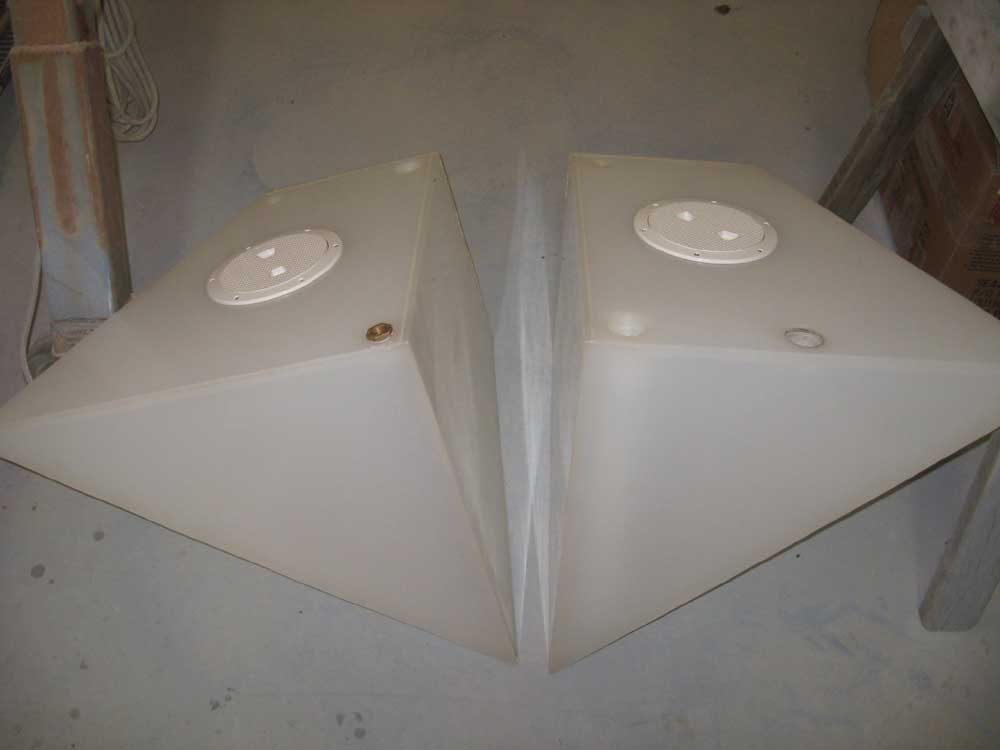
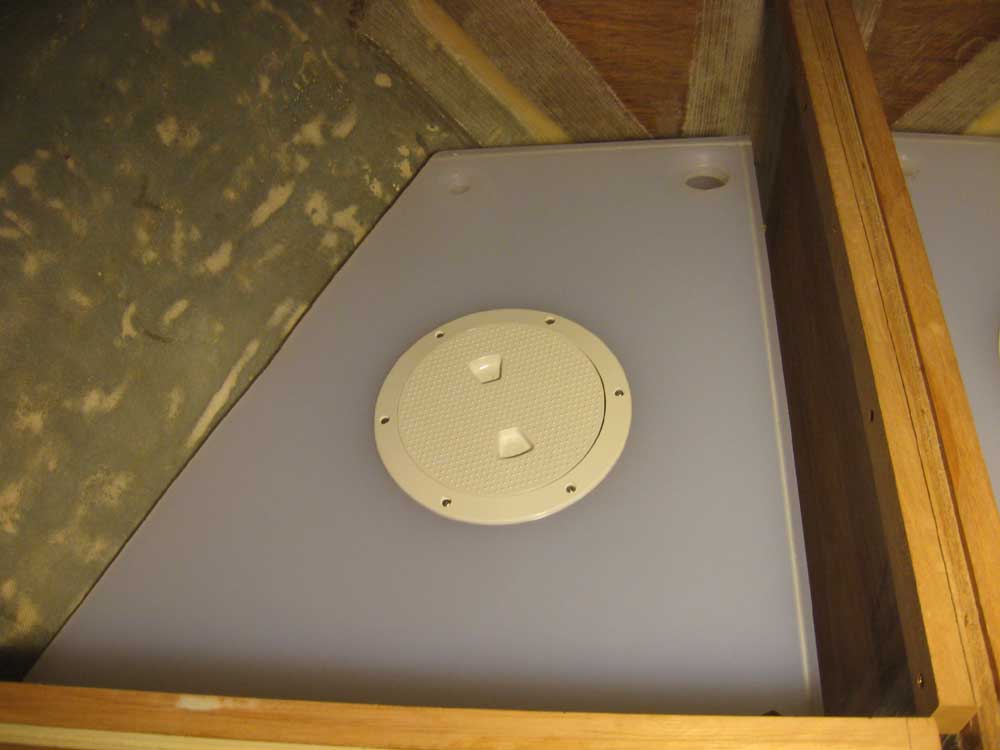
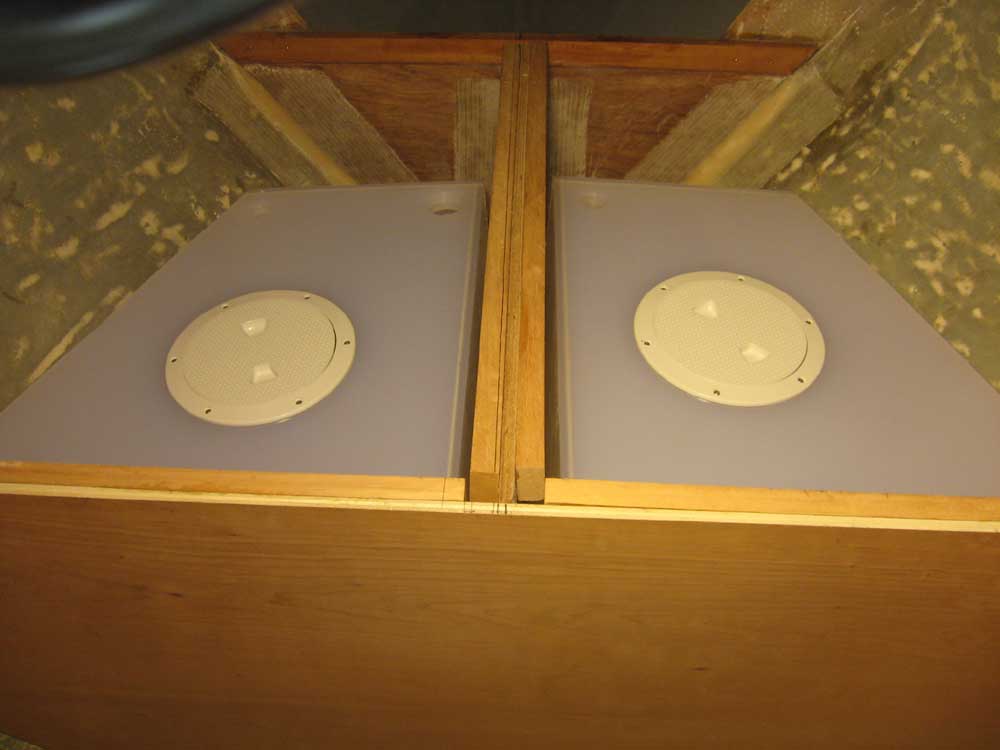
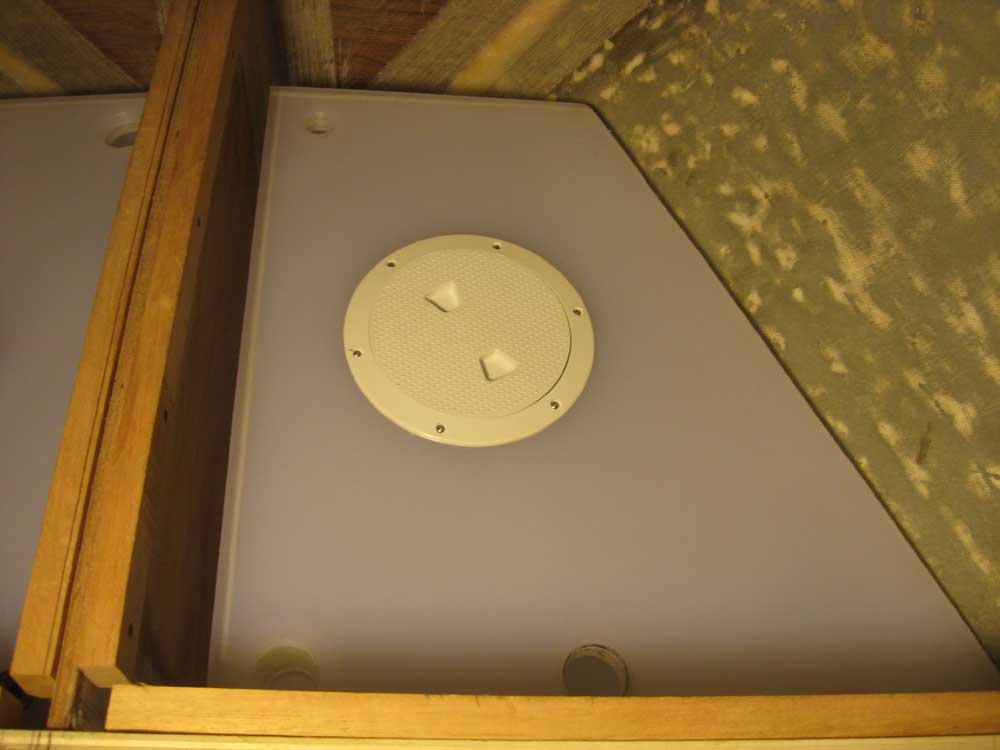
| Thursday, November 12, 2009 Early this morning, I picked up the new water and waste tanks. Back at the shop, I unloaded the tanks and test-fit them in their designated spaces; final installation would come a little later, once I had all the plumbing fittings required for the various connections to the tanks. |
|
|
|
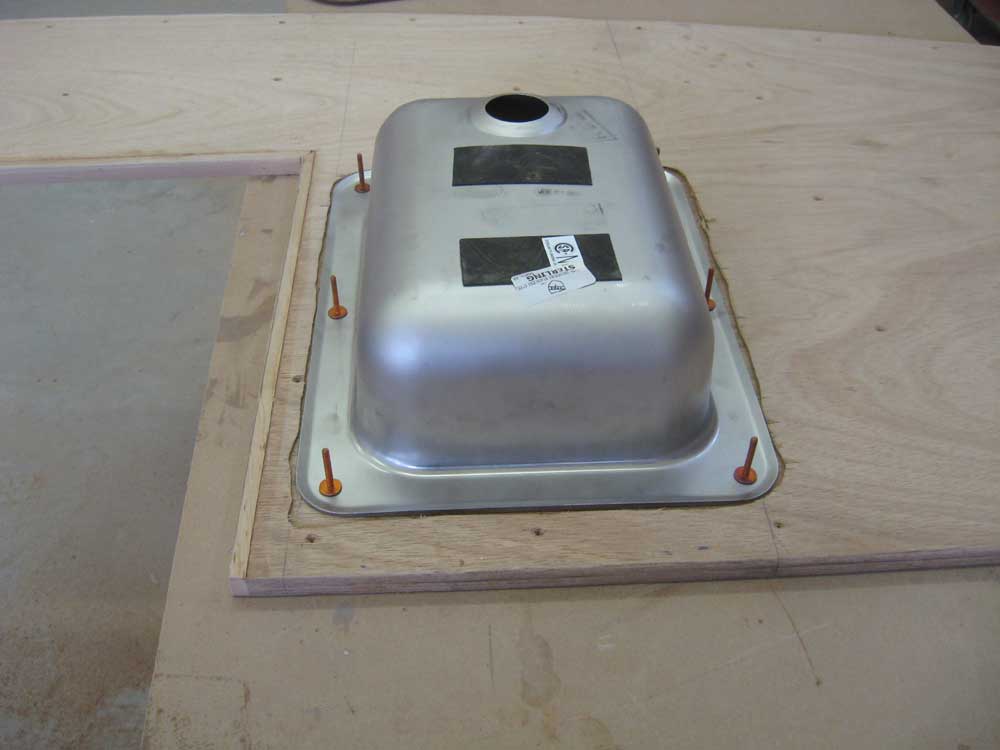
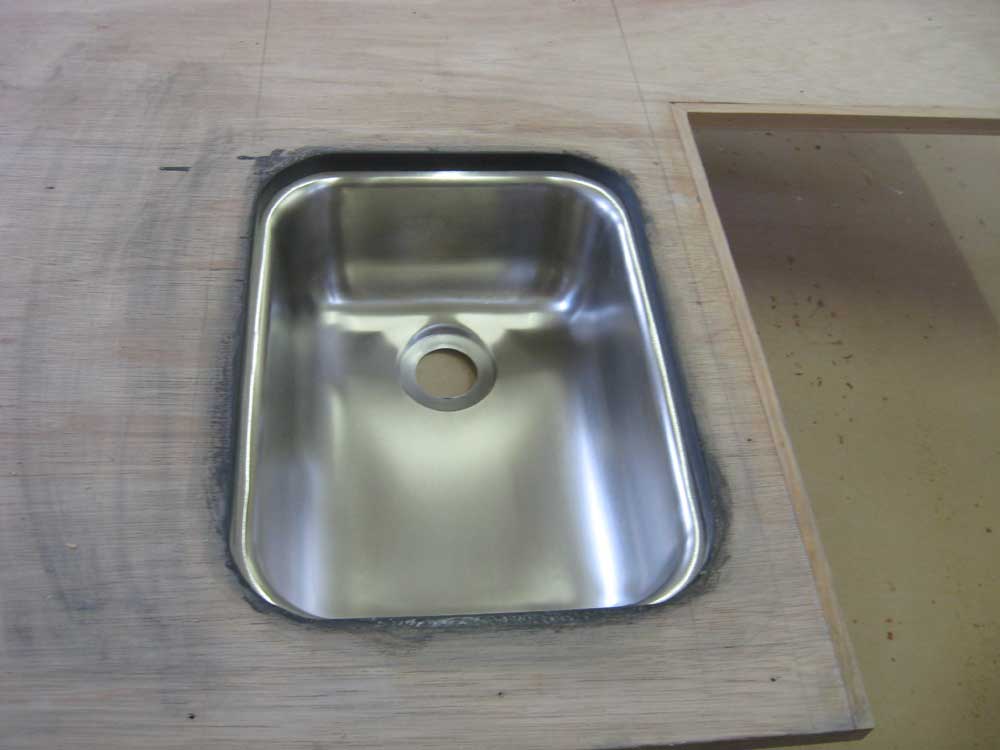
I spent the morning on various miscellany. First, I removed the temporary bracing from the settee fronts and pulled the temporary screws. Next, I did some additional work on the galley countertop. With the relatively tight space in which the bowl would fit, part of the undermounting of the galley sink had to include slightly recessing the sink in the bottom of the countertop, so that the sink flange would be flush with the surrounding areas; this was required because the flange would actually slightly overlap some of the support cleats beneath the counter. To do this, I set a router equipped with a straight-cutting bit to a depth equal to the thickness of the sink flange, marked the outline of the flange on the counter (using my cardboard template), and freehanded the depression (about 5/32"). This would never be seen once the installation was complete. Final installation of the sink would come soon, but to test the installation I cut two wooden cleats to hold the sink in place across the flange and secured it temporarily. During final installation, I'd install sealant along the flange to keep water out and add additional strength. Finally, I cut out a small hatch opening in the space behind the stove, so that the little storage locker could be accessed. |

  |
|
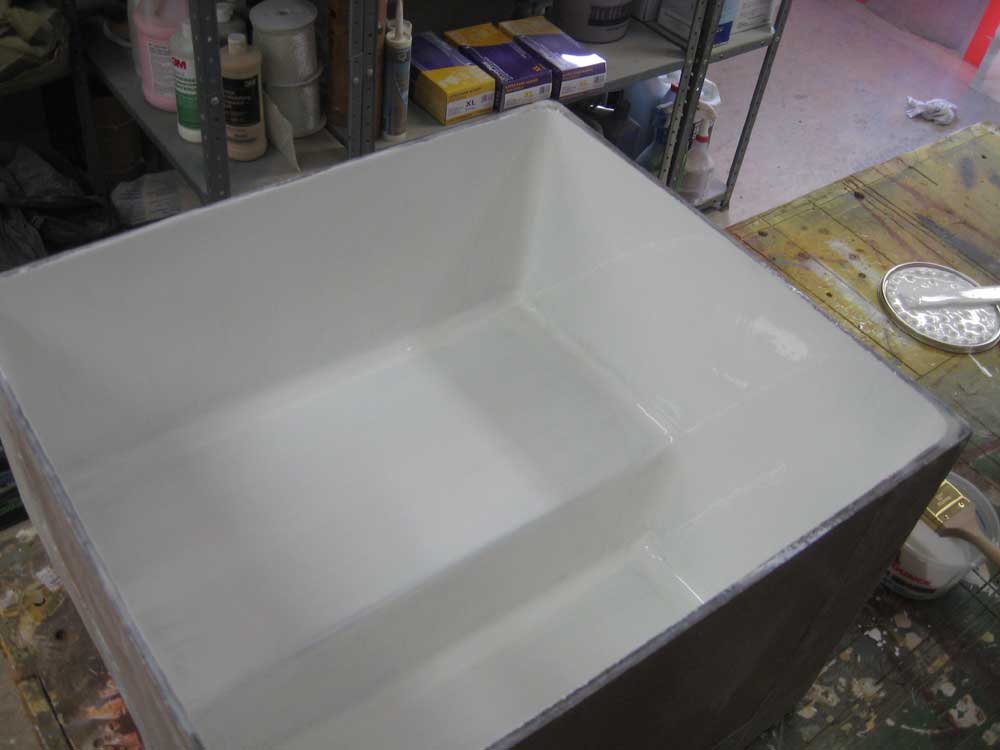
I was awaiting a flush drain fitting for the icebox, but figured I could still get started on the painting process, so I cleaned the inside of the icebox and applied a coat of primer. |
 |
|
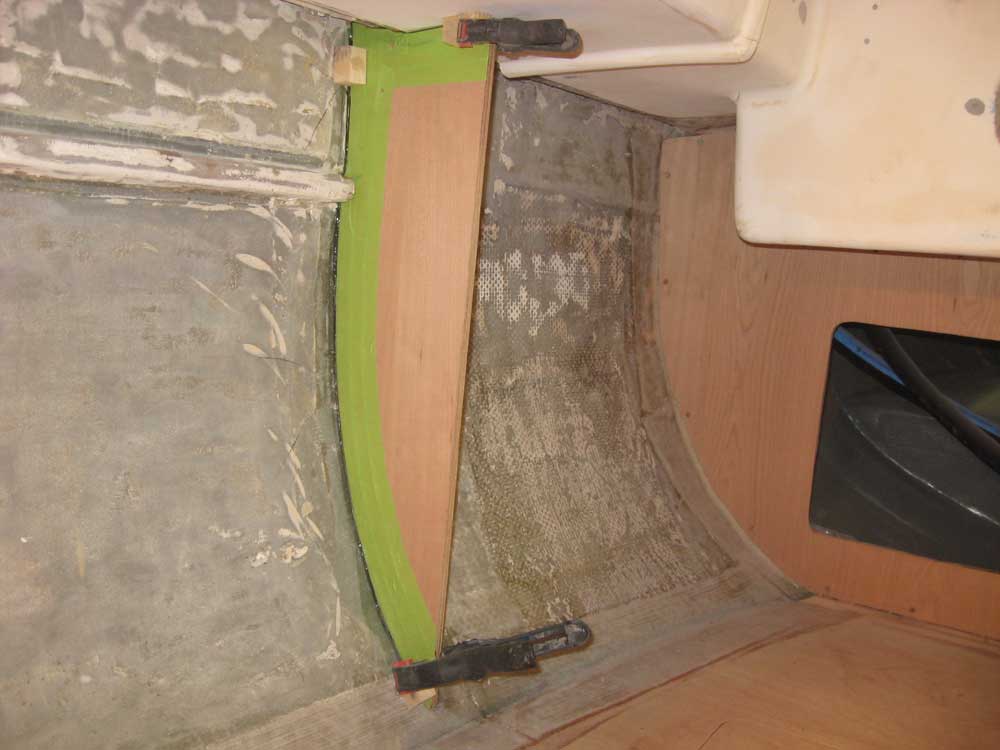
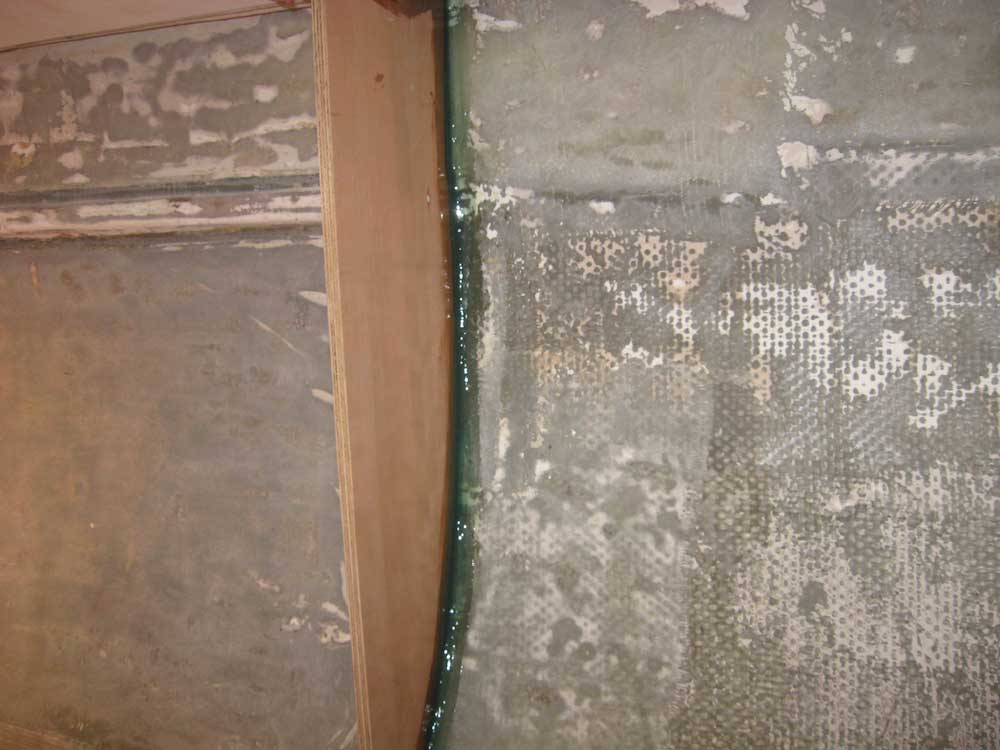
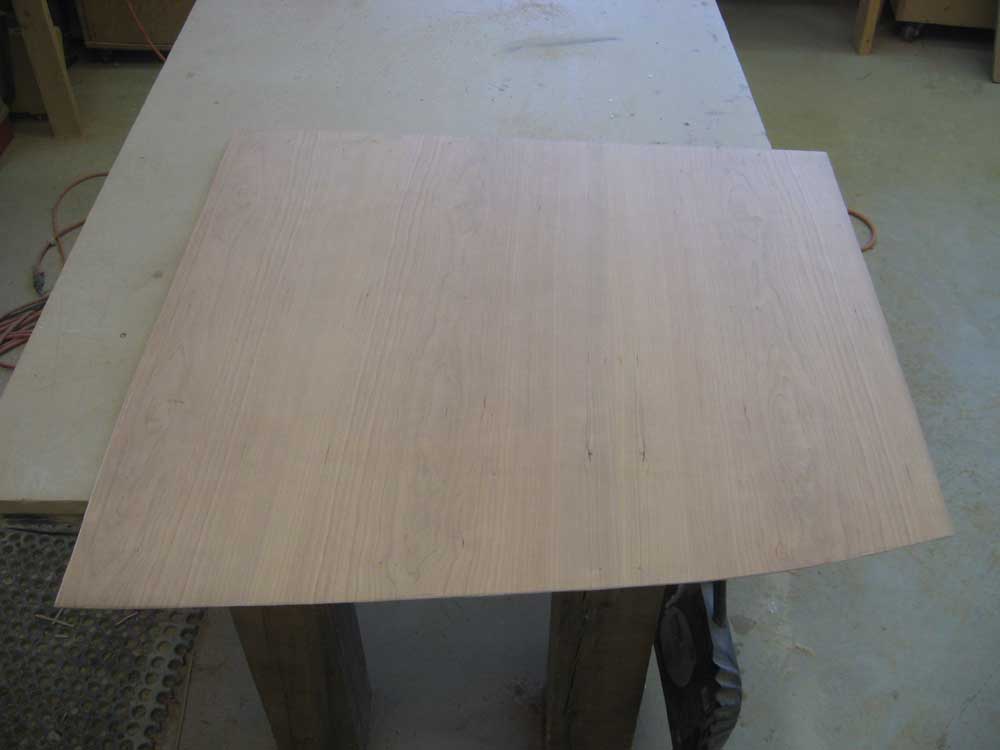
With yesterday's electrical locker mockup meeting with approval, I pressed on with the actual construction. Using the cardboard pieces from the mockup as templates, I cut out the two pieces required. The small transverse bulkhead fit excellently on the first try, and after properly lining it up plumb and equidistant from the aft bulkhead, I secured it in place with epoxy adhesive and temporary glue blocks and clamps; I protected the exposed cherry face with tape to prevent marring with the epoxy. I formed a small fillet on the inside corner against the hull so that later I could install tabbing directly without a middle step. |
 |
|
Later, when the epoxy had cured sufficiently, I continued with fitting the front panel. It took a couple test-fits and recutting to get the panel to fit properly, since I'd cut it intentionally overlong. Because of the angle at the bottom of the panel, I couldn't hold it in position and get pictures at the same time. I wouldn't permanently install this panel for a little while, and needed to wait till the small bulkhead was permanently secured before I could proceed with additional work on the front. |
 |
|
I went through some of the hardware and other things that I'd removed from the boat early in the process, discarded what I now knew to be unusable junk, and set a few other things aside for future attention, as well as reacquainting myself with some of the other equipment so I would know where things stood during the ongoing and future parts selection process. At the end of the day, I installed 6" tabbing on the inside of the electrical locker bulkhead. |
 |
|
|
|