| Circe
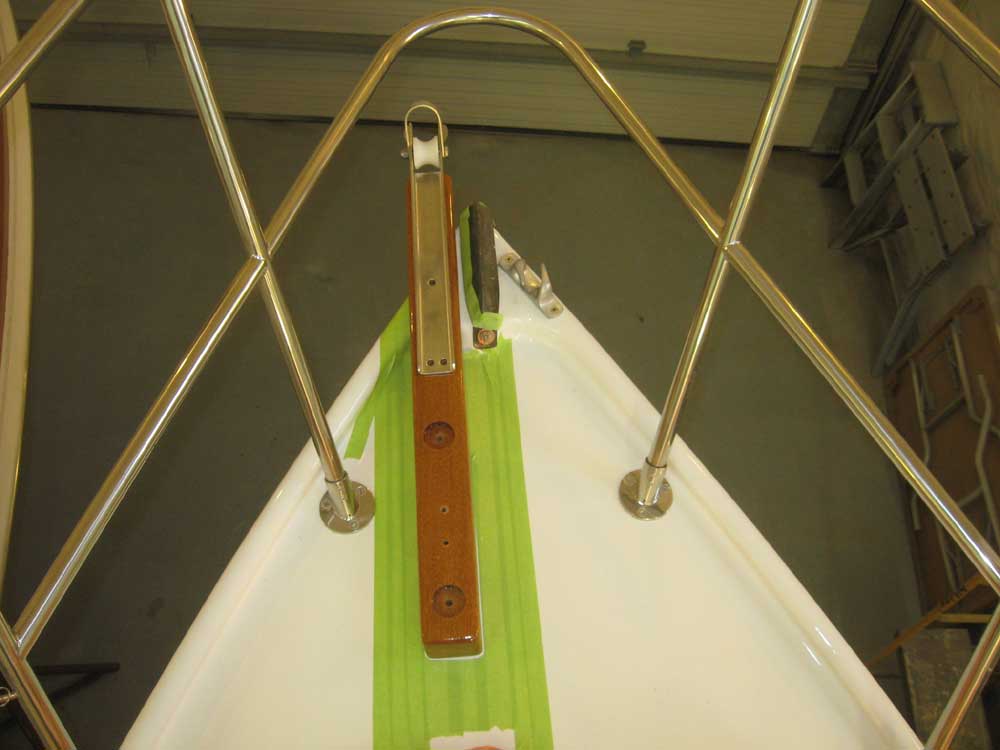
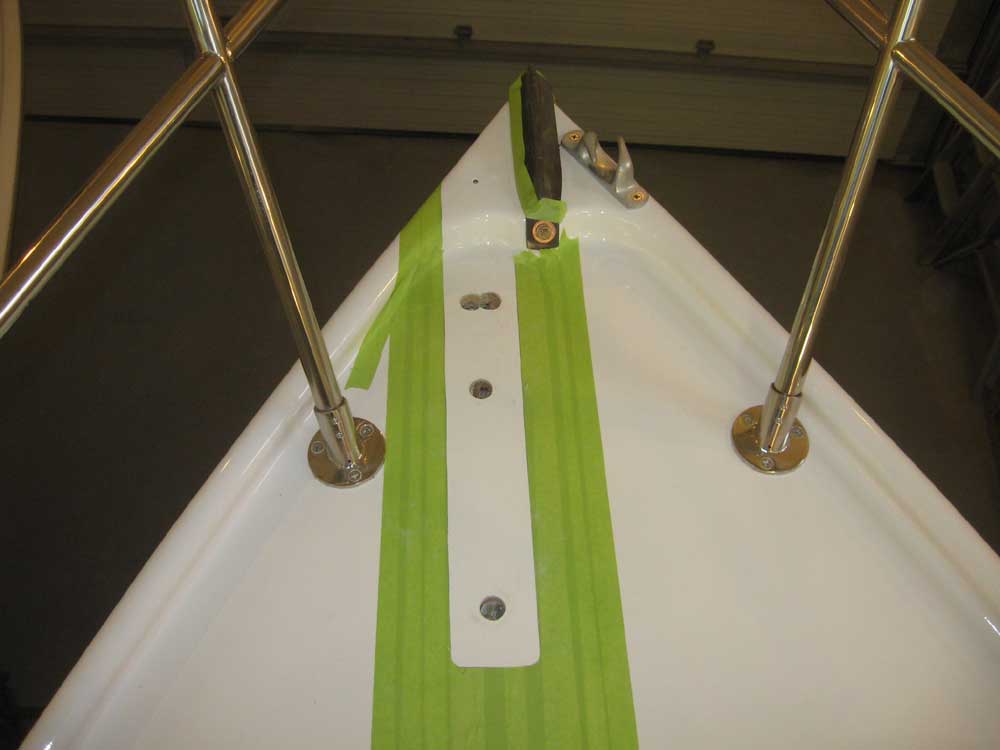
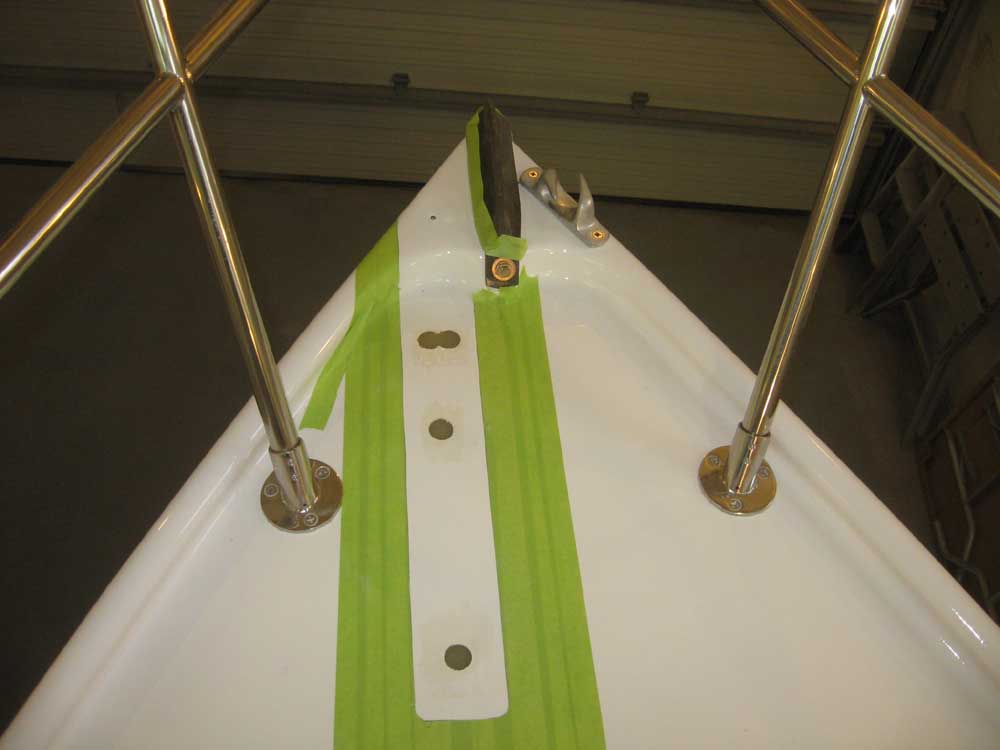
| Tuesday, March 30, 2010 I began the day with several steps designed to set me up for additional progress later in the week. The anchor platform was ready for installation, so to begin I laid it out on deck and masked around the base as necessary. I drilled the fastener holes through the platform and made marks on the deck where they'd penetrate; then, I bored larger holes in the deck, through the top skin and core, in order to re move the core material from around the fastener locations. After cleaning up, I filled the holes with a thickened epoxy mixture and left it to cure before continuing. |
|
|
|
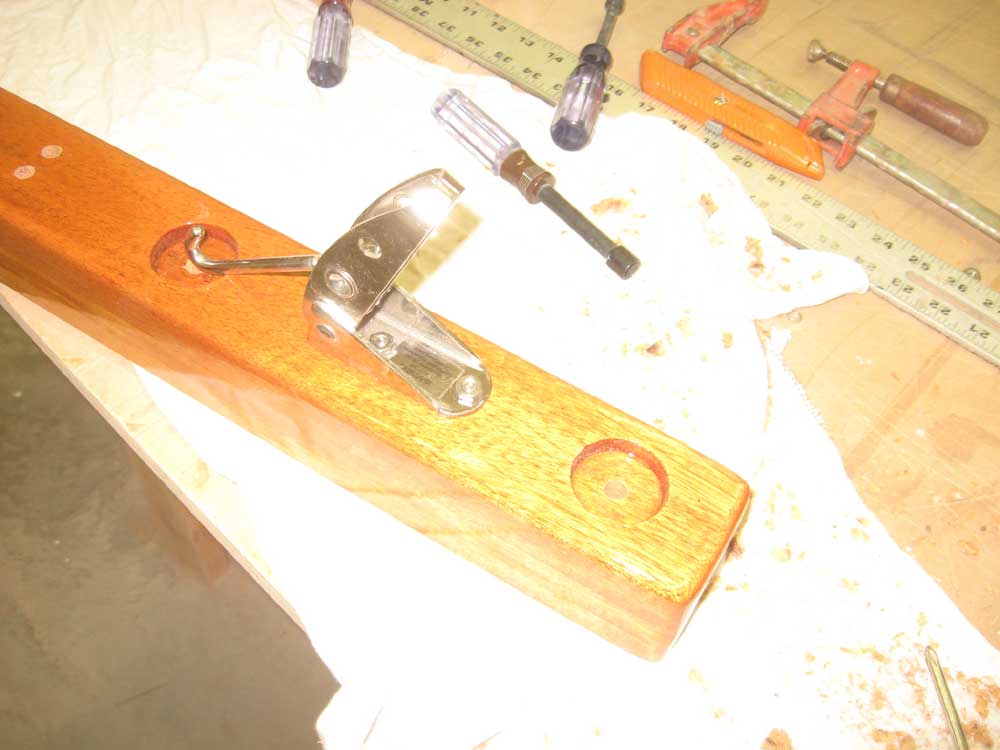
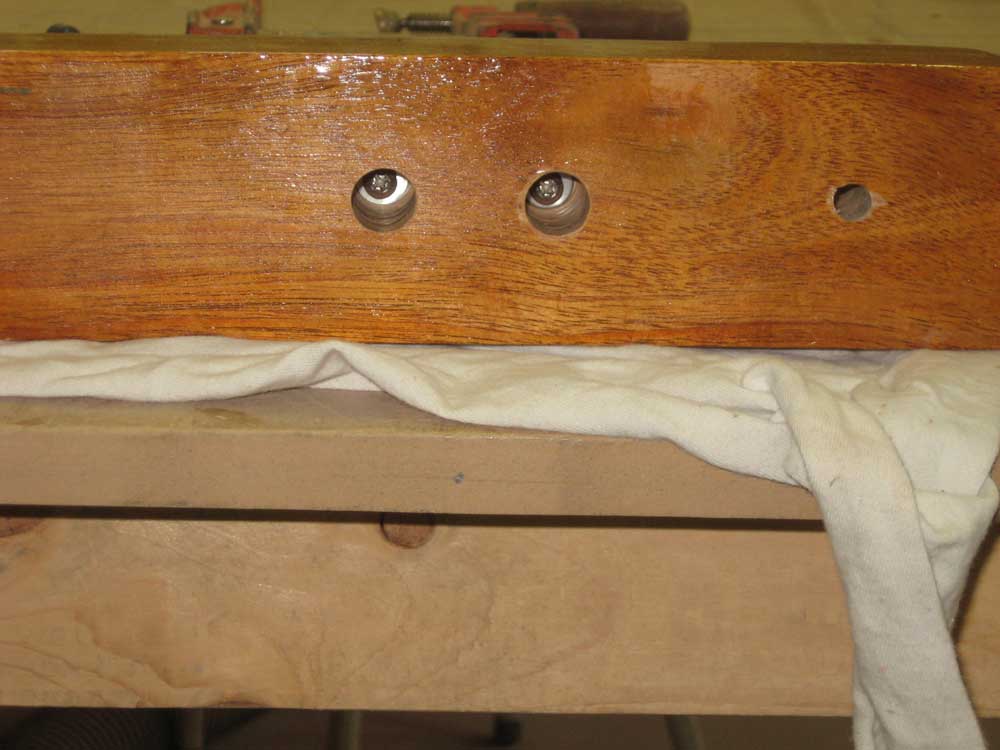
Back on the bench, I prepared to install the anchor tensioning device on the platform. In order to through bolt this for strength, yet keep it removable for normal varnish maintenance, I chose to install the fasteners from the bottom up. To this end, I bored countersinks in the bottom of the platform deep enough to allow the appropriate amount of fastener to stick up and accept a nut above the base plate of the tensioner. I installed the nuts to hold things securely, and filled the counterbores with thickened epoxy to hold the bolts in place. |
 |
|
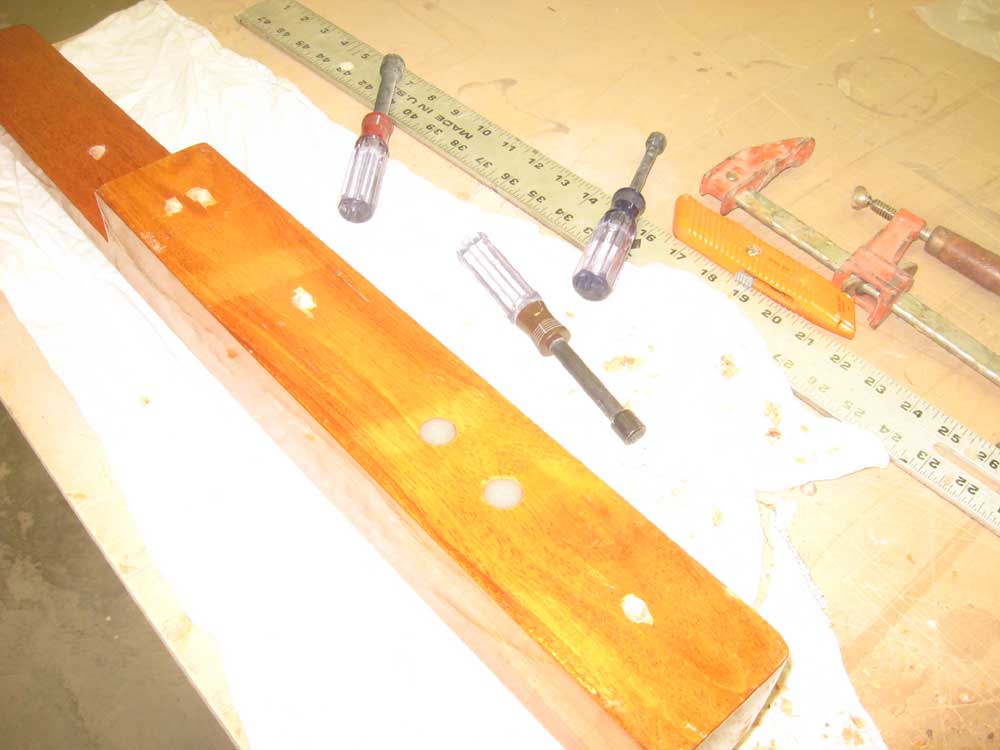
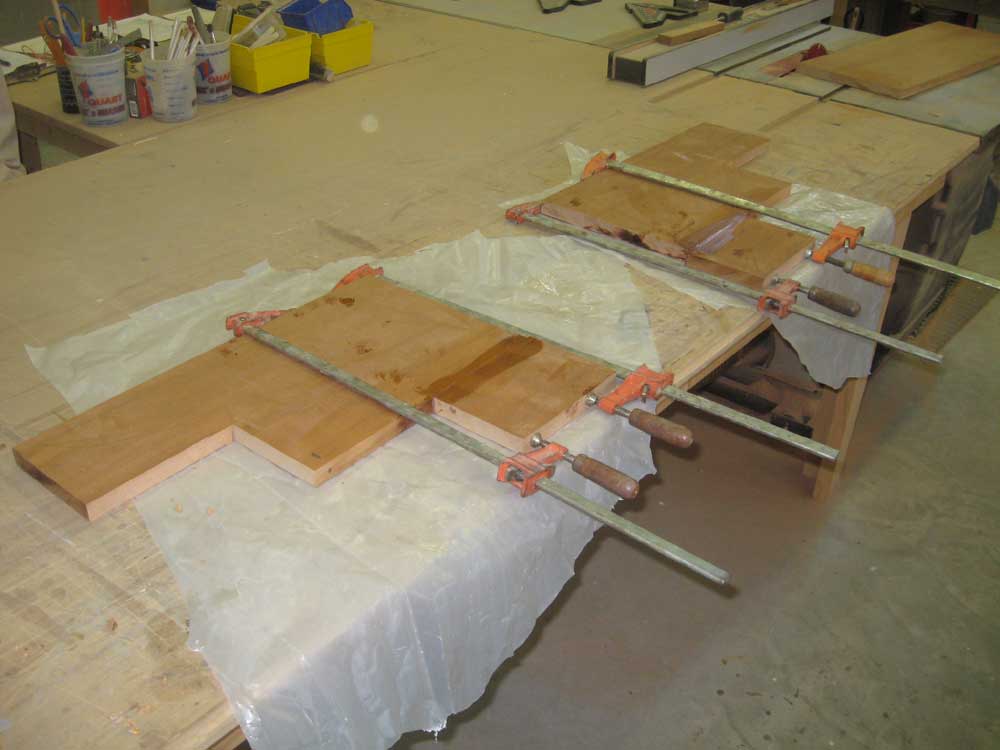
Using yesterday's template, I laid out the sides of the cosmetic rudderpost cover on some Honduras mahogany. The boards weren't wide enough to make the sides from one piece, so from the unused corner of the board I cut a rectangle large enough to make up the extra width required, and glued the boards together with epoxy. |
 |
|
The icebox lid required some light sanding to prepare the bottom side for paint. After sanding, I applied a coat of gray primer. While I was in the paint room, I sanded and revarnished the tiller to continue its buildup. |

 |
|
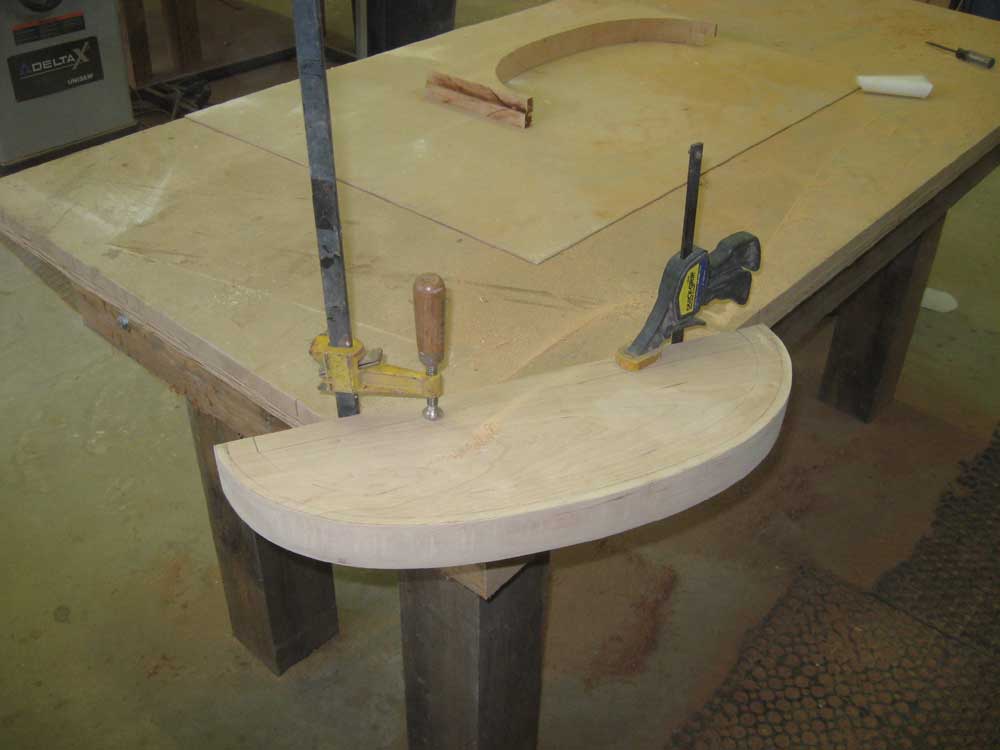
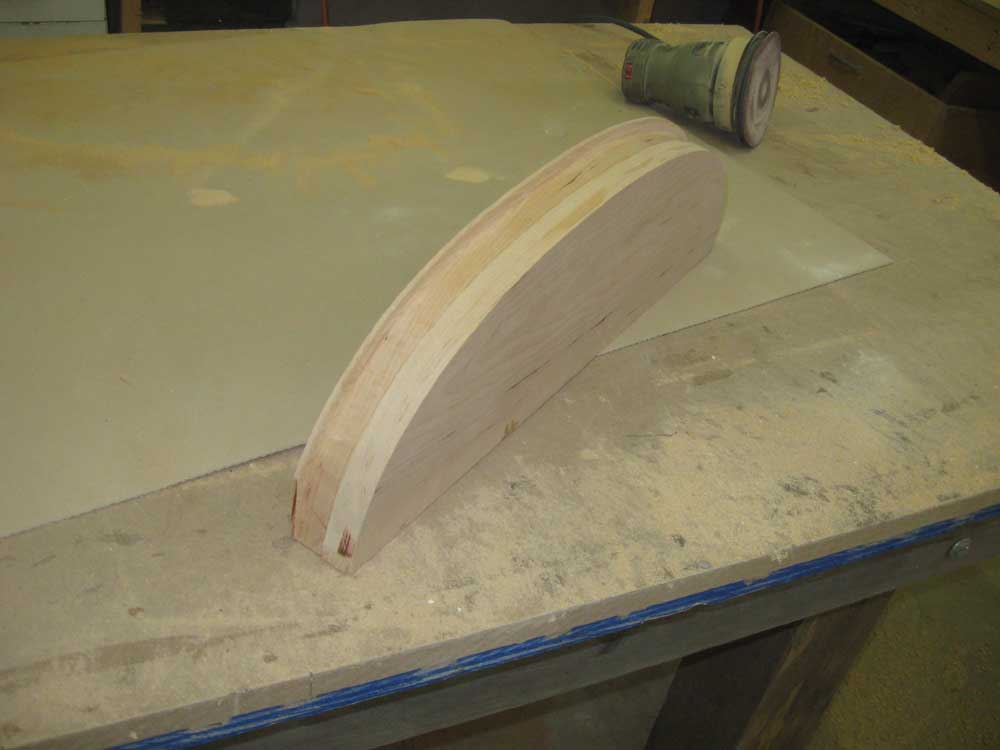
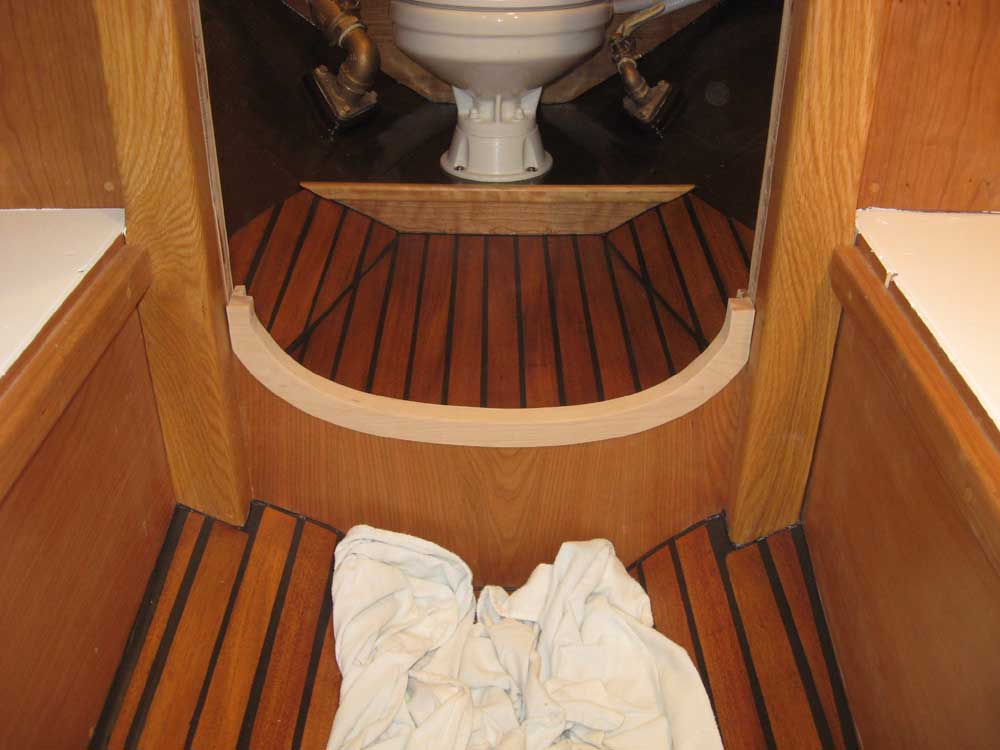
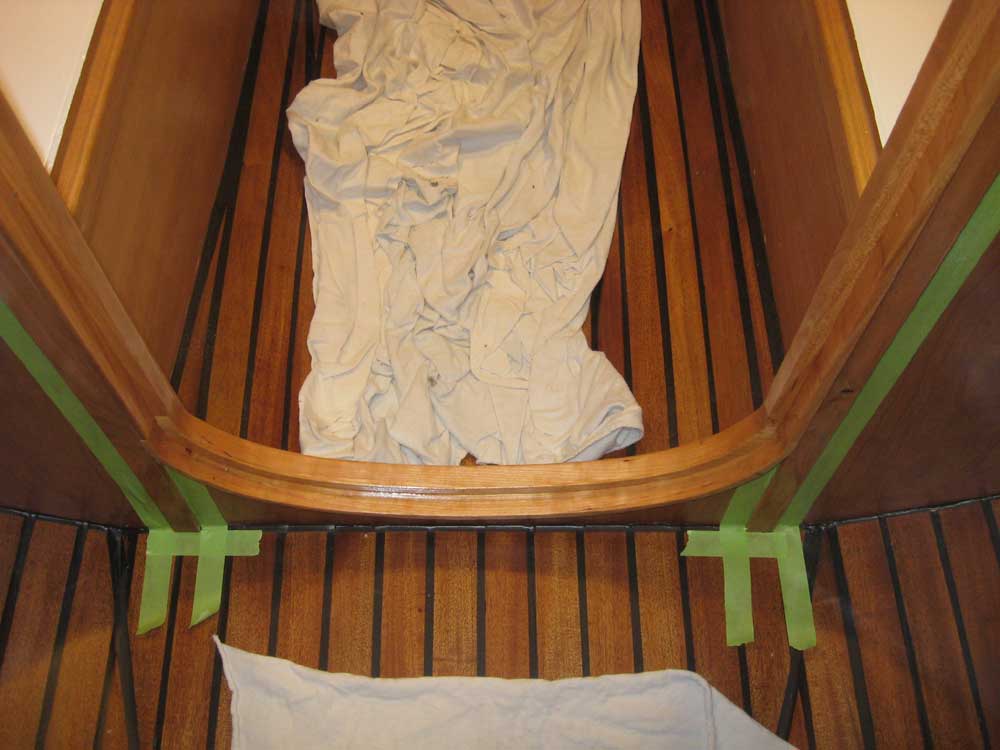
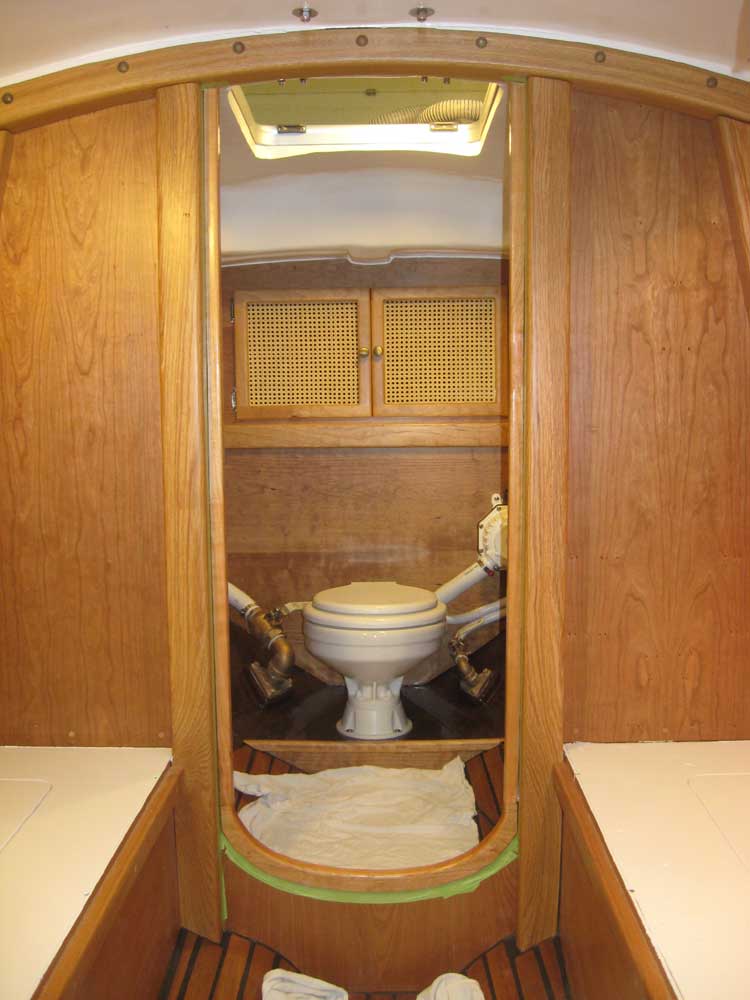
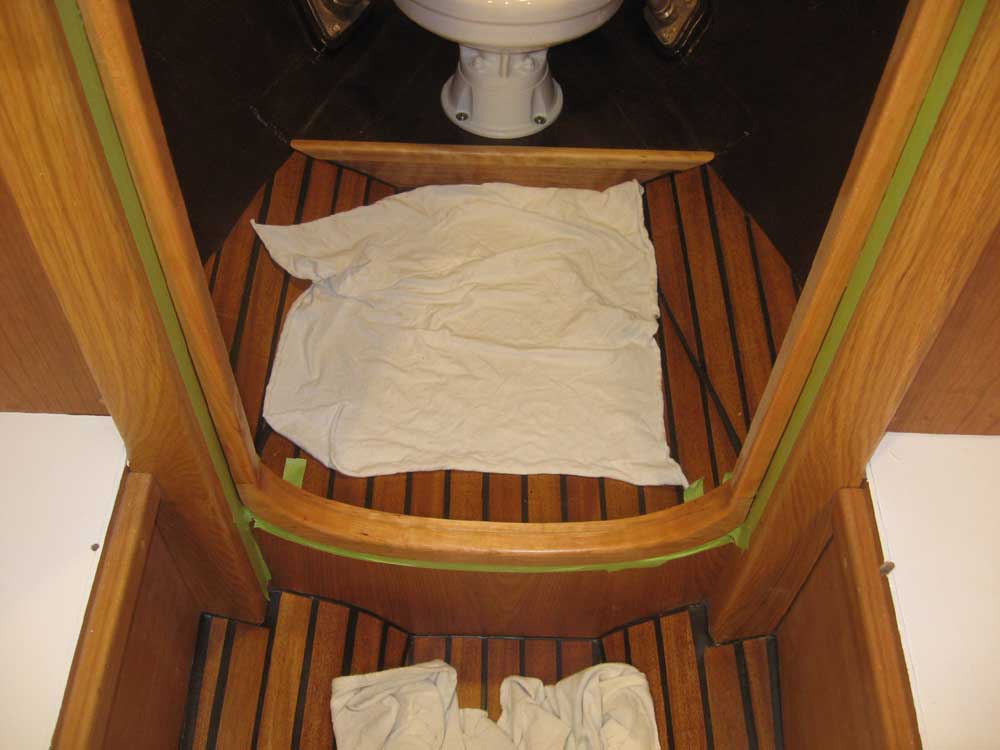
The day's major task was to continue work on, and complete, the head doorway trim. Beginning with yesterday's glued-up blank for the curved bottom trim, I laid out the curve using my cardboard template and then extrapolated additional marks to allow a bit of an overlap at the aft (saloon) side, and another mark to signify the eventual top edge of the trim. I began with the bottommost mark, that which would describe the lower extent of the trim. I cut the shape with a jigsaw, and sanded the curve smooth and fair. |
 |
|
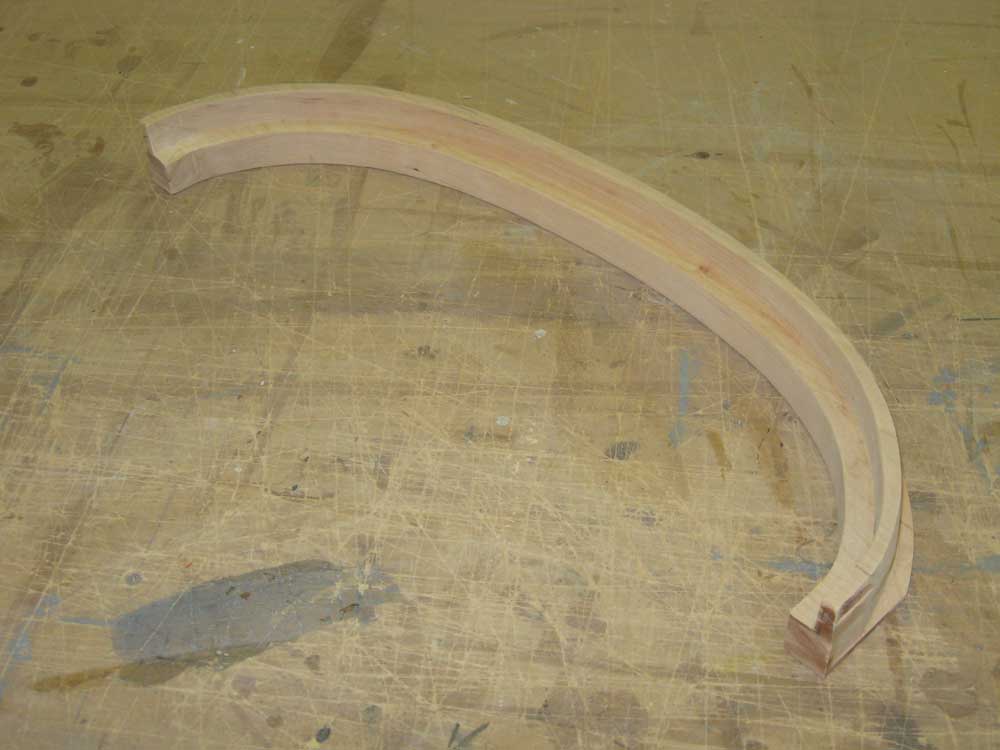
In order to allow the most visual side (the saloon side) to hang down slightly beyond the door cutout in the bulkhead, the better to hide the original cutout and some small chips in the top edge of the plywood, as well as provide a cleaner appearance, I needed to create a rabbet in the bottom, curved edge of the trim. I created this rabbet in three separate steps: first a dado on the table saw, which cut an appropriate groove at the aft edge of the trim, leaving the 1/4" + section to hang down beneath the opening; next, I used a rabbeting bit on a router to cut as deep a rabbet as I could on the opposite face. For the small section that remained between the two other cuts, I used a jigsaw and sander to trim it flush. |
 |
|
I trimmed the two short edges of the blank to the overall width of the door opening, and test-fit the blank--with its curved, rabbeted lower edge--in the opening. The piece fit well and did what I had hoped it would do, so I removed it back to the bench to complete the top cuts and profile. |
 |
|
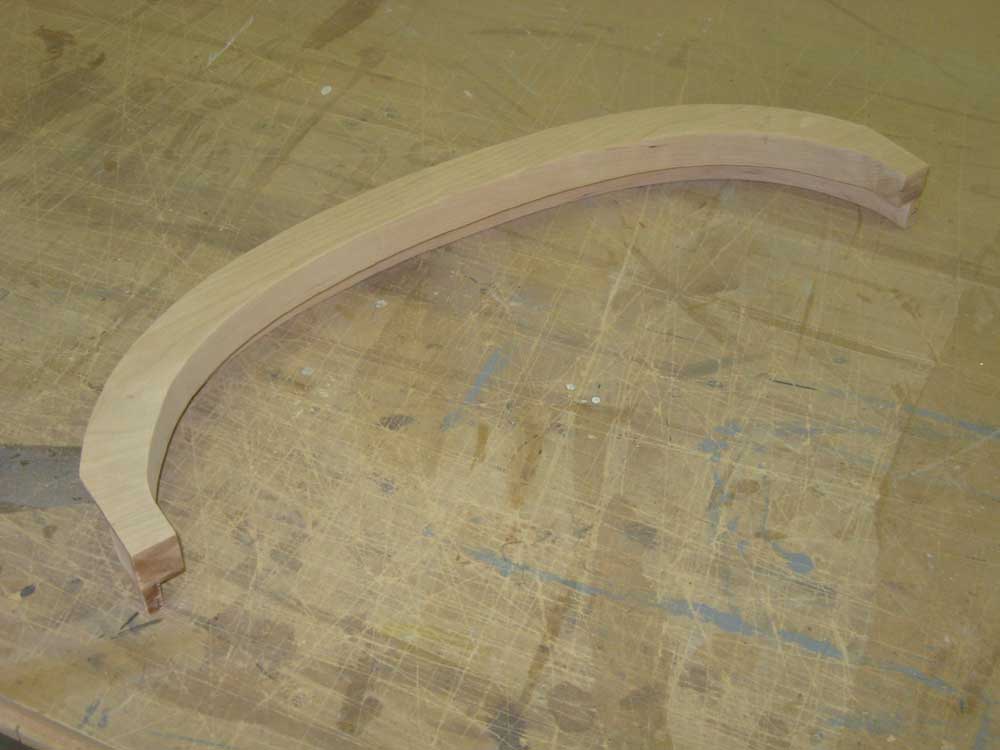
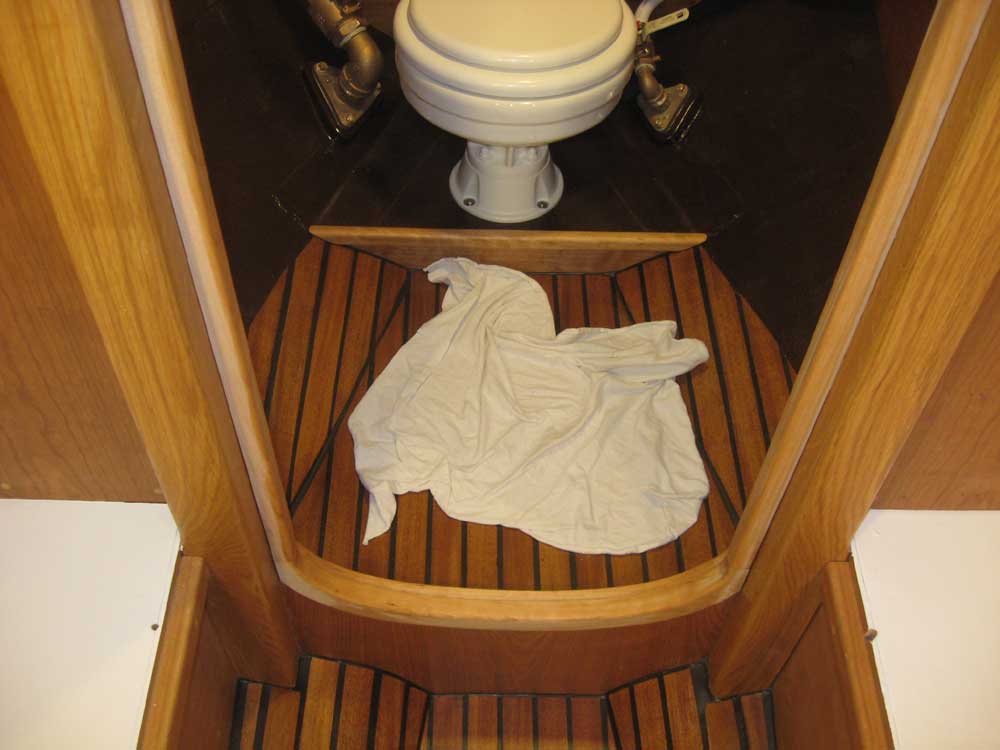
With the lower edge cleanly defined to the final shape, I restruck the line for the top edge of the trim using a scribe a long the cut edge so that top curve would match the lower one all the way around. Then, I cut the top curve and sanded it smooth and fair. To accept the door itself and provide a stop against which it could close--the door would hinge into the head--I cut an additional rabbet into the top edge of the trim, using some basic dimensions I'd determined earlier. It took several careful passes with a router to complete the cut. |
 |
|
With the curved profile finally complete, I milled two vertical trim rails to match, which would extend from the curved trim up to the overhead and complete the opening. |
 |
|
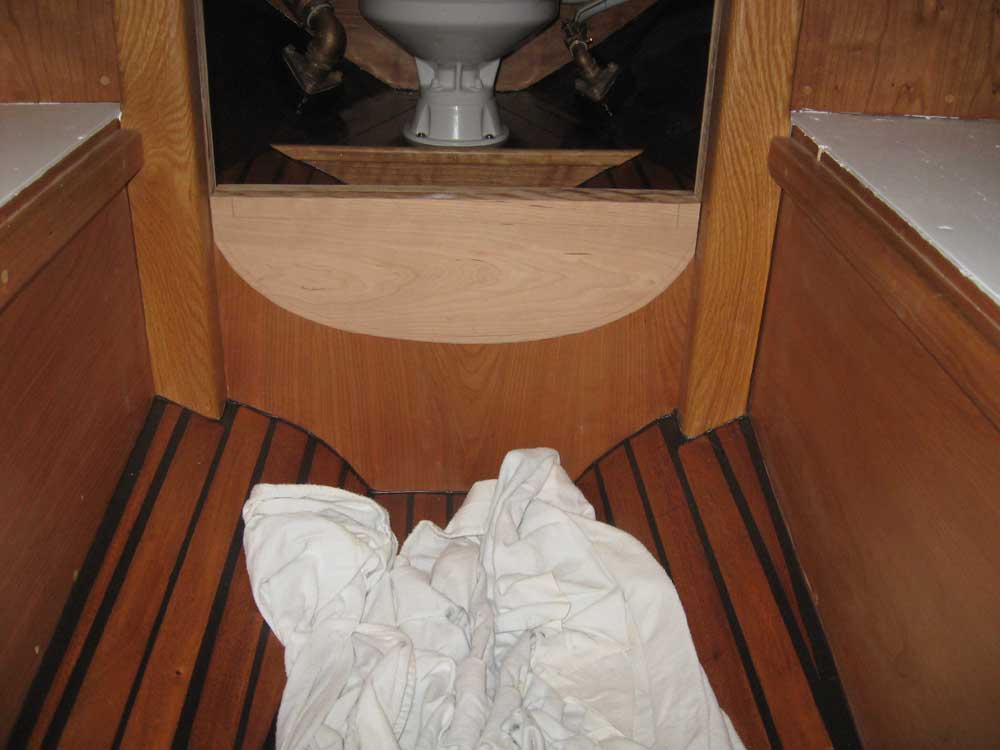
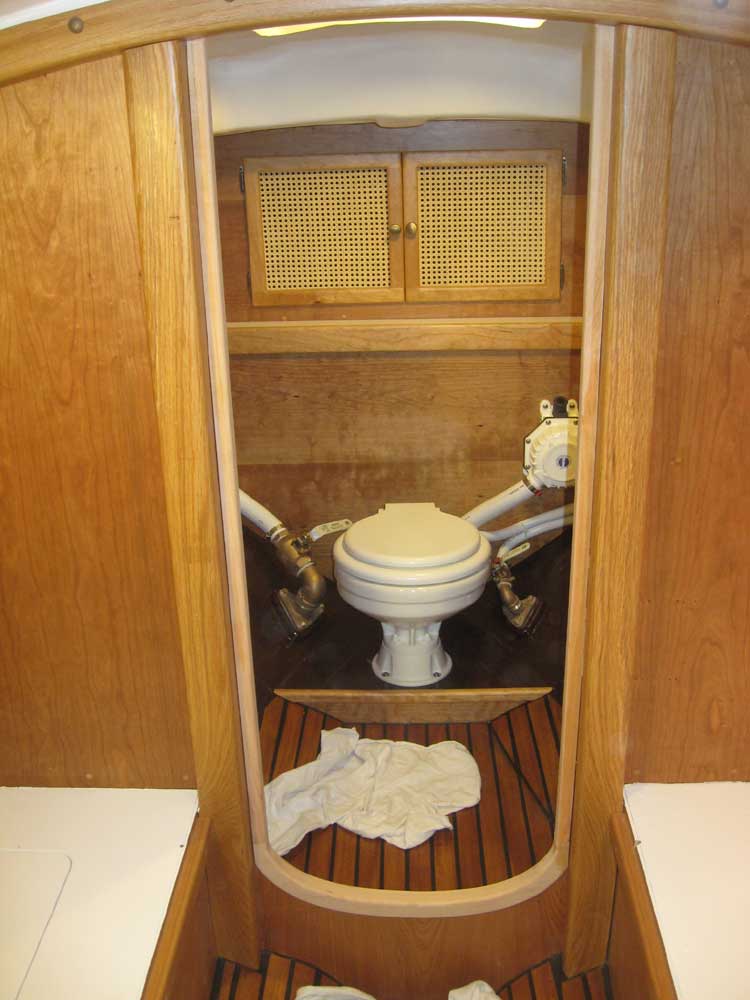
To continue, I permanently installed the lower trim in the opening, and then cut the vertical pieces to length and installed them. The very top of the opening required no trim since a stepped profile in the overhead mast beam created the necessary rabbet for the door. |
 |
|
On the head side of the opening, two additional pieces of trim were required outside of the edge of the slightly-protruding main trim. I cut these pieces to size and installed them. Then, after a bit of final sanding to clean up the joints between the various pieces, I masked as necessary and applied a coat of varnish to the trim. |
 |
|
With the opening finally defined, I'd now be able to build the door. |
|
|
|