| Circe
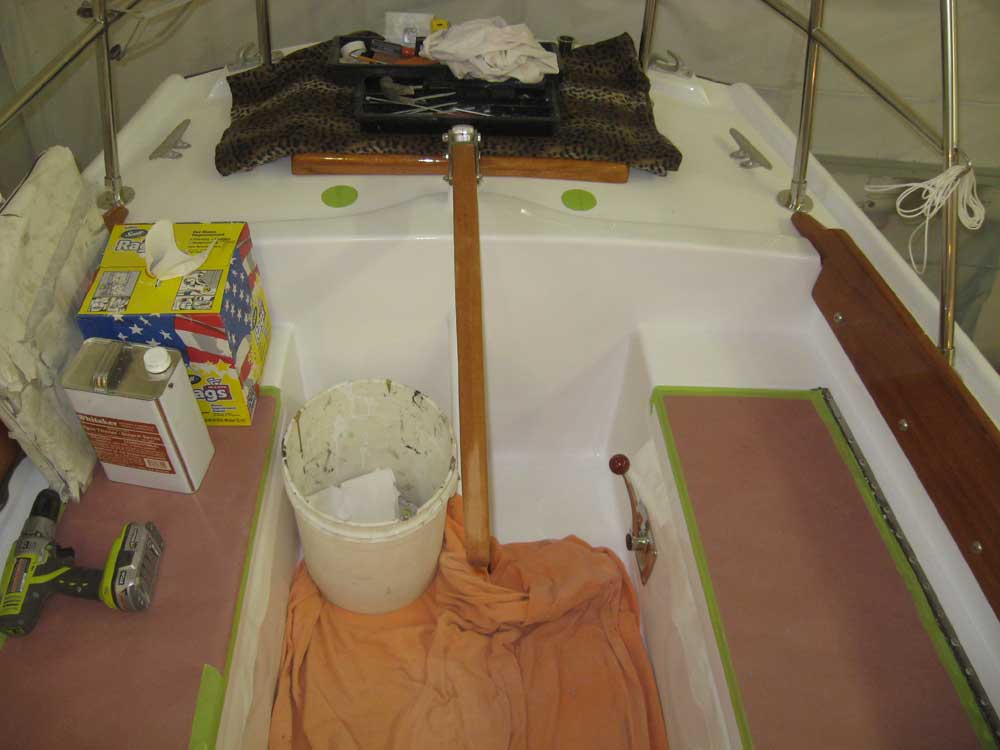
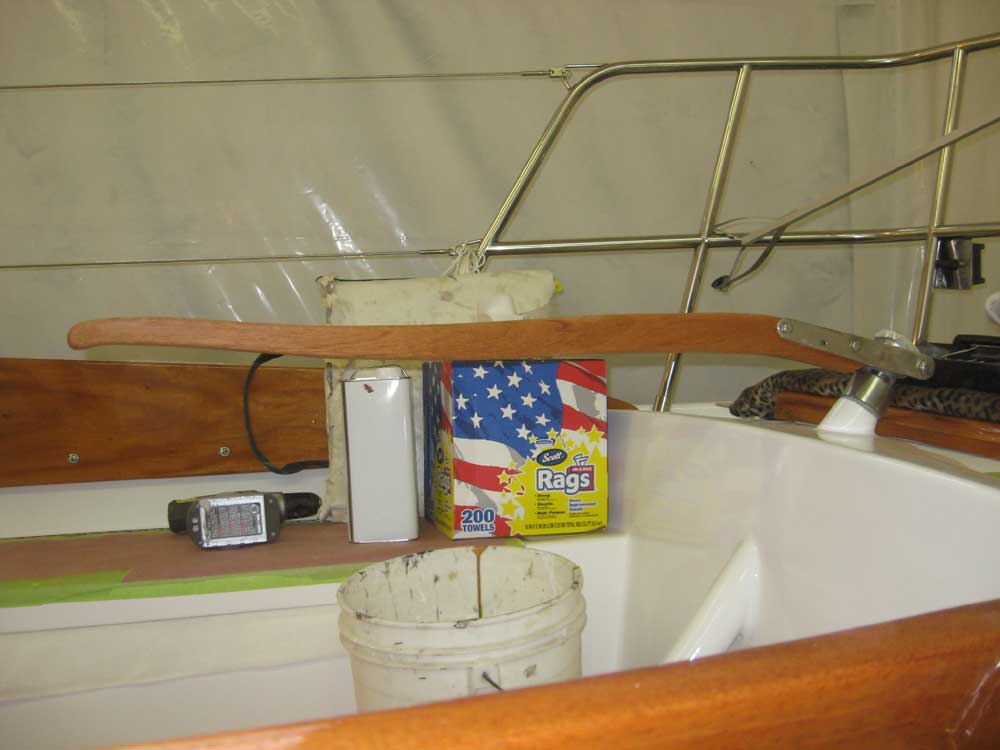
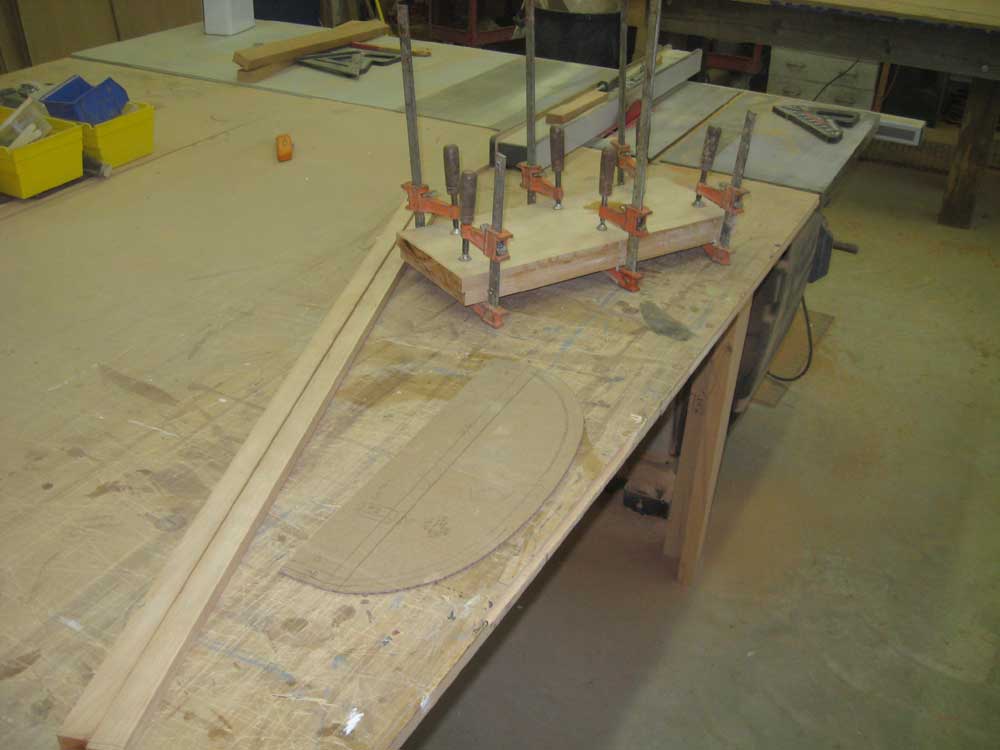
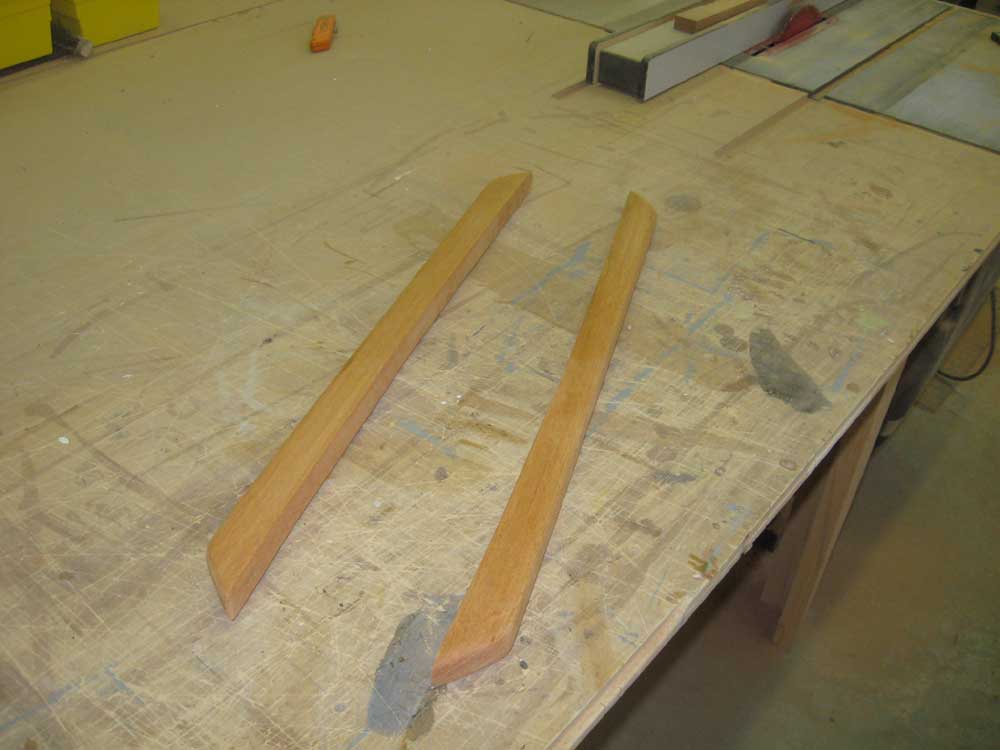
| Monday, March 29, 2010 I expected the coming several days to be full of a variety of smaller jobs as I worked to scratch off the remainder of the punch list for the project. To begin, I used the rough tiller template from last week to lay out the final version on a mahogany blank I'd prepared earlier. I made a few incremental changes to the shape during the translation, and, after cutting out the new piece, tapered and shaped the piece to its final form. Then, it was off to the varnish room to begin the varnish buildup. |
|
|
|
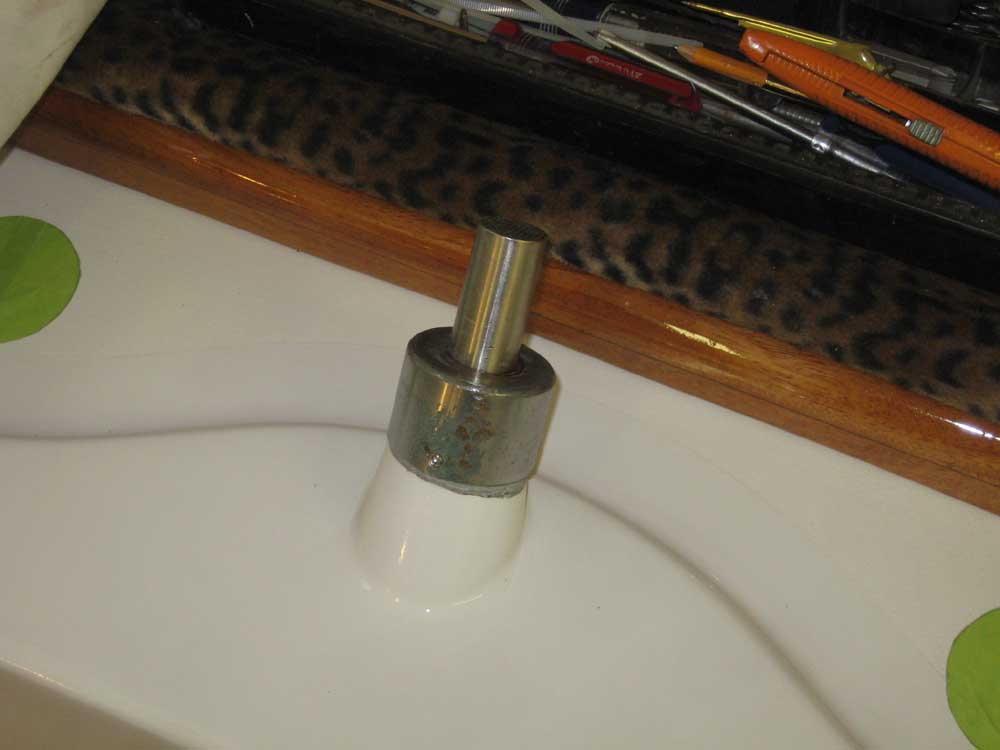
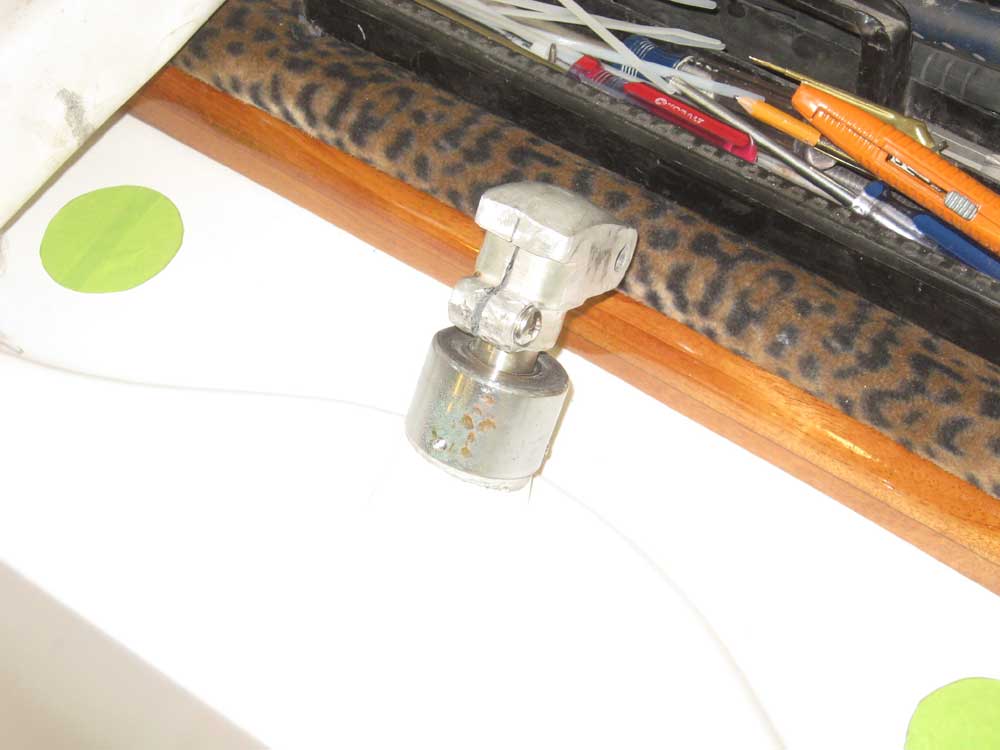
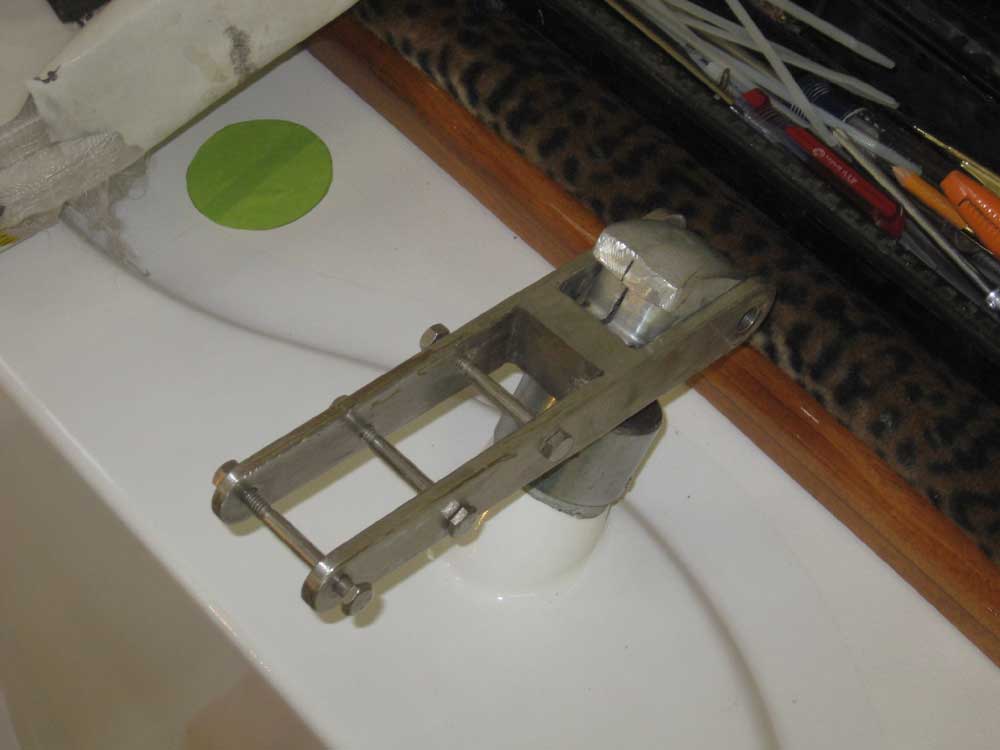
One thing I'd discovered last week was that the tiller strap, in its new, lower position, interfered with a hex-headed set screw on the tiller head; the set screw, located at the forward side, tightened the tiller head around the shaft to hold it in place, but the head got in the way of the tiller strap, now that I'd modified the tiller head to allow the strap to drop further down to better work in our new configuration. To work around this, I bored a countersink in one side of the tiller head, which allowed me to use a pan head set screw and set it further into the tiller head body, thereby increasing the clearance for the tiller strap. This worked well, and, after securing the new top rudder shaft bearing and the cover cap with new, shorter set screws, I installed the tiller head permanently with a new SS key and the new screw. |
 |
|
To complete the interior work, there was still the matter of a door and trim into the head compartment. With the curved lower edge of the door frame, I'd made this task more difficult, and had probably postponed the construction longer as a direct result. In any event, it was time to build the trim, which would not only cover the last remaining plywood edges--both at the bottom, curved part of the frame as well as the sides of the doorway opening--but would also provide a stop against which the eventual door would close. To begin, I made an accurate cardboard template of the curved bottom edge of the opening, and worked out the details of how the trim would have to be shaped to accomplish its job description. I briefly toyed with the idea of bending and laminating thin strips of wood to create the curved lower trim, but after a couple tests that resulted in broken strips long before they'd conformed to the required shape, I abandoned that idea as impracticable. Instead, I reverted to what I'd been thinking all along: the bottom trim would be cut to fit from a solid blank of wood. To that end, I glued together two pieces of wood, each wide enough to create the curvature from, so that I'd have a blank thick enough for what I needed. I set this aside to dry, and meanwhile cut two blanks to the raw size required for the side trim, though I wouldn't mill the profile till the curved trim was cut and milled to shape, to ensure the pieces would mate up properly. |
 |
|
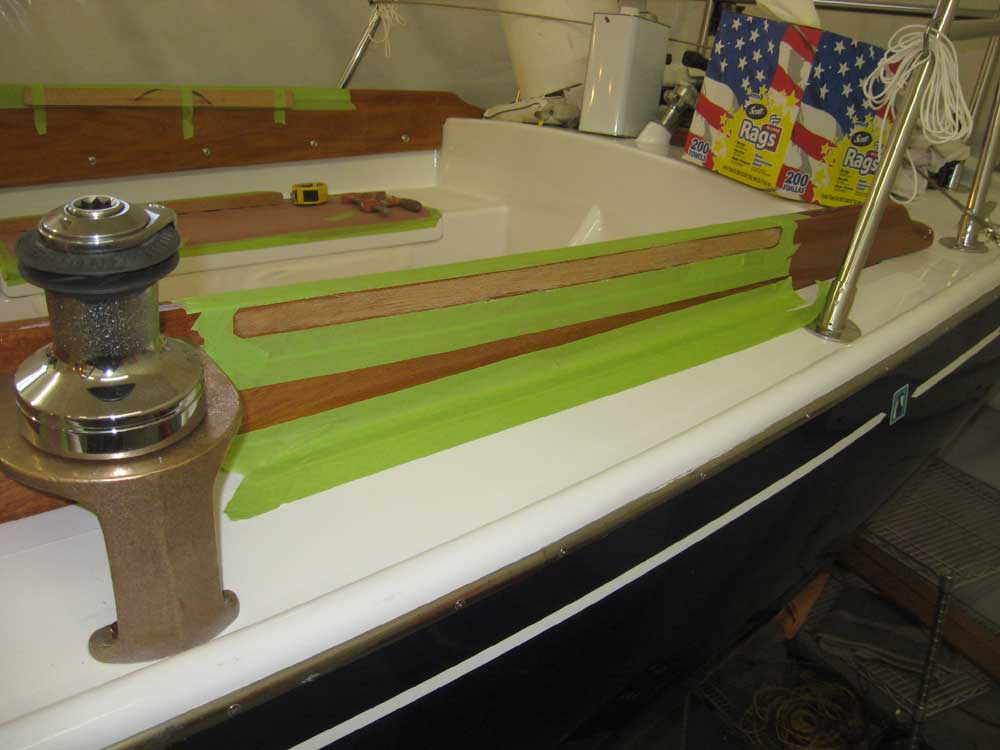
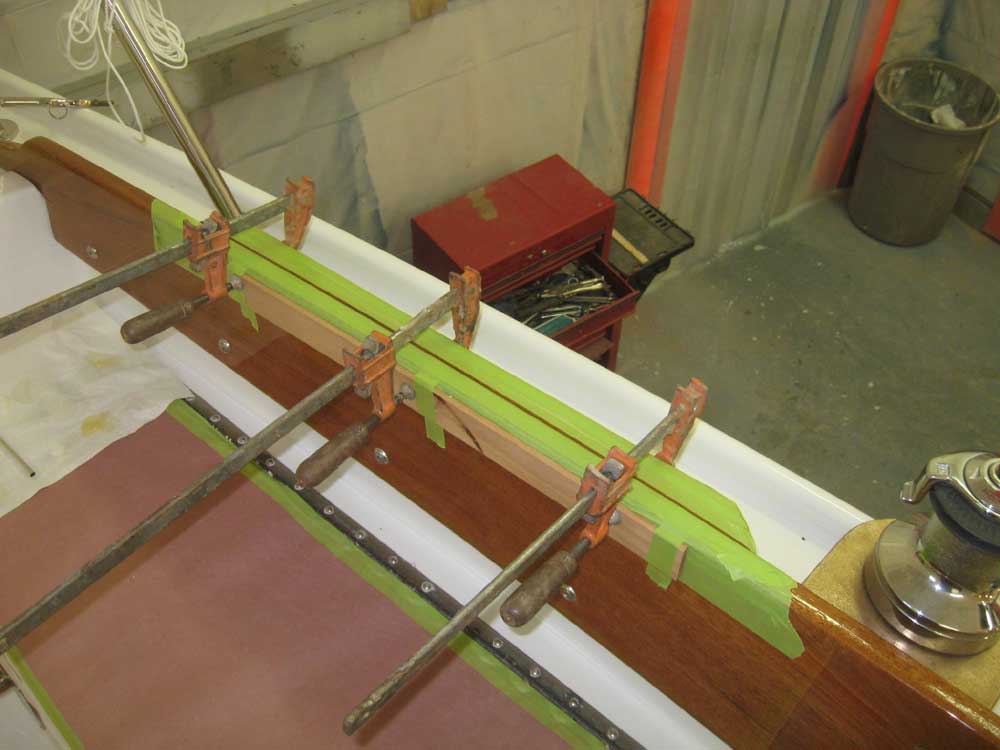
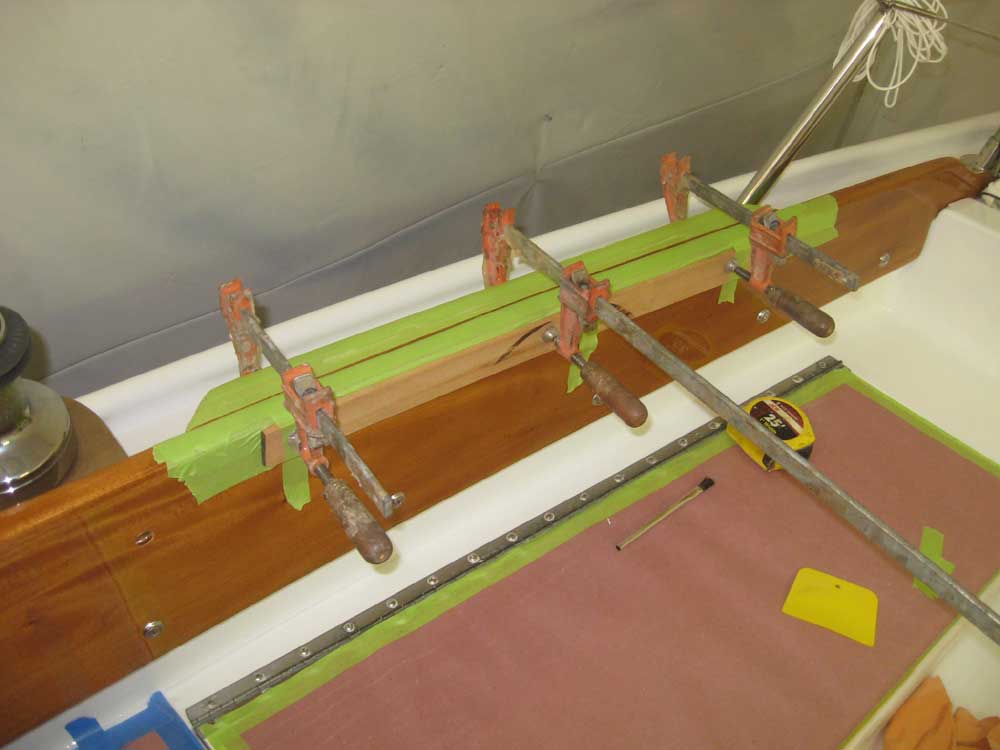
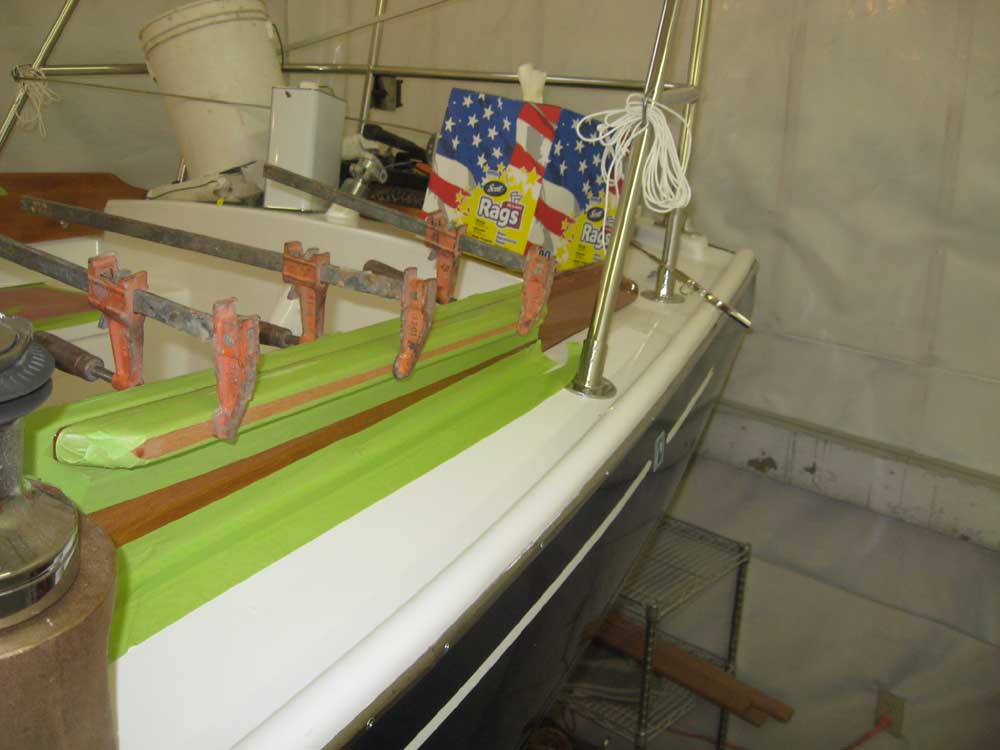
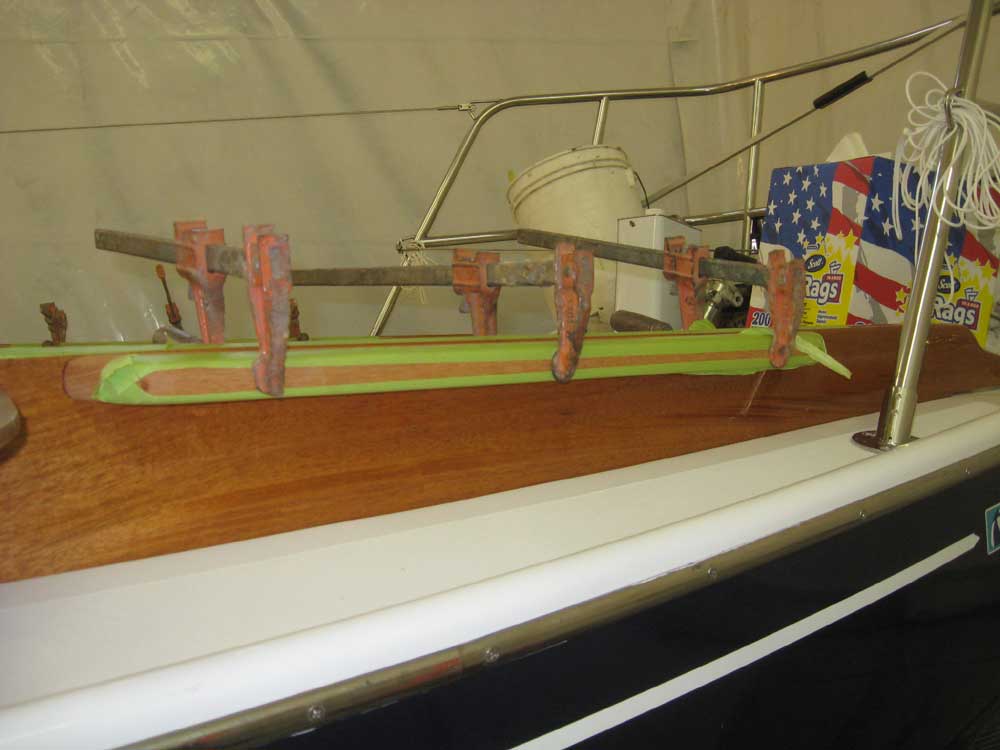
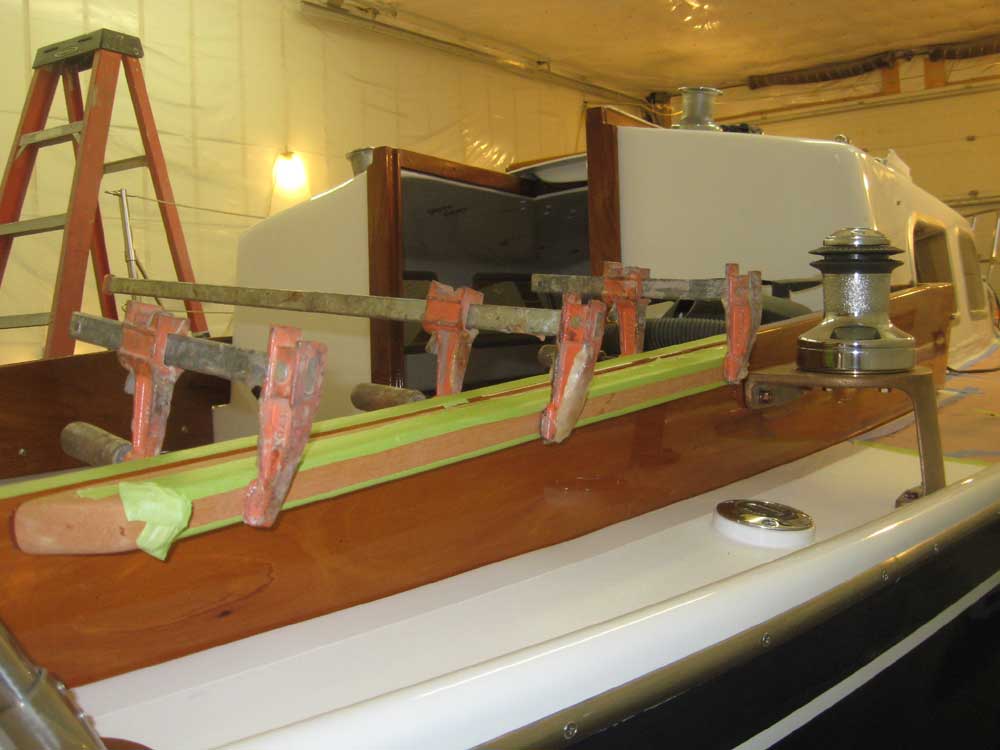
Next on the agenda: the coaming-widening strips for the helmsman, which would provide a wider seating area should someone wish to steer from the top of the coaming. Last week, I'd cut two basic blanks for the purpose. Now, I scribed their inner edge to match the curvature of the coaming on each side, and cut and fit till they mated closely with the coamings. I shaped the ends and edges and sanded them smooth. |
 |
|
Next, I prepared the coamings themselves. I protected various areas with masking tape, and then held a sacrificial strip of scrap wood in place on the inside faces of the coamings with tape--this to protect the coamings from the clamps that would secure the new strips. I temporarily clamped the top strips in place and masked off the coamings all around them. Removing the strips and clamps, I sanded away the varnish from the bonding area and cleaned up, and masked off the strips themselves. |
 |
|
Finally, I glued the strips in place with epoxy adhesive and clamps to secure them while the adhesive cured. I smoothed the epoxy around the edges and then removed the tape at the mating edges to avoid cured epoxy-coated removal problems later. I didn't worry about the tape farther out on the strips, which I could remove later once I unclamped the pieces. |
 |
|
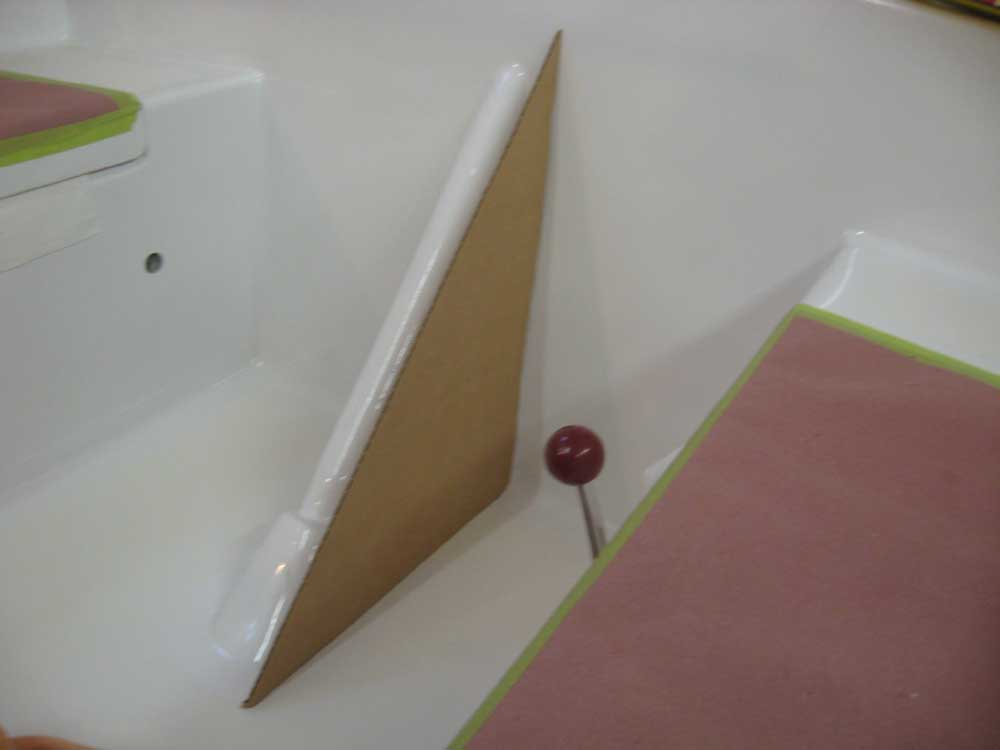
One of the things we'd always planned to do since making the decision to extend the rudder tube up to exit on the poop deck was to cover the exposed tube with wood trim. To that end, I created a cardboard template of the triangular shape required, the first step in the construction process. |
 |
|
The new propeller shaft arrived, and I tested its fit. With the shaft now on hand, I could move forward with the final out-of-water engine alignment, which task I'd attack on another day. |
 |
|
|
|