| Circe
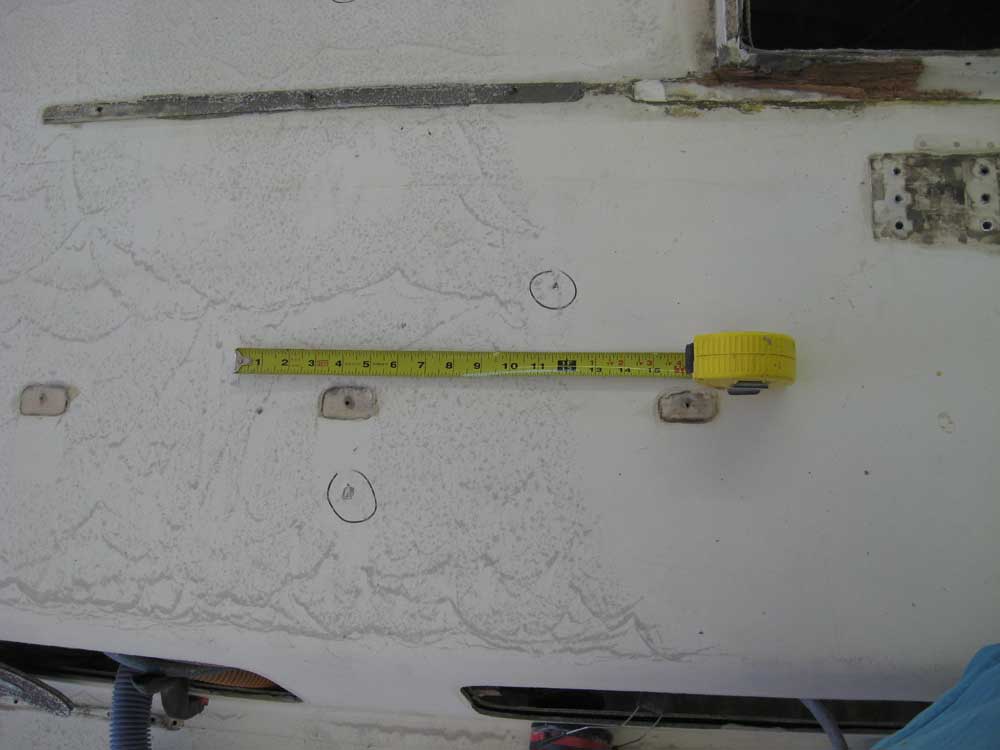
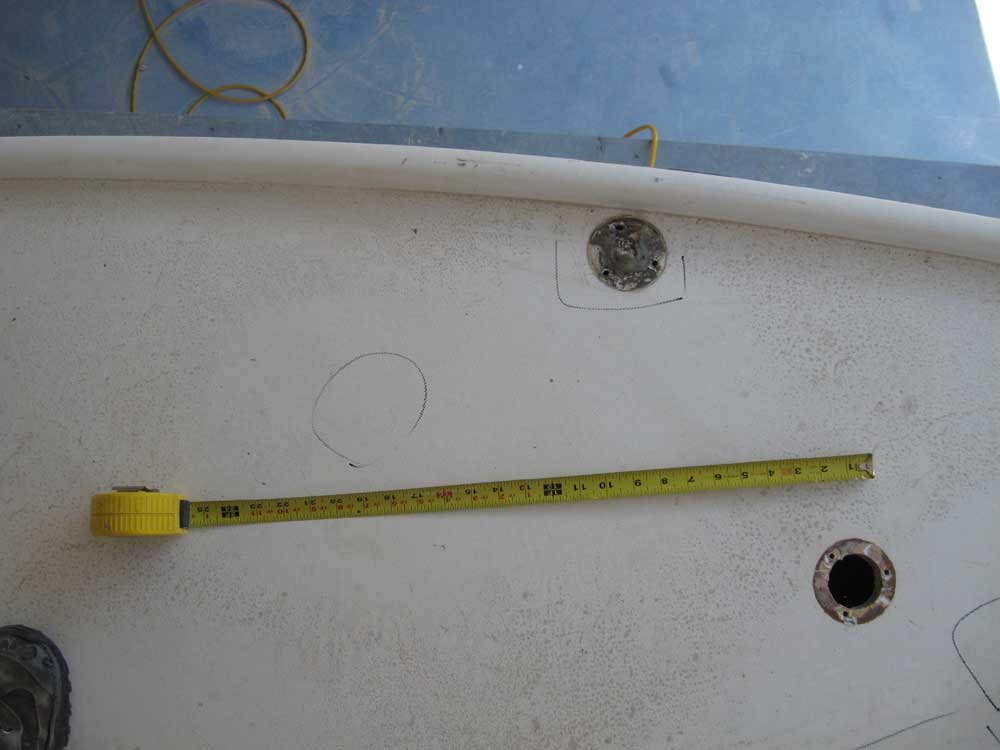
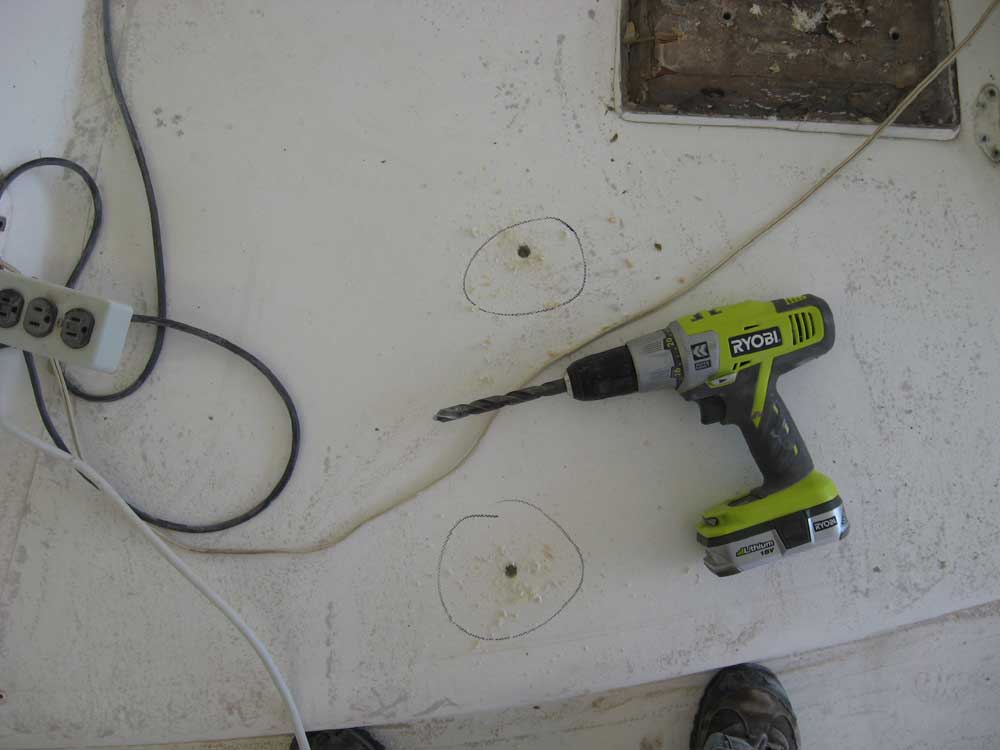
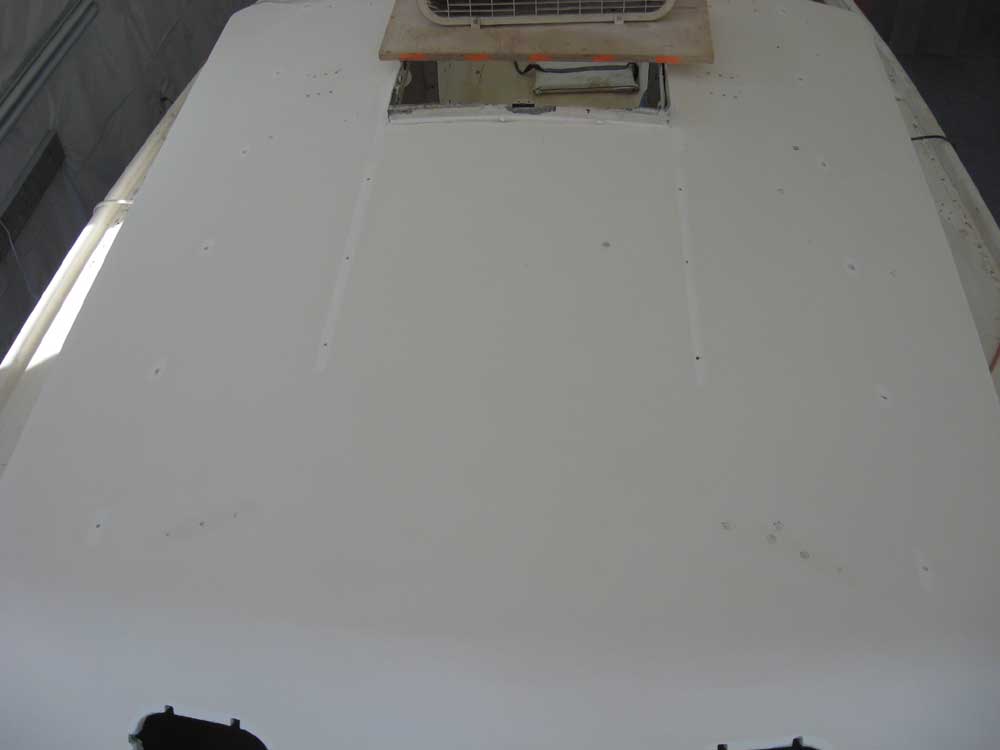
| Tuesday, July 28, 2009 With the interior essentially stripped and sanded, it was time to move on to the decks. To begin, I used a hammer to sound the entire deck area--at least those containing core--to locate any suspect areas that might contain core debonding or other issues. As I went, I marked any questionable areas on the deck for later attention. As typical, I found a number of what I expected to be small voids in the laminate, so-called latent defects; these exist in most laminated structures. I duly marked them for later attention. In these photos, the gray patterns seen on the deck is simply sanding dust that had danced around from the vibrations created during the sounding. |
|
|
|
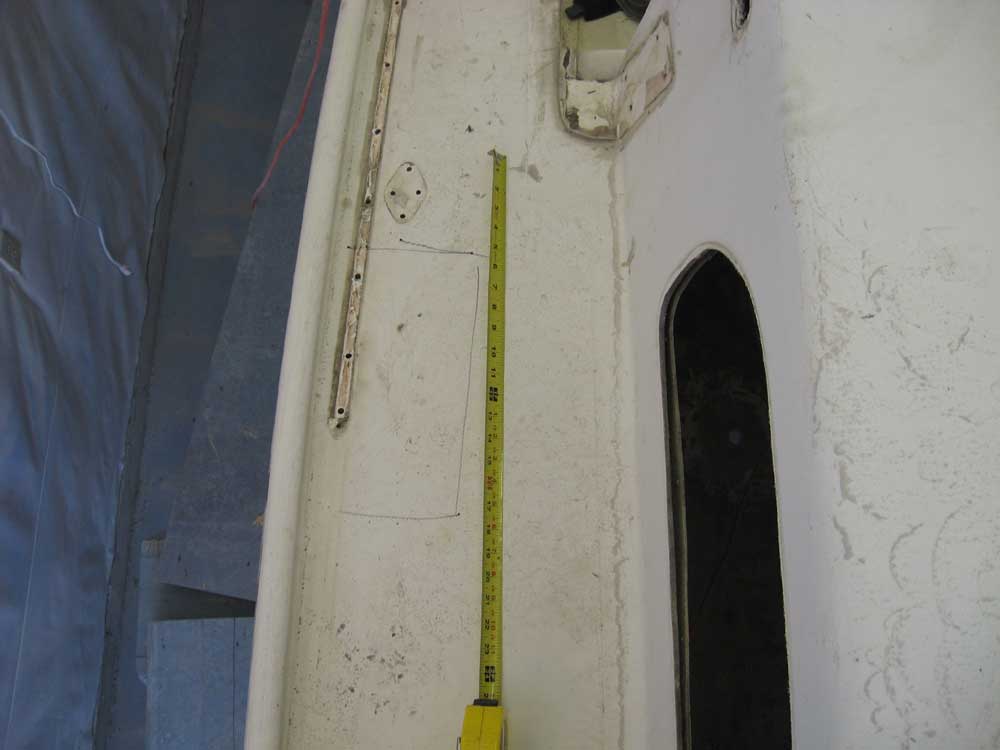
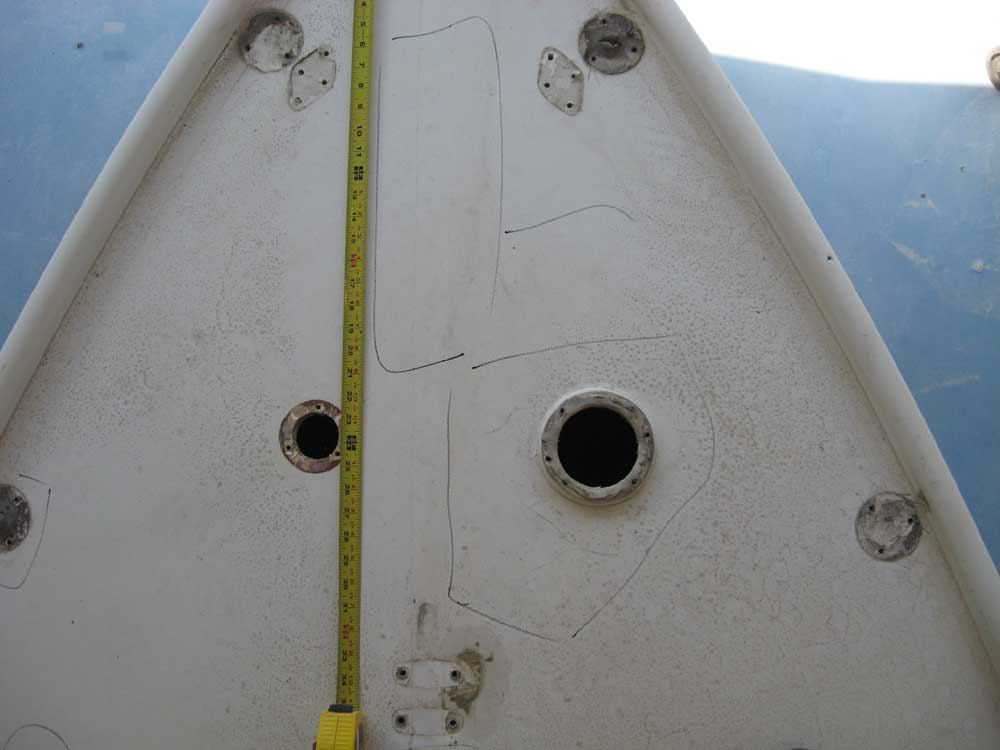
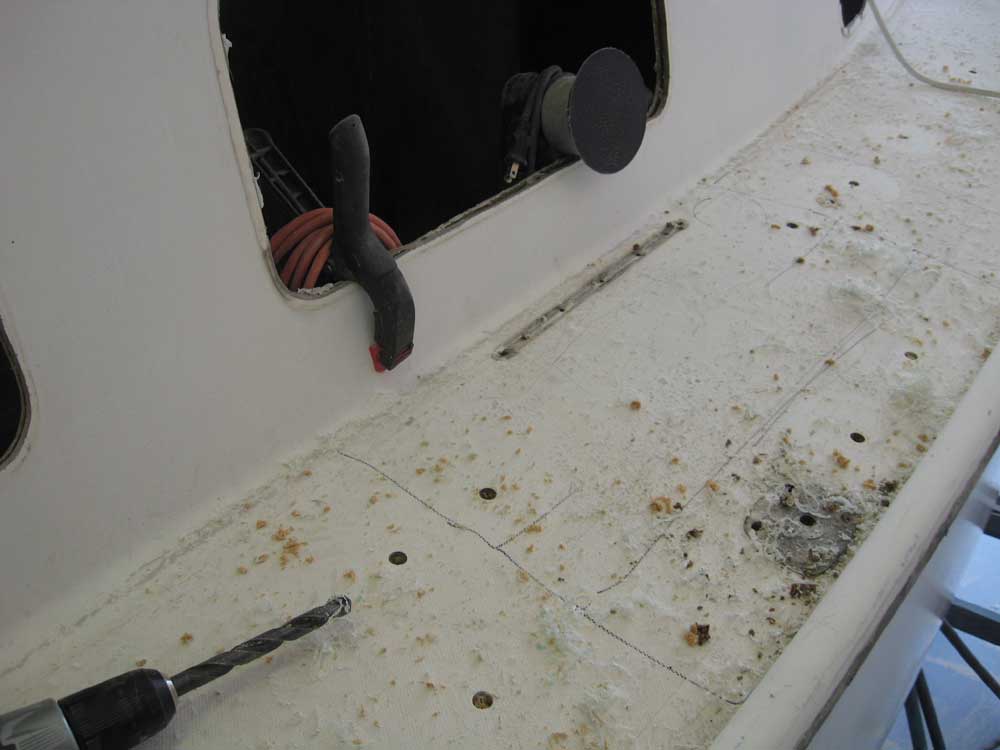
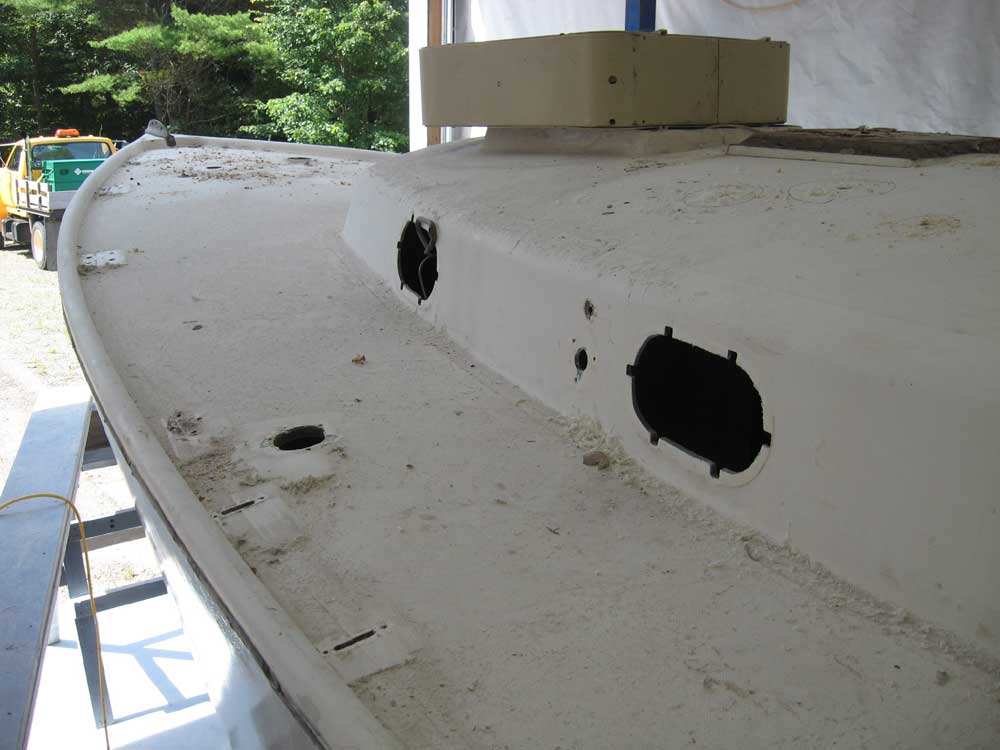
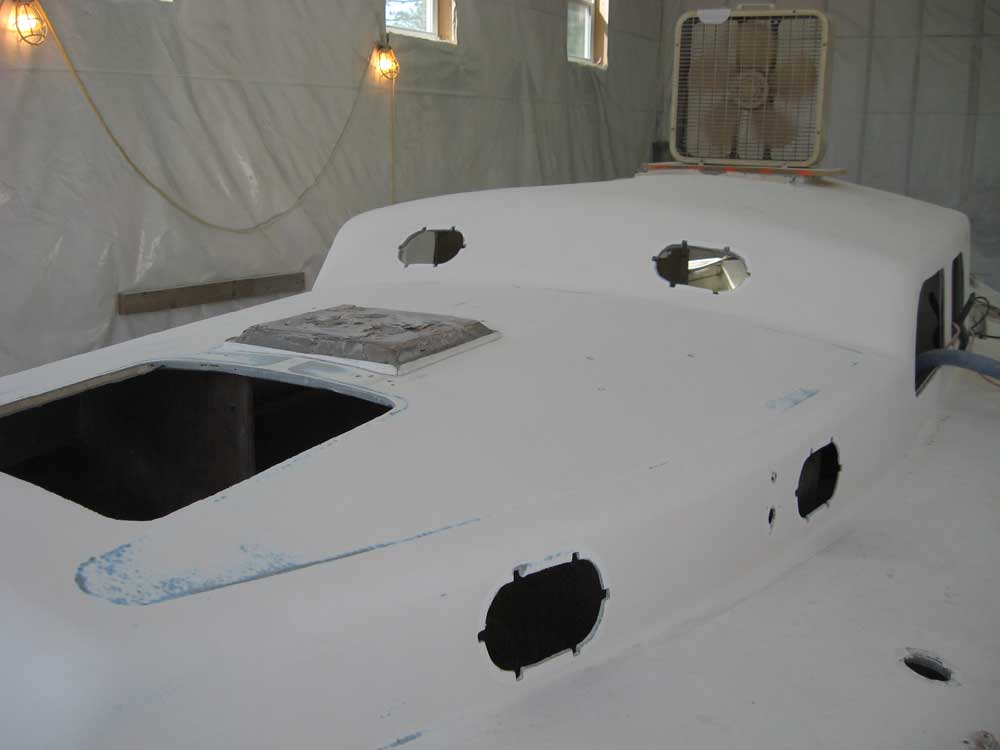
There were several areas on the deck where external indications pointed to core issues even before I began sounding: specifically areas of the foredeck, around a few of the stanchion and pulpit bases, and an area on the starboard sidedeck, near the forward end of the doghouse. As expected, sounding these areas indicated suspect internal condition. |
 |
|
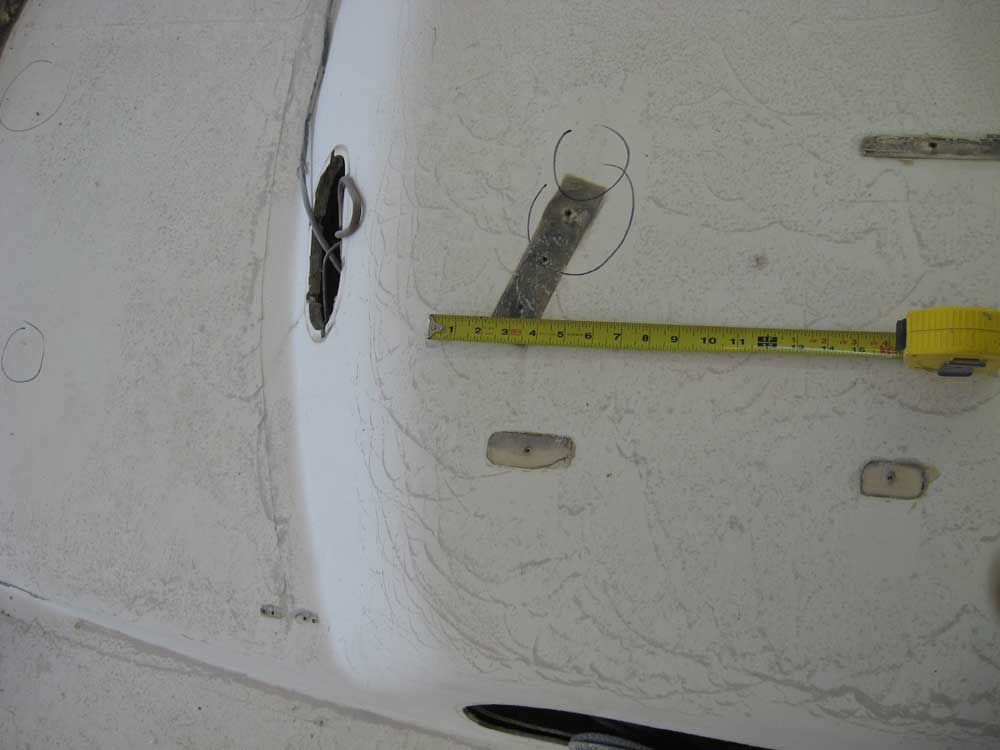
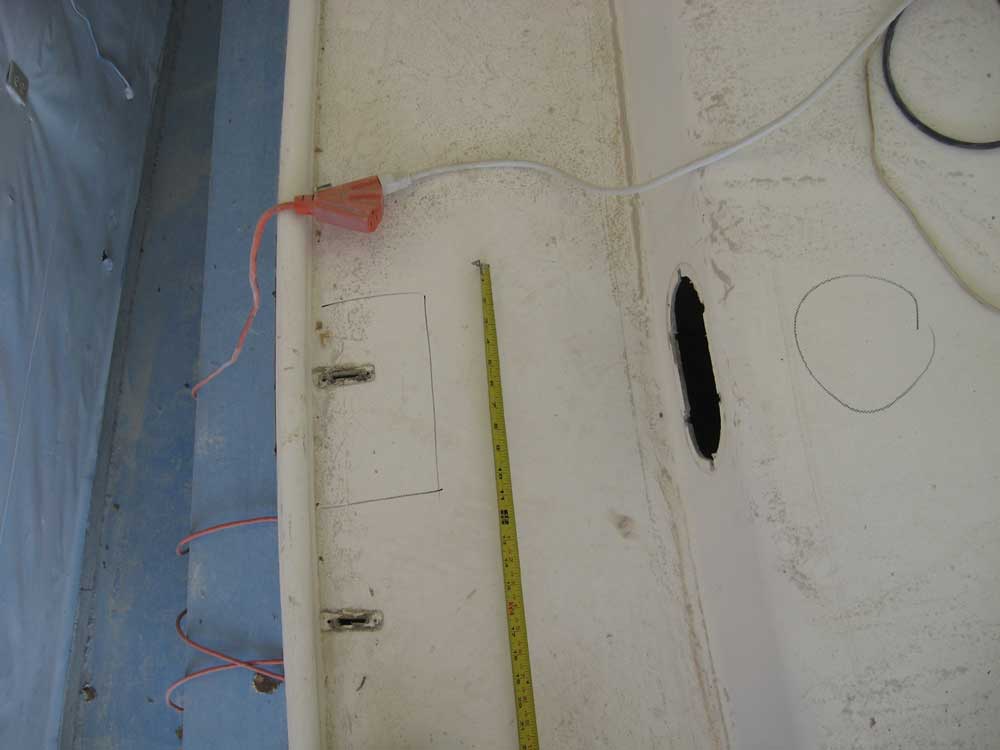
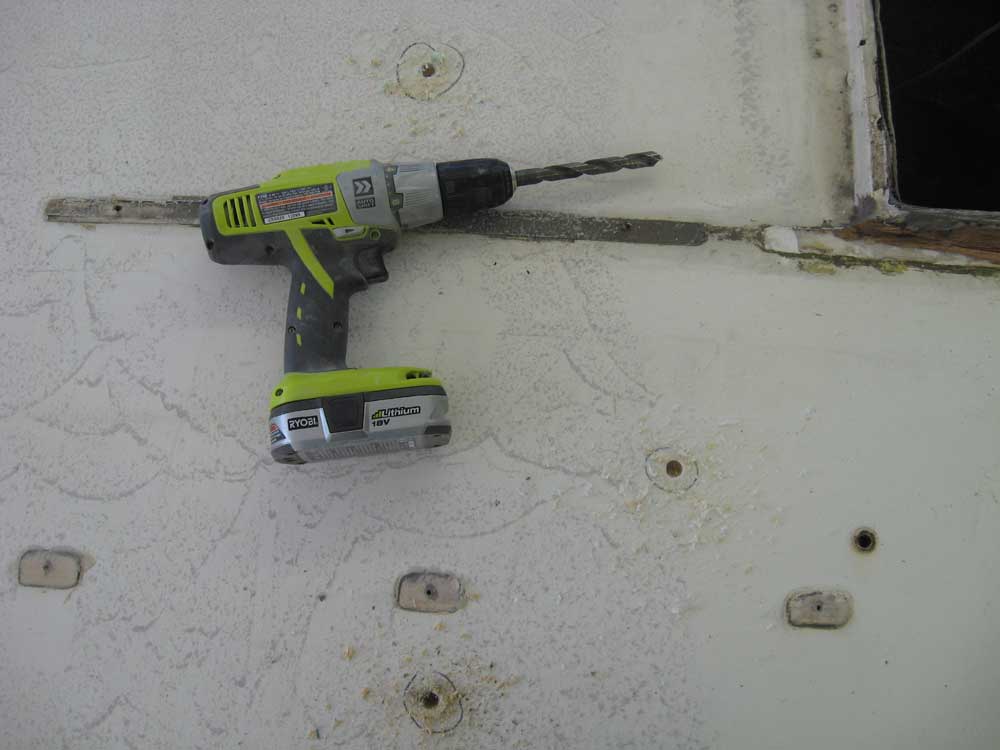
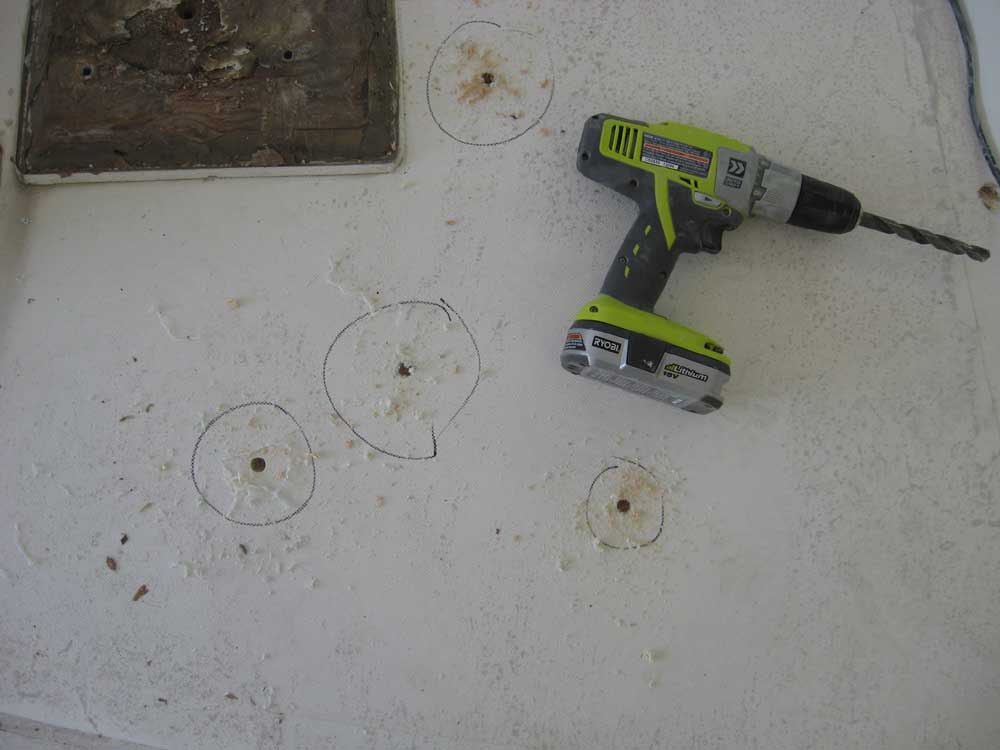
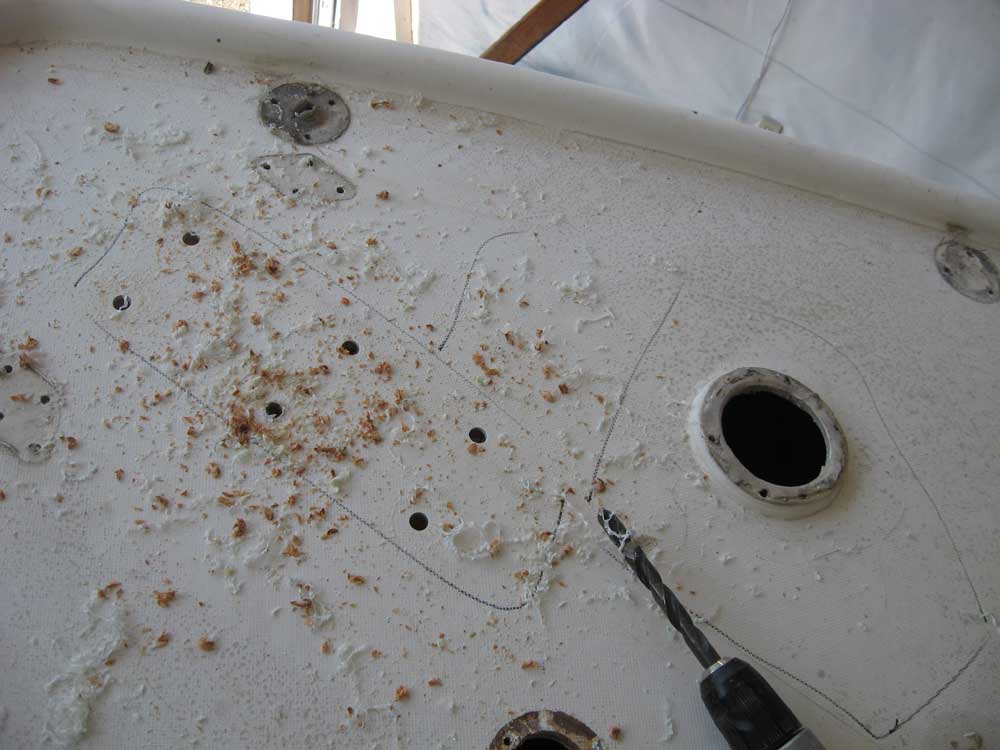
Once I'd marked all the areas in question, I used a drill to create test holes in order to determine the condition of the core (and overall deck structure) at each area. In most areas, the test hole revealed core in good condition, confirming the insignificant presence of latent defects ad most of the circled areas on the deck. Later, I'd fill these areas and patch them. |
  |
|
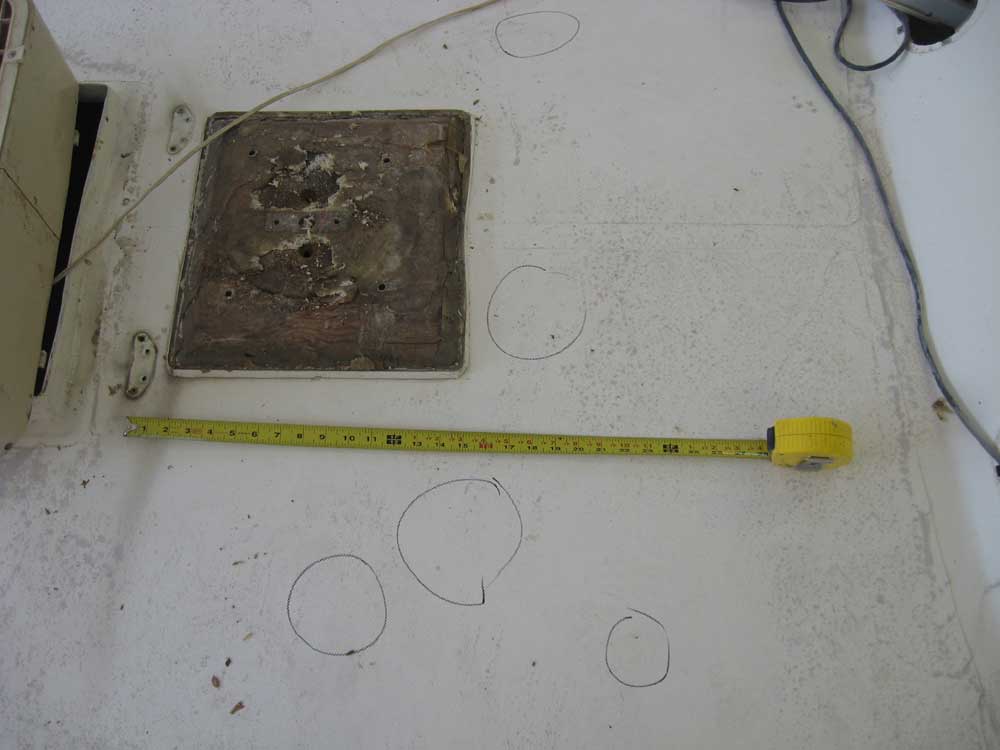
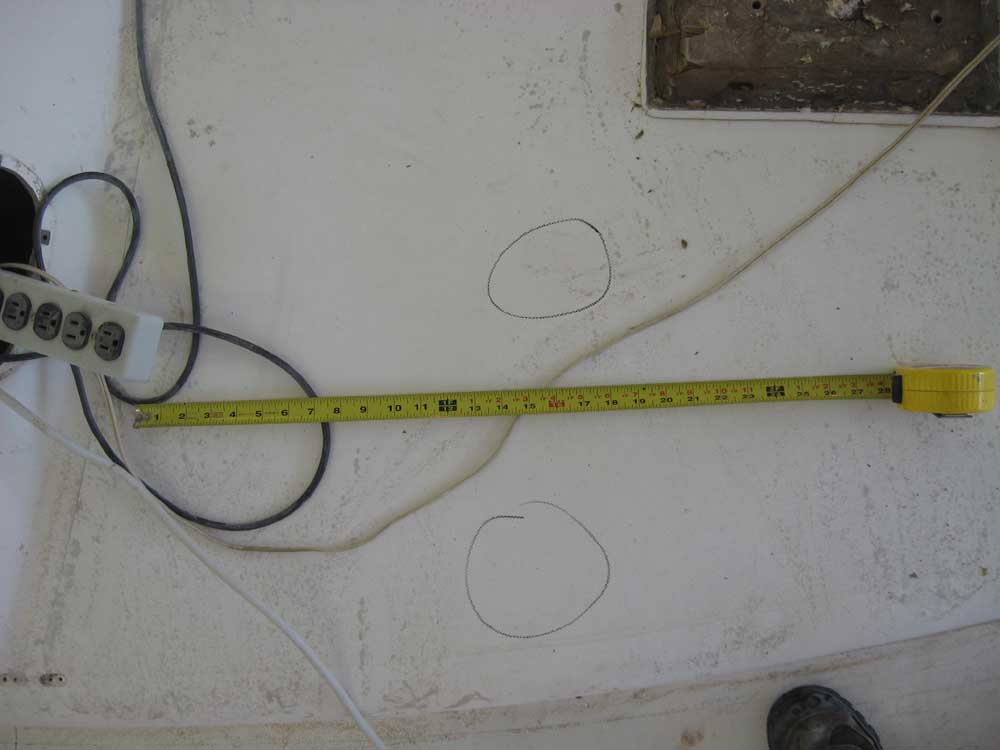
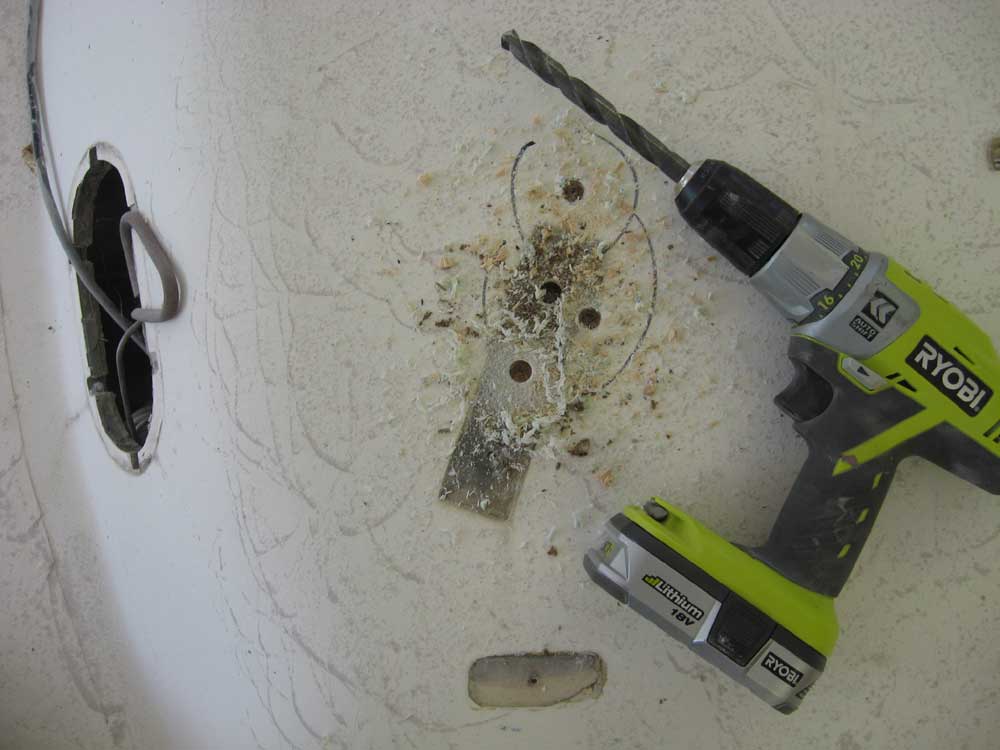
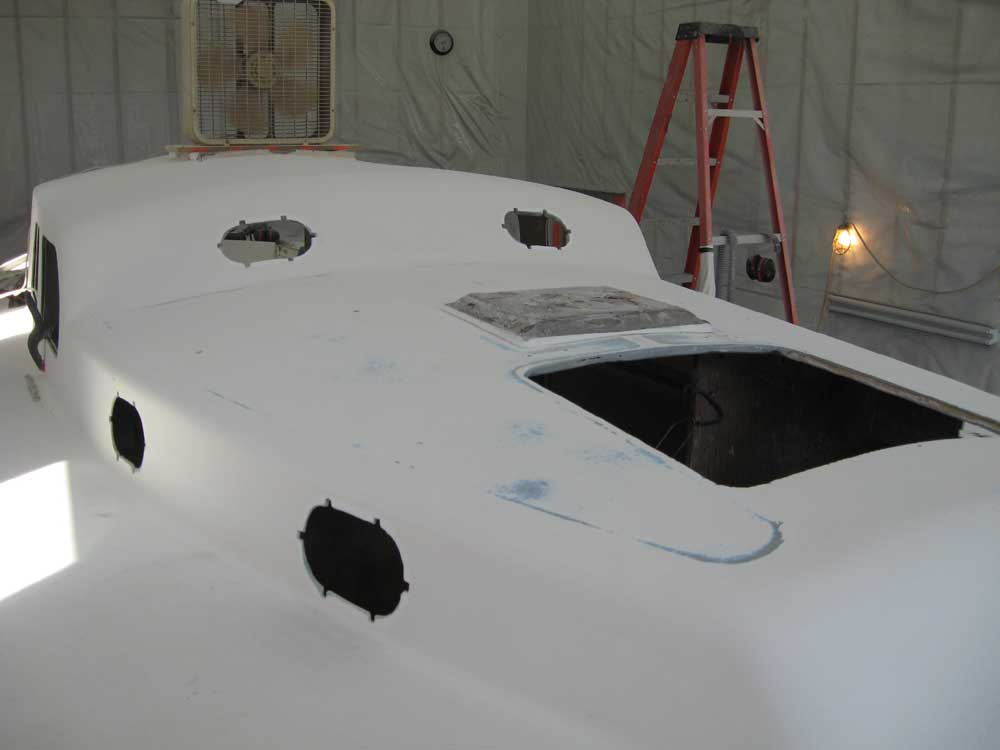
The test holes in several areas--foredeck, port bow pulpit base, starboard forward stanchion, starboard aft chainplate, and two areas of the after starboard sidedeck--revealed significant core debonding issues and the presence of damp or ruined core, as anticipated. With further test borings and additional sounding, I mapped out what I thought would be the greatest extent of the damaged structure so that I could cut out these areas for repair. |

 |
|
With the decks now surveyed and the worst areas identified for later attention, I moved on to some sanding. Before I addressed the structural issues in the sidedecks and foredeck, I wanted to sand the coachroof and cabin trunk, since I needed to stand on the sidedecks for this job. Before sanding, however, I used a sharp scraper to remove all the silicone and other sealant from the old hardware locations, port openings, and elsewhere, scraping away not only the sealant but some of the gelcoat as well, to remove the silicone contamination. |
 |
|
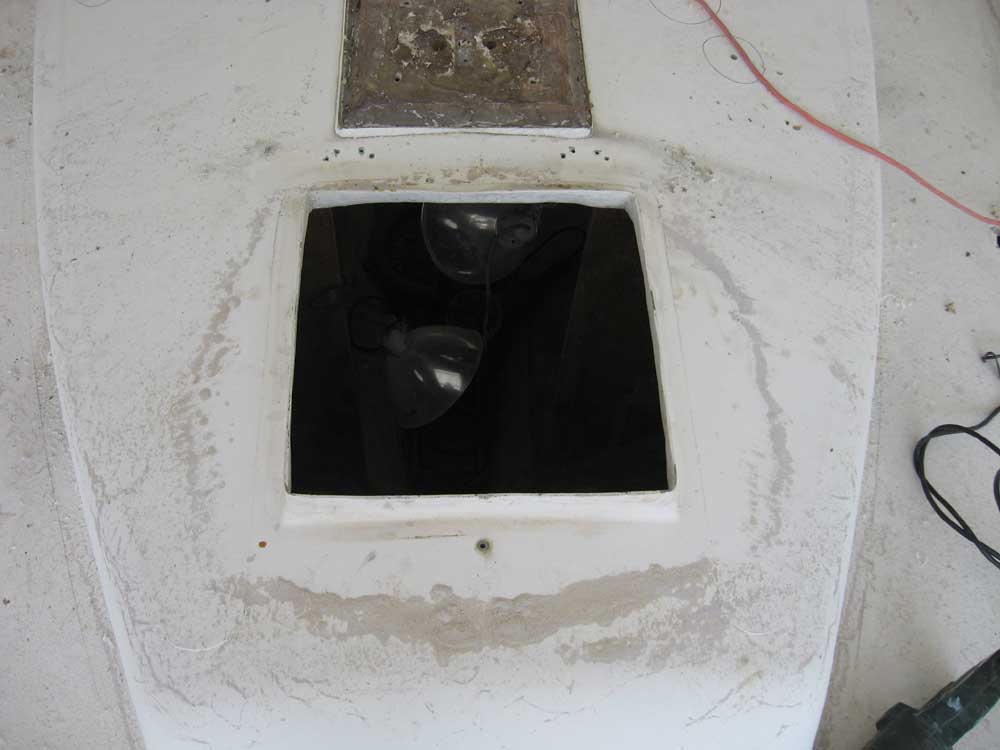
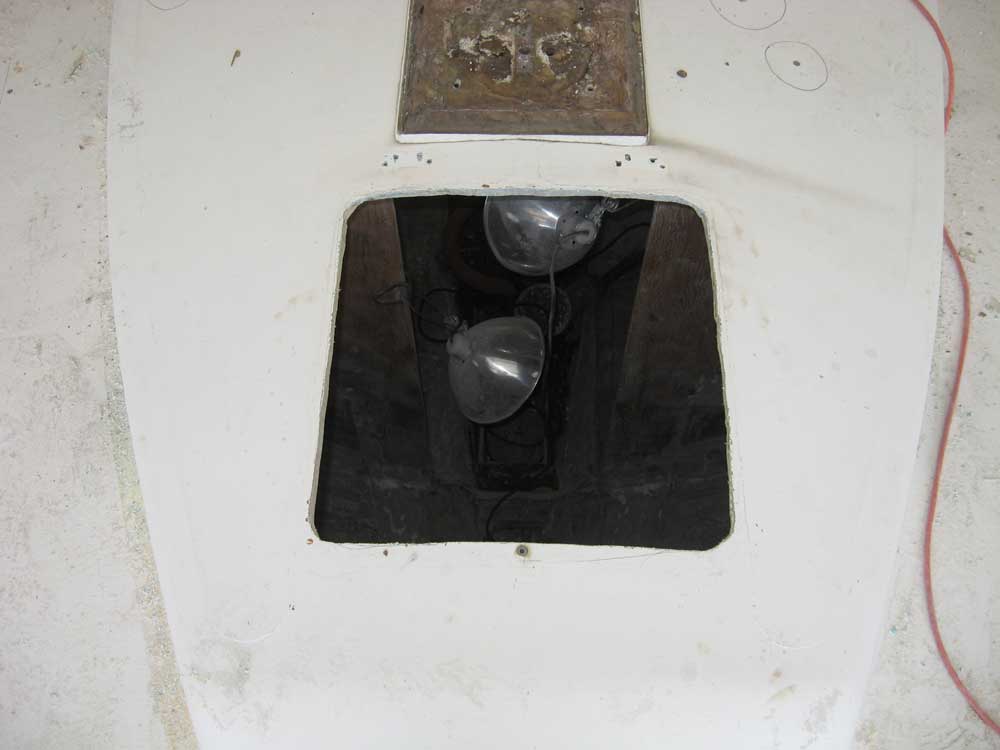
Next, I cut away the raised flange around the forward hatch opening, and then, using a template of a stock-sized 24" hatch, cut the new opening to size, allowing for later fine-tuning. |
 |
|
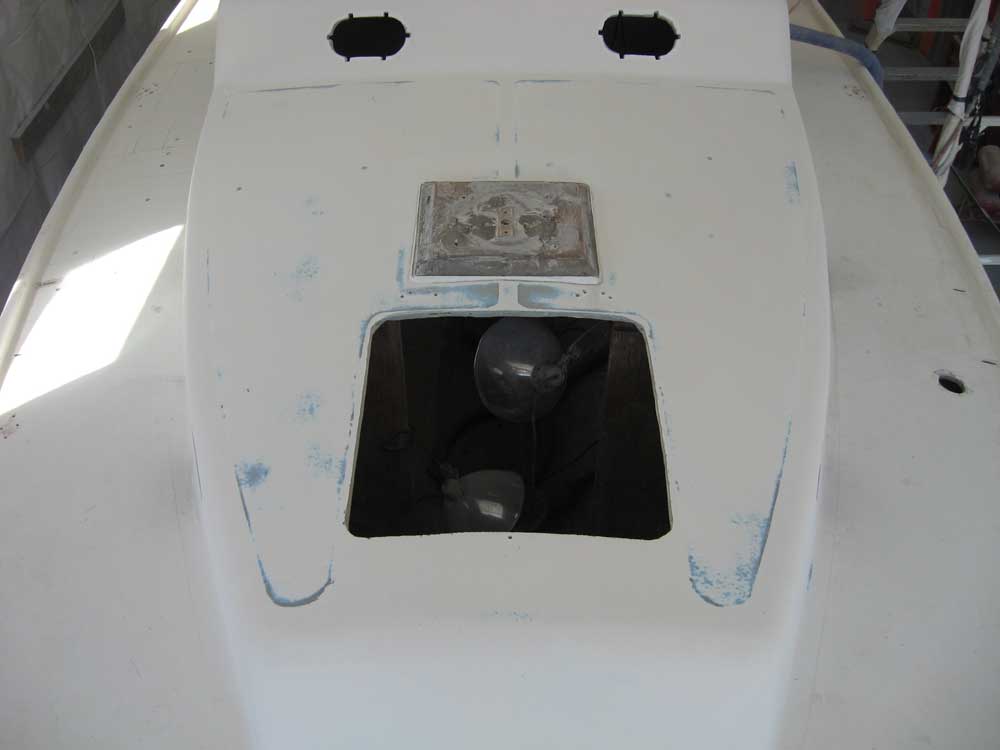
I sanded smooth the molded nonskid pattern on the forward section of the coachroof, and then sanded the entire coachroof and cabin trunk sides with an orbital finishing sander and 80 grit paper, the first of many sanding steps. There was no paint on the deck, and the sanding went easily. |

 |
|
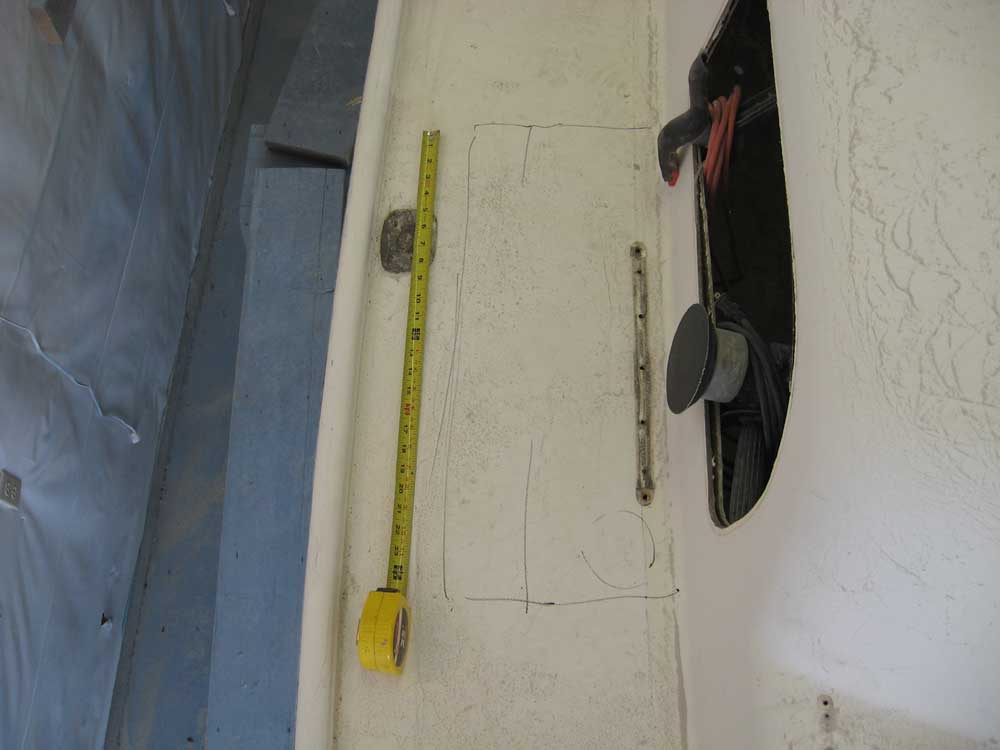
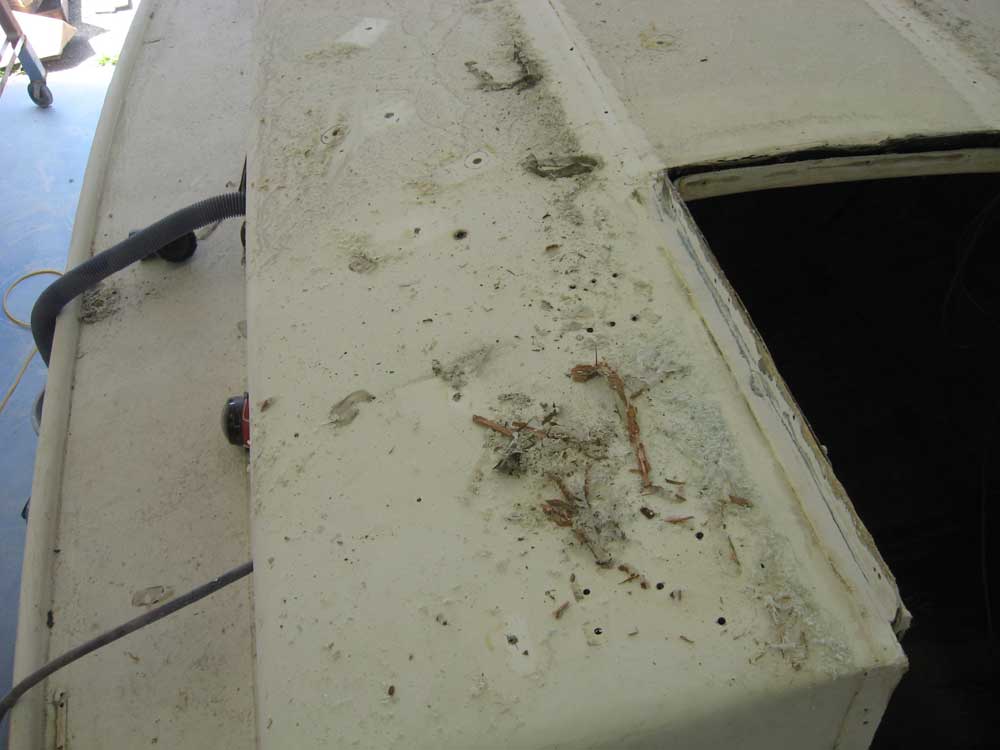
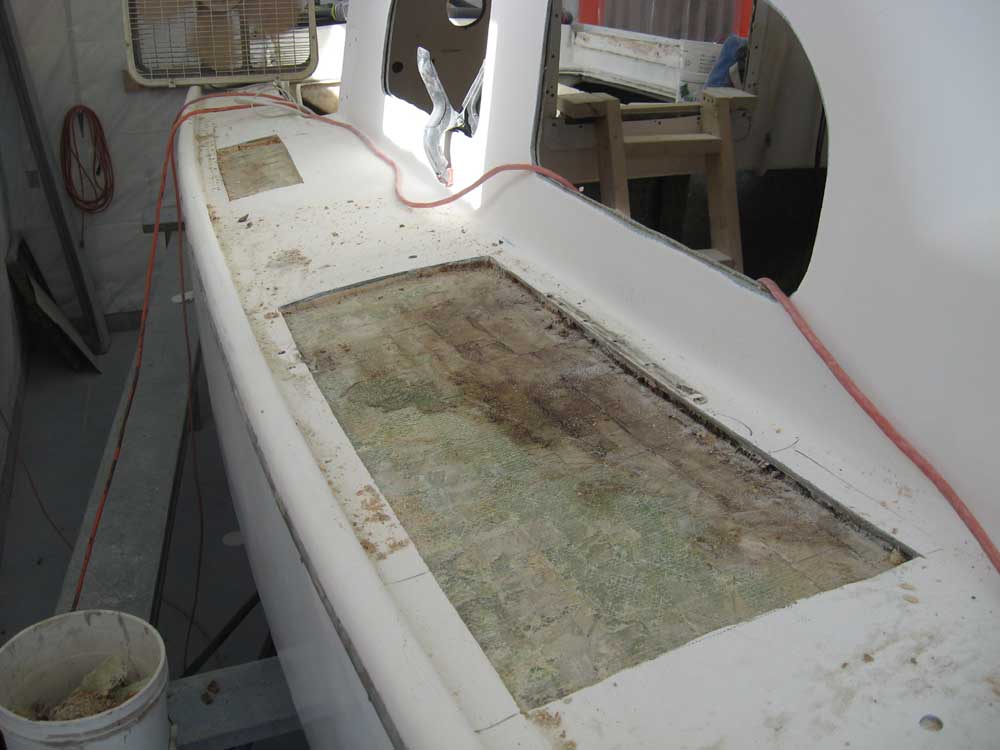
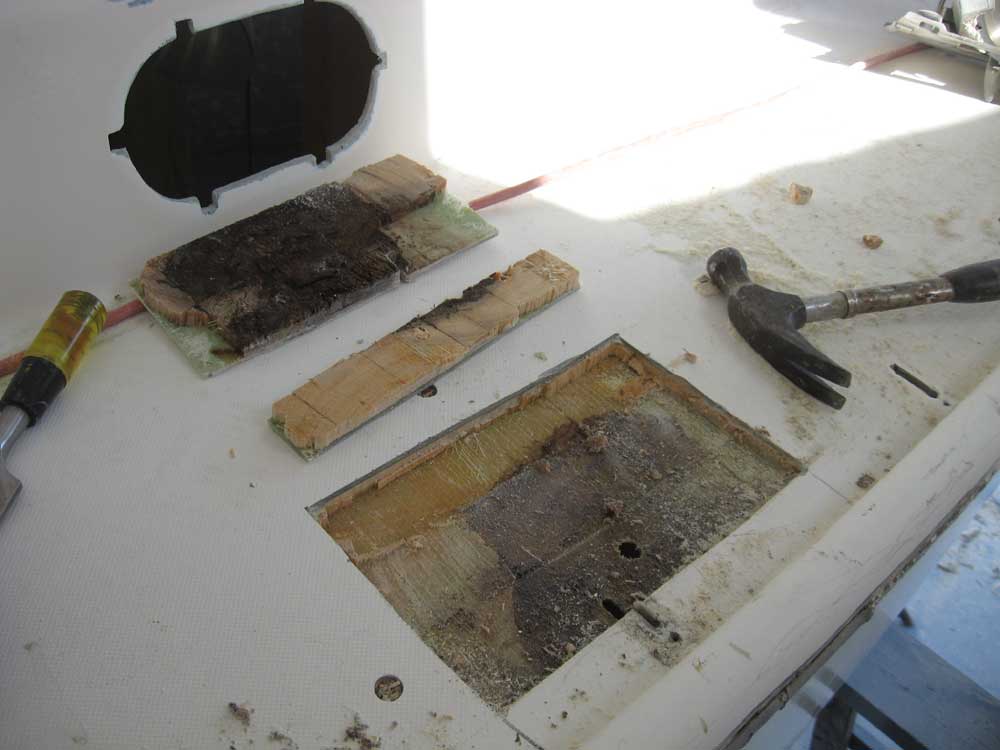
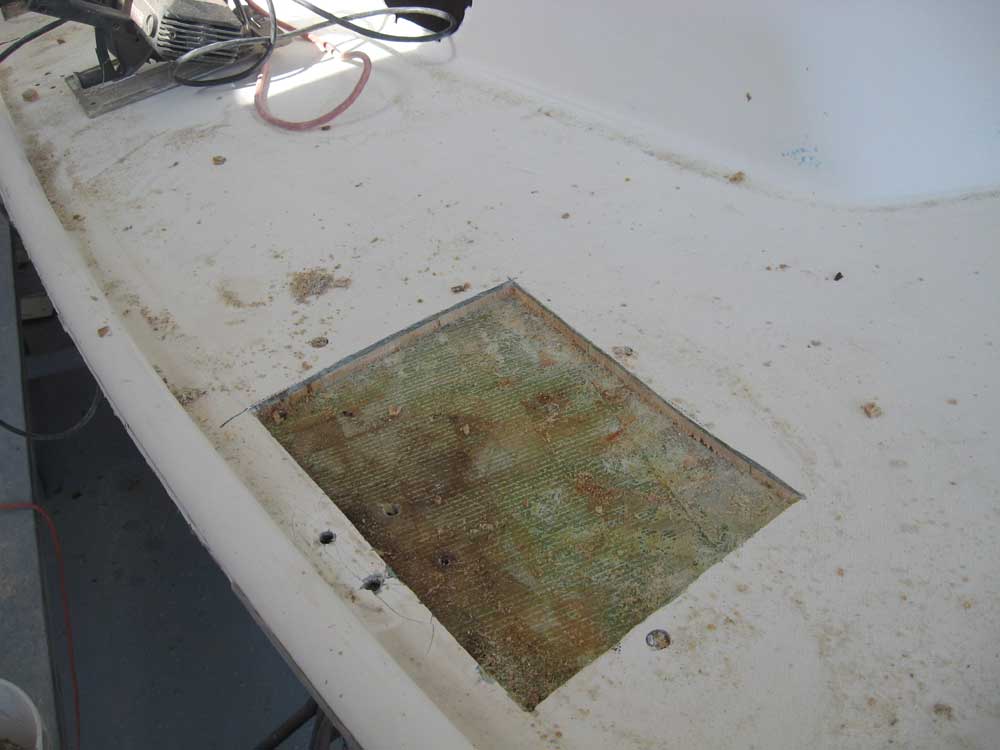
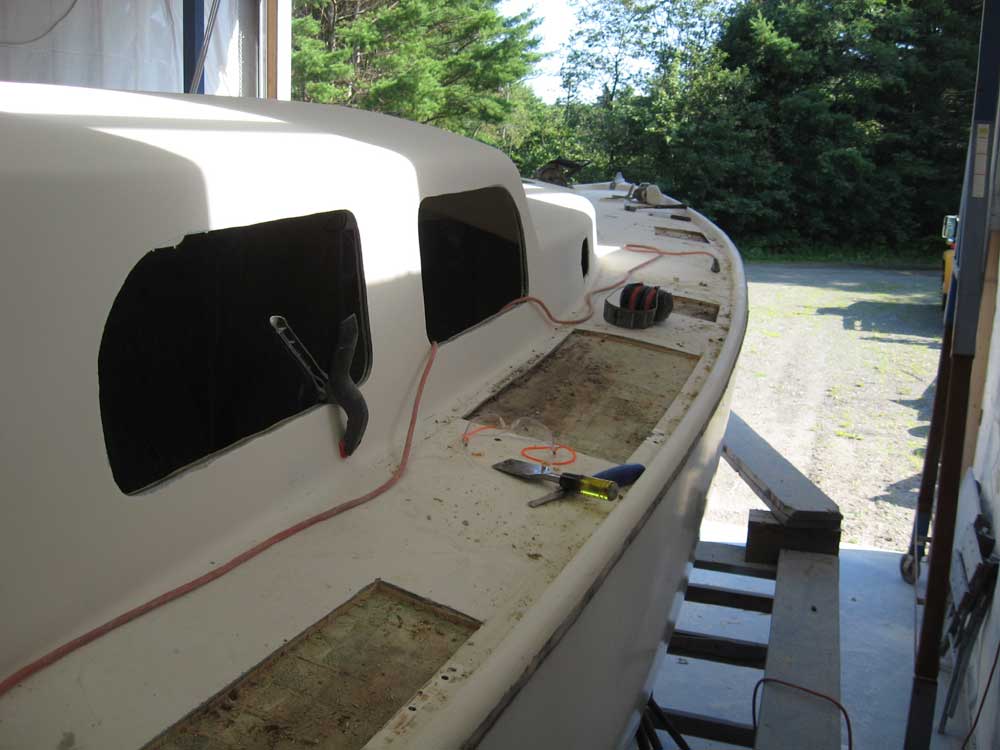
After cleaning up briefly, I returned my attention to the sidedecks and required repair. Before I could sand the sidedecks, I wanted to cut open any areas that required it. During what remained of the afternoon, I opened four separate areas of the starboard sidedeck, revealing the expected mess of water-damaged and debonded core beneath. In each case, I made the cutouts large enough to reach clean, dry, well-bonded core on all sides, though it looked like I might have to enlarge one of the openings later to access additional wet core material. I cleaned out the old core and disposed of it. |


  |
|
|
|