
| Circe
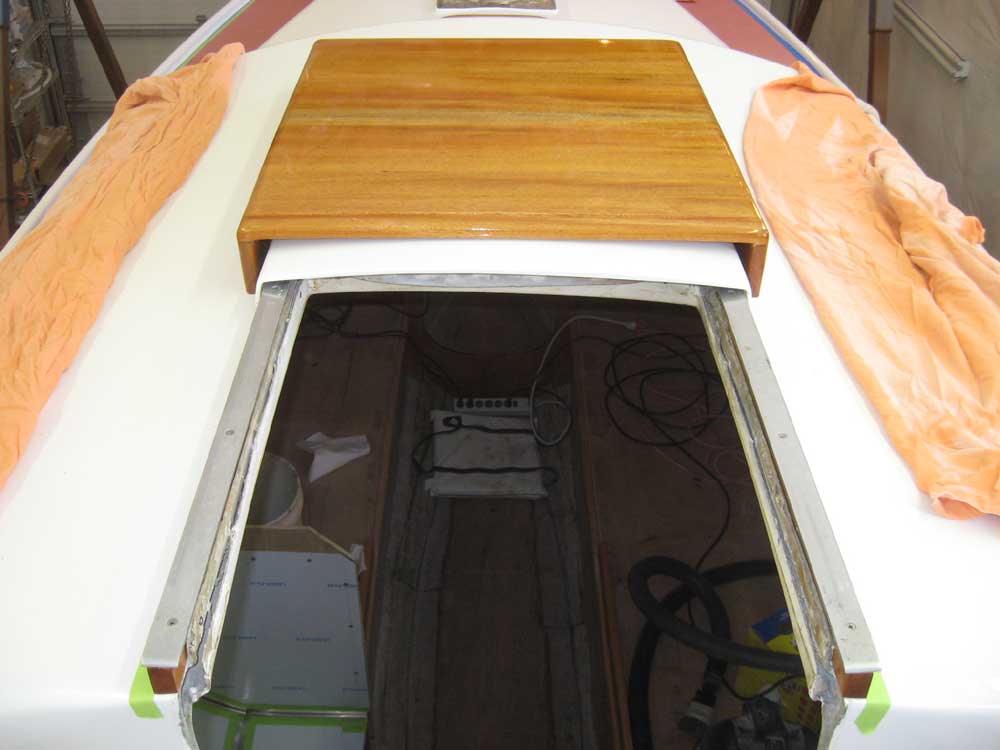
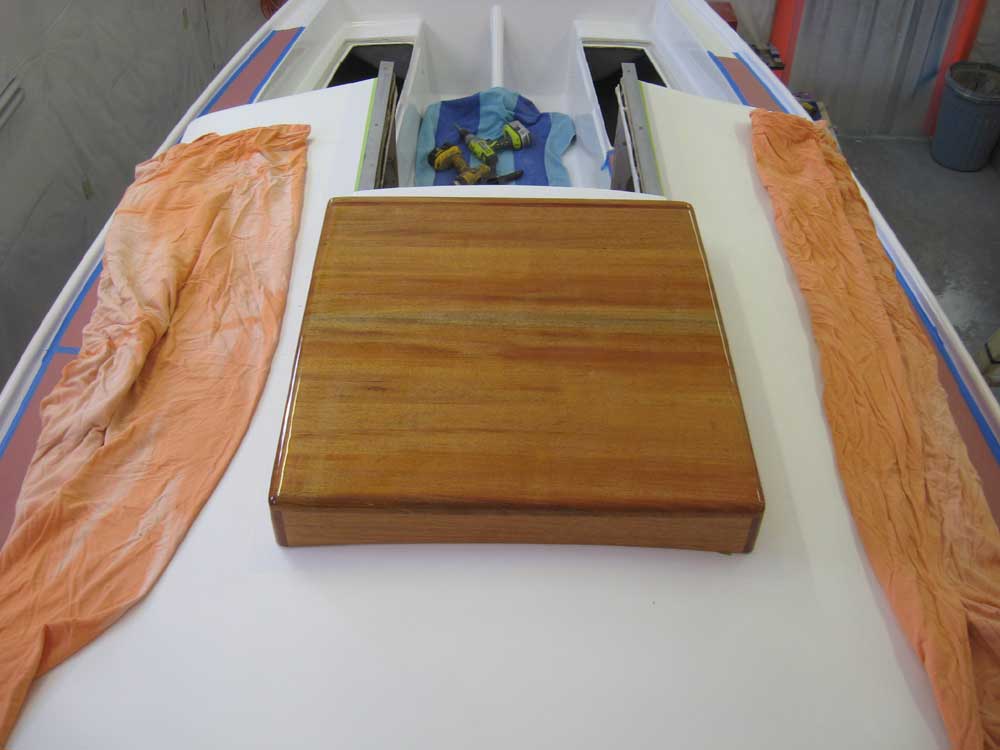
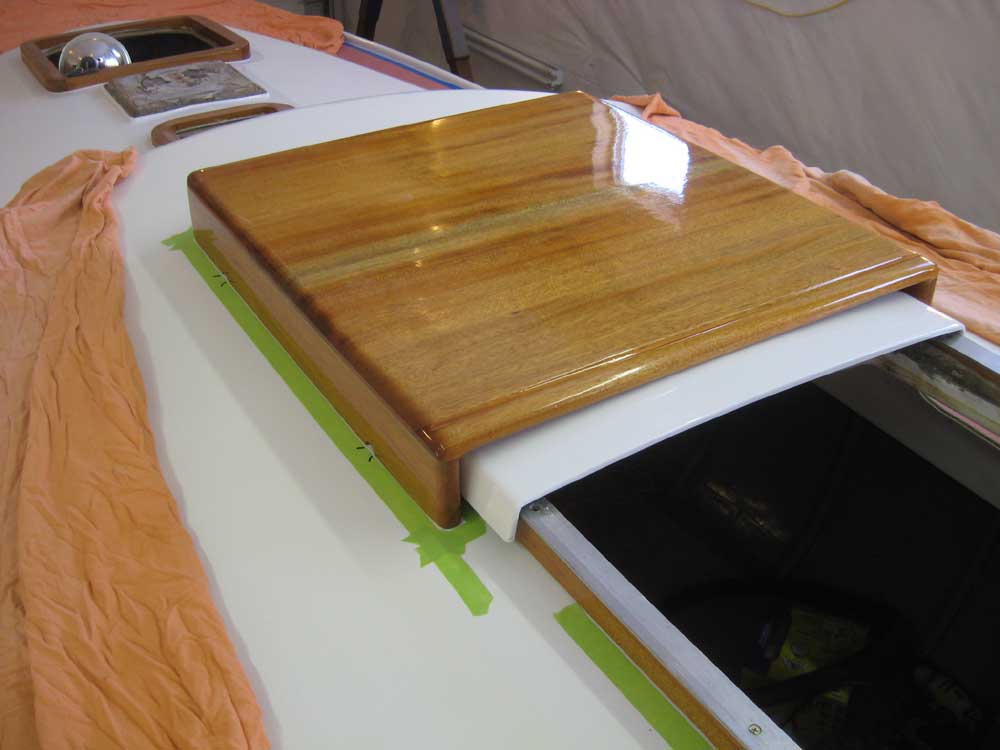
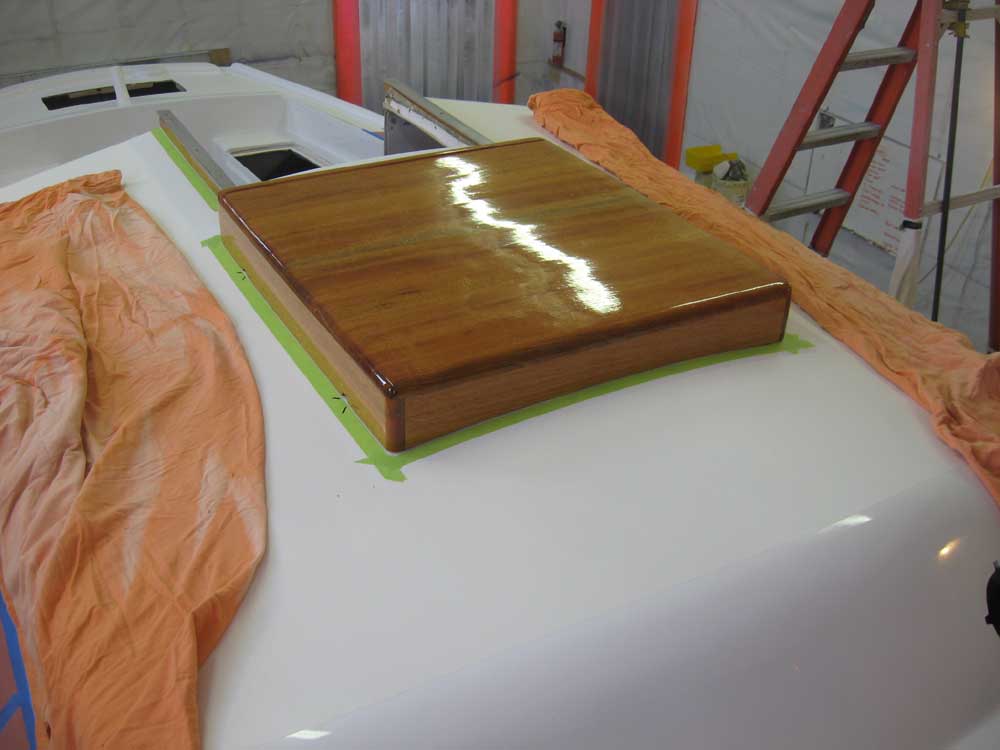
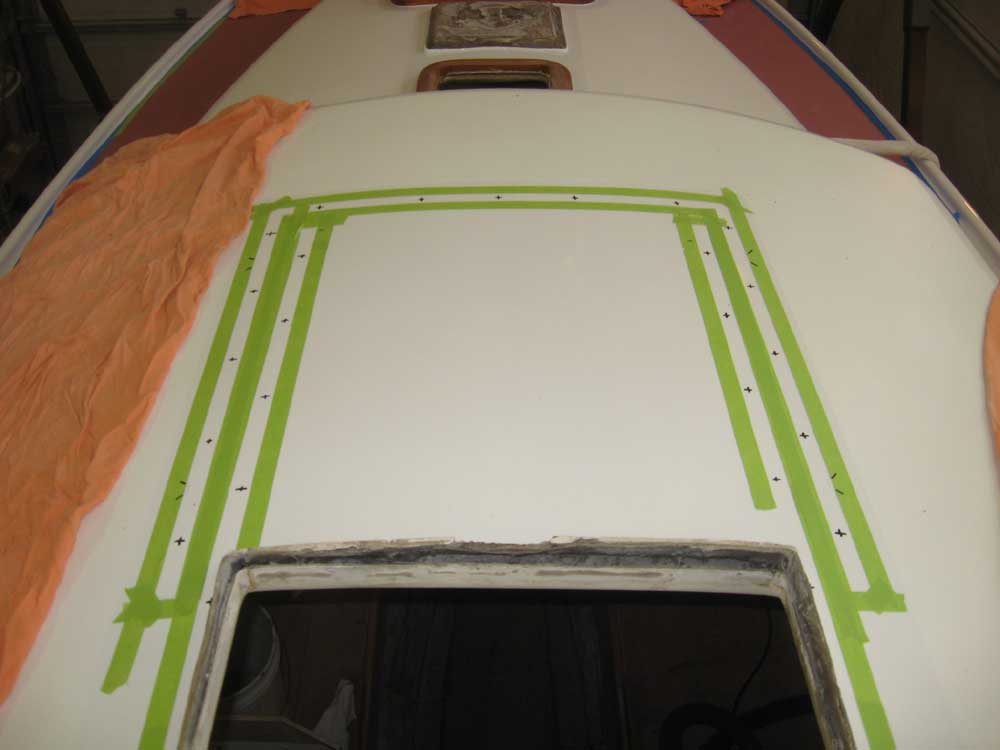
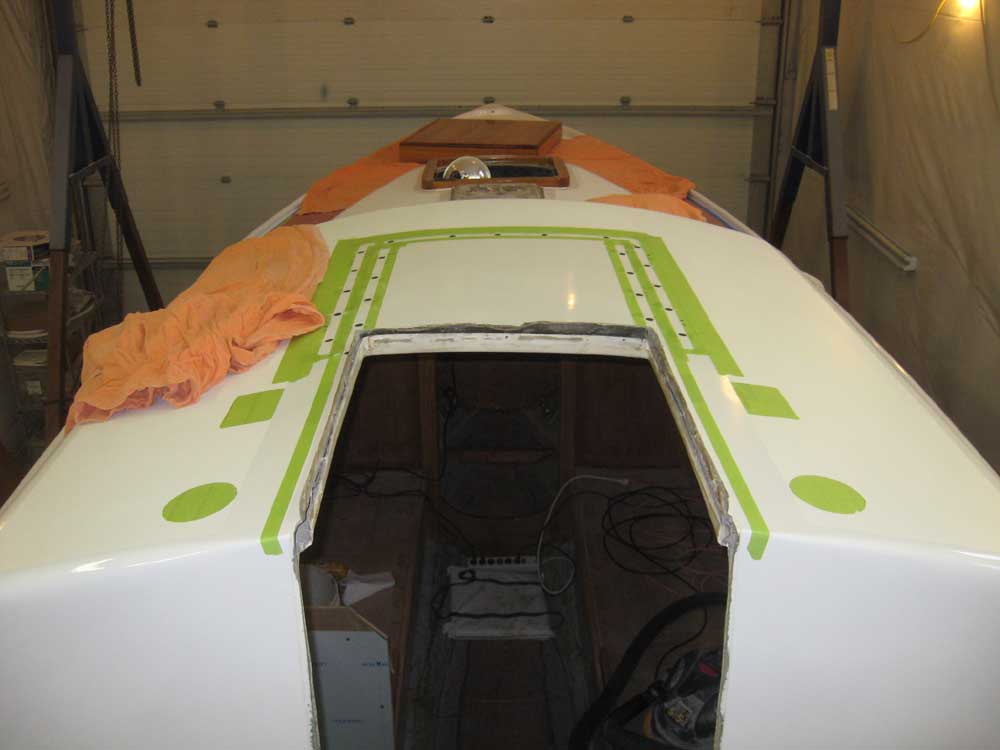
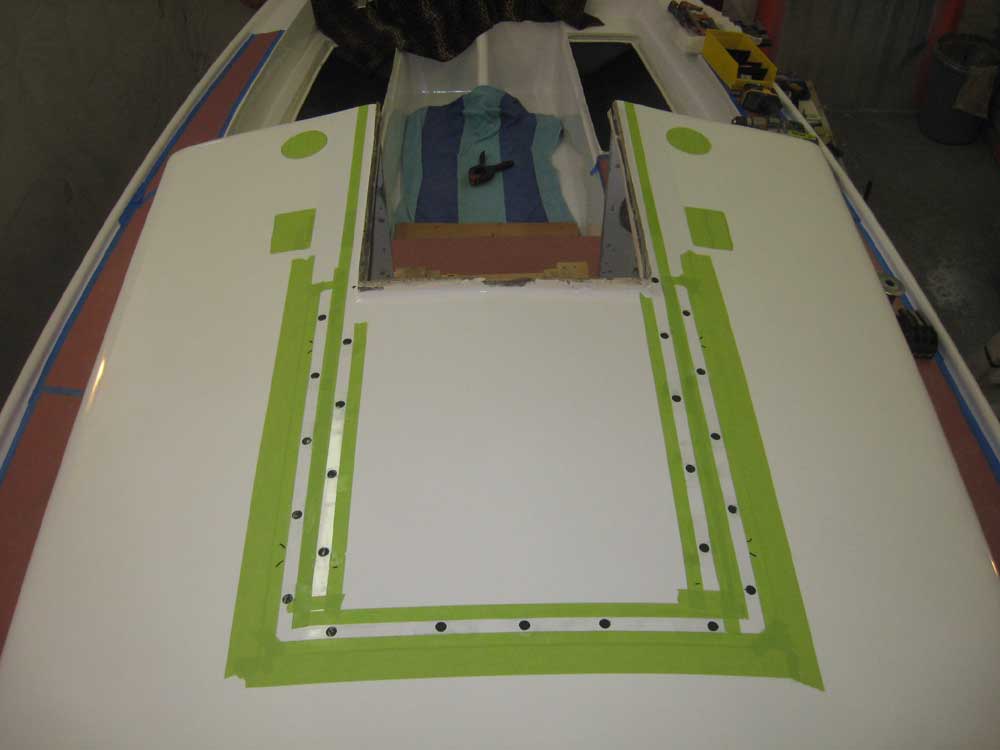
| Tuesday, January 12, 2010 To begin the day, I installed some protective paper on portions of the deck and cockpit. Afterwards, I got started on the final details leading up to companionway hatch and sea hood installation. The first order of business was to lay out and temporarily install the wooden rails and aluminum slides on which the hatch would ride, a process made overly complicated by the intricacies of the original design--to which I was now enslaved. This, along with the fact that the original hatch opening was not necessarily square to itself nor to the boat, made the seemingly simple process of lining up the hatch slides more involved than it should have been. In any event, I temporarily installed the wooden support rails to the raised edges of the companionway hatch opening and then laid the hatch and aluminum rails in place, checking the spacing and alignment before beginning to screw the rails to the top of the wooden supports on each side. With the hatch entrapped on the rails as designed, I slid it back and forth throughout its travel in order to determine the spacing and location for the rails at their forward ends, so that the hatch slid as freely as possible from end to end. I marked the rails' locations with masking tape for future reference. Next, I placed the seahood in position over the companionway hatch, and aligned it properly according to the deck layout that I'd laid out during the painting stage, checked to ensure the unit appeared centered and properly positioned, and then demarked its edges with more masking tape. I marked the locations of the seahood's four weep holes on the tape in order to avoid them during screw installation and sealant application later. I removed the sea hood and companionway components for now, and made a series of marks for screw locations, and then drilled large holes from the top, extending through the top skin laminate and core. I filled the resulting voids with thickened epoxy and left it to cure before I continued the final installation tomorrow. |
 |
|
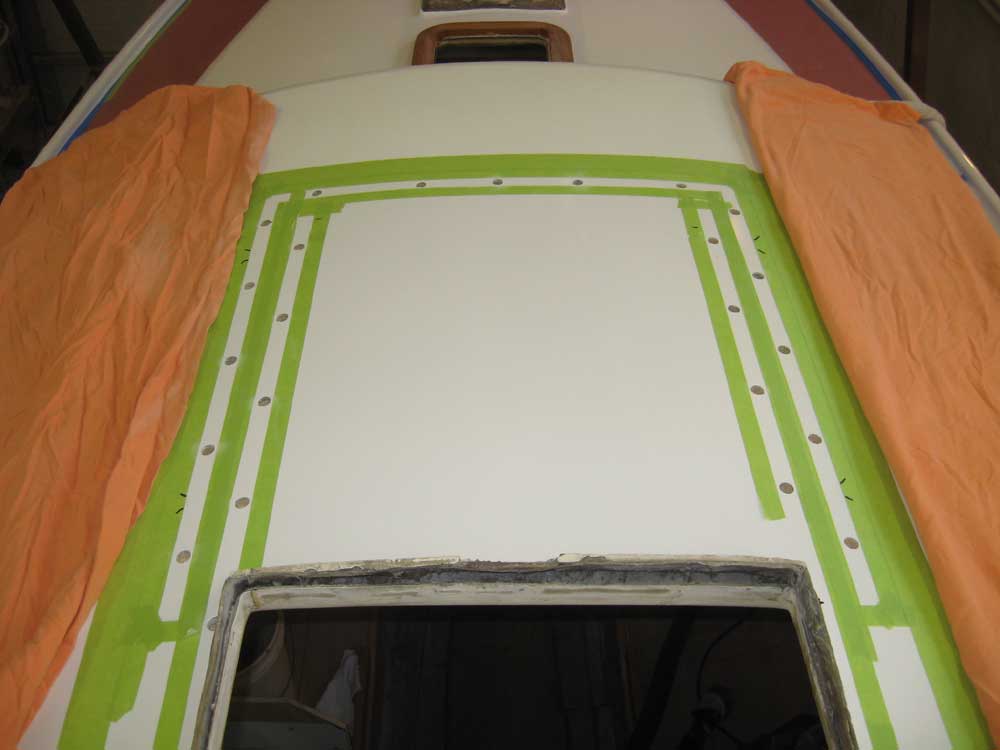
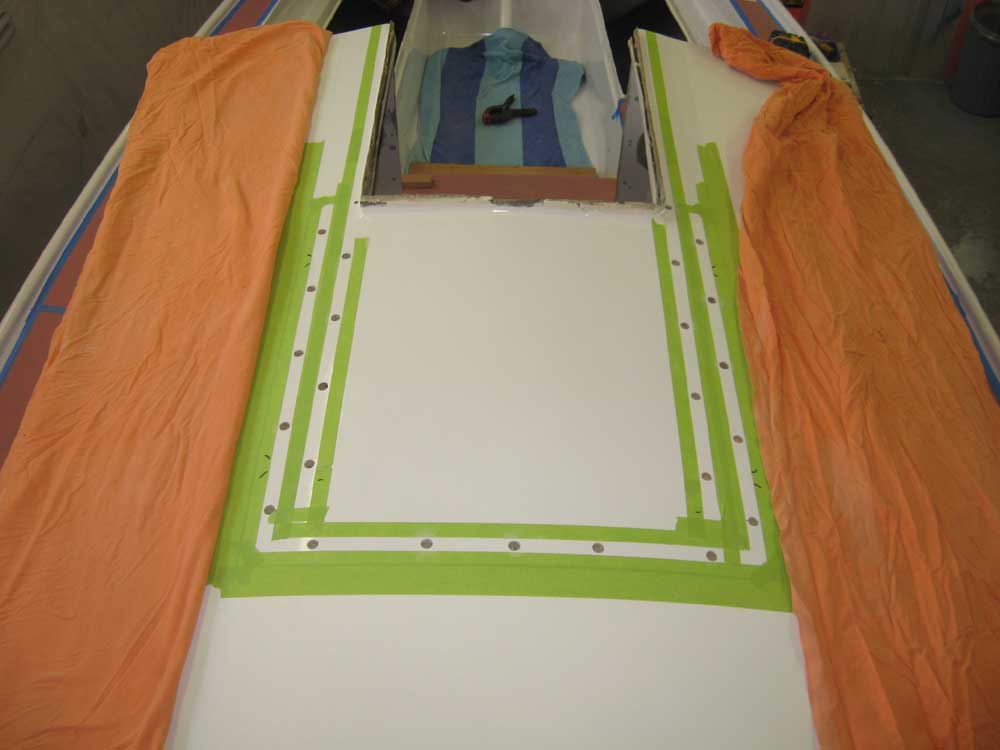
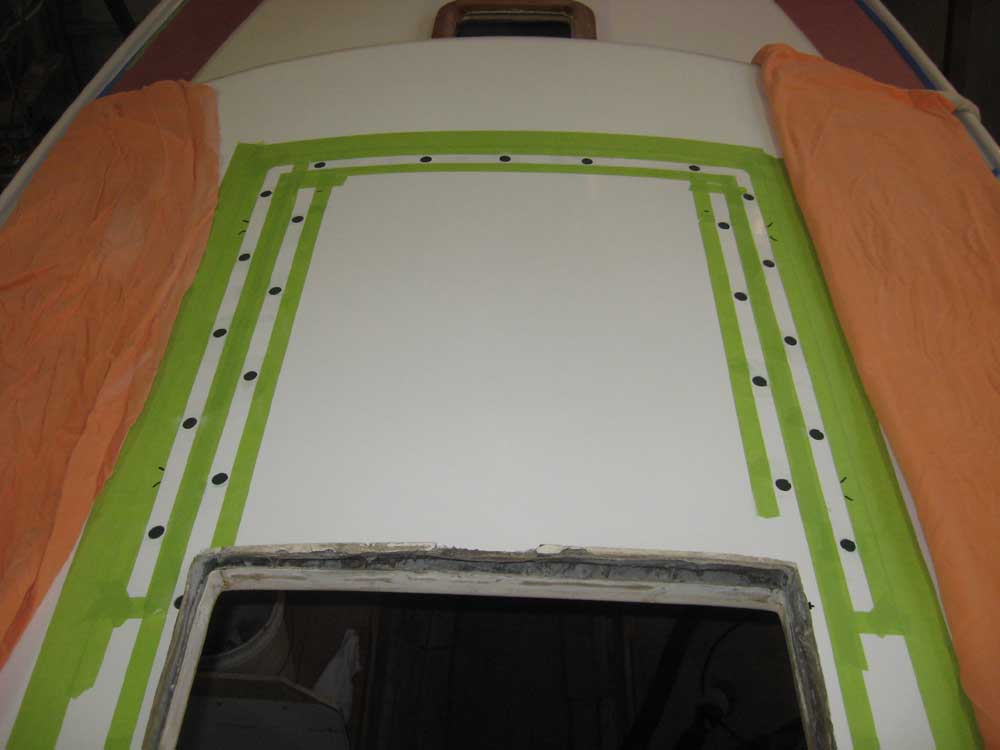
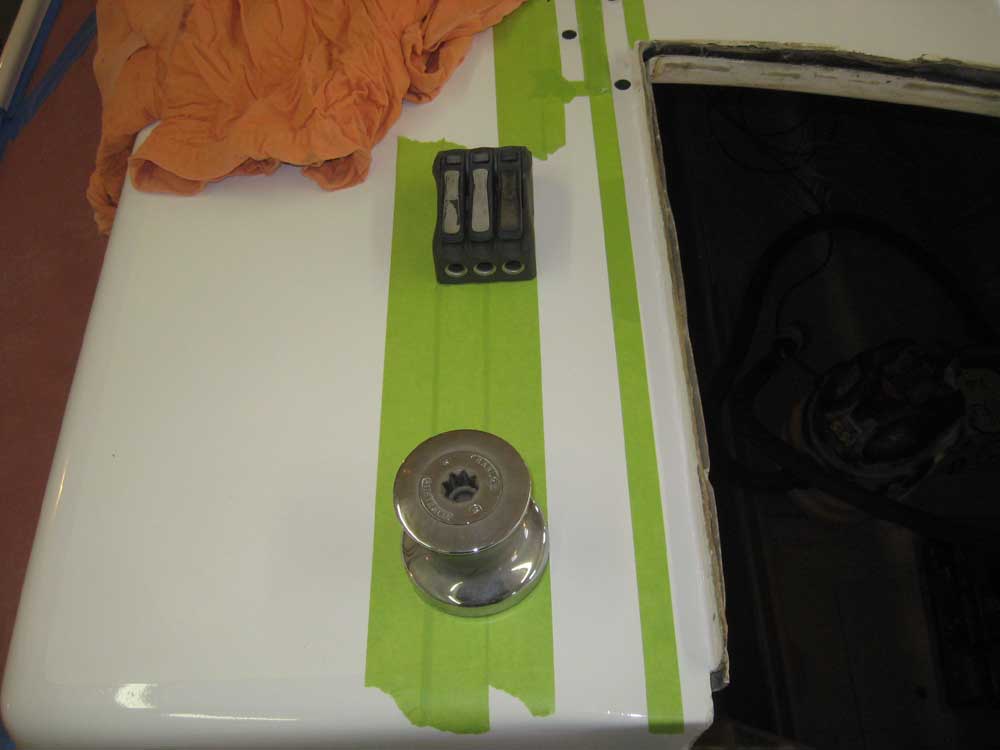
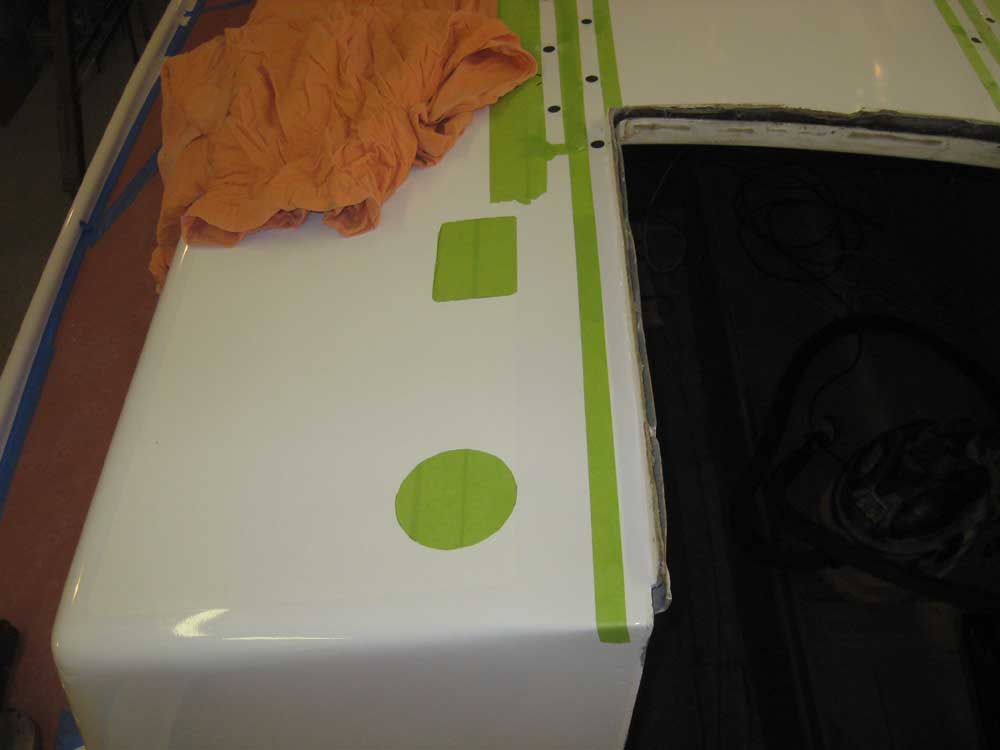
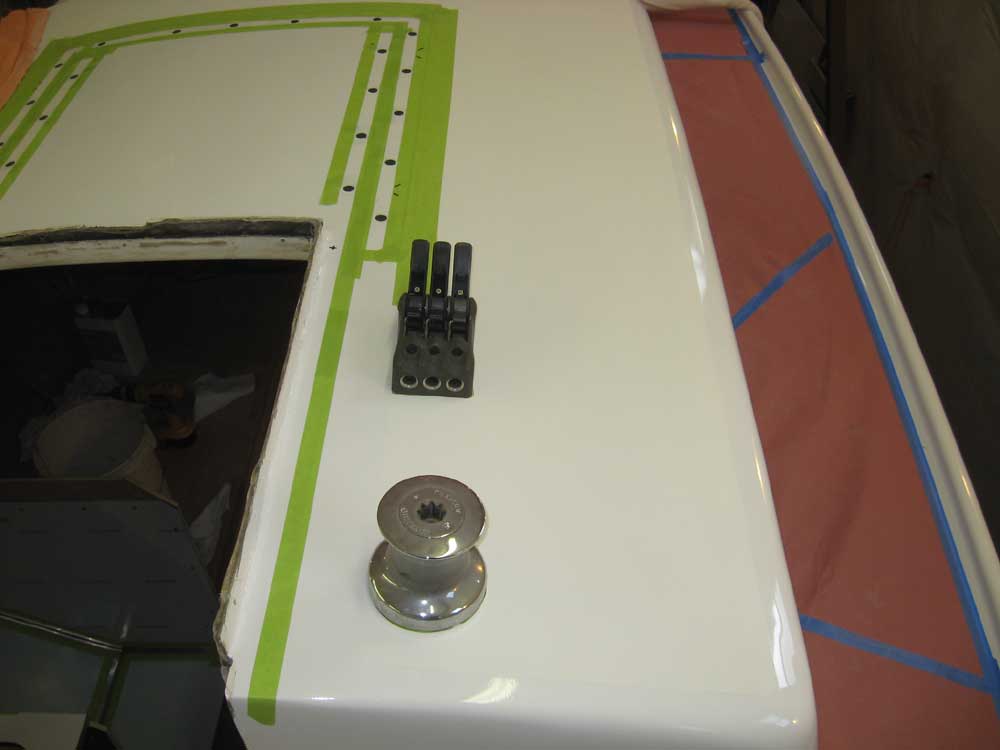
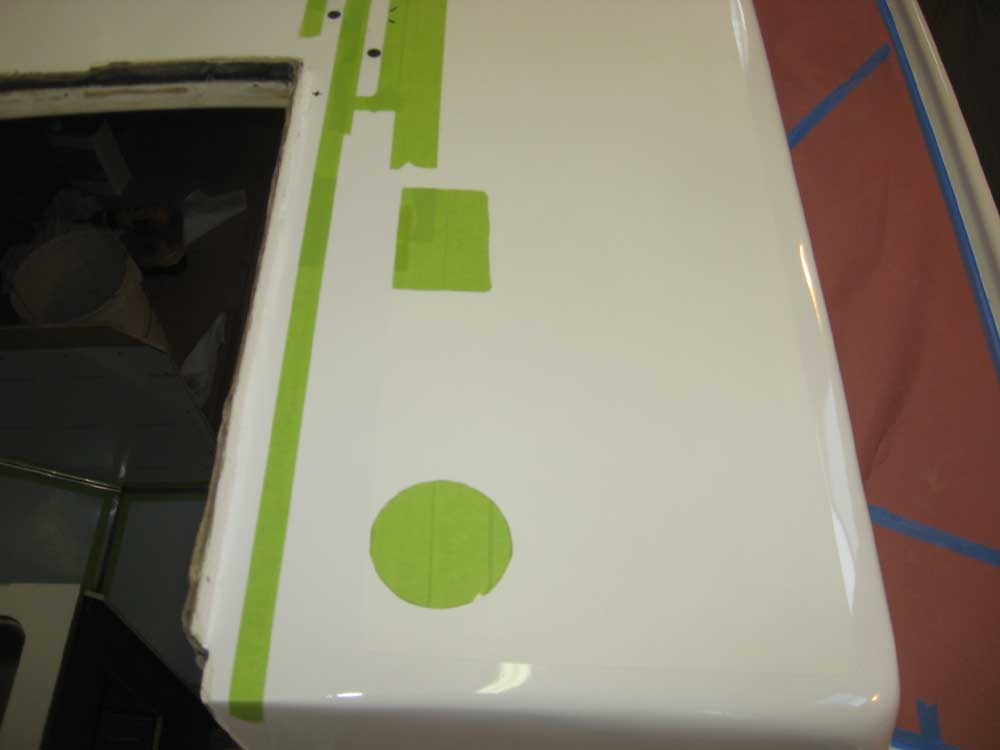
I consulted photos of the boat from her original configuration in order to help determine what equipment needed to be located where on the cabin top--at least that which might affect dodger configuration. With this information in mind, and working around the new realities of the sea hood and desired dodger characteristics, I determined the locations for the pair of 3-gang halyard stoppers and pair of halyard winches, placing them as close to centerline as possible to minimize impact on the dodger's forward design and to also allow as much room as possible for these items' operation with the dodger in place. I positioned the equipment in the same place on both sides, and marked their locations on the deck with masking tape avatars. |
 |
|
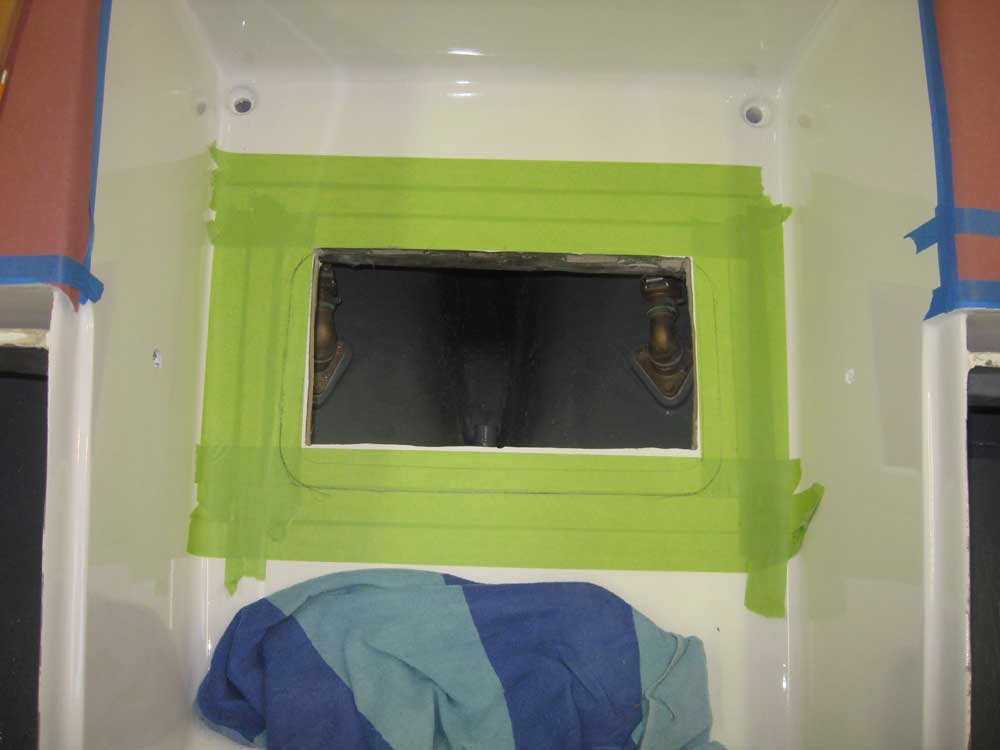
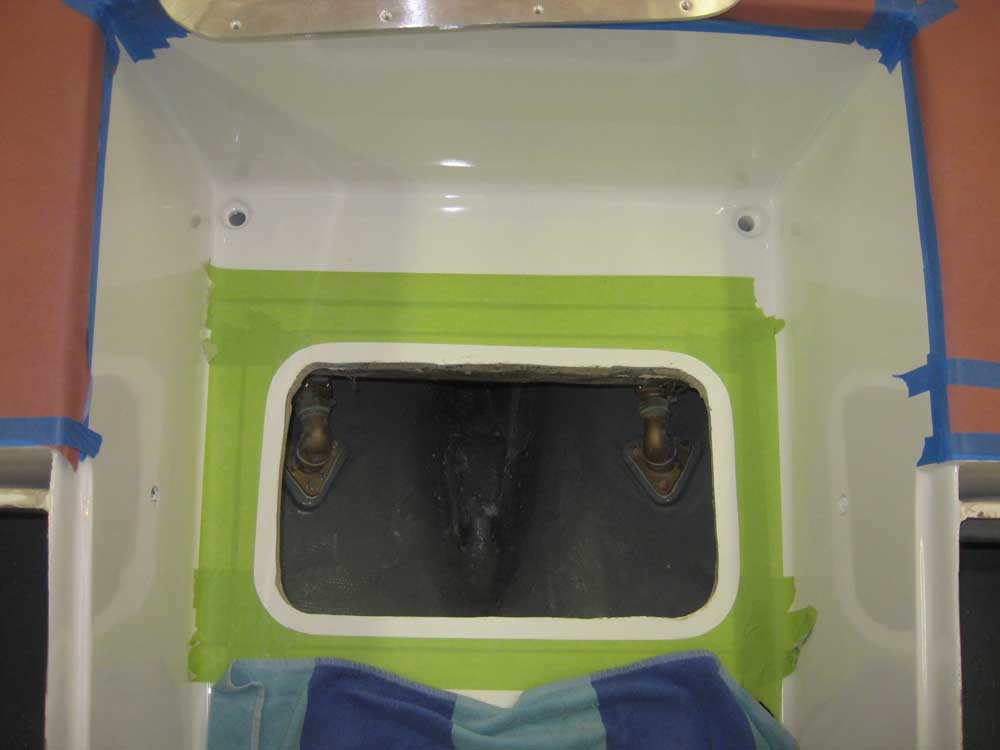
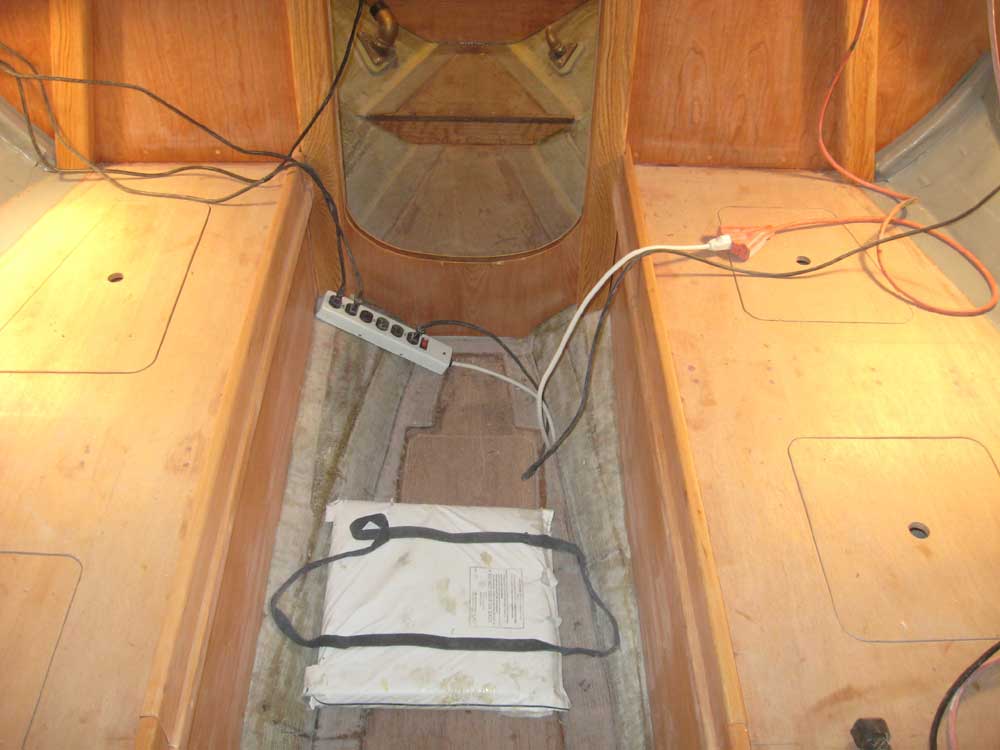
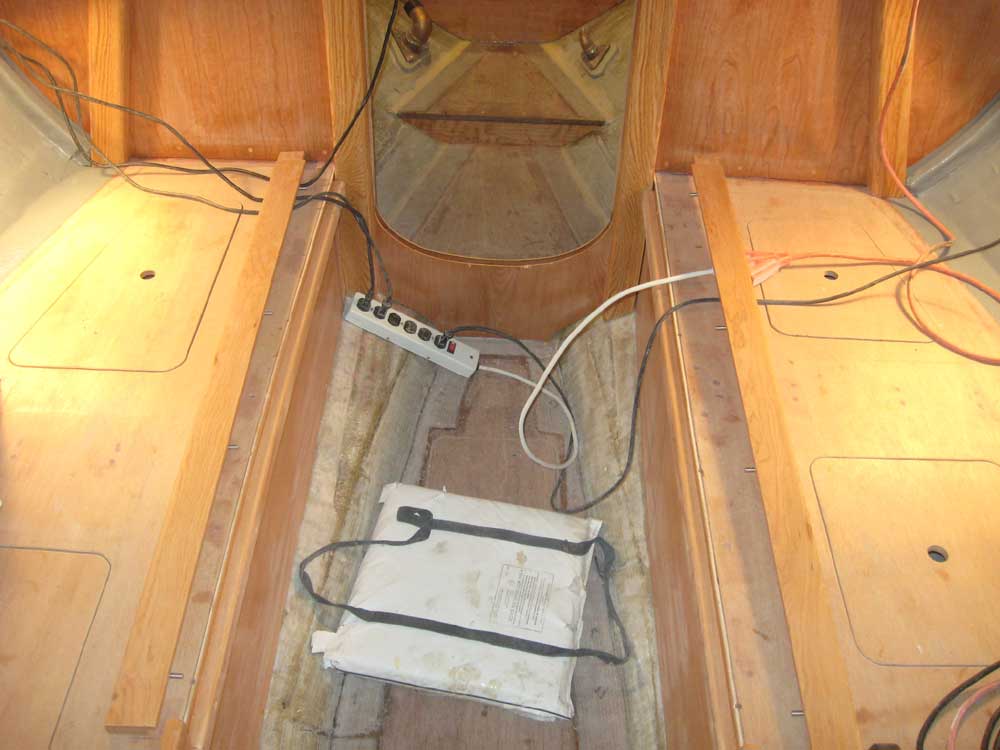
Over the weekend, I'd ordered an aluminum watertight hatch for the cockpit sole, which installation I'd been planning since very early in the project, when I cut a rough access hole in the sole. With the hatch now on hand, I masked off the adjacent cockpit sole to protect it and give me a place to make layout markings, and then traced the hatch's outline on the sole in order to cut out the proper opening. Once the opening was cut, I cut the tape around the hatch flange and removed the portion beneath. Before I could install the hatch, I performed the usual epoxy-protective steps for exposed plywood in the cockpit stringers, and prepared the screw holes for the hatch installation tomorrow. |
 |
|
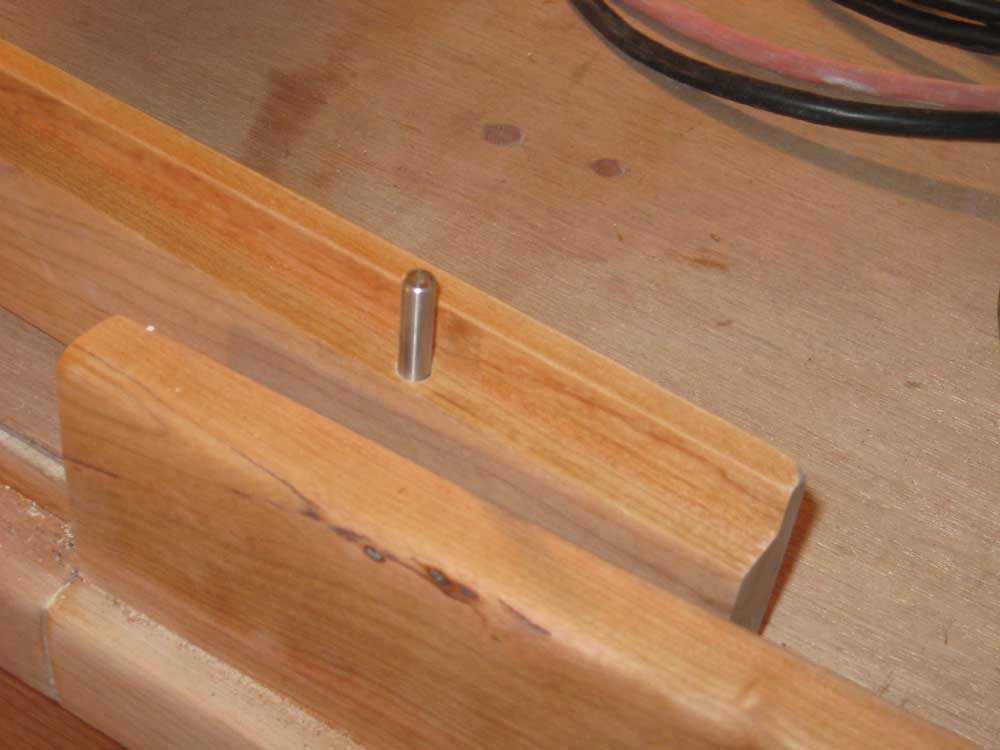
The forward sections of the settee fiddles were designed to be removed in order to allow conversion to a transverse double berth in the cabin. In order to hold these fiddles securely in place when the berth was not in use, I installed four stainless steel pins in each side, which fit into corresponding holes drilled in the tops of the settees. |

  |
|
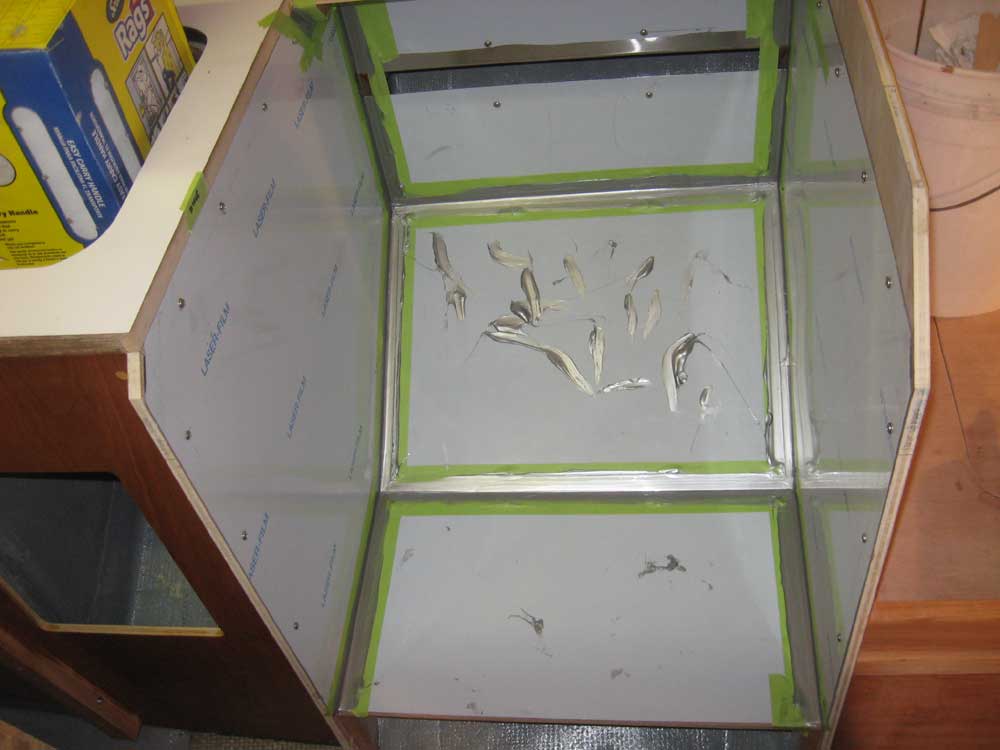
Finally, I applied silver aluminum/stainless steel-colored caulking to the seams on the galley stove surround, leaving the new beads to cure before removing the masking tape and protective vinyl layer over the stainless. |
 |
|
|
|
