| Circe
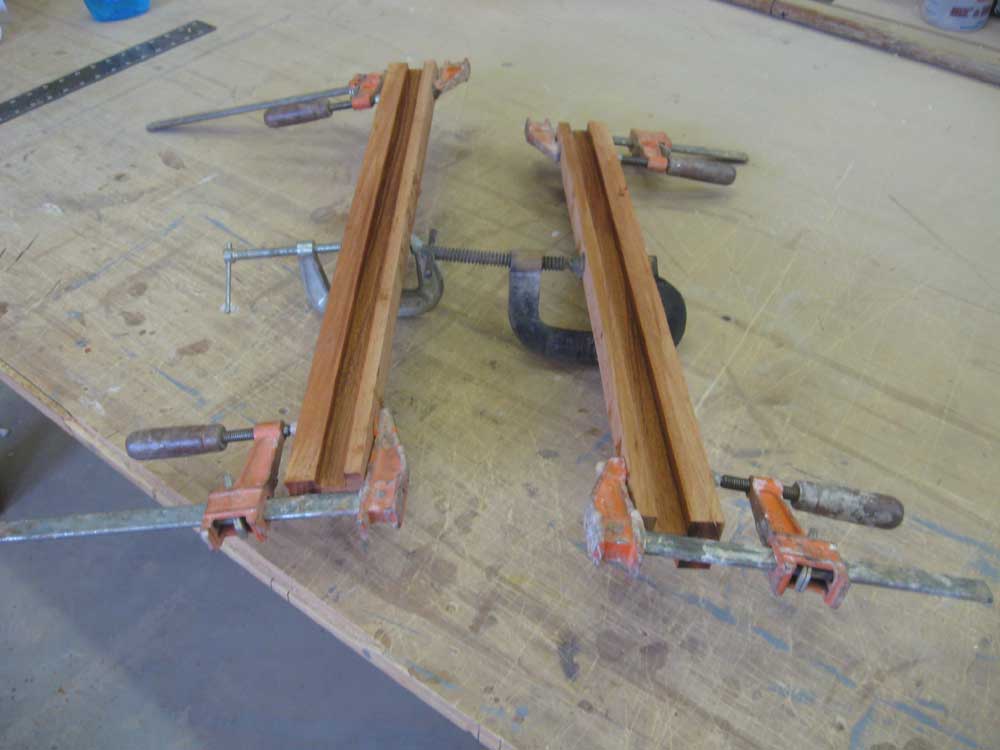
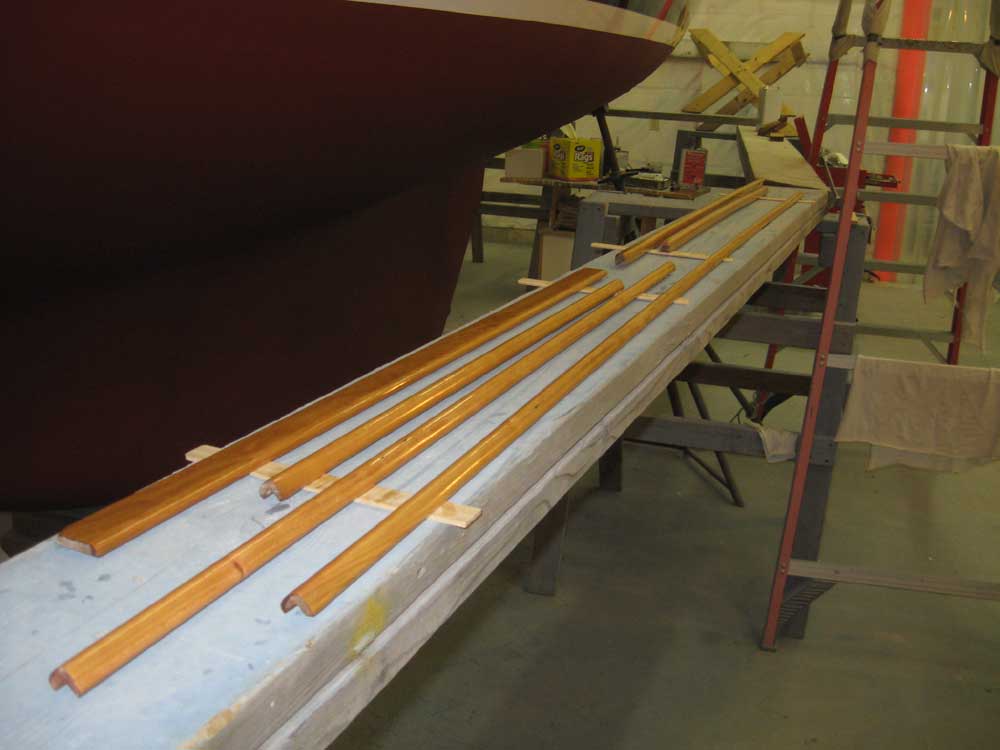
| Friday, February 26, 2010 After my usual foray into early-morning varnish sanding to prepare all the ongoing work for more varnish later in the day, I continued work on the companionway trim. Yesterday, I left off with one of the channel pieces unfitted, so I began there, and trimmed the fiberglass liner as required to allow the channel to slip into place. With both channels fitted, I aligned the where they needed to be and made some marks on the back side of the face trim where the channel intersected; the reference marks would allow me to line the pieces up correctly off the boat for glueing. Satisfied with the setup, I removed the channels and face trim so I could glue them together. Down on the bench, I made a couple cuts on the face trim to bring it to the correct height and remove material as required to bring the trim flush with the edge of the companionway slide rails. Then, I glued the channels to the face trim with epoxy adhesive, aligning them with the marks I'd made earlier, and set the assemblies aside to cure. |
|
|
|
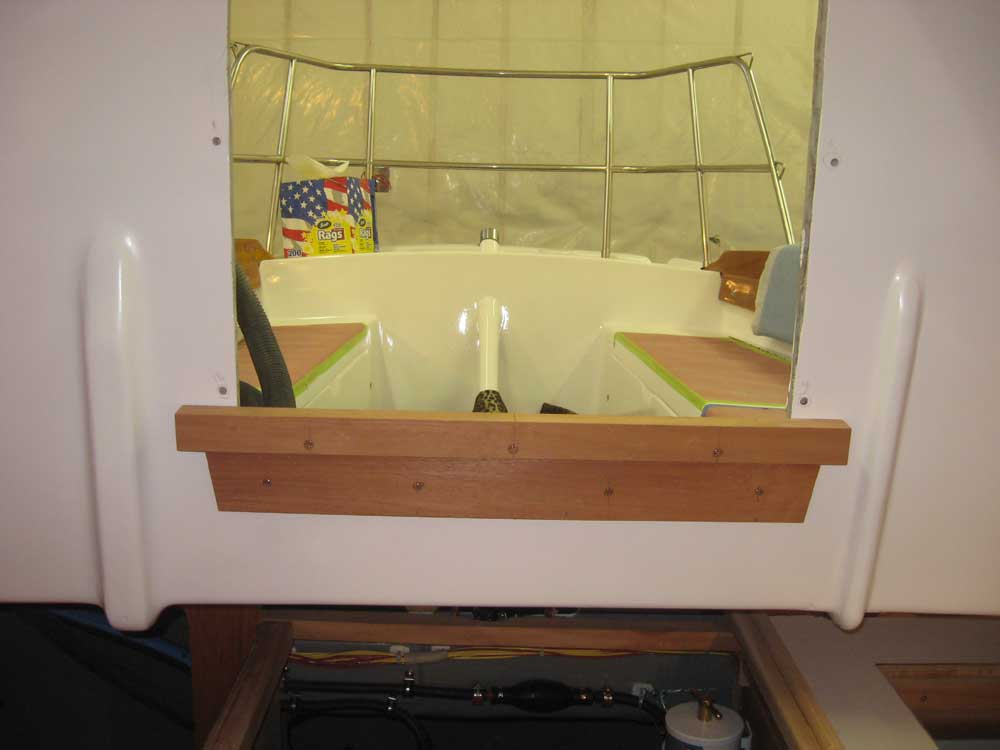
I'd wait on the two interior vertical pieces of trim required for the companionway opening till the new channel/face frame assemblies were completed and could be reinstalled. That left the interior apron trim as the final piece I could fabricate for now, a simple piece echoing the appearance of its compatriot in the cockpit. Again, I test-fit the piece in its rough state, and would sand all the trim and mill edge details later, once all the cutting and fitting was complete. |
 |
|
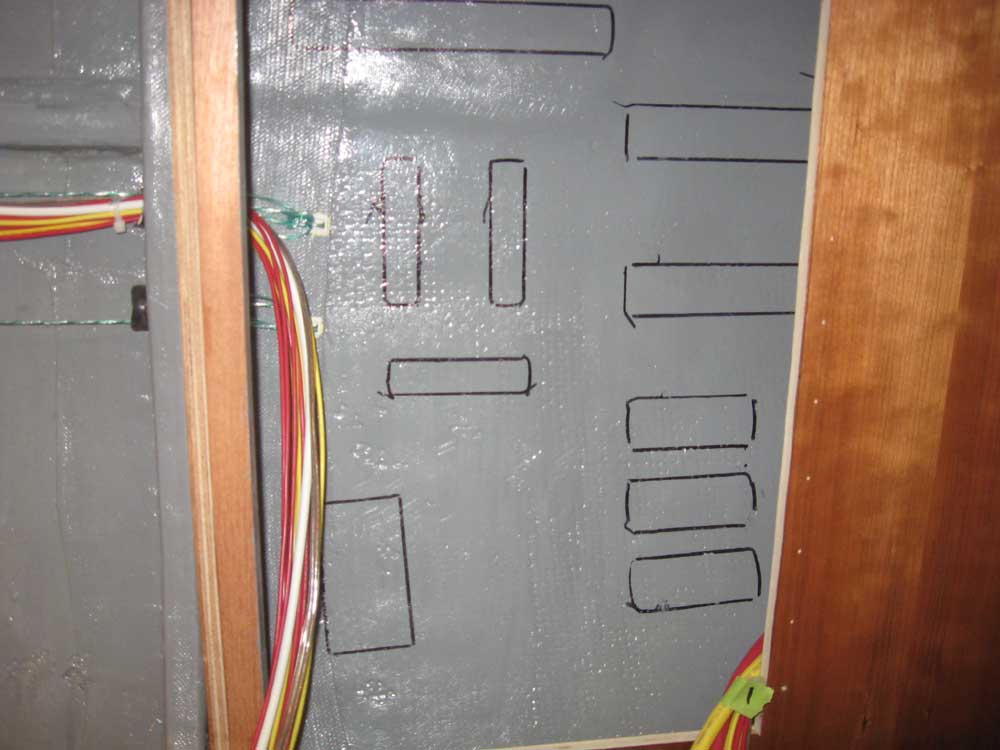
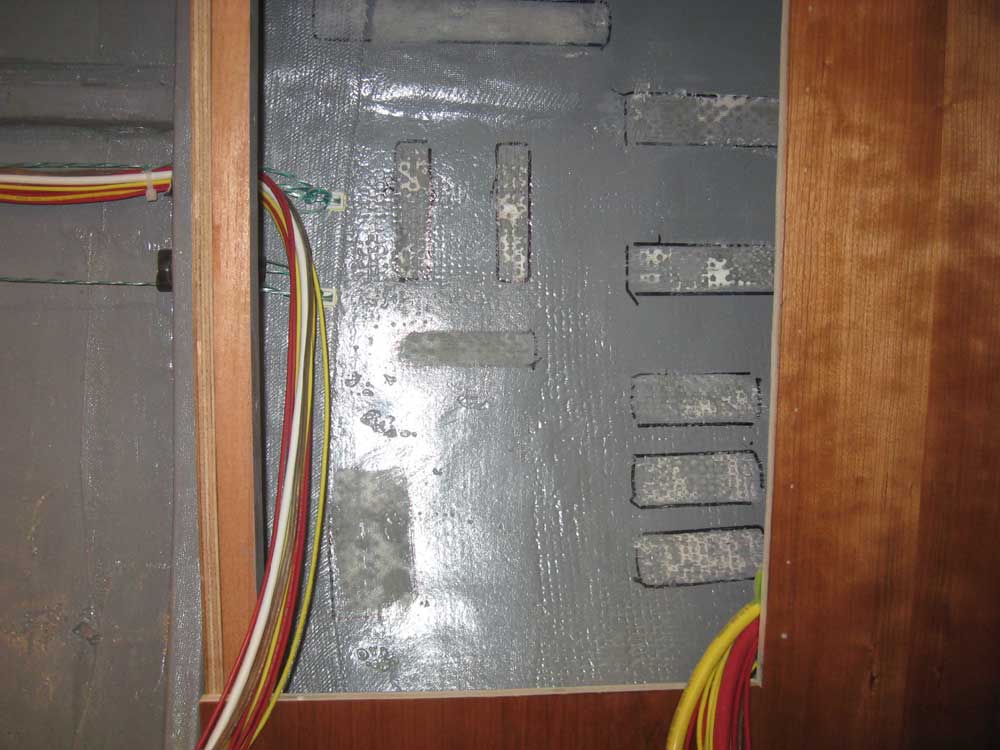
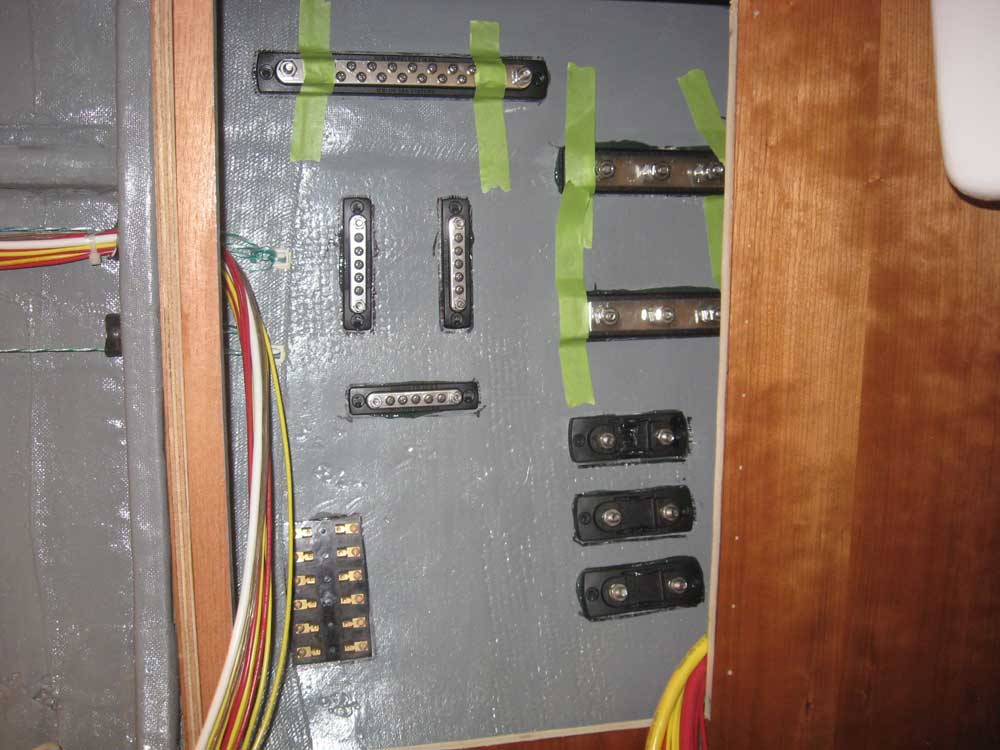
Preparing for some of the next steps ahead, I shifted gears and turned once more to the electrical system. To complete the various cable and wiring connections, I required a number of buss bars and the like, which I planned to install inside the large electrical locker. With the various pieces at hand, I laid out the position of each in a convenient arrangement and traced their outlines on the inside of the hull. Next, I sanded away the paint within each of the traced outlines, to allow adhesive to bond properly. Finally, I glued each piece to the hull in its respective place, holding them in place with a bit of hot glue as needed, and a few strips of tape for the heaviest ones. |
 |
|
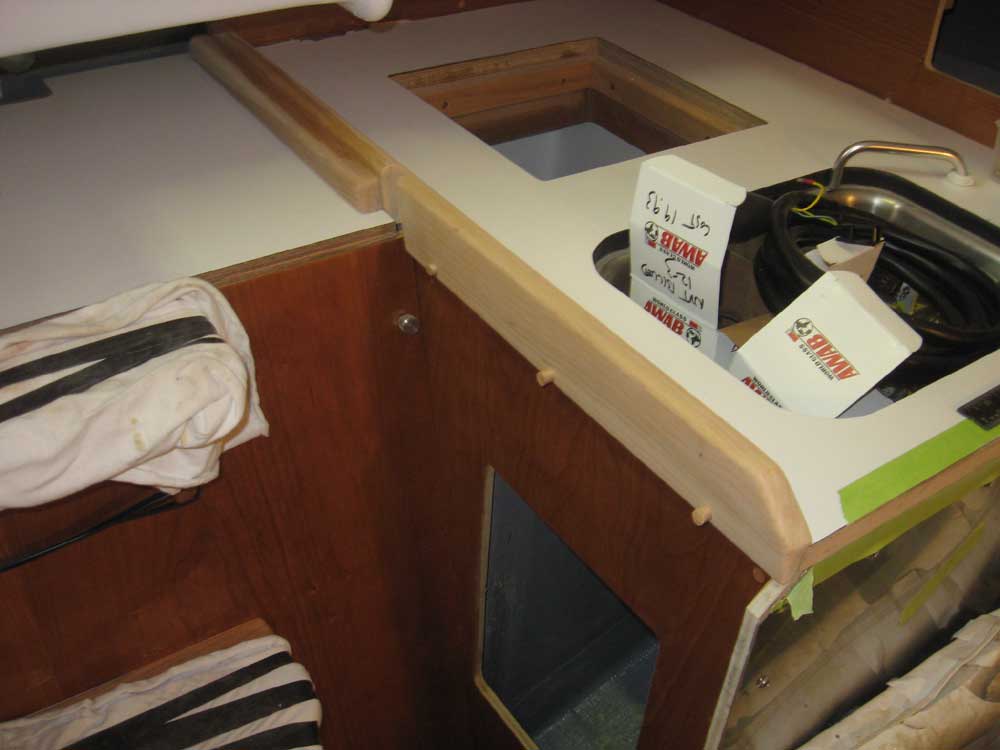
With the electrical connectors now in place and staged for the continuation of the wiring soon, I returned to trim, and faced the engine box and galley. For a time, I'd been pondering how to make the trim here work, as there were several complicating factors to make it less than obvious at first glance. The top of the engine box cover/countertop had to be able to be slid in and out, and the angled front of the engine box had to be able to slide upwards and out as required. I also needed a way to hold the edge of the engine box cover in place, and of course provide trim and a fiddle for the edge of the galley countertop. Much earlier, I'd had one idea that I sketched out, and ultimately decided to go in this direction. I began with a full-length fiddle for the galley, extending back to the bulkhead, into which I milled a notch for the engine box front to slide through. Then, I attached a cleat to the inboard side, under which the engine box top could slide and be held. This, along with some latches on the opposite side, would hold it in place as needed, yet make it easy to remove and install. I elected to install this trim without pre-finishing in order to keep the process moving. I installed it with glue and screws, and bunged the screw holes as needed. Over the coming days, I'd varnish the new trim as needed. |
 |
|
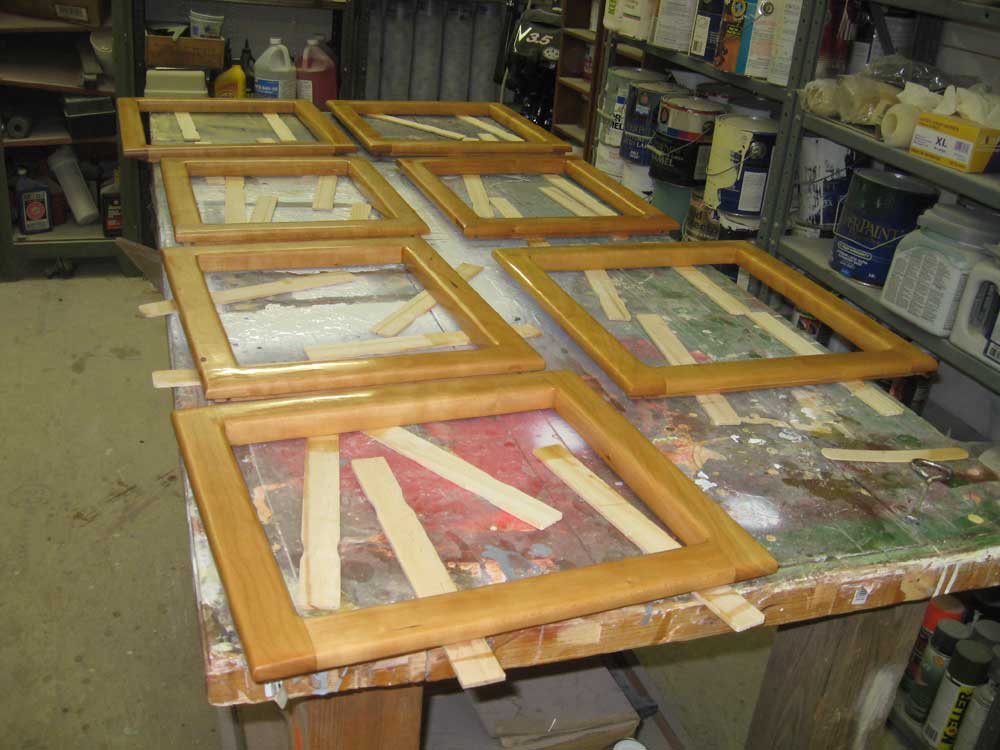
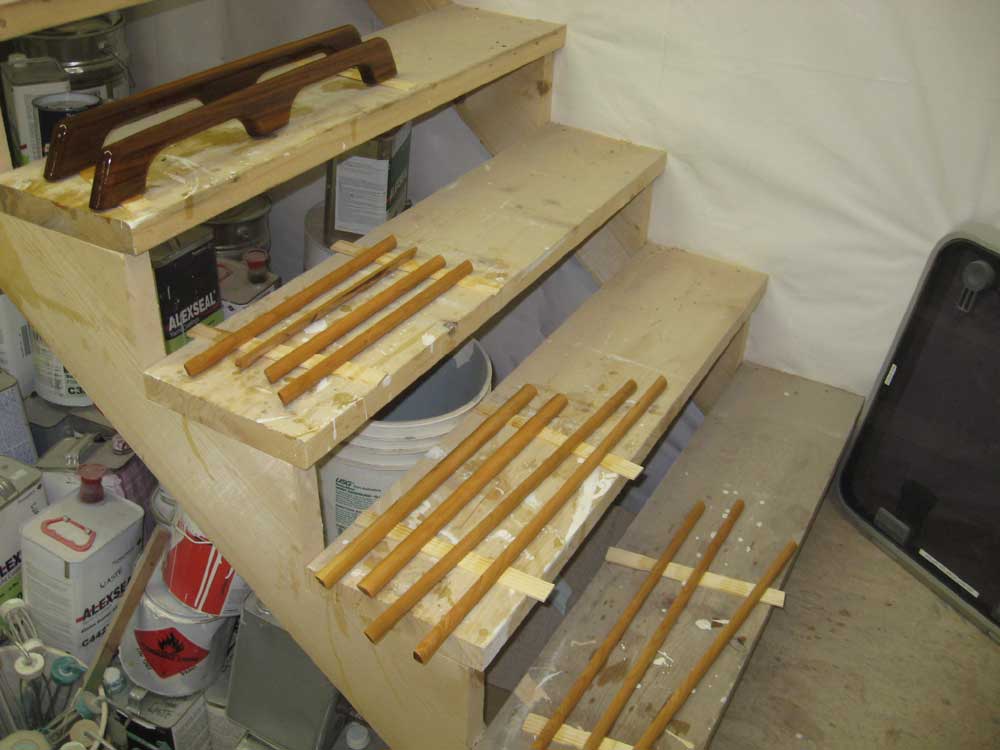
Finally, I applied more varnish to all the trim and cabinet doors in progress, this time switching to satin varnish (except for the handrails shown, which received additional gloss varnish). |

 |
|
|
|