| Circe
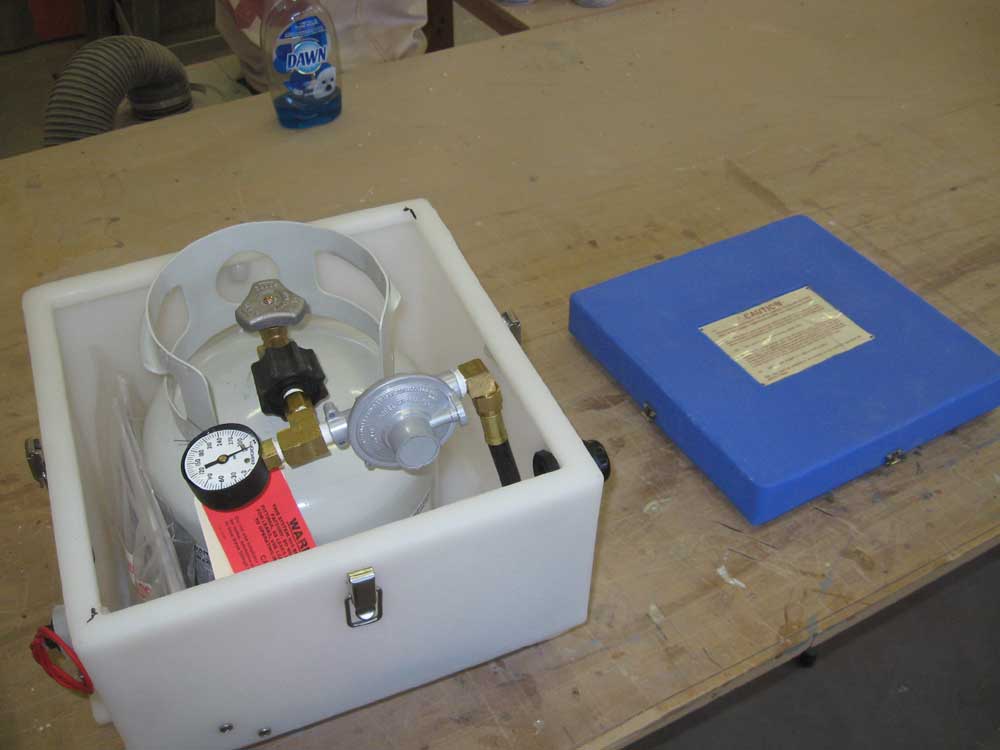
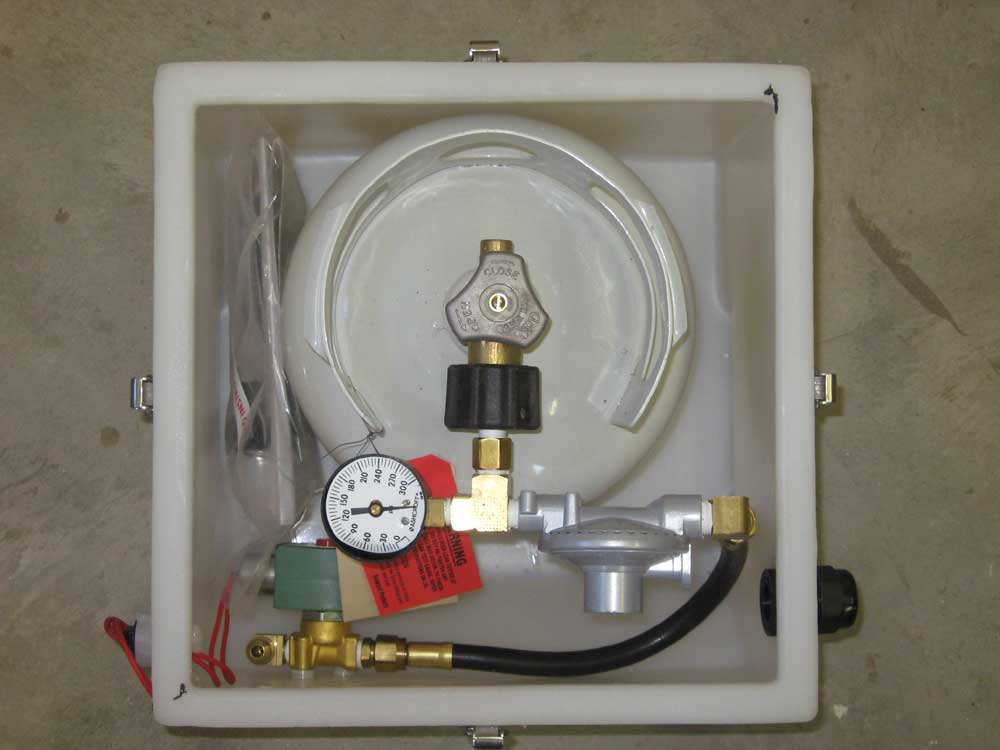
| Saturday, February 20, 2010 Propane cylinder storage poses a problem in the best of situations, given the myriad requirements to allow for safe usage of this excellent, but heavier-than-air, fuel. On small boats with curvaceous sections and far from cavernous locker spaces, the situation becomes remarkably more complex. This came as no surprise to me, as I'd installed propane on two previous Tritons. In each case, I'd determined that various constrictions and individual compromises on each of those particular projects dictated the cylinders be mounted above deck rather than hidden from view. Knowing that something would work itself out, I'd not concerned myself with the details of the storage until a fairly late stage in the project: there was only one potential below-deck level space available for propane storage consideration, and it would either be workable or it wouldn't. This space was the lazarette, and it was by no means a clear-cut winner from the getgo. But it was either here, or above deck in the open. The requirements for safe storage and use of propane onboard are more detailed than I intend to cover here, but the most salient considerations revolve around the key concept of preventing potential leaked gas from entering any part of the boat. In the end, it all came back to this, and the requirements involved were many. For those seeking to learn more, the applicable standard is ABYC A-1. Whether this particular standard is technically legally enforceable is beside the point: ABYC standards are voluntary unless incorporated by reference into other, legally-enforceable codes, and as I write this I can't immediately recall whether A-1 is incorporated by reference in to USC or CFR. Technical enforceability aside, I consider this particular standard to be an absolute minimum requirement for the use of propane on board. Safe storage and installation according to particular standards means safe use to me in this case. The simplest solution, though not the most attractive, was to mount a cylinder above deck and open to the atmosphere. This was always the fallback position, and one of those potential compromises that one often must accept. Still, I hoped to avoid this undesirable situation, within the bounds of the boat with which I was working. Much earlier, I'd cut a hatch opening into the poop deck, choosing random dimensions that made sense at the time. There would be an opportunity to slightly massage the size of the opening as required, but basically I couldn't greatly enlarge it for a variety of reasons. In any event, the size of the opening was the least of my worries; the size and shape of the space beneath was more of a concern. Keeping all this in mind, and hoping for the most efficient solution to the issue, I purchased a pre-manufactured, complete, ABYC-approved propane locker from Seaward, the smallest one available. Although I knew the dimensions of the unit beforehand, and knew it'd be at best a close fit, I figured the only way to see for sure would be to have it on hand to compare with the actual space. Immediately upon arrival, I was rather sure the unit would not work. It was much bulkier than I anticipated, and, I thought, poorly designed with huge amounts of wasted space within, and poor design to the required bottom-mounted vent, which added significantly to the overall height of the box. Never mind how ugly it was; I'd always planned for it to be hidden, or it wouldn't be used at all. |
|
|
|
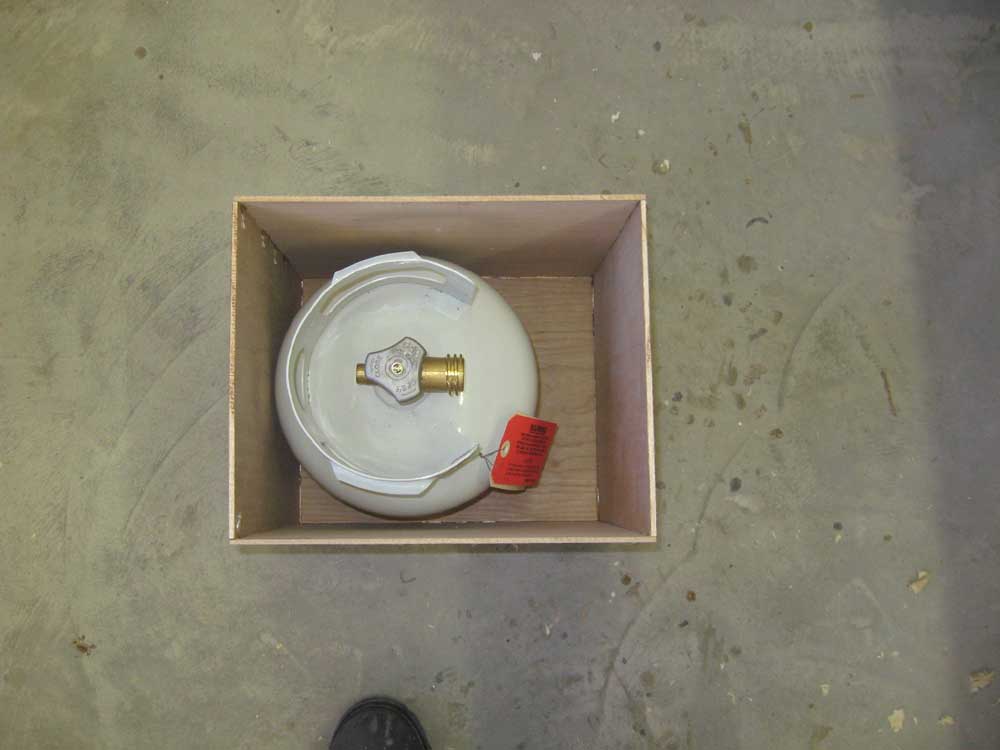
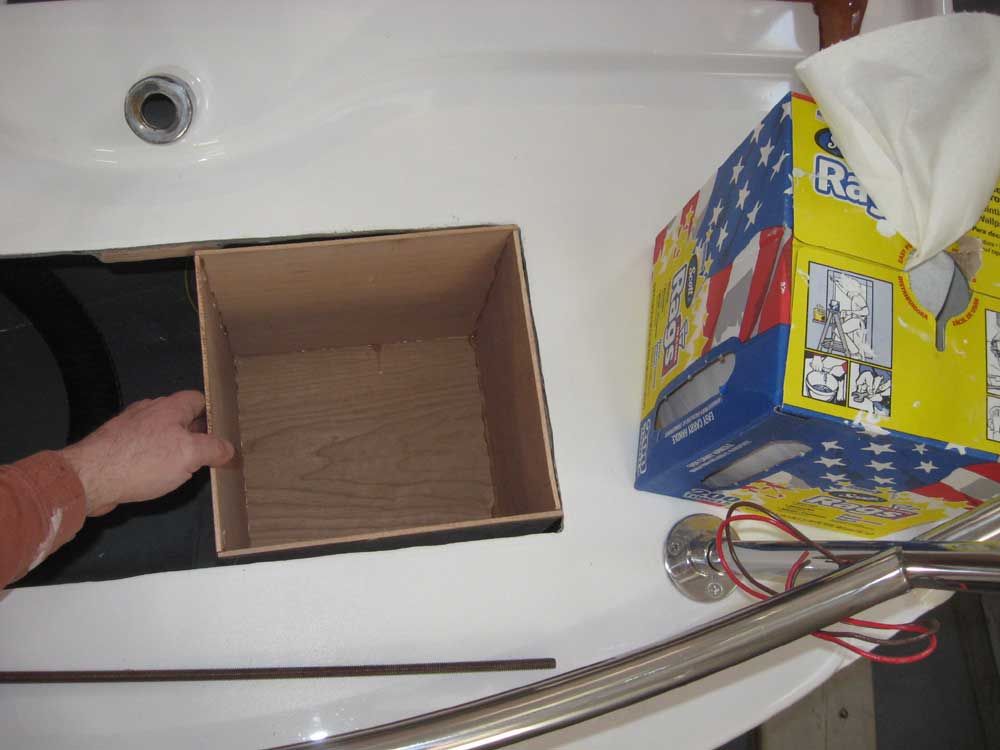
There was no way this awkward box would fit in the lazarette. The problems were two: first, the shape of the counter meant that the lazarette was dramatically shallower at the after end than the forward, severely limiting the space for a square or rectangular box. Secondly, the backstay chainplate knee intruded arrogantly into the space, further complicating the installation. So I ditched the hope of the prefab box and decided to see if I could come up with a custom shape and size that would fit. I didn't want to spend my time on building a plywood/epoxy box, which sorts of things end up being incredibly time-consuming, and which would also necessarily require the inside dimension of the box be slightly larger to allow for the fillets and fiberglass required to hold the box together, so I planned to approach a local plastic company, which had built the waste and water tanks for me some months back, about building a welded plastic box to my specifications. First, though, I needed a template. The inside of the box just couldn't be any larger than the absolute smallest size. The cylinder contained in the Seaward system seemed to be about the smallest available; I didn't find anything more appropriate during a search. So I decided to use that cylinder as my basis for creating a mockup of the smallest container that would hold the cylinder, regulator/gauge assembly, and solenoid valve. From scrap 1/4" plywood and hot glue, I built a box just barely wider and taller (inside dimensions) than the cylinder in question, and a little longer to allow some extra room inside for the regulator and solenoid valve. |
 |
|
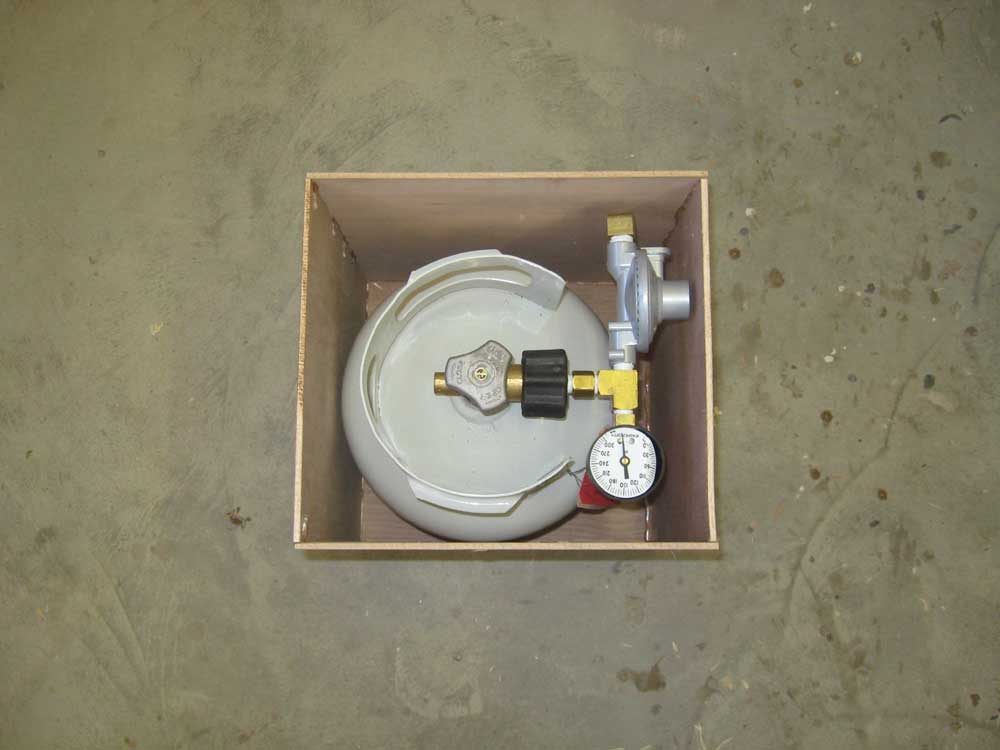
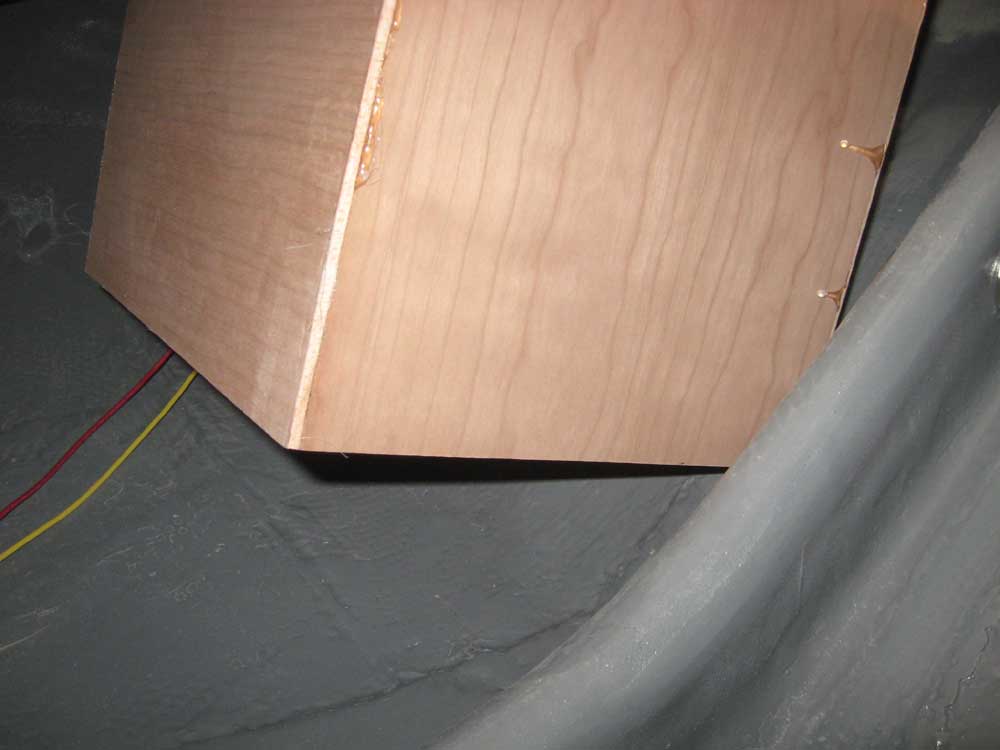
My test-fit of this box revealed that the extra length interfered with the backstay chainplate knee, so I cut about an inch and a half off the end of the box, reducing it to the absolute bare minimum size to contain the cylinder and associated gear--a tight fit indeed, when the pigtail and solenoid valve was accounted for (not shown in the photo). Theoretically, I could have created a stepped box, allowing the top portion to extend over the chainplate knee, but I wanted to keep the box as simple as possible and avoid additional shapes, corners, and construction complexity. |
 |
|
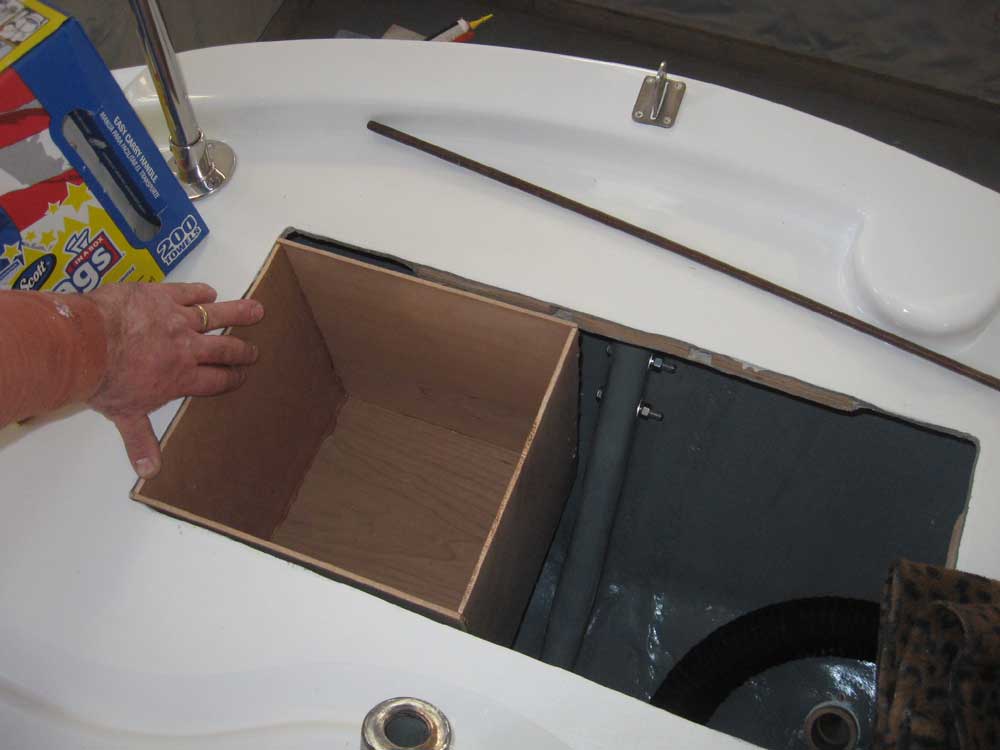
This new, smaller version just fit without hitting anything. Of course, the actual unit would necessarily end up somewhat larger in outside dimensions because of material thickness, and I could make the deck opening slightly larger to allow the box to move the appropriate amount based on additional wall thickness. Assuming the outside dimension didn't grow too much, my plan was to have the locker built with a flange around the top edge, to allow the locker to "hang" through the opening and be secured from the top along the flange. This would also provide space for the gasketing required on the lid to keep the locker gastight from the adjacent space. |
 |
|
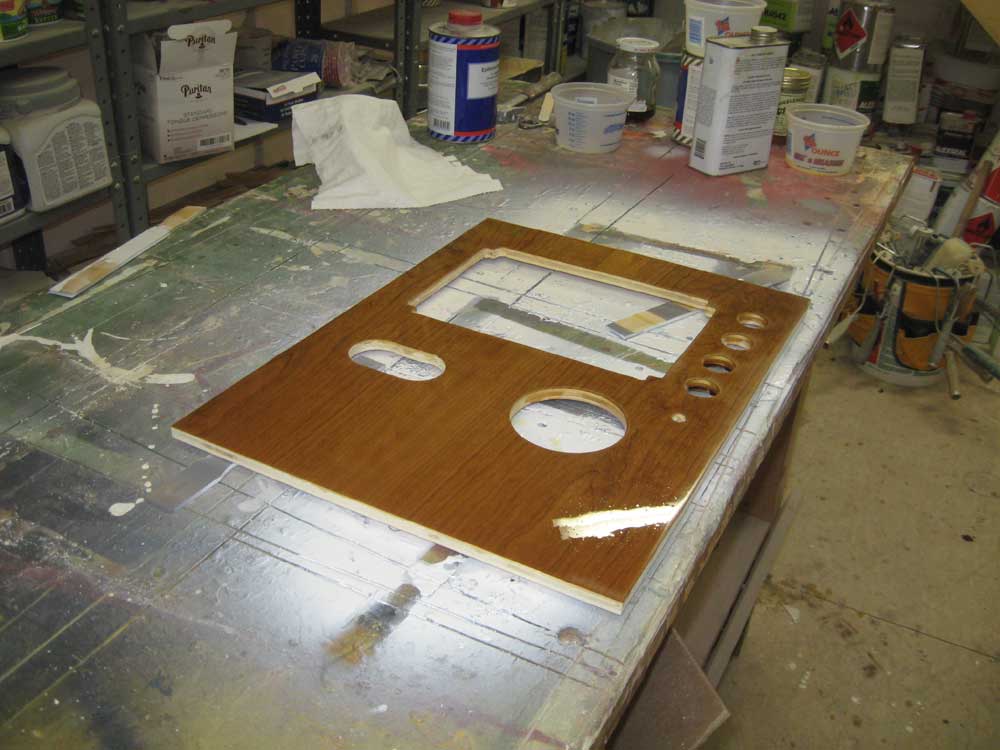
The most challenging aspect of this design would be routing the required drain/vent line. The applicable standards required a minimum distance of 20" from any other hull opening, above the static waterline, a straight, non-looped run between the locker and the outside of the hull, and other considerations. This meant there was basically only one location that would work: a portion of the starboard side of the counter, triangulated by the pre-existing openings already in place. Keeping the vent 20" from the engine exhaust outlet, future bilge pump discharge outlet, and the existing fuel tank vent on the transom, while keeping the fitting in a place that would be accessible for hose installation would be the next big challenge. Specifically, the need to keep the hose run straight, with no excess hose loops to trap gas, is what made this difficult. This meant that the hose would have to be connected only after the box was in place--I couldn't use a long hose, conveniently connected with the box on deck before installation. And the 20" required distance from any other openings meant that the through hull fitting itself necessarily had to be in an area that would be hidden and constricted by the locker box when installed. Details. I thought I could come with a means of making this work, but nothing is ever as straightforward as it may initially seem. My next step was to get a quote on the fabrication of the box, determine the final outside dimensions, and go from there. While I was in the shop, I sanded and revarnished the electrical locker front panel, continuing the buildup. |
 |
|
|
|