| Circe
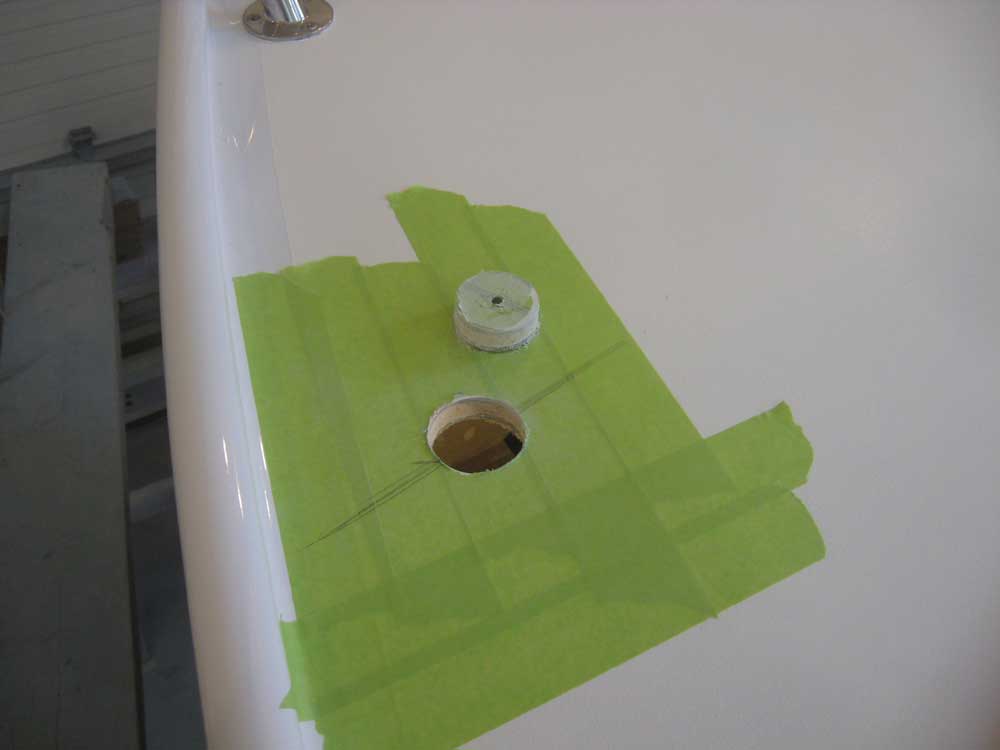
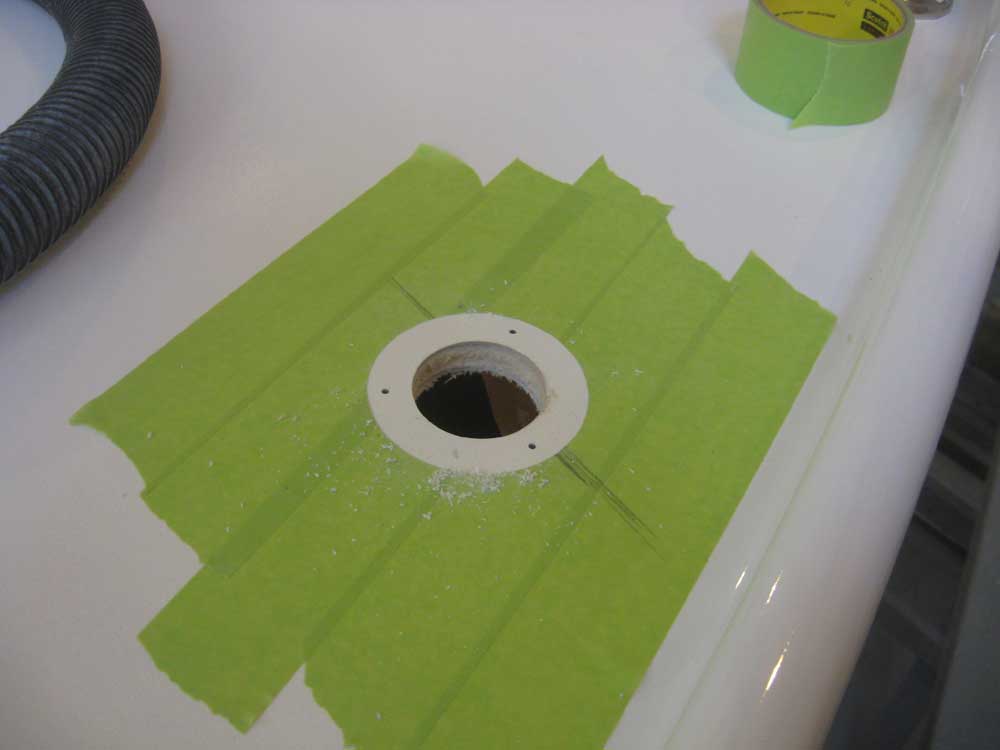
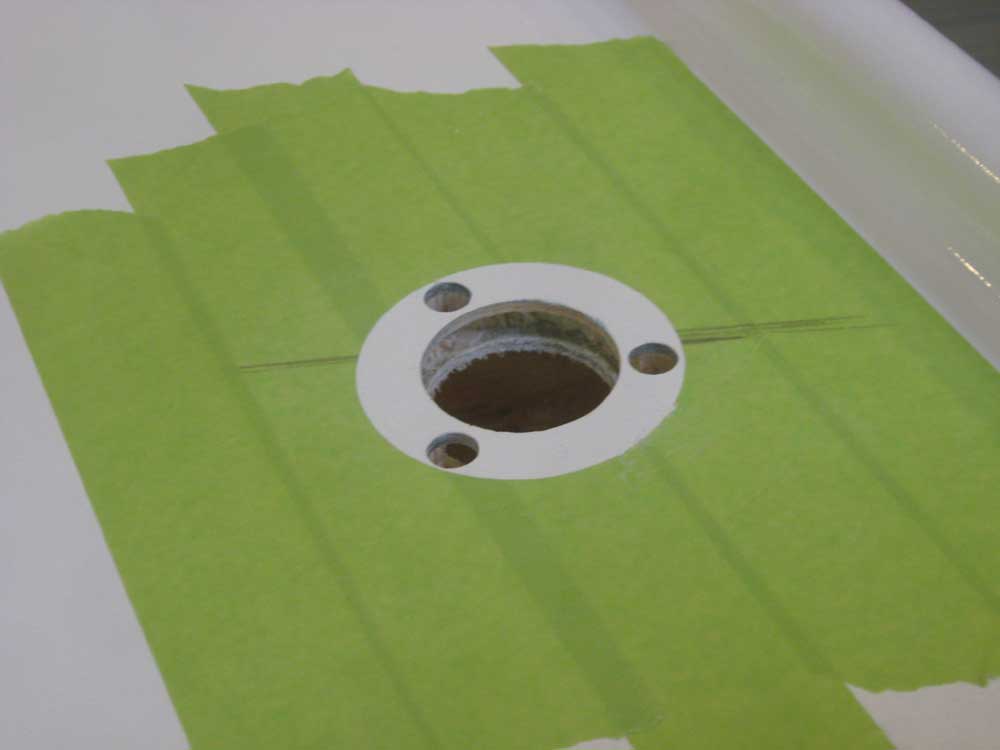
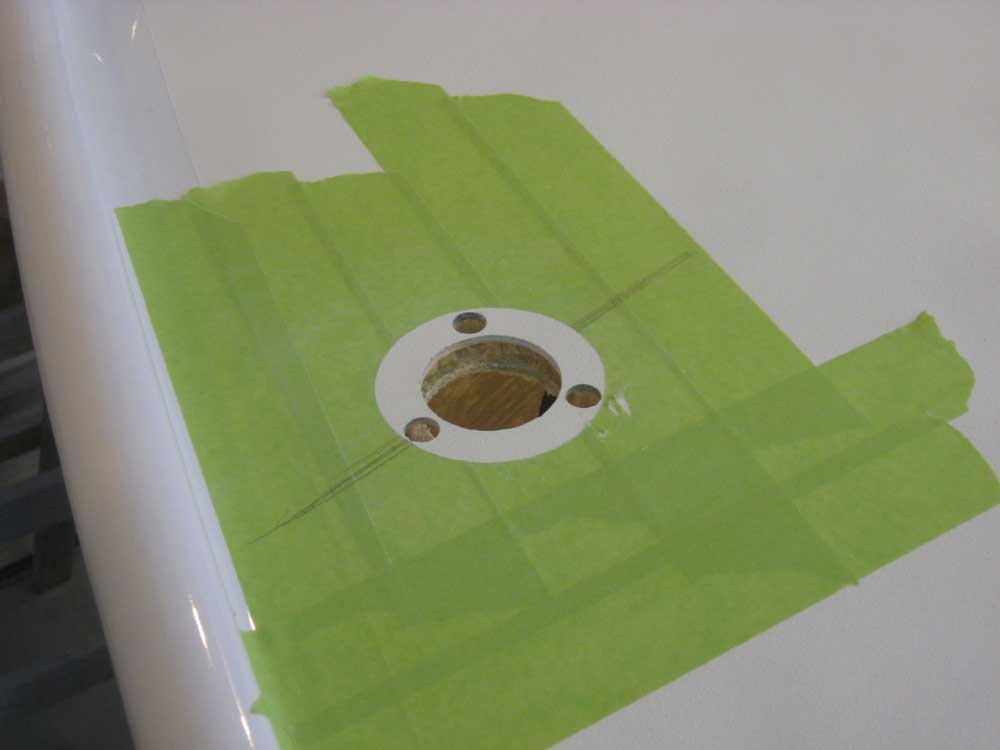
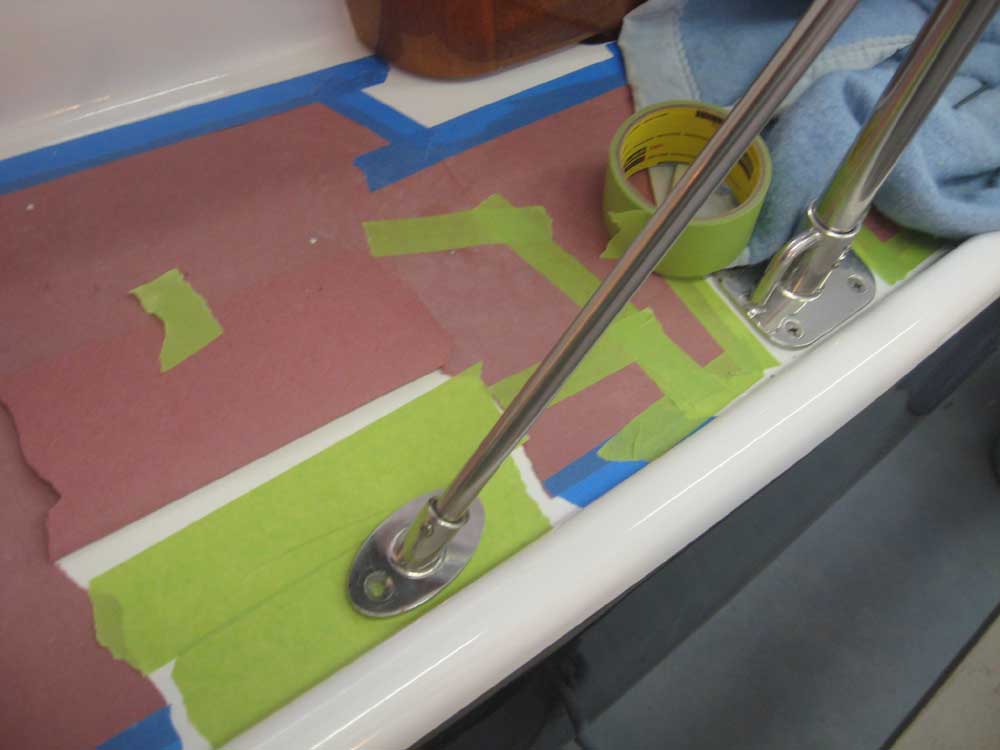
| Monday, February 8, 2010 After placing orders for some of the electrical system materials I'd need in the near future, I turned to some additional deck hardware. Specifically, it was time to install the deck plates for the water tank and holding tank. I made some measurements from inside to determine roughly where the fittings should be located, and then used these measurements as a rough guide to lay out their positions on deck. I masked off the areas in question, and cut 2" holes through the deck for the body of the fitting. After marking the screw locations, I overbored their holes with a 1/2" bit, and dug out some of the balsa core surrounding the larger hole. I filled these voids with thickened epoxy and left things to cure. |
|
|
|
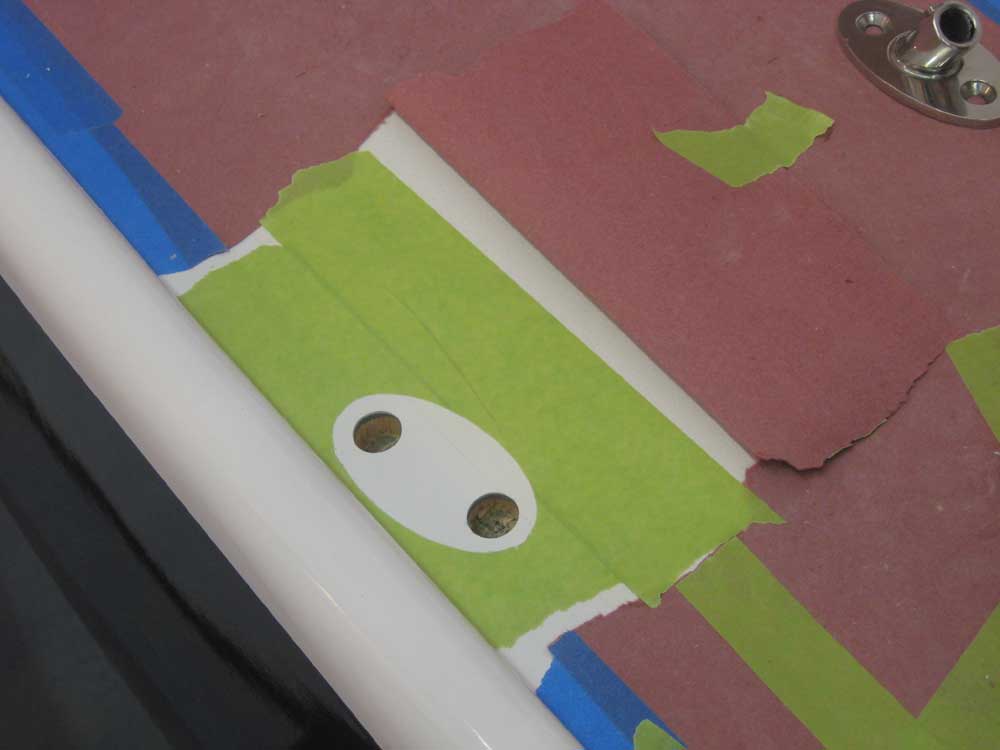
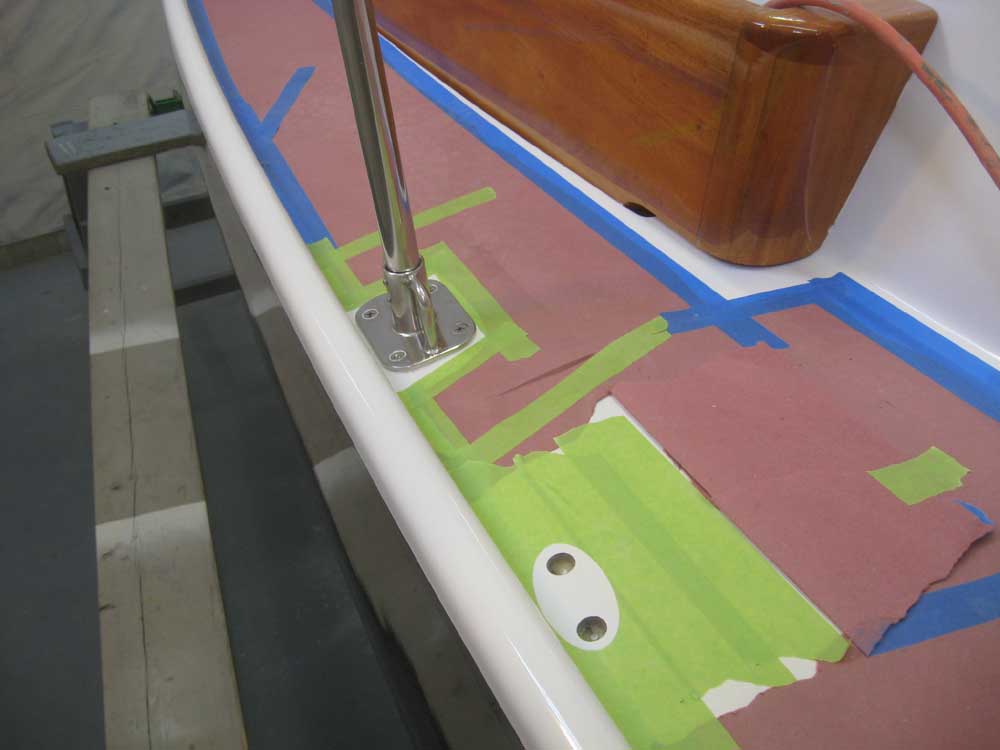
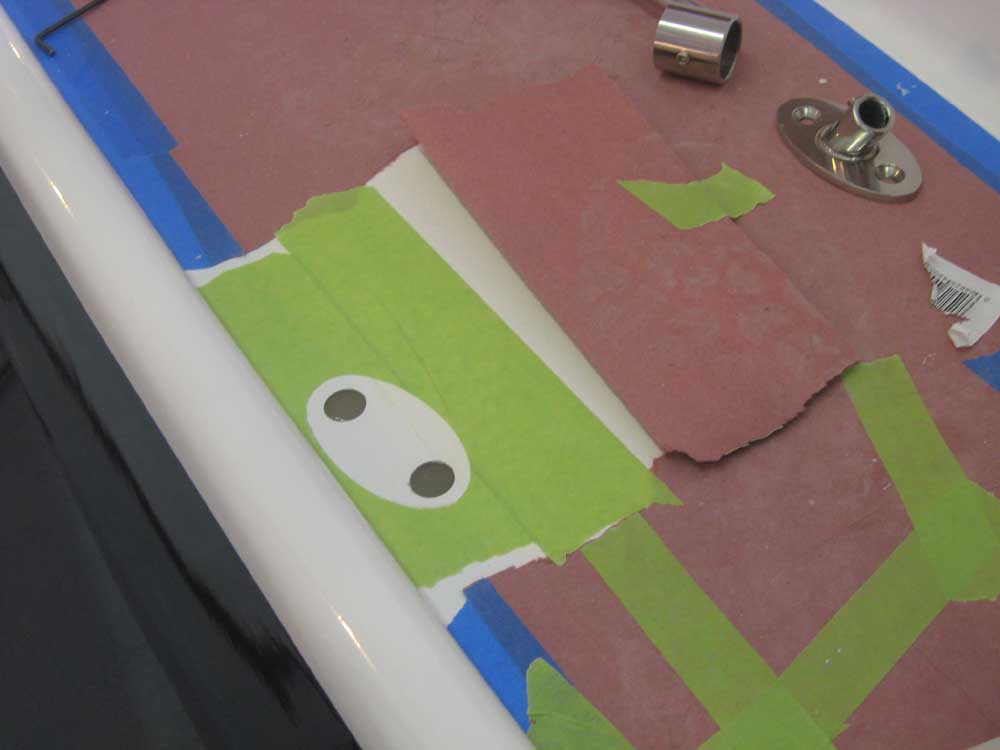
Meanwhile, I prepared the fastener holes for two stanchion gate braces, which I'd not installed during the initial stanchion installation. These featured a two-hole mounting base, into which the angled brace slipped to be secured with a set screw, allowing easy removal. On each side, I installed the brace on the stanchion and let the brace base fall where it landed naturally according to the deck camber and angle of the brace; each base only truly fit in one position. I allowed the same 1/4" space between the edge of the base and the toerail, and marked off the holes. Finally, I overbored the fastener hole locations with a 5/8" bit, omitted all the core from within the holes, and filled them with thickened epoxy. Later, I cut and glued backing plates to the underside of the deck so they'd be in place for final installation tomorrow. |
  |
|
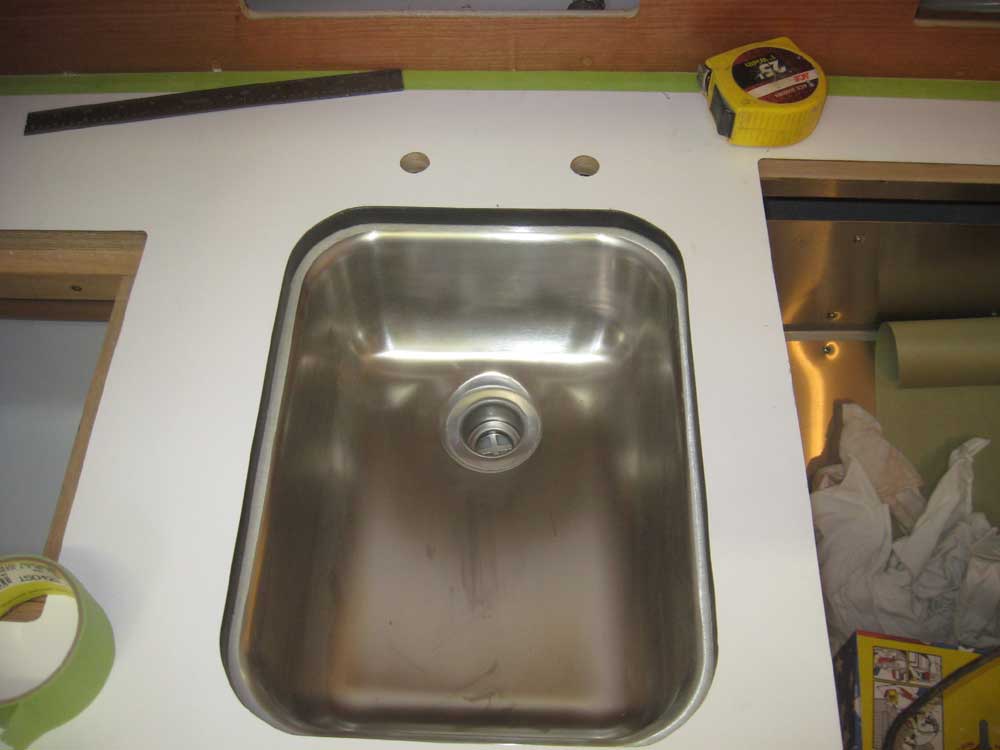
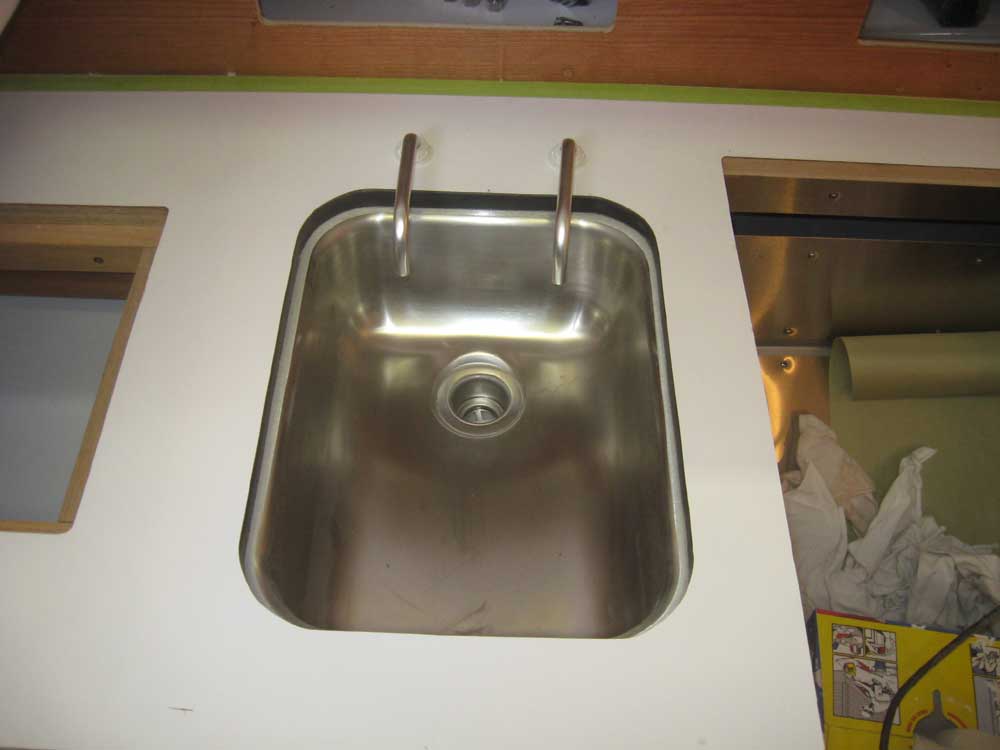
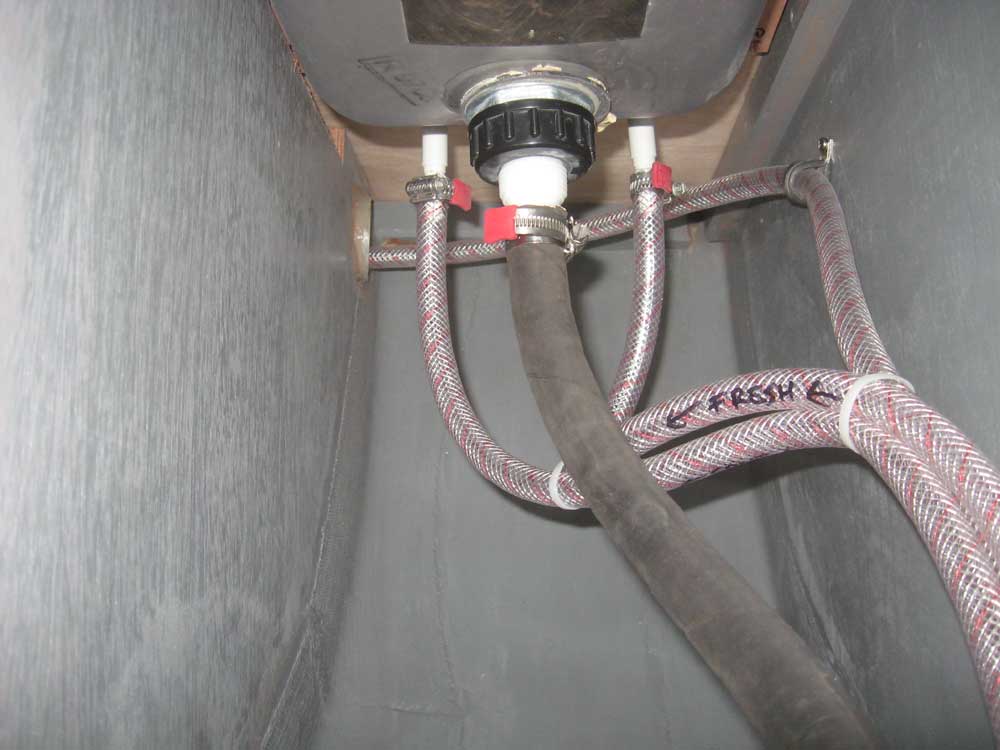
Looking for a way to fill 15 minutes or so before lunch, I decided to install the sink drain fittings. After installing the fittings in each sink, I decided it was as good a time as any to wrap up the various plumbing connections, faucet installations, and to install the head sink, so after lunch I continued on those tasks. The galley sink featured both fresh and salt water accessability, which supply hoses I'd roughed in earlier. I laid out symmetrical locations for the two simple faucets required, and carefully cut the holes through the countertop. I installed the faucets, connected the supply hoses (fresh forward, salt aft, just like the foot pumps), and completed the galley sink installation by installing a length of 3/4" hose from the sink drain to the seacock beneath. |
 |
|
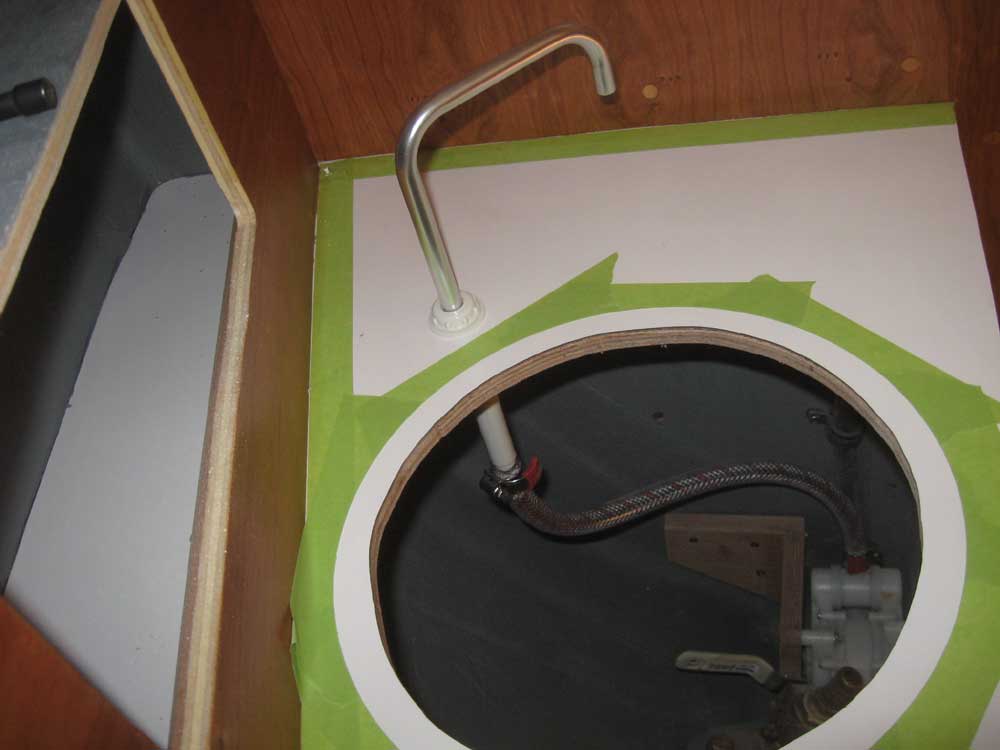
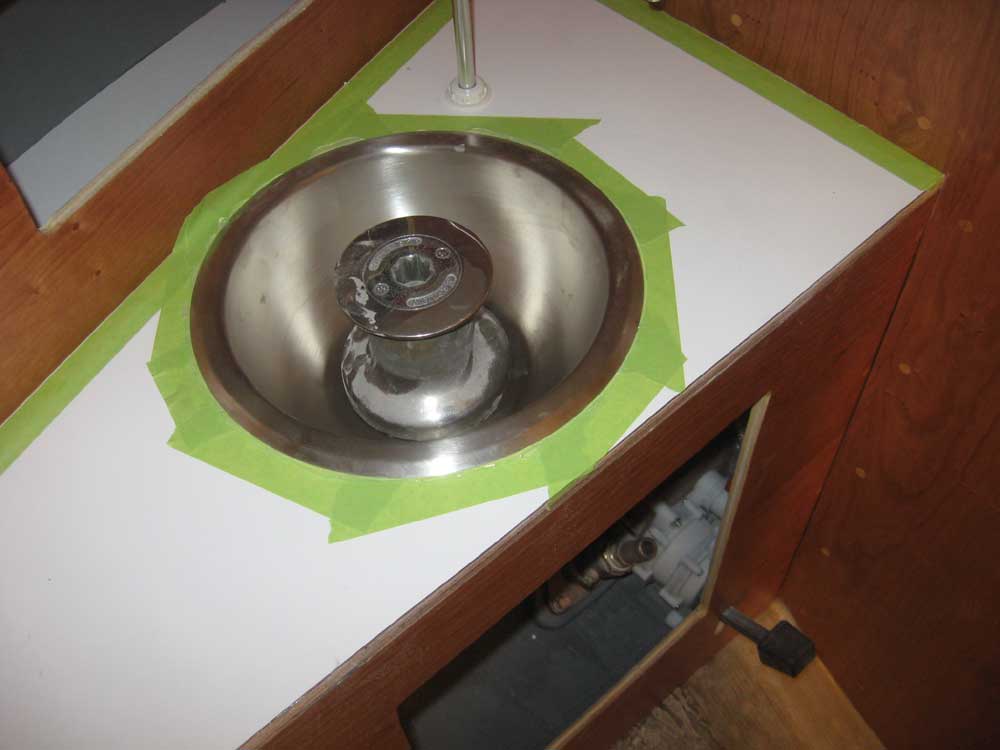
I masked off the countertop around the head sink, located and drilled the hole for the faucet, and installed the faucet and water supply hose. Then, I installed the round sink in a bed of caulk, weighting it down till the sealant cured. I'd fit the drain hose here once the sink was secured. |
 |
|
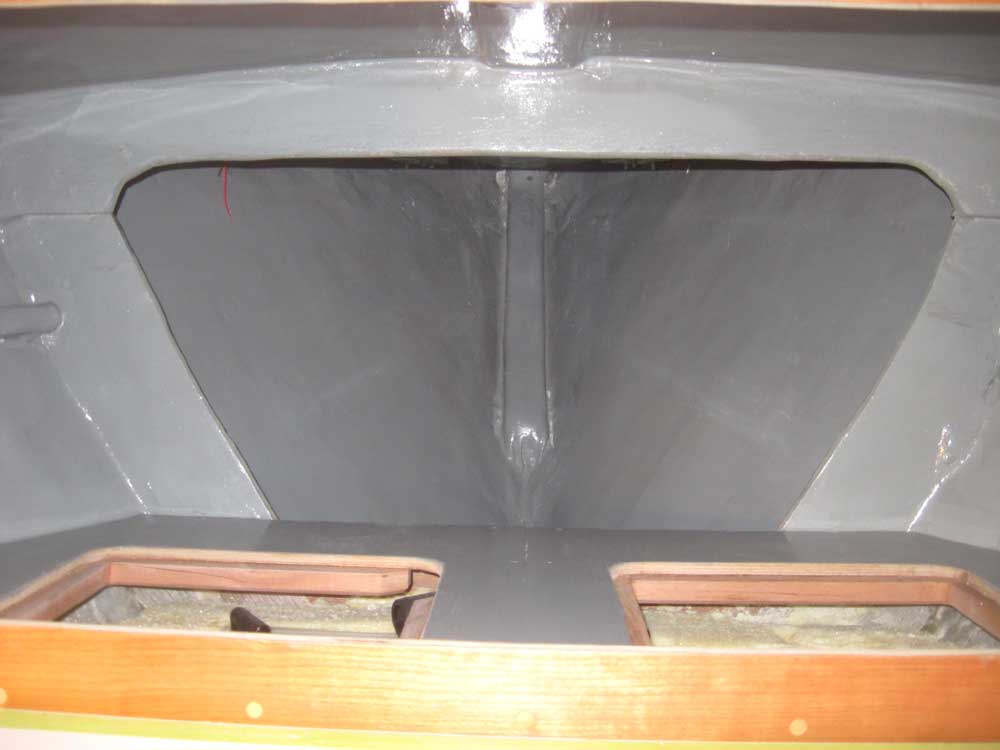
I pulled the ports and chainplates out of storage so I could inspect and clean them for reinstallation, and ordered new fasteners for the chainplates and deck covers, as well as new gaskets for the opening ports. I'd get to actually cleaning the parts soon. Finally, I applied a coat of paint to the large forward locker in the head, so that it'd be complete and ready for final hose installations once the new deck fittings were installed. |
 |
|
|
|