| Circe
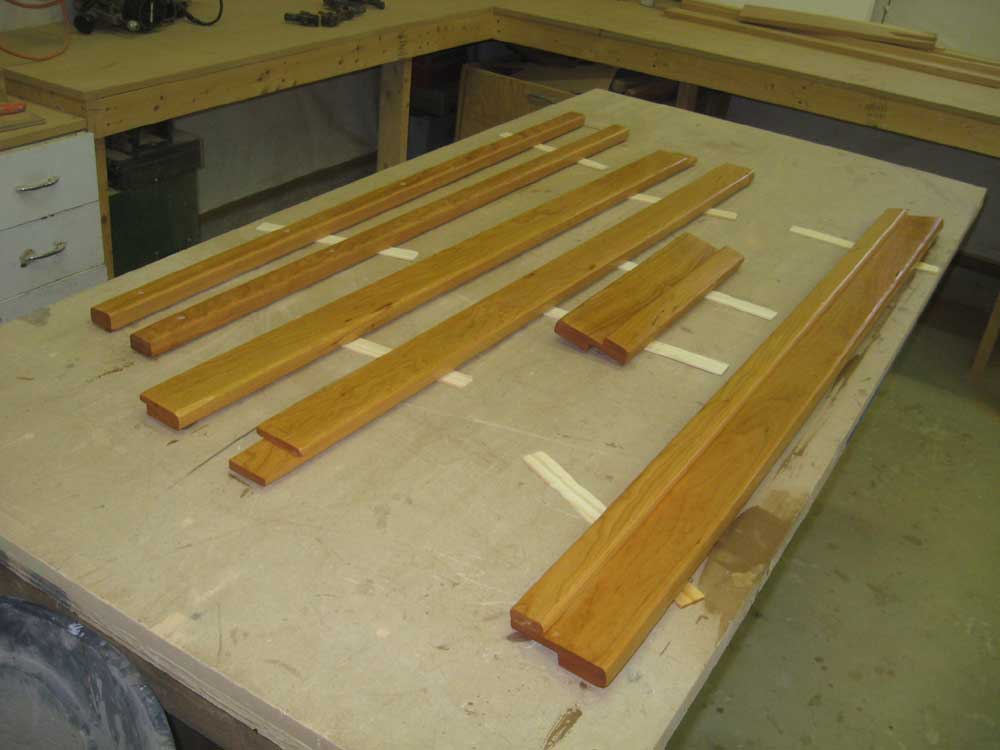
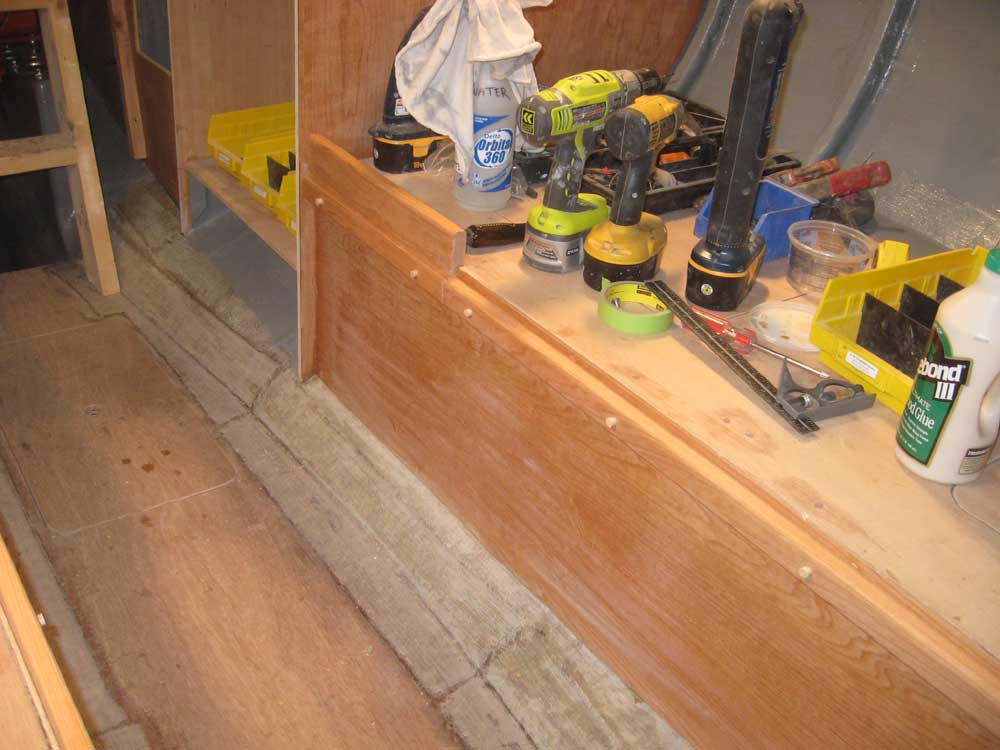
| Monday, December 28, 2009 Over the weekend, I applied a sealer coat of varnish to the new cherry fiddles and cleats so they'd be ready to install. After marking for and drilling plug holes and fastener holes in the new fiddles, I installed the berth extension cleats and fiddles with glue and bronze screws, and bunged all the screwholes. |
|
|
|
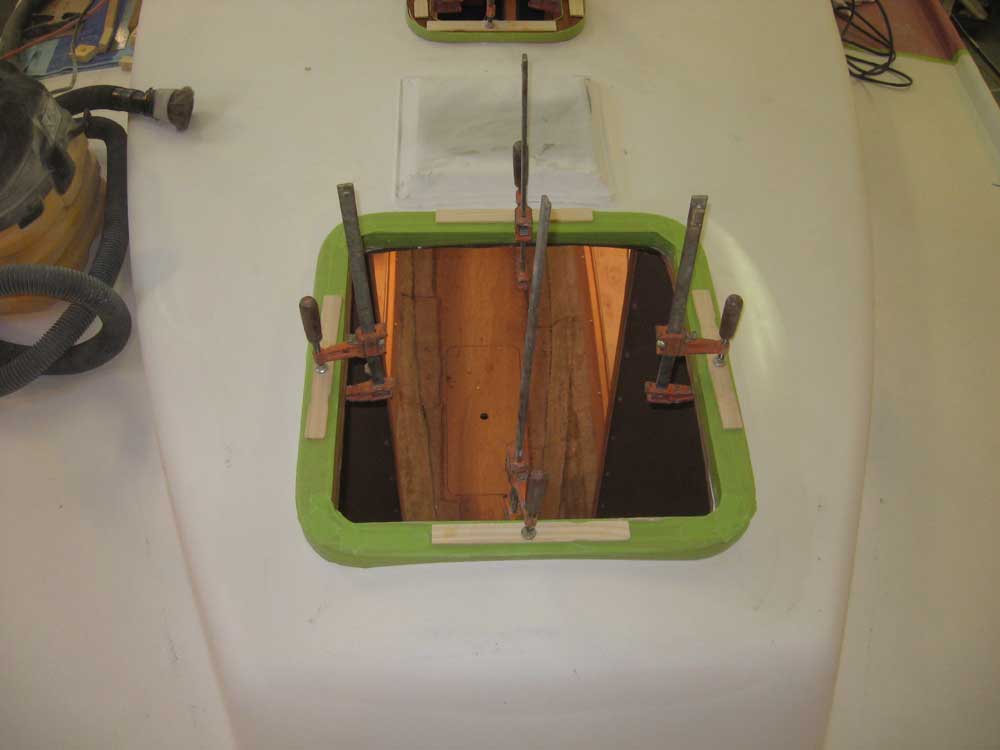
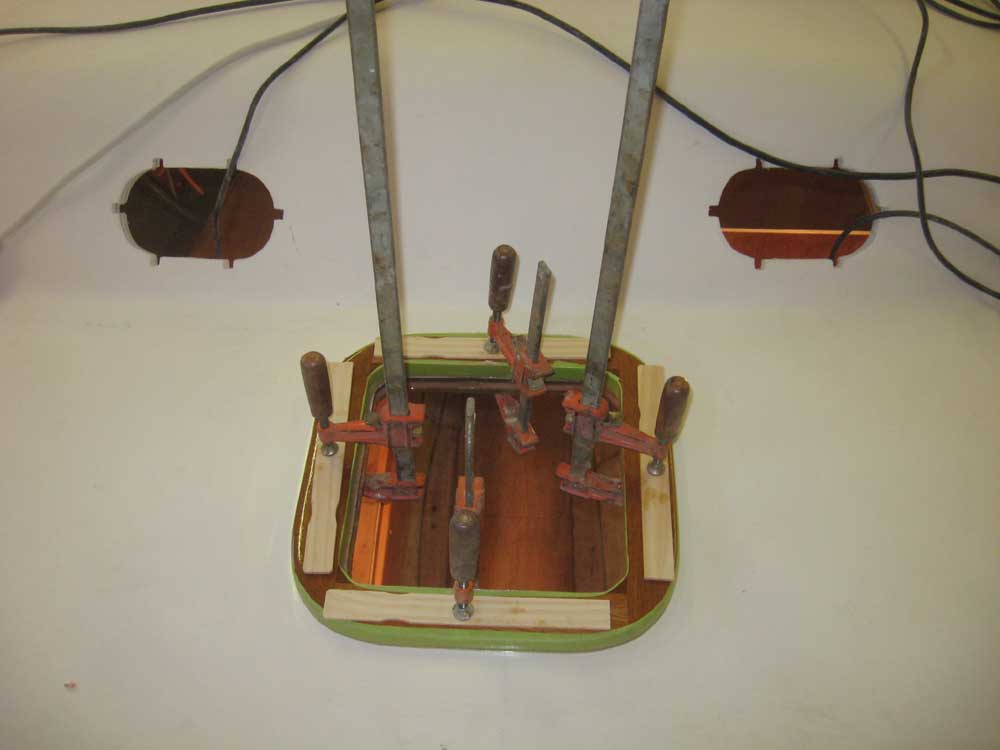
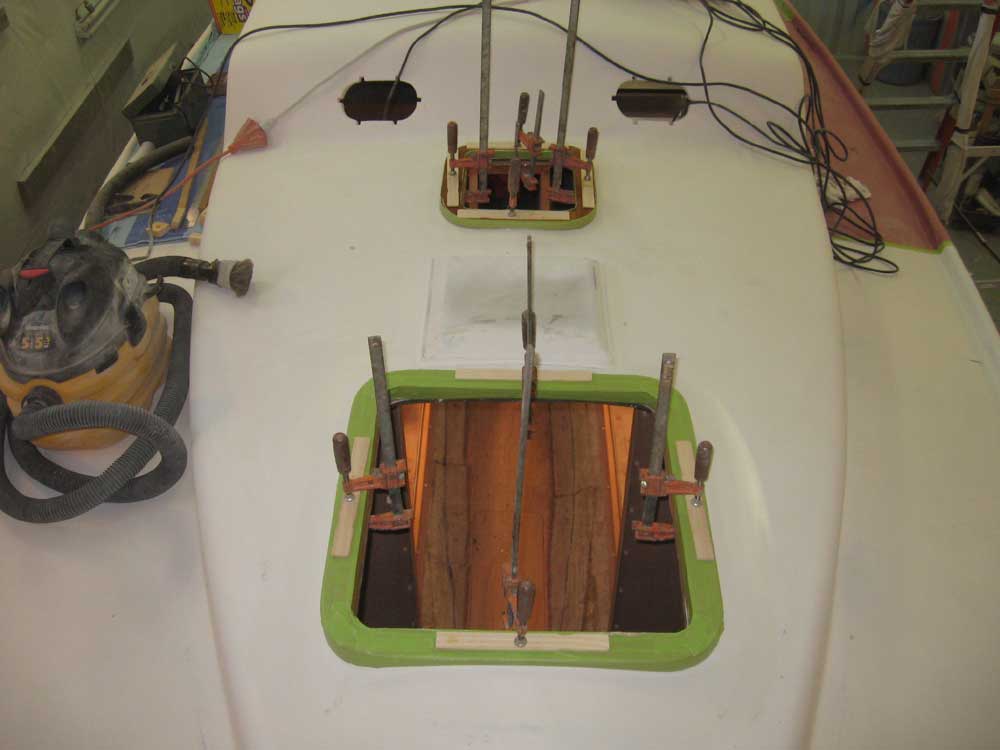
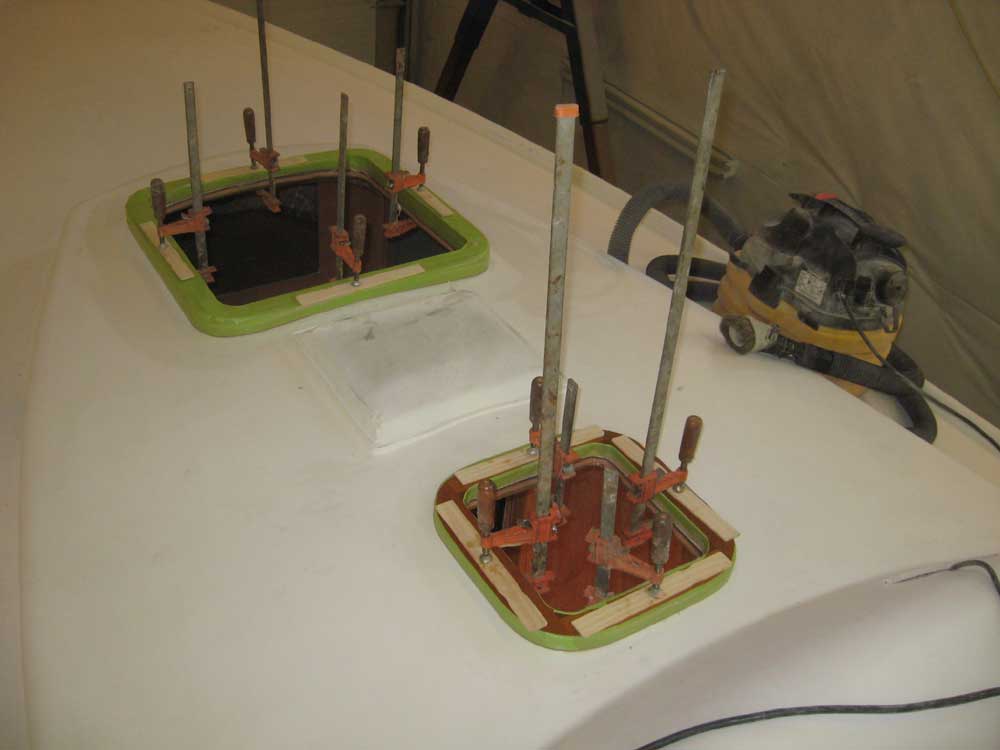
The wooden frames for the forward and mid hatches had several coats of varnish now, and while there were several coats to go, it was time to install them. I used a thickened epoxy mixture to glue them to the decks around their respective cutouts, and clamped them in place; I also reamed out exposed core from the openings (I'd done the forward hatch opening months ago) and filled the gap with thickened epoxy to seal the opening. |
 |
|
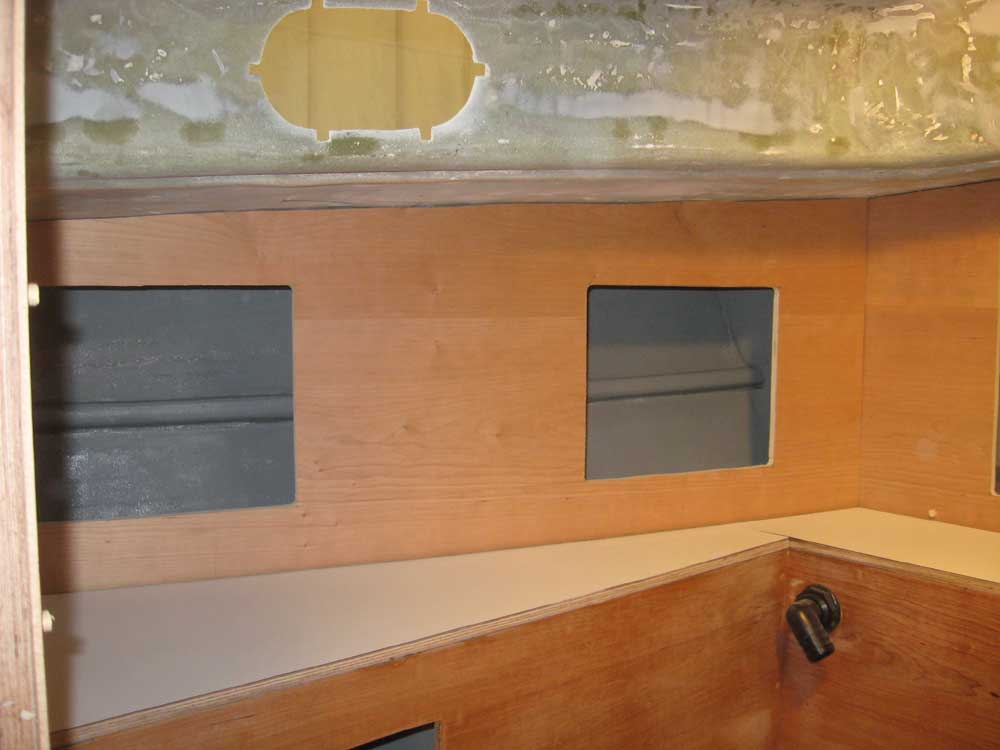
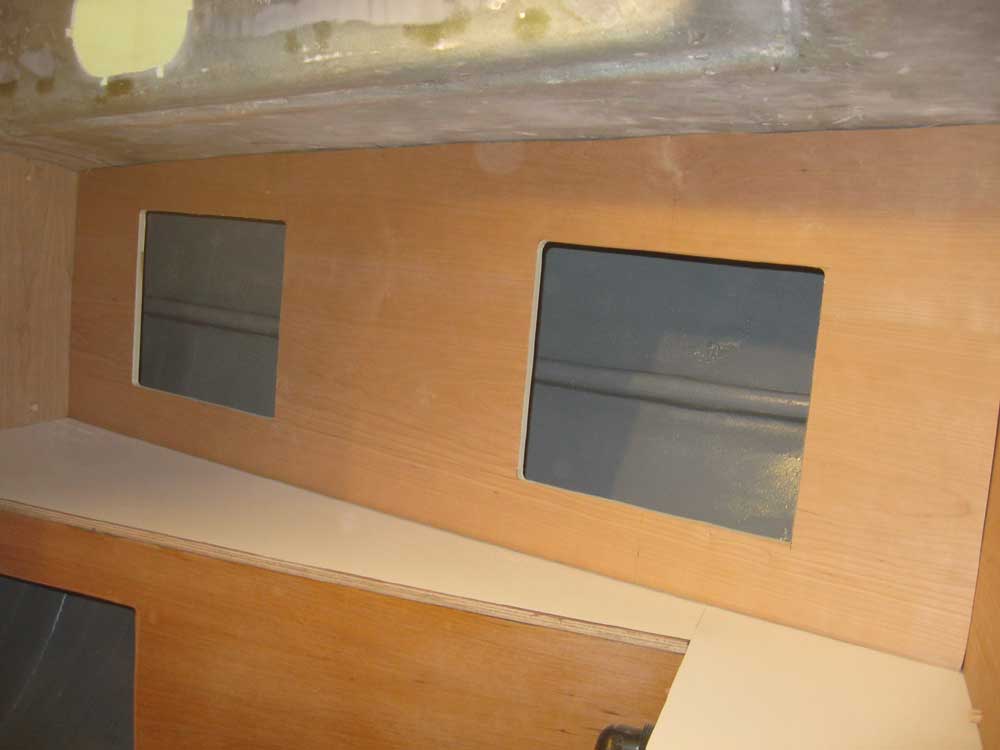
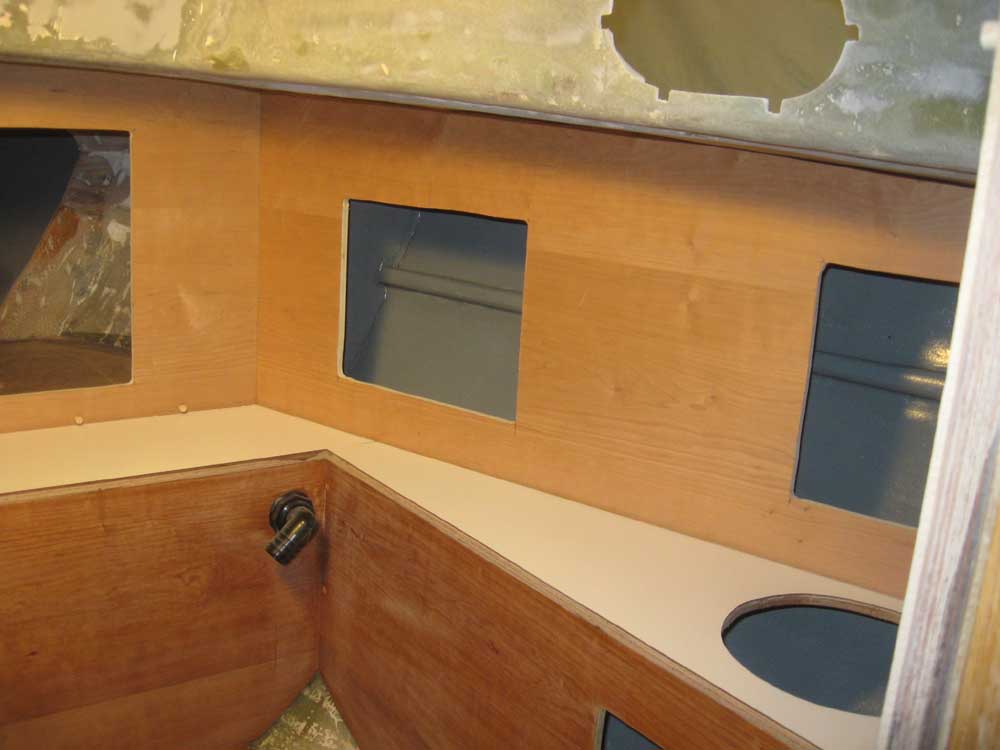
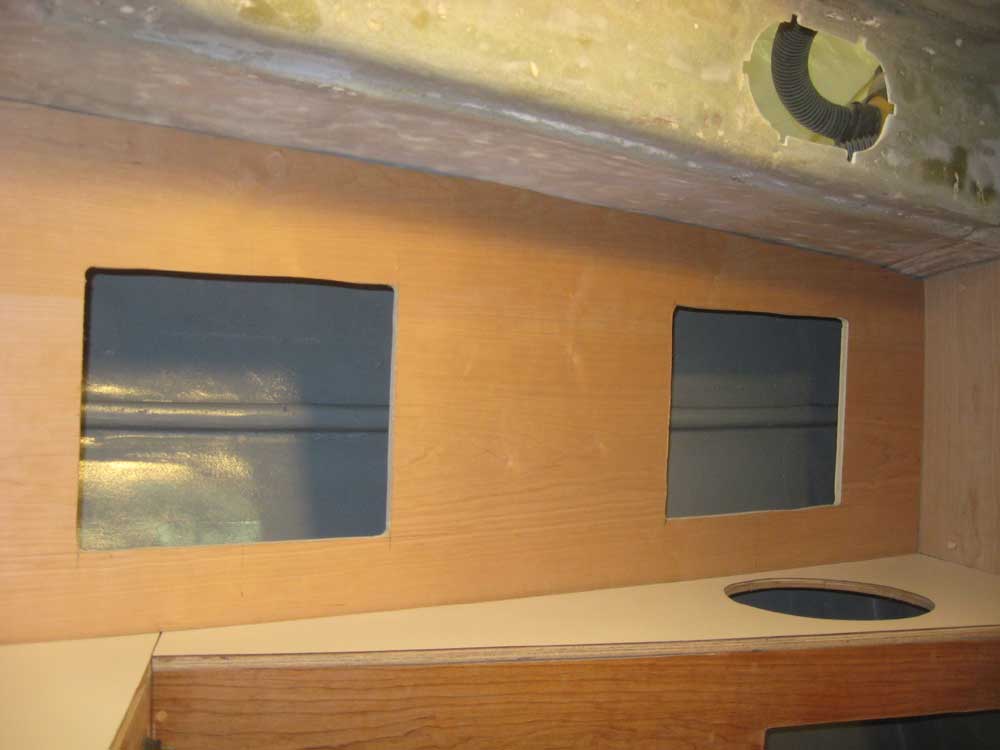
After checking and double-checking the shaft position (with my stand-in shaft), I marked its exit from the stern tube, and made some additional measurements to determine the overall shaft length required; I planned to order propeller and shaft in the near future once I'd collected a bit of additional information, since I knew the propeller, in particular, would likely require a long lead time for delivery. And the sooner I got the shaft on hand, the sooner I could complete the engine out-of-water alignment and finalize the bolts securing the engine to the boat. Working backwards from my January 14th deadline (when the canvas contractor arrived), I'd worked out a schedule for what needed to get done; the schedule allowed me a couple more days of woodwork, so I continued with the head upper cabinets. Using cardboard, I made patterns of each side and, when satisfied with the pattern, transferred the shapes to 1/2" cherry plywood for the final version. I cut two locker openings in each side. |
 |
|
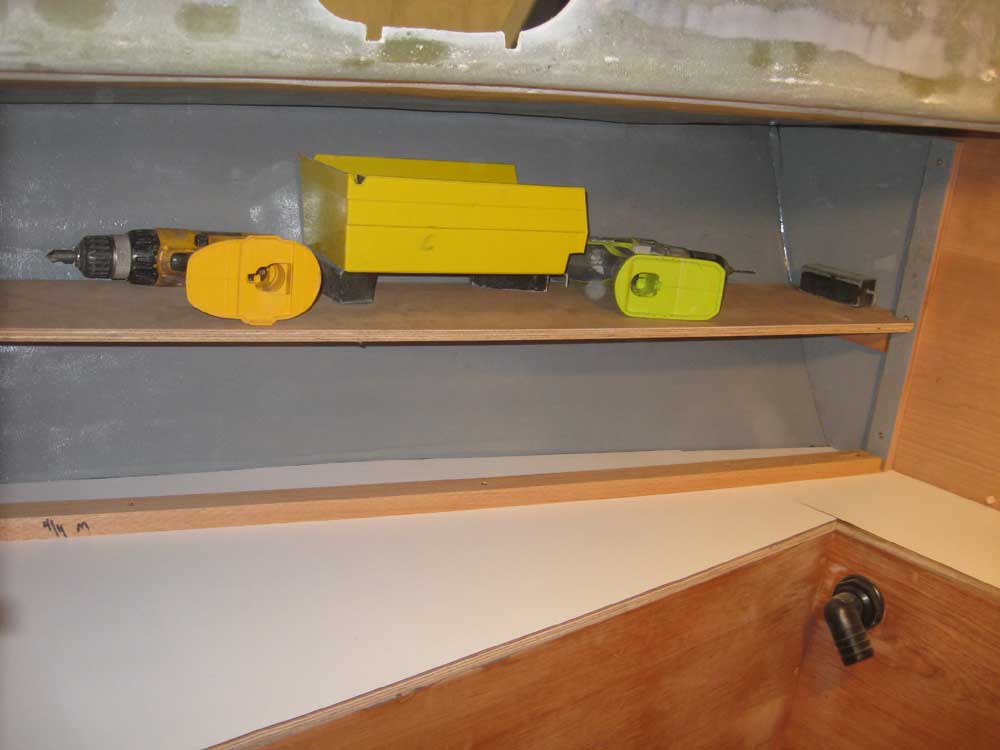
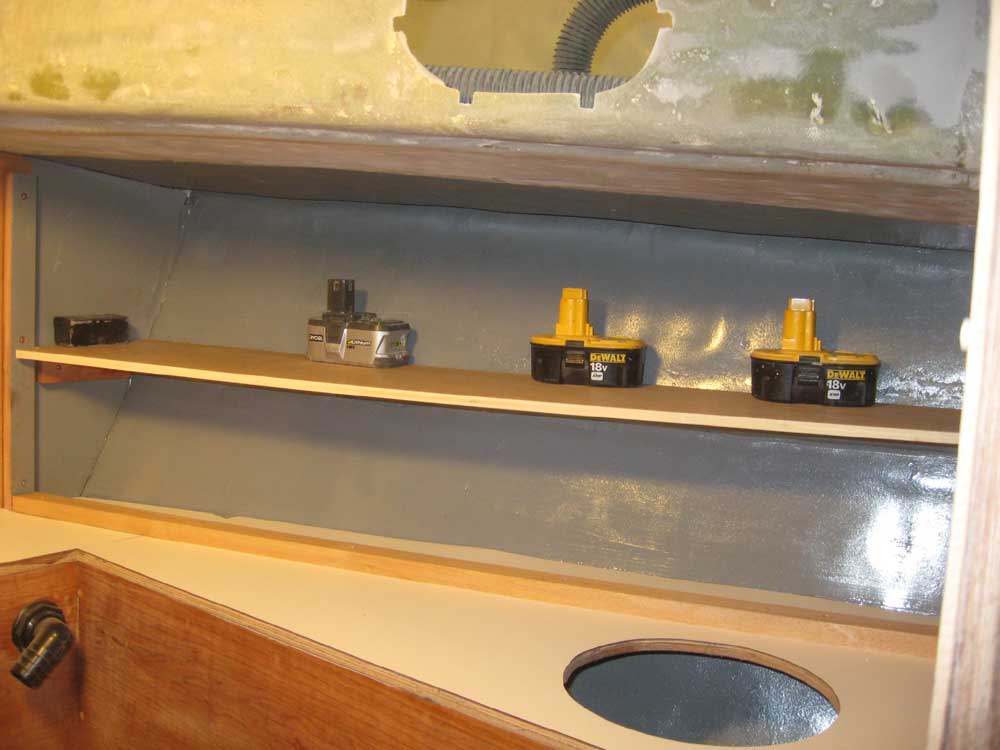
Before installing the front panels, I needed to install a shelf inside each cabinet to better utilize the space within; there was already a glassed-in stiffener on each side of the hull in an appropriate location, so I used that as the base location for the shelves. I patterned each side, cut the shelving from 1/2" plywood, installed short cleats on the ends to hold the short edges of the shelves, and then secured the shelves to the cleats and hull stiffener with epoxy adhesive, holding the shelf in place with various weights while the epoxy cured. Later, before final installation of the front panels, I'd add support cleats to the inside of the front panels to secure the inside edges of the long shelves. |
 |
|
|
|