| Circe
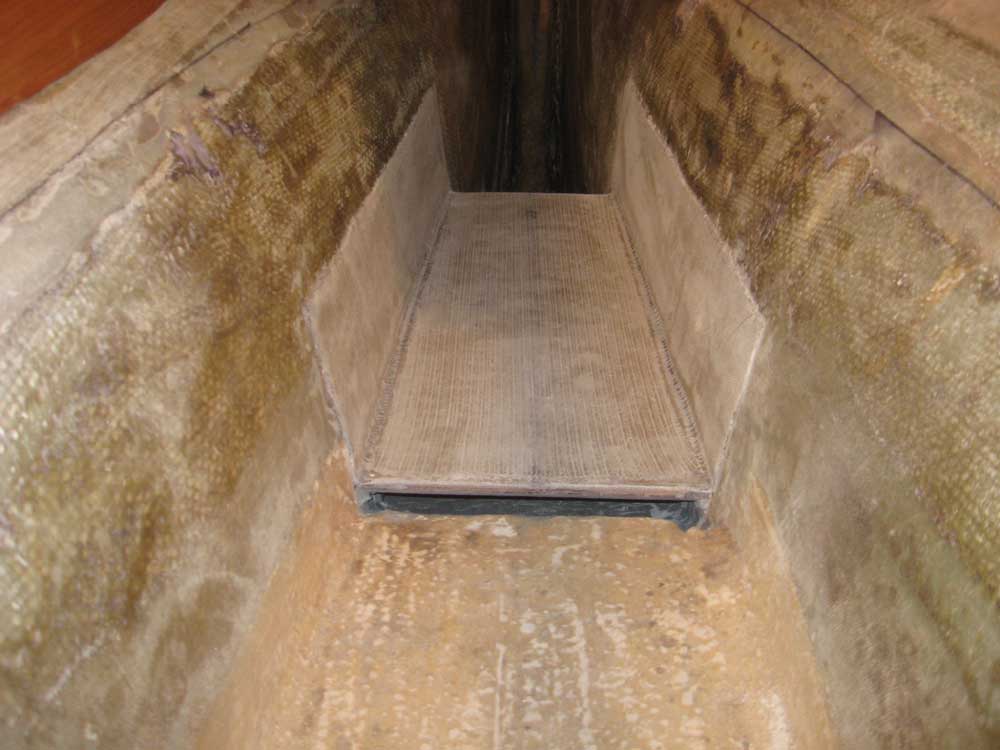
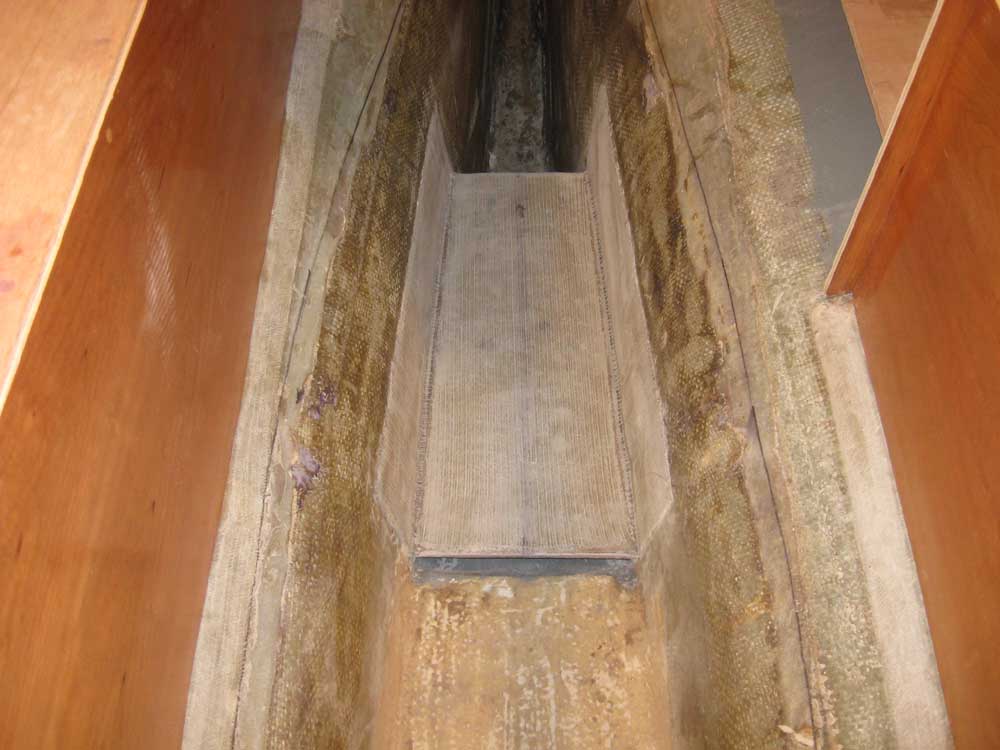
| Thursday, December 3, 2009 After applying another coat of varnish to the oak beams in the other room, continuing that buildup process, I washed and sanded the new fiberglass on the battery platform, completing that installation for now. Note that I left a gap at the forward end to promote natural drainage of the forward portion of the bilge beneath the platform. Later, I'd add some support cleats and paint the area, but that would be later. |
|
|
|
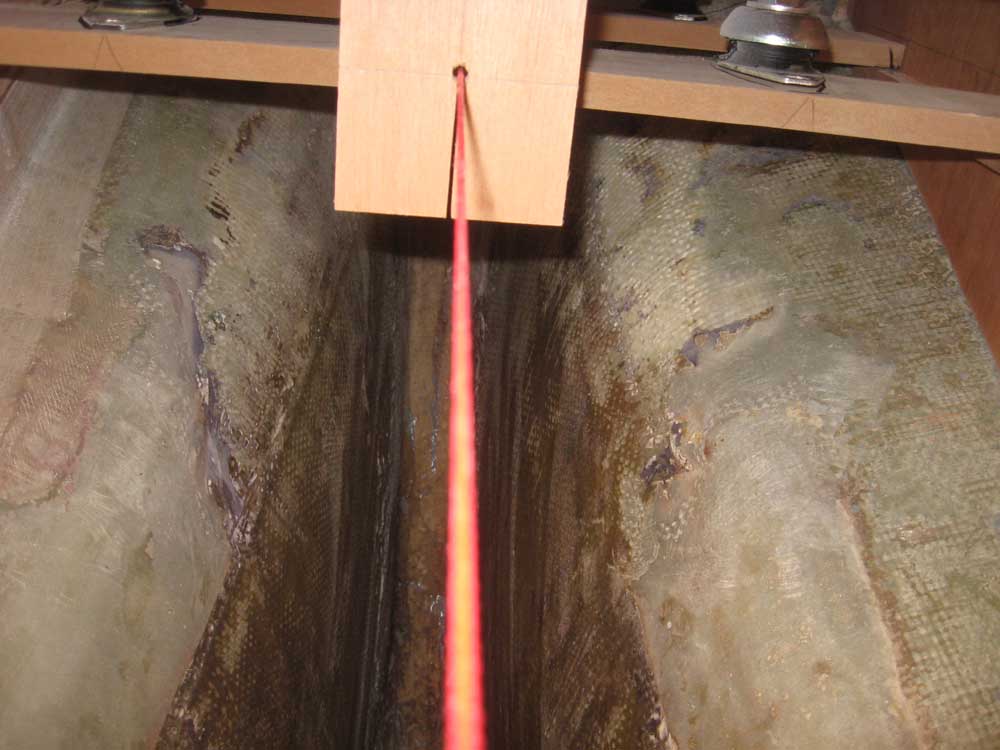
I reset the engine alignment string and jig, and positioned the template as accurately as I could. I'd noted the other day that the forward end had been a little high, so I adjusted the cleats to lower the front end just a bit and bring the string to the center of the template. Small height changes can translate to significant adjustments to the flexible mounts, so I wanted the new foundations to be such as to require minimal adjustment to the mounts later. Once the template was centered and positioned to my satisfaction, I made some new reference marks to register the mount bases, and removed the engine template. |
 |
|
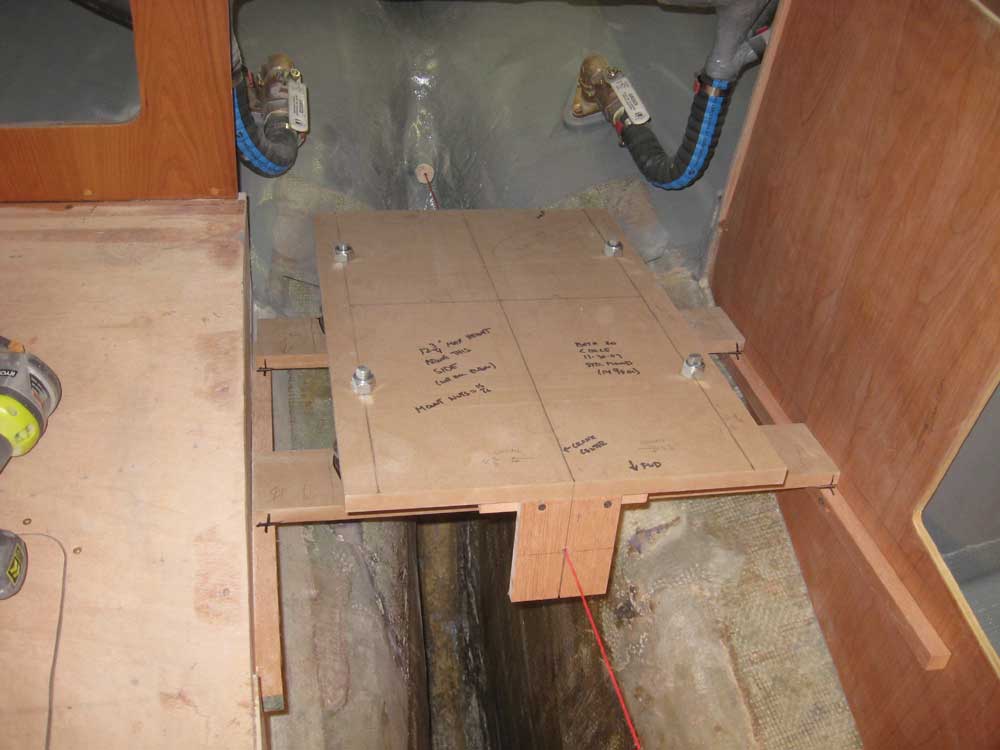
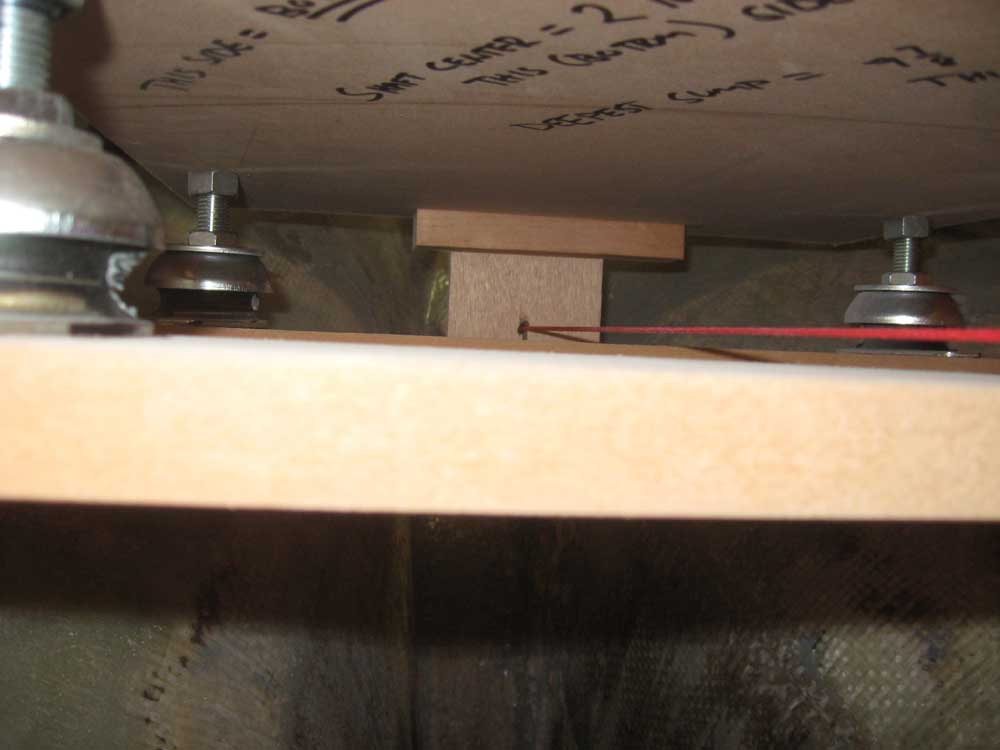
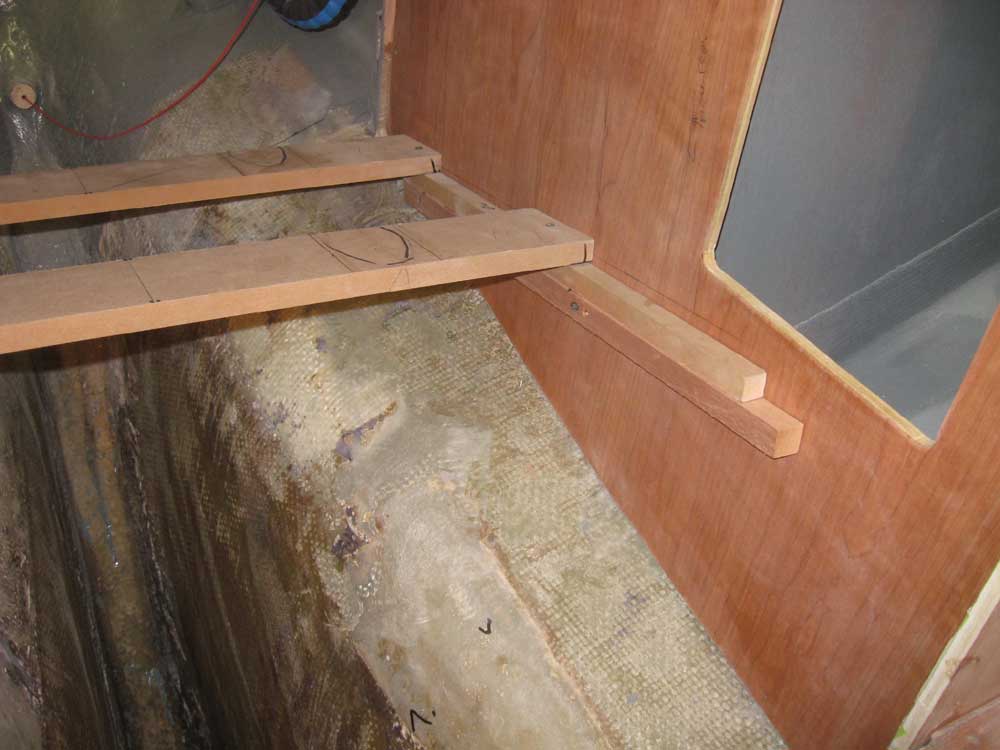
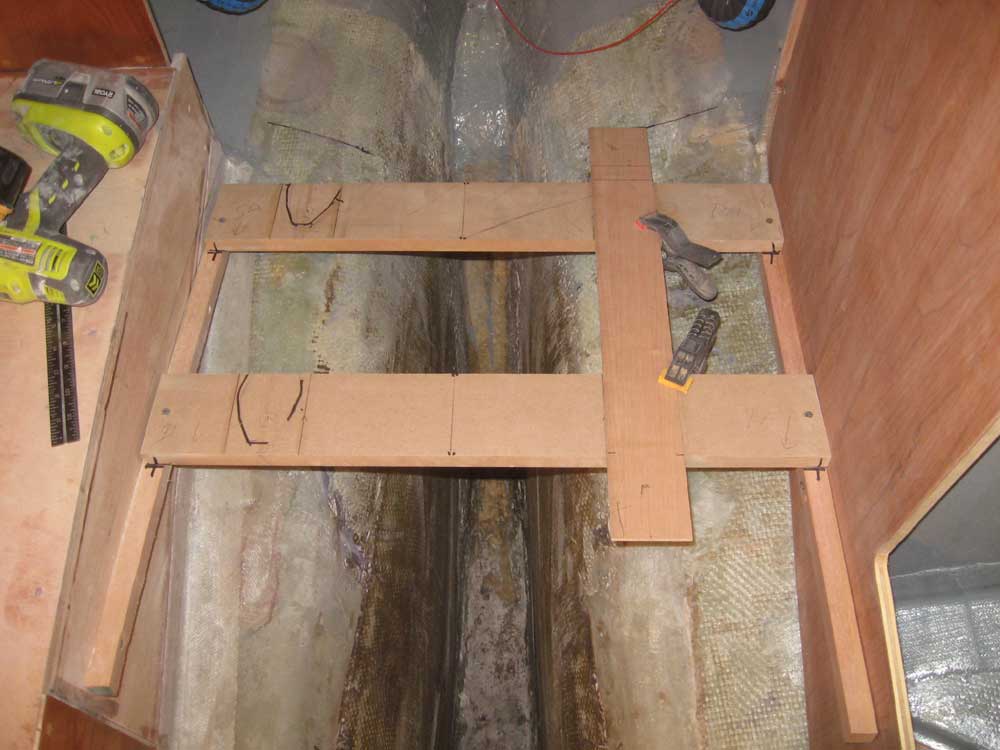
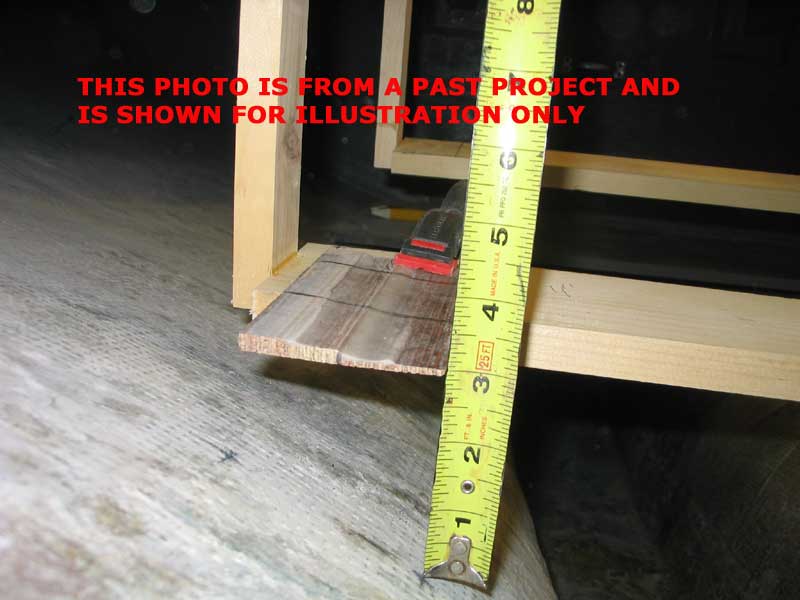
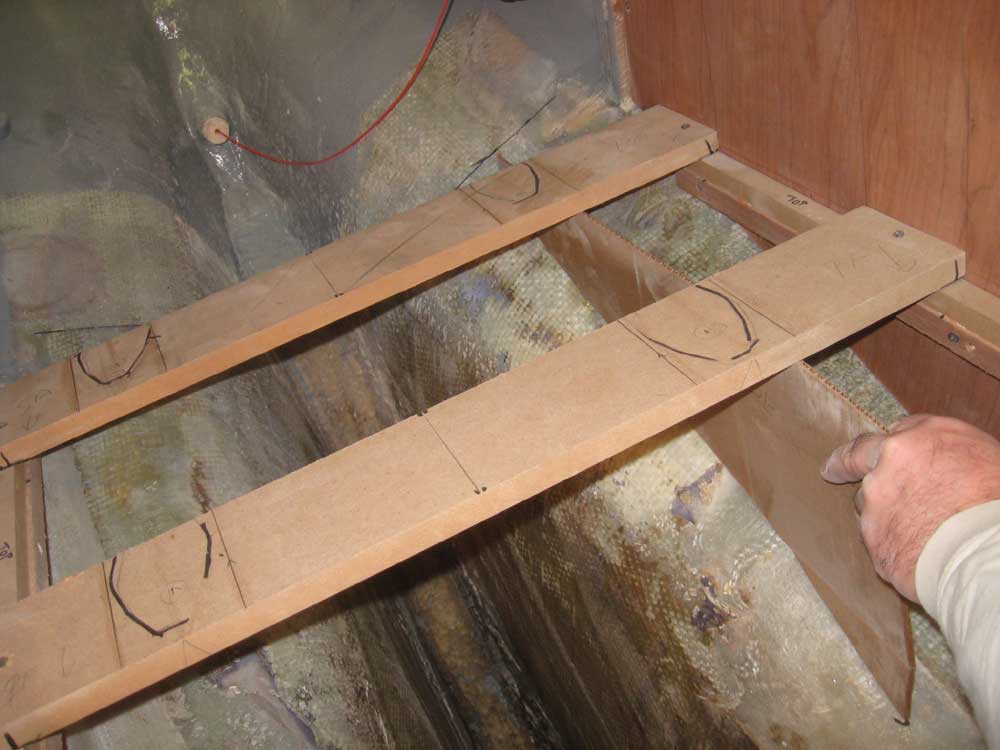
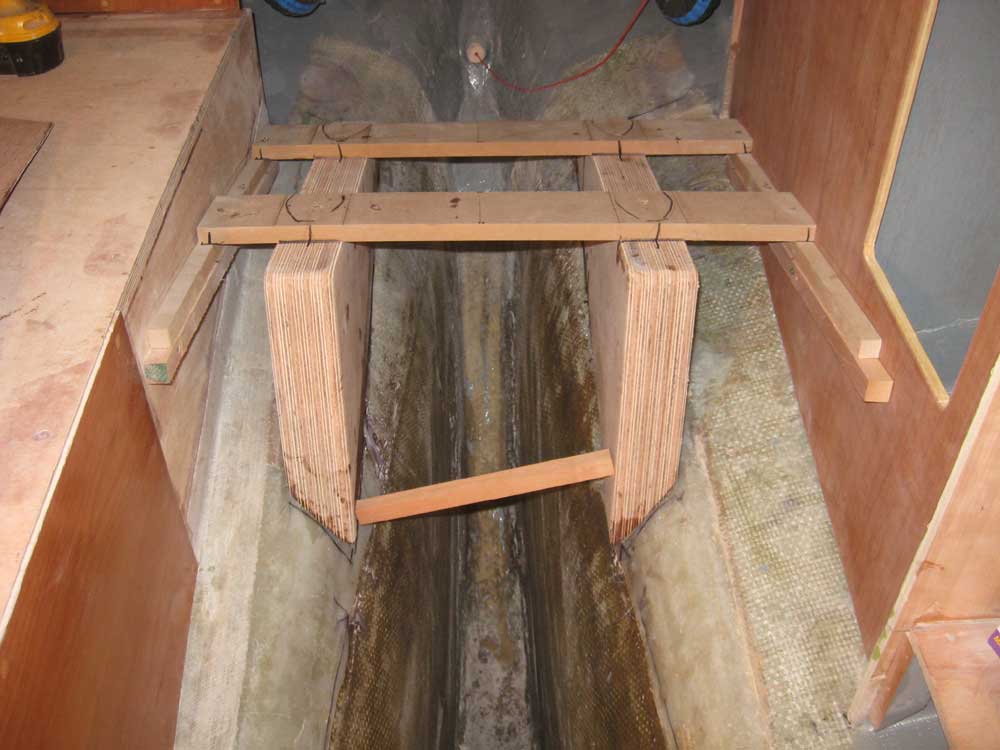
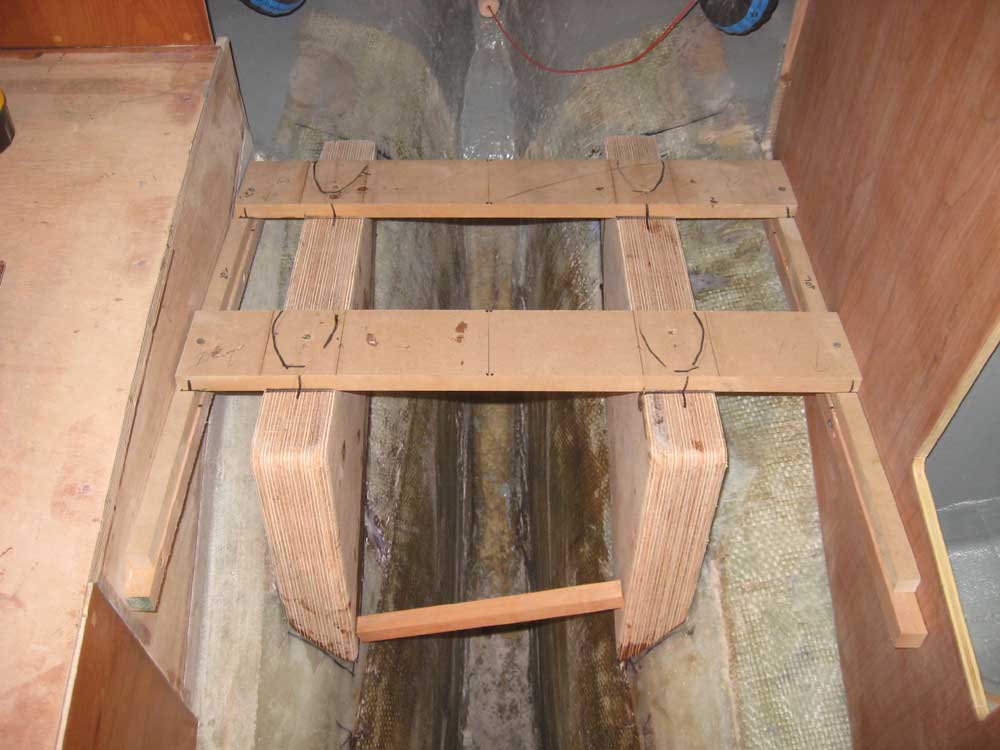
The top of the plywood cross pieces (those running between the cleats on the sides) represented the top of the new engine foundations. To make measuring--and installation--easier, I moved the cross pieces up by one thickness, so that now the bottom of these cross pieces corresponded with the top of the new foundations. By laying a scrap of plywood, which I'd cut to the length and width of the glued-up foundation blanks, on top of the cross pieces in the proper longitudinal position, I could measure up from the hull to the underside of this plywood at all four corners to determine the rough shape and measurements of the new foundations. I didn't take a good picture of this process, so I've included a photo from a past job that helps represent what I was doing (on the right). |
 |
|
With the measurements in hand, I laid them out on some cardboard first, making up four templates (two for each side, representing the inboard and outboard faces of the foundations). I test-fit the templates and made some small adjustments, and then transferred the shapes and measurements to the plywood foundation blank. |
|
|
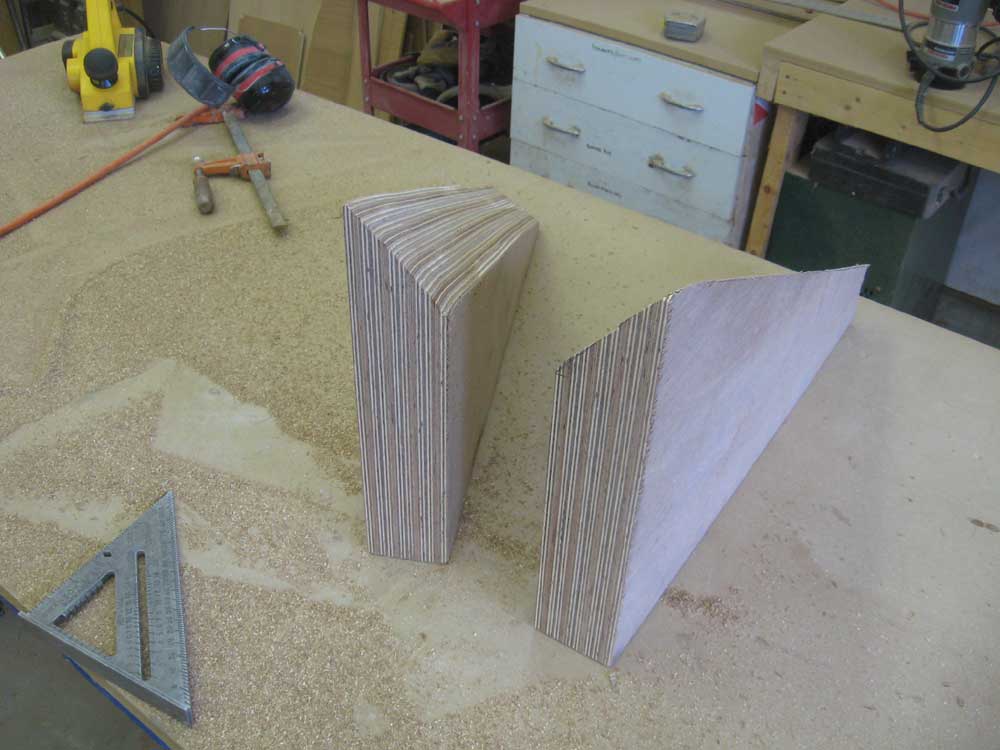
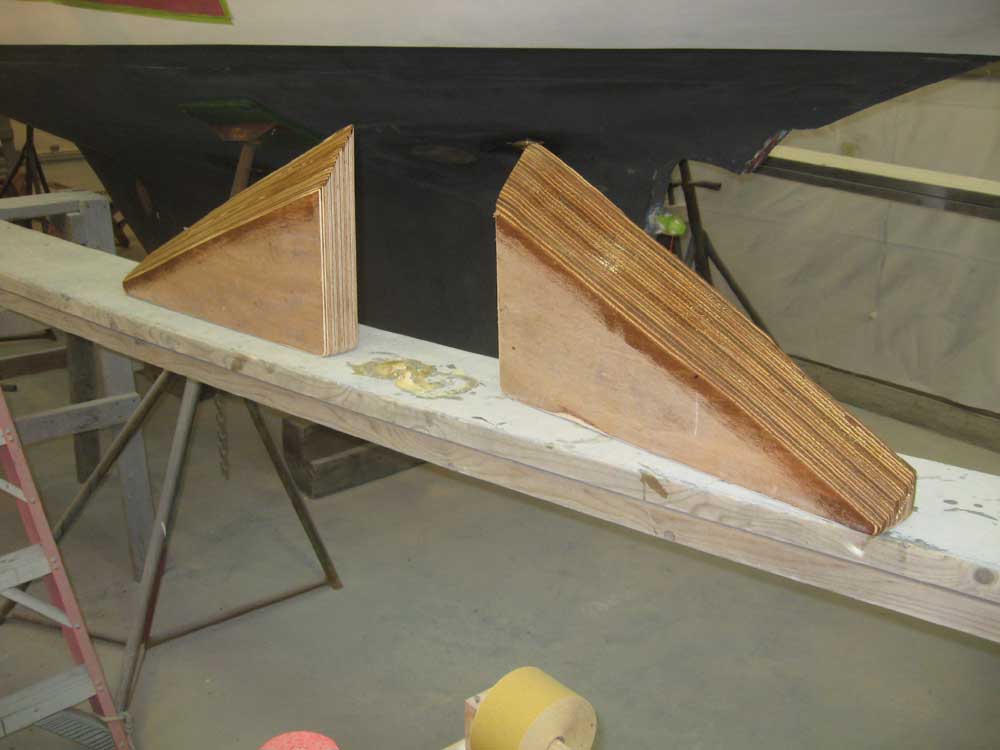
I cut the blanks roughly to size; my saw wouldn't cut the steep angle, so I finished up the shaping with a power planer. I test-fit the blanks and fine-tuned the cuts till the blanks fit where they needed to, tightly beneath the plywood jig in the boat and aligned according to the marks I'd made earlier. I could drive screws through the plywood jig and into the tops of the foundations to hold them tightly in the proper position. I rounded the exposed edges of the new foundations, cleaned them up, and epoxy-coated the bottom edge. |
 |
|
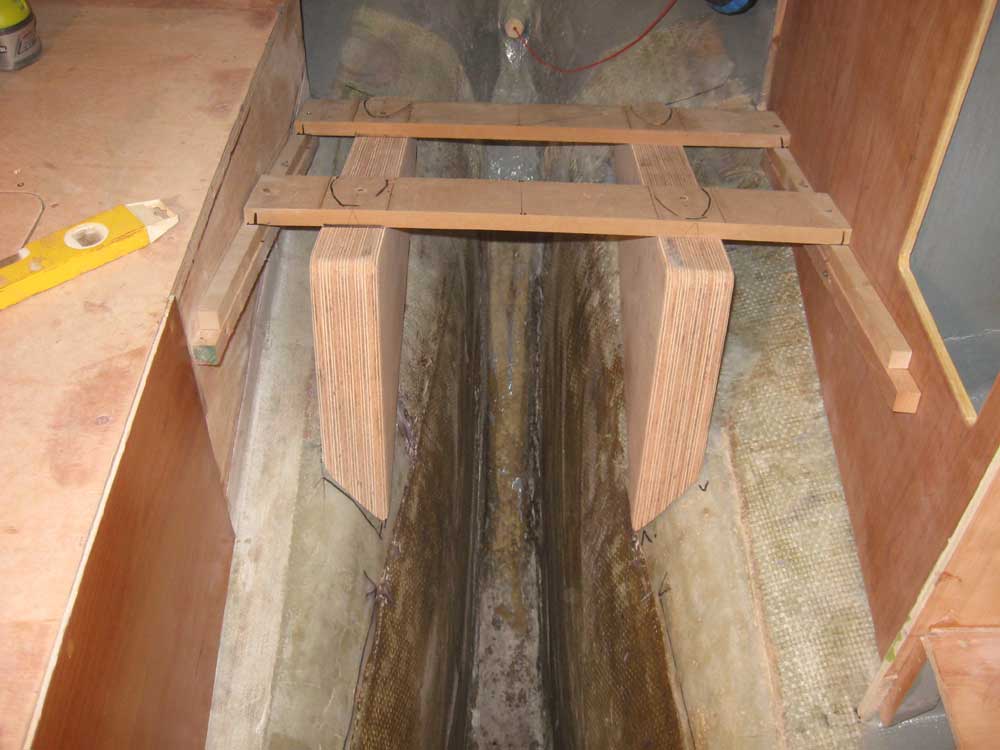
Finally, I installed the foundations in a bed of thickened epoxy--enough to hold them securely once cured, but not the final installation. I secured the foundations to the jig with screws, and installed a brace between their fronts to hold them tightly to the hull and properly plumb. |
 |
|
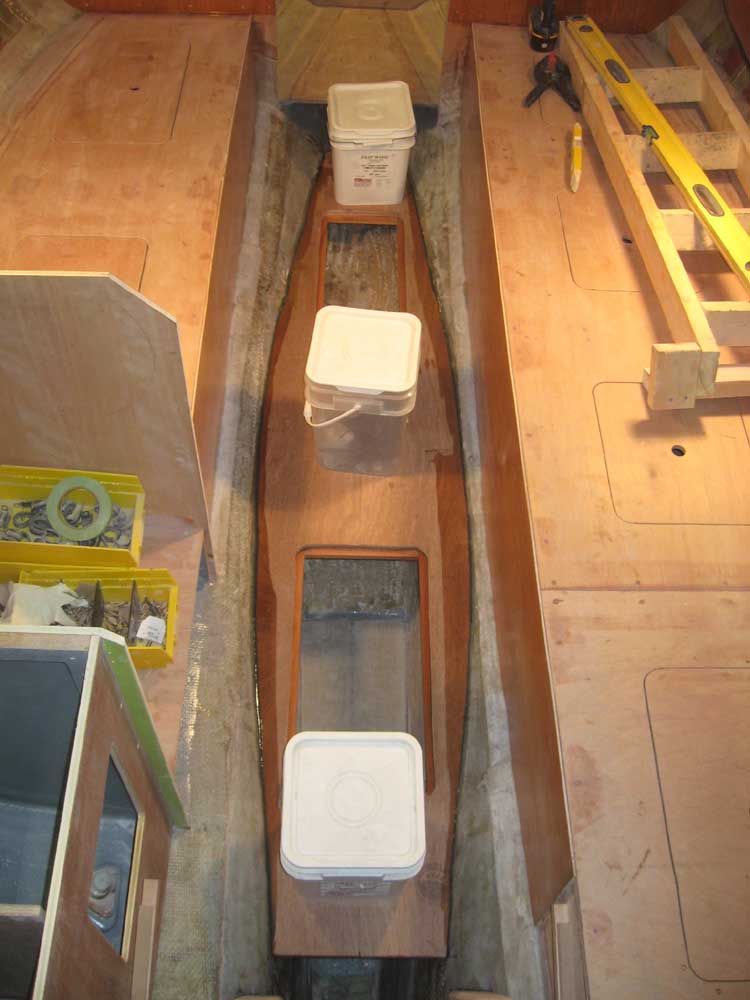
Next, I moved on to the cabin sole. With the battery platform complete, and easily accessible for whatever future work might be required, it was time to install the cabin sole substrate: a day or so of monkeying into and out of the boat while my ladder (which relied on the cabin sole for support) was out of commission was more than enough. I once more dry-fit the sole to ensure that my new support cleats didn't interfere with the hull at all, washed the epoxy-coated bonding edge of the platform, and installed the sole in epoxy adhesive, weighting it down as needed to hold it securely while the adhesive cured. |
 |
|
|
|