| Circe
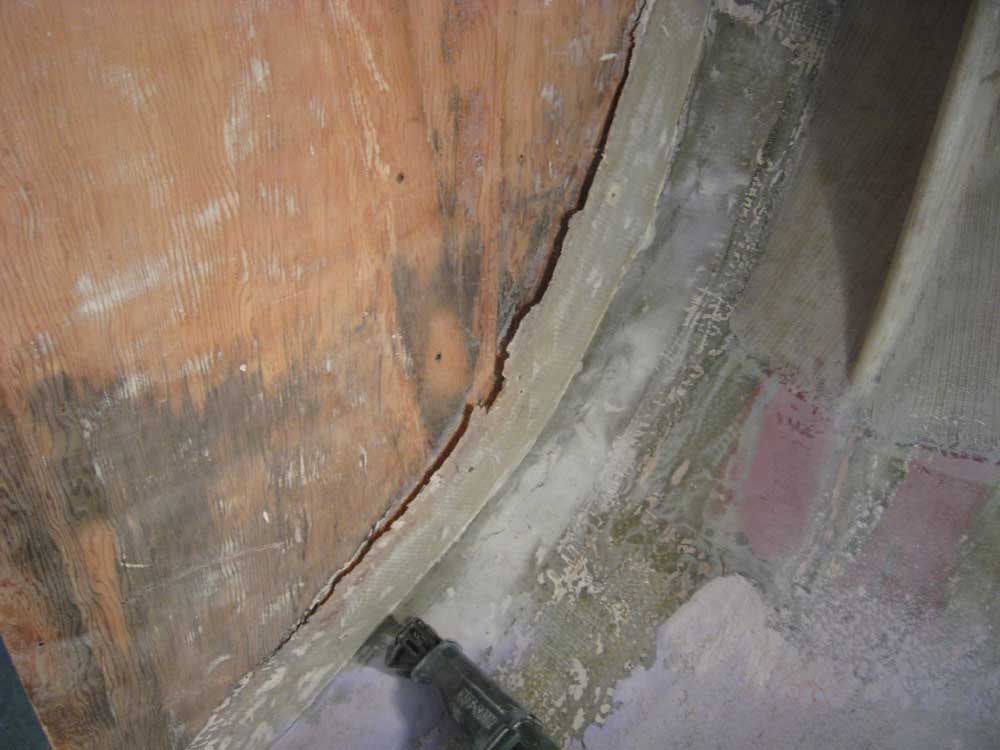
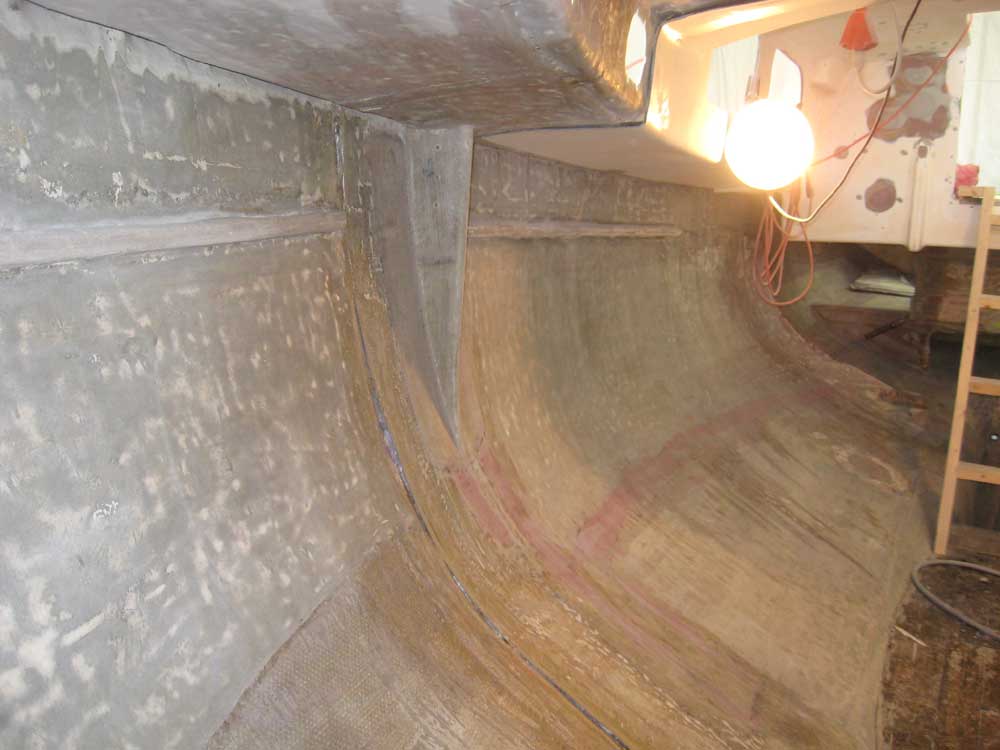
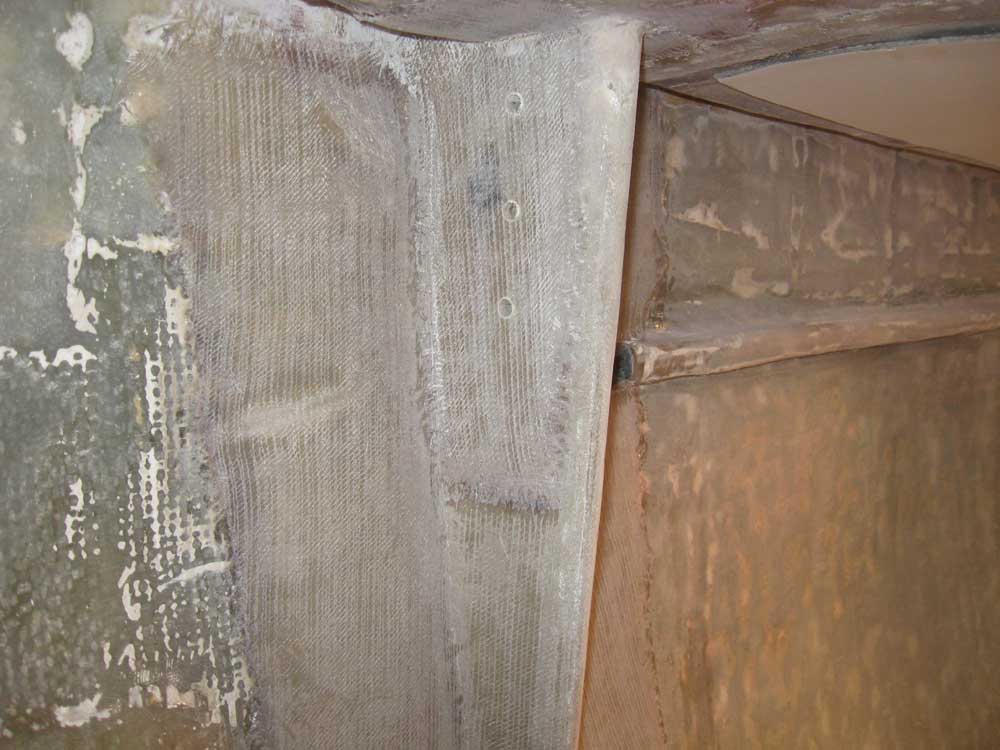
| Monday, August 31, 2009 Without further ado, I began the day by cutting out the two sections of the main structural bulkhead. The bulkheads came out easily after cutting the tabbing with a cutoff disc on my small grinder and finishing up the cuts with a reciprocating saw and carbide blade. I'd know the tabbing on the starboard bulkhead was loose and debonded from the wood in one area, but was still surprised to find that the whole section of tabbing came immediately free from the plywood when I started cutting with the saw. I was glad that other factors had caused the need to replace the bulkheads. |
|
|
|
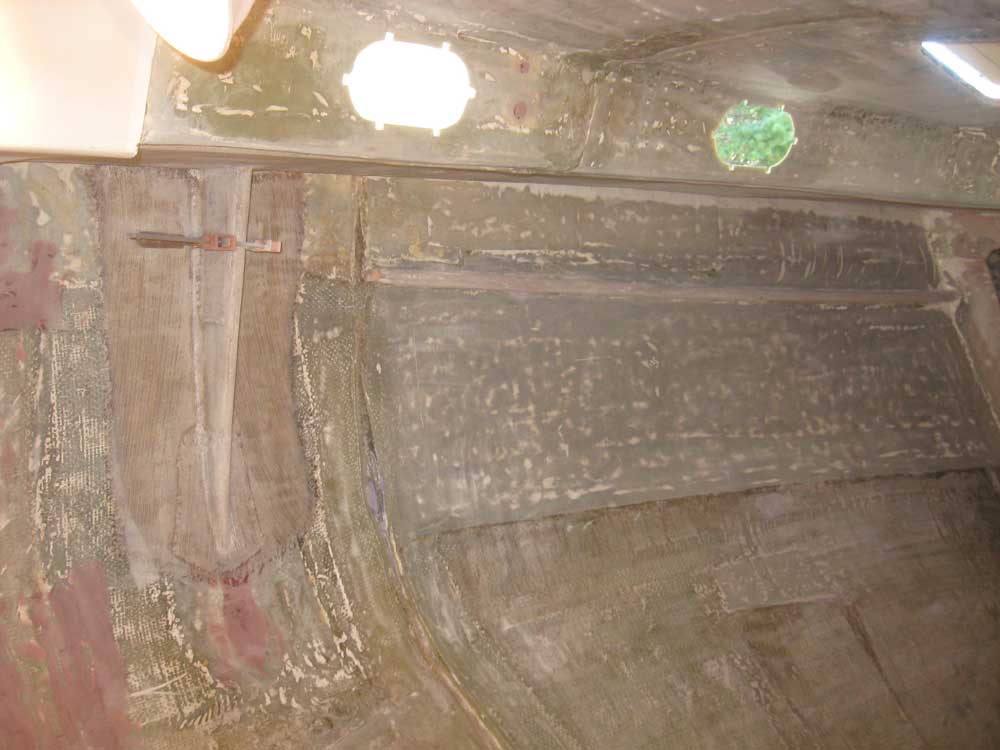
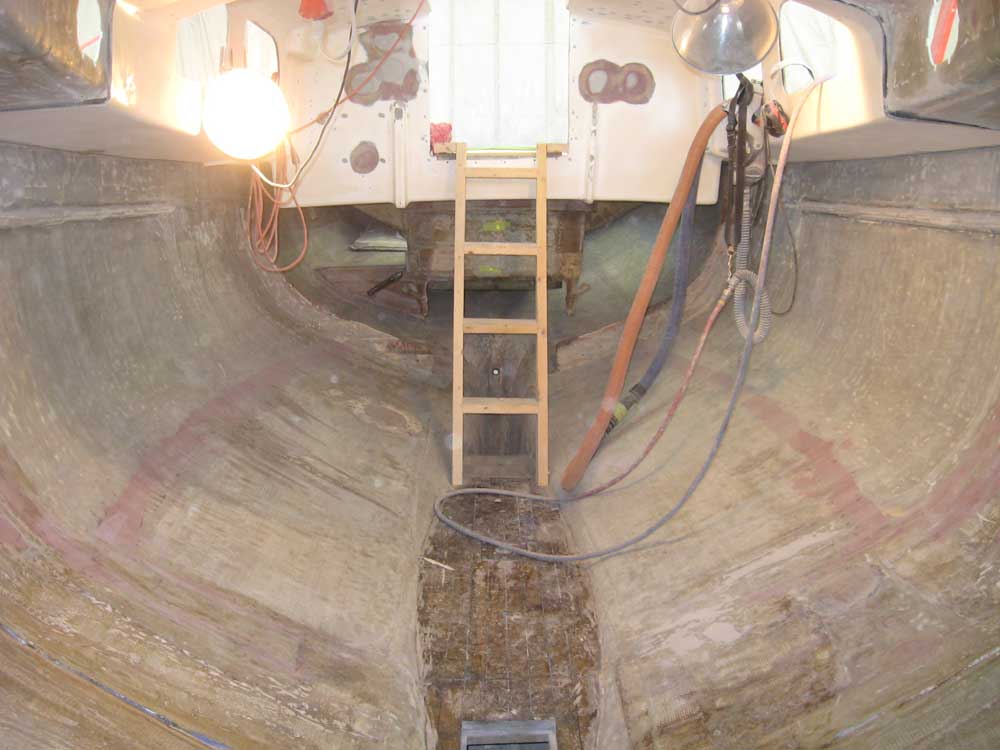
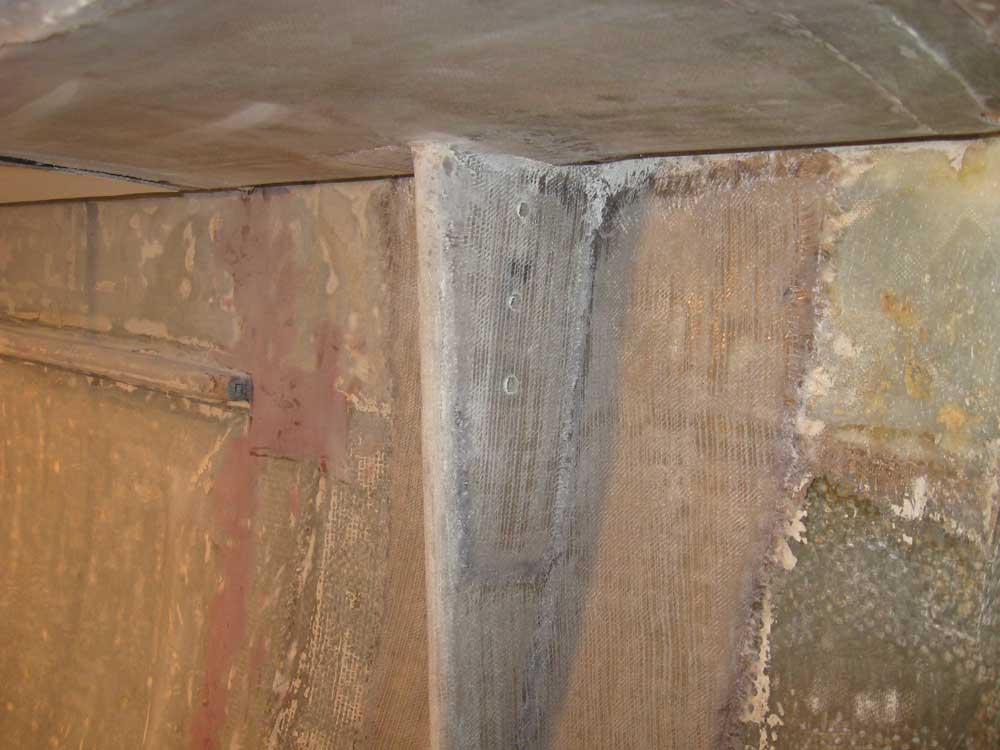
With the bulkheads out of the boat, I ground down the remaining tabbing as needed, cleaned up, and filled the remaining slots with epoxy filler to provide a smooth surface for the new bulkheads and tabbing. |
 |
|
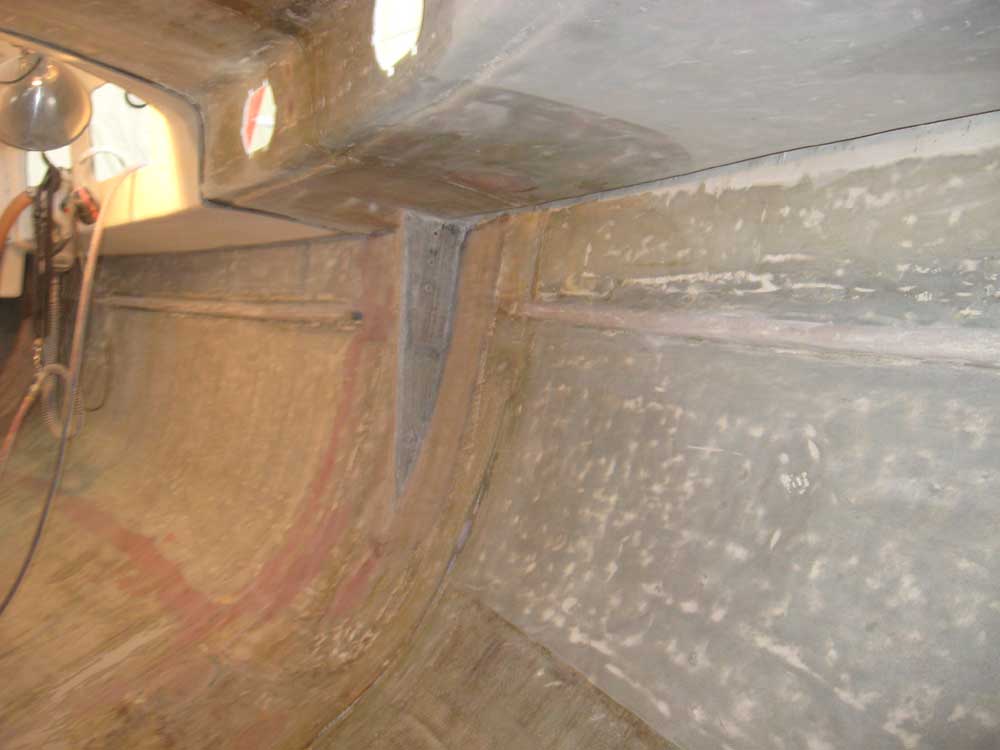
While the bulkheads were out of the boat and the area was wide open, I took the opportunity to drill the boltholes for the aft chainplates in the new knees. With the chainplates clamped in place as a guide, I drilled the holes. |
 |
|
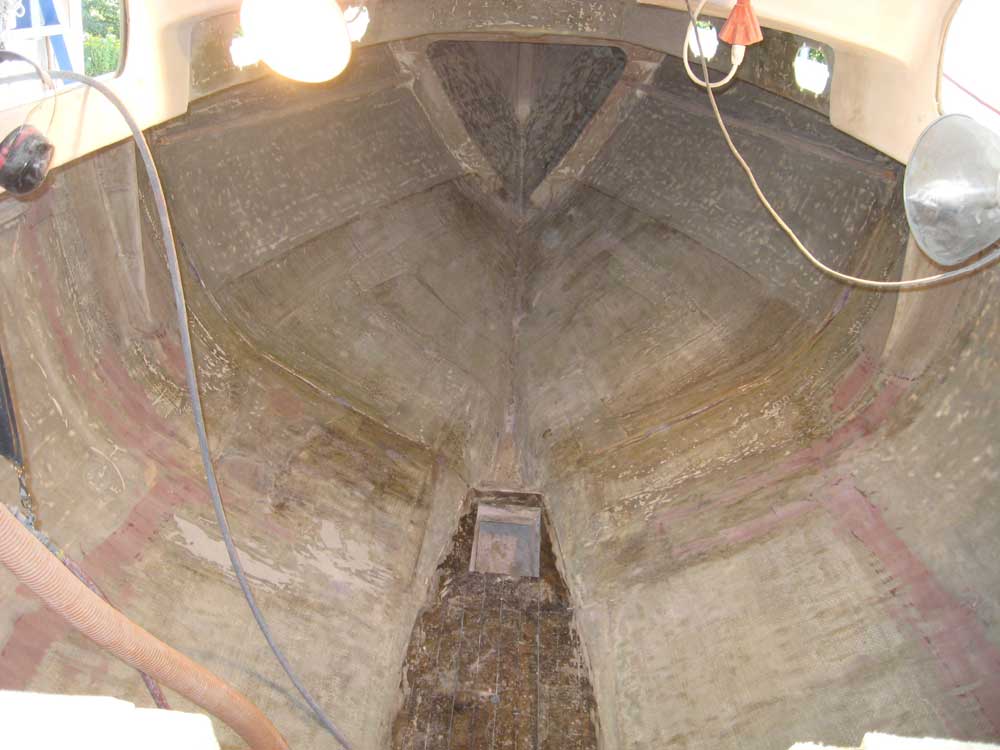
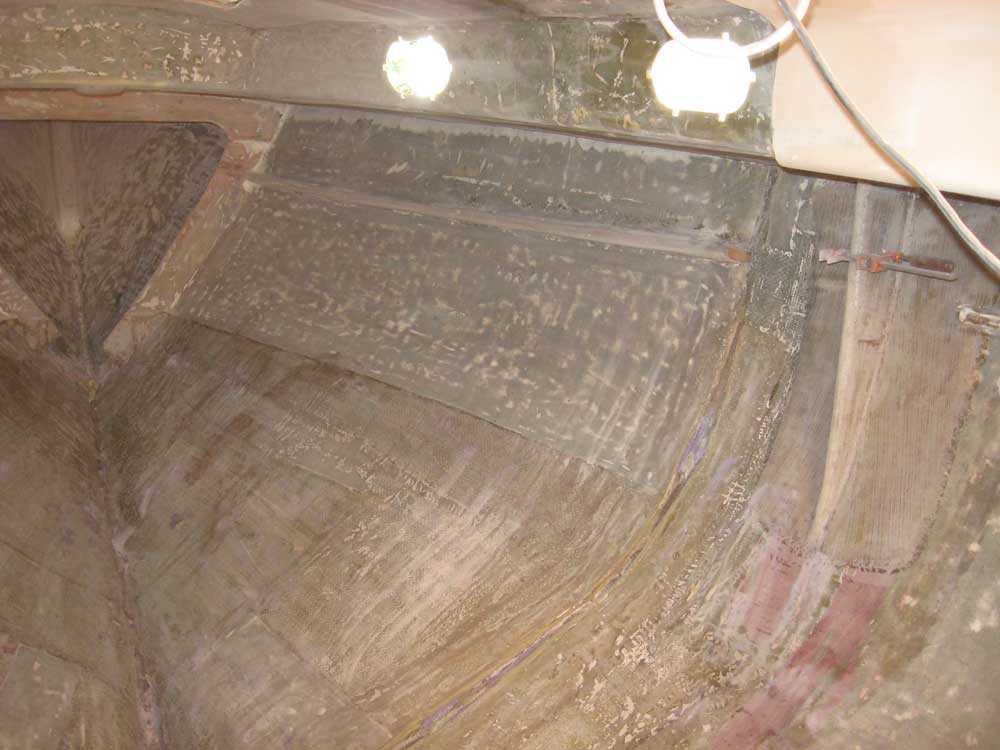
While biding time waiting for the epoxy to partially cure in the slots, I dismantled the cardboard coaming mockups in the cockpit, after taking some basic measurements and photographs of the port mockup for later use during actual construction. I ordered the materials required now that we'd determined that this mockup was definitely the way we planned to proceed. Since the main reason for replacing the main bulkheads was the fact that the original bulkhead was not plumb, the new bulkhead would end up in a slightly different location. It had to align with the forward (main) chainplates, however. To create reference marks for the new installation, I cut a straight board to fit across the boat between the chainplate slots, inserted some chainplate avatars in the slots to simulate their position, and temporarily hot-glued the board (with some 1/4" spacers to simulate the eventual thickness of the tabbing) in place (and plumb) to simulate the bulkhead running across the boat between the chainplates, and thus in its proper alignment. With a level, I plumbed up and down from this board to make a series of marks on the overhead, underside of the decks, and on the hull, which would demark the aft edge of the new bulkhead. |
|
|
|
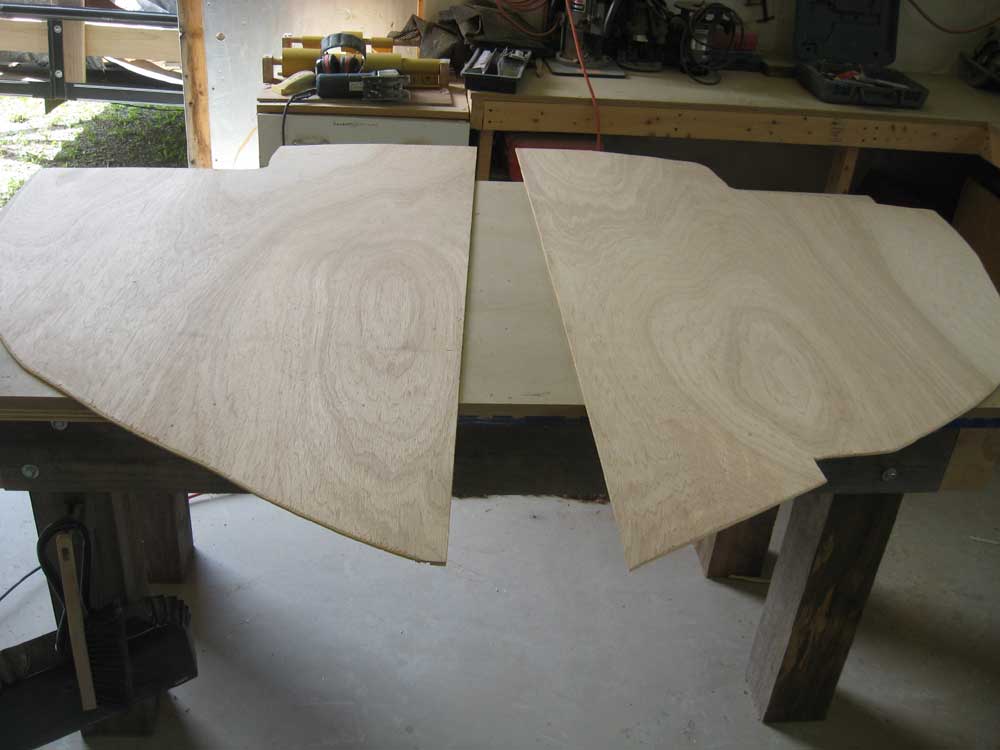
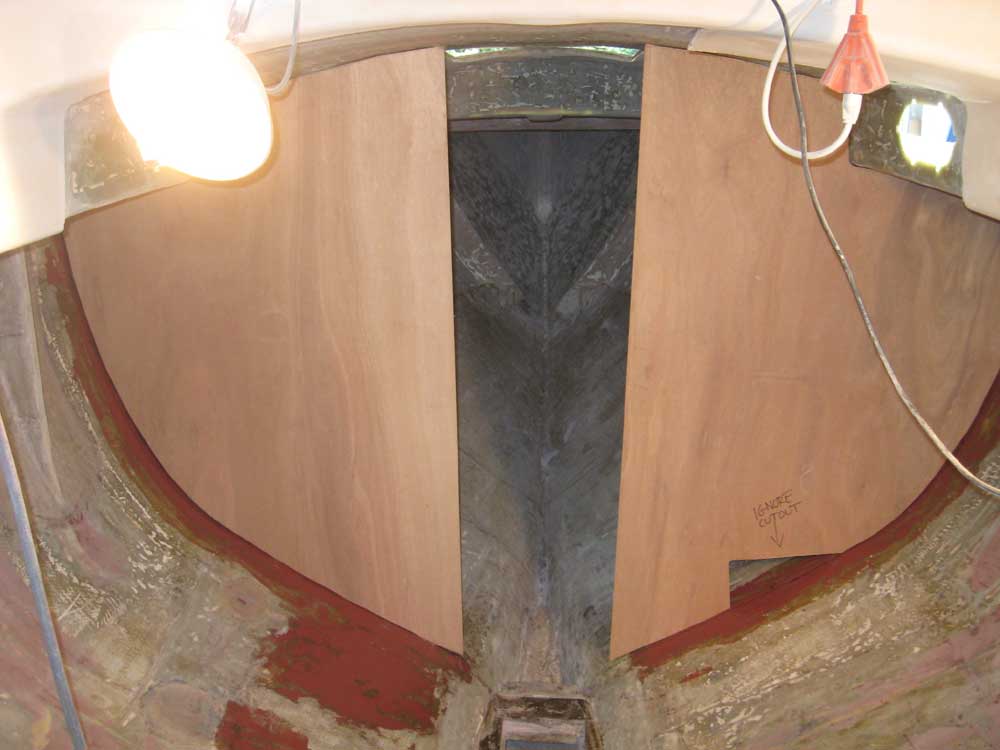
Using my paper templates from last week, I created a pair of patterns from some cheap luaun plywood, and test-fit them in place. Because the new bulkhead was in a slightly different position from the old, and because I'd made the original templates from the old bulkhead with its tabbing in place, there were some adjustments to make; I scribed the actual shape on the plywood templates, and then cut a second set of templates to the new shape. Ignore the large cutout on the starboard template: I cheated two templates out of a single sheet of plywood, but there was some overlap between the two pieces that created the missing chunk. |
 |
|
Satisfied with the fit, I transferred the templates' shape to the actual bulkhead stock, 18mm marine Meranti plywood, and cut out the new bulkheads. I test-fit them in place and made minor adjustments; since the bulkheads wouldn't stay in place on their own, I didn't take pictures of the test fit. For the moment, the bulkheads extended all the way to the hull, but I planned to trim an appropriate border from the hull-bearing section and install a foam strip as part of the installation process that would take place soon. |
|
|
|