| Bolero
Project |
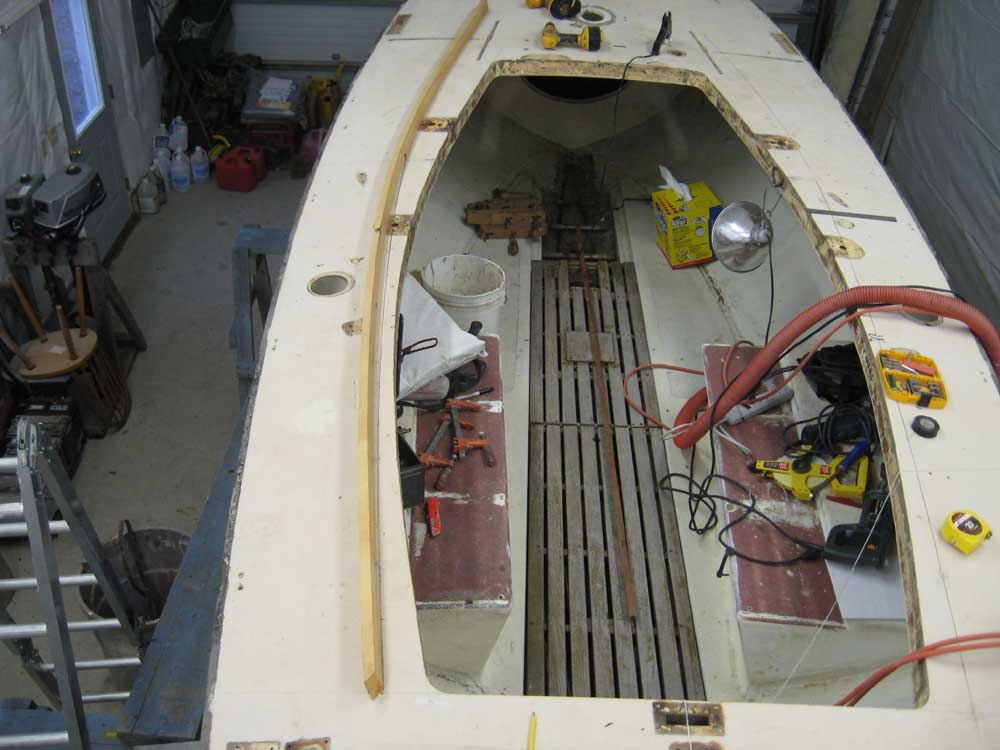
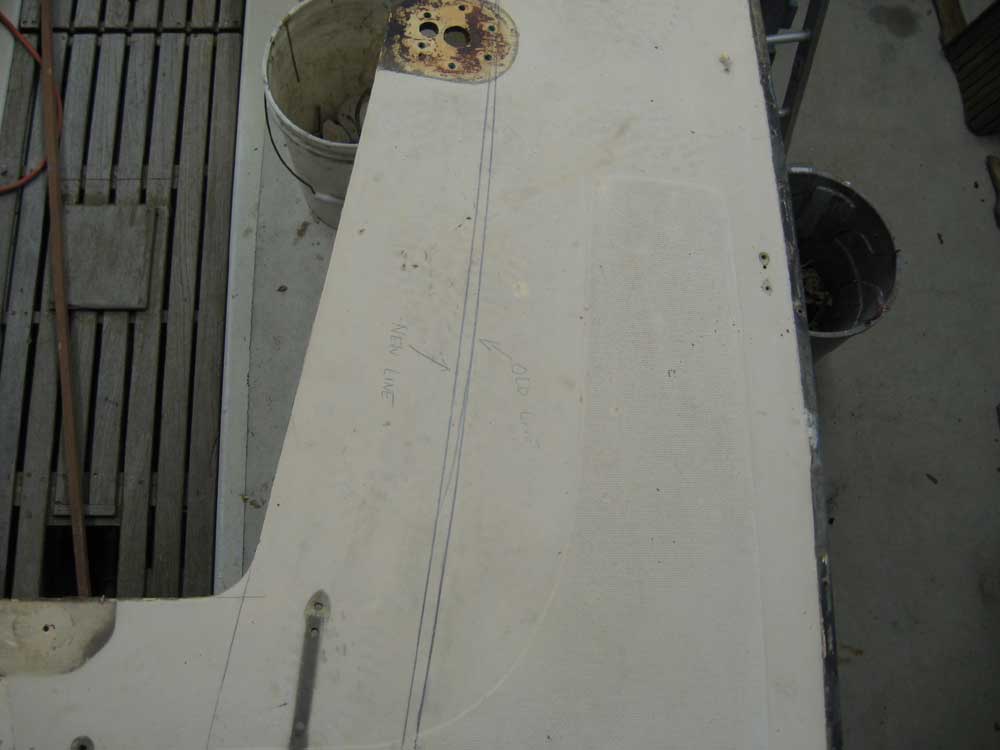
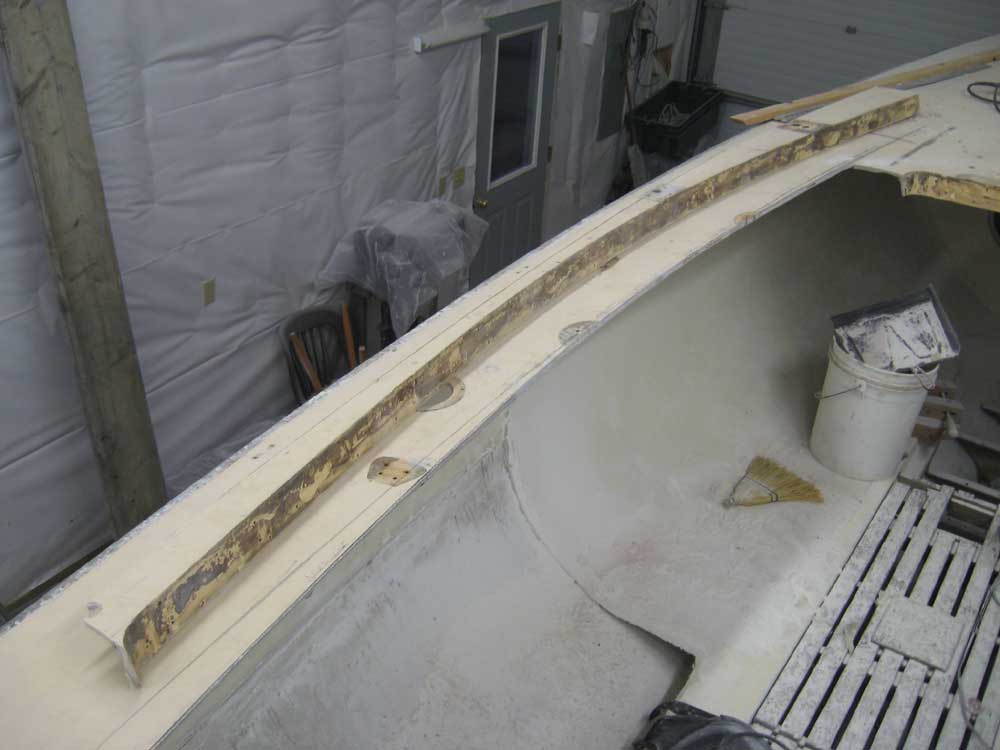
November 16, 2007 Special Early Morning Update: Down and Dirty (Posted at 0930 EST) I posted this section during the morning's work on this day so that the owner could better visualize some changes to the layout line that we'd discussed through email overnight. First thing this morning, I laid out a couple new options for the shape of the new deck cutout for the cockpit and cabin trunk. I thought that the curve of the line might be more pleasing if I allowed it to take a natural shape using only three fixed points along the way: the aft corner of the cockpit, the forward corner of the cabin trunk, and the aft edge of the cabin trunk/forward corner of the cockpit. I found a board that was long enough to span the entire distance, and using screws driven into the deck temporarily to hold the board against the three points above, I bent the board into position, creating a new and fair curve incorporating these three fixed points. |
|
|
|
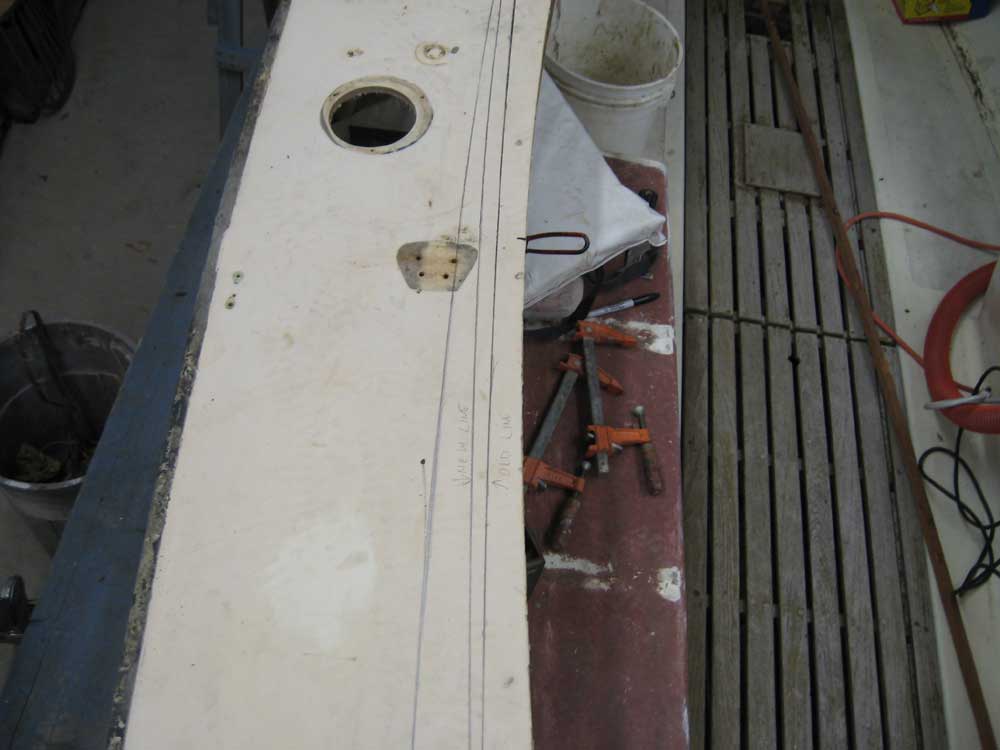
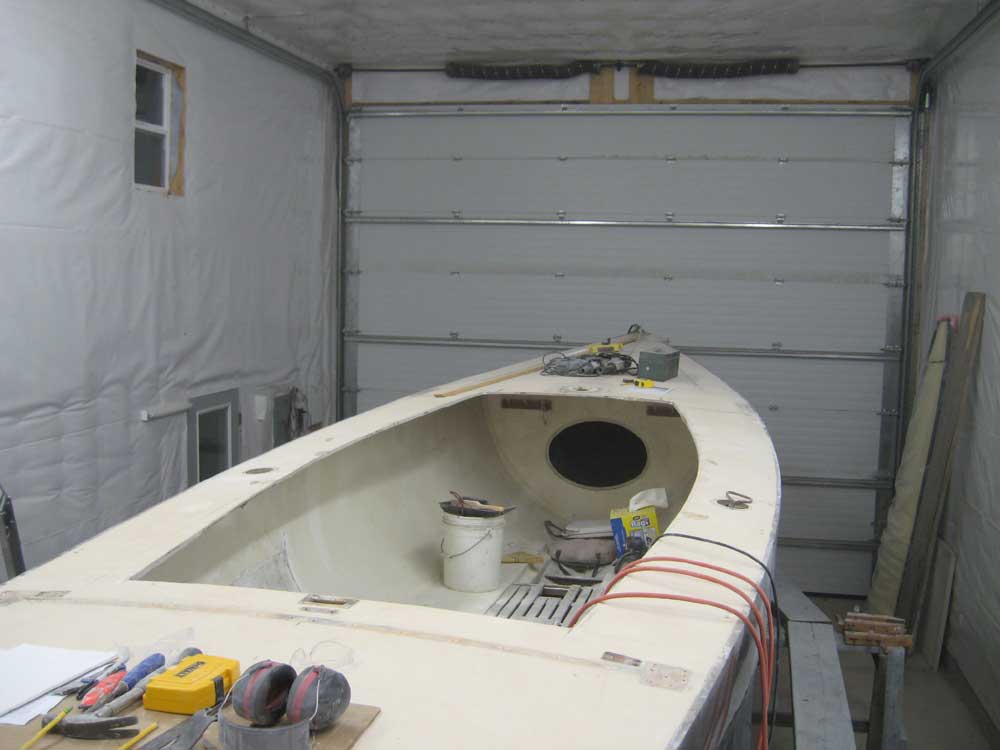
As I had expected, this approach did change the nature of the curve in subtle ways. It slightly flattened out and narrowed the cabin trunk curve, but increased the curvature in the cockpit coaming. Instead of paralleling the hull now, the curve bulged slightly outward near its center, widening the cockpit in that area by about an inch per side. This is a subtle change that I thought might be effective from a visual standpoint. I also laid out a new line further outboard to illustrate a slight widening of the aft end of the cockpit. I added 3" to the width, narrowing the sidedeck to 9", and maintained the other two fixed points forward. I used the spline to mark this line as well. In this series of photos, the outermost line is the one where I widened the cockpit; the center line is the new line struck by splining between the three fixed points while maintaining the 12" sidedeck width at the aft end of the cockpit; and the innermost line is the original line I determined yesterday. |
|
|
|
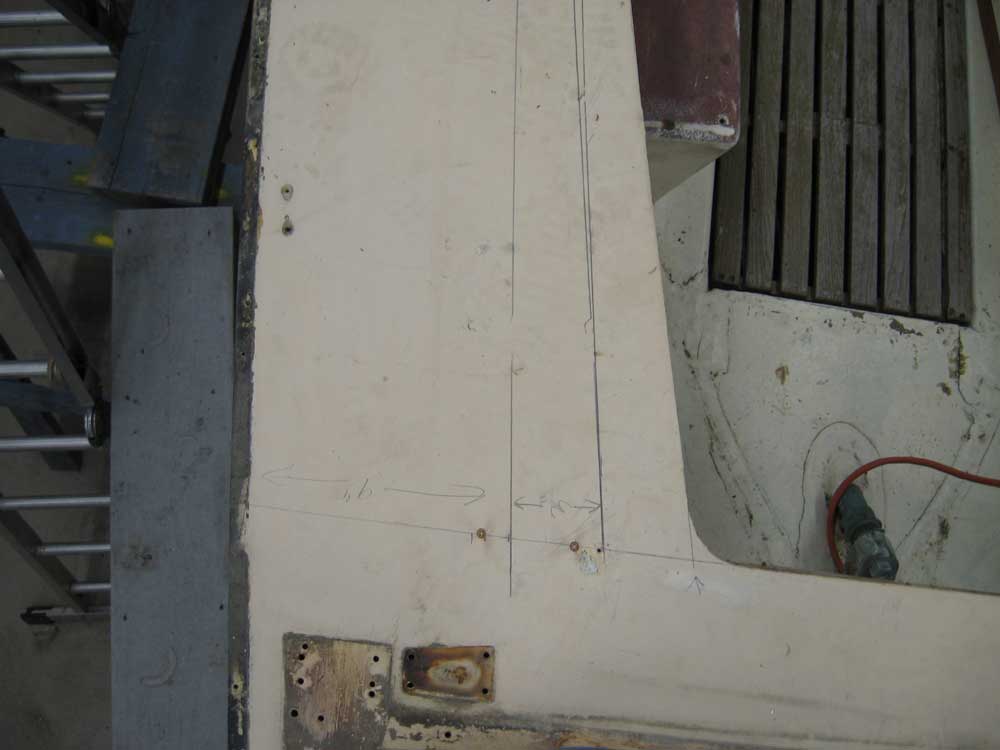
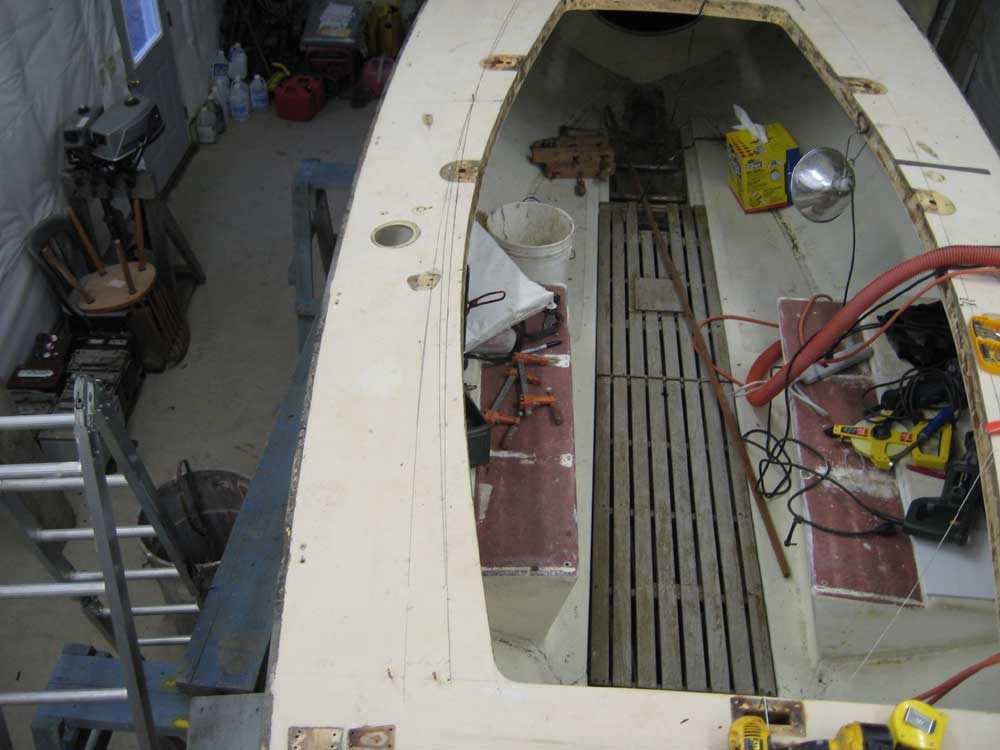
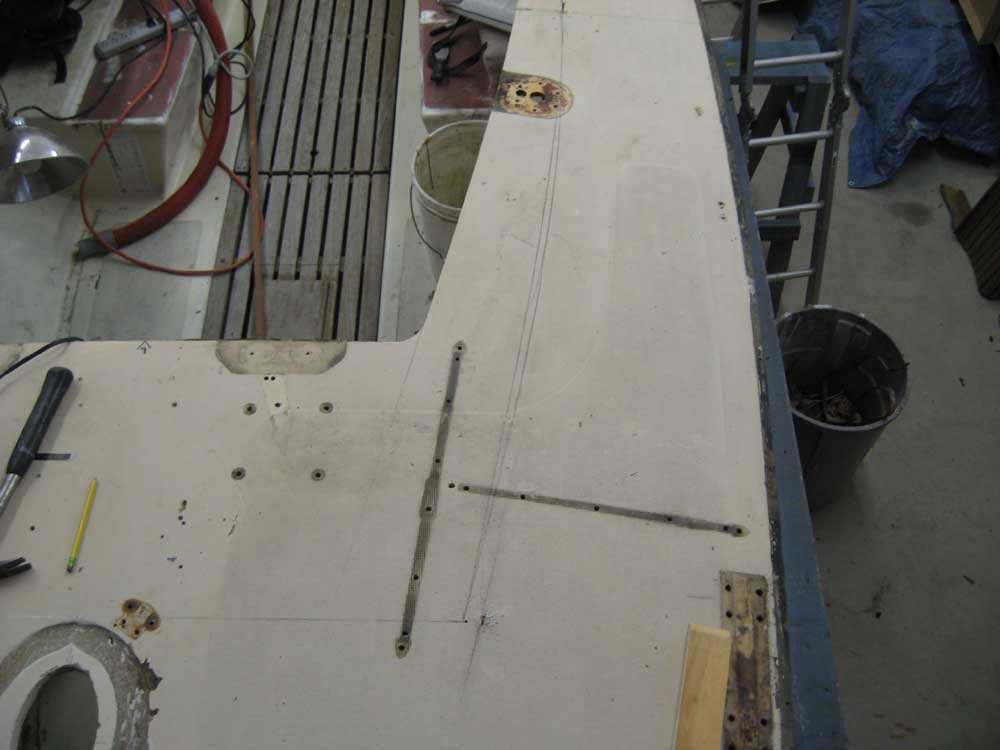
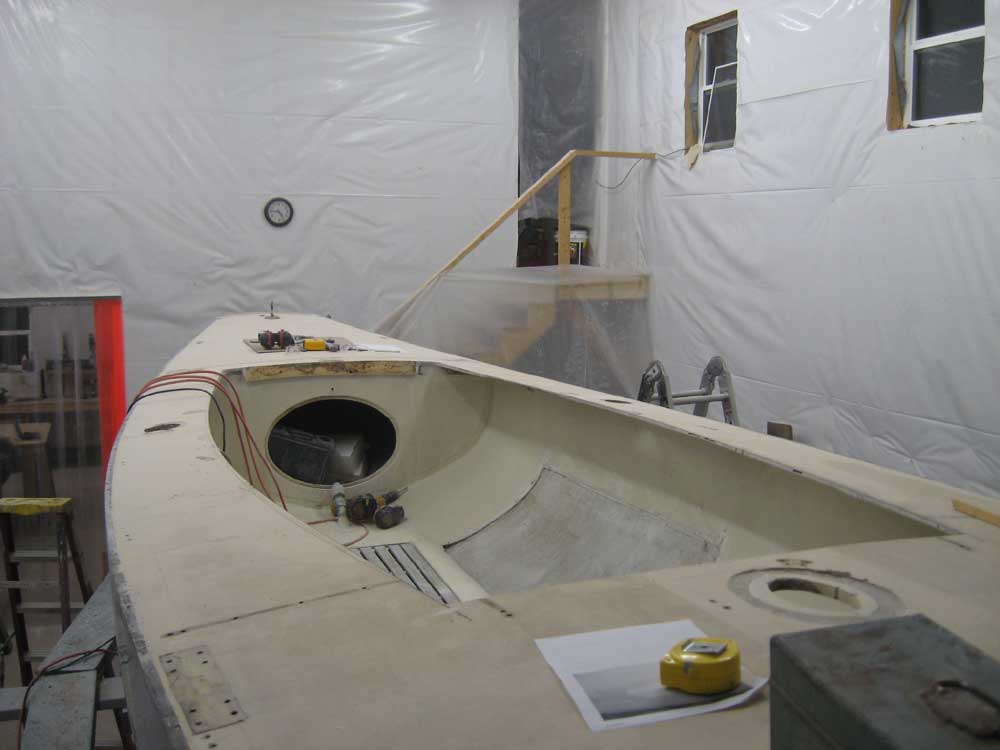
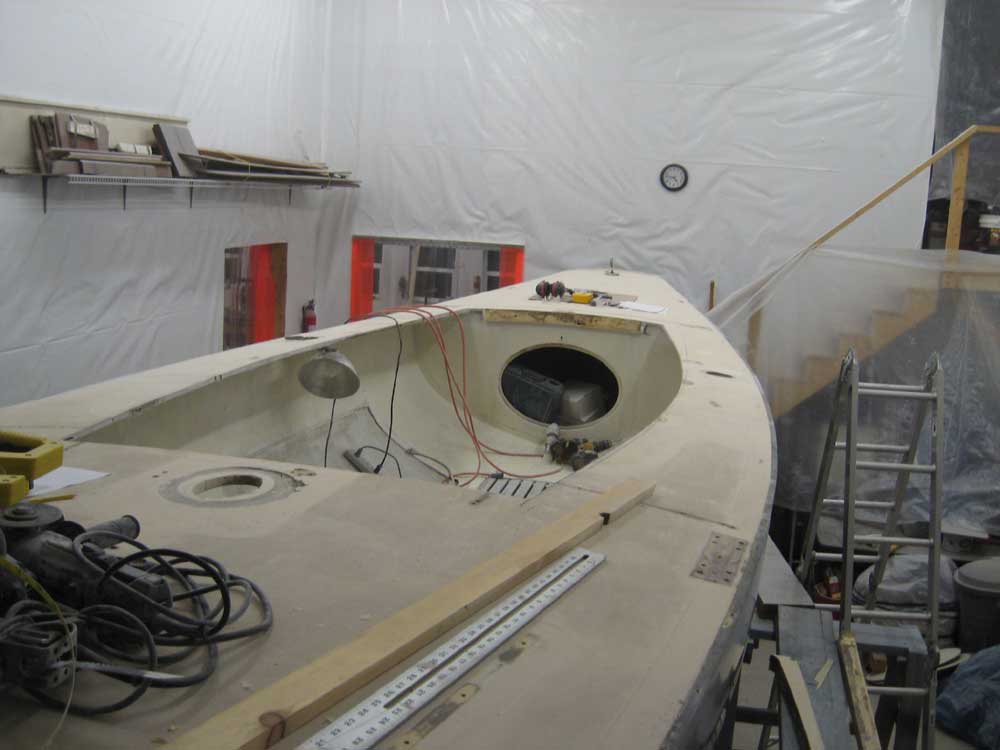
These photos show the changes to the shape and position of the cabin trunk. The new line remained the same regardless of whether I widened the aft end of the cockpit or not. In these photos, the inner line is the new line, formed with the batten as seen in the photos at the top of the page; the line from yesterday is outboard of that. Again, this is a subtle difference, but the overall curve from bow to stern is now a more fair and curvaceous line overall, I think. |
|
|
|
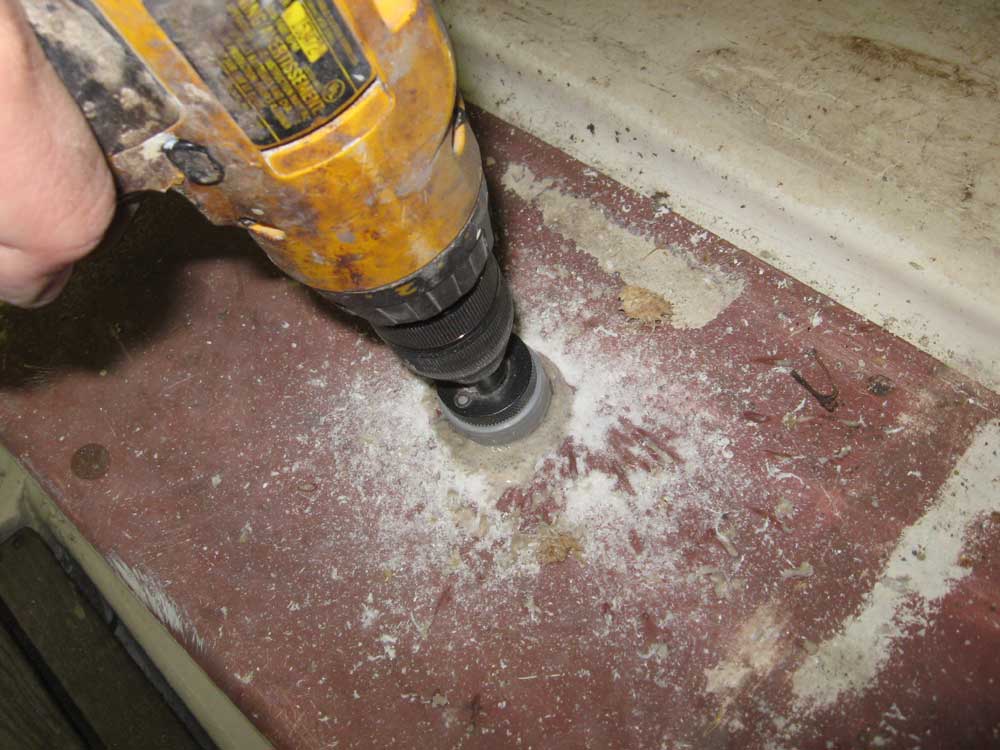
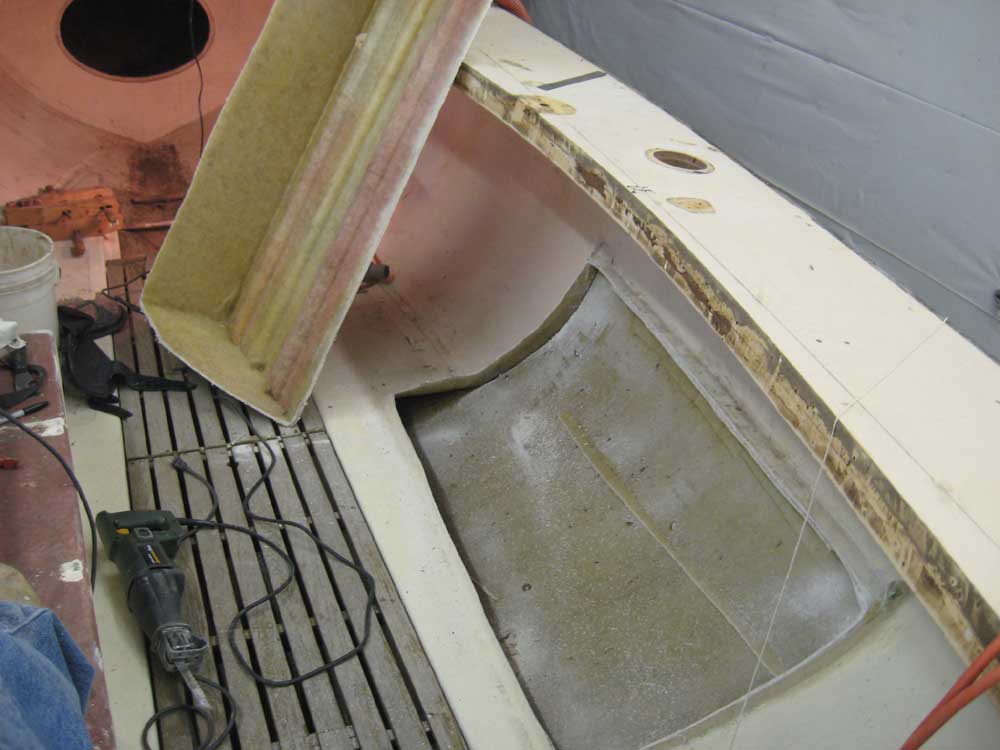
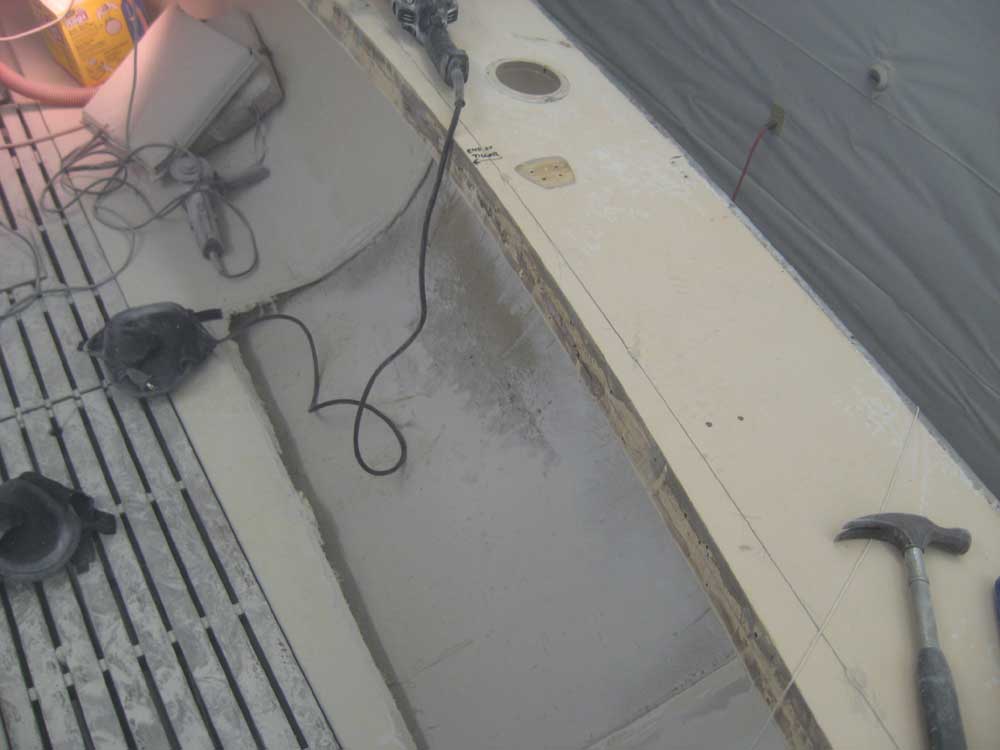
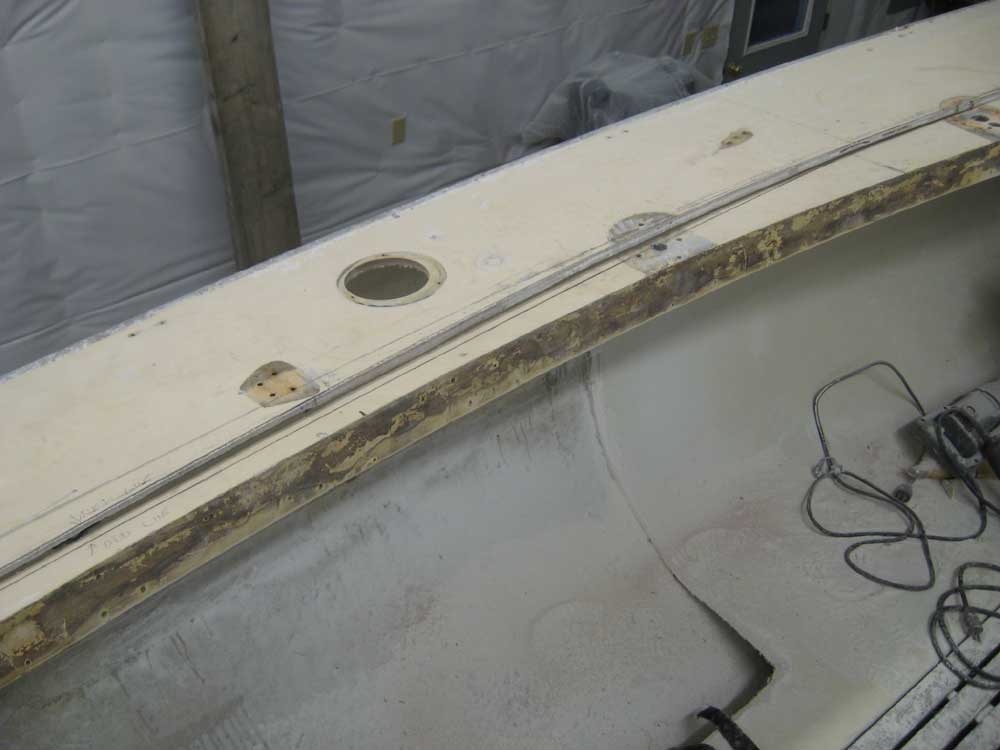
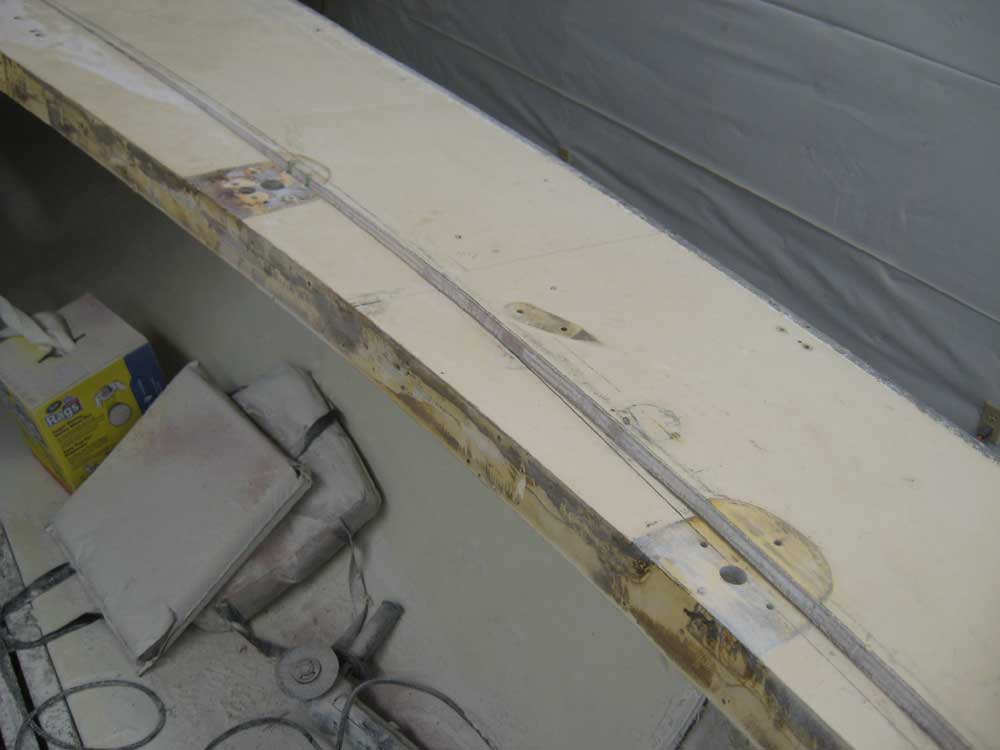
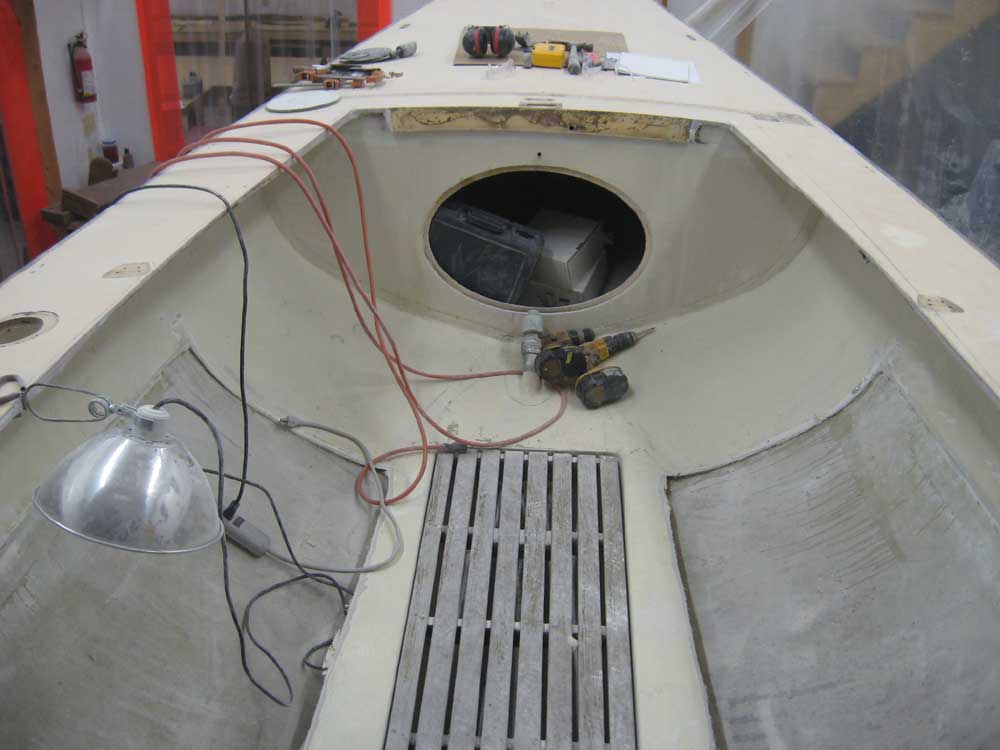
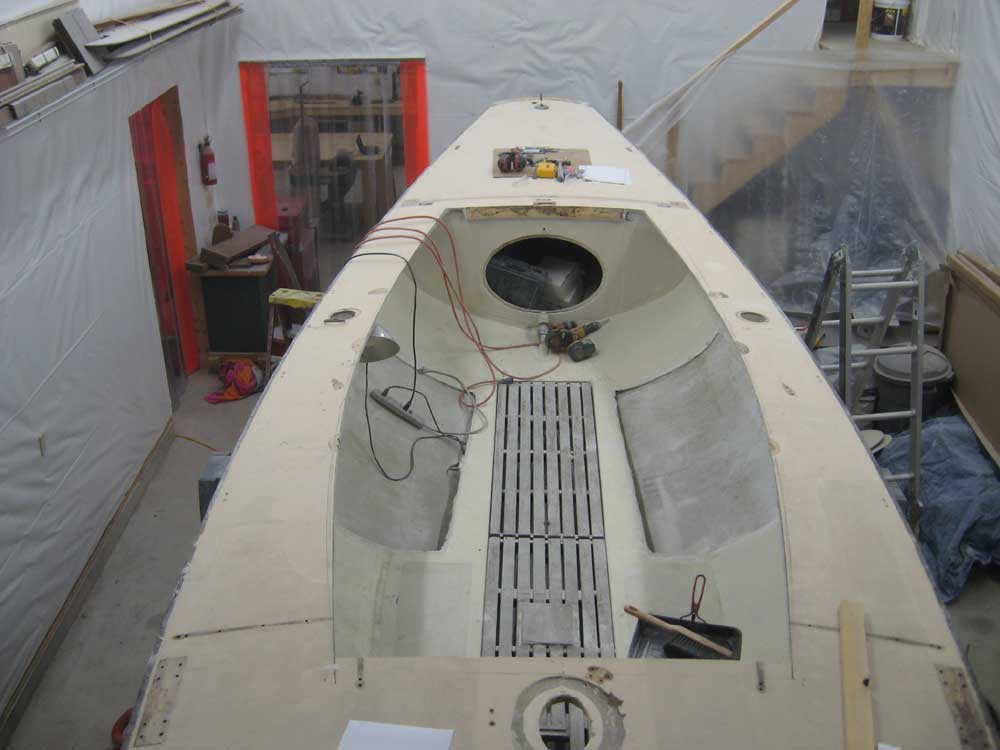
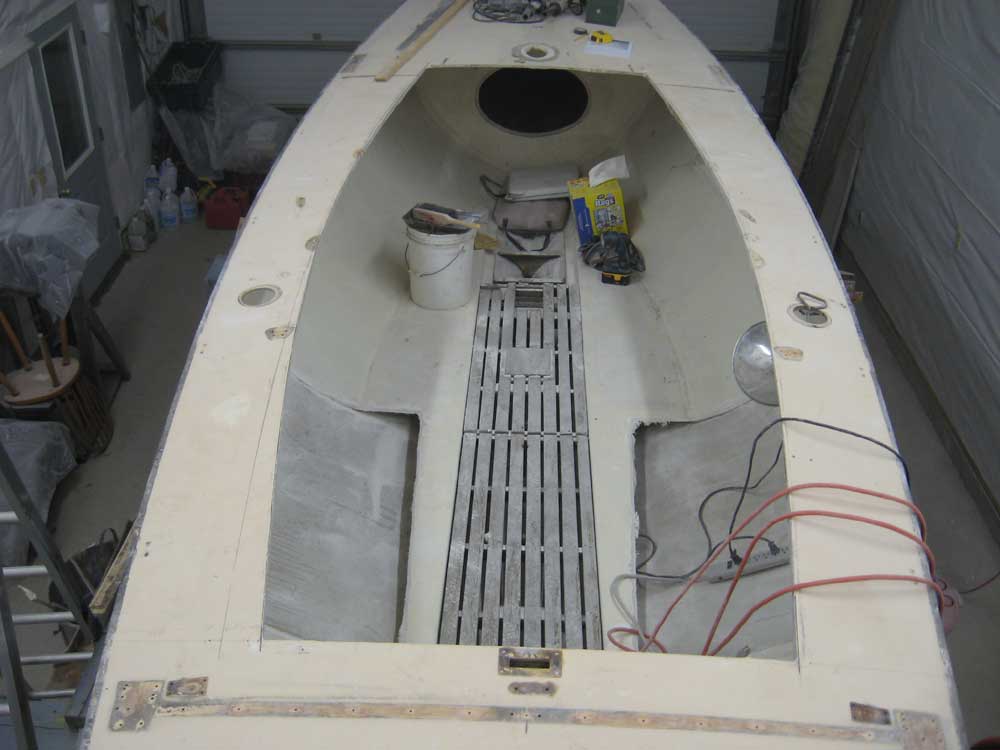
Afternoon Update After some consultation following my morning posting above, we settled on the final position for the new cockpit/cabin cutout. We chose the new line that I struck with the batten this morning, while maintaining the 12" sidedeck width at the after end of the cockpit. The new line is subtly different from the original, but seemed more successful overall. Sometimes it's the small changes that can make a large difference; I think the original line would have looked good, but with the slight tweaking that resulted in a more fair, natural curve with fewer set points determining its course, the newer line was even more successful. In the meantime, I turned my attention to the molded cockpit seat supports, which also acted as flotation air tanks in the original class design. With the number of modifications underway to this particular boat, we decided fairly early on that trying to work around these air tanks didn't fit in with the new cockpit layout and concept. So rather than artificially limit what the boat could be based on existing installations, I cut these tanks out to open up the cockpit. Whether or not we choose to install additional air buoyancy later on remains to be seen. Before cutting out the structures, I wanted to be sure what I was dealing with; for all I knew, the tanks could have been full of stagnant water. So I used a hole saw to drill some holes in the top of the starboard tank so I could see in side. Fortunately, no water geyesered out as I drilled, though I did drill through some quite sodden wood that had been encapsulated as stiffeners beneath the top surface. I found even wetter wood on the port side, so much water that it bubbled and foamed up around the hole saw as I cut. |
|
|
|
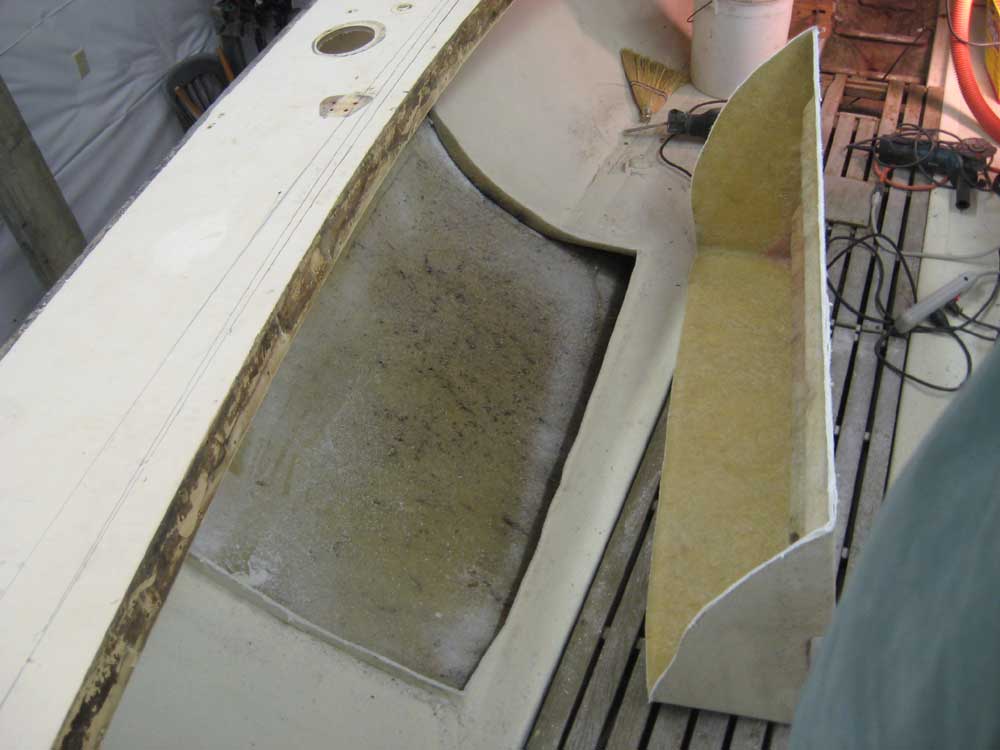
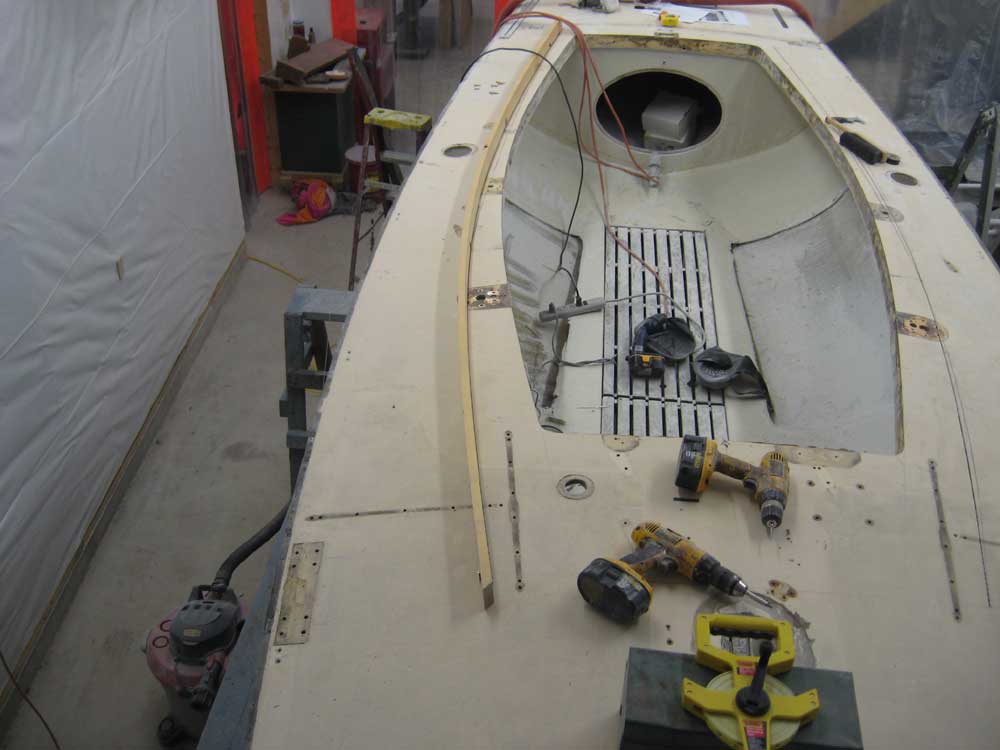
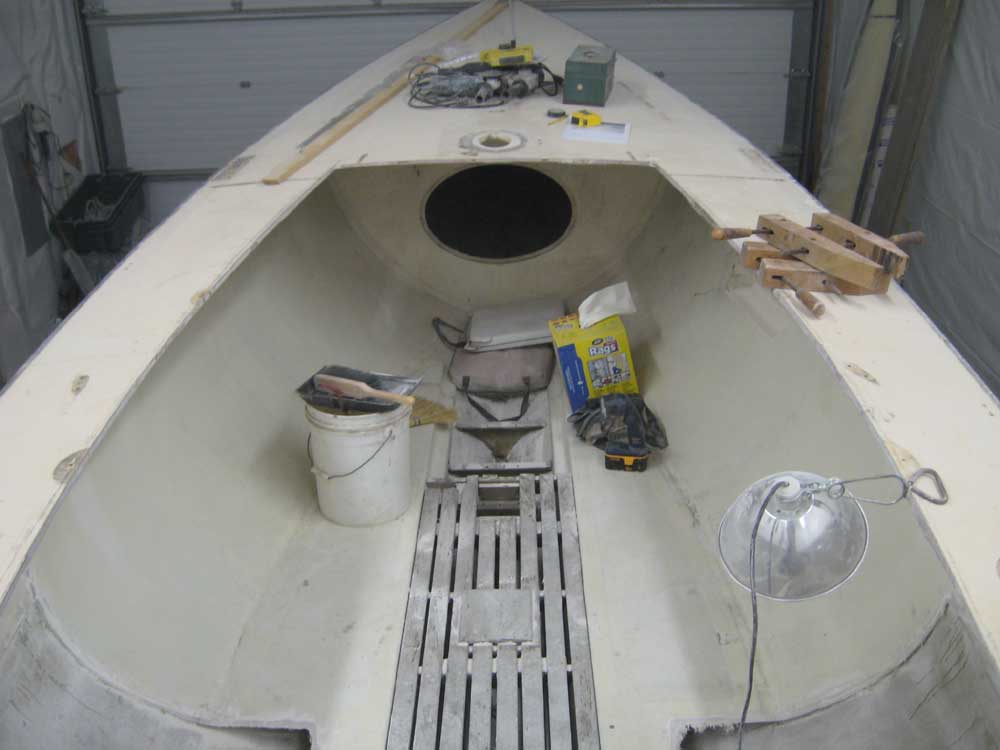
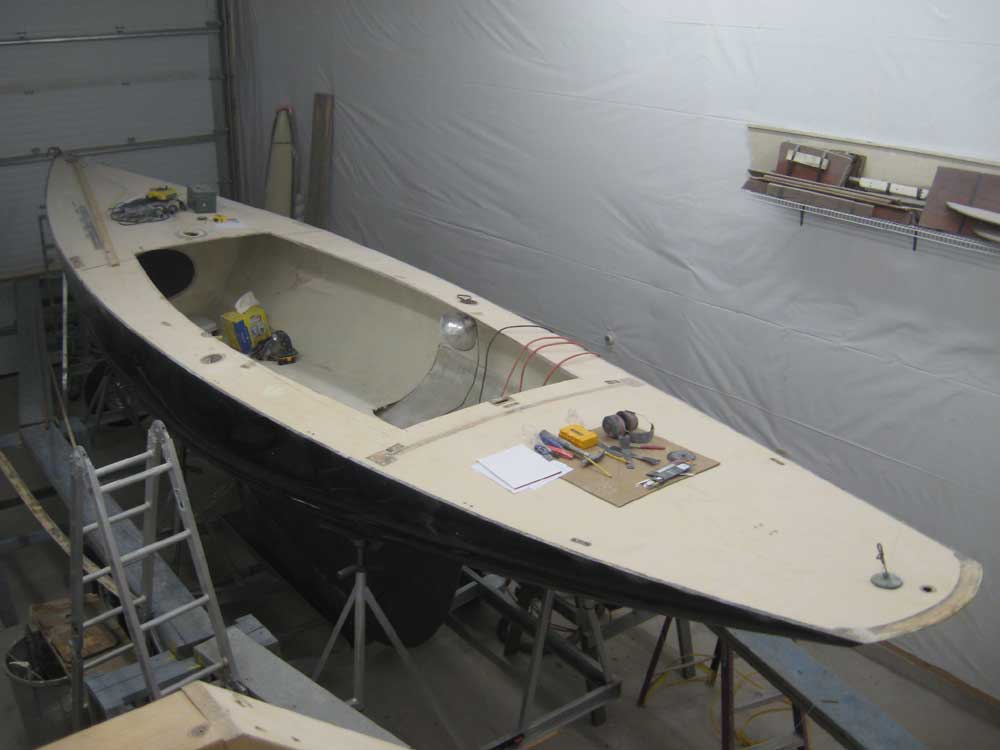
Now that I had determined what was inside the tanks, I cut out the bulk of the tanks with a reciprocating saw fitted with a carbide blade. I held the saw as close as I could to the hull and cockpit sole as I cut without causing any damage to the hull from the blade, which left a smallish flange of material that I'd have to remove through some other means, but the cutting was easy with the carbide blade. In short order, I had both tanks removed. |
|
|
|
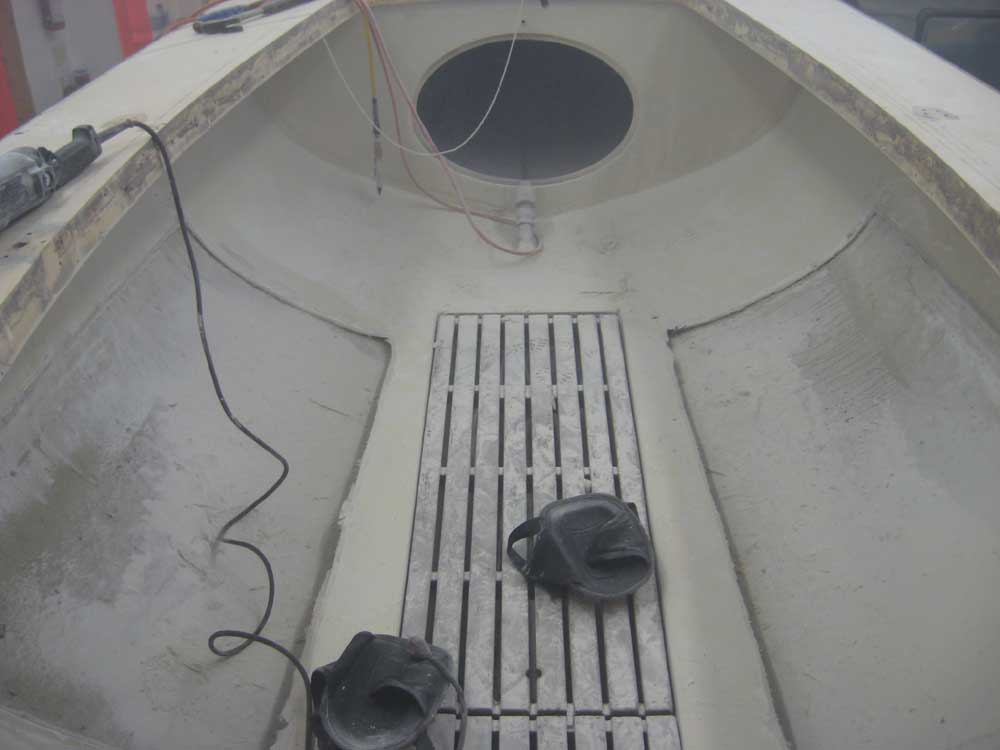
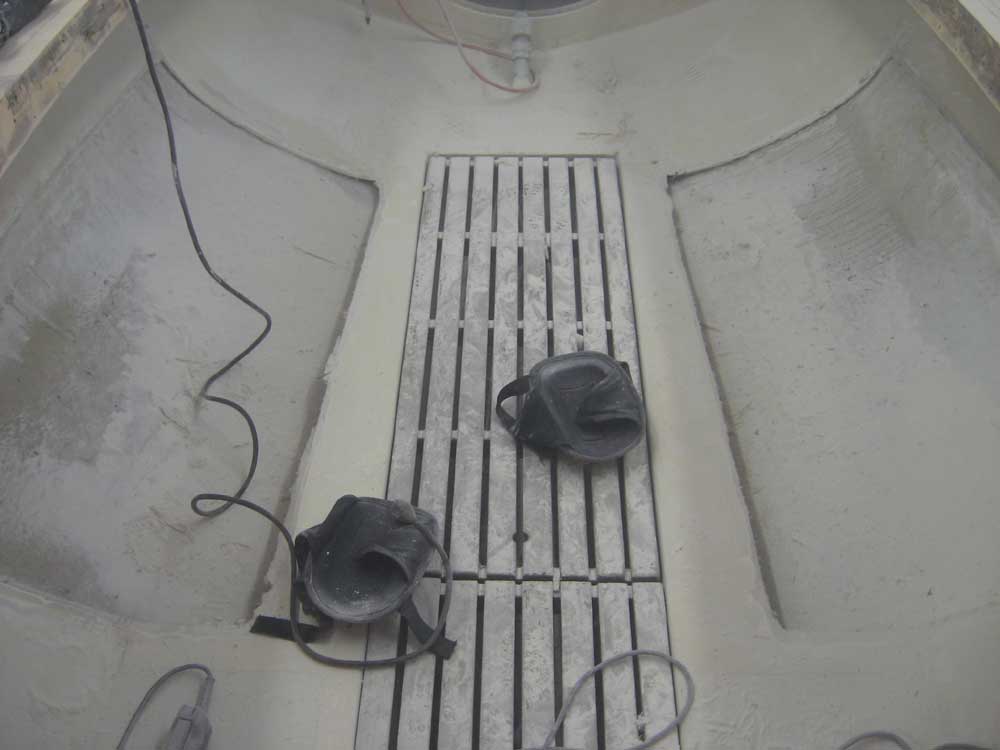
Next, I equipped my 7" grinder with a hard pad and 16 grit grinding disc, and ground away the remaining material where the air tank had been attached. The laminate was surprisingly thick for these tanks, considering how generally lightly built the boat was overall. Grinding created piles of dust, but I removed the remaining material without particular difficulty. Later, I'll further clean up the ground edges with a different tool, but for now I was done with this task. |
|
|
|
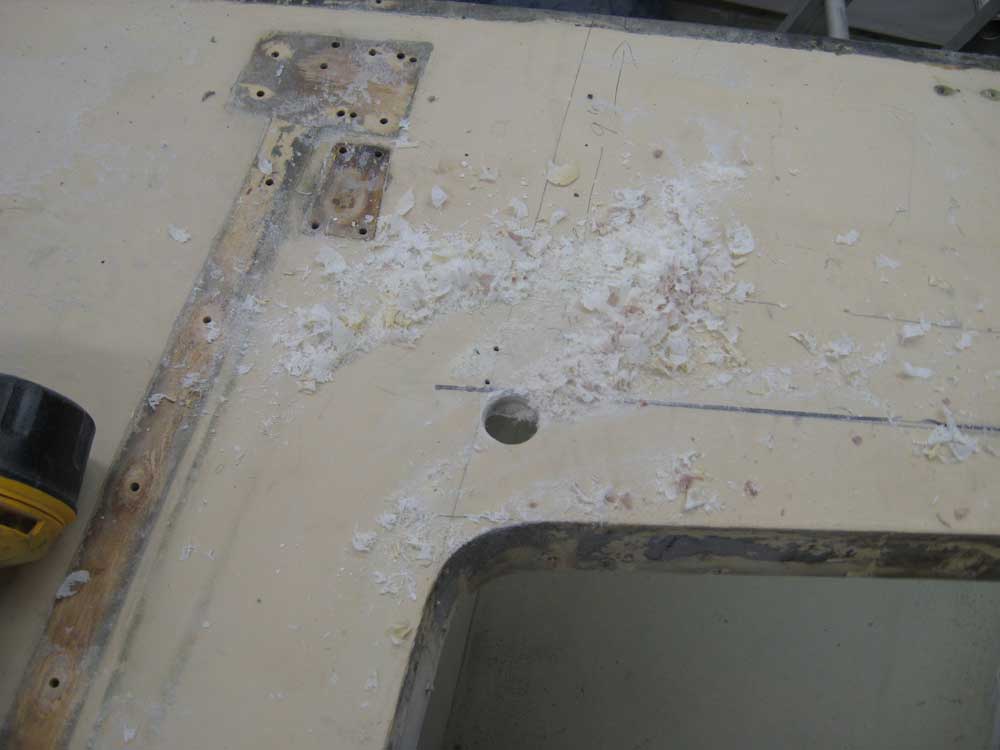
Before continuing with the layout for the
cockpit cutout, I double checked my measurements and reference marks
that I'd made the other day from side to side, and also temporarily
reinstalled the stem fitting so that I could make symmetrical
measurements from a known and fixed point to ensure that the layout was
consistent. I also made some measurements and notes on the
existing location of the jib tracks so that I'd have the reference for
future relocation. Then, following the process that I used to lay out the new cockpit curve on the port side, as described in this morning's update, I repeated the procedure to starboard and struck the corresponding line. I was nearly ready to make the cut. |
|
|
|
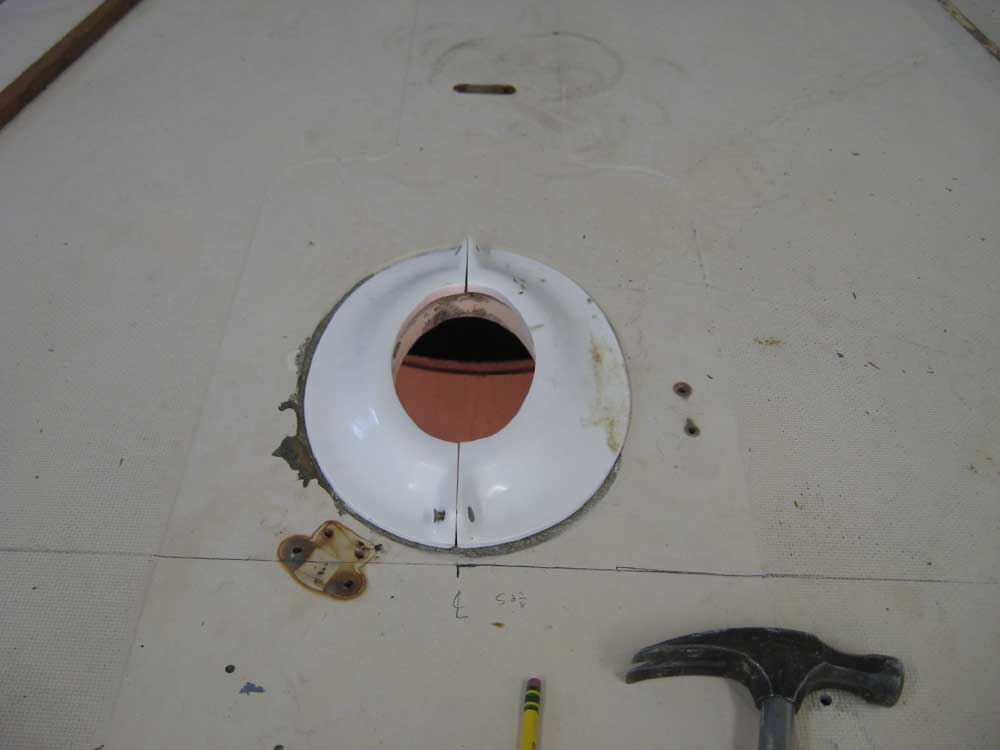
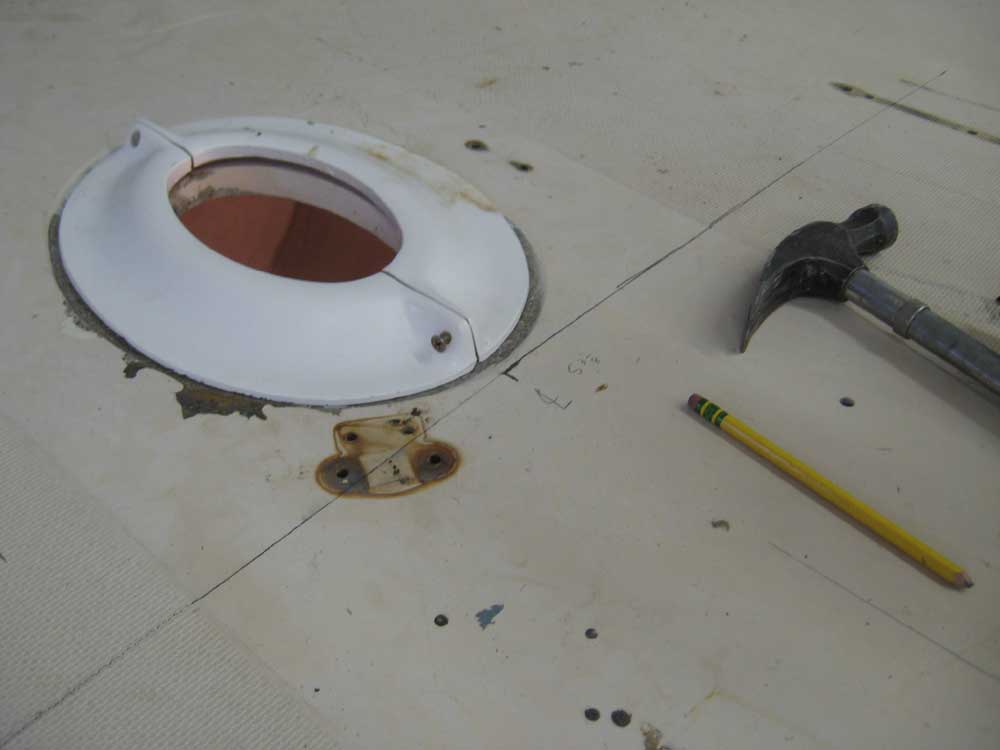
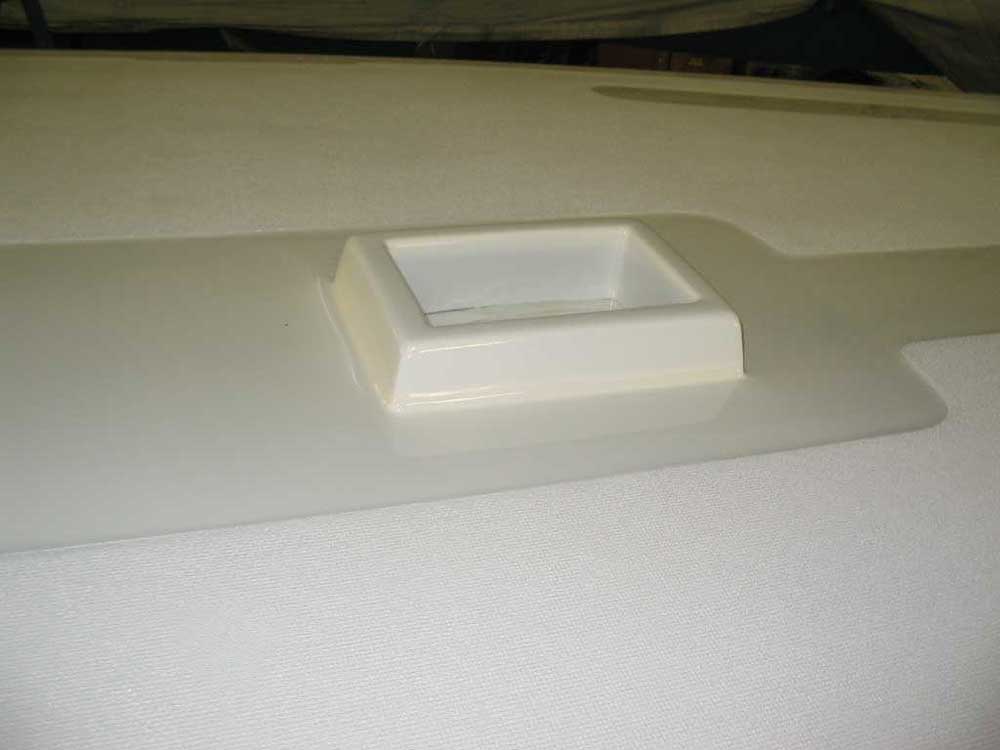
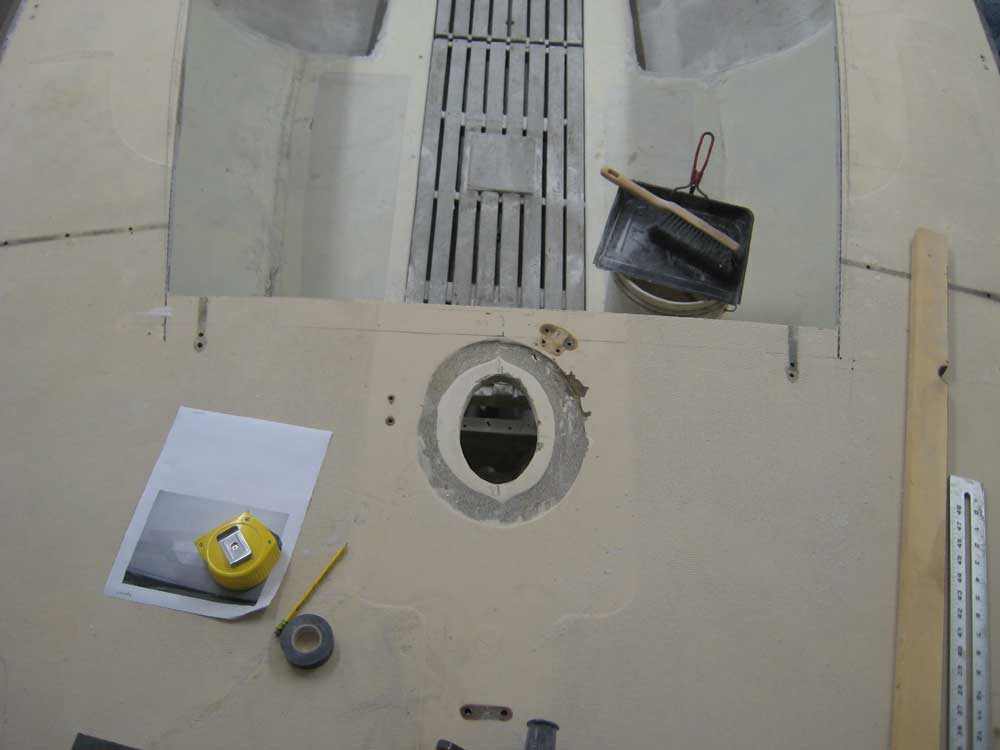
The owner and I had some discussion on the mast partners and potential mast collars. Bolero came with a removable, semi-useful 2-piece collar that covered (sort of) the raw opening in the deck, but it seemed that many Shields were being refitted with a rectangular collar that appeared to have significant merit. Using some photos of this collar as a guide, I determined that the conceptual layout line for the forward edge of the cabin trunk was very close to where the collar might end up; without an actual collar on hand, I didn't want to cut too close, so I laid out another line 2" aft of the original one that I struck, just to give some extra room while still allowing me to get most of the cutting done. Later, once we determine how to address the mast partners and collar, I'll increase this cut as required. The bottom photo here is of another Shields equipped with the sort of mast collar currently under consideration, shown here for reference. |
|
|
|
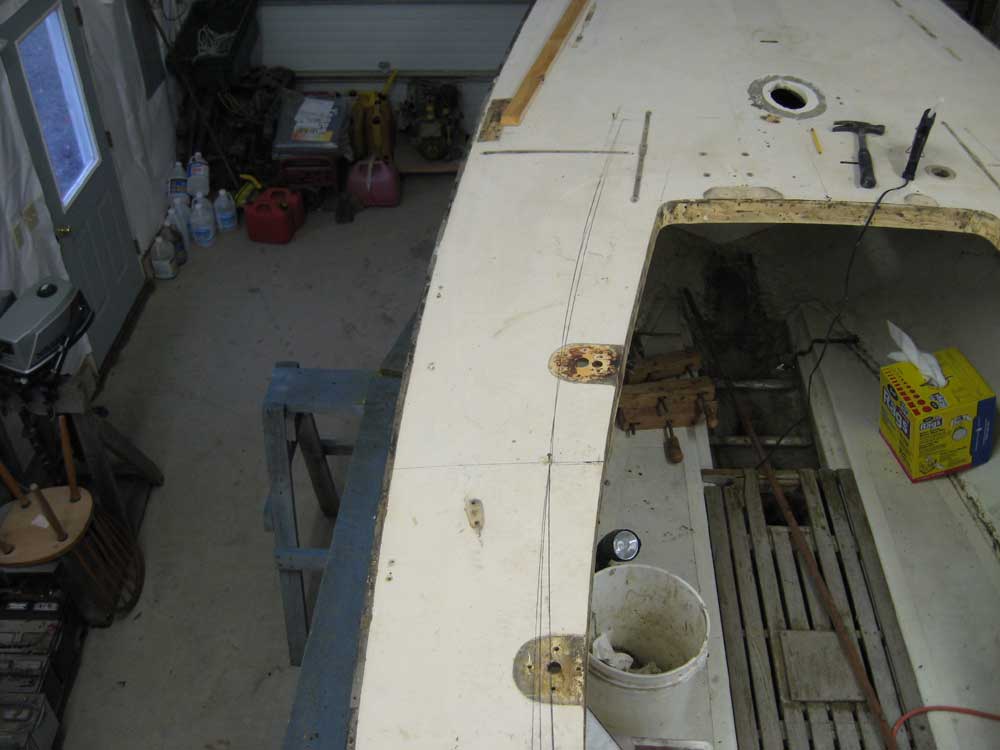
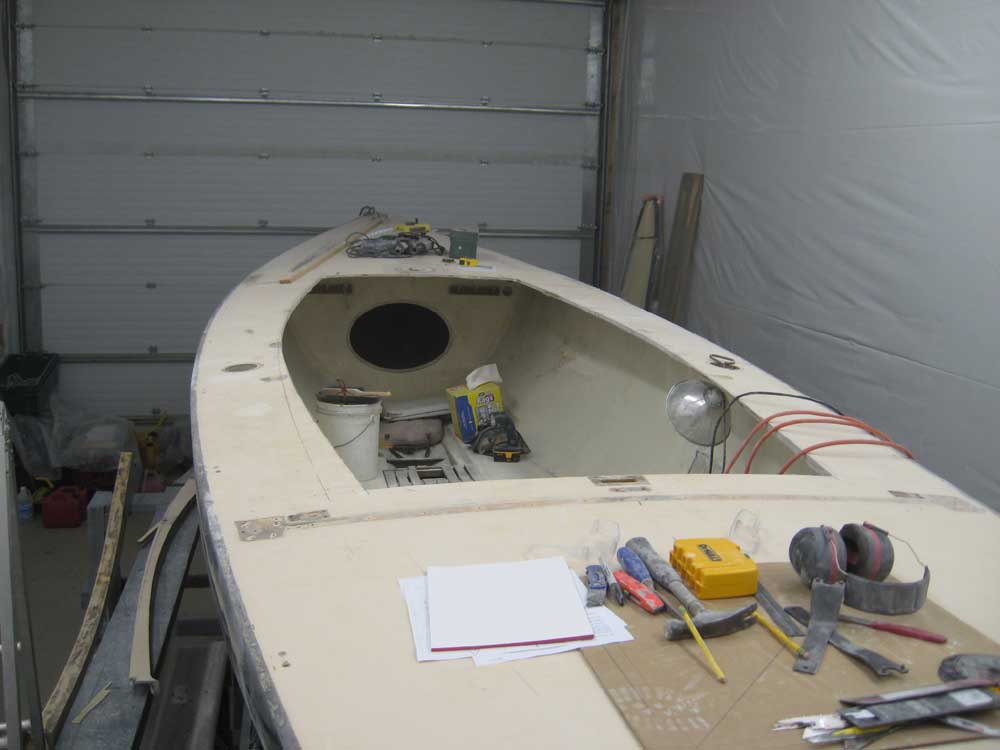
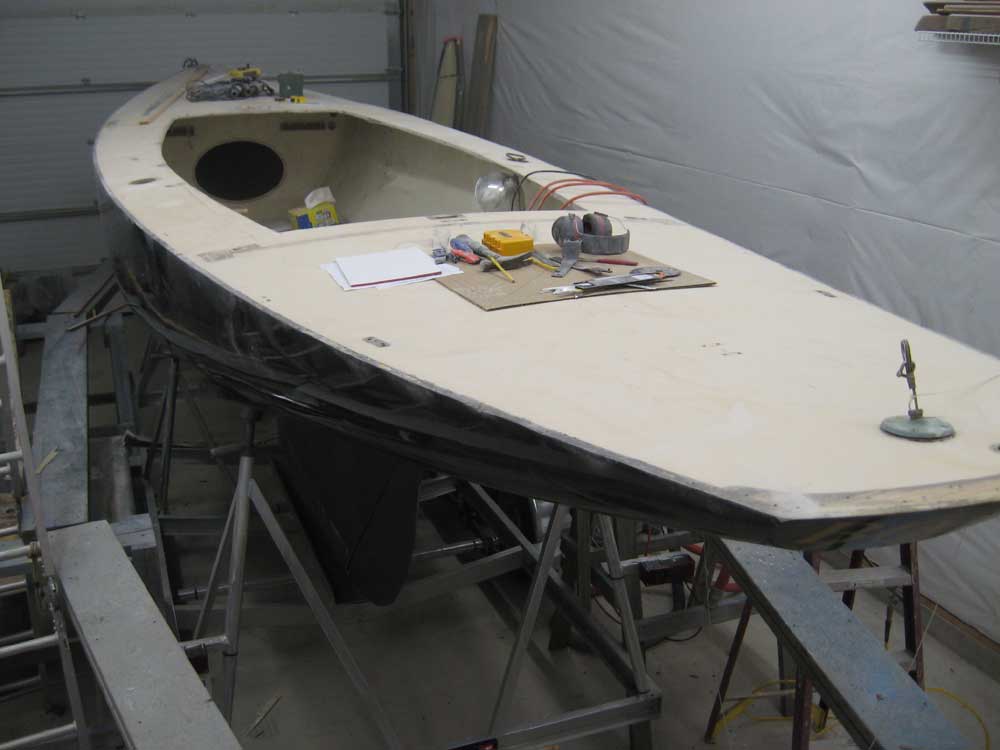
The end of the day was drawing near, but it was time to make the cut. I began by boring 1" holes at each corner, not only to provide a place for the saw blade to pass, but also to create an appropriate radius at the corners. Then, I used a jigsaw to cut out the deck, following the inside of my dark layout line to allow for fine-tuning with a grinder later. As I cut, the waste portion of the deck began to droop down amidships; the ends were still firmly affixed by design, so that I could control the final separation. With the two long side cuts made, I used a reciprocating saw to make a cut athwartships just aft of the existing foredeck, so that I could remove the waste deck in three manageable pieces. Then, I finished up the cuts at the aft end of the cockpit on each side, and removed the waste. With the sides removed, I made the final cut across the front of the new opening and removed that piece as well. |
|
|
|
The boat was a disaster, so I cleaned up dust and tools, removed the waste pieces to outside, and called it a day. |
|
|
|
|
|