| Bolero
Project |
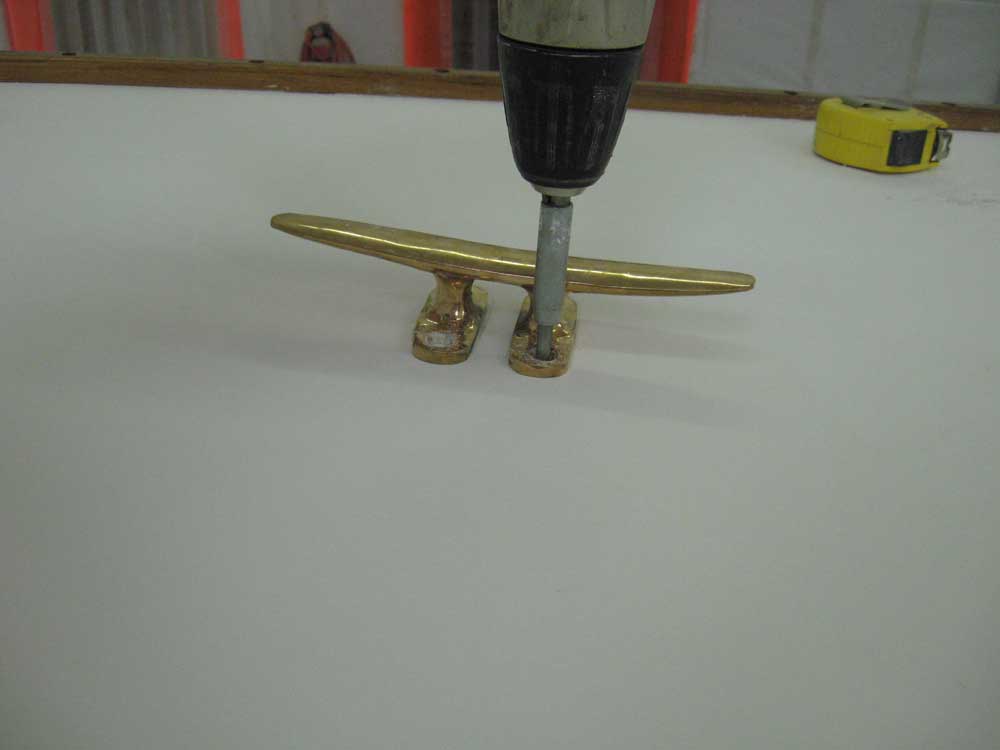
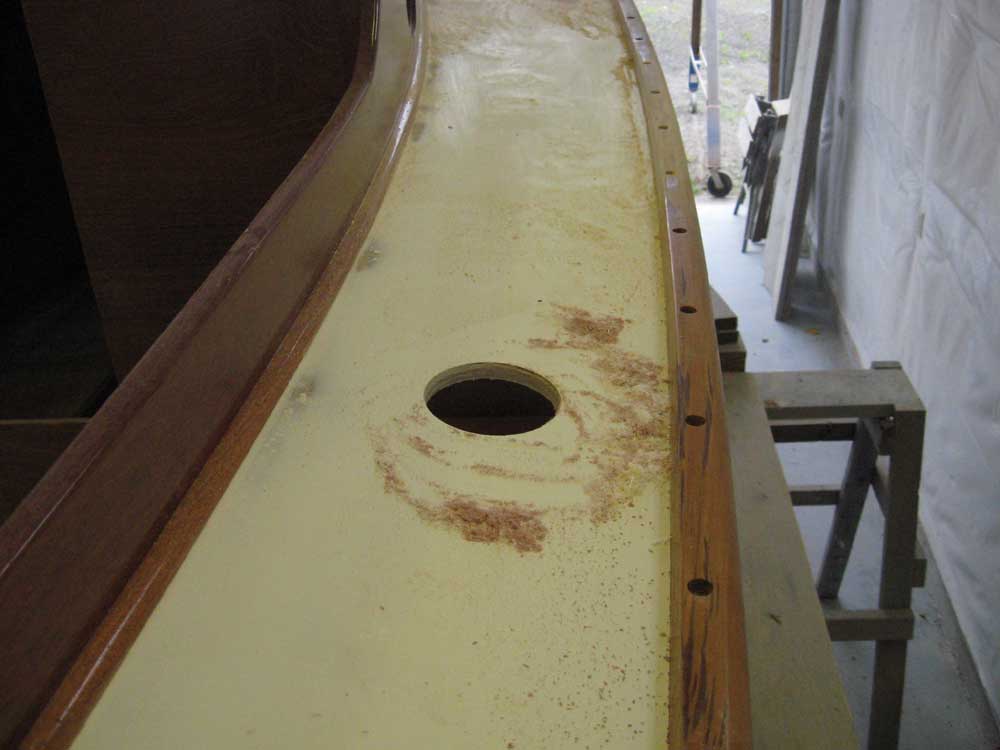
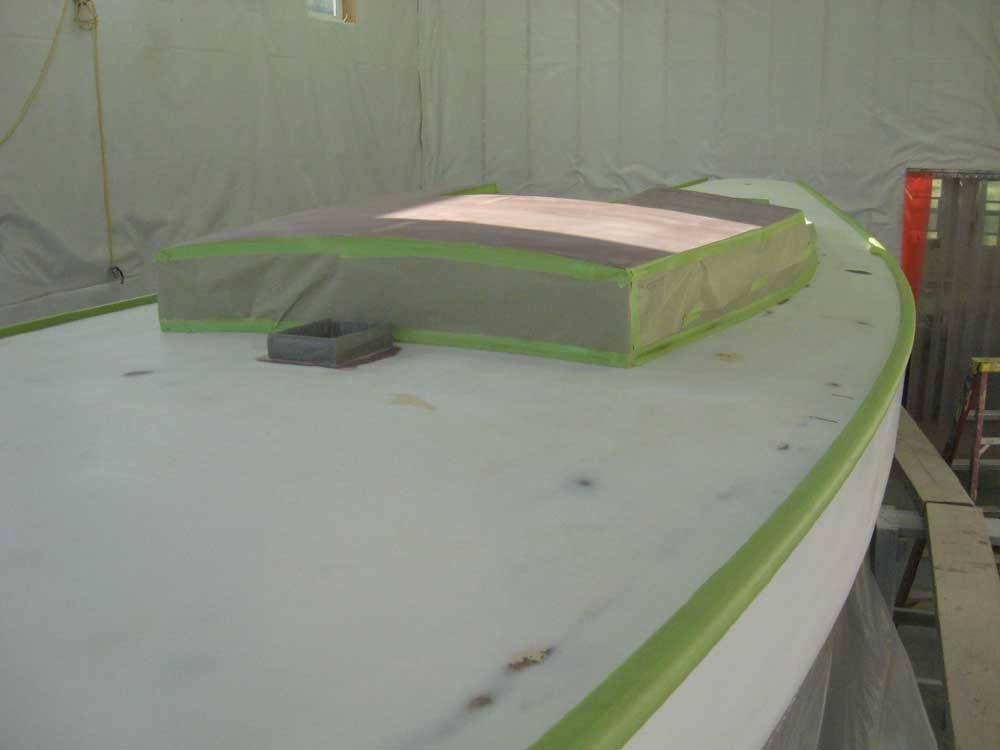
Monday, June 30, 2008 I had a few small jobs on deck to complete before I began the cleanup and preparation for tomorrow's primer application. First, I washed and sanded the small areas of filling compound on the coachroof from last Friday, and sanded the entire surface to 220 grit. Next, I drilled two large holes in the deck for the pair of deck-mounted compasses; earlier in the month, during the owner's visit, we'd chosen the location for these, and with paint imminent, I wanted to get the holes bored first. I transferred the measurements from the one side to the other, and bored both holes with a large carbide hole saw. We'd also chosen basic locations for the mooring cleats--two on the bow, one on the stern--and so as to not lose the reference marks, I fine-tuned each location and then drilled pilot holes (not all the way through the deck) with a self-centering bit so that the locations would be easy to find after paint. Other deck and sailing hardware would only get located and mounted after the painting was complete. |
|
|
|
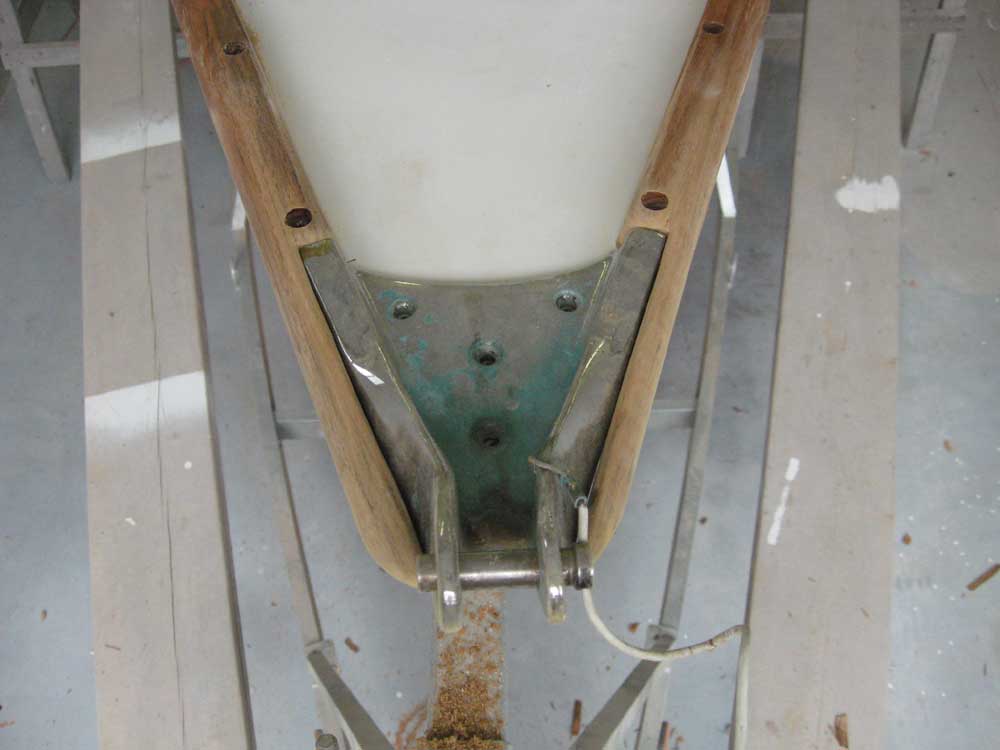
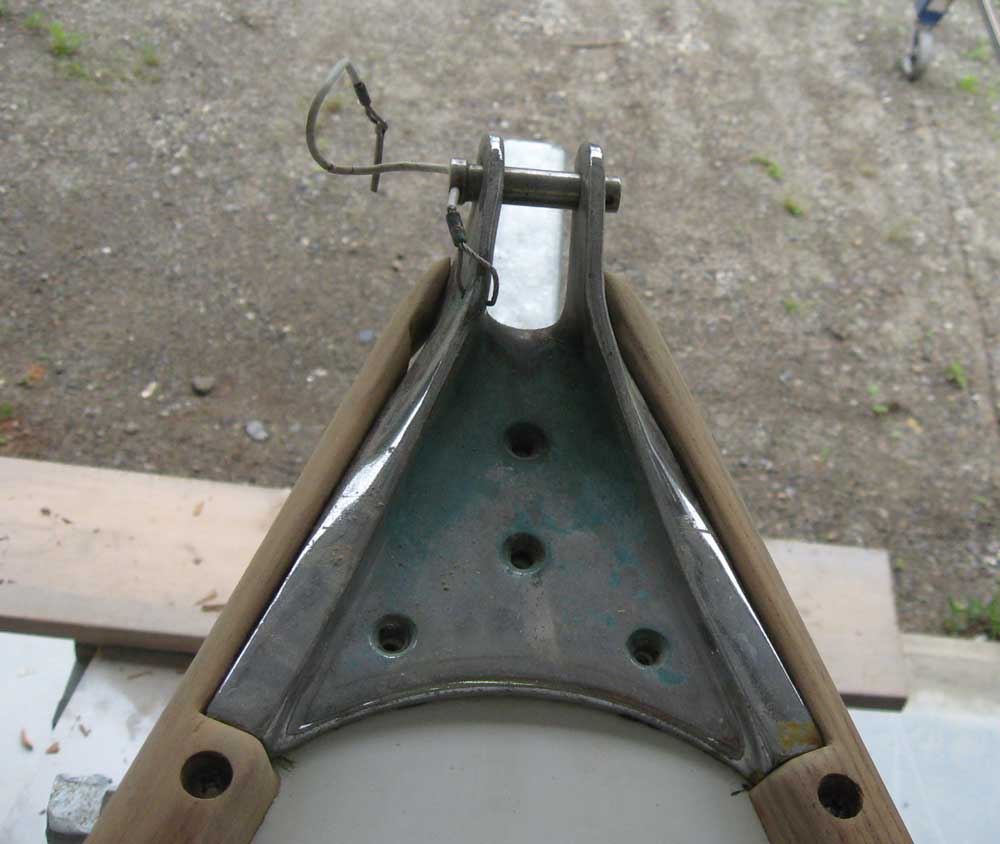
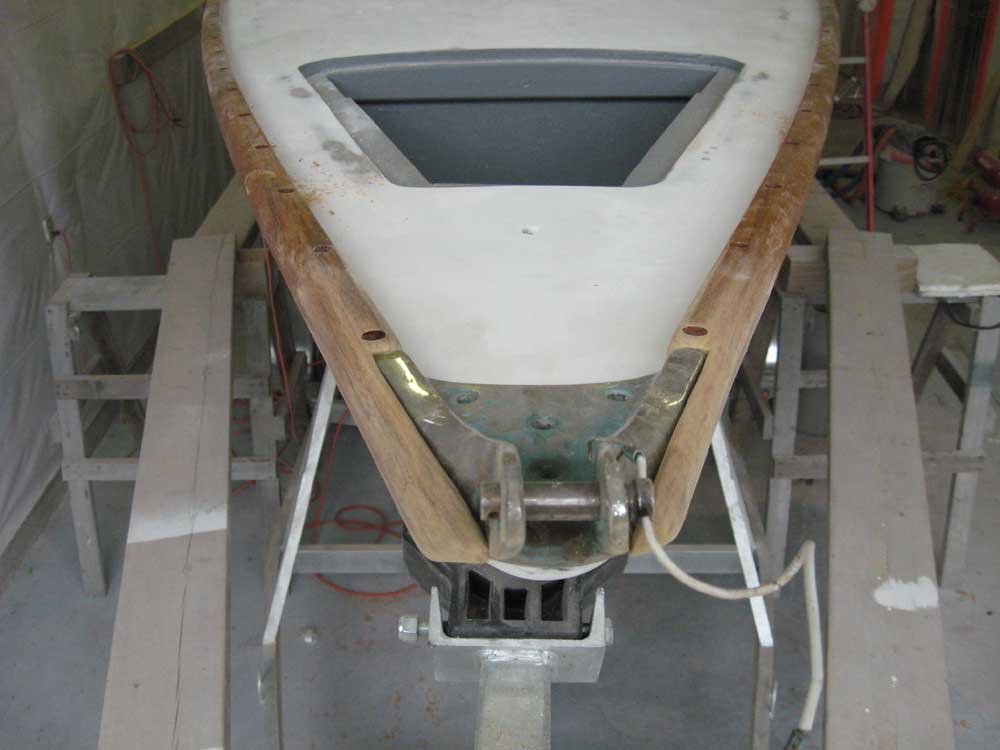
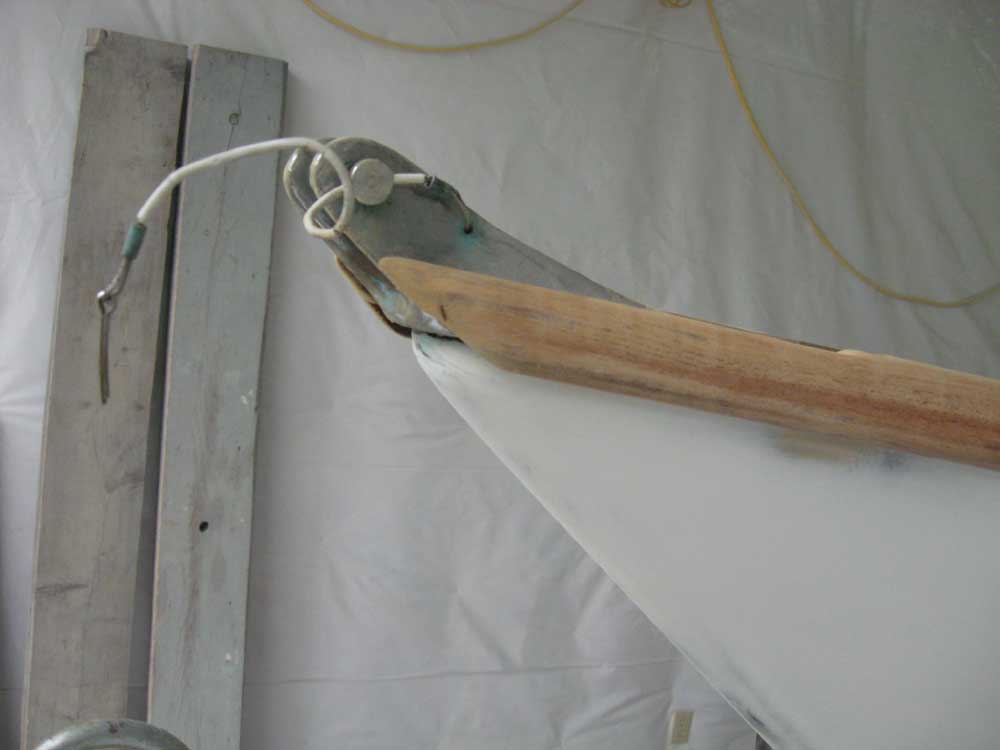
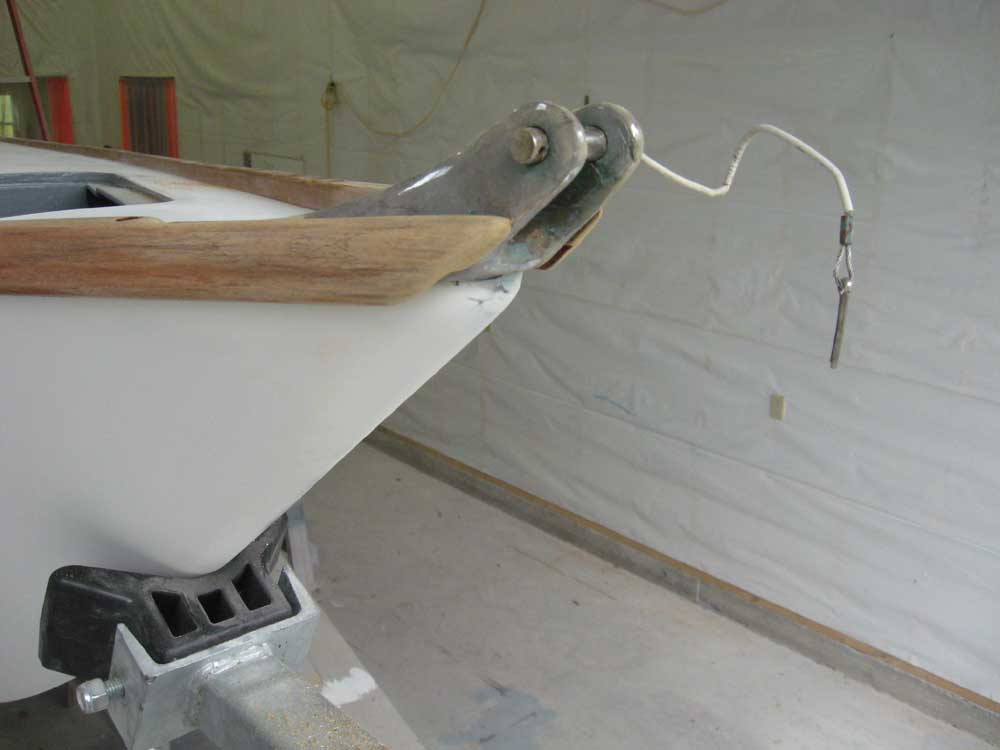
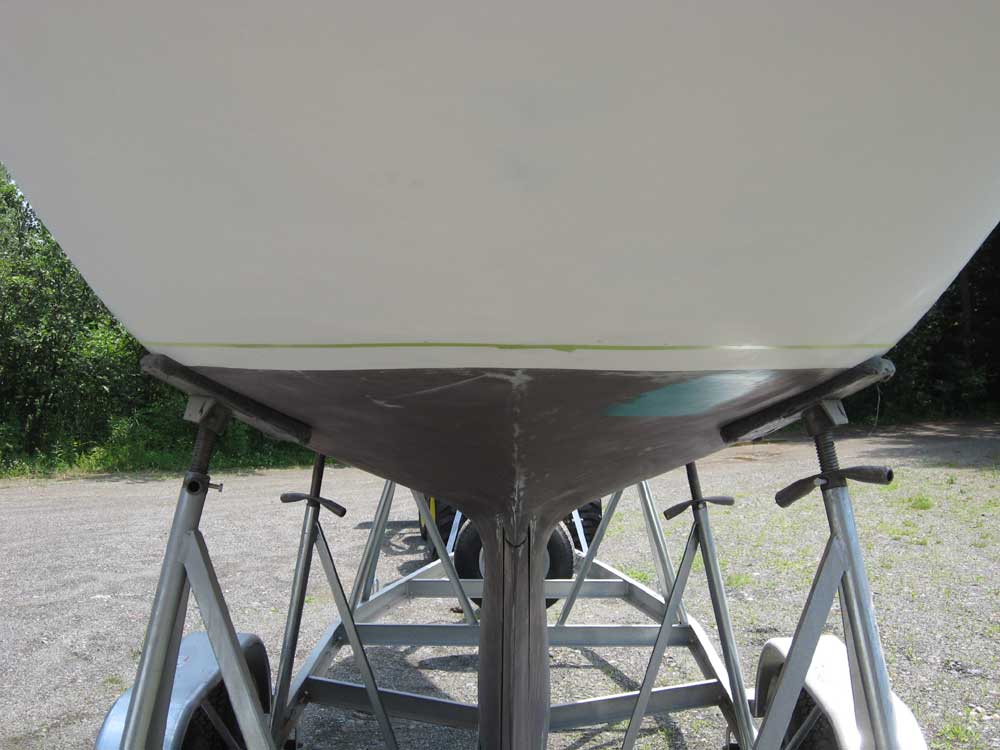
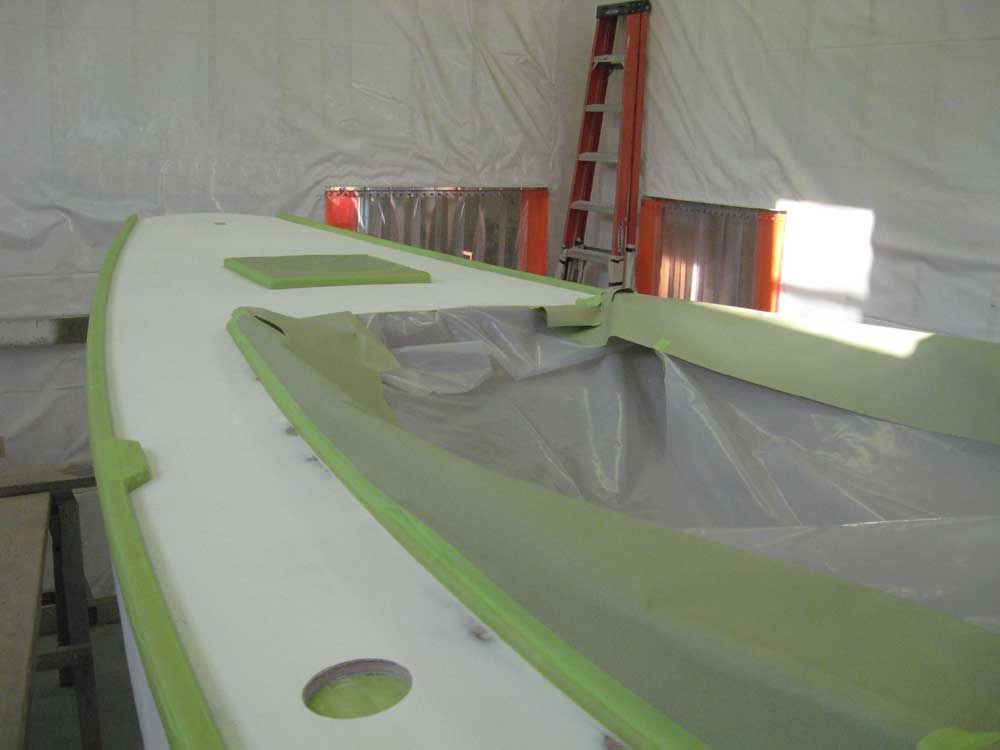
I spent a few minutes working on the stem end of the toerail. I cut off the excess rail flush with and at the same angle as the stem casting--and the stem itself--and then worked with a variety of sandpaper grits to clean up and round over the edges to more smoothly incorporate the rail into the casting. The results were good, but I'd probably end up doing a bit more fine-tuning later on; for now, this was sufficient, and I needed to move on. |
|
|
|
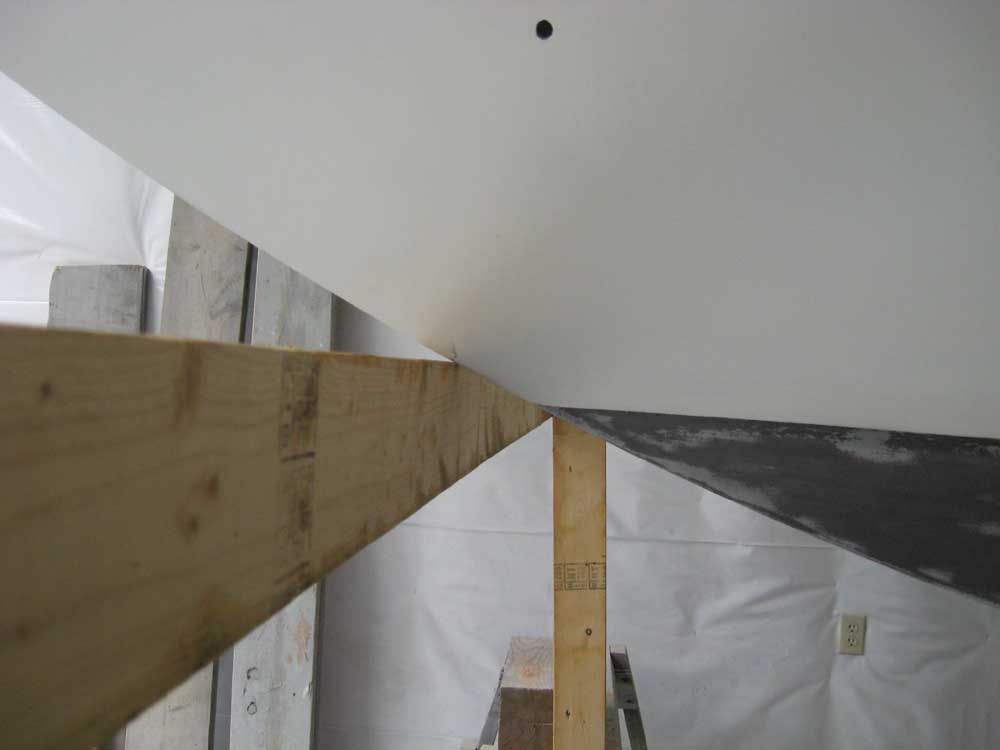
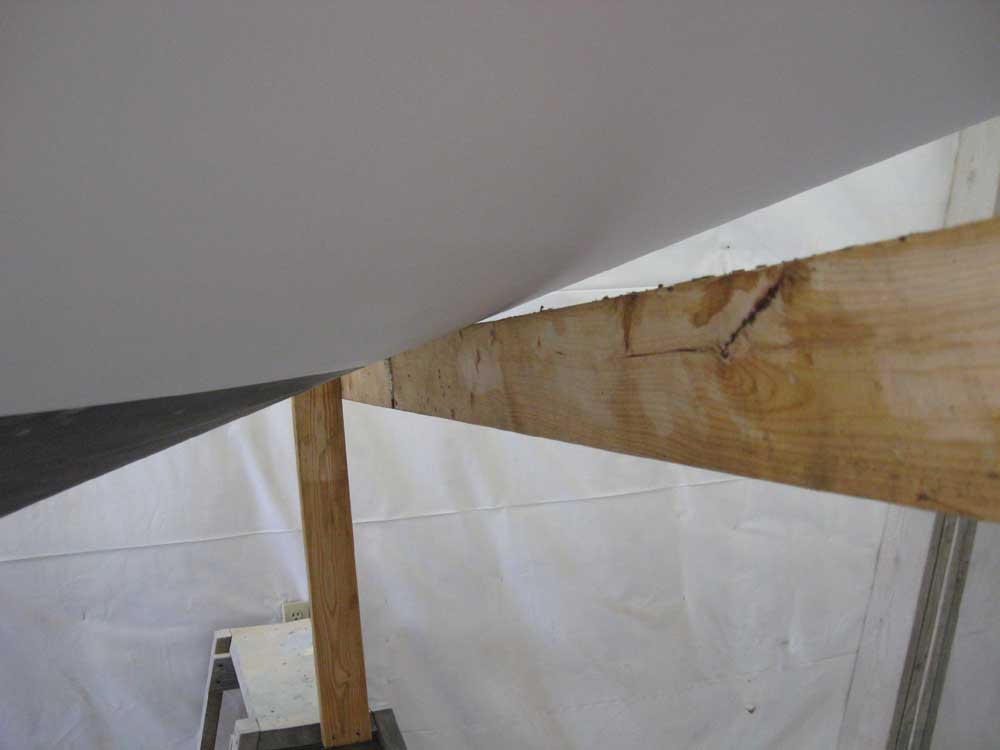
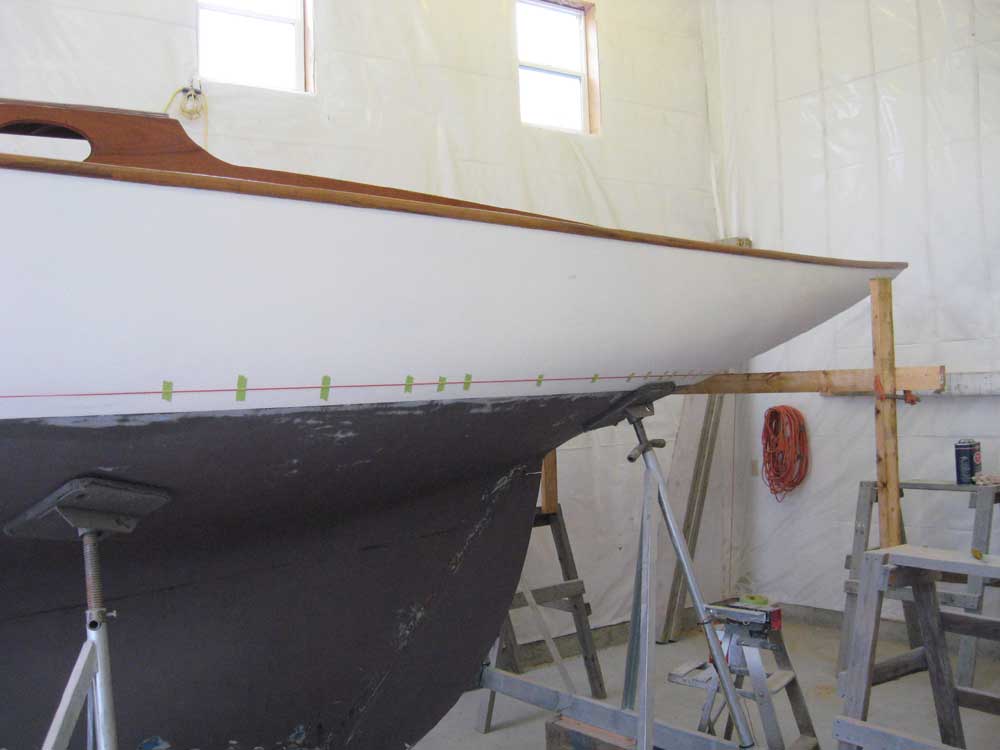
I vacuumed up the deck and interior, and then dismantled the staging so that I could strike the waterline--or, more accurately, the top edge of the antifouling paint. From now on, I'll simply refer to this as the "waterline", even though it is technically not. With a bit of weight added to the boat versus a stock Shields, plus the fact that photographic research indicated that Shields' waterlines tend to be struck in appropriately low for current taste and desirous appearance, I, with plenty of owner consultation, elected to strike a new line 2" above the old at midships. In addition, the old line was slightly sheered, particularly in the forward third of the boat; with the more modern look of double bootstripes planned for Bolero, I felt that a planar waterline (and bootstripes) were more appropriate. So, the long and the short of it all is that I needed to strike the new line before priming, as I didn't want to bring the finish primer down below the bottom paint line; as it was, I'd have to sand off the high-build primer that I'd already applied (albeit long ago). Because of the sheer in the old line, the increase in height at the bow would actually be somewhat less than 2"--and I didn't know how it would be at the stern, not having a clear idea where that line would have been. So to determine the height, and knowing that the boat was currently level fore and aft (and side to side), I measured up from the floor amidships, and used that measurement to locate a couple transverse horizontal 2x4 battens at the bow and stern, part of my tried-and-true, antiquated yet highly accurate and unbeatable method of stripe striking. The concrete floor was certainly not perfectly level or smooth, but was close enough for this purpose. I adjusted the forward and after battens to the appropriate height, leveled them side to side, and brought them in till they just touched the hull at the stem and centerline of the counter, respectively. Then, I ran a string longitudinally across the two battens, weighting it with paint cans to stretch it taut. The initial setup looked good: the string was just about exactly 2" above the old paint line amidships. I wasn't going to worry about 1/8" if it were off one way or another; the key was to get the new line level and planar. |
|
|
|
With the string just touching in the center, I made a couple marks on the hull just beneath the string, and taped it in place. Then, beginning at the bow, I incrementally moved the string (tensioned by the paint cans) in towards the centerline, allowing it to contact the hull a few inches further along than the last time; each time, I marked the height and taped the line to the hull so it wouldn't move, and repeated the process over and over till I reached centerline. This left me with a series of reference marks--formed by the level line--that I could use to strike the tape line afterwards. |
|
|
|
I repeated the process on the after half of the boat, taking it in as far as I could; the string system never works perfectly under deep counters, but I'd fair the lines by eye later. With the port side complete, I repeated the entire process to starboard. |
|
|
|
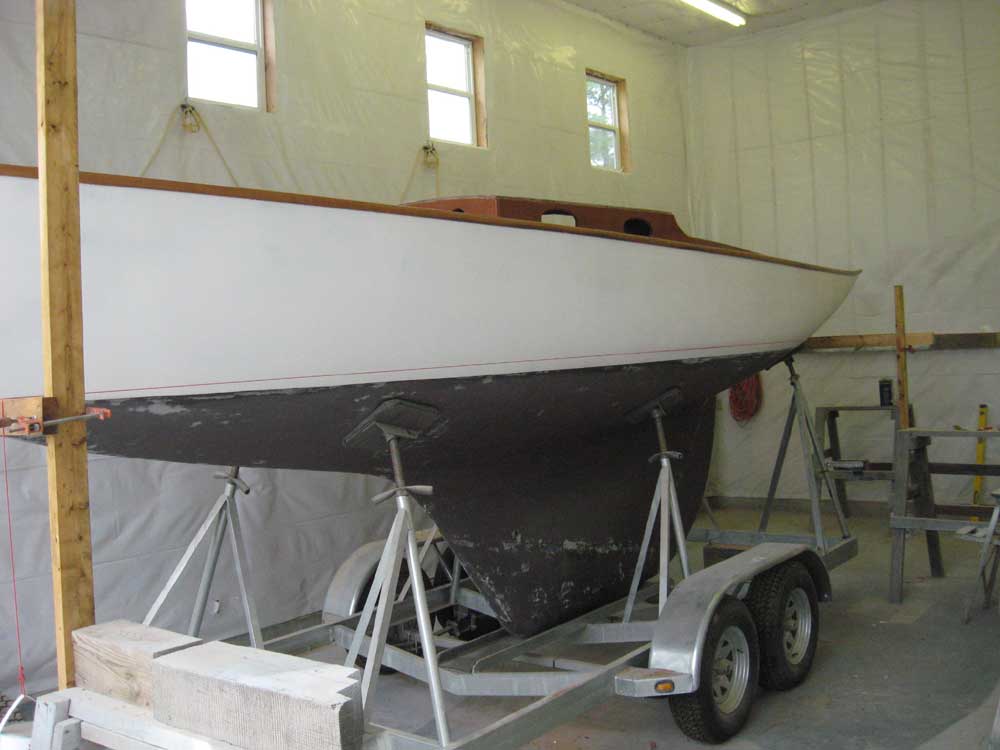
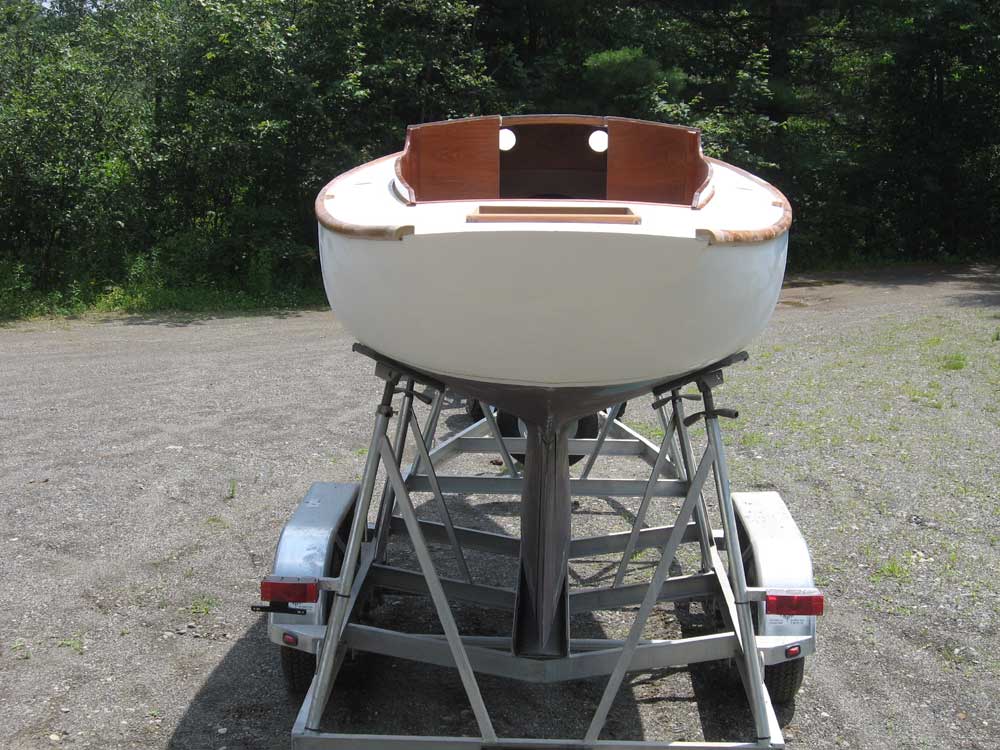
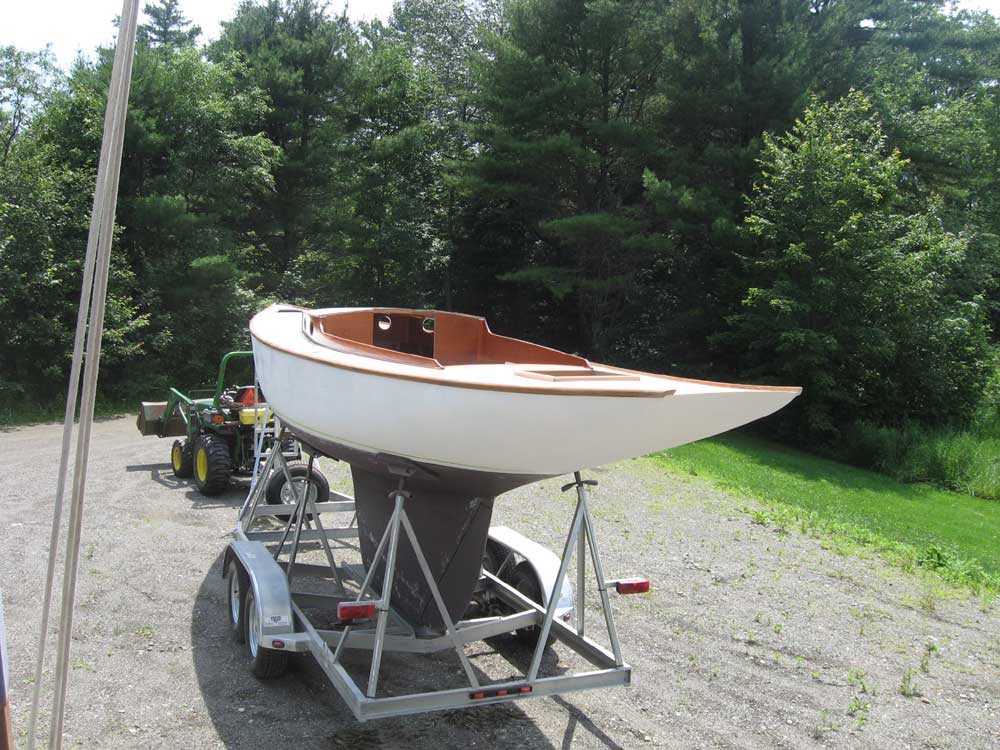
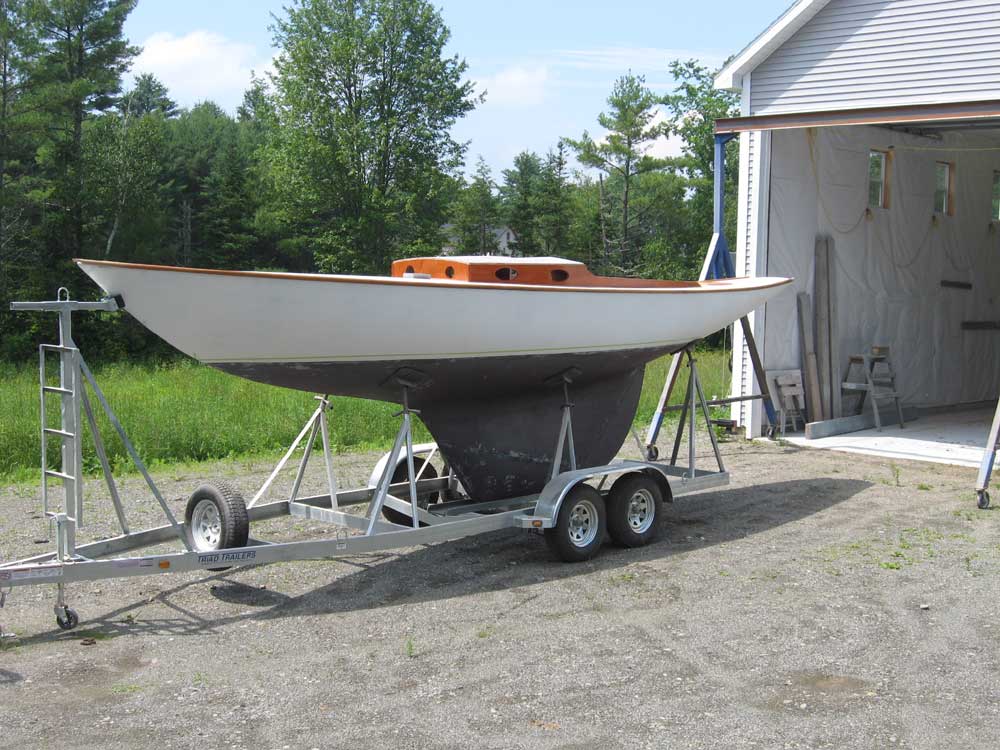
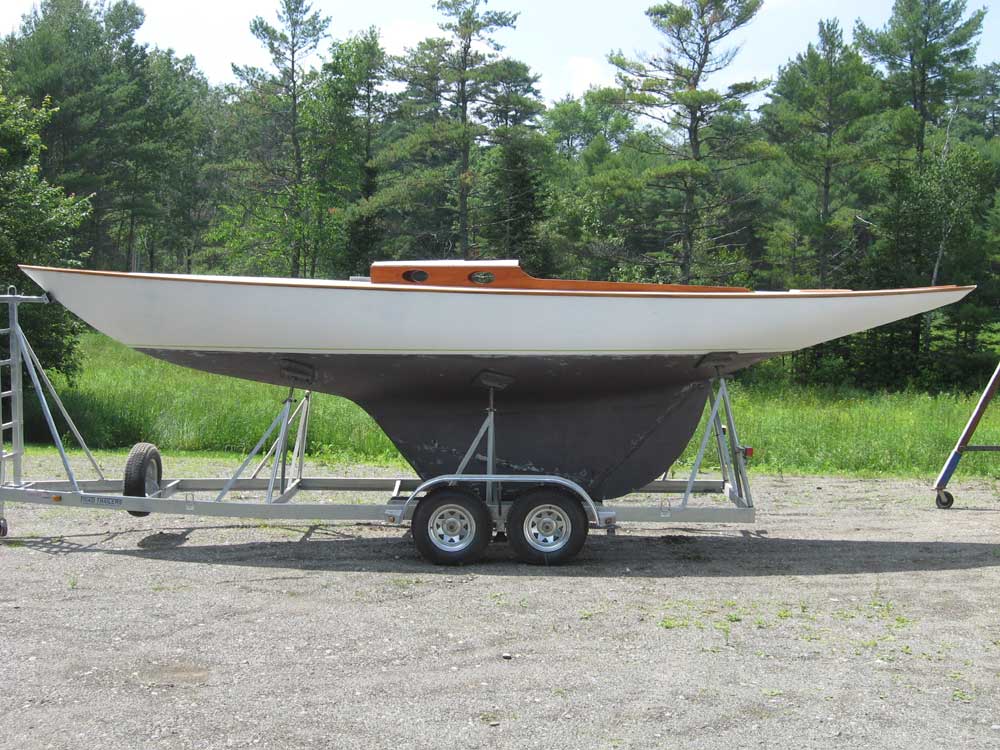
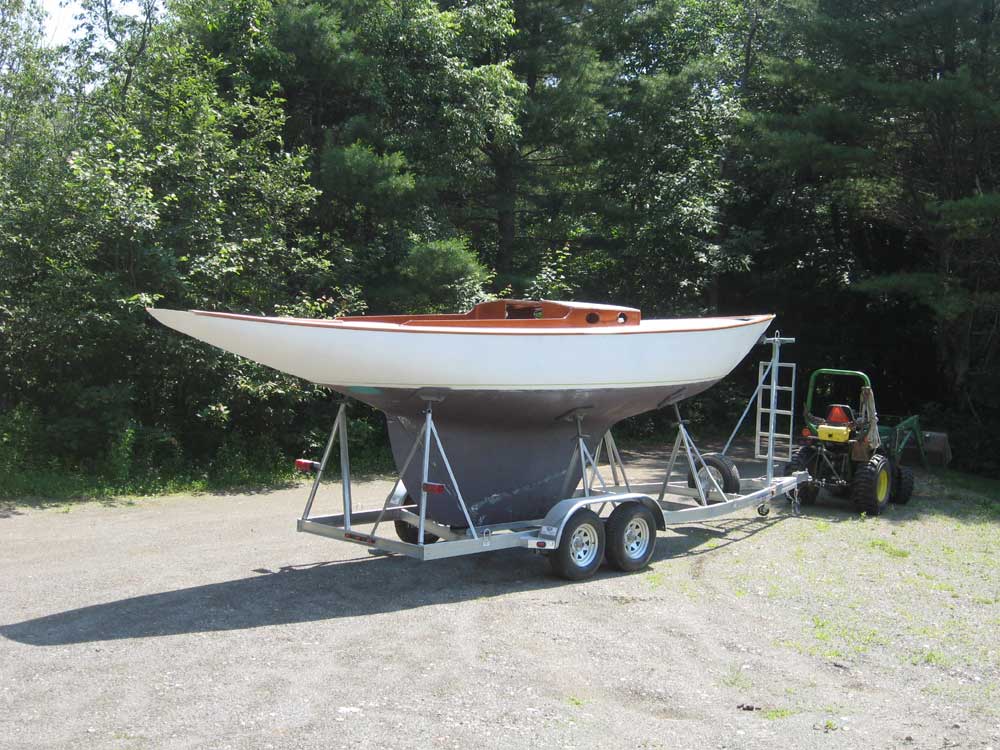
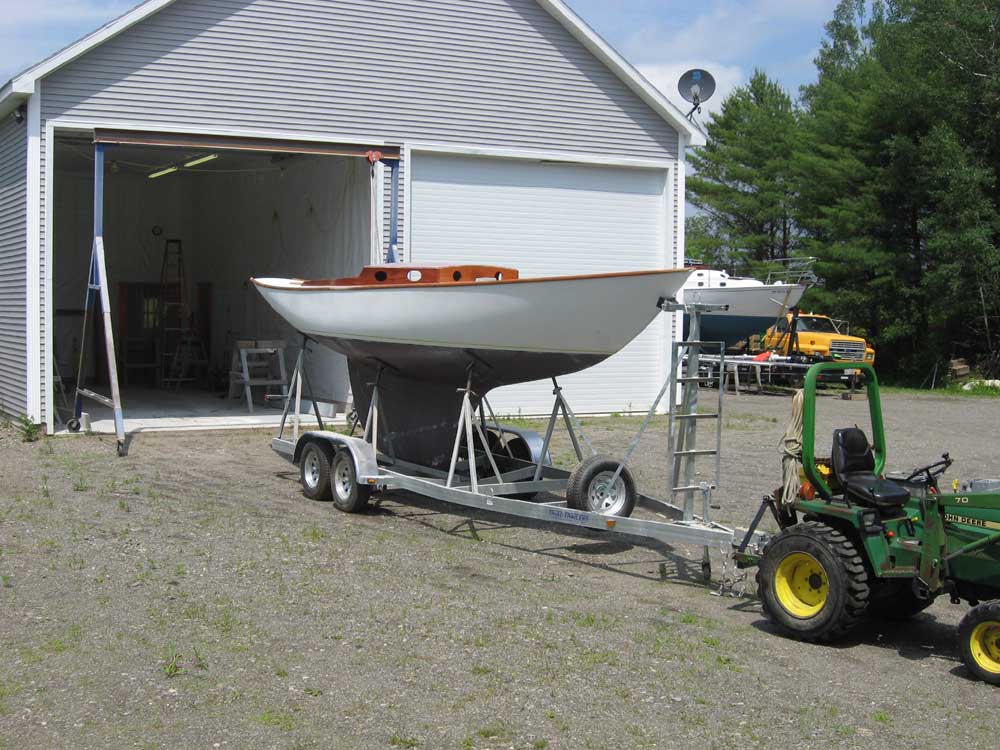
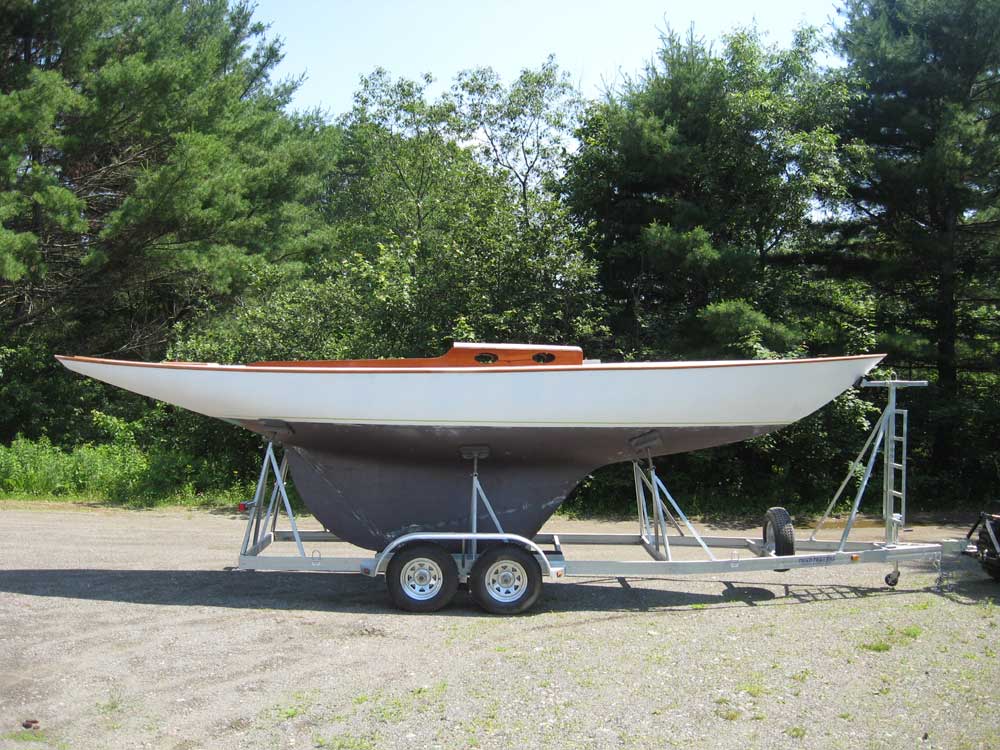
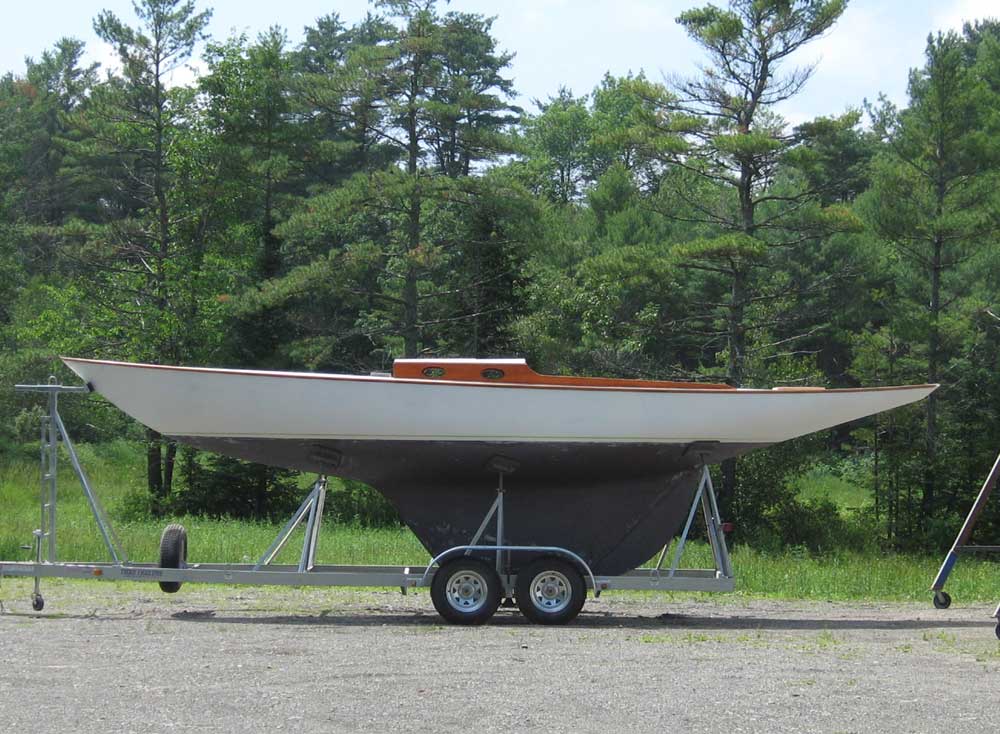
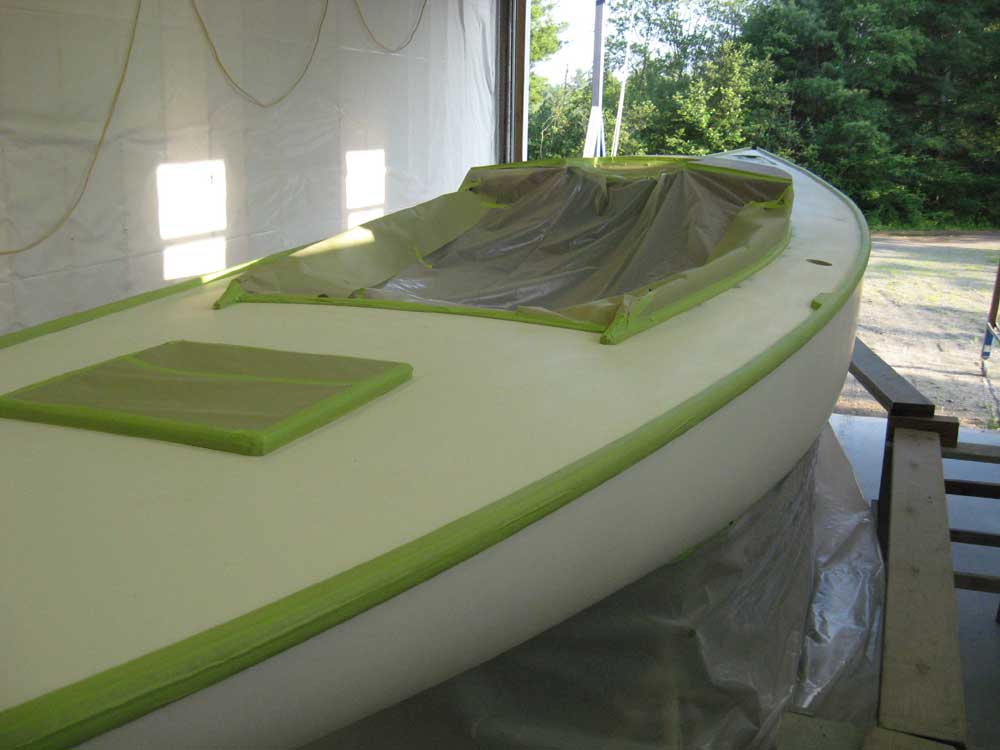
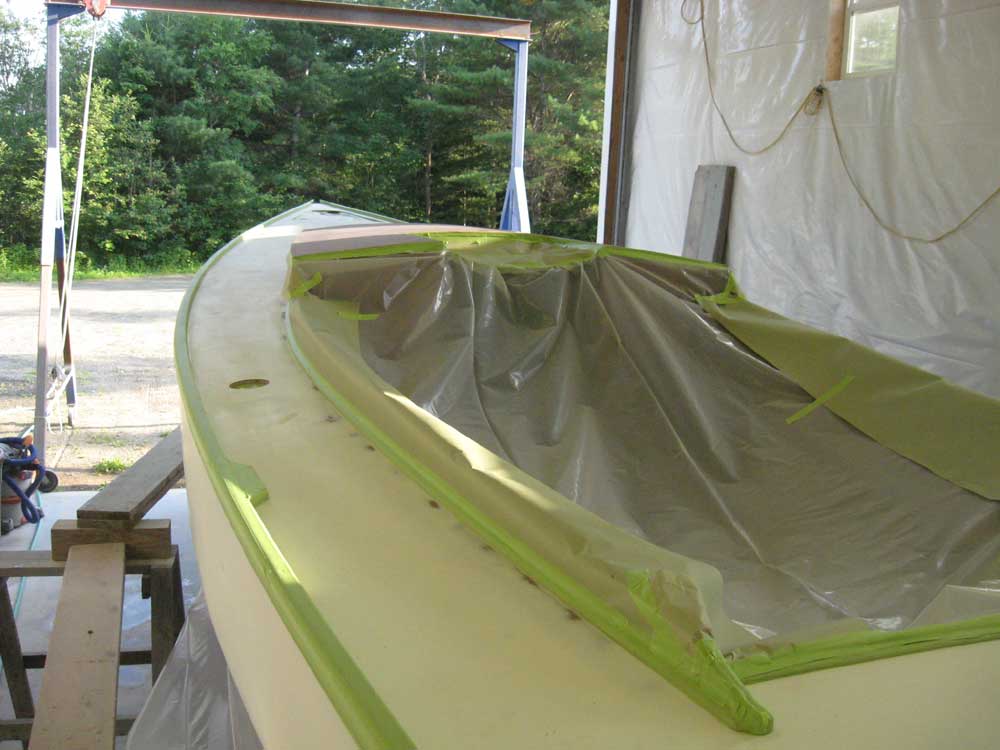
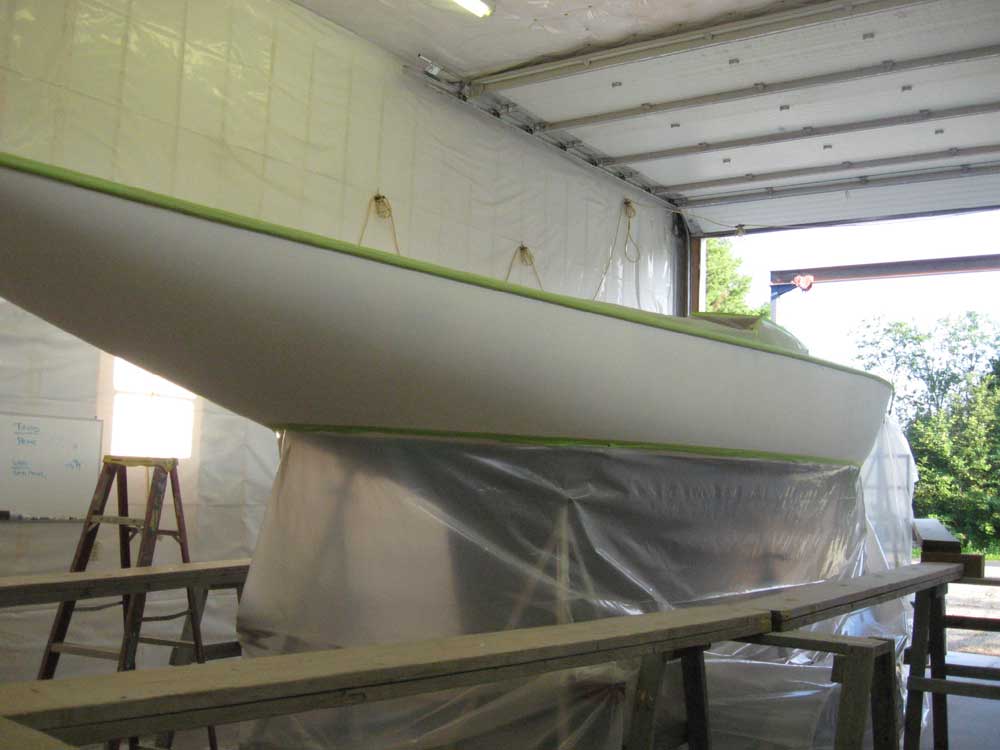
Next, I removed all the paraphernalia and applied masking tape according to the pencil marks, fairing it by eye as I went. I applied the tape just under the pencil lines, so that the top edge of the tape followed the appropriate line. Then, because I could--and, more importantly, because the ability to critique these lines by eye from an appropriate distance is the key to accuracy--I pulled the boat out of the shop into the yard so that I could confirm and/or fine-tune the new line. This line was critical, since later on, I'd use it as my basis for the double bootstripes. Pulling the boat out had the added benefit of allowing me (and you, dear reader) to see the boat in proper profile and perspective for the first time since her significant transformation. I thought she was pretty attractive, if I do say so. |
|
|
|
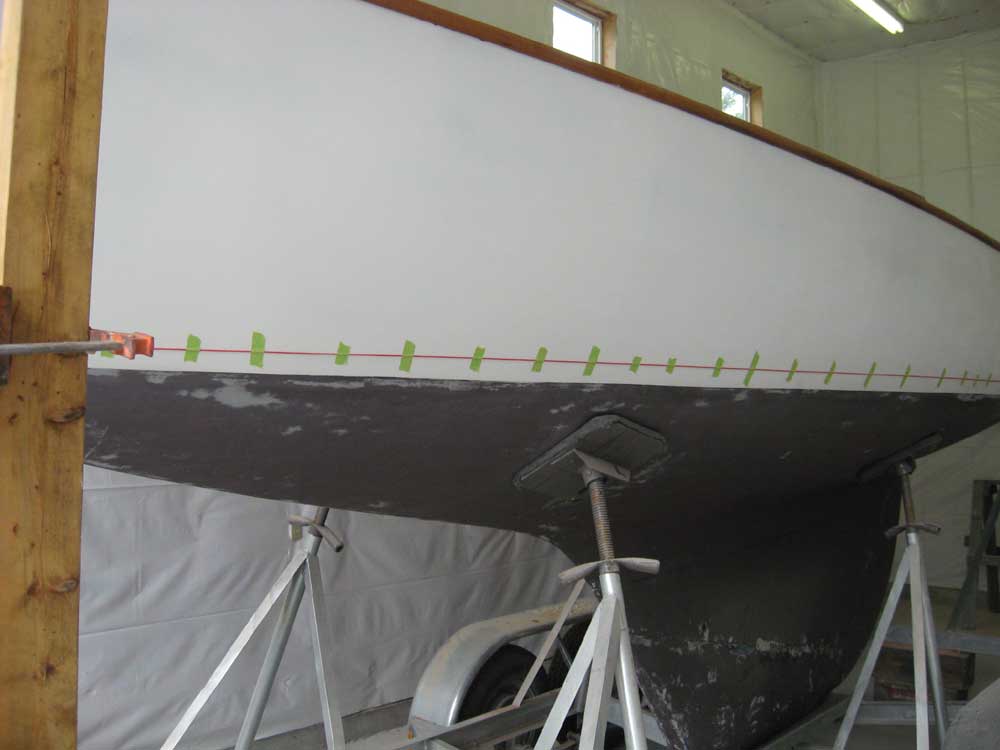
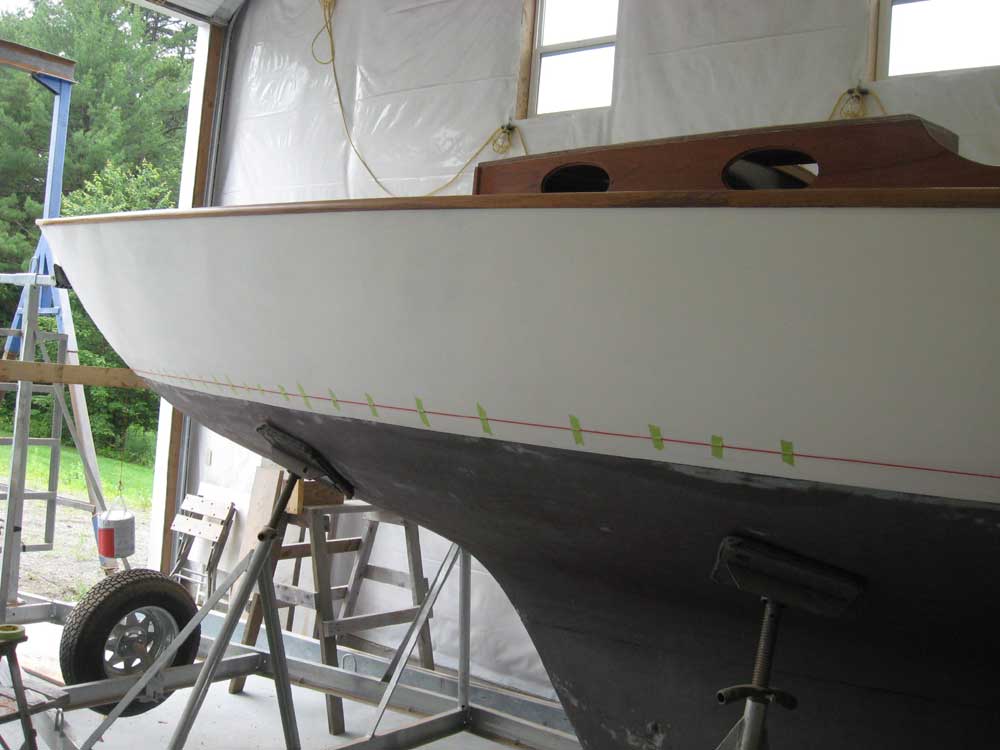
After enjoying the view for a few moments, I got back to the business at hand, and viewed the newly-struck tape line from all angles and distances and, most importantly, from the proper eye height. I made a couple minor adjustments to the area beneath the counter, and also to the starboard side of the bow. Note again that the top of the tape line is the reference mark, not the bottom. Note also that it's the sheer in the old paint line that causes the new line to get closer to the paint as it heads forward to the stem. |
|
|
|
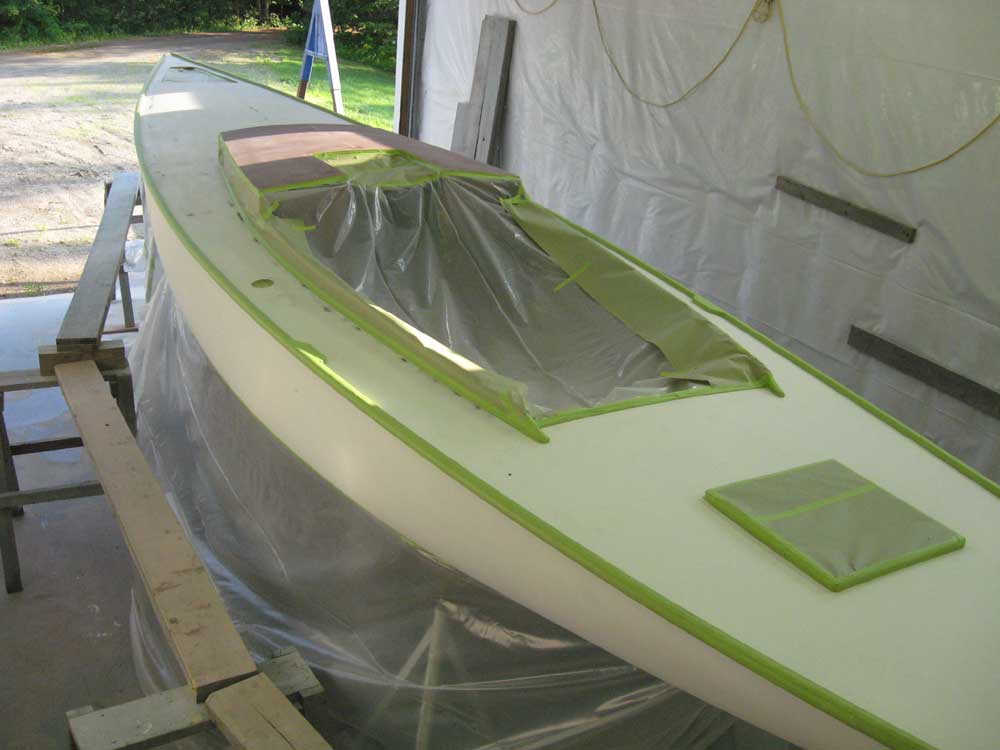
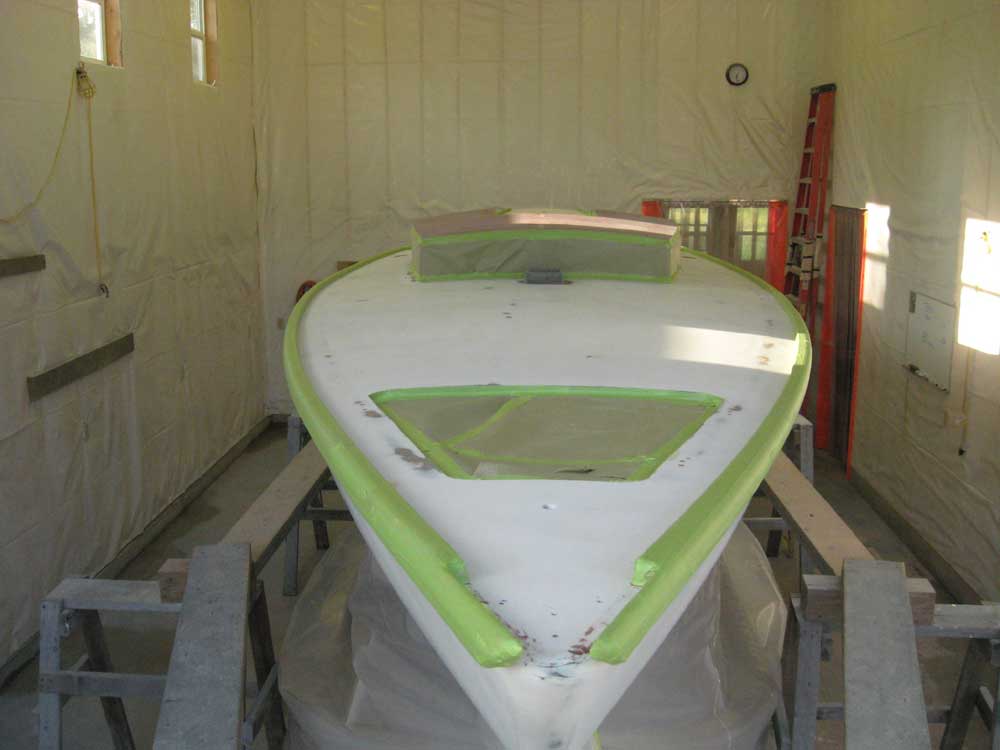
While the boat was outdoors, I blew, swept, and washed down the shop and staging components to remove debris and dust; I also rinsed off the dusty trailer while the boat was outdoors. Afterwards, I returned her to the shop, this time more to the center of the room to allow for better access for paint spraying to all areas. I spent the rest of the day preparing for paint and masking off all areas not to be painted, including the cockpit, cabin sides, toerails, and deck hatches. I also covered the trailer and bottom with plastic to avoid overspray there. Afterwards, I completed the first round of solvent-washing to remove the worst of the remaining dust and so forth on both hull and deck. |
|
|
|
|
|