| Bolero
Project |
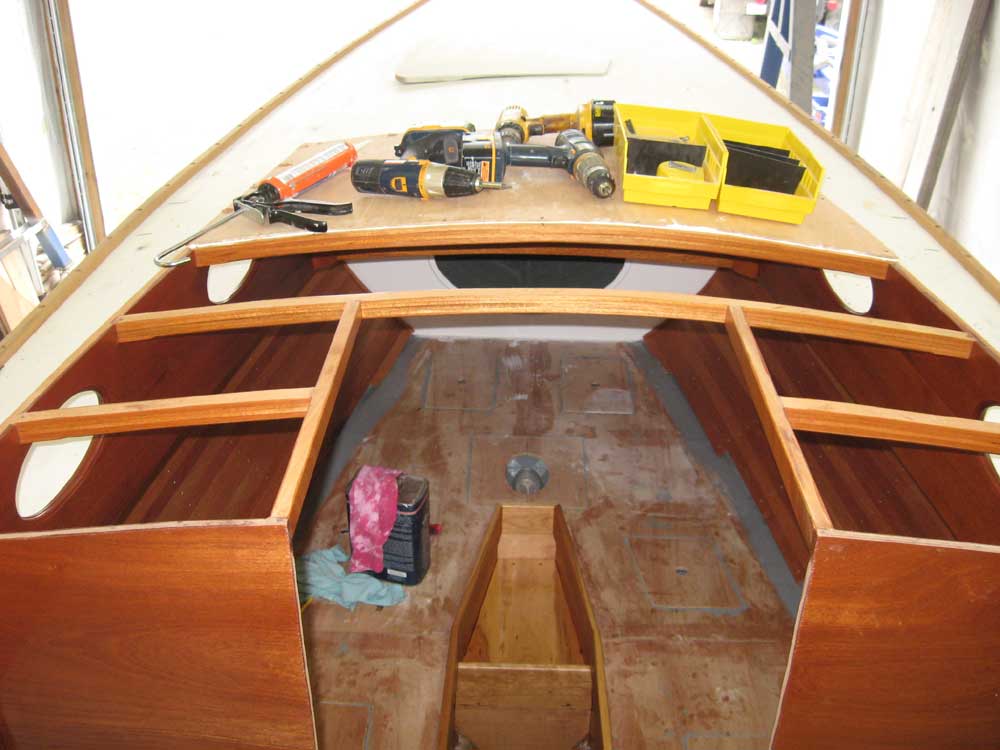
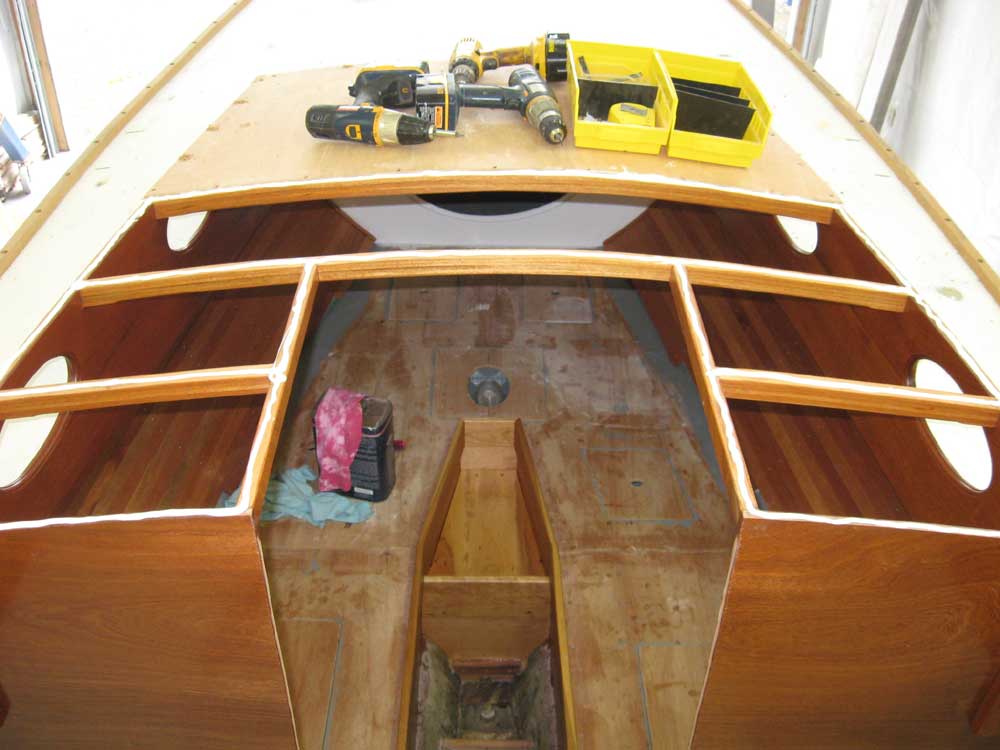
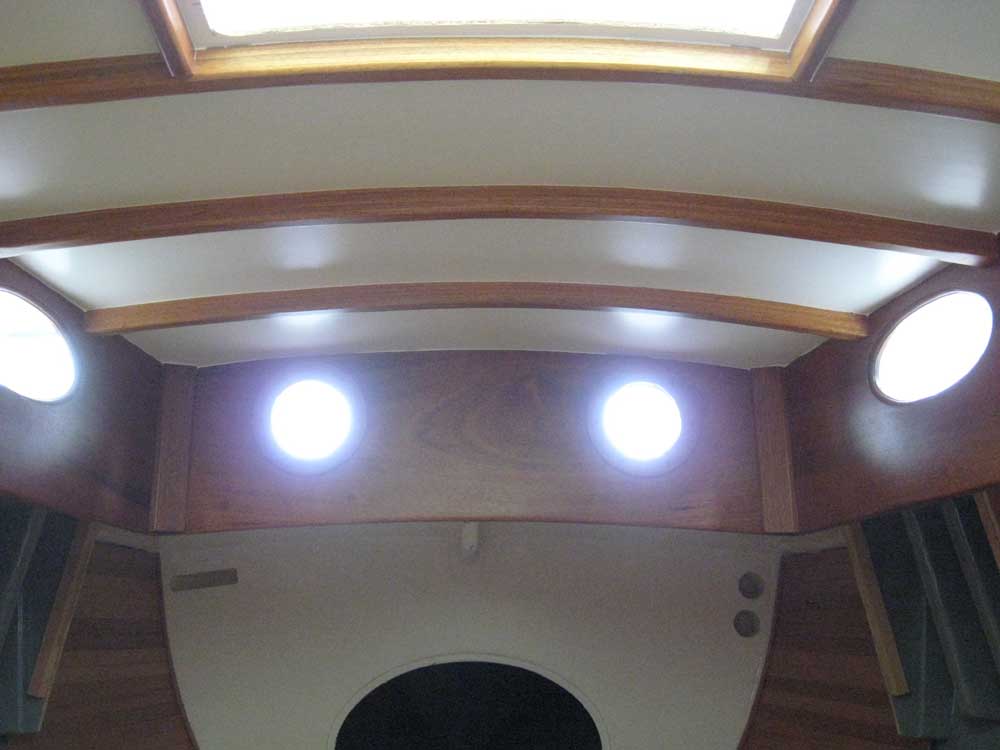
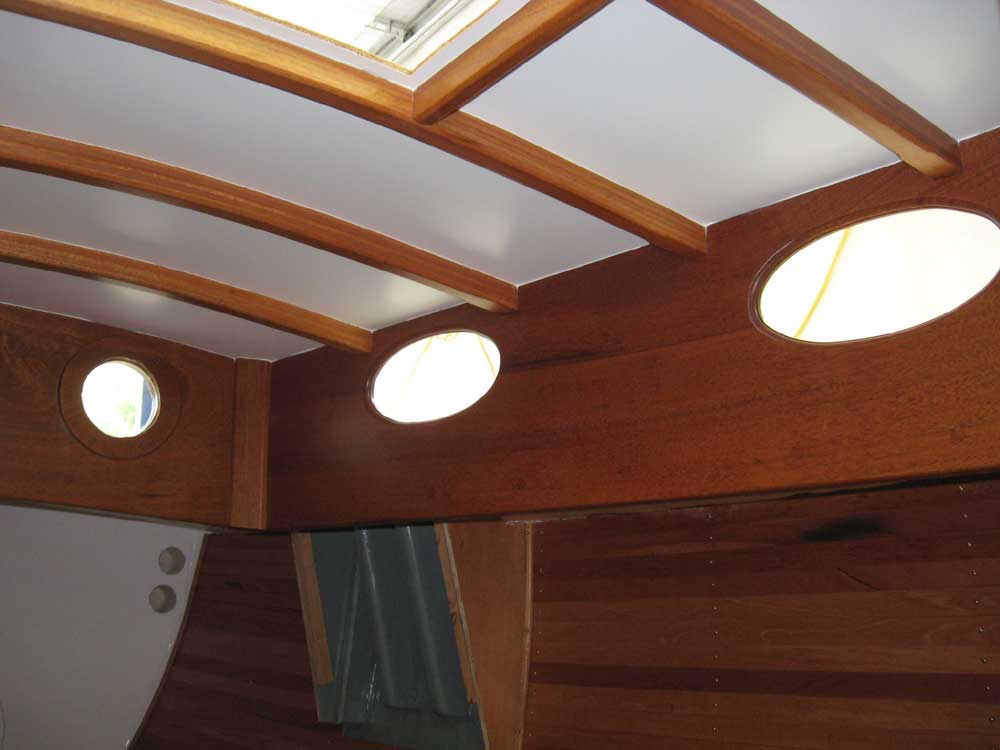
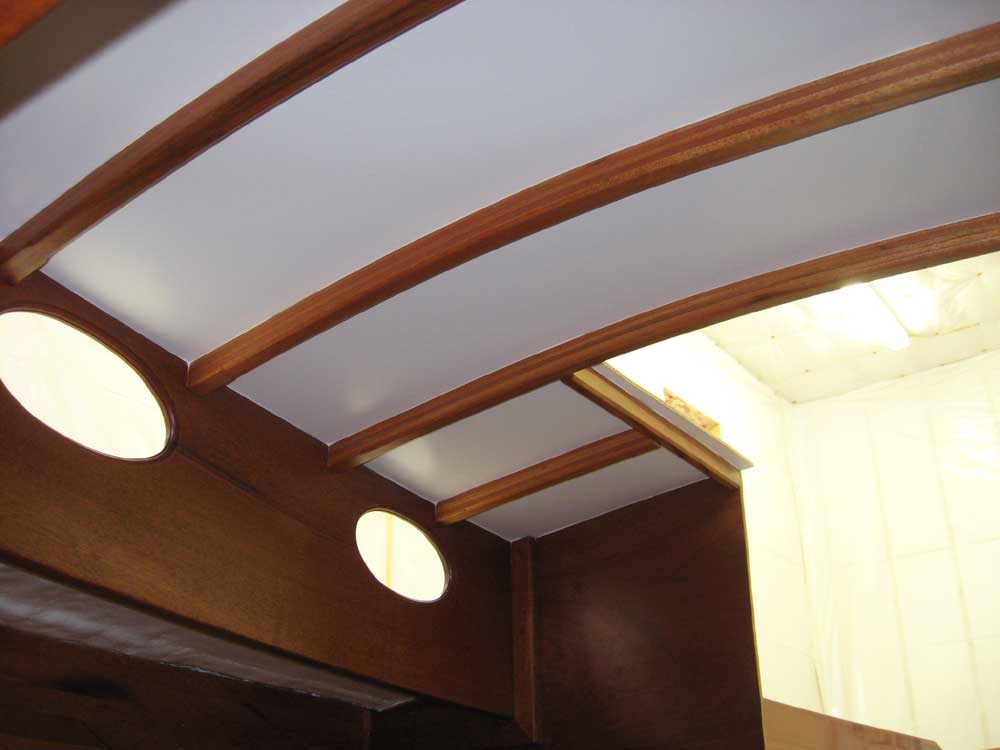
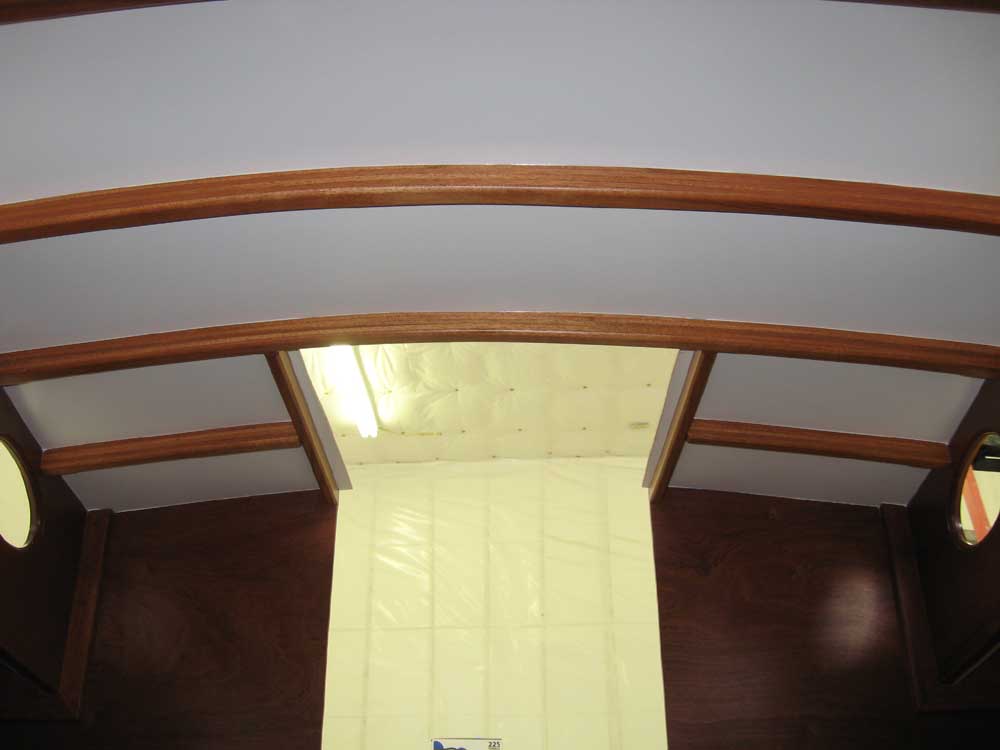
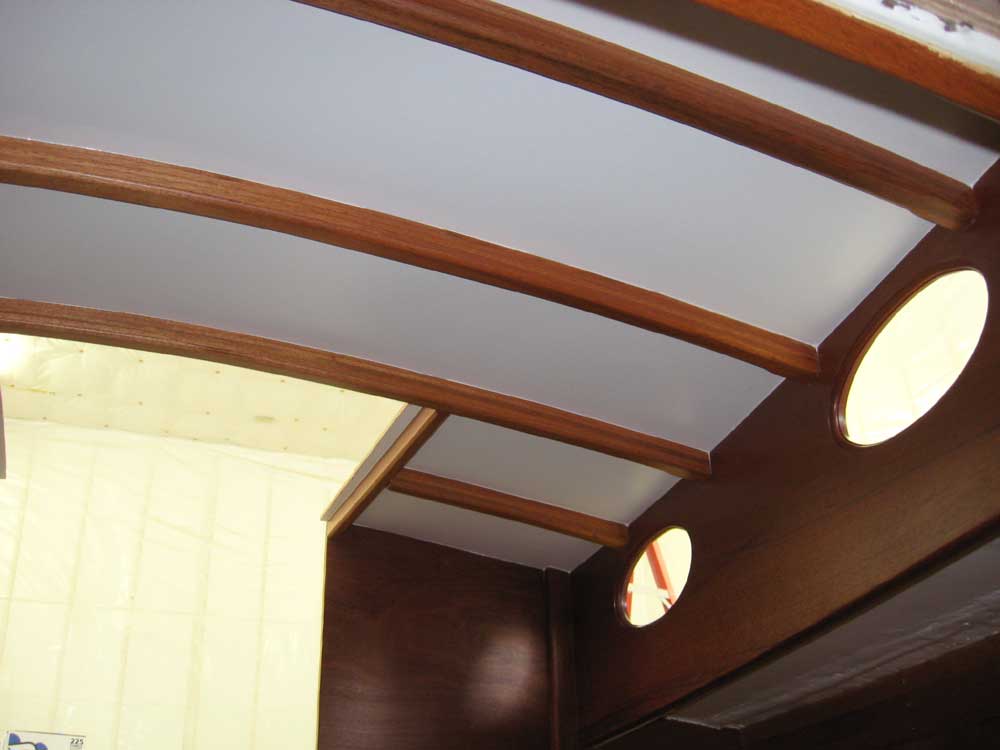
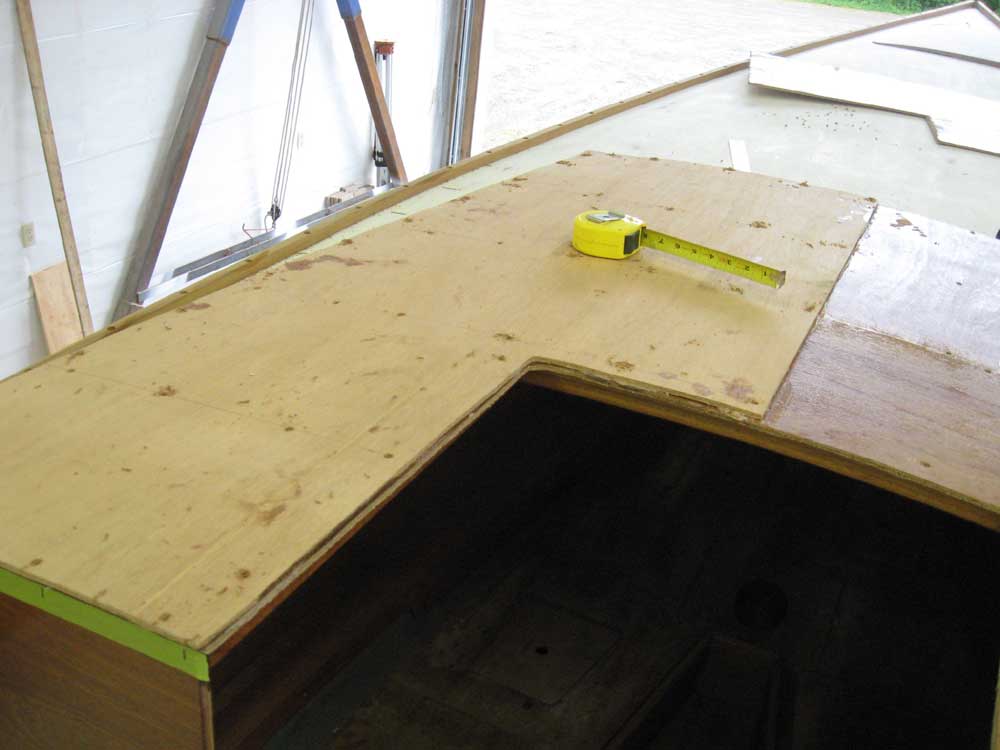
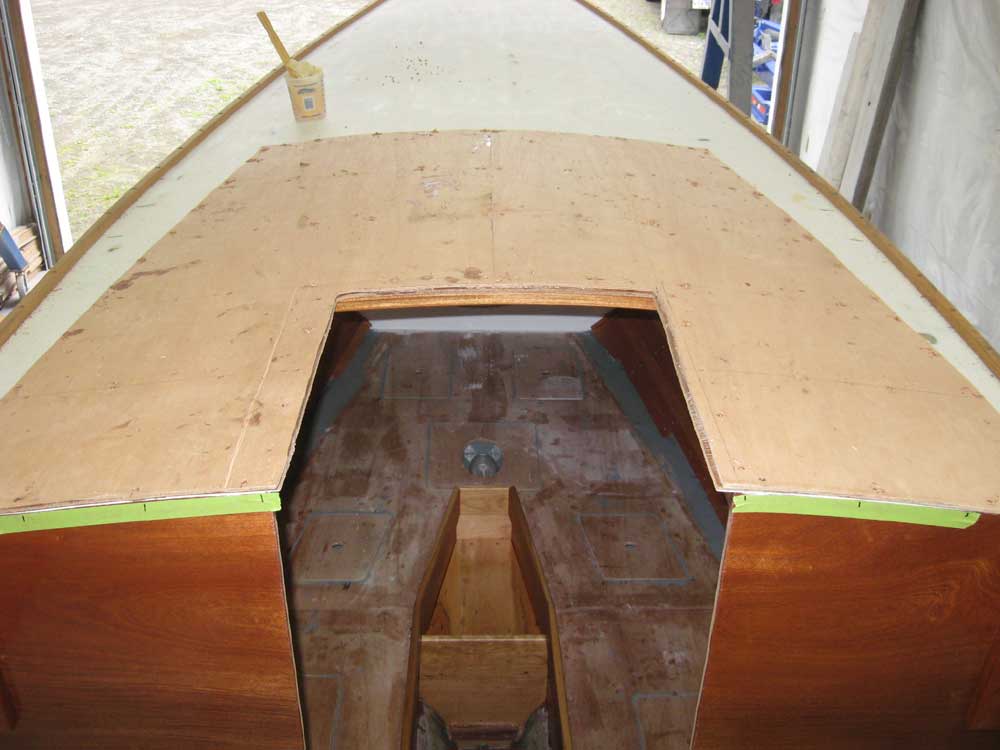
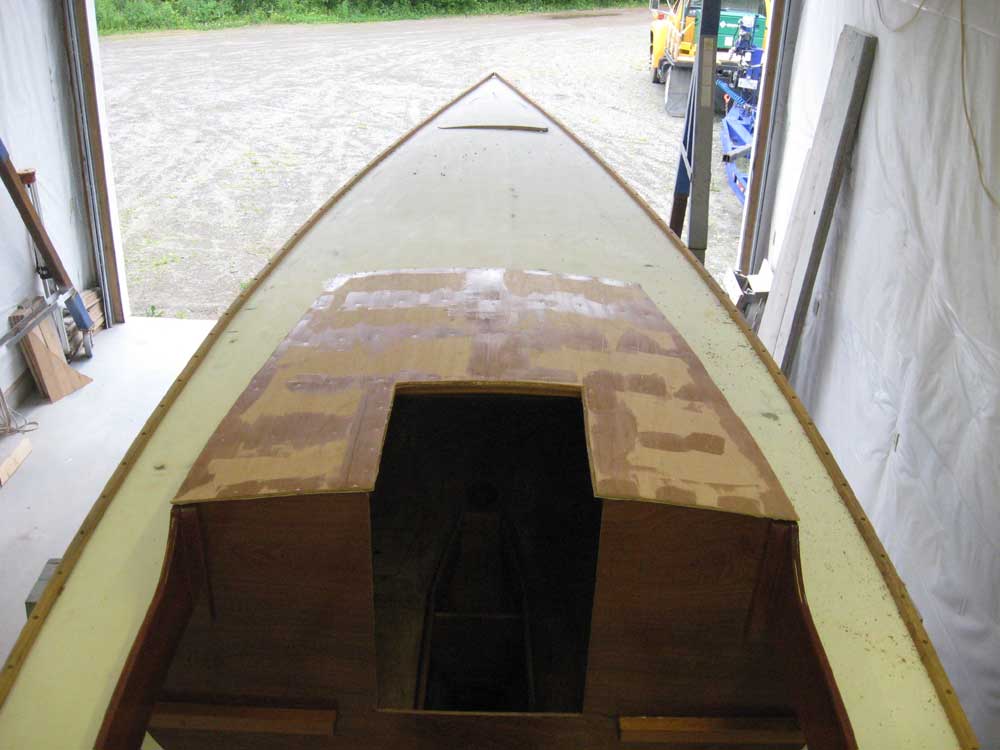
Monday, June 23, 2008 I spent most of the day building the coachroof, with time for a couple smaller jobs along the way. The coachroof was to be two layers of 7mm plywood, laminated in place and sheathed in fiberglass. I chose to use two layers of thinner material rather than one layer of thicker material for a couple reasons: first and foremost, the size of the coachroof was too large to build in a single piece without a seam, so a 2-layer system with staggered seams made the most sense; also, I felt that the laminate of two separate layers, secured together with epoxy, would be incrementally stronger when complete. Earlier, I'd precut and pre-painted the underside (visible from the interior) of the two pieces that would make up the first layer, and predrilled the fastener holes. Permanent installation was therefore relatively straightforward. I secured the plywood to the cabin beams and cabin sides with a bead of 5200 adhesive and bronze screws--first the forward section, and then the after section. Each piece was slightly oversize and overhung the edges of the cabin trunk by a small amount to allow for later trimming. |
|
|
|
Once I had both pieces secured, I went below and cleaned up the excess adhesive that squeezed out along the beams and cabin edges, a time-consuming proposition. |
|
|
|
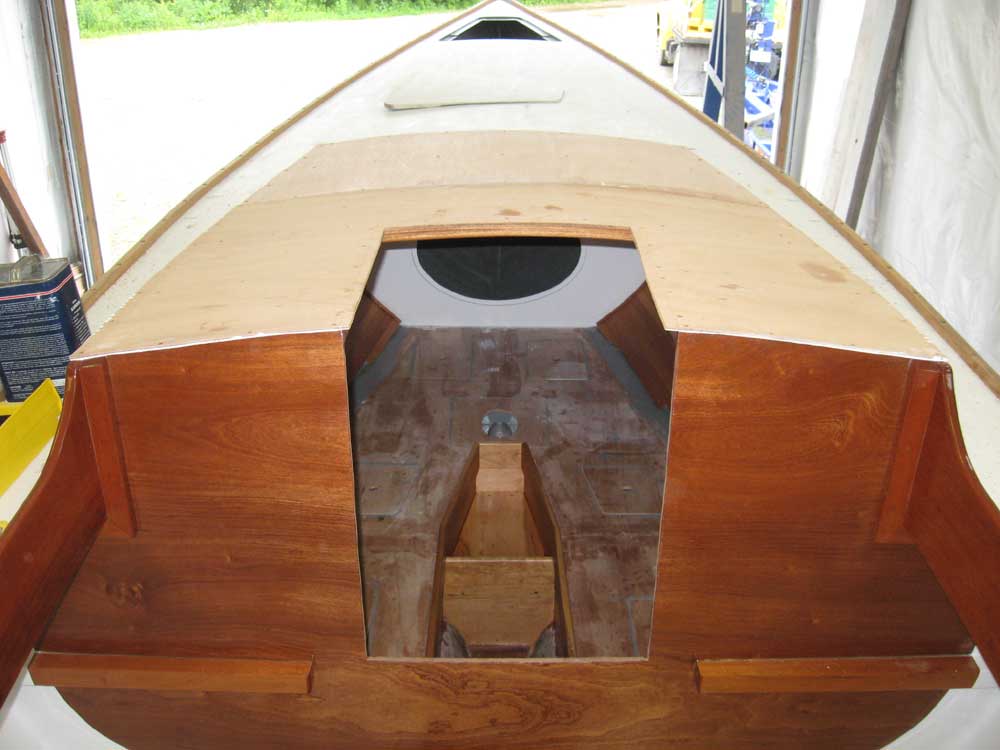
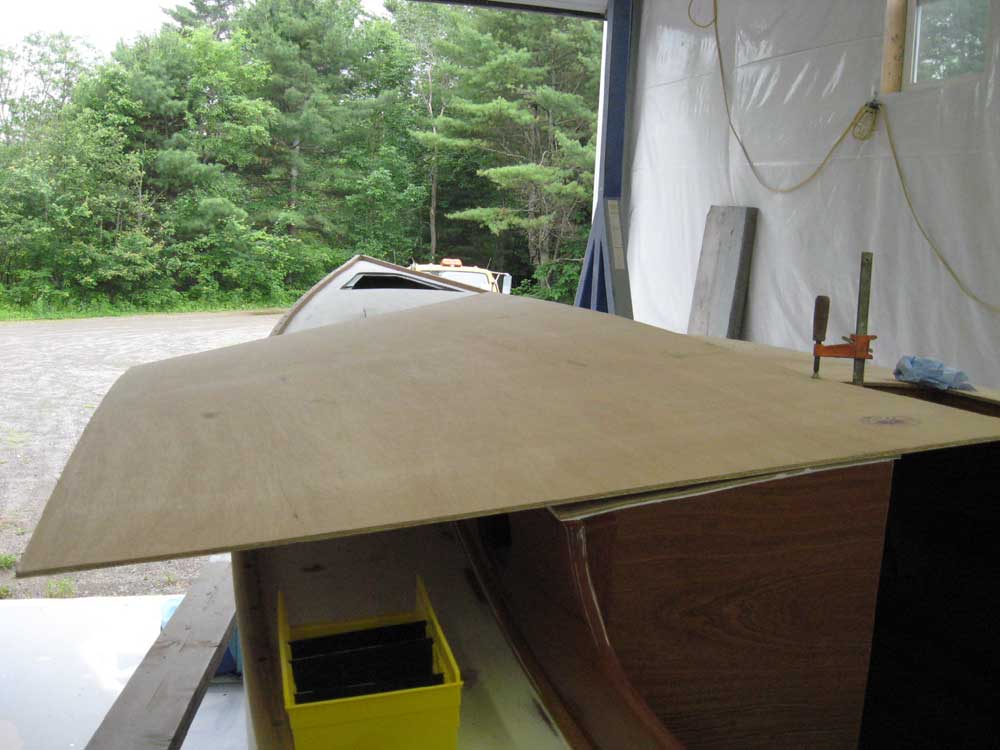
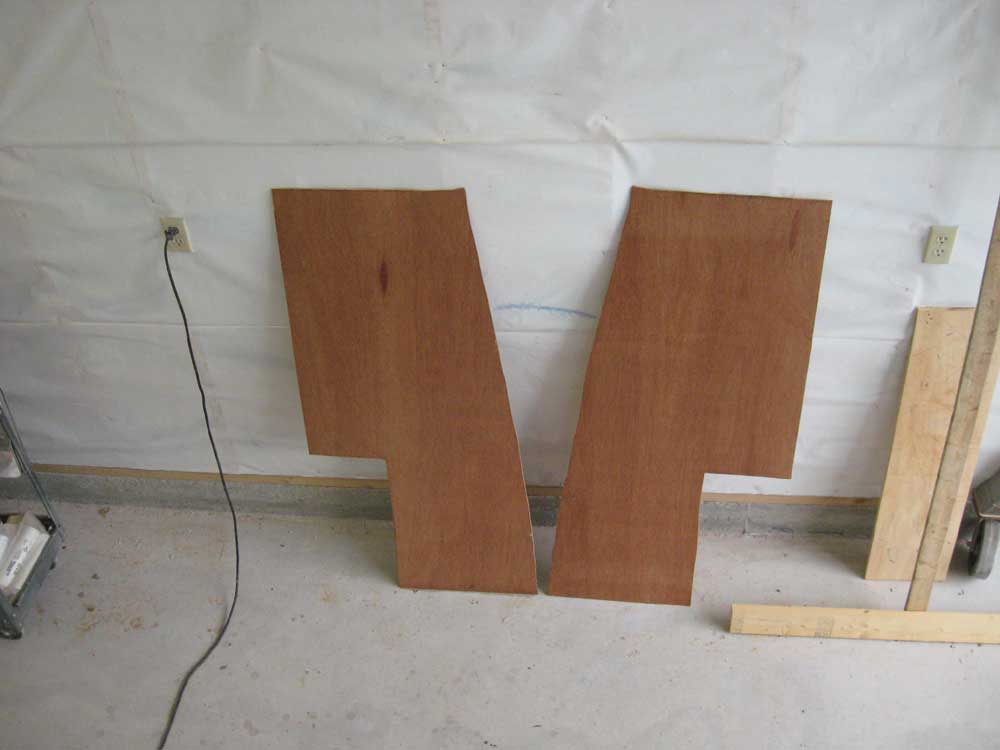
Next, I marked a longitudinal centerline on the coachroof and aligned a second sheet of 7mm plywood along this line so I could mark it along the cabin edges for cutting. I cut the first piece, roughed out a second piece, and repeated the marking process with the second half. Afterwards, I applied a coat of unthickened epoxy over the exterior of the plywood to prepare it for installation of the second layer; I also coated the bonding side of the second layer of plywood. |
|
|
|
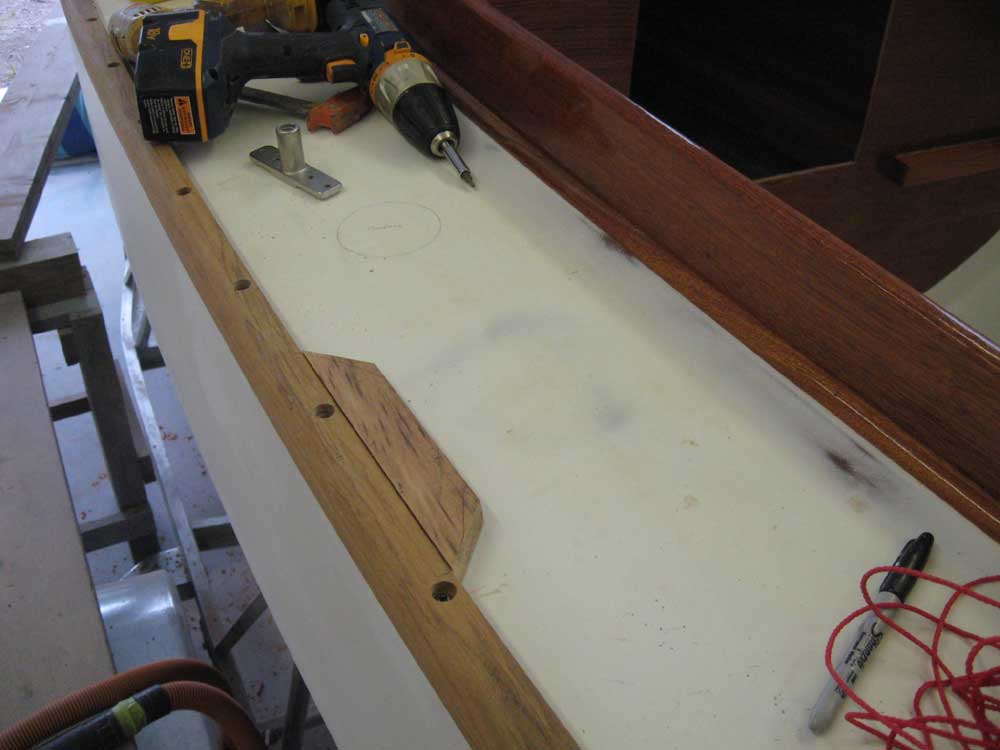
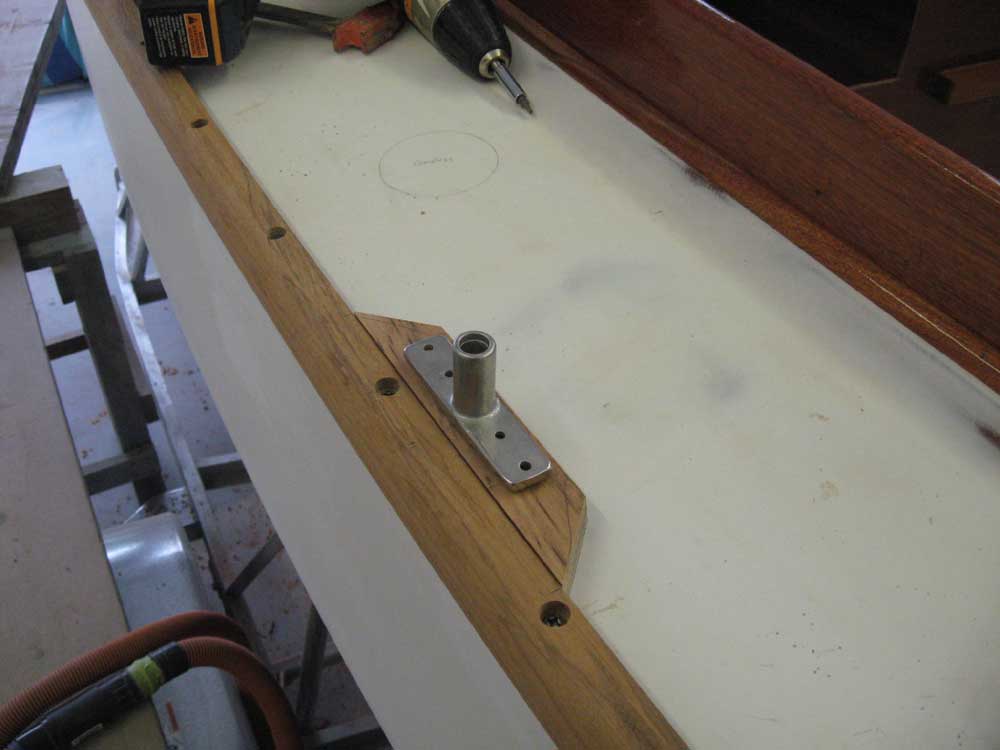
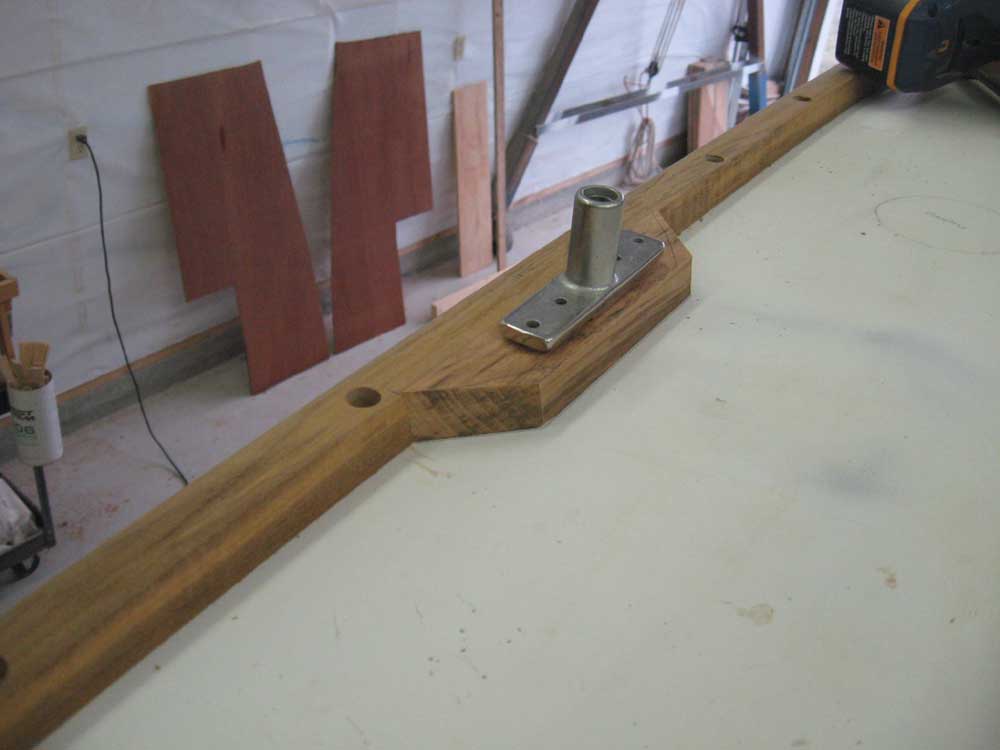
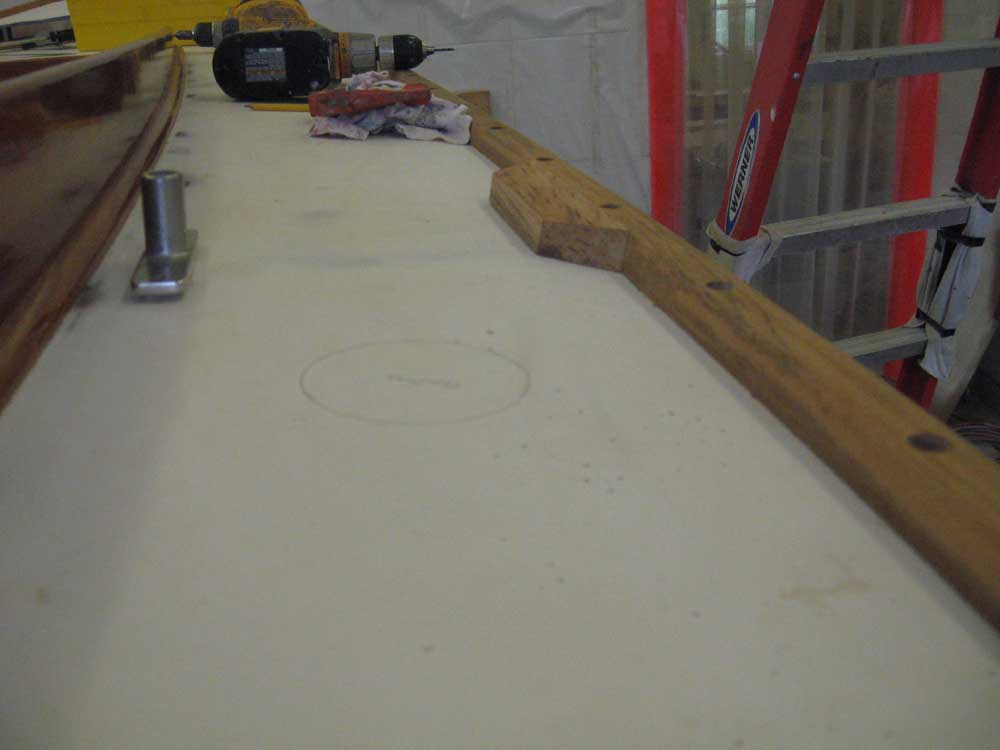
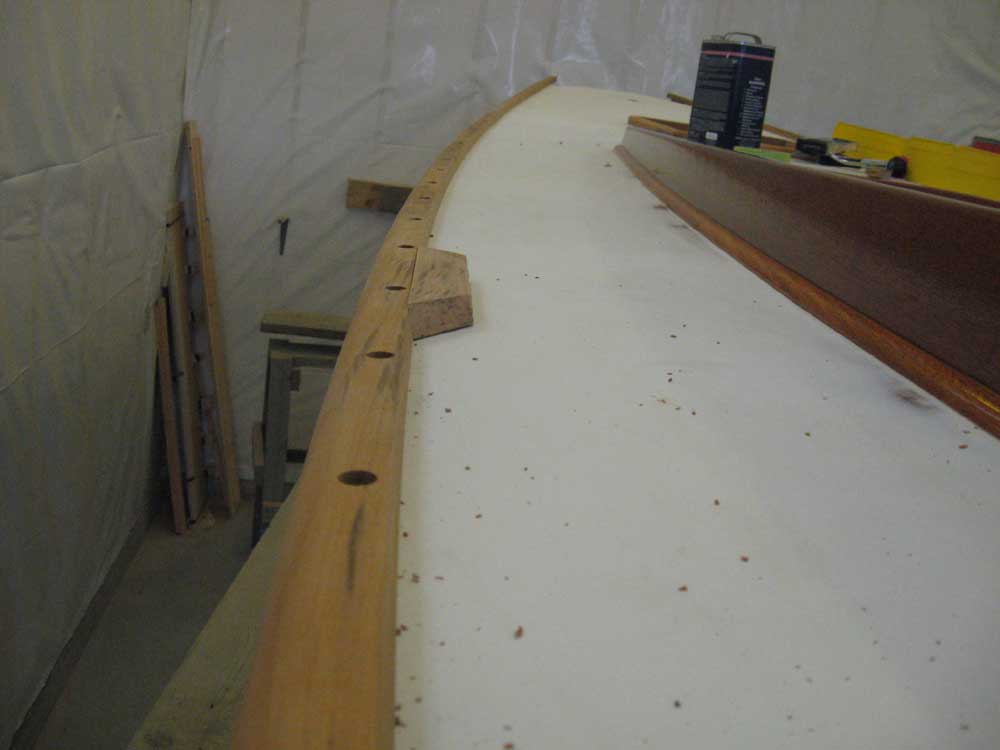
While I waited for the epoxy to partially cure, I shifted my attention to the small blocks required alongside the toerail to support a pair of oarlock sockets. Earlier, we'd determined the proper position for these blocks, and I now had the sockets themselves on hand. From a piece of teak leftover from the toerail, I created a profile as necessary to allow the pieces to butt snugly against the beveled inside edge of the toerail and the deck camber. Through foolish errors, it took three tries to get the pieces right: the first time, I had the blank milled to the perfect profile, but mistakenly cut the miters at the ends backwards; the second attempt ended badly when I cut the block just a hair too short, so it couldn't be flush with the top of the toerail; the third time I got all the cuts right. The sockets were to be positioned halfway between the second and third cockpit seat brackets, so from the cockpit I transferred this mark up to the top of the coaming, ran a string across between the two sides, and transferred that line down to the toerail, aligning it by eye. To confirm the placement was identical from side to side, I ran a string from the centerline of the bow to each side, checking that the length was the same. Once I was satisfied with the placement, I marked the toerail and the deck where the blocks were to go; I only needed the marks for now so that I could complete the final edge detail on the toerail before removing it for sealer varnish coats and final reinstallation. The oarlock sockets, where shown, are upside down and are in place simply to show scale and placement. |
|
|
|
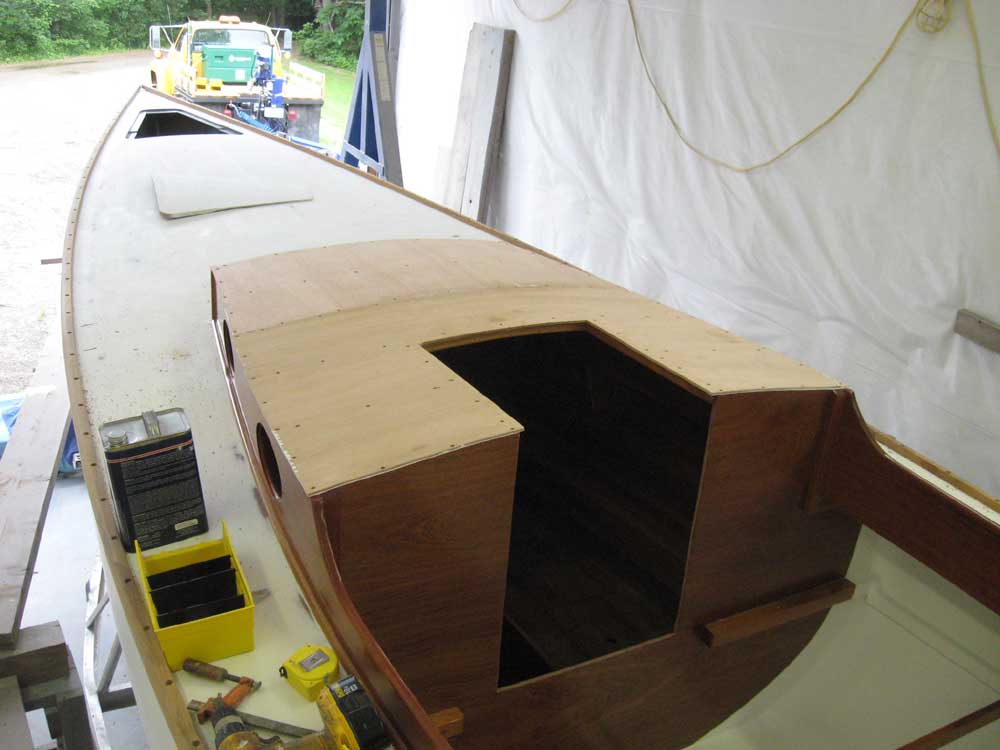
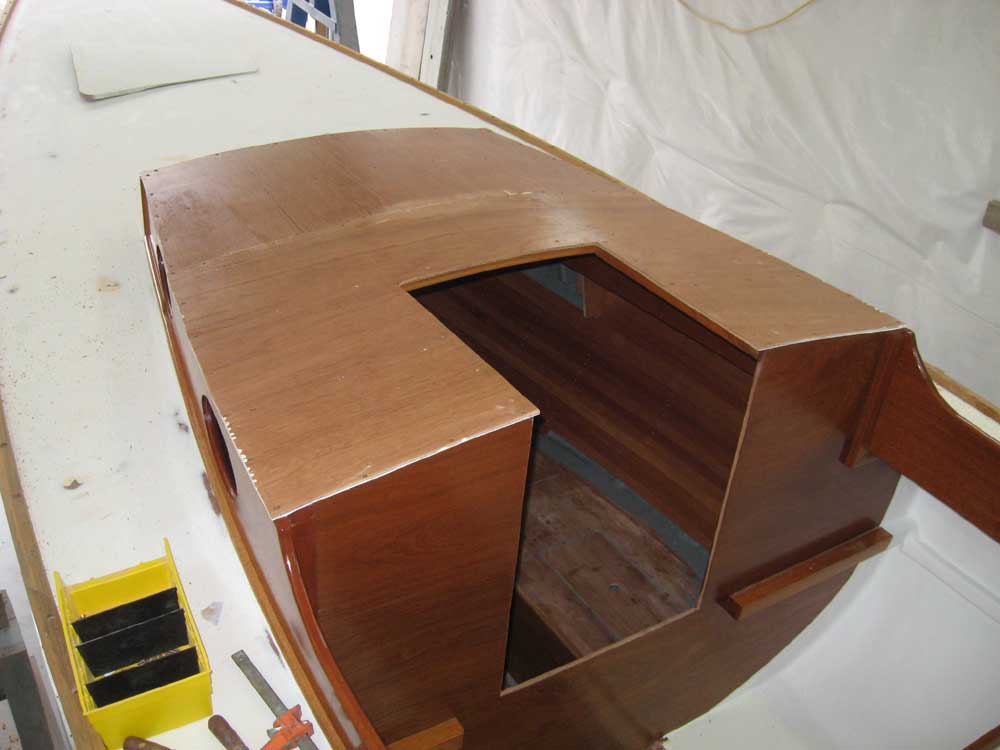
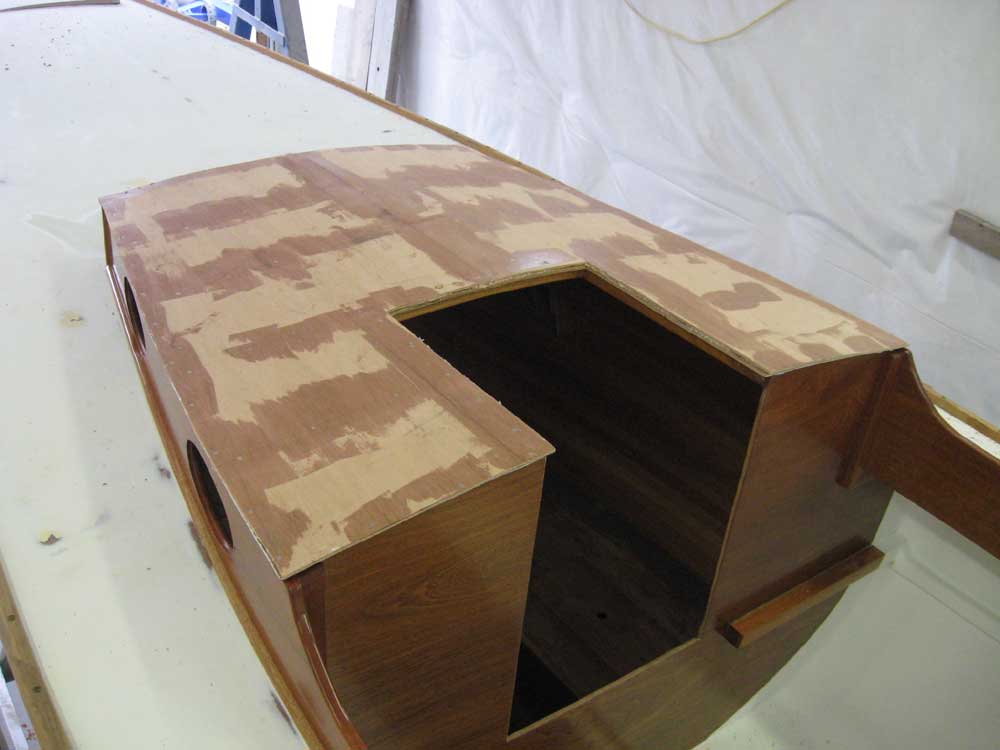
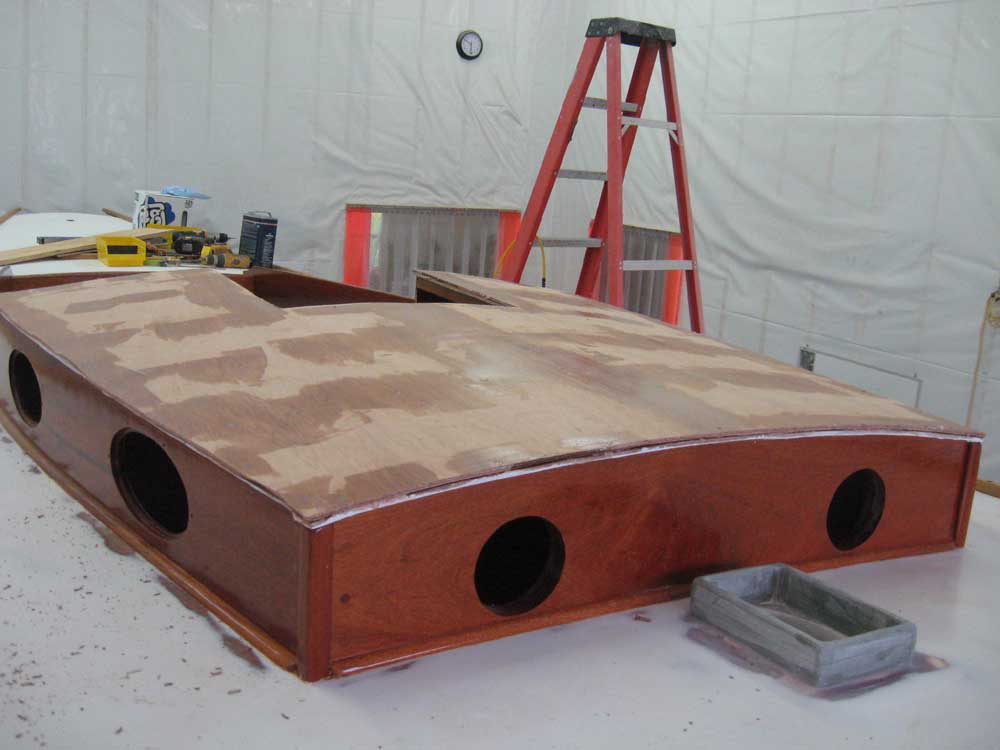
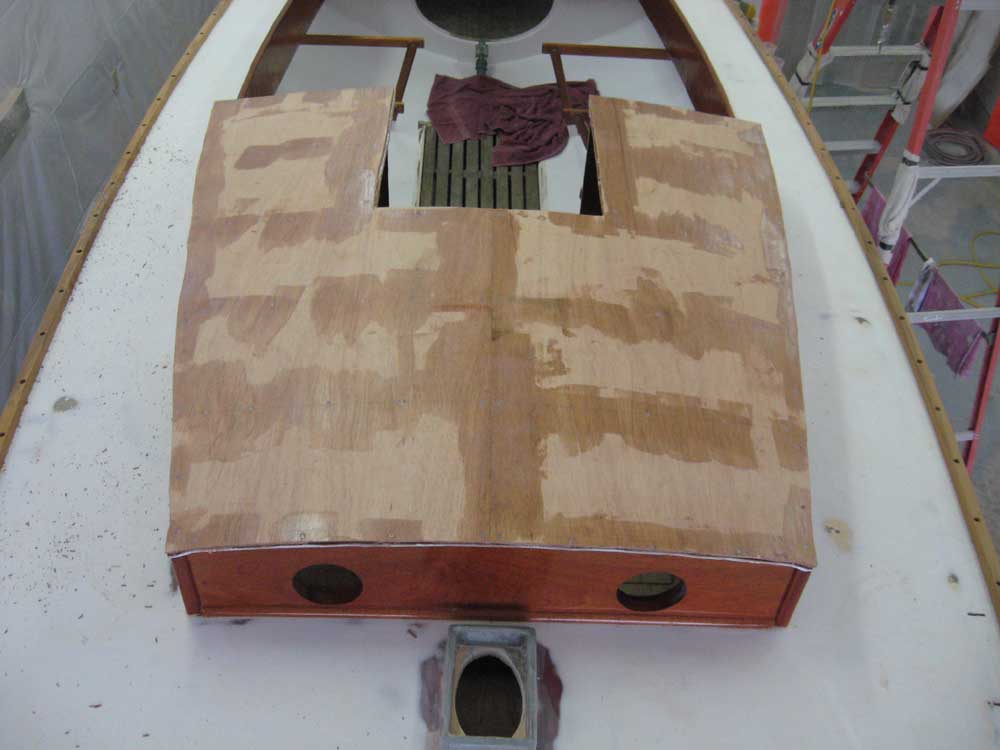
By now, the epoxy coat on the coachroof had cured sufficiently, so I prepared for the installation of the second layer. I made marks along the cabin sides to indicate the location of the centers of the cabin beams, and also noted the positioning of the screws securing the first layer of plywood so that I'd avoid attempting to drill and screw where a screw already existed. Then, I applied a ridged layer of thickened epoxy adhesive to the coachroof after first filling in all the screws with epoxy, and secured the port half of the second layer in the epoxy, securing it with bronze screws to the cabin beams and cabin sides. I repeated the process on the starboard side, completing the basic structure of the coachroof. Before knocking off for the day, I filled the screw holes and centerline seam with some thickened epoxy. |
|
|
|
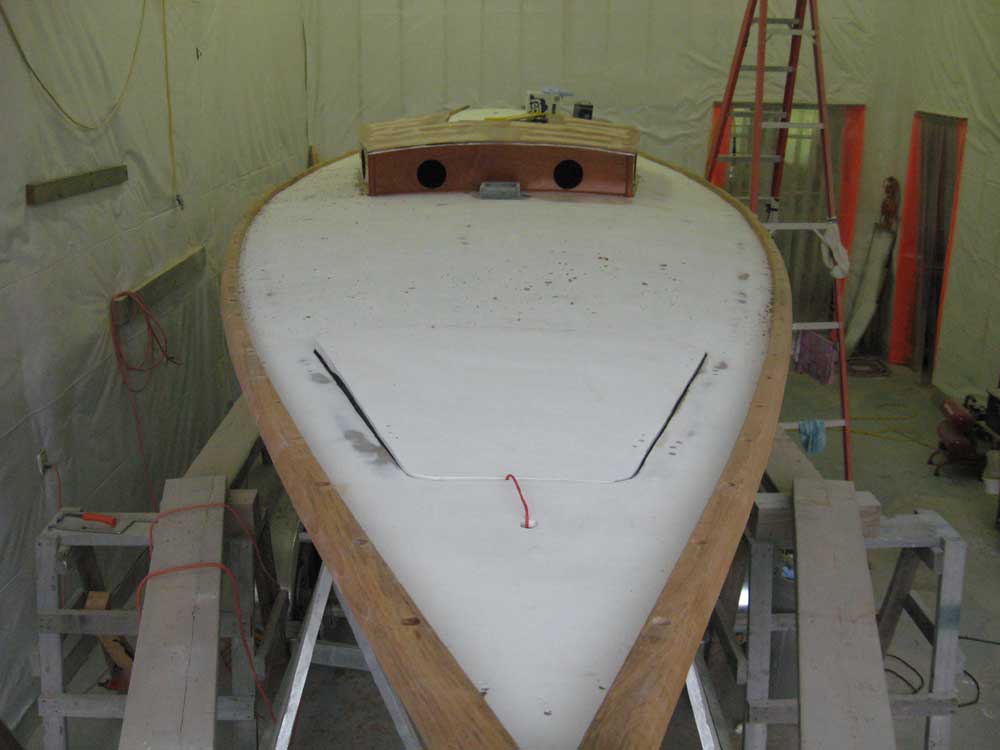
Finally, I quickly test-fit one of the new port glass blanks into the port openings to ensure that it fit properly. It did. |
|
|
|
|
|