| Bolero
Project |
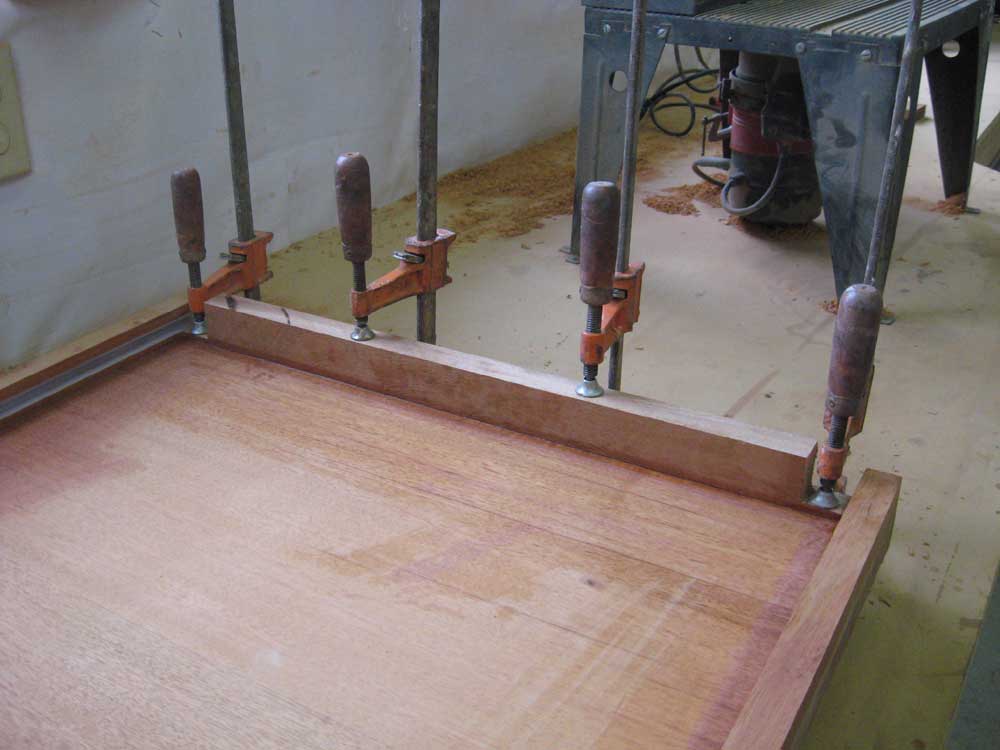
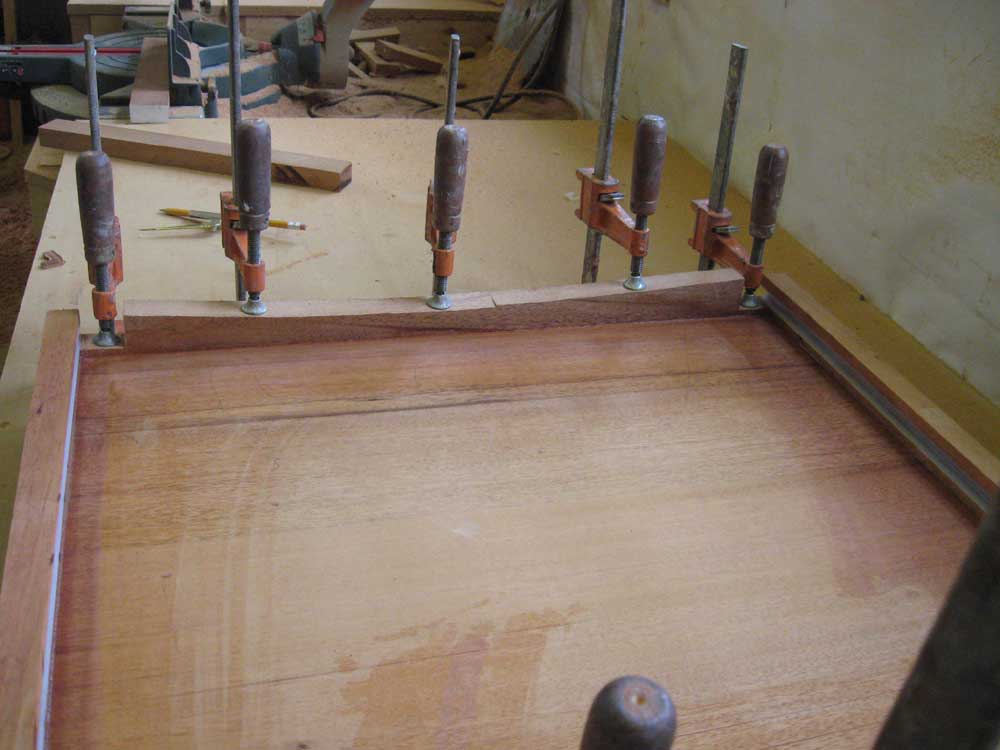
Wednesday, July 23, 2008 I began once more by sanding the brightwork I intended to varnish at the end of the day: this time, this included the toerails, the various interior bits up in the varnish room, and, for the first time in a while, the cockpit coamings and cabin trunk. Next, I continued work on the companionway sliding hatch. Removing the clamps, I test-fit the hatch one more time and found that it slid easily on the tracks. Then, I worked on sizing the hatch properly. To begin, I used a router and a flush-trim bit to cut the overhanging top even and flush with the side rails, and trimmed the aft end of the rails flush with the aft end of the hatch. With the hatch in place, I made up a trim/water blocking piece for the forward edge of the hatch opening, bringing the top edge up as close to the bottom of the hatch as I could while still allowing for clearance for the hatch movement. With this piece in place, and with the hatch in the closed position and aligned as I wanted it, I marked the underside of the hatch at the forward trim; down on the bench, I transferred this mark forward by an amount equal to the thickness of the trim I planned to finish off this edge of the hatch, plus just a little bit of extra, and cut off the excess length on the table saw. I made up the trim pieces for the leading and trailing edges of the hatch. At the after end, I built a piece to close off the opening as much as possible, down to the level of the swashboards and extending up over the sliding rails as well. At the forward end, I made up a similar piece, though in this case I cut the bottom edge in a curve to match the deck camber, and as close as practicable to the deck to minimize gaps through which water could flow. With both trim pieces cut and fit as needed--a time consuming, fussy process--I epoxied them to the underside of the hatch and set it aside to cure. Tomorrow, I'd be able to complete the final shaping and sanding of the hatch, and get it into the varnish room. |
|
|
|
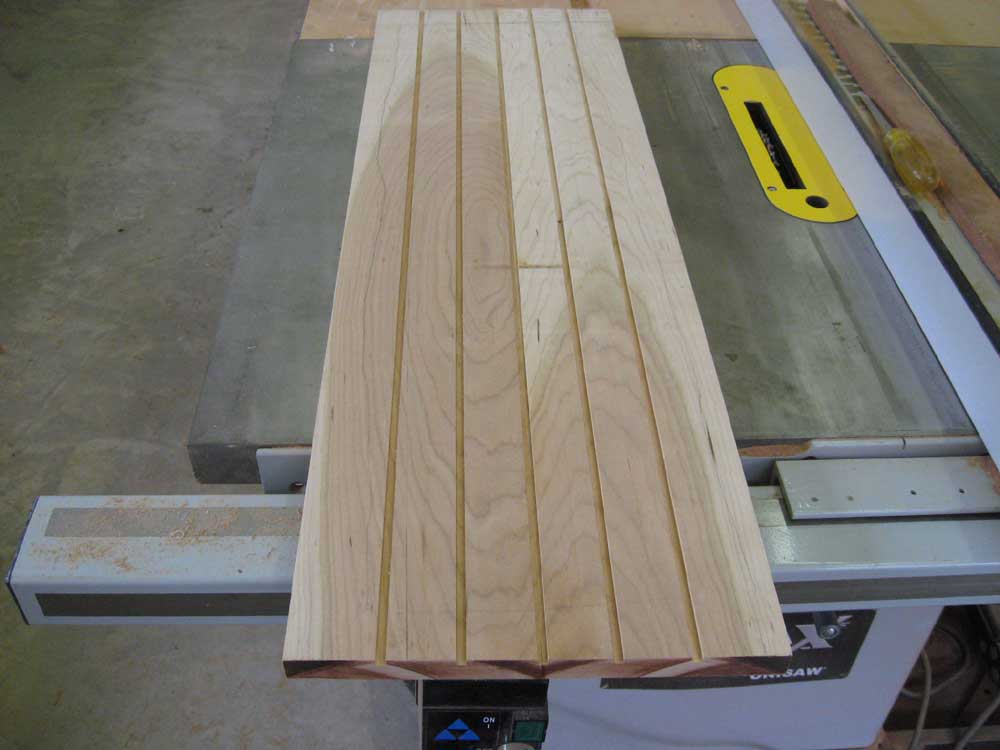
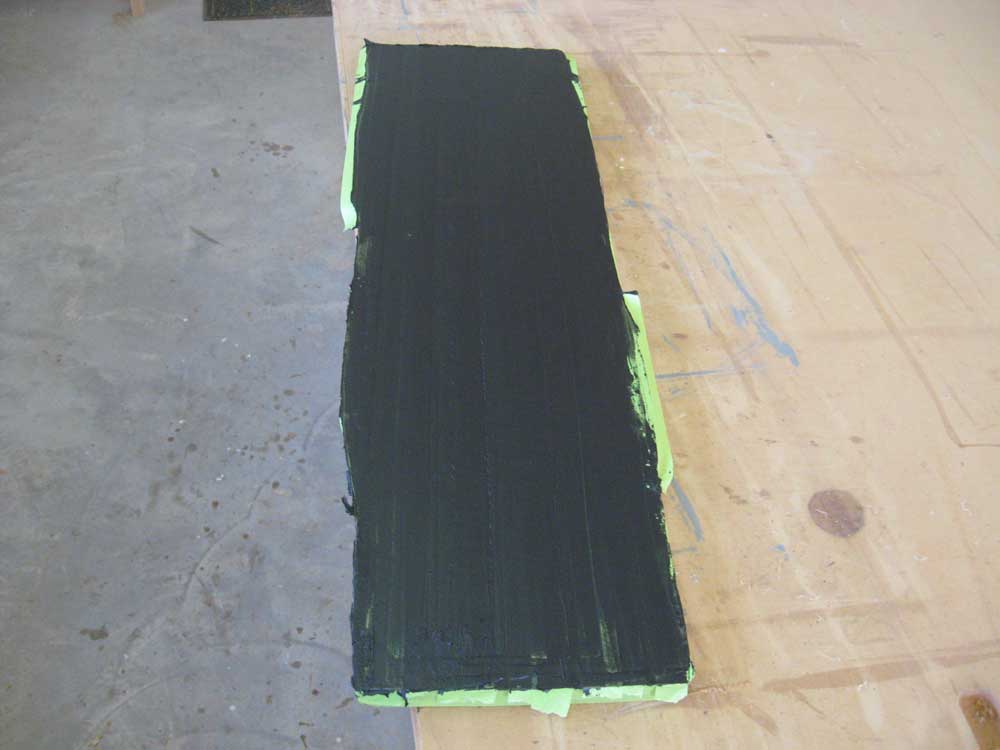
I turned to the cabin sole, and began my work by milling a series of shallow, 1/4" wide grooves in the glued-up blank--these to simulate planking seams. I began with a groove at centerline, and offset them 1-1/2" to either side to eventually provide the look of 1-1/2" wide planks. Next, I created a template of the cabin sole by using a compass to scribe the highly irregular shape of the hull onto some paper that I secured on a 3/4" piece of plywood to simulate the proper height of the cabin sole. I cut out the shape using a jigsaw, which I set at an angle to create the necessary bevel beneath the piece. Many trips to and from the boat later, I managed to get the piece to fit properly. To allow me to insert and remove the sole during this process, I drove two drywall screws into the seam grooves to give me a gripping place; the holes would be hidden later. With the sole cut to shape and looking like something created during the height of a California earthquake, I taped off the wood between the artificial seams and filled the seams with an epoxy/graphite/cabosil mixture to create the appearance of black seam compound. Later, when the epoxy was semi-cured, I removed the tape, and left the sole to cure completely. |
|
|
|
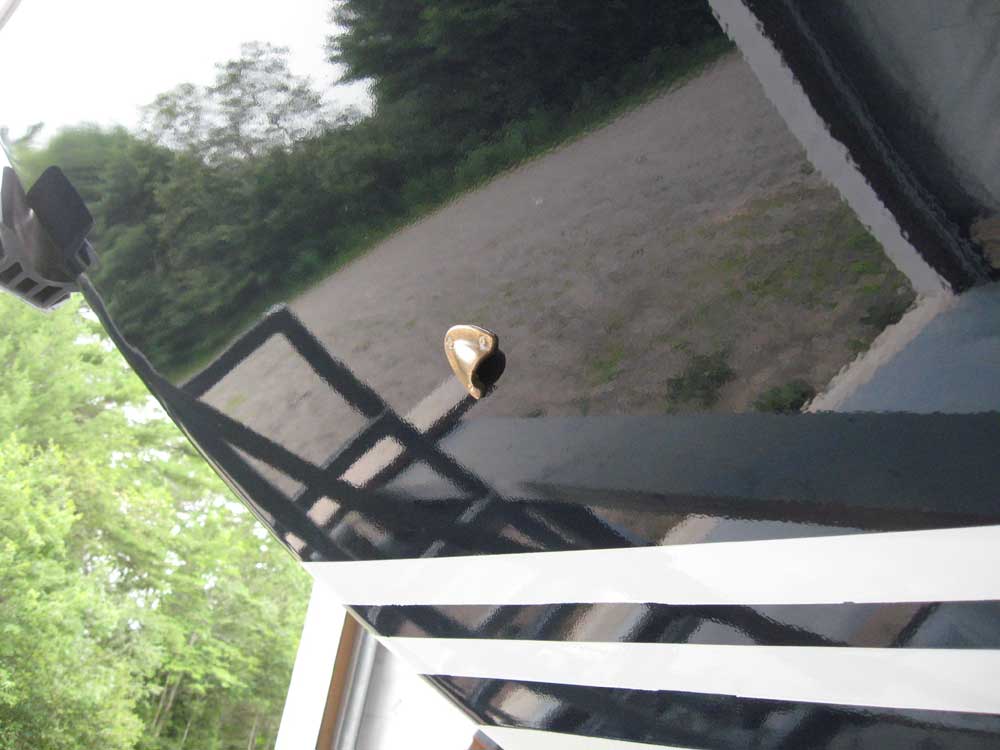
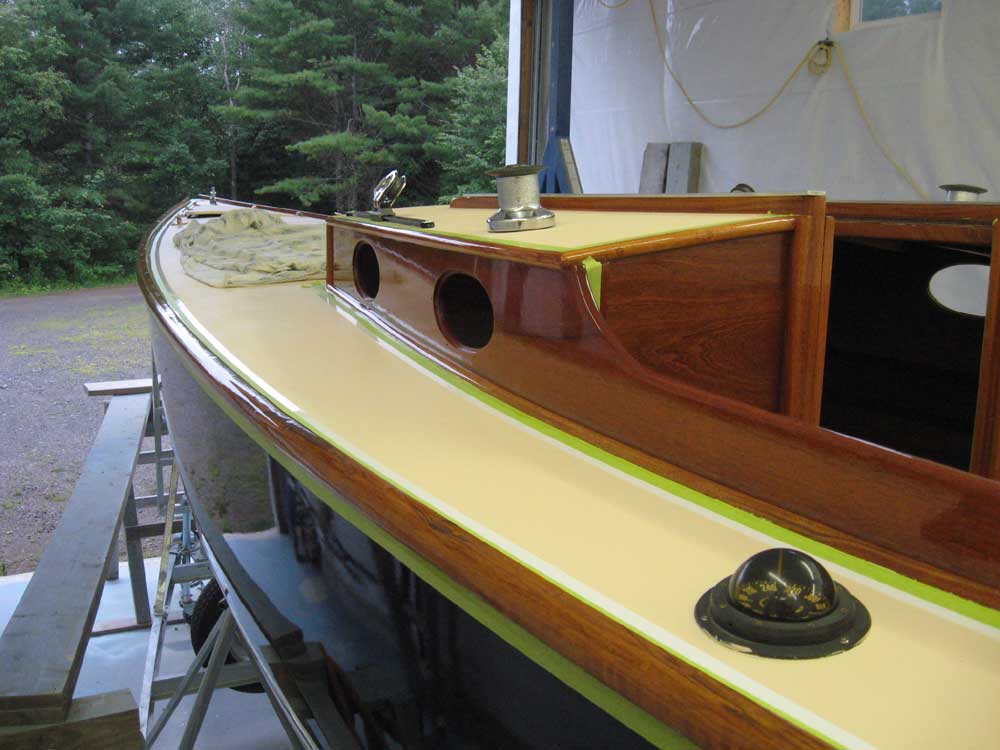
I installed two nice bronze clamshell covers over the anchor well drains up in the bow, using tiny bronze screws and sealant. |
|
|
|
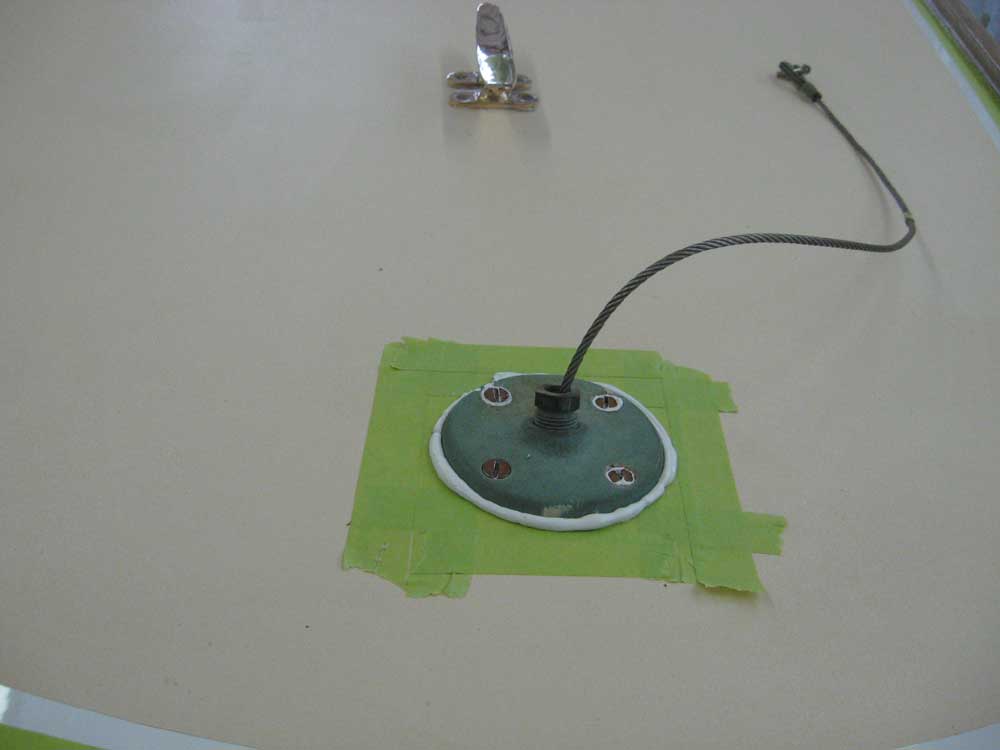
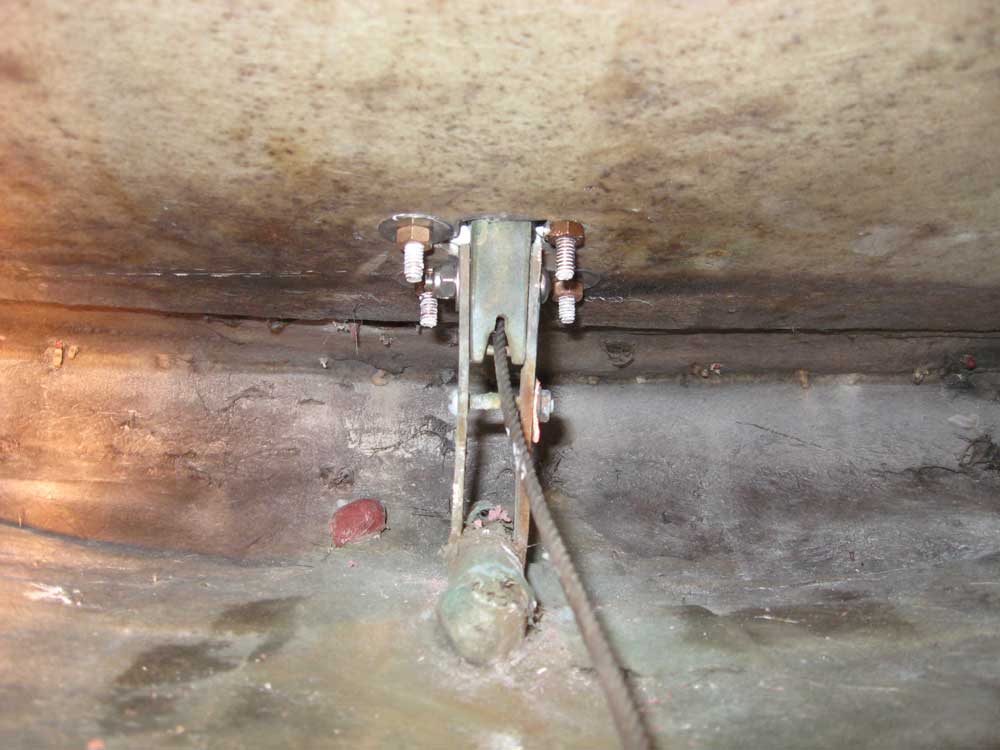
I permanently installed the backstay deck fitting, securing it as needed from beneath with a 1/4" bolt through the u-shaped bracket already in place from original construction and four bronze bolts through the deck. This allowed me one final foray into the cozy space of the aft compartment. I came up with a plan for securing the wire to the boat, since we planned on a different setup than the original below-deck block and tackle for adjustment (for various reasons), and I'd begin to implement the construction on the 'morrow. But at least the hard part was done. There wasn't room for a washer on the forward port bolt. |
|
|
|
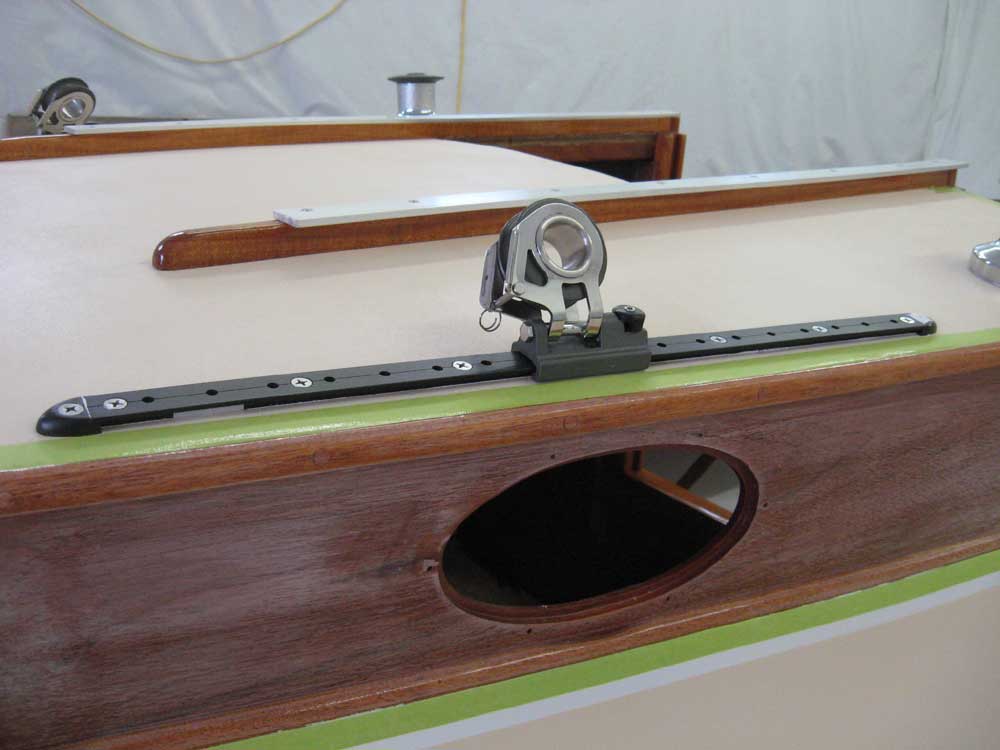
Yesterday, I applied some ultimately false reasoning to my decision to install the jib lead cars the way I did, but after reconsideration I decided that they indeed were backwards, so I removed the aft track stops and turned the cars around. |
|
|
|
A few odds and ends, including spray painting the aft bulkhead hatch with flattened white paint, rounded out the day before it was time to clean up and start varnishing. |
|
|
|
|
|