| Bolero
Project |
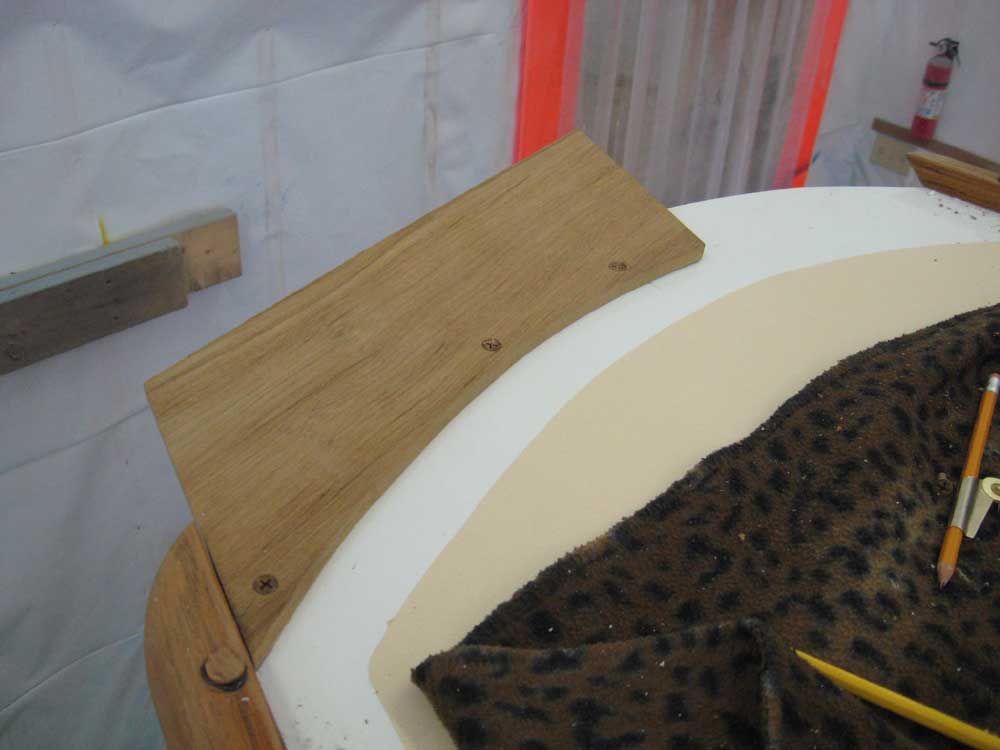
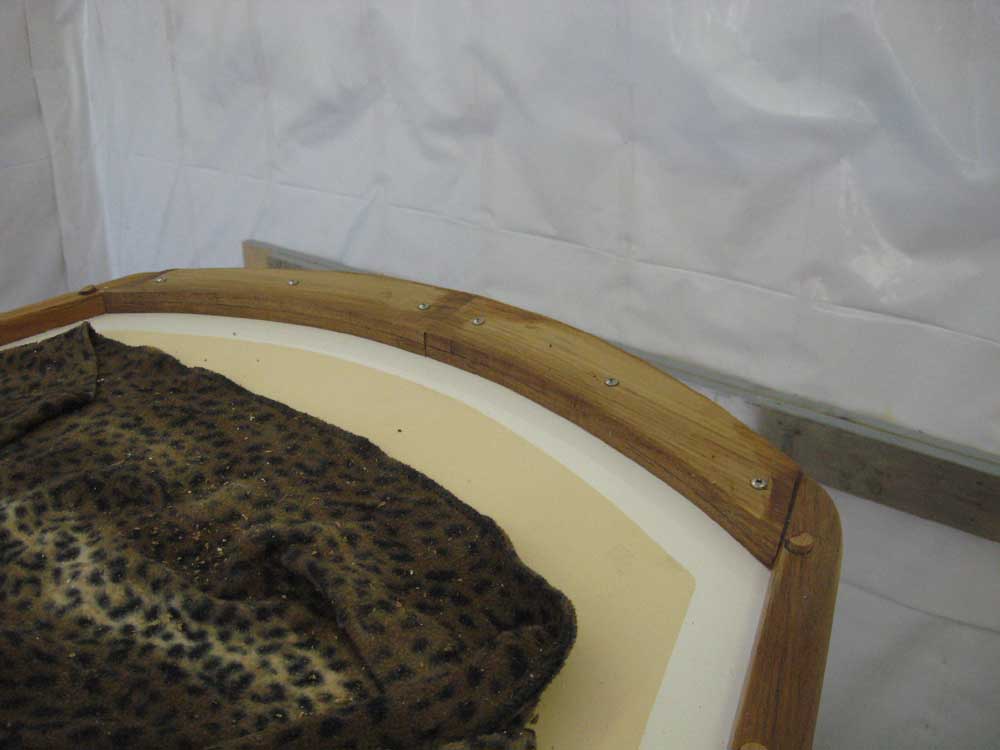
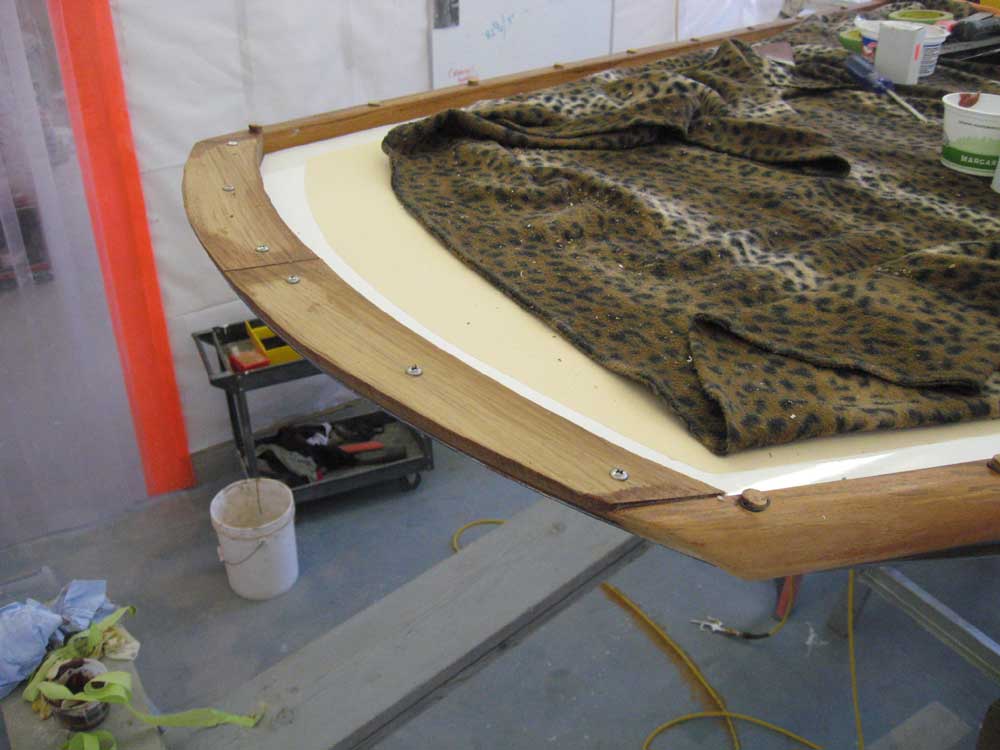
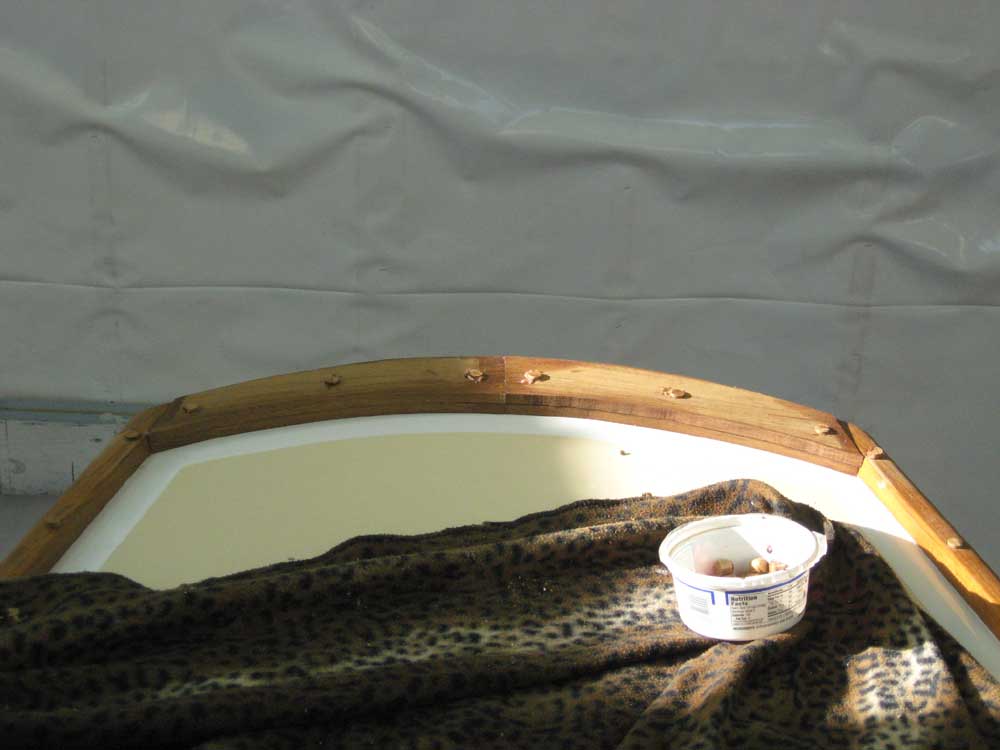
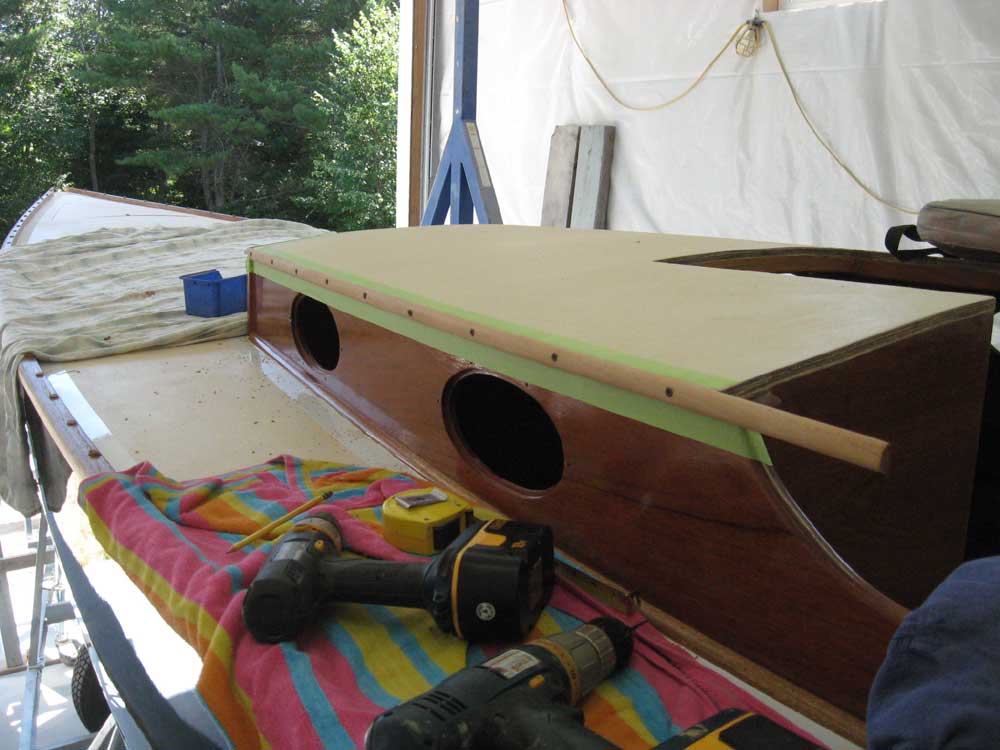
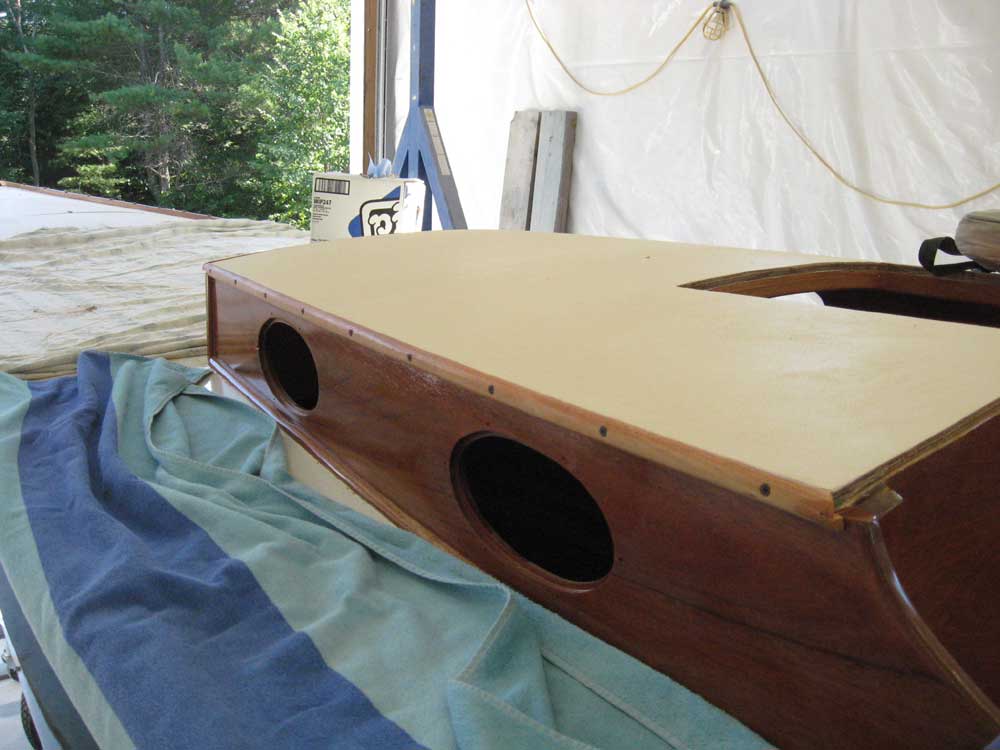
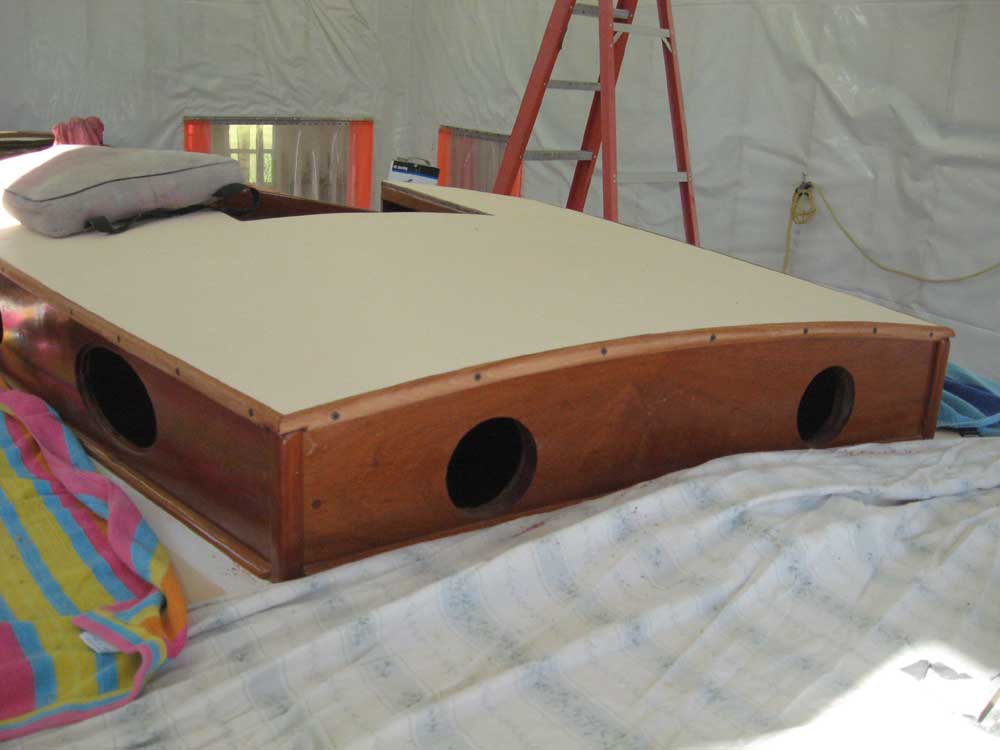
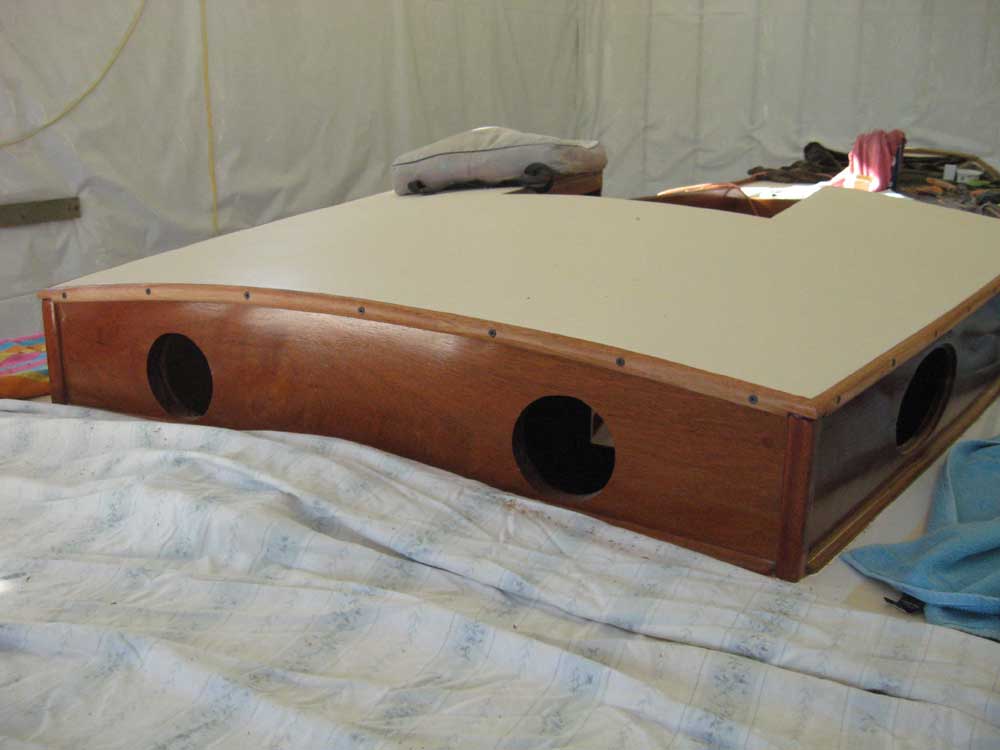
Wednesday, July 16, 2008 I got started with the taffrail construction first thing. With a clearer focus, I proceeded efficiently through the process that I'd attempted yesterday, and by late morning the raw construction was complete. Basically, I built the taffrail from four separate pieces: two 3/8" thicknesses and two pieces across the width of the boat, meeting at centerline, all in order to accommodate the deck camber and curvature of the transom. I first cut and fit the two lower pieces, roughing out the forward-facing curve 1-1/2" from the nonskid paint line as I'd planned, and tracing the transom outline on the underside before making the requisite cuts; then, I repeated the process with the two upper boards, using the lower pieces as guidelines. Because of the transom angle and the width of the taffrail, I was limited in how well I could screw the taffrail to the boat; I could install screws only at the leading edge of the piece. So I decided to secure the boards with epoxy. I scuffed up the paint beneath the taffrail, and secured the two lower boards with epoxy and bronze screws at the leading edges. Then, I secured the top boards to the lower pair with additional epoxy and temporary screws to clamp them in place. Late in the day, I removed the temporary screws and bored for and installed teak plugs in their stead. Because of the laminated nature of the taffrail, I left final shaping and cleanup till installation was complete, when I planned to shape the finished piece into a pleasing profile compatible with the adjacent toerails. |
|
|
|
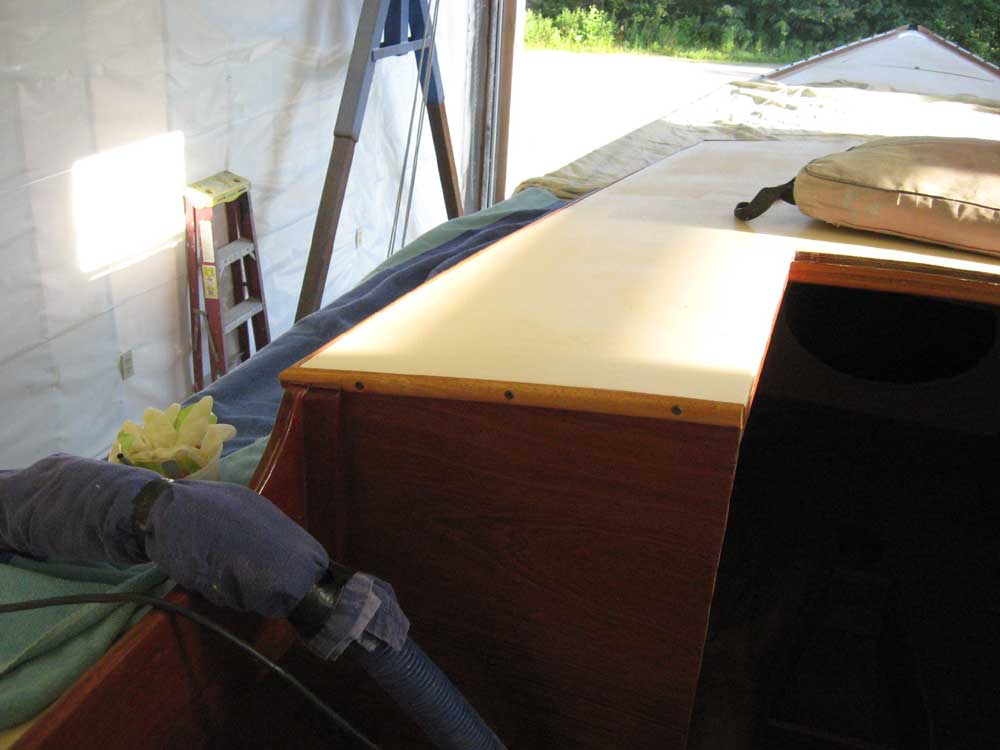
After briefly sanding the cockpit seats to prepare for the next coat of varnish, which I planned to apply at the end of the day, I milled some mahogany trim for the cabin trunk, to cover the plywood edge of the coachroof. I chose a 3/4" wide trim with 3/8" roundovers on each side to achieve a bullnose effect; I milled the profile with a router table and then sanded the bullnose smooth before trimming the new trim piece off the edge of the raw board at the appropriate thickness (about 1/2"). Beginning with the forward edge of the cabin trunk, I laid out and installed the trim with mitered corners. I held the trim temporarily in place with drywall screws. Once all the pieces were cut and fit, I taped off the adjacent areas and removed them, then reinstalled them permanently with thickened epoxy. Again, I held them in place with the temporary screws; later, I'd remove the screws and install mahogany bungs in their place, with the epoxy providing all the adhesion required. At the after bulkhead, I ran the edge trim up to the companionway opening, but didn't glue it at the end since I'd cut some of it off when I installed the companionway trim in the near future. |
|
|
|
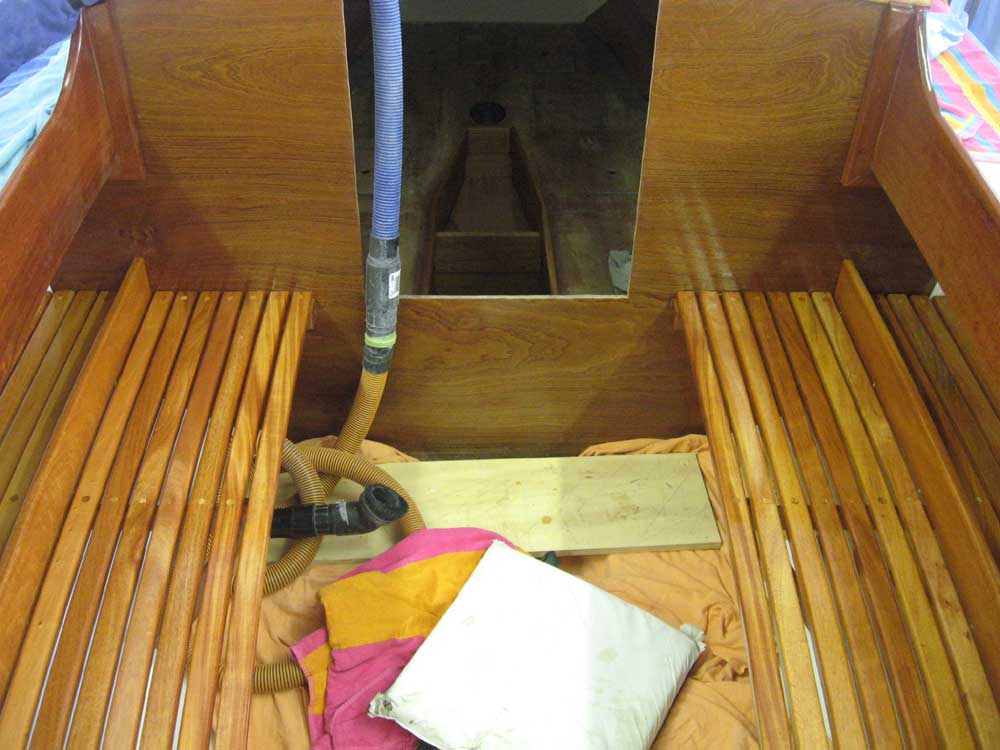
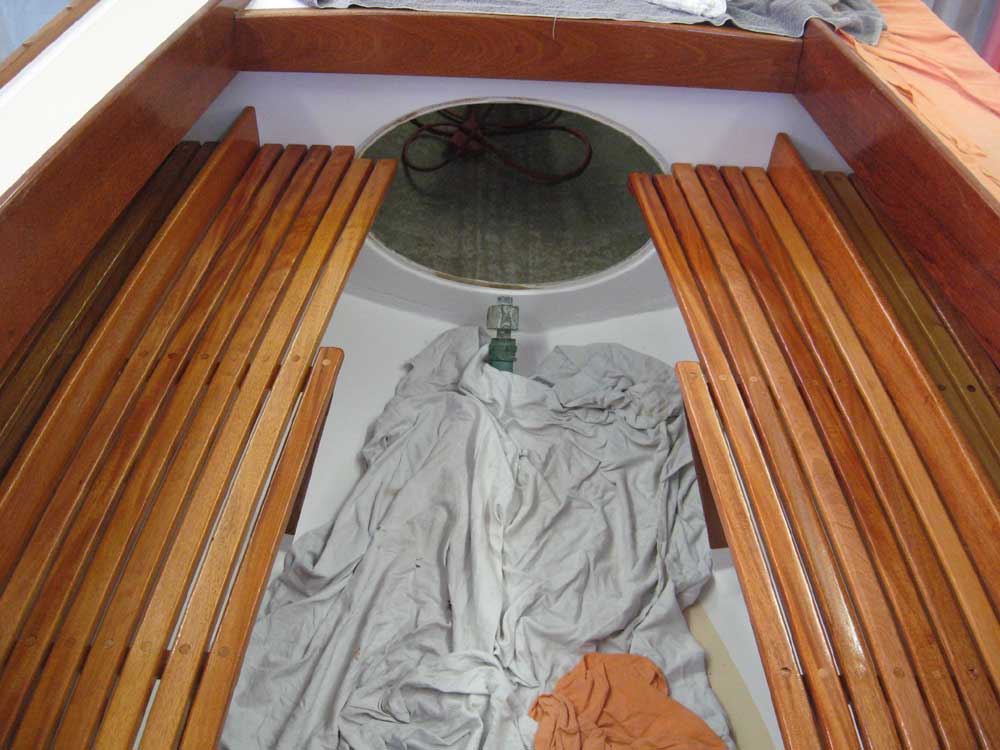
I finished up the day with additional coats of paint and varnish on the applicable parts--interior and cockpit, as well as some smaller removable pieces. |
|
|
|
|
|