| Bolero
Project |
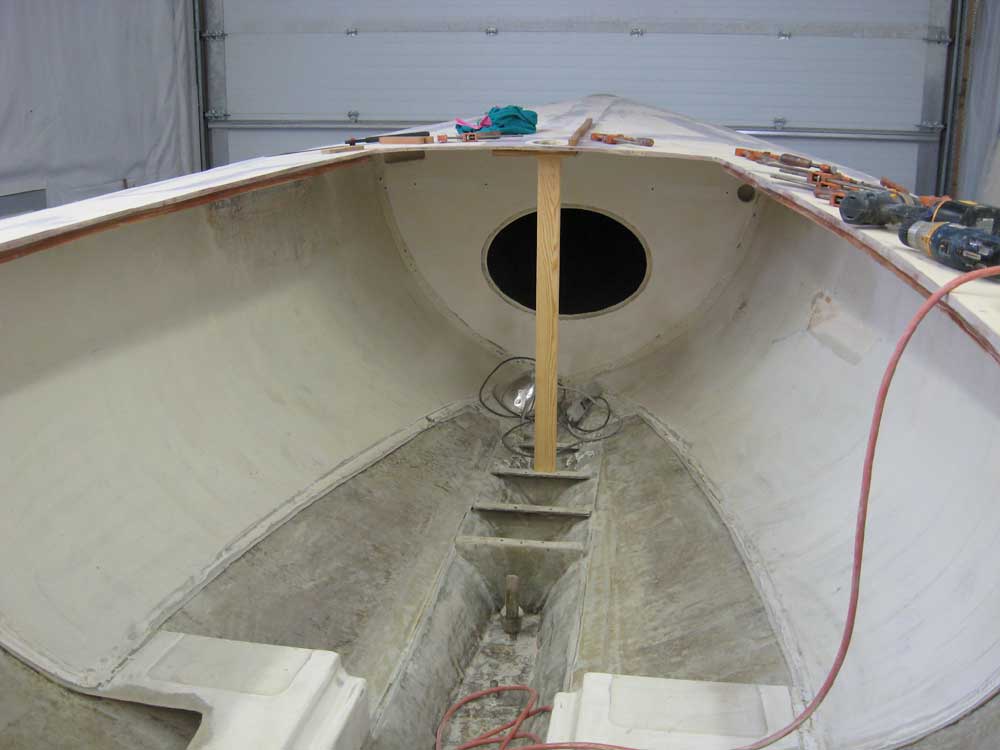
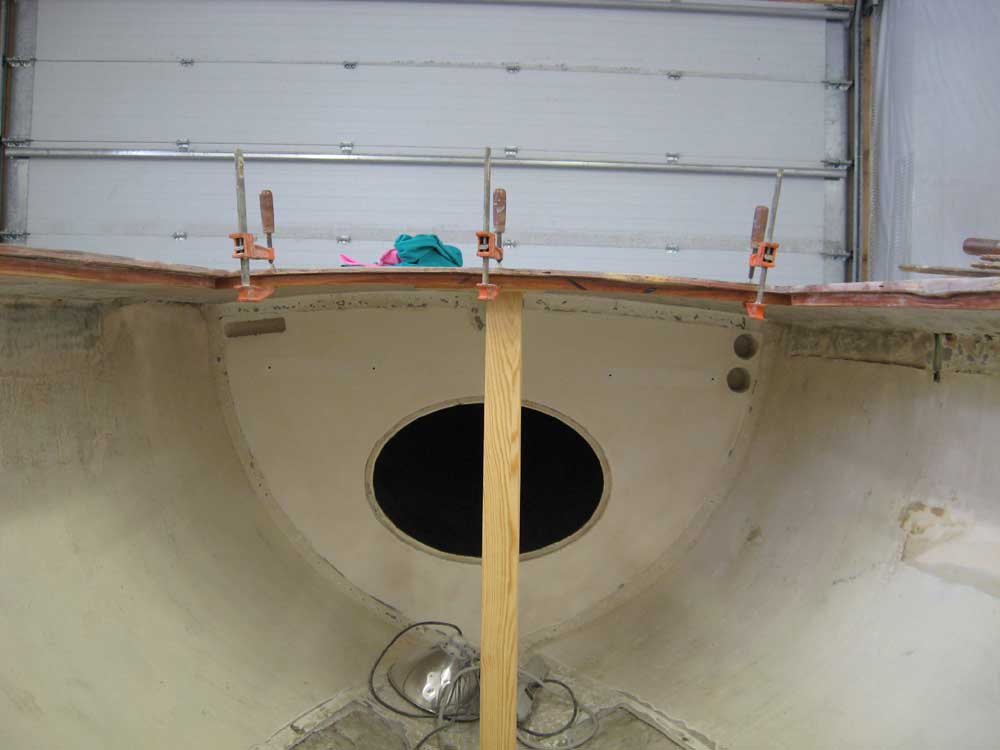
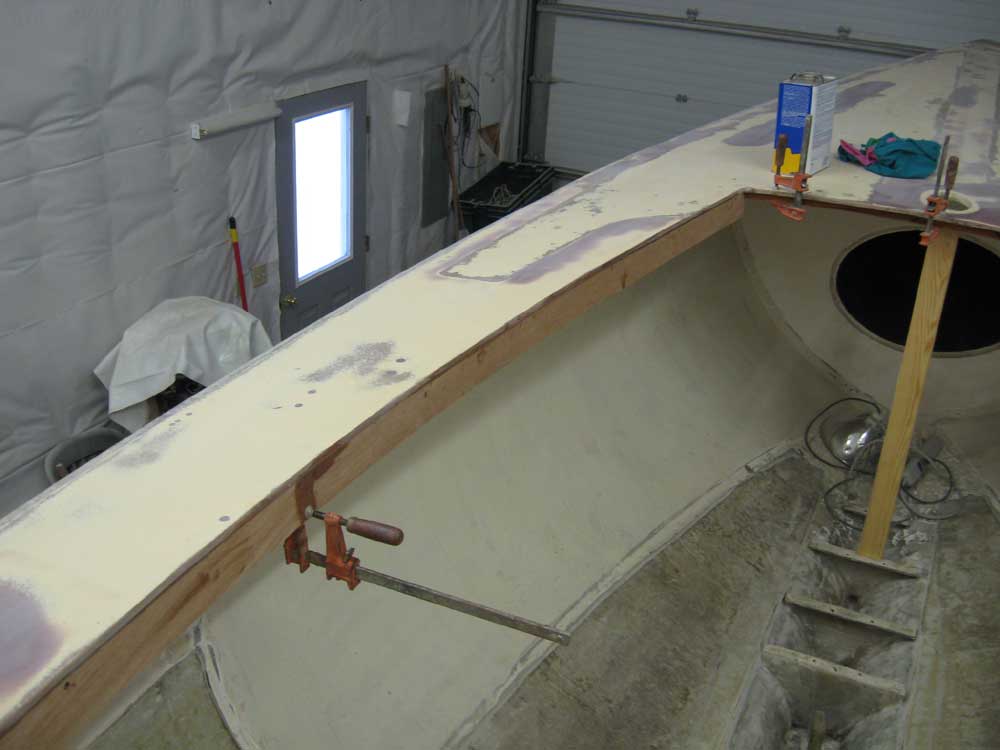
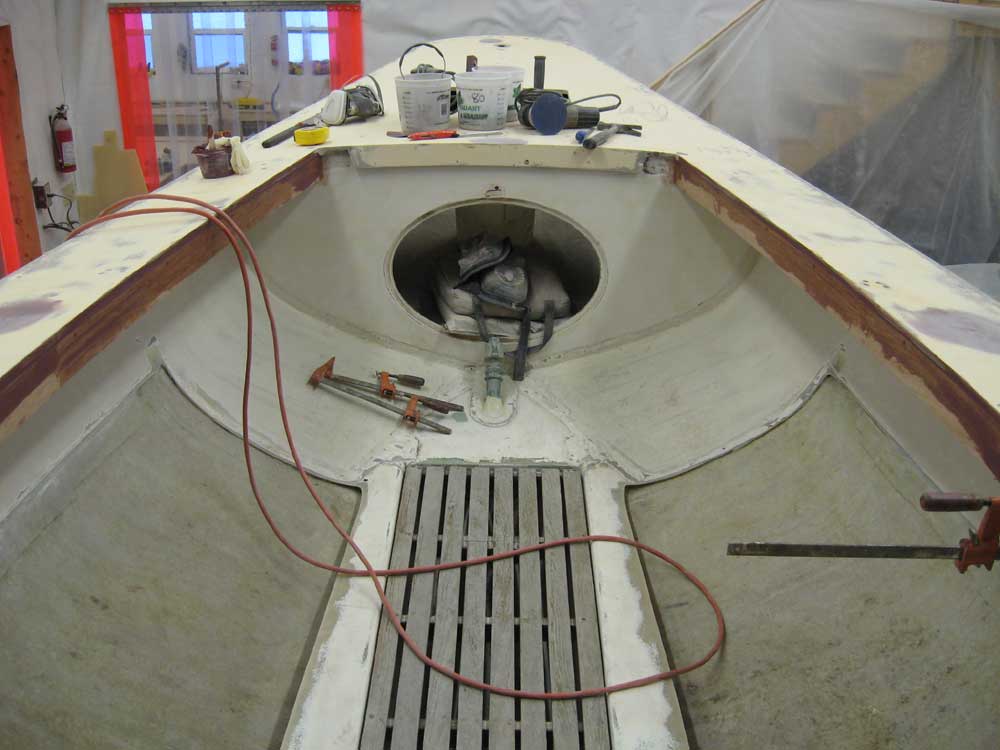
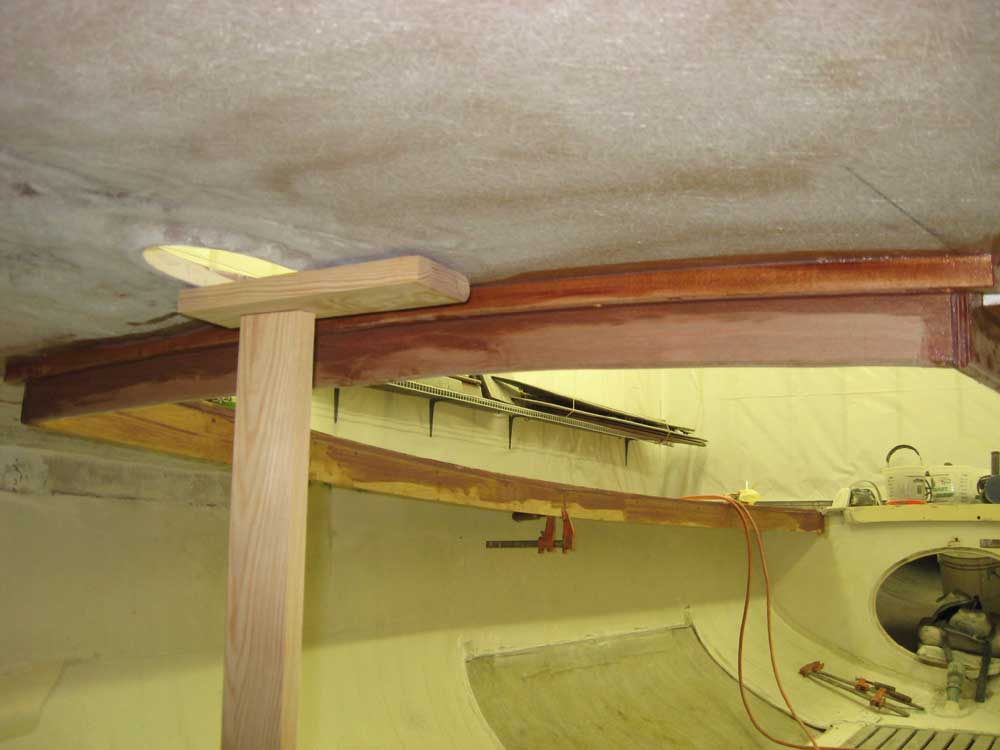
December 5, 2007 I spent the first half of the morning sanding the decks again. I began with coarse sanding of the latest fairing filler, then switched tools and grits once more and sanded, again, the entire deck, this time with 80 and 120 grits. Only a few minor low spots remained, but with some more significant fiberglass and eventual fairing work immediately ahead on the cockpit opening area, I refrained from applying additional fairing compound on this day, choosing instead to wait till the inevitable fairing began on the new work. I'm not quite sure what was going through my mind yesterday when I installed the support cleats on the cockpit sides, but for whatever reason at the time I seemed to think I had a different plan for the forward edge of the cockpit, and therefore didn't install a cleat at the time. But this morning, it seemed obvious that I needed to install a similar cleat there. Before working on the cleat, though, I first braced up the foredeck to hold its proper crown so that the cleat, when epoxied in place, wouldn't force the shape into something undesirable; the deck was flexible enough that clamping a cleat here would tend to pull the deck down as much as bend the cleat upwards. I used some scrap wood to create a simple support beneath the mast step. |
|
|
|
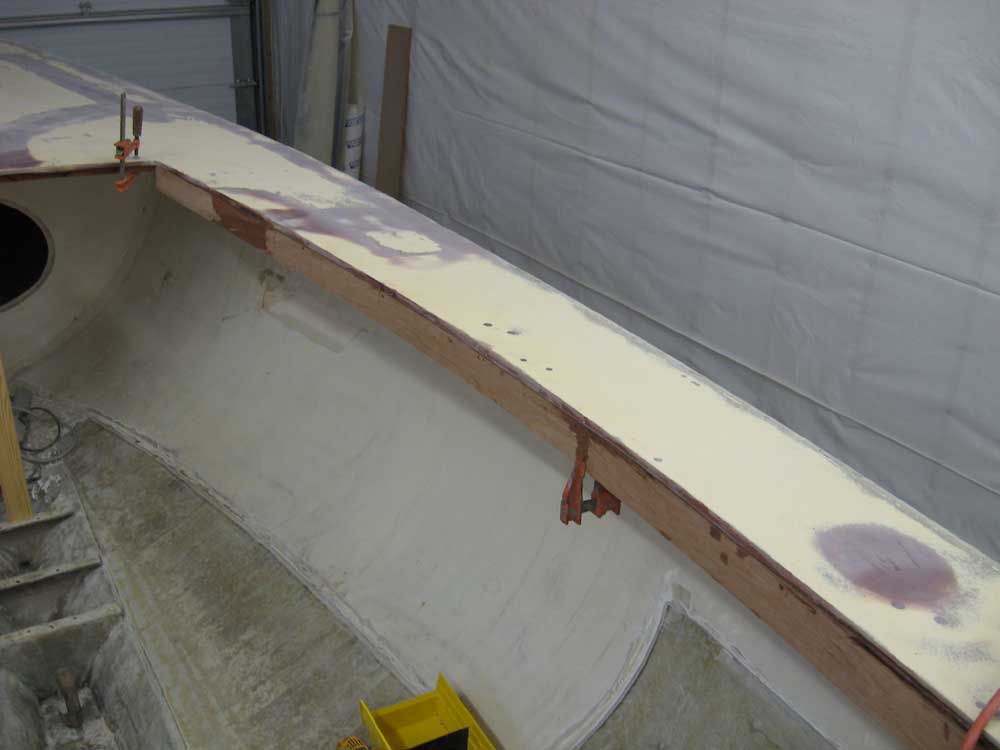
Then, I cut and installed the mahogany cleat with epoxy and bronze screws, following the same basic process as yesterday. |
|
|
|
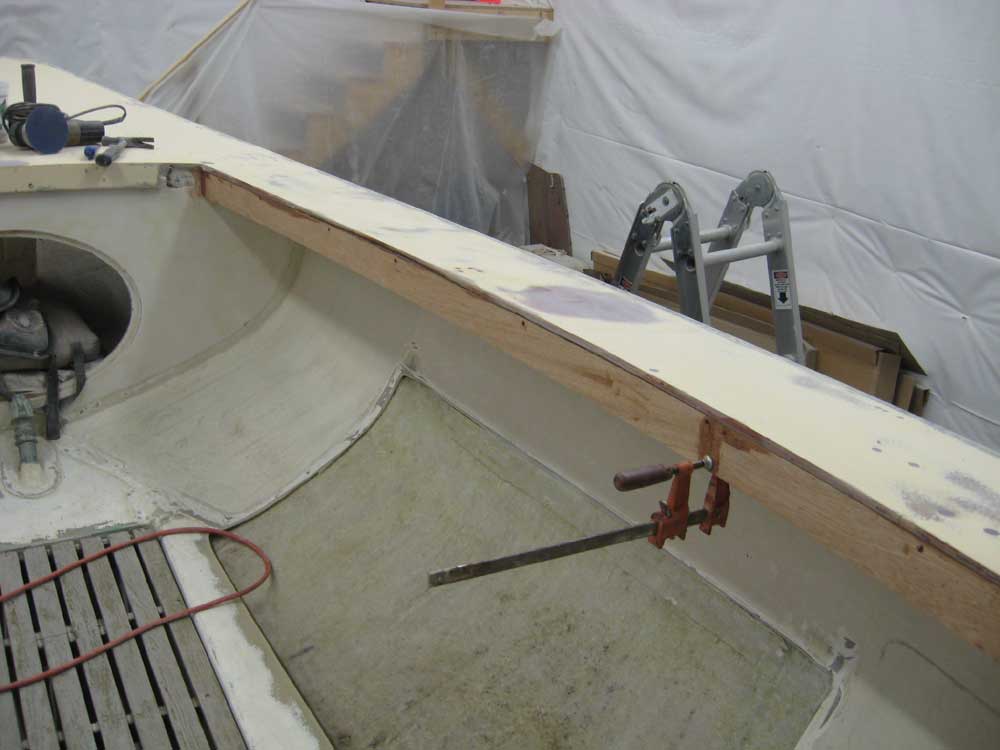
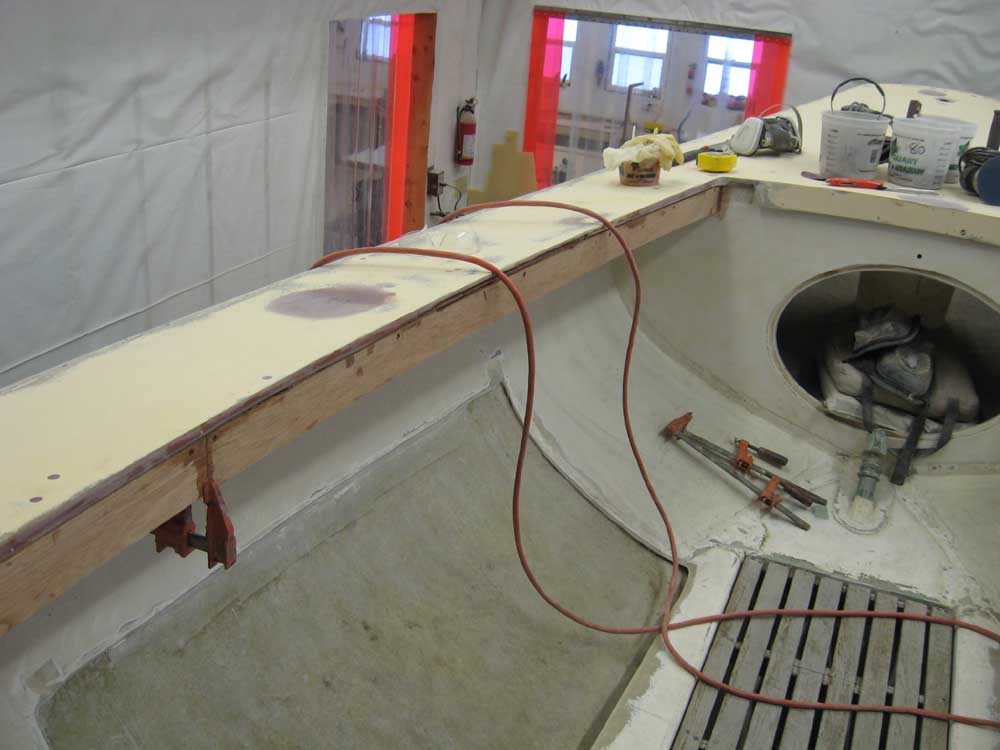
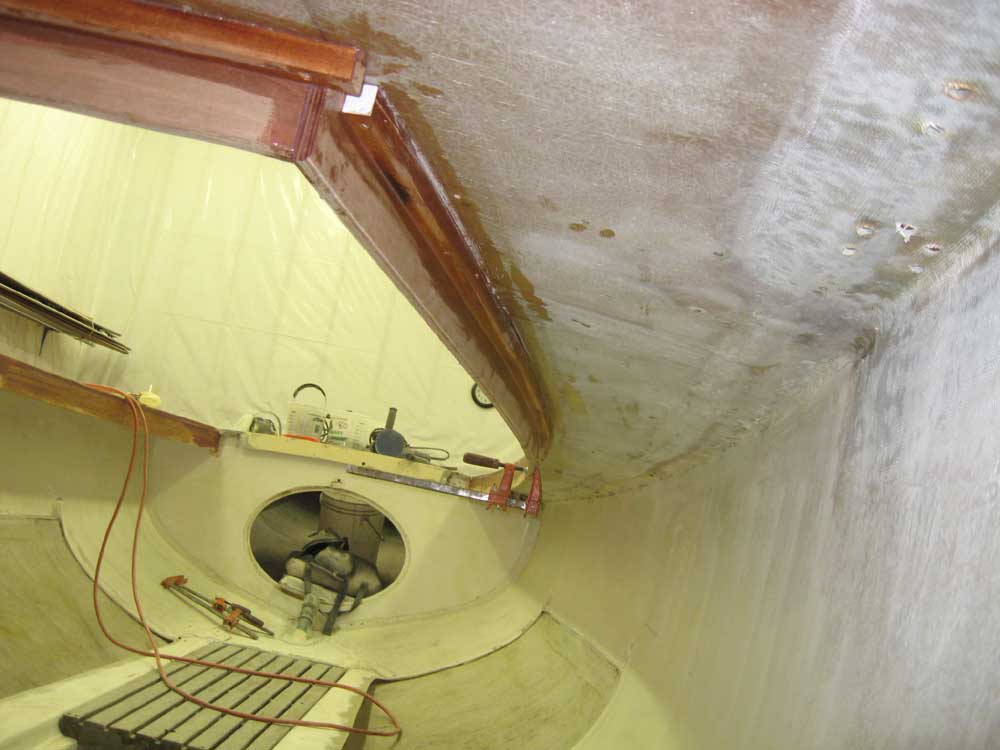
My next step in reinforcing the cockpit opening (please note that I call the entire cut deck opening, for the sake of simplicity, the "cockpit" opening even though part of it will eventually be in the cabin) was to cut 1/2" Meranti marine plywood strips to bend and install to the backing cleats. After determining that there wasn't enough sweep to the deck to make spiling the boards necessary over their length, I cut strips to 2-1/2" wide, two sections per side. Then, I installed the strips against the wooden cleats with epoxy and bronze screws. I filled any remaining openings along the top edge against the bottom of the deck with additional epoxy as necessary. |
|
|
|
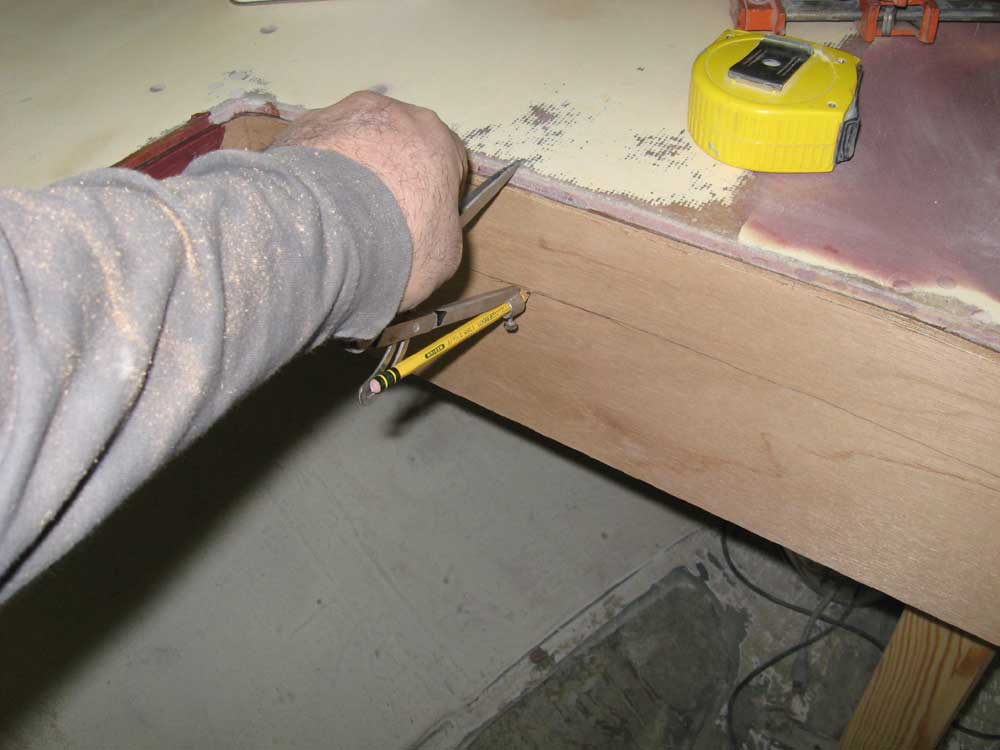
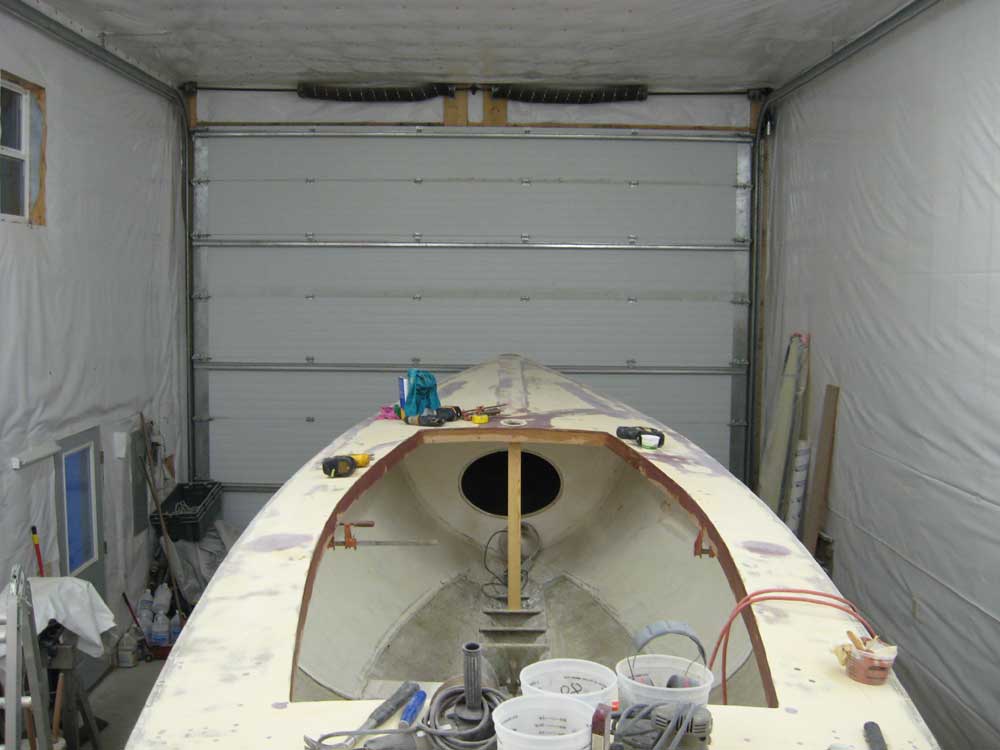
By now, the new forward cleat had been curing for several hours--and was further secured with screws in any event--so I removed the clamps and cut and fit a final plywood strip here. Since this was a transverse piece, with the resultant crown of the deck, I first had to scribe a line to allow the top edge to fit snugly against the bottom of the deck. Then, I set my scribe to the same width as the side rails (including the deck thickness) and scribed an arc along the bottom of the plywood at this height. Once I had the cuts complete, I epoxied and screwed this piece in place as with the others, and filleted the corners where it met the two side pieces. I left the pieces to cure overnight. My next step would be to reinforce these pieces and their joint with the existing deck with fiberglass. |
|
|
|
|
|