
110 Cookson Lane | Whitefield, ME 04353 | 207-232-7600 | tim@lackeysailing.com
Blue Teal | Wednesday, June 26, 2013
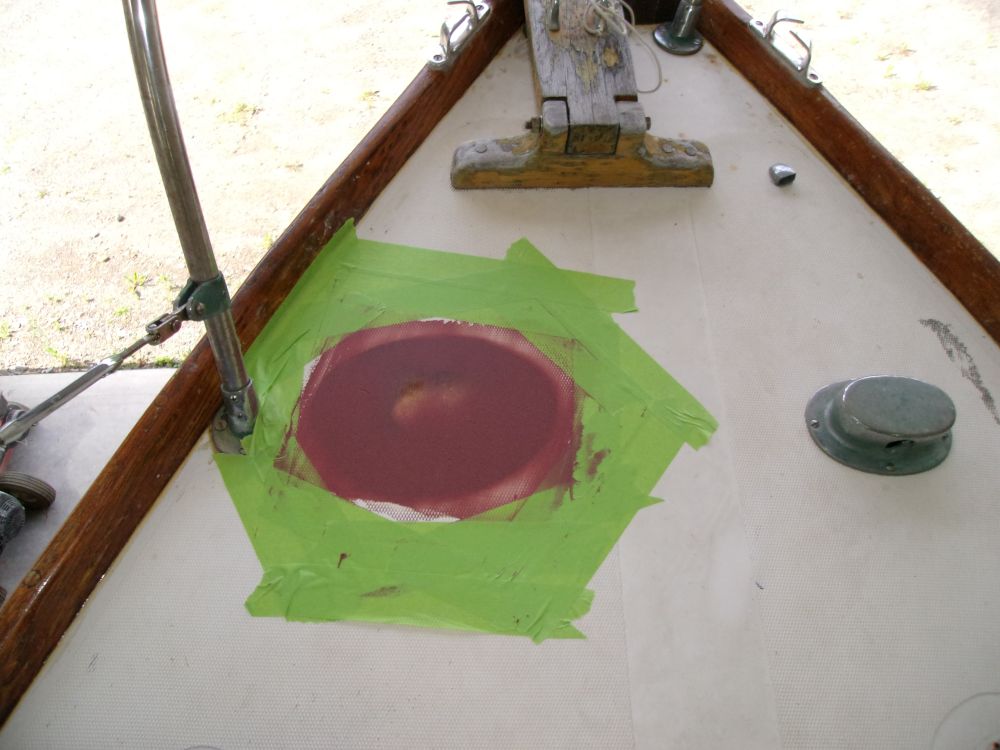
After a light sanding, I applied a second round of fairing filler to the chainpipe patch on the foredeck.
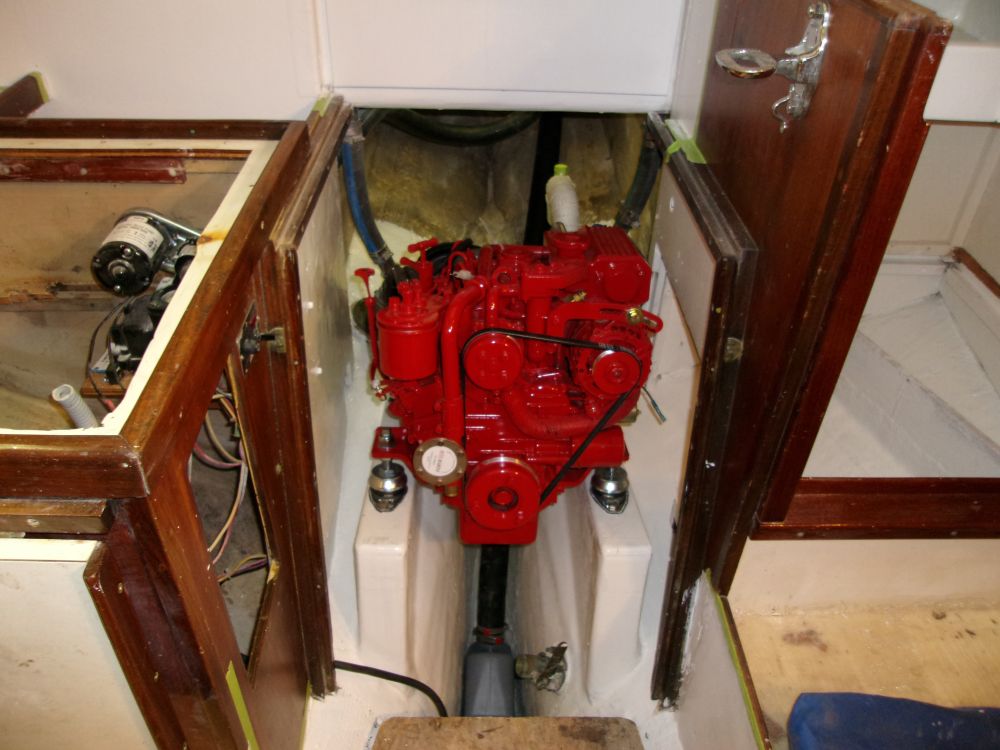
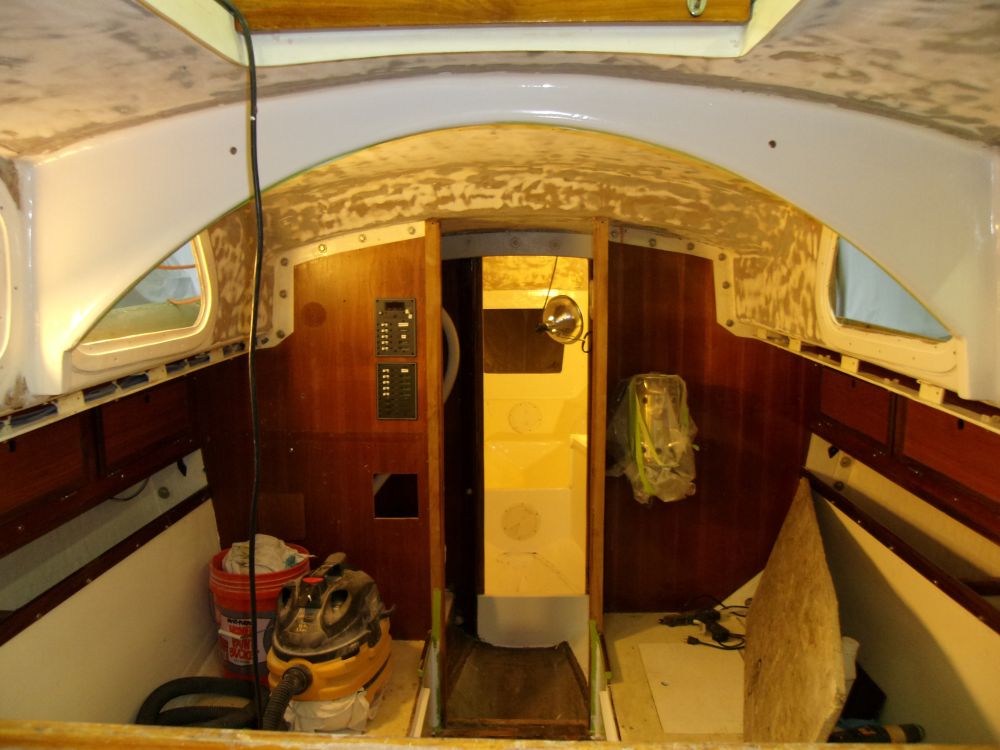
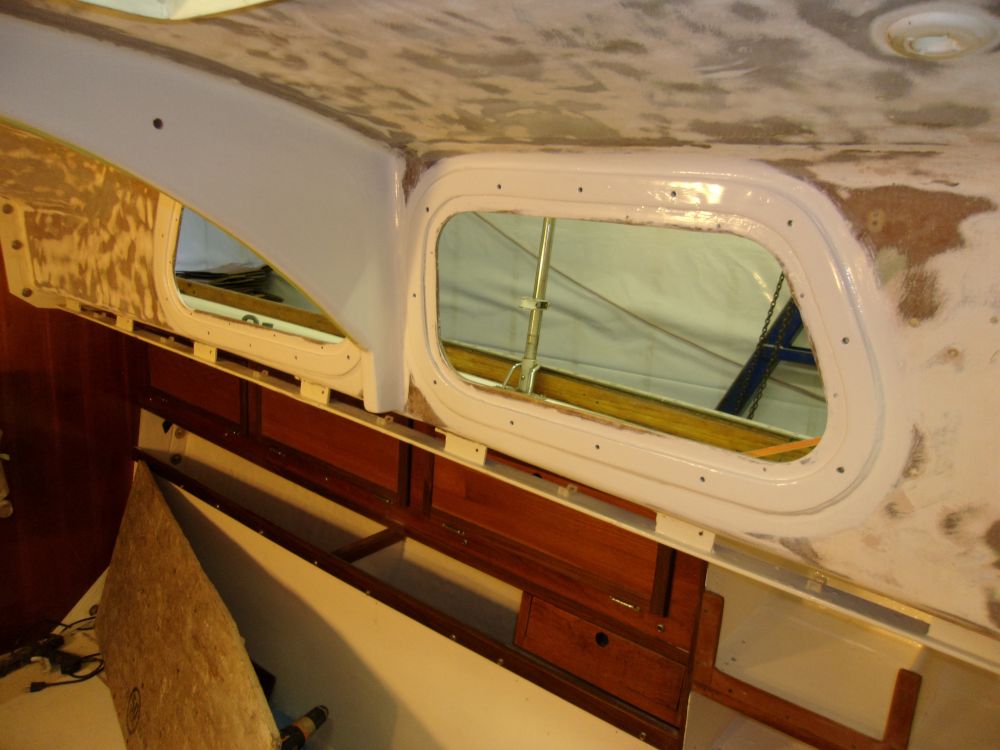
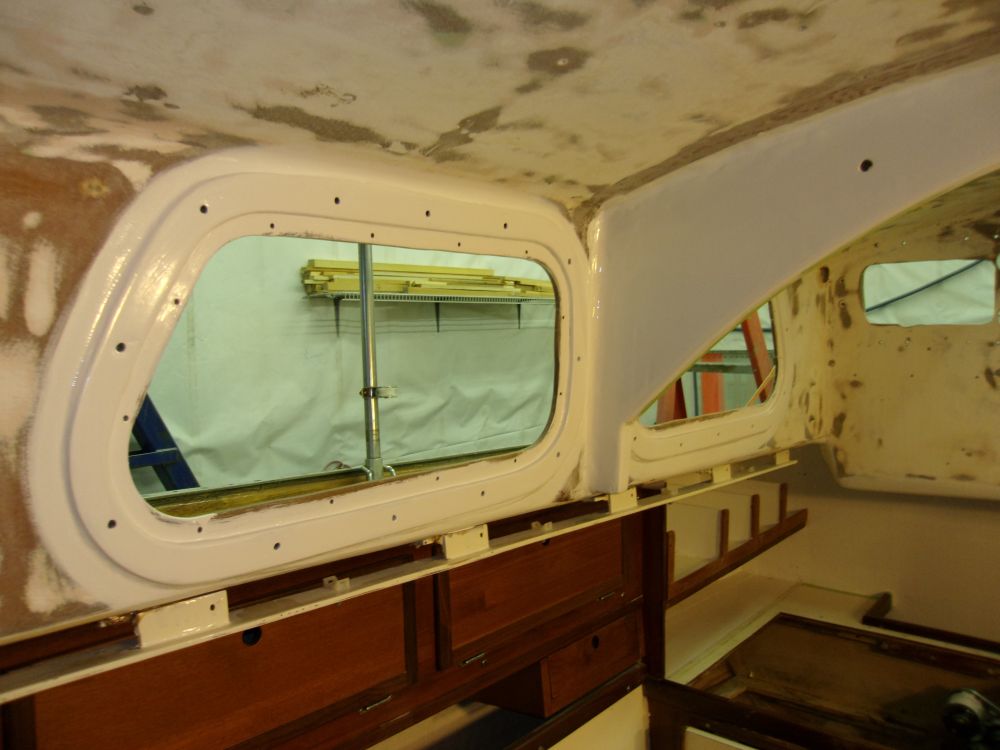
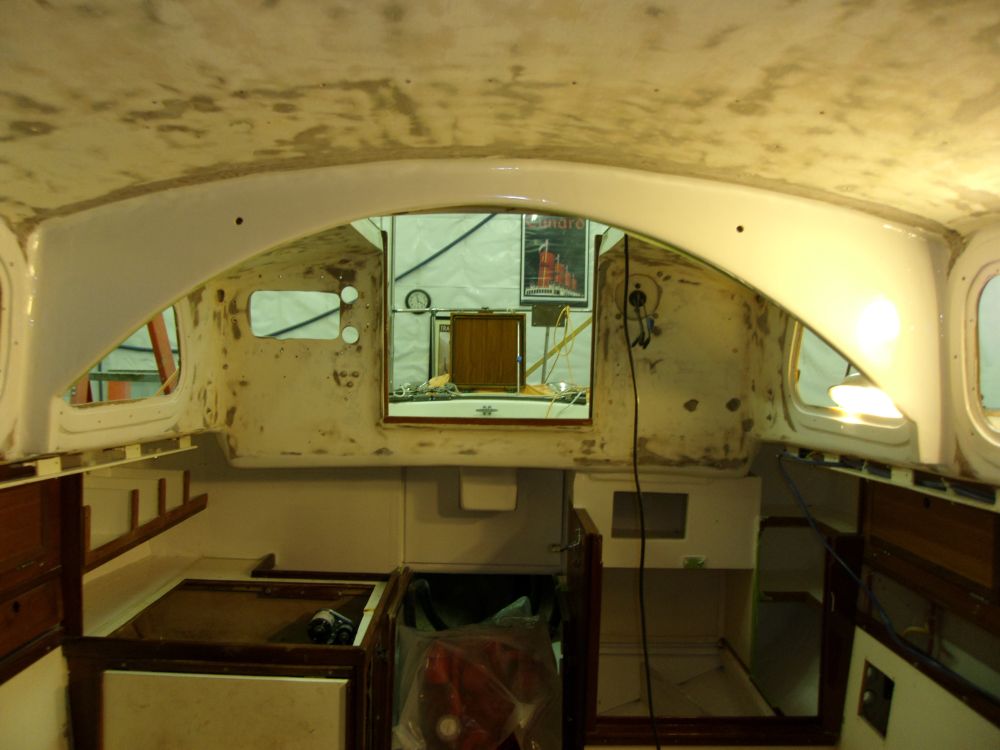
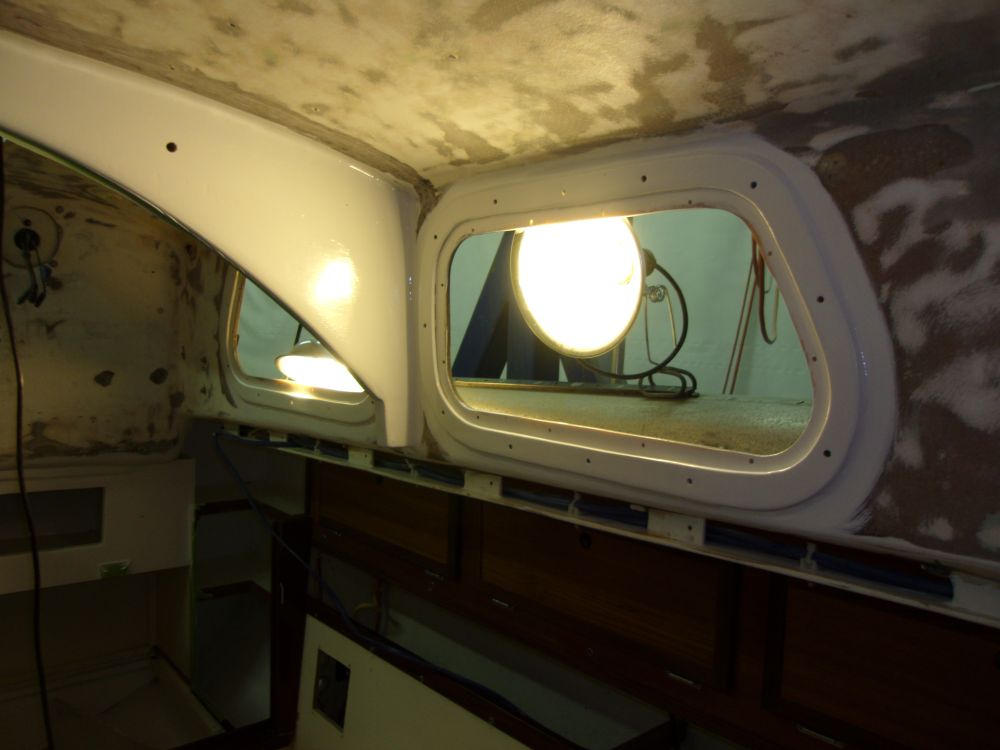
The painted interior surfaces required a light sanding, which I completed and then vacuumed and solvent-washed to prepare these areas for their final coat later in the day. With that work out of the way, I turned to the engine installation, with the goal of placing the engine on the beds during this day.
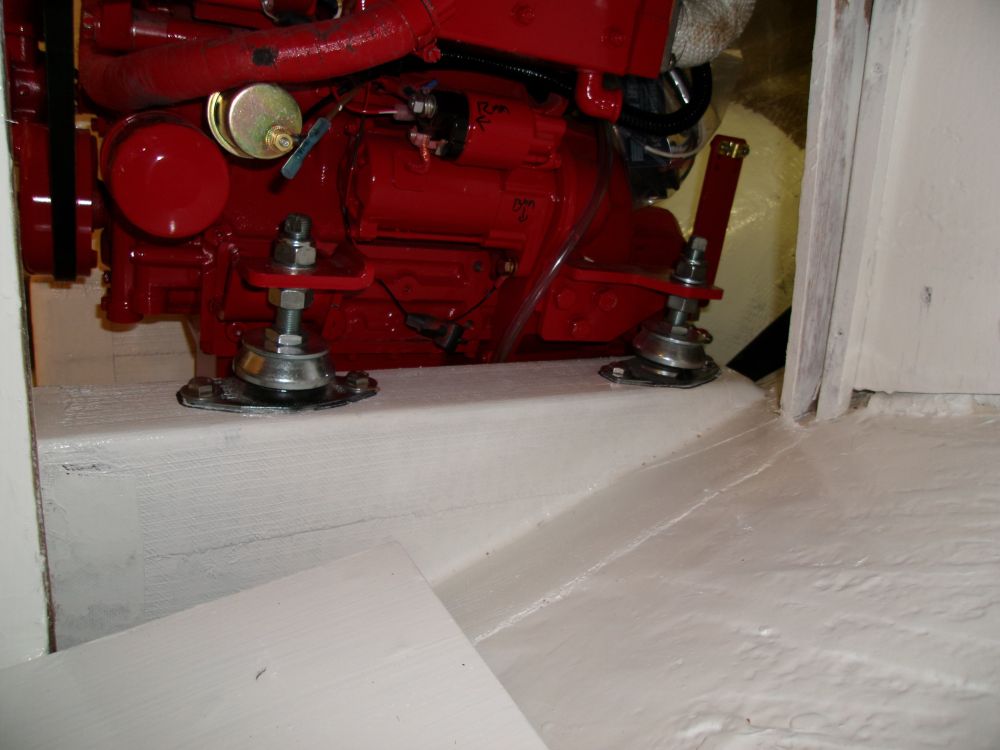
To begin, I used the adjustable mounts to locate all the bolt holes, which I drilled and tapped for 3/8-16 hex bolts. I used a hand tap as it gave me better control working in the dense G-10 fiberglass that formed the tops of the foundations.

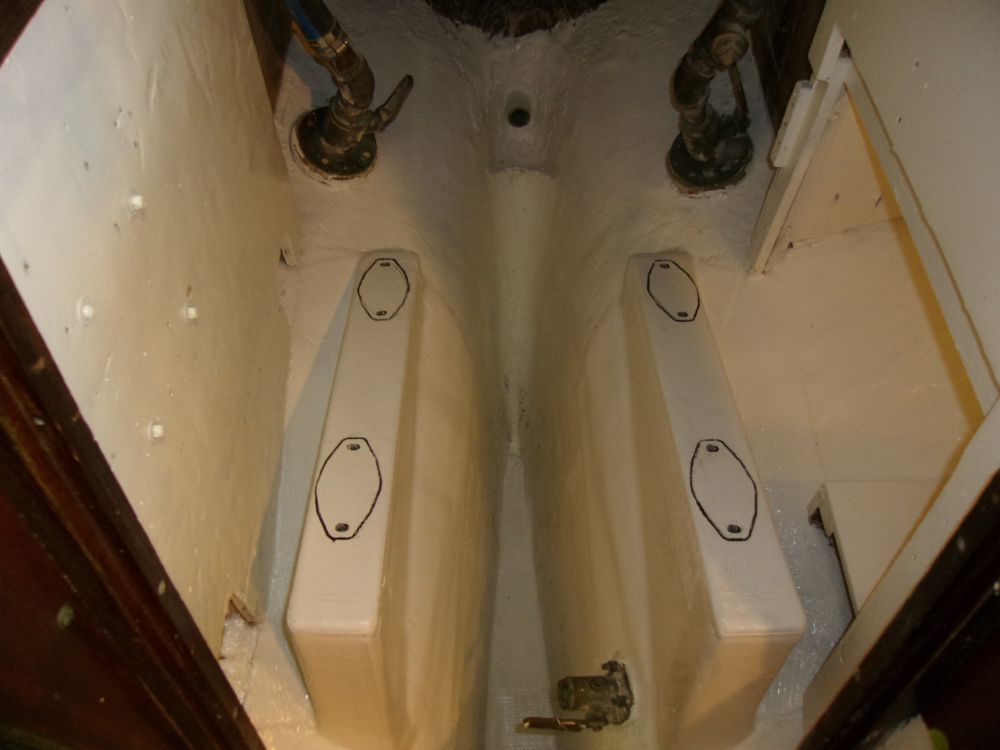
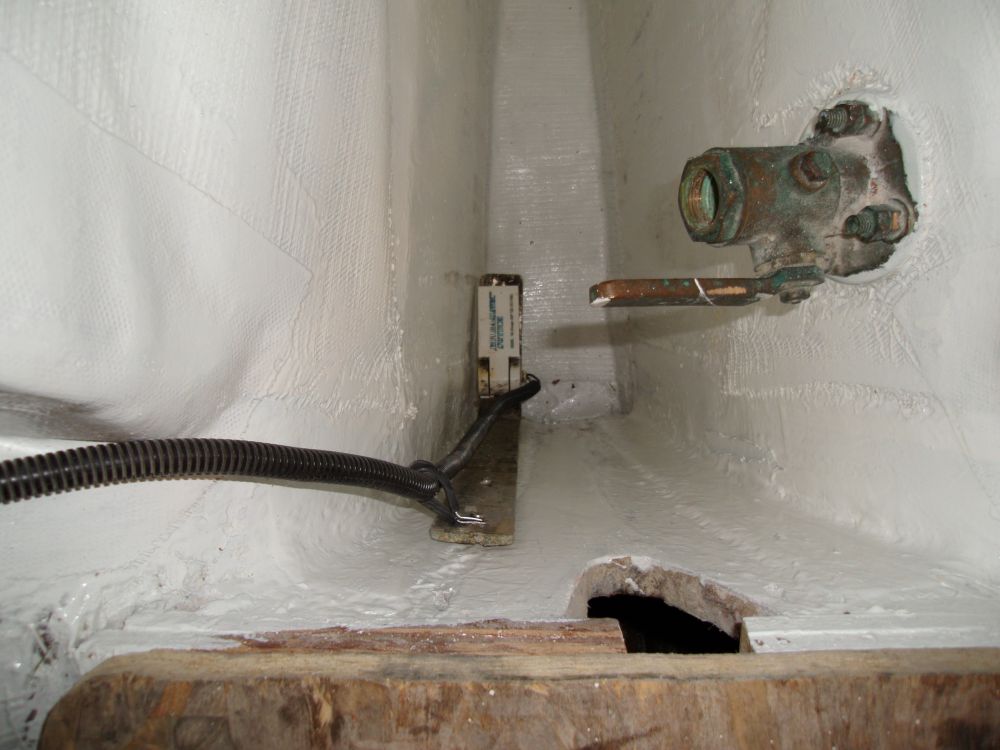
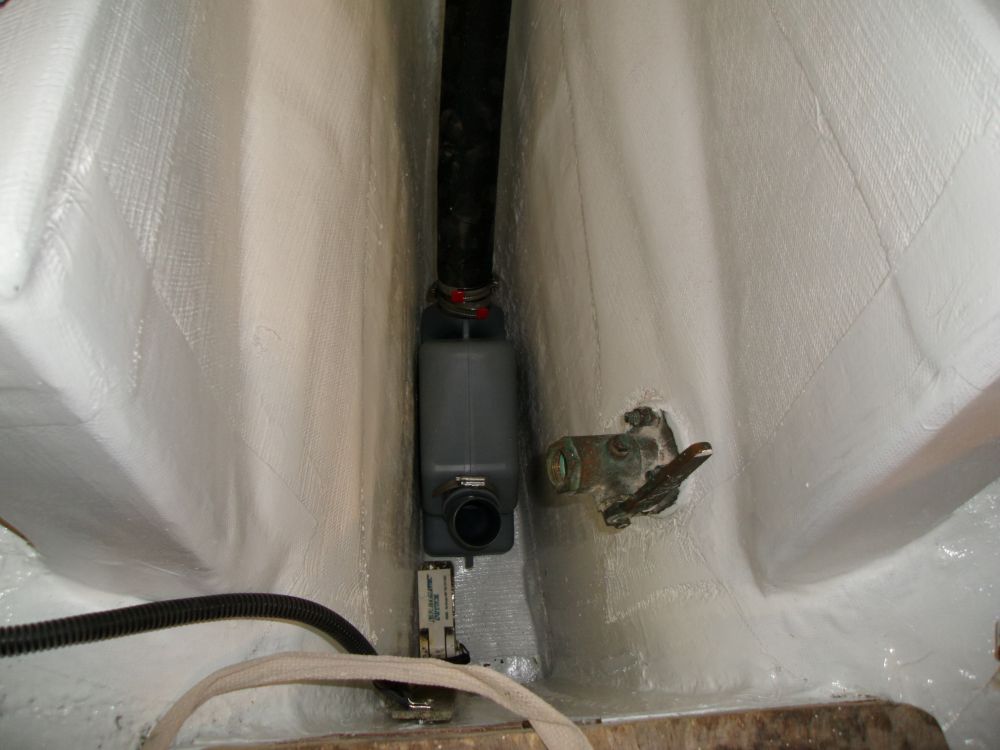
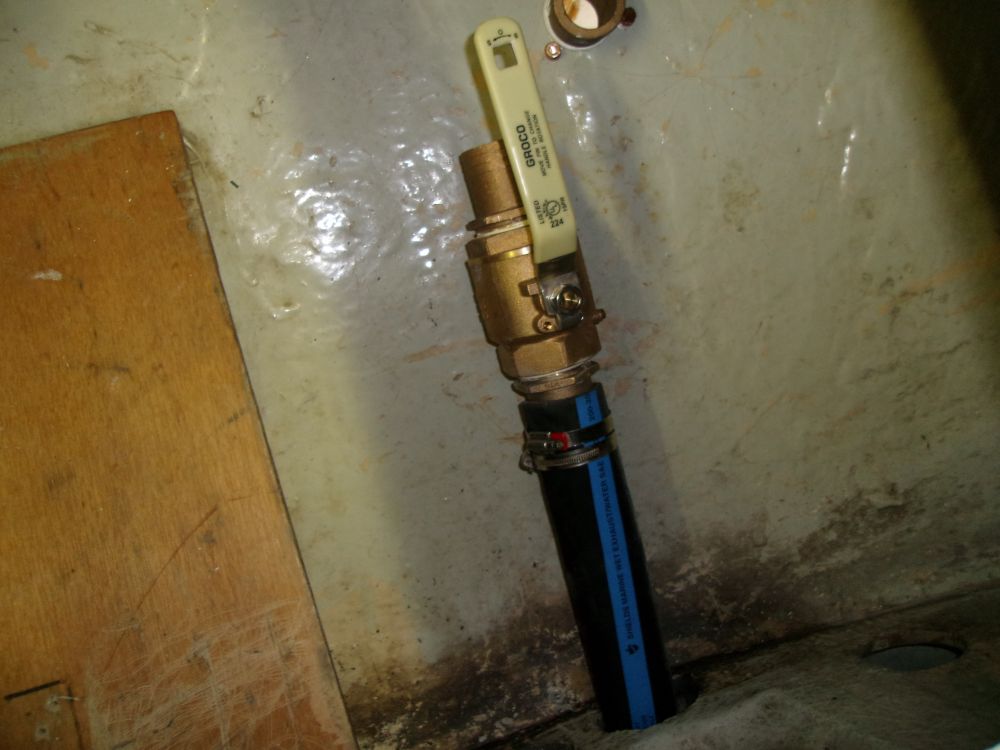
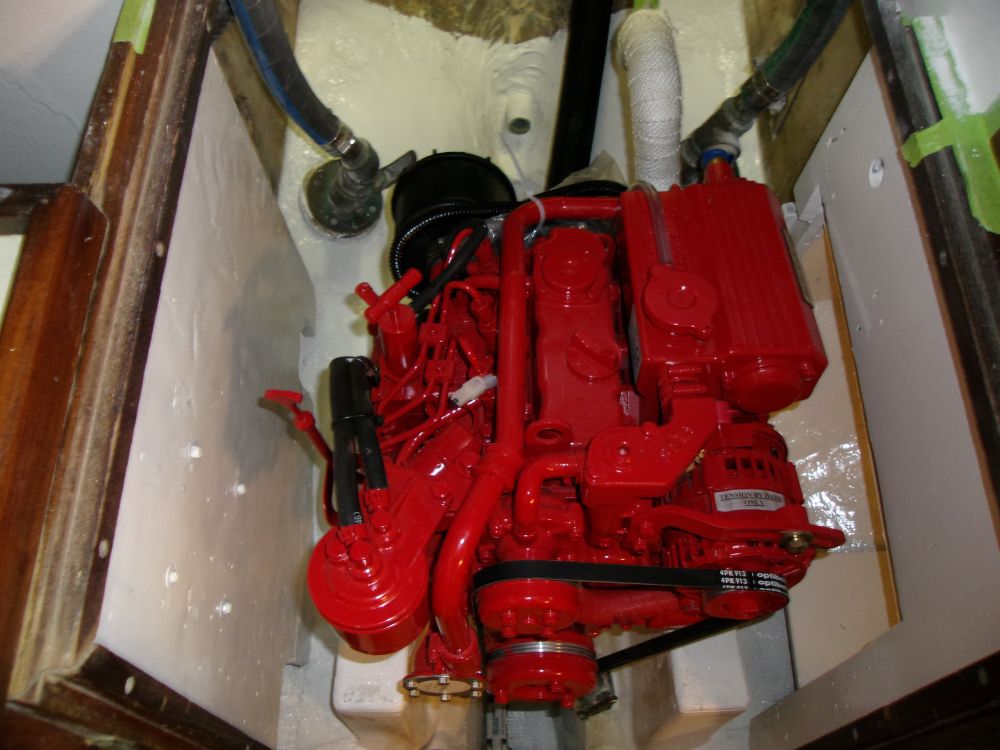
I reinstalled the automatic bilge pump float switch, which I'd temporarily removed during the reconstruction and finishing of the space, then pre-installed a new Waterlok muffler and the discharge hose, taking advantage of the open access for the moment. At the far end of the discharge hose, inside the lazarette, I installed a shutoff valve in the line, leaving the clamps loose for the moment in case I needed to adjust the orientation of the valve; later I'd make the final connection to the transom outlet.
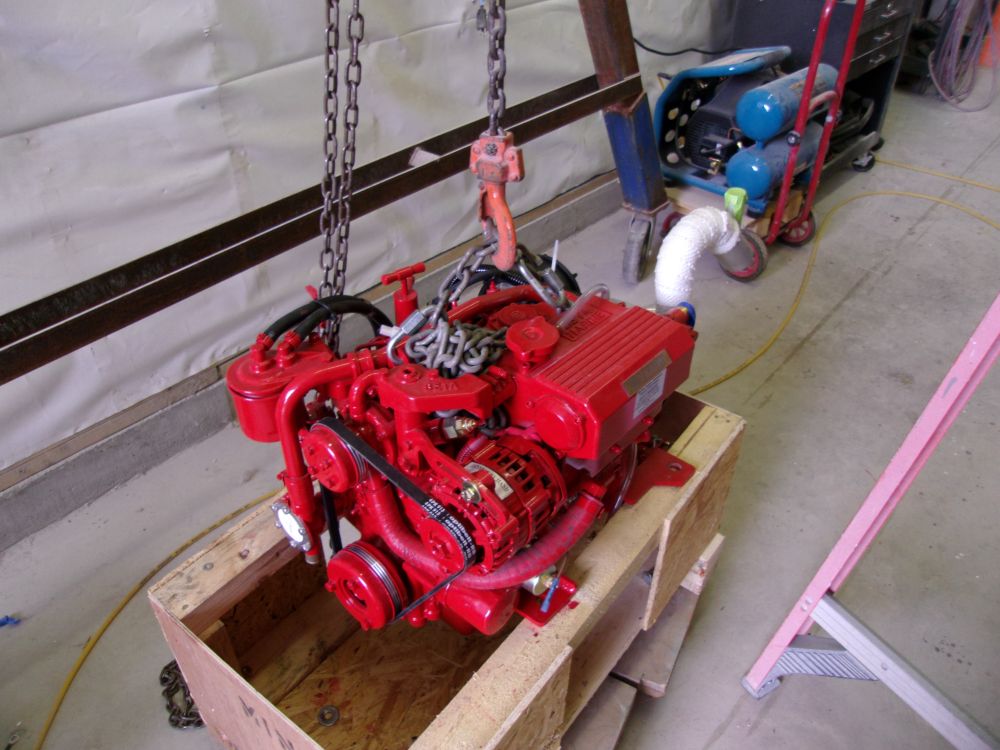
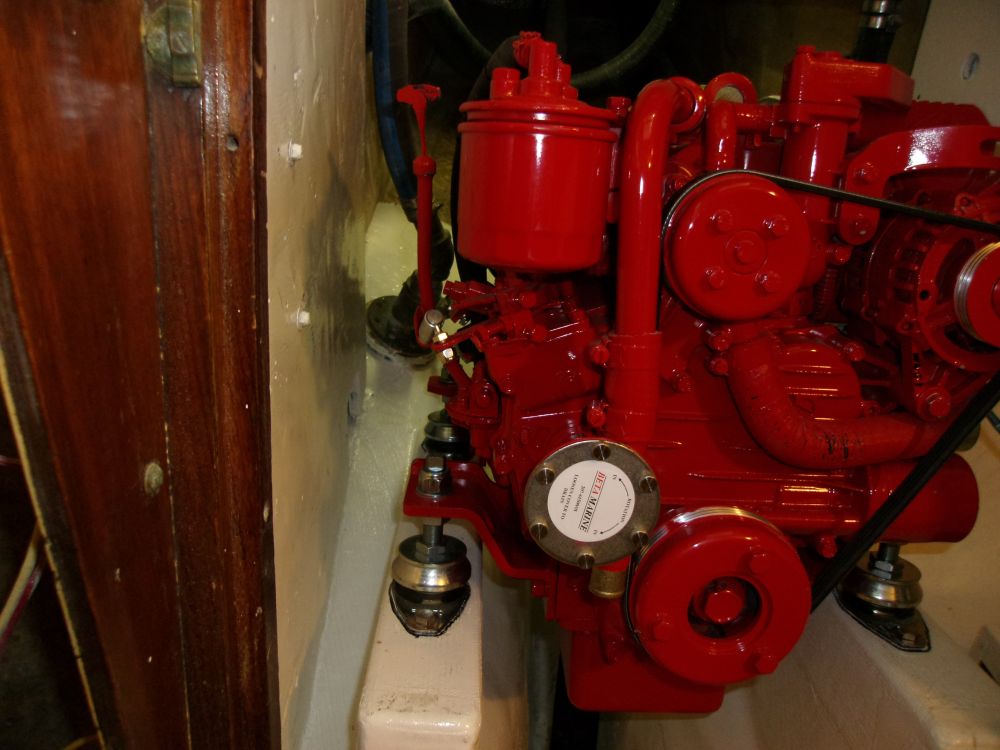
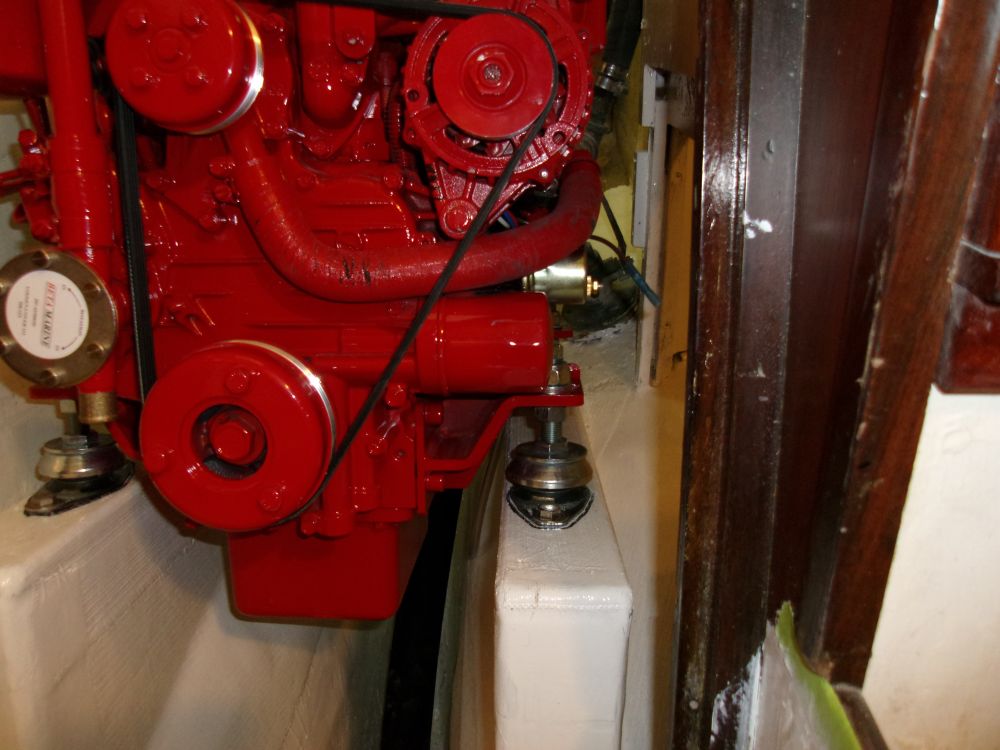
Before I could hoist the engine into the boat, I had a few tasks remaining. First, I installed the high-rise exhaust elbow, which had shipped separately. Then, after lifting the engine off its shipping crate, I installed the four flexible mounts. I made a slight adjustment to each mount to accommodate lockwashers beneath the engine flanges, which I'd not had in place during the template setup in the boat, so I lowered each bolt the appropriate amount before securing them tightly to the engine flanges with the top locknuts.
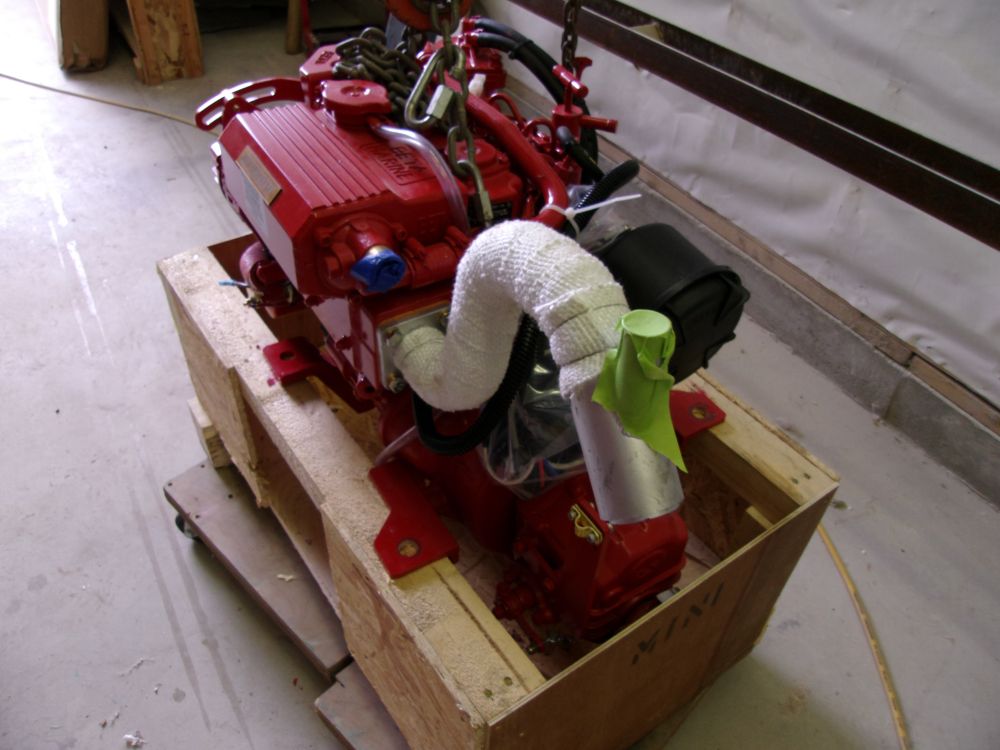
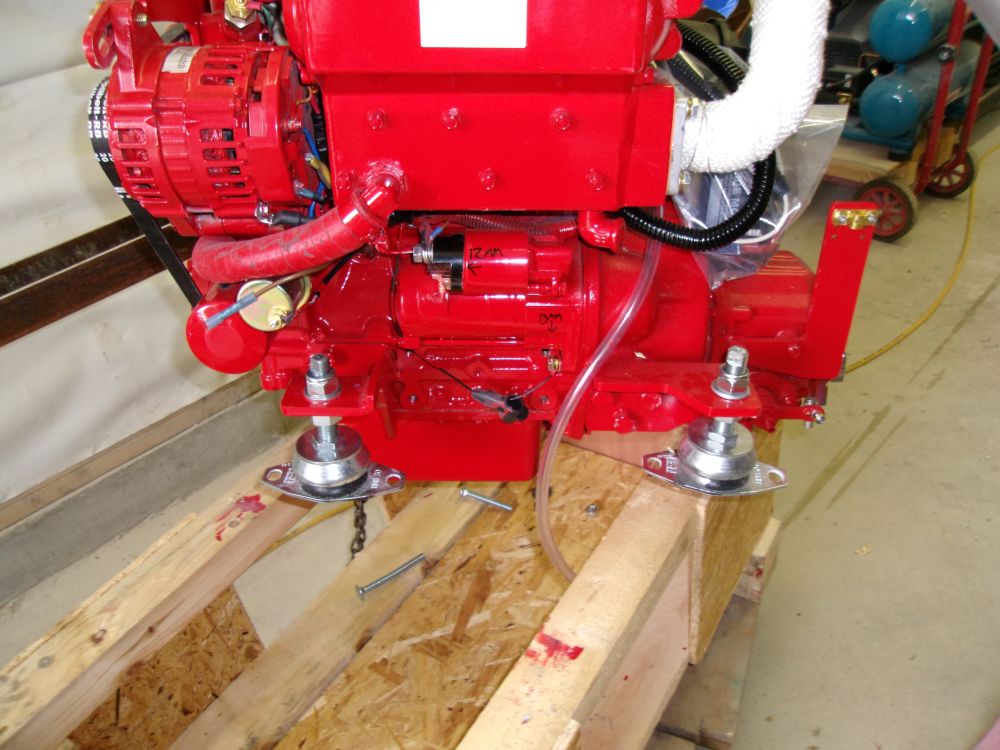
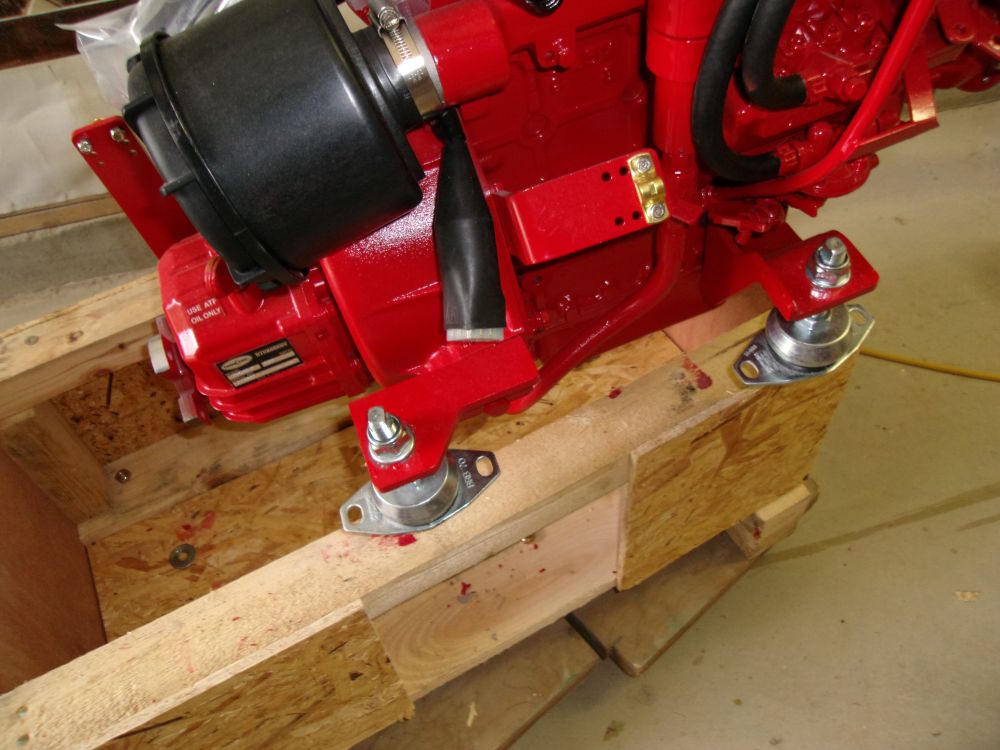
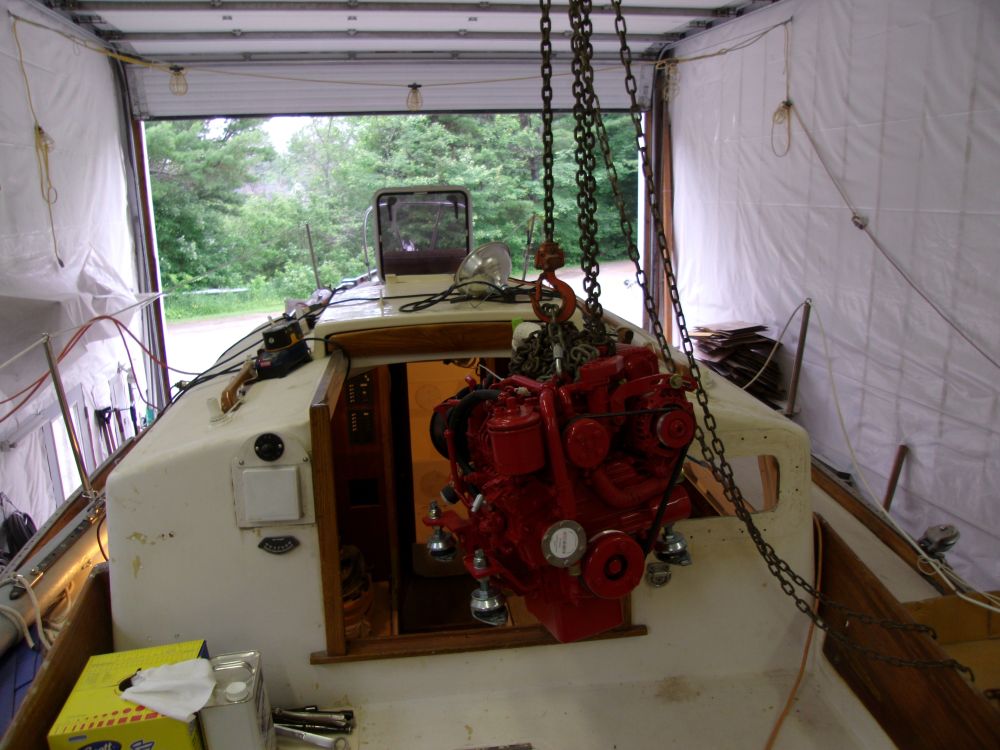
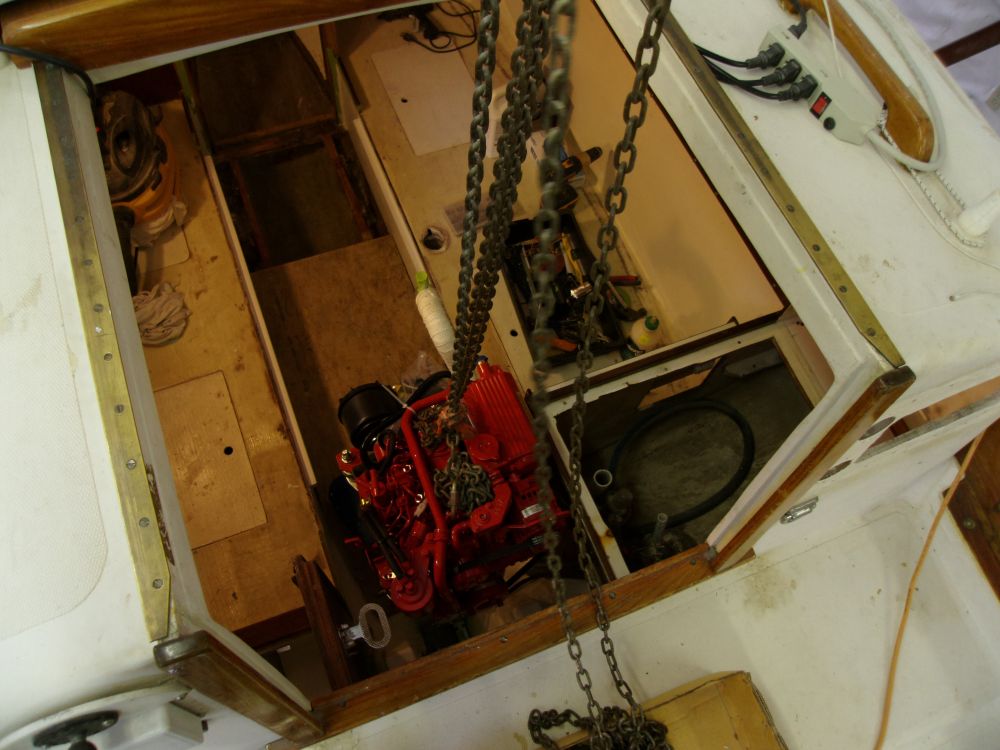
Then, I used the crane to hoist the engine up and into the boat, where I positioned it in the engine room and bolted it home.
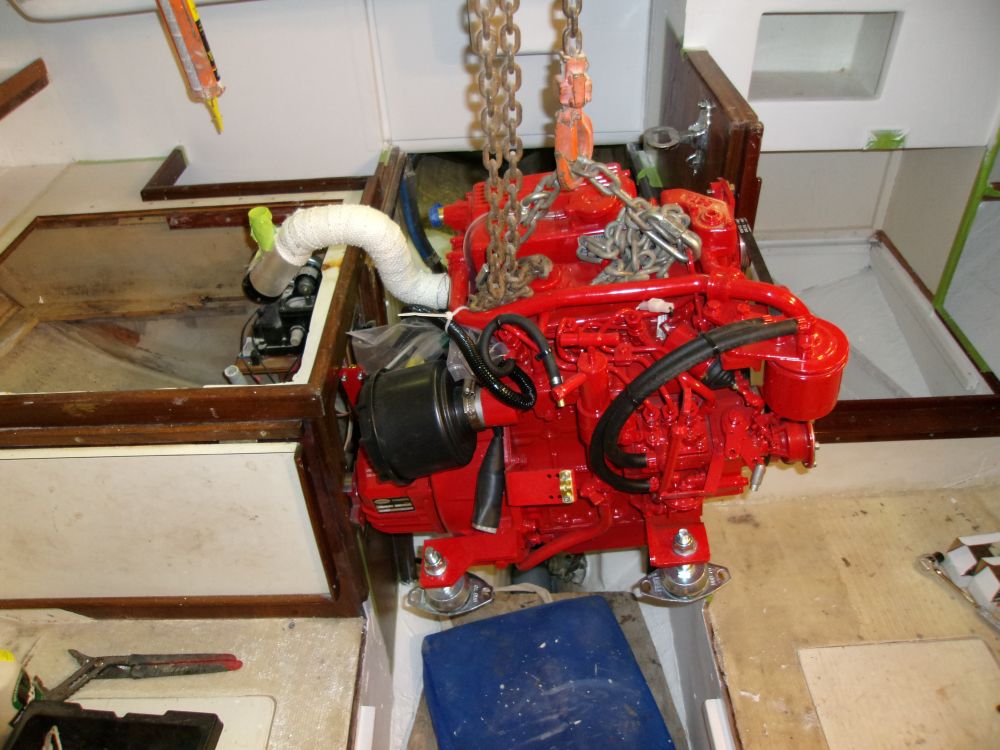
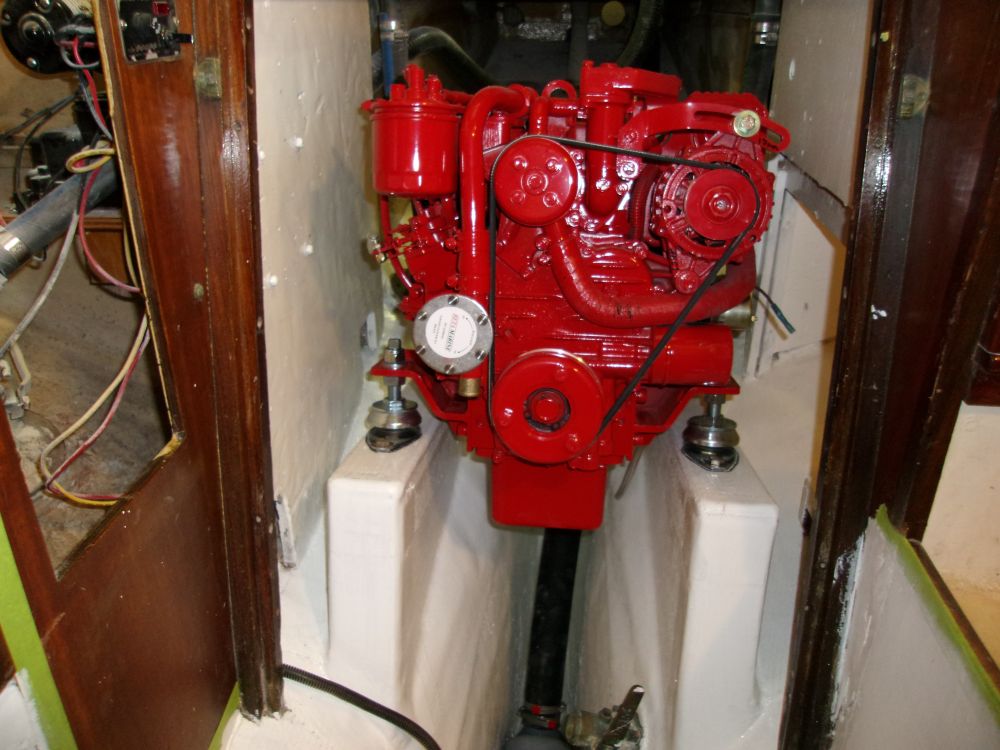
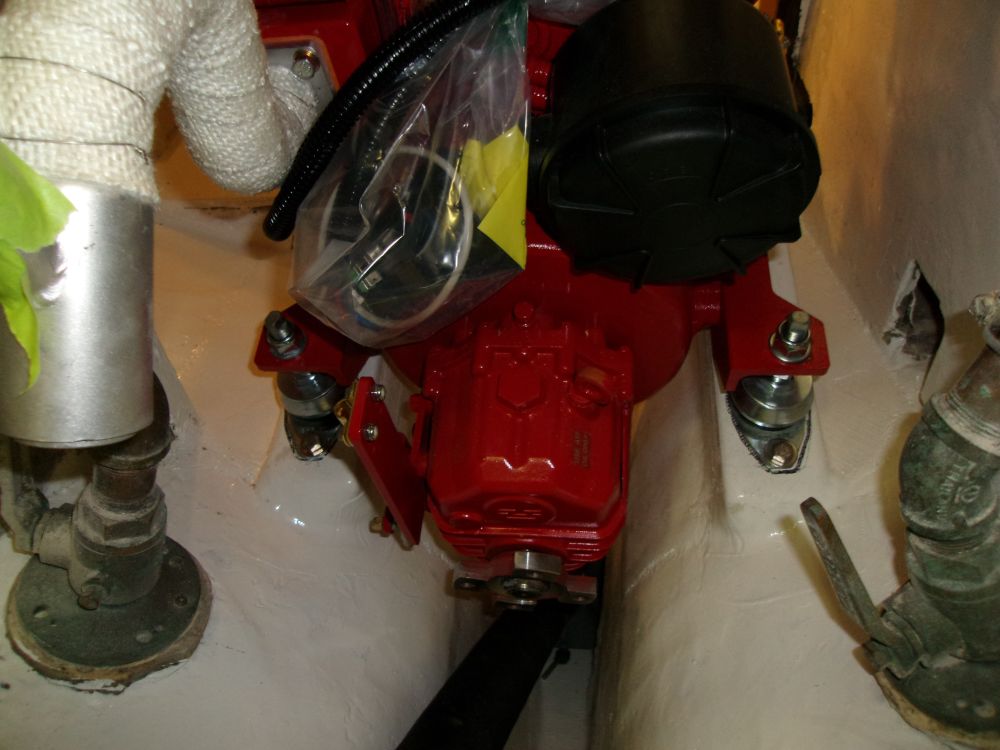
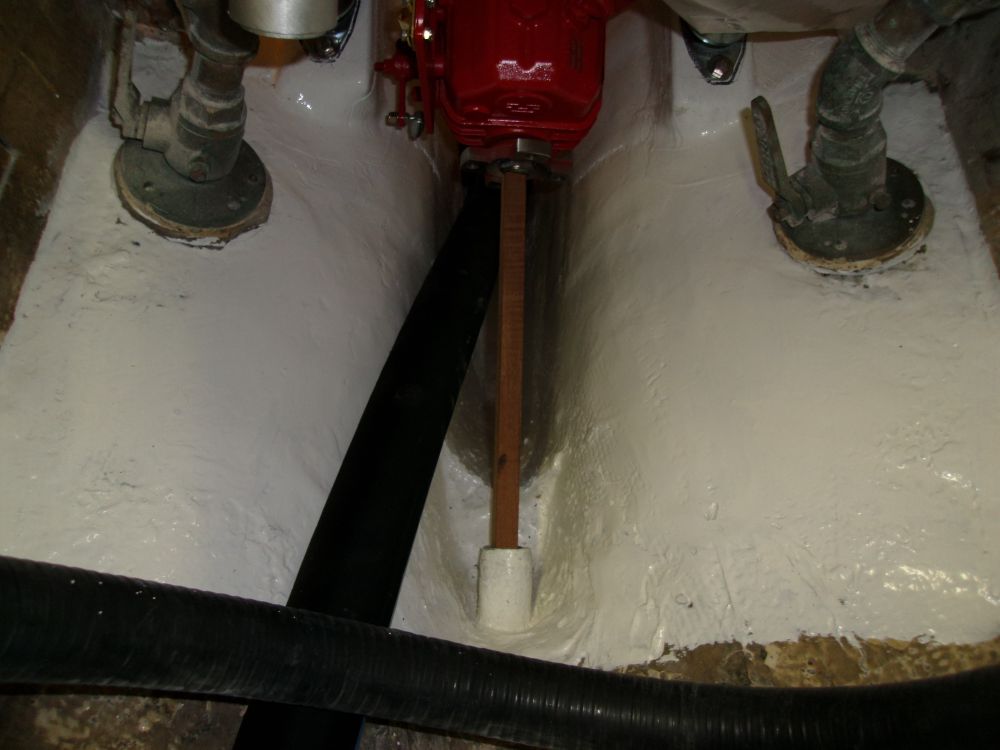
With the mounts aligned according to the marks I'd made on the foundation tops, and the bolts adjusted to the height as dictated by the template, the engine ended up well aligned with the shaft, as seen by the center bolt of the transmission flange in this shot through the stern tube from outside. I still get excited every time I see this.

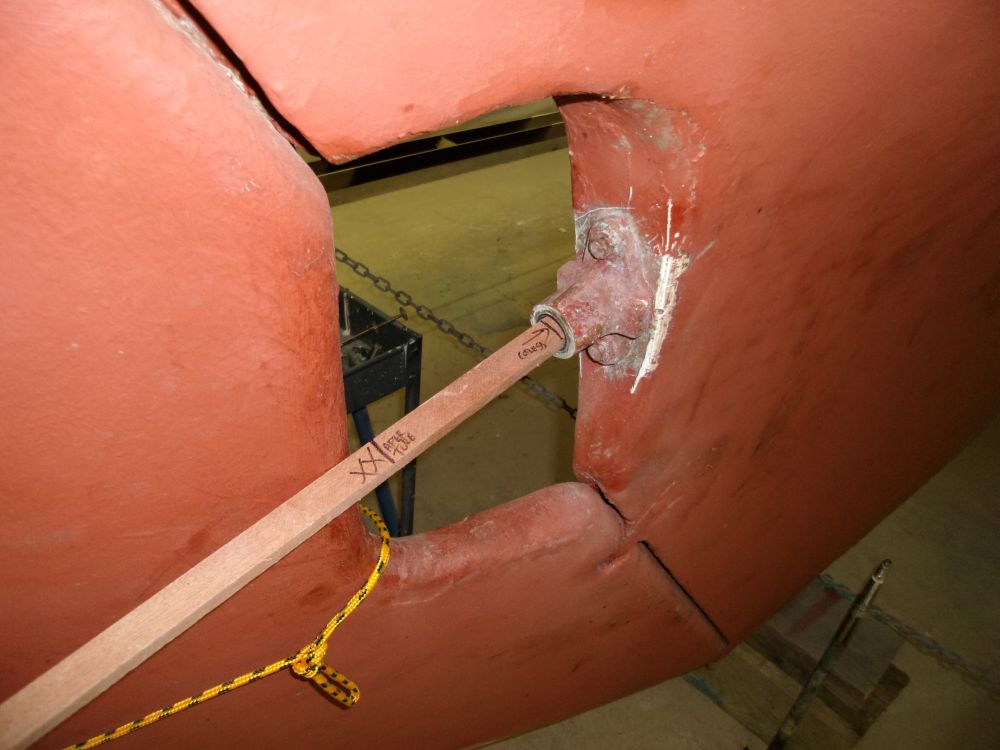
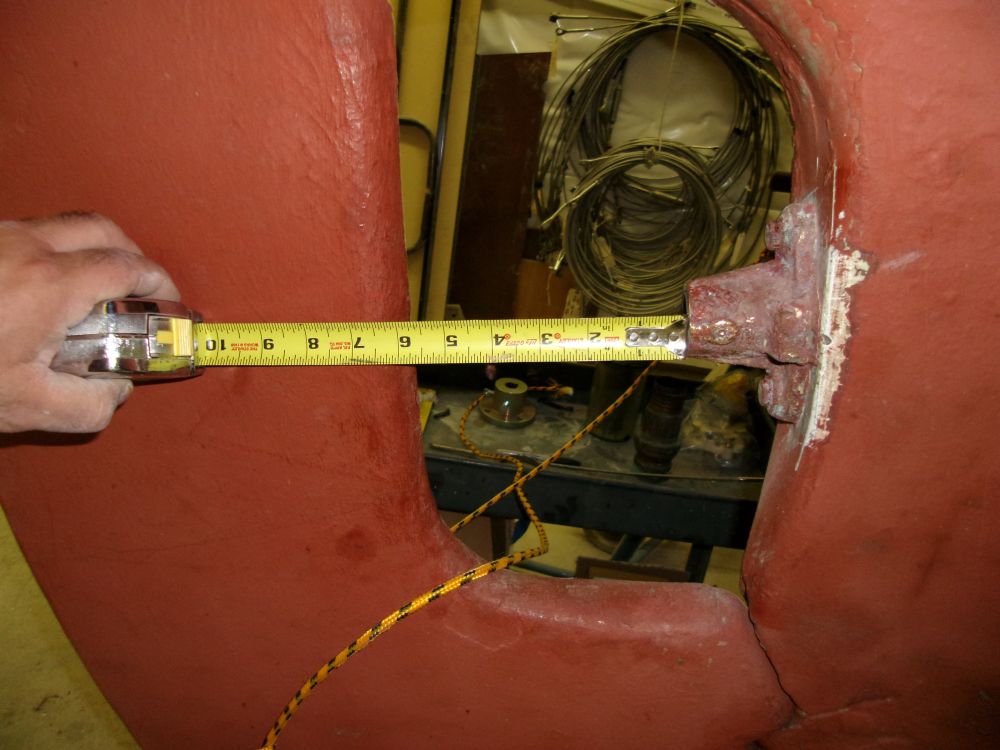
Using a stick, I made some measurements for the new propeller shaft so I could get that ordered and underway.
With the engine in place, I made final preparations, then applied another coat of semi-gloss white enamel to the interior as needed which, along with sundry tasks, took me through the end of the day.


Total Time on This Job Today: 7.75 hours
