
110 Cookson Lane | Whitefield, ME 04353 | 207-232-7600 | tim@lackeysailing.com
Blue Teal | Tuesday, June 25, 2013
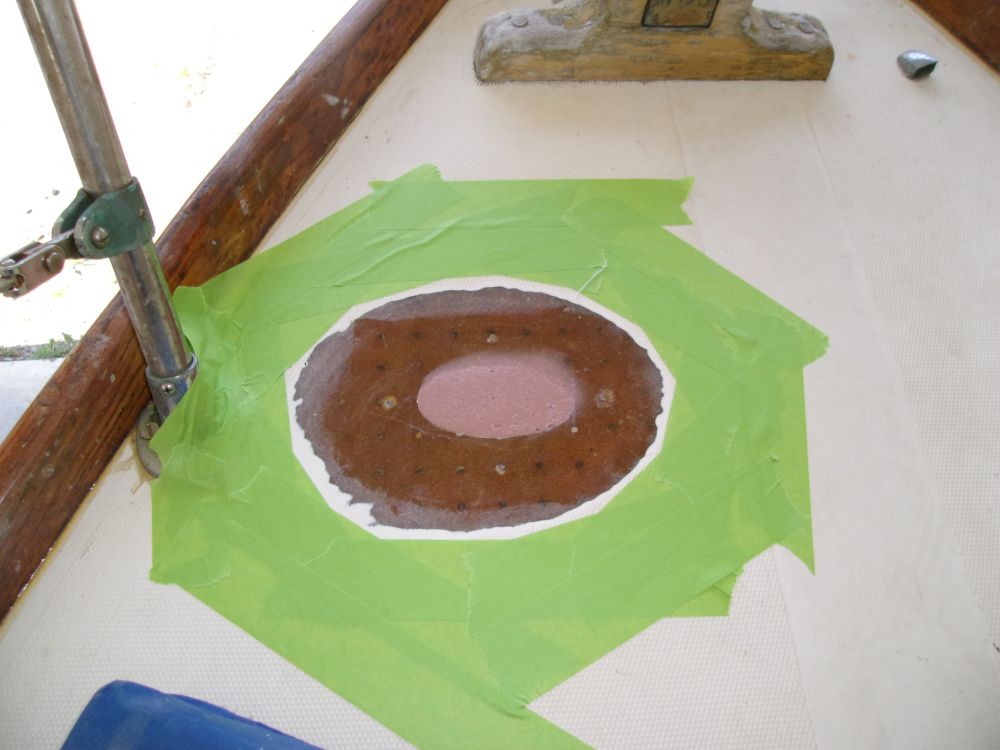
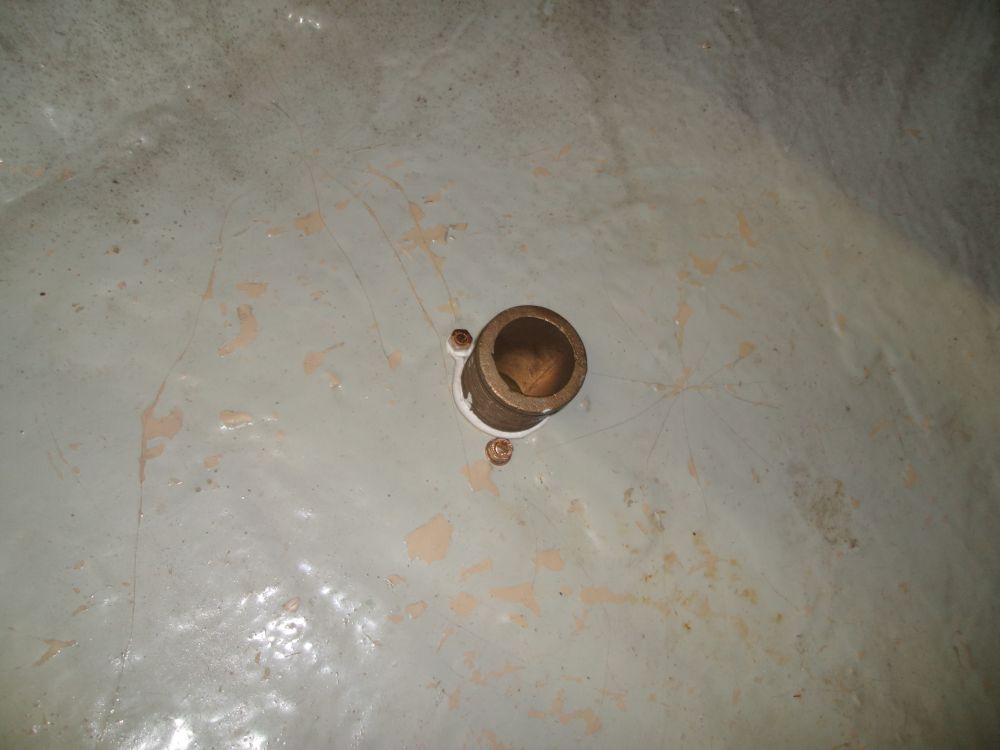
Before I could install the windlass, I needed to patch the hole left by the removal of the port chainpipe, so to begin I prepared the area by grinding out around the opening to provide space and bonding surface for new fiberglass. Afterwards, I filled the center of the void with a structural epoxy mixture, allowing it to partially cure before installing three staggered layers of biaxial fabric over the top.

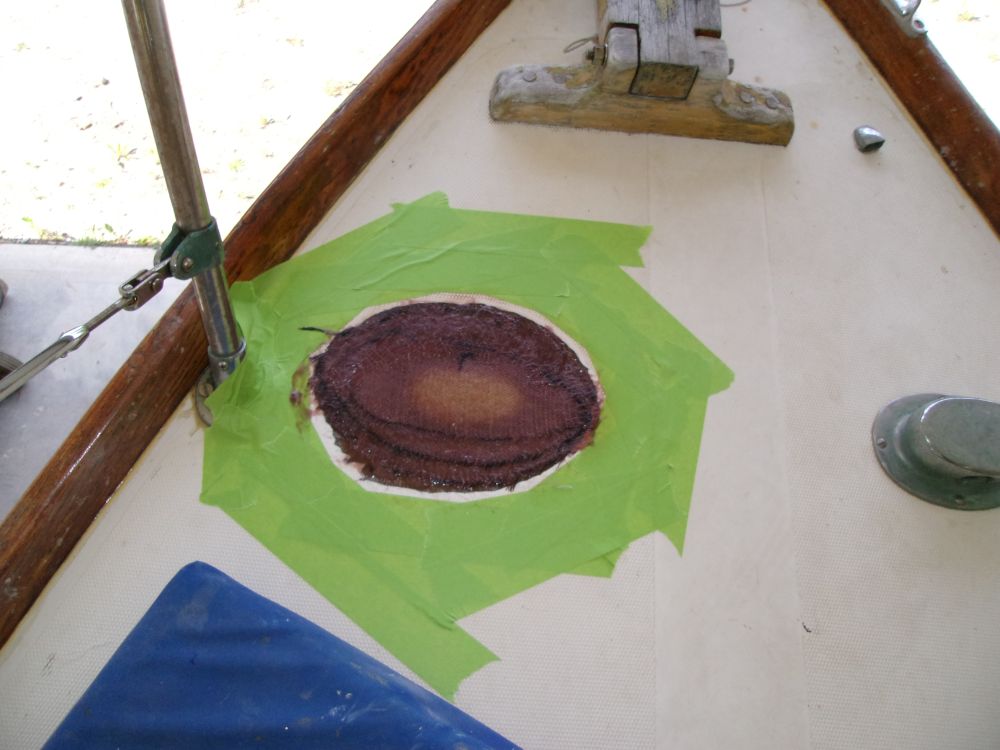
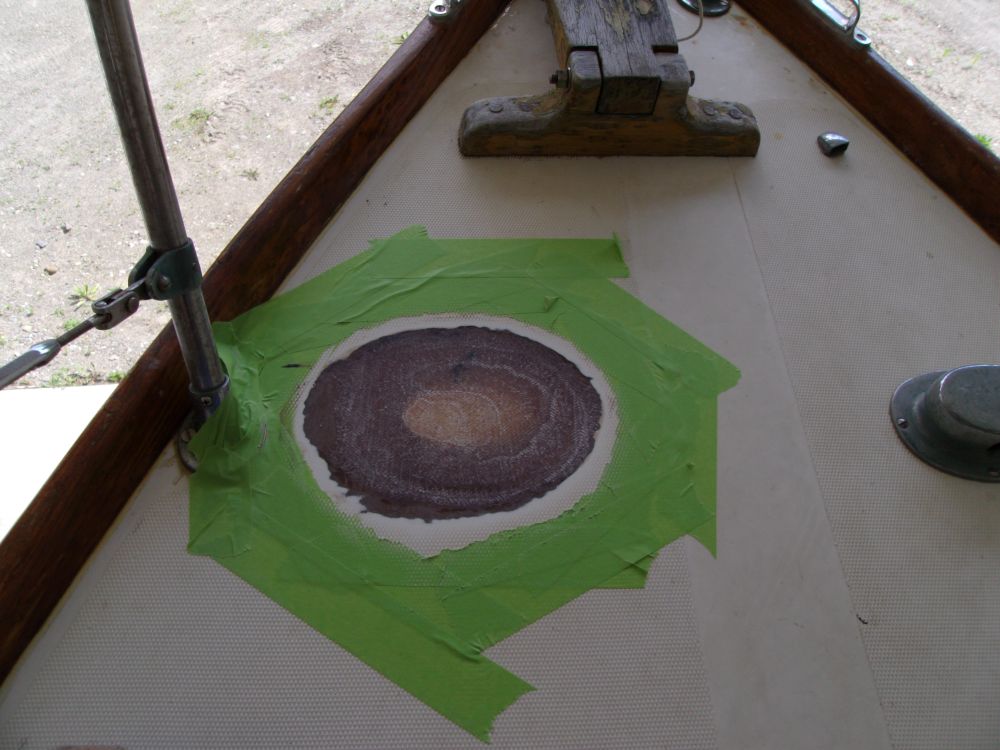
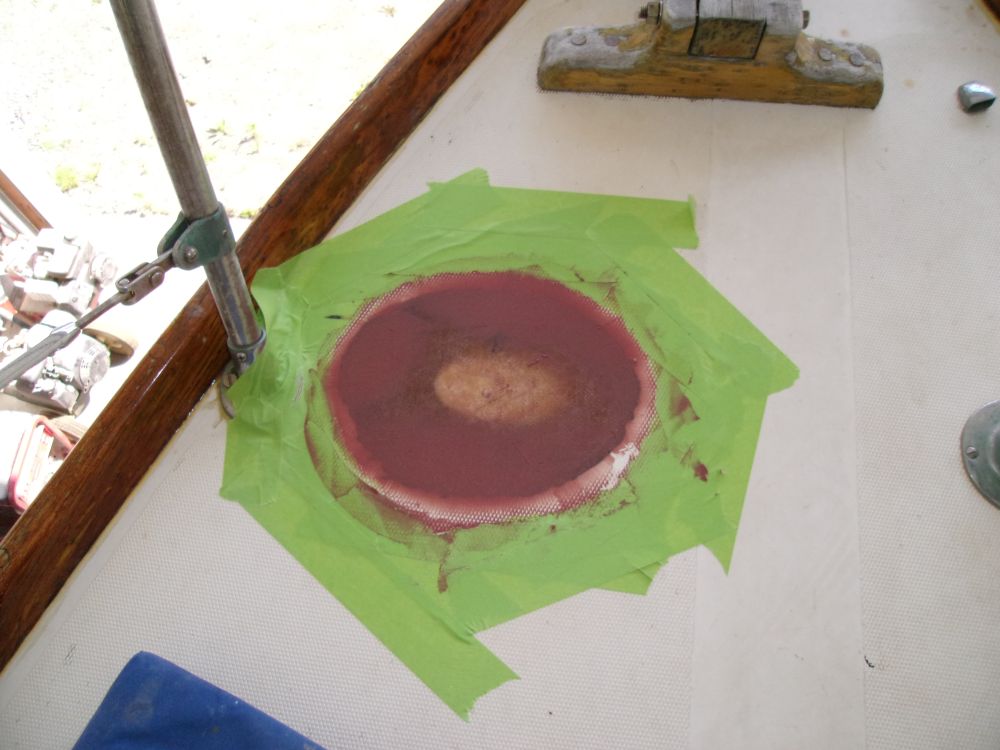
Thanks to hot, humid weather, the patch cured quickly, and before the end of the day I was able to continue with the work. After the usual water wash, I sanded the patch as needed, keeping it flush with the adjacent deck areas, then applied a thin coat of fairing filler to handle the low spots around the edges. Belowdecks, I installed additional fiberglass over the bottom side of the hole, though I didn't seem to take a picture of this.
While I had the grinder on board, I quickly cut off the excess bolt length at the engine exhaust outlet.
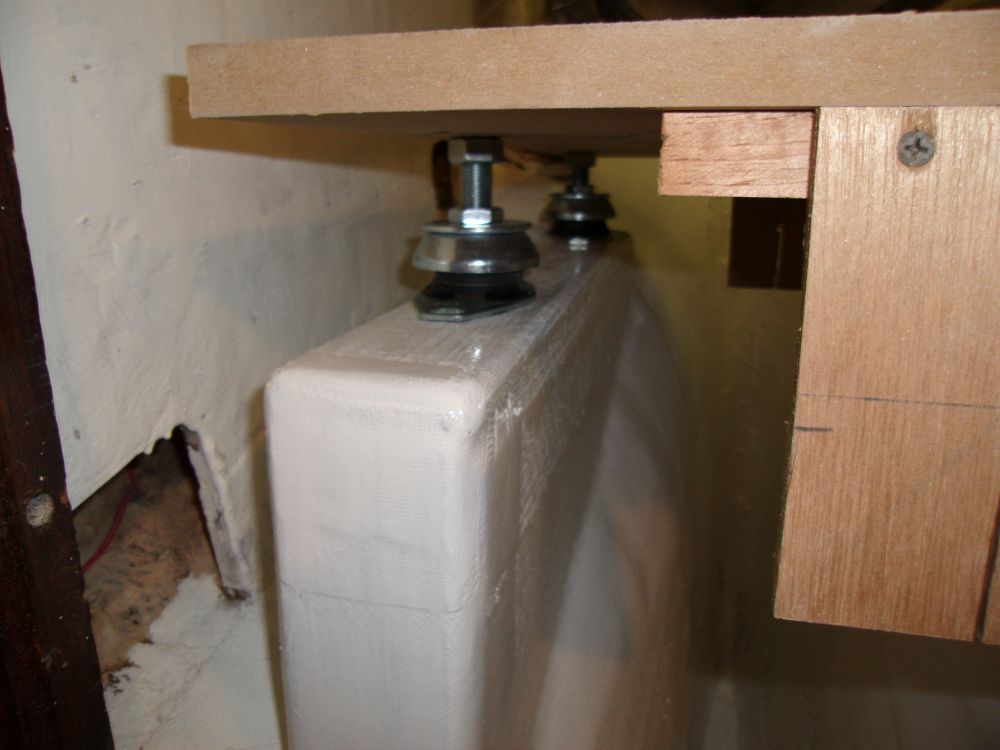
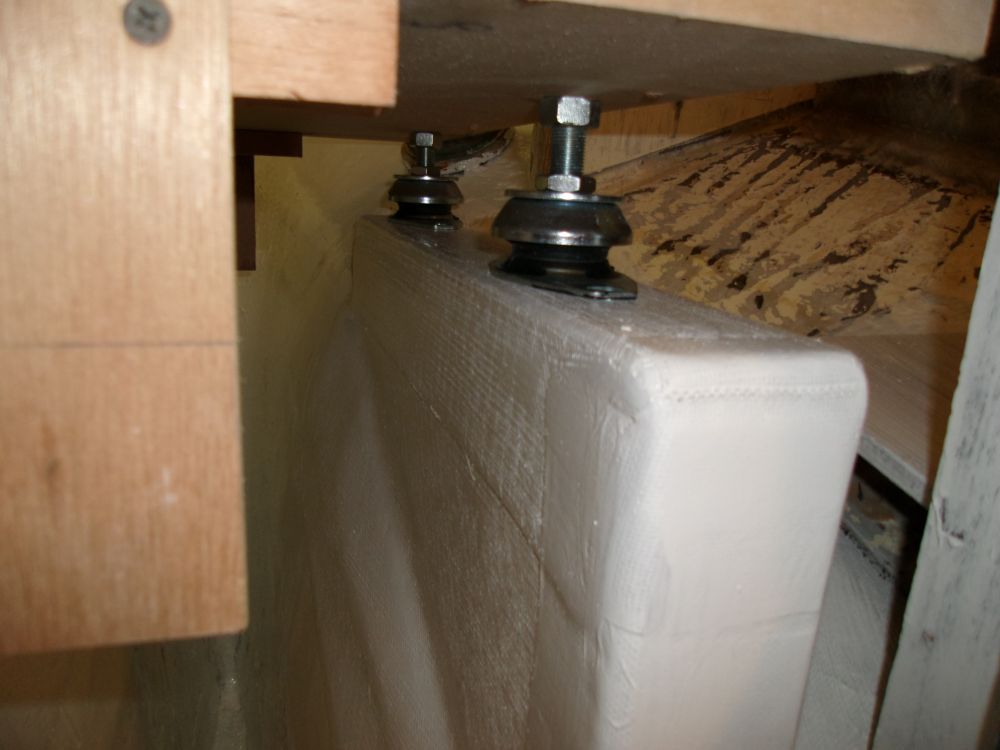
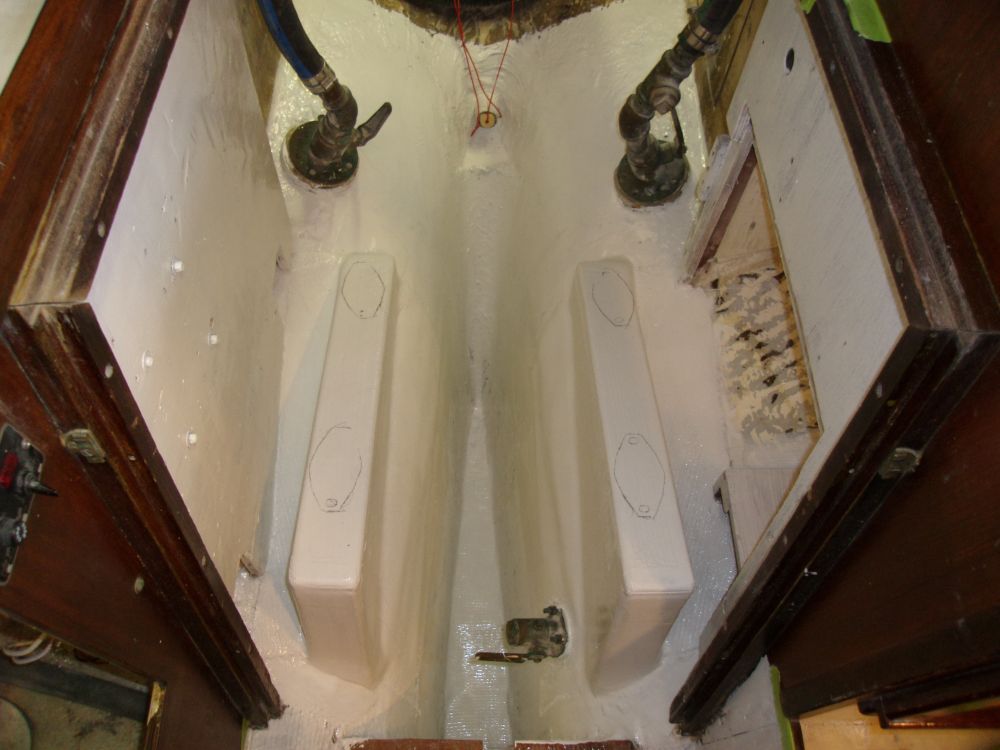
I set up the engine alignment string once more, the carefully positioned the engine template as accurately as possible, making small adjustments to the four adjustable mounts as needed to center the string through the template holes and ensure the "engine" was as well placed as possible at this stage.
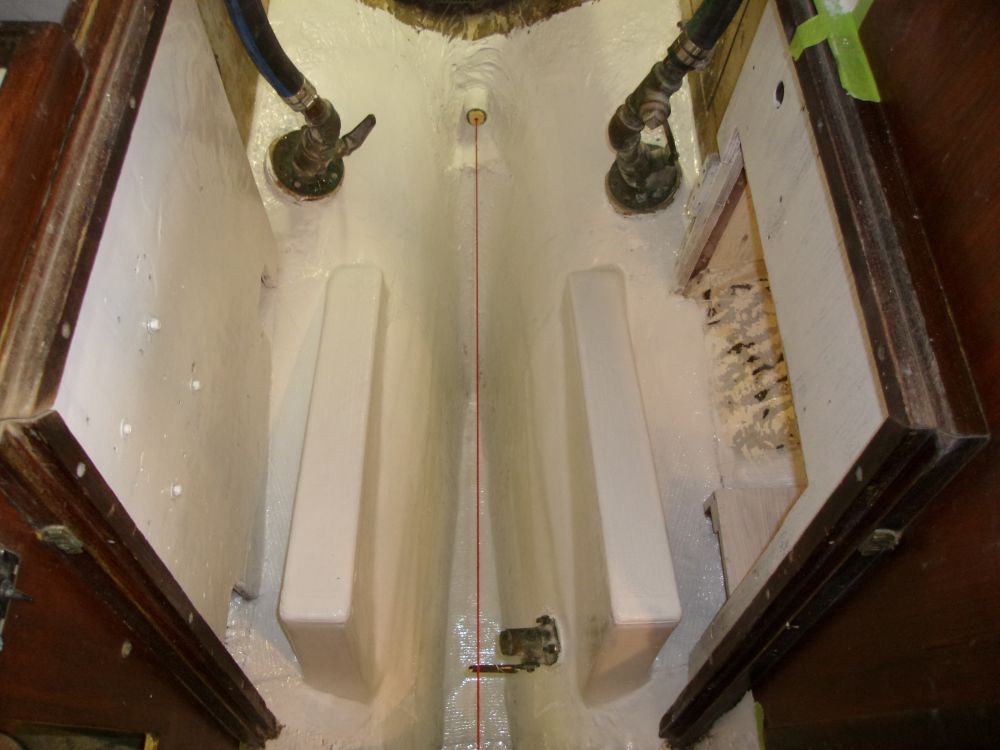
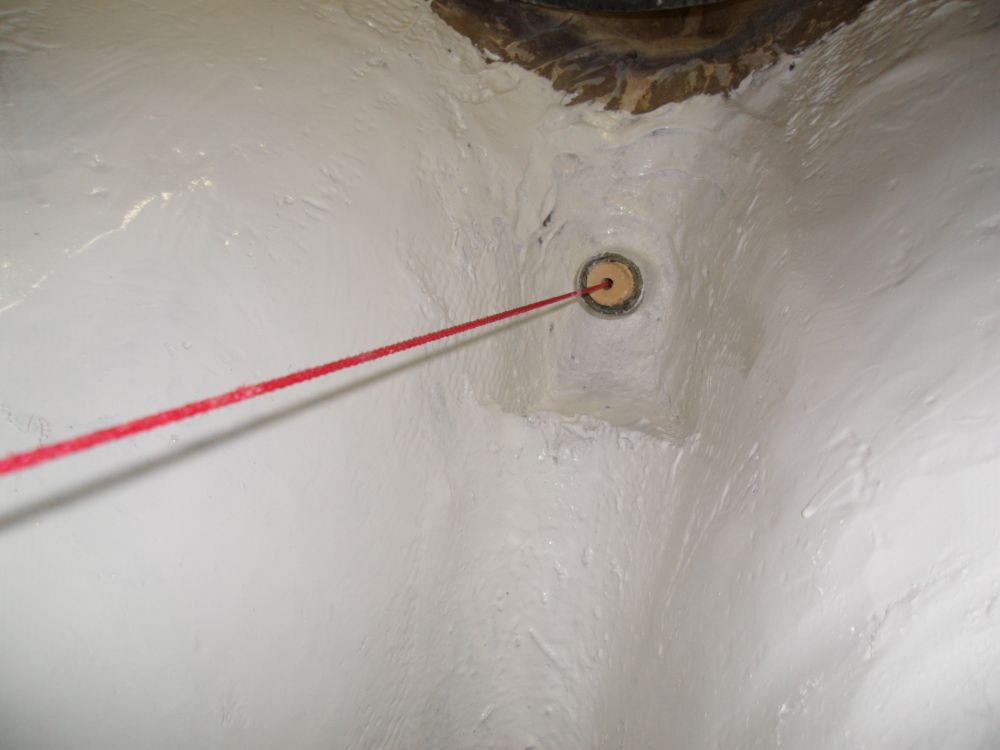
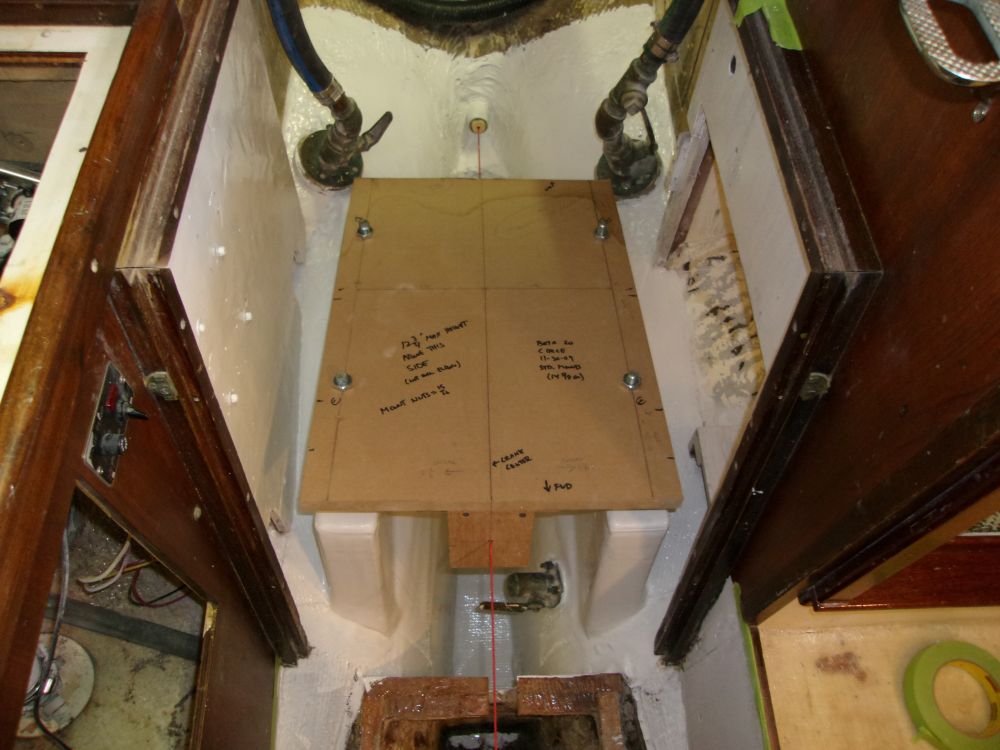
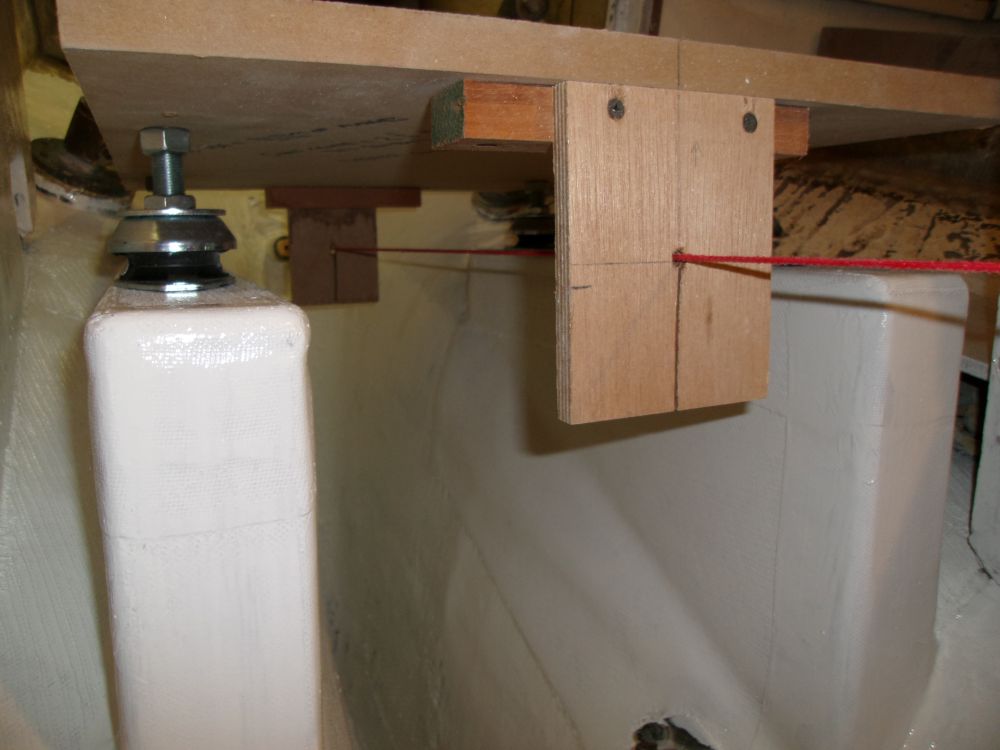

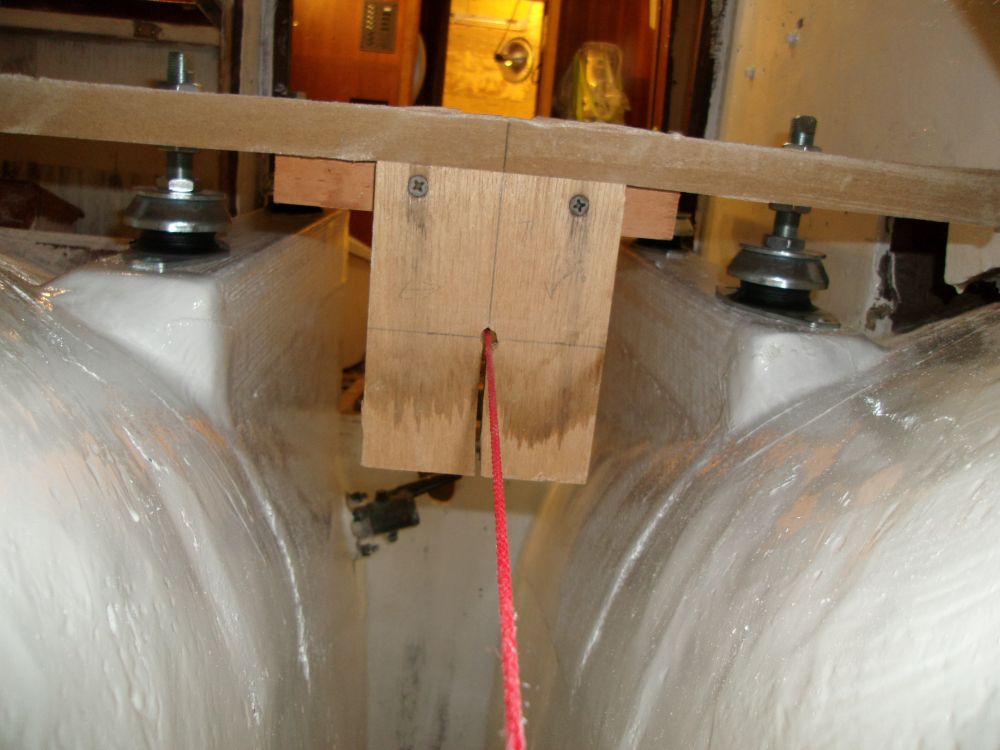
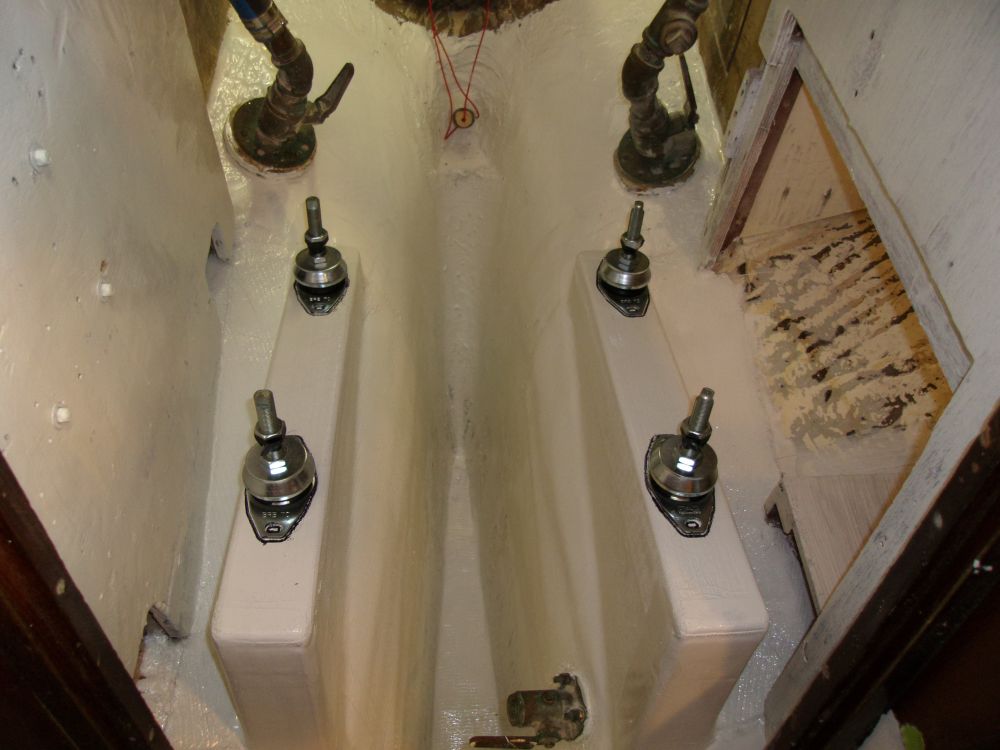
After some minutes of adjustment and fussing, an pleased with the position, I carefully made reference marks around the engine mounts to register their locations on the foundations, ensuring that I didn't move the template at all during the process. With sufficient marking, I removed the template and string, secured the adjustment nuts on the mounts with some tape to keep the positions unchanged, then used the four mounts, separated from the template now, to make clear, indelible marks on the foundation tops that I could use to drill and tap the mounting holes. For now, with some fresh paint nearby, I left the holes undrilled.

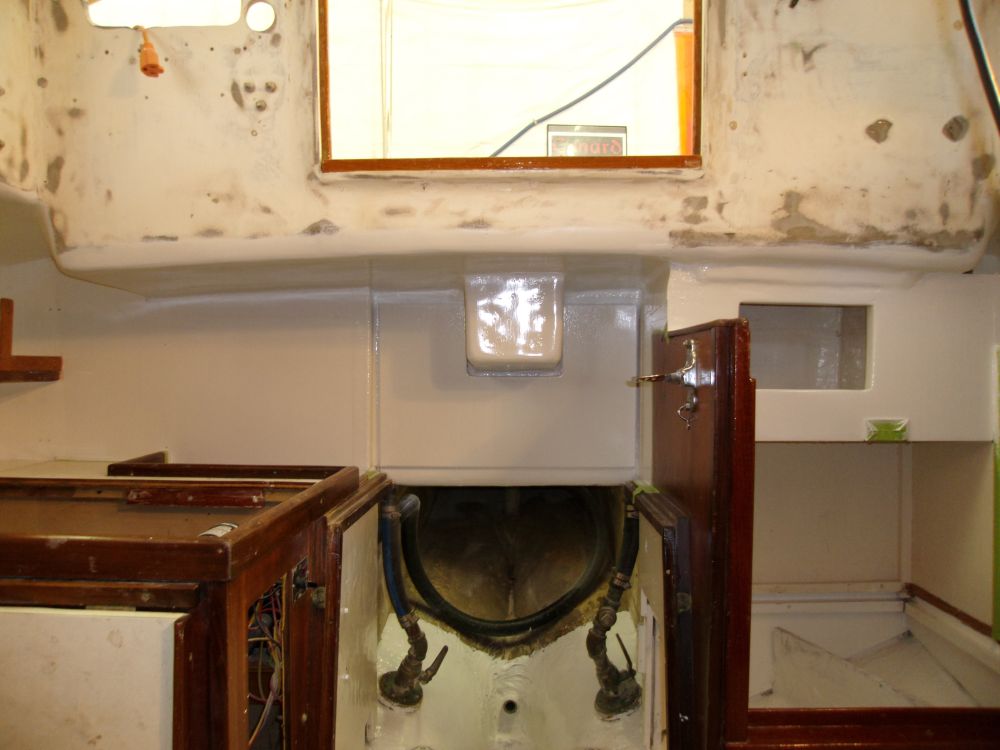
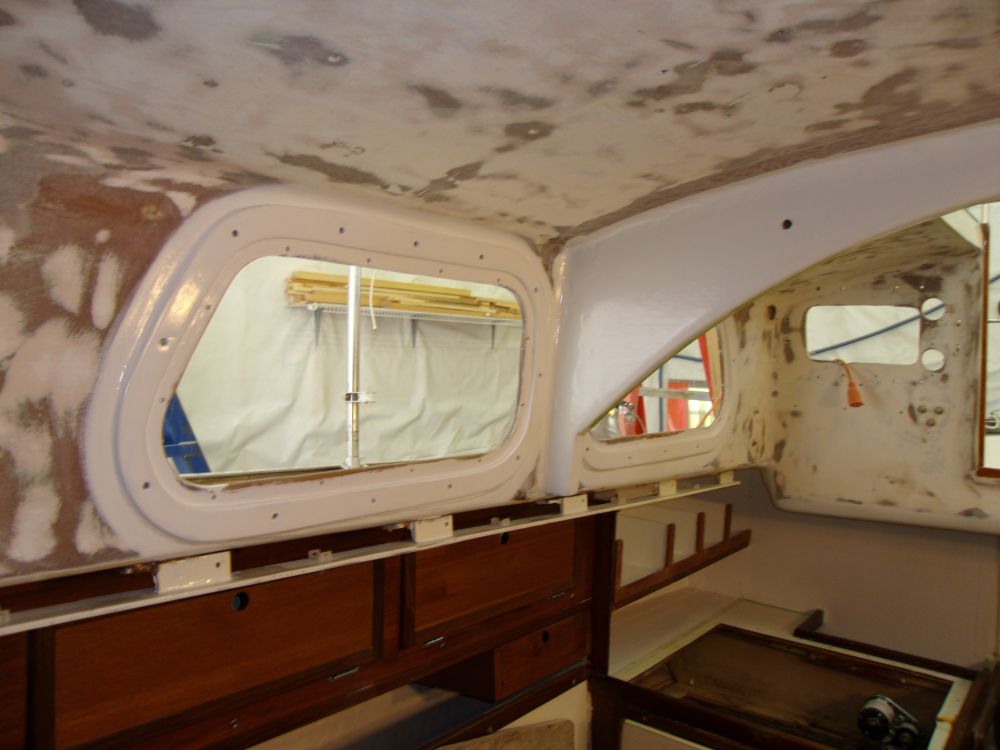
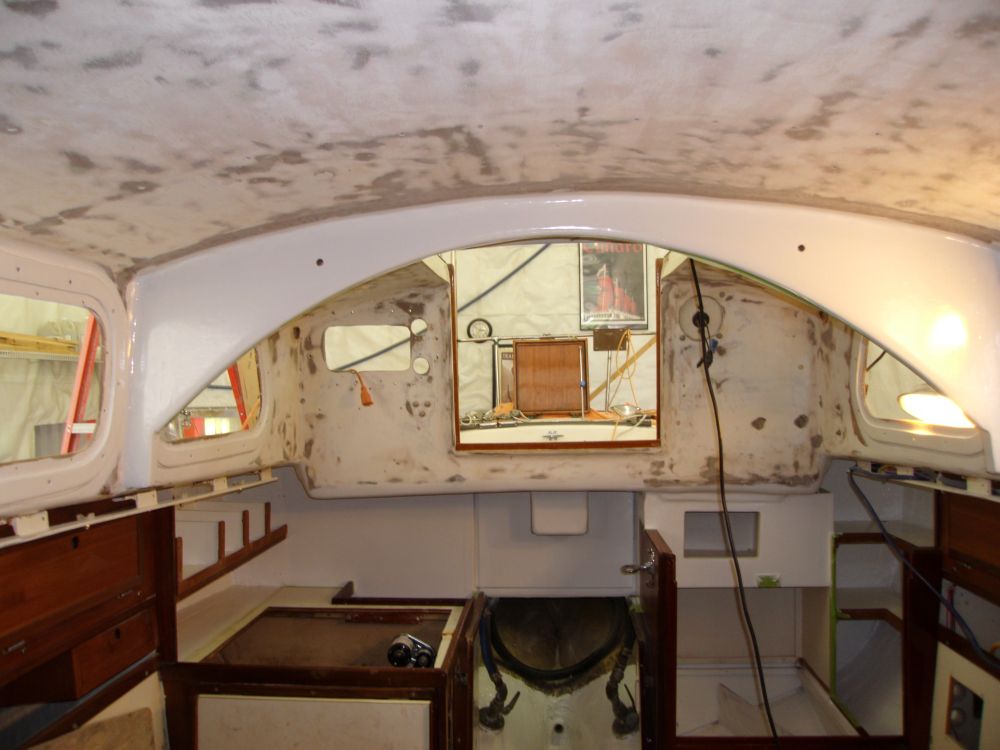
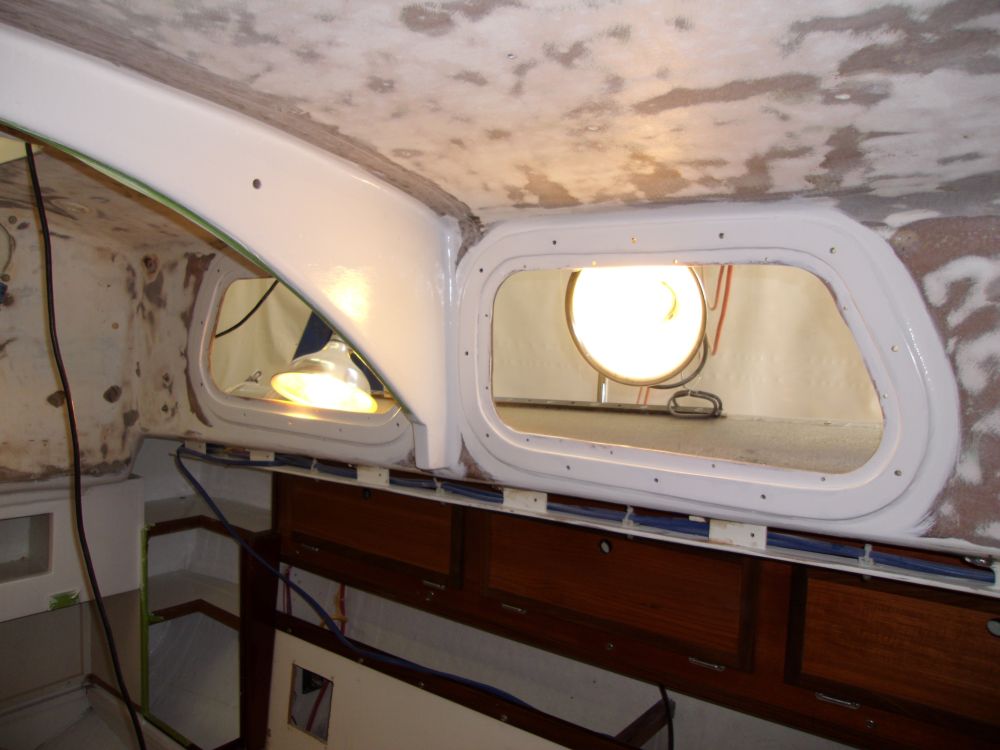
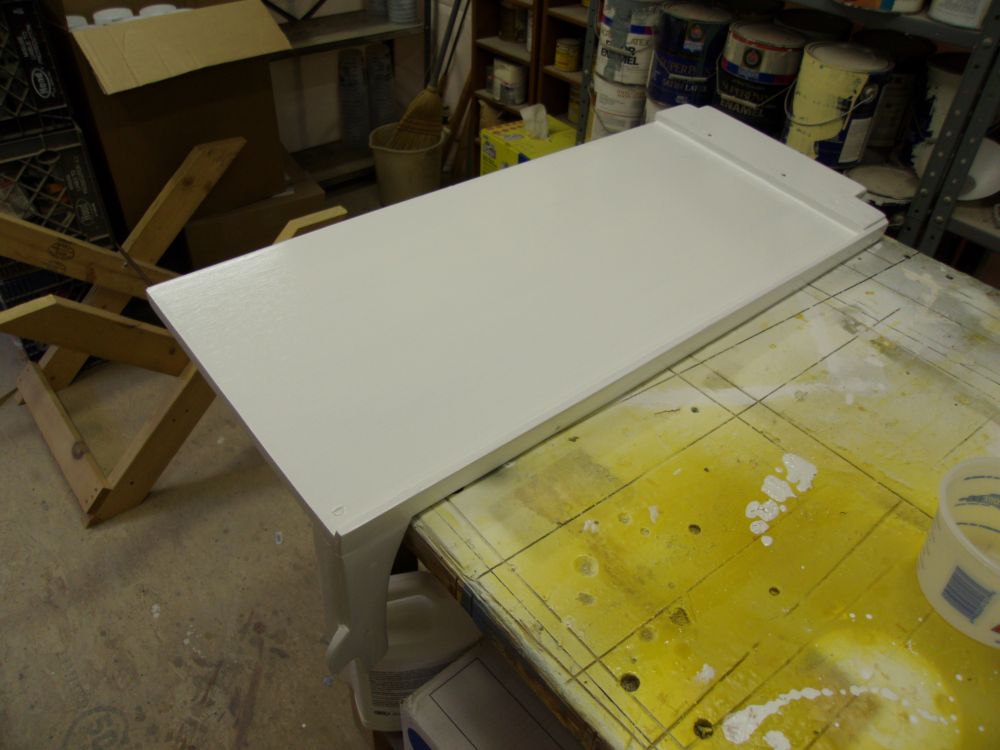
After light sanding and cleanup, I applied another coat of semi-gloss white enamel to the various areas of the interior, and also Bilgekoted the locker area beneath the galley, to port of the engine room, including the new starting battery platform.
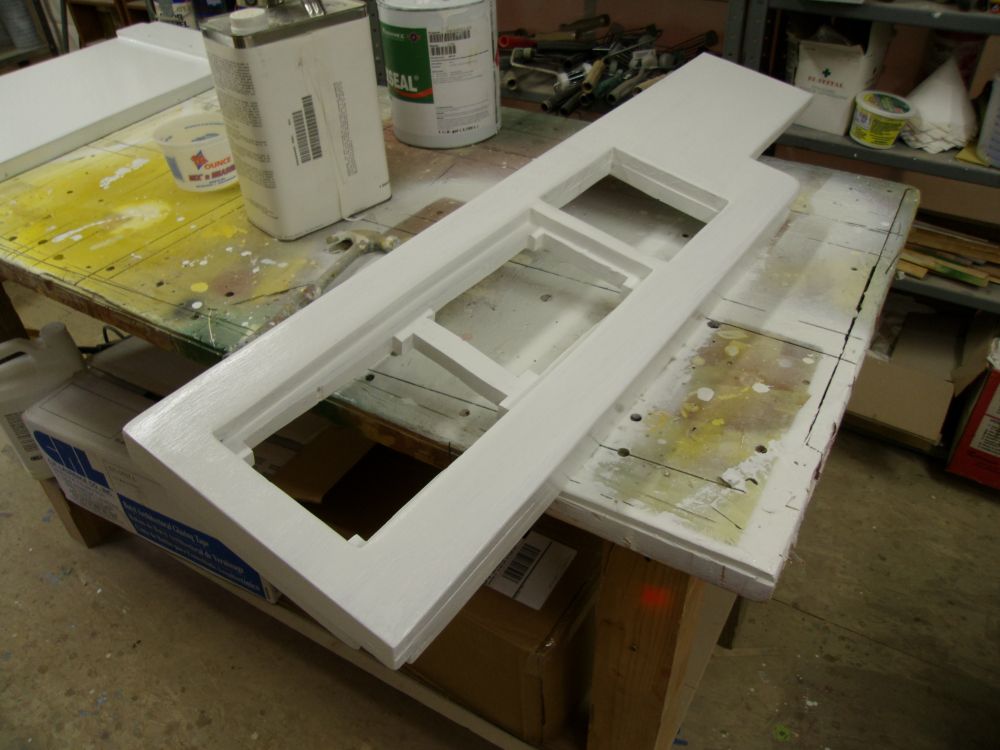
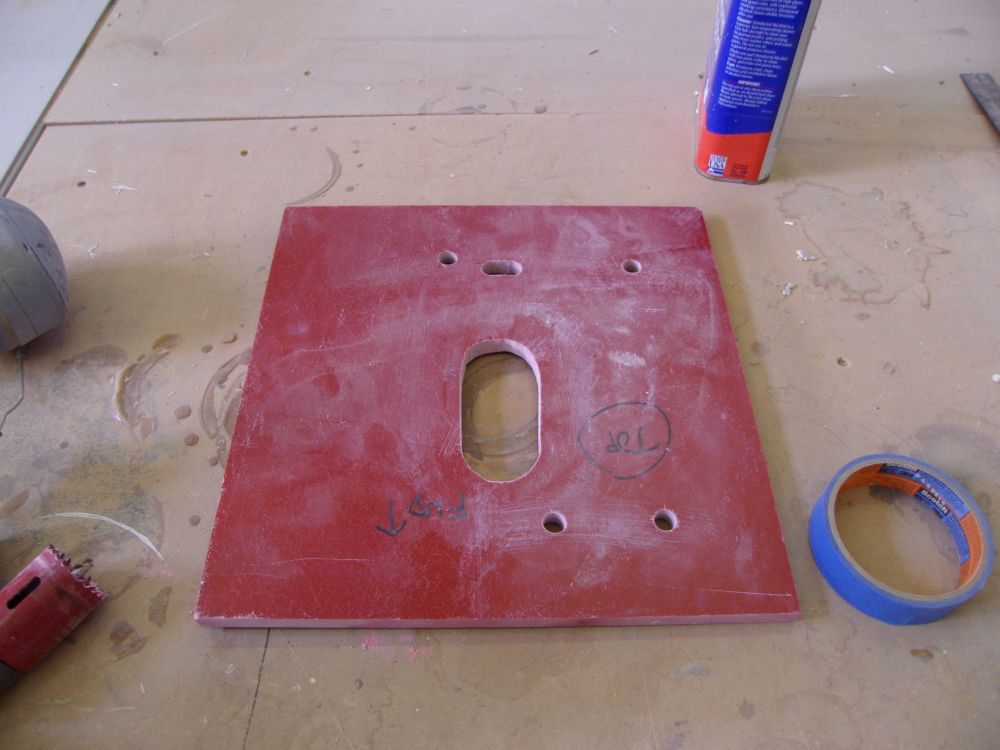
Using the deck riser as a guide, I prepared a 1/2" fiberglass backing plate for the windlass.
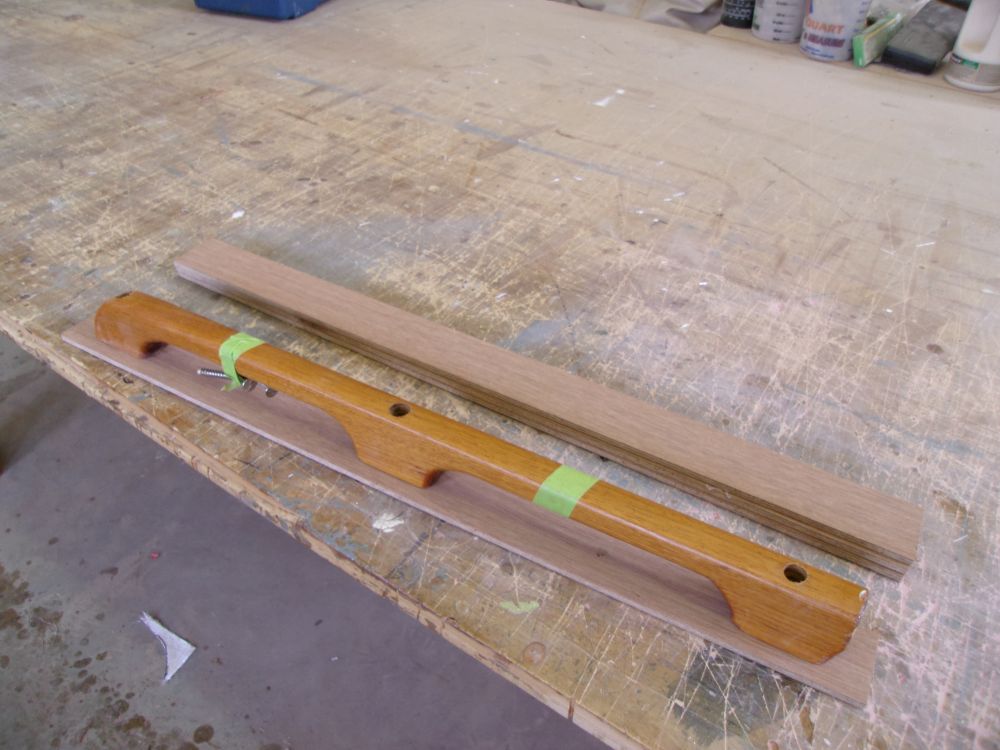
Preparing ahead for the upcoming corking of the interior, I built several slim plywood plates to place beneath the four handrail sections in the main cabin, which would give the rails a firm backing and allow the cork to go around them in a neat and clean manner. I set these aside for varnish, which would tie in better with the cork.
Total Time on This Job Today: 7.5 hours
