
110 Cookson Lane | Whitefield, ME 04353 | 207-232-7600 | tim@lackeysailing.com
Blue Teal | Thursday, July 4, 2013
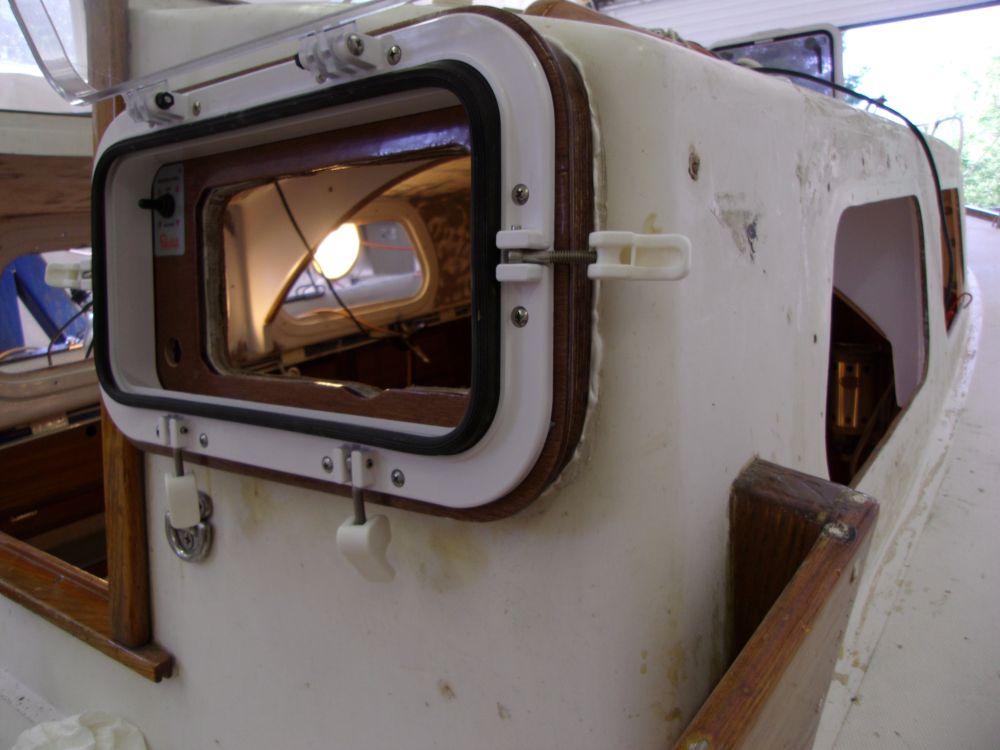
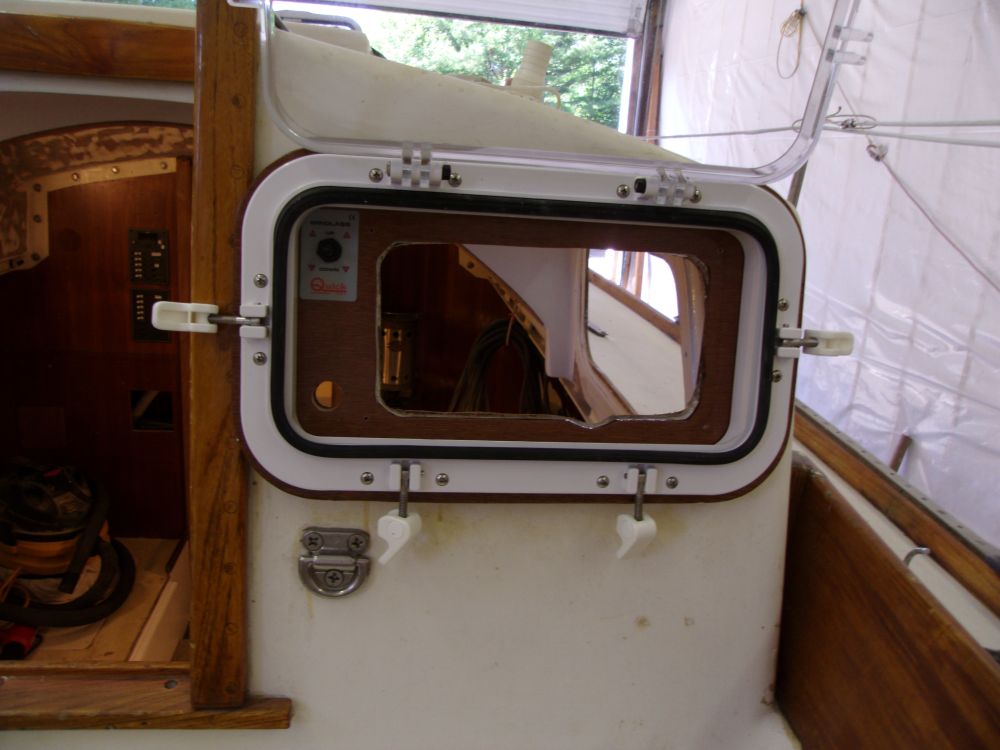
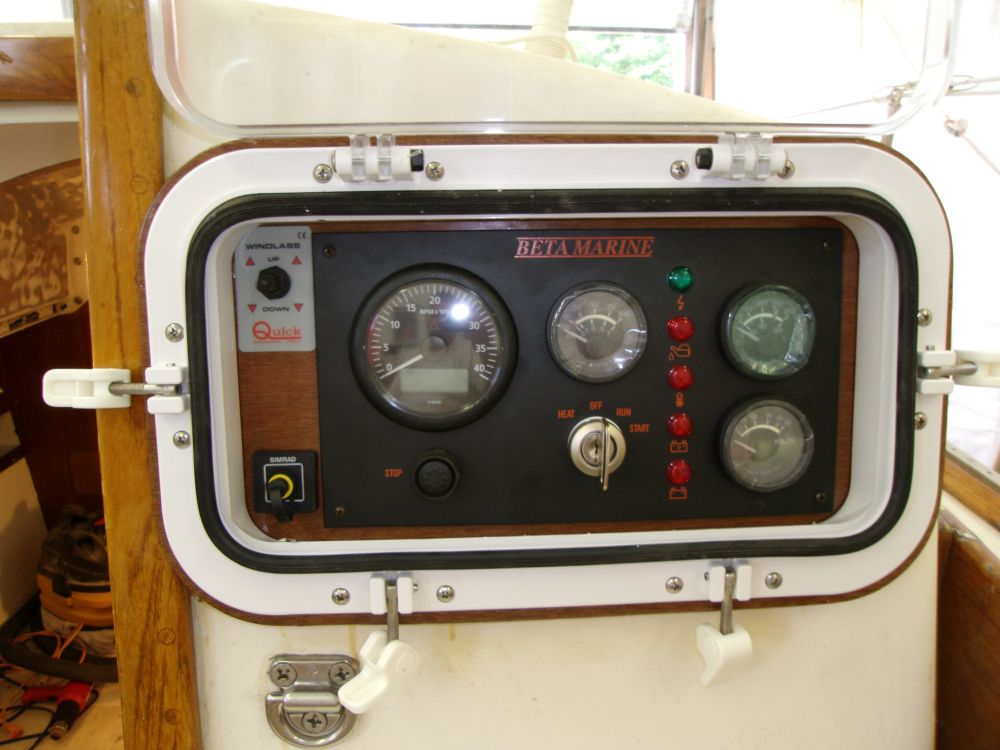
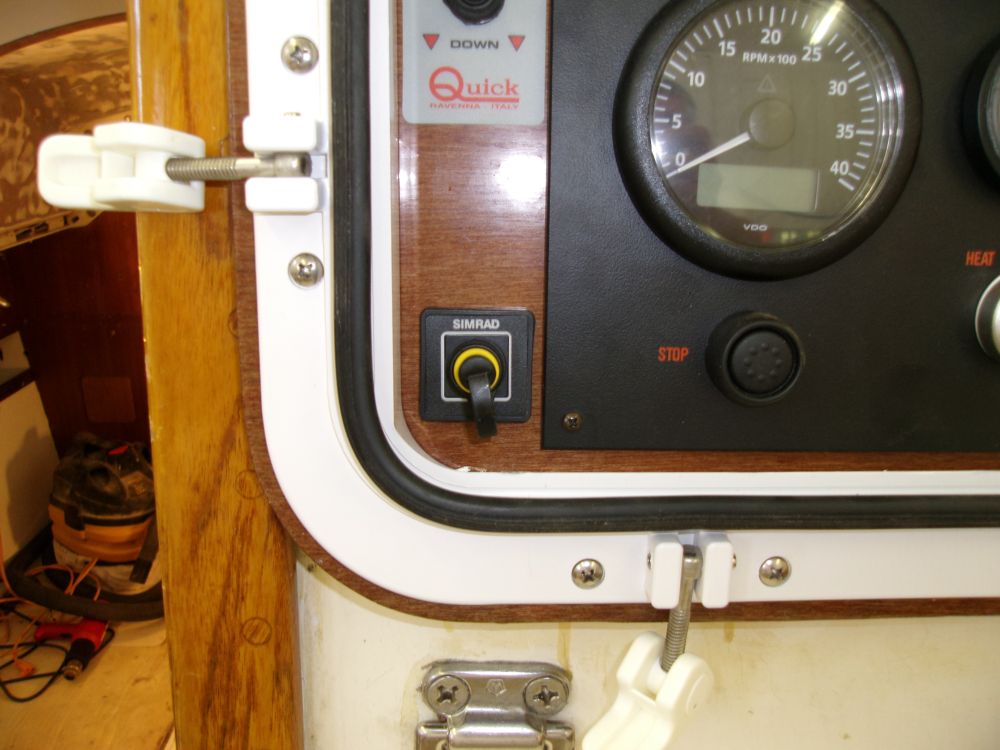
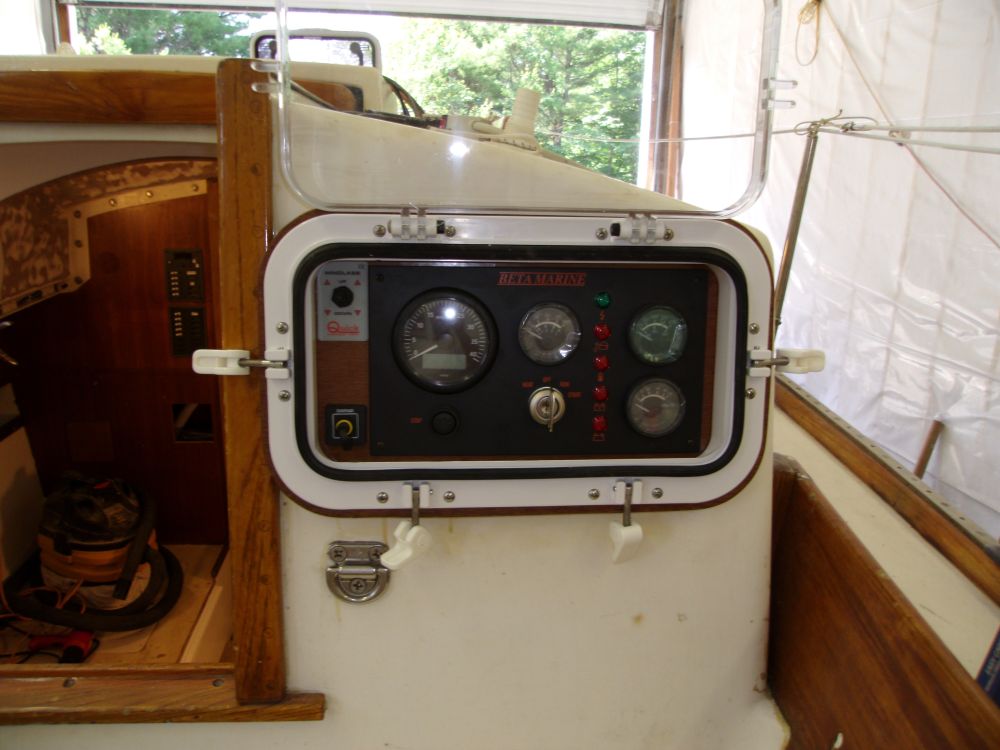
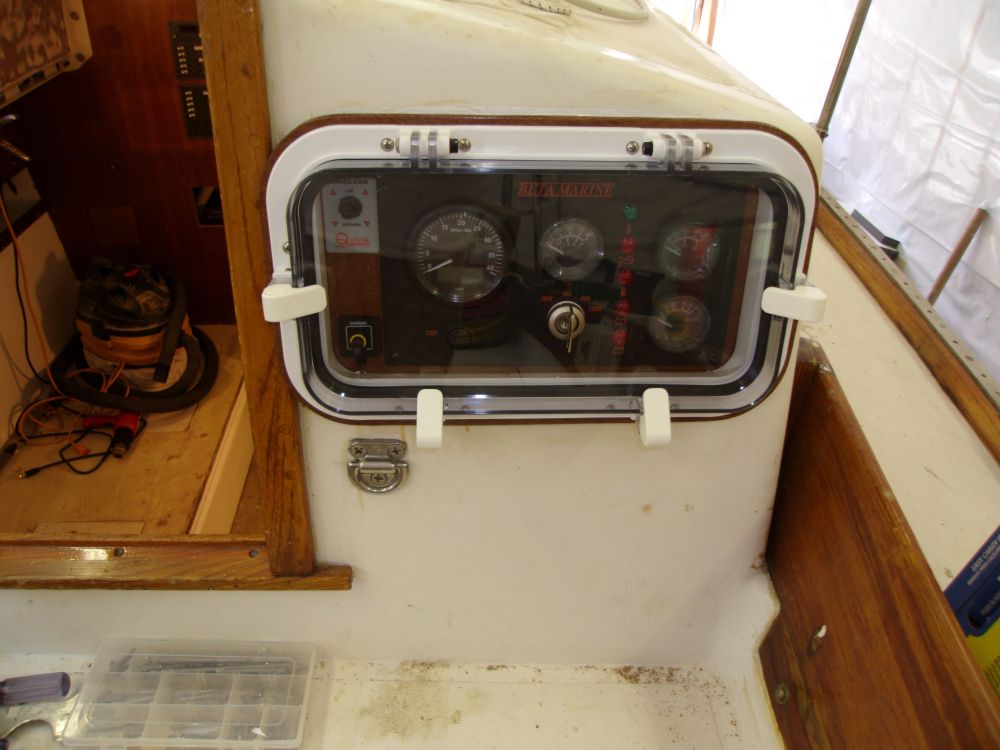
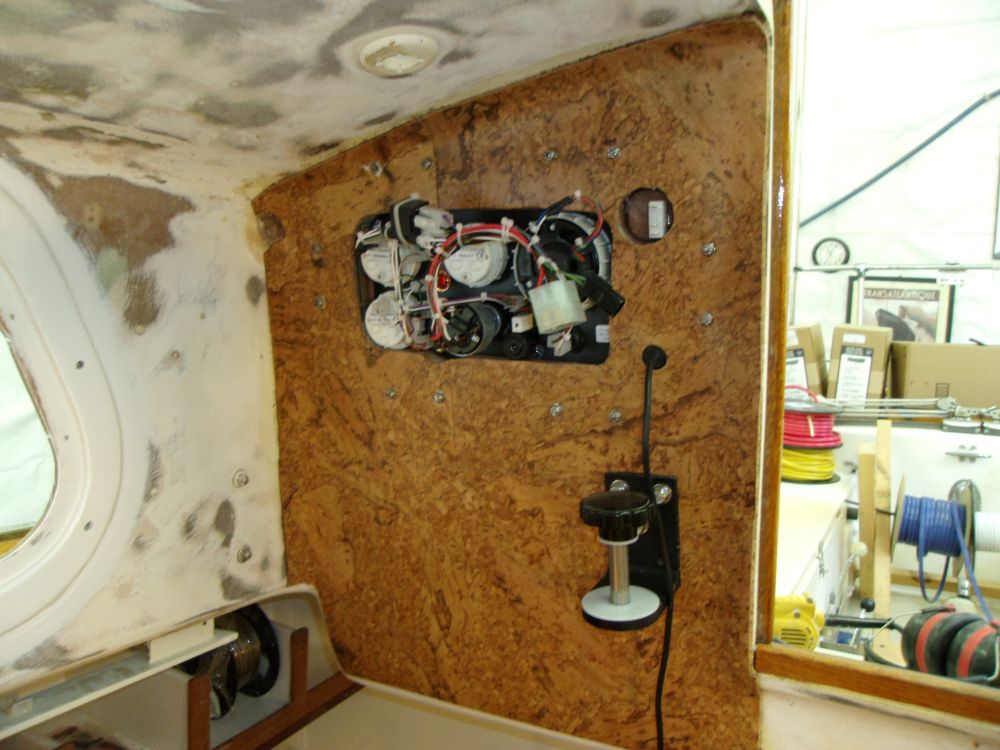
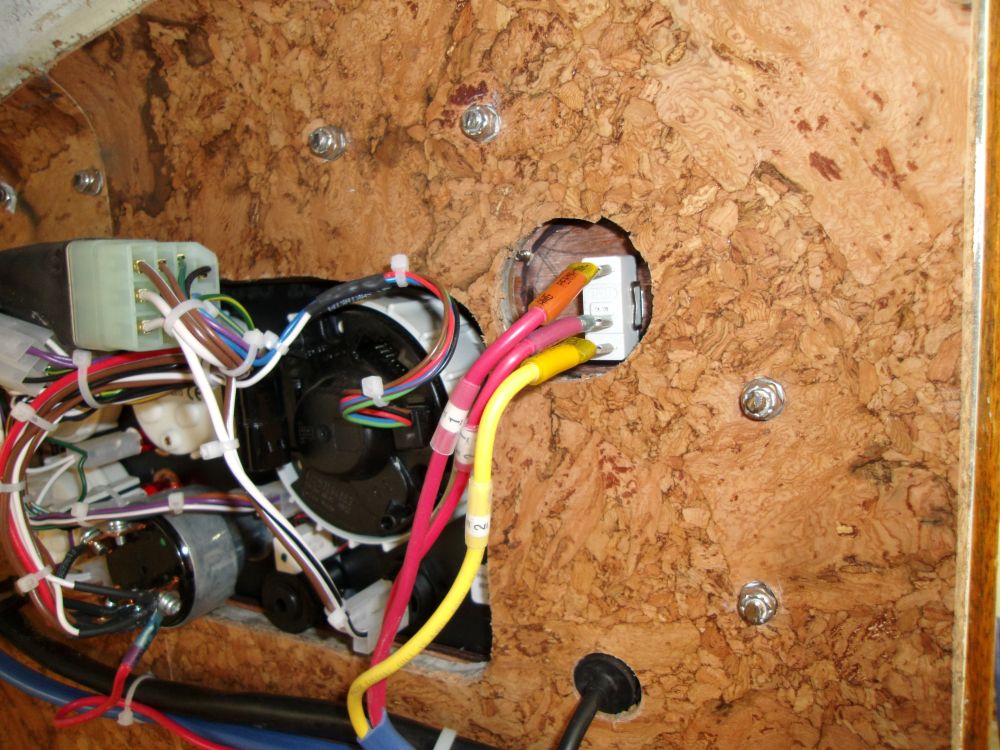
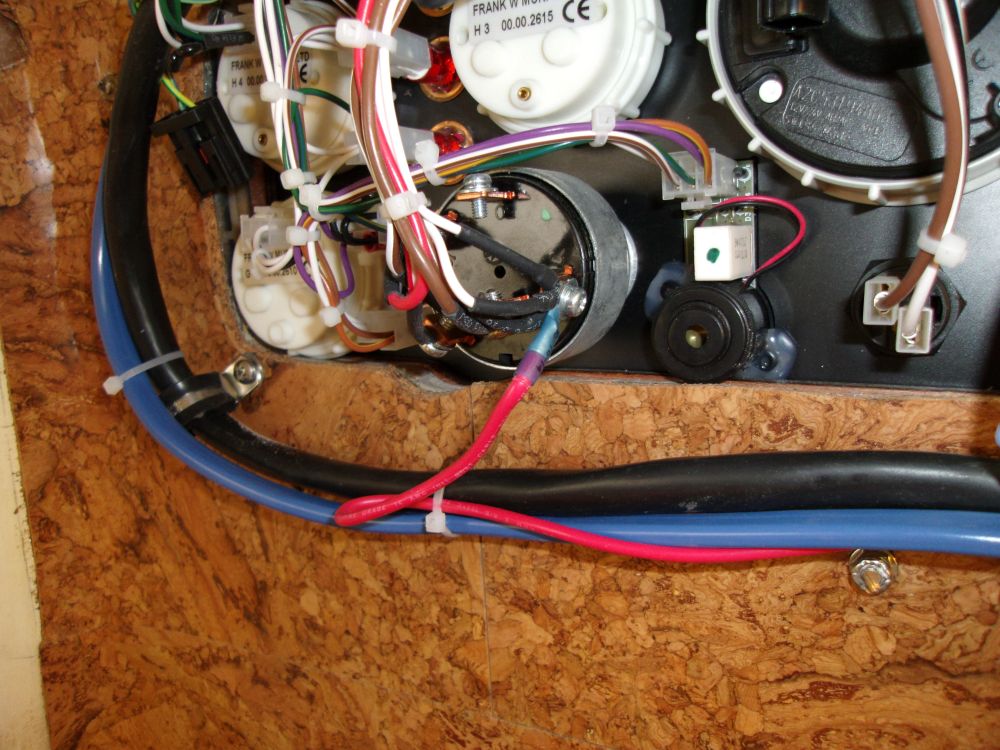
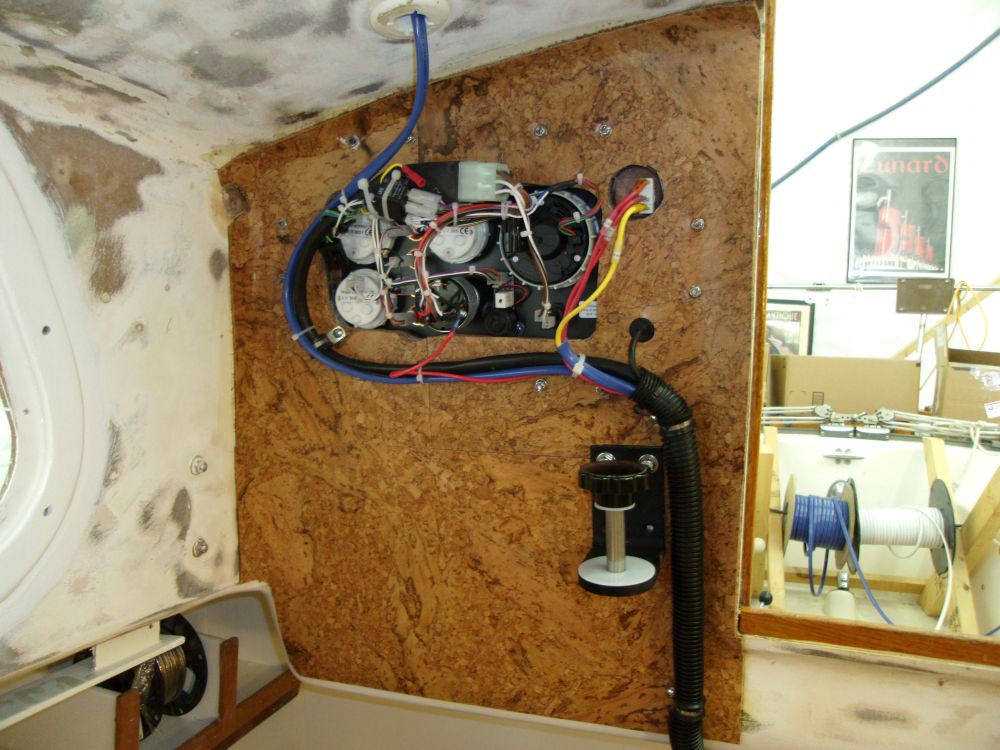
With cork in place on a critical bulkhead--and with a positive outlook on how the adhesive would hold up--I went ahead and installed the engine control panel and surround, along with its protective plastic cover (portlight). I installed the plywood surround in a bed of sealant, and used butyl tape to seal the plastic port to the plywood. IN the steps leading up to final installation, I also prepared an additional through-hole to accommodate an autopilot remote control, the connector for which I installed on the port side of the surround. I secured the panel surround with long bolts and nuts; afterwards, I installed the engine panel and autopilot connector with screws as necessary.
Next, I installed the starting battery in its new home, and connected the various cables, including the Duo Charge output line (intentionally left long according to the installation instructions, leading to the large coil of red wire), battery temperature sensor for the regulator, and leads from the solar charger. Terminal covers and strap still to come.

I led the engine control harness, windlass switch wires, and the SimNet cable leading from the autopilot remote along the bulkhead and bridgedeck as needed, keeping the wires bundled and secured against the surfaces in the most unobtrusive manner possible. I connected the three wires required for the windlass switch (control up and down, and power), and connected a wire leading from the regulator to the ignition switch to power up the regulator when the engine was turned on. The final wires seen here led up through a fitting in the coachroof to beneath the dodger, where I'd later install a buss for the owner to connect various electronics and devices as he saw fit.
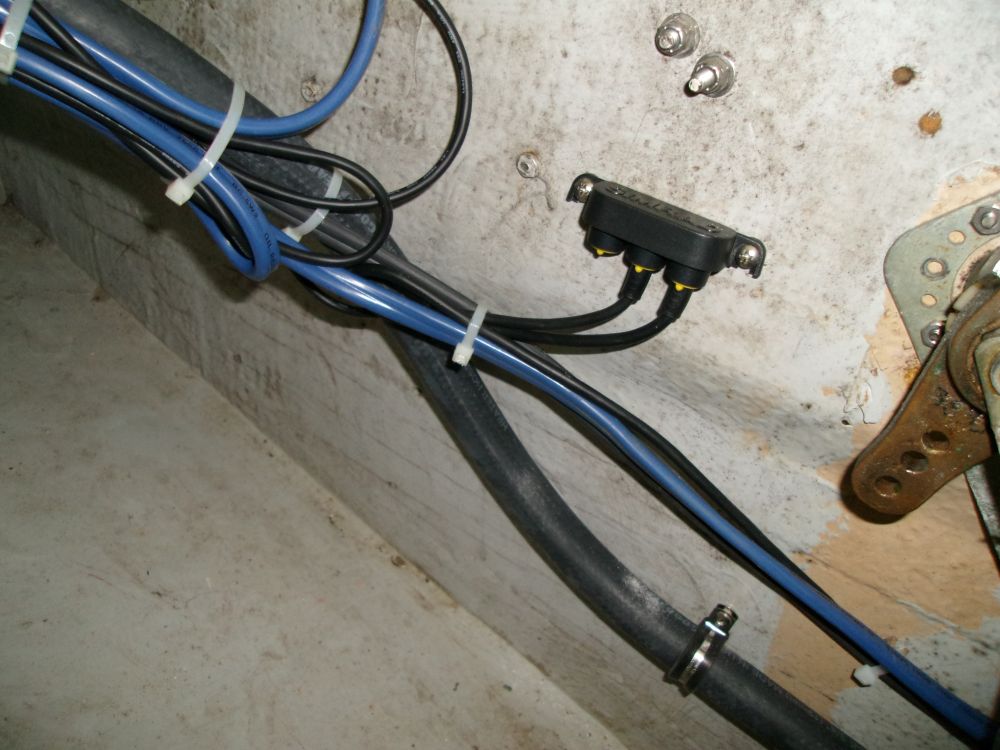
In the cockpit locker, I installed a three-way joiner for the Simrad autopilot, then led the cable from the remote connection to the joiner, along with a power supply required for operation. There was a nearby powered buss available--I'd just re-led the wiring to this buss after having removed it for other portions of the project, so I used this convenient source for power.
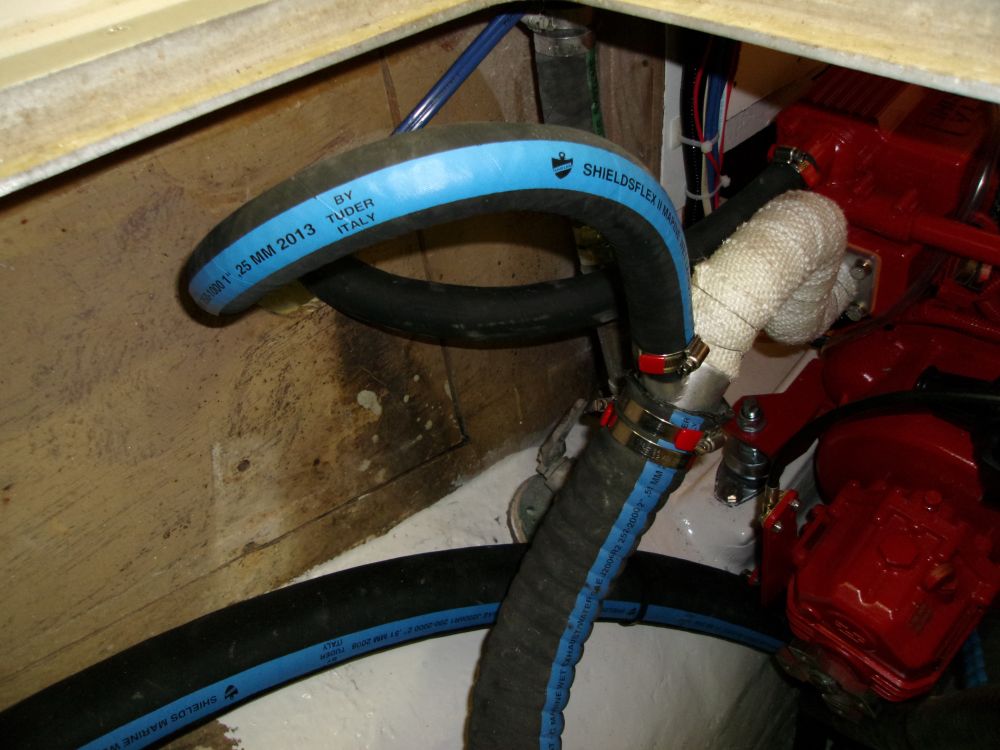
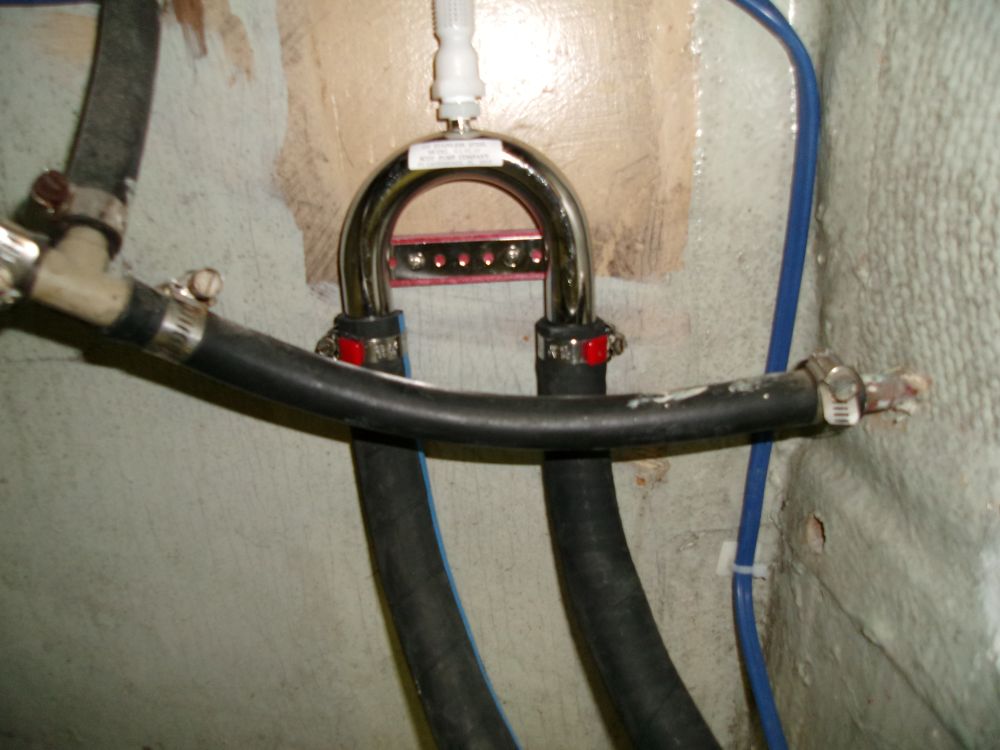
While in the cockpit, I took care of the hose replacement from the exhaust riser to the vented loop, replacing the damaged section I'd removed earlier.
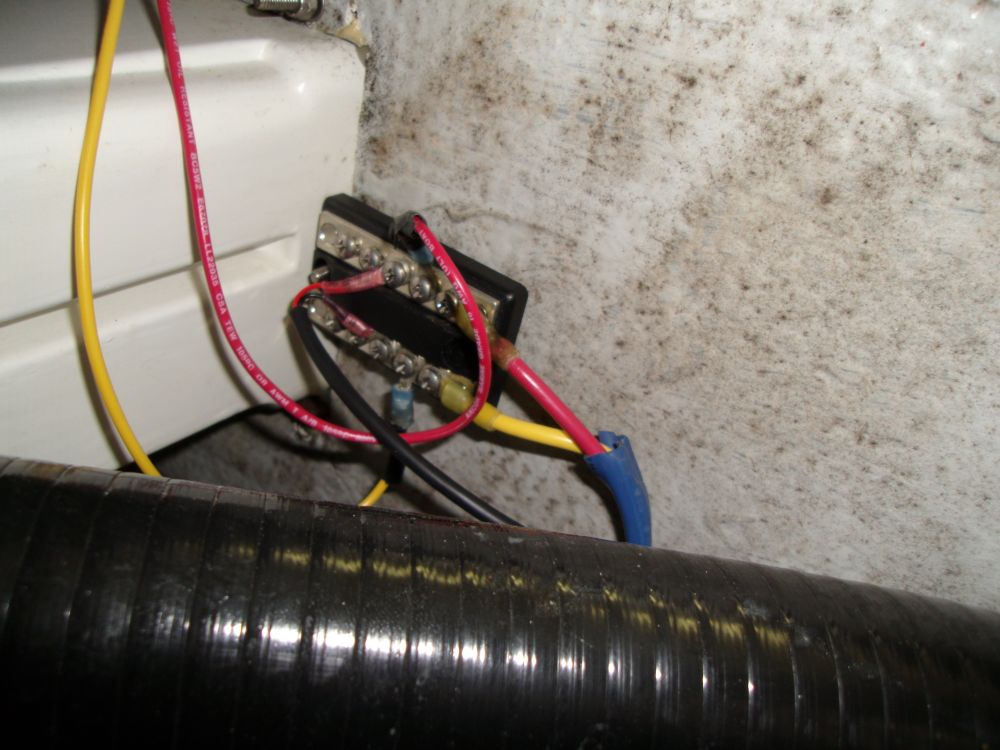
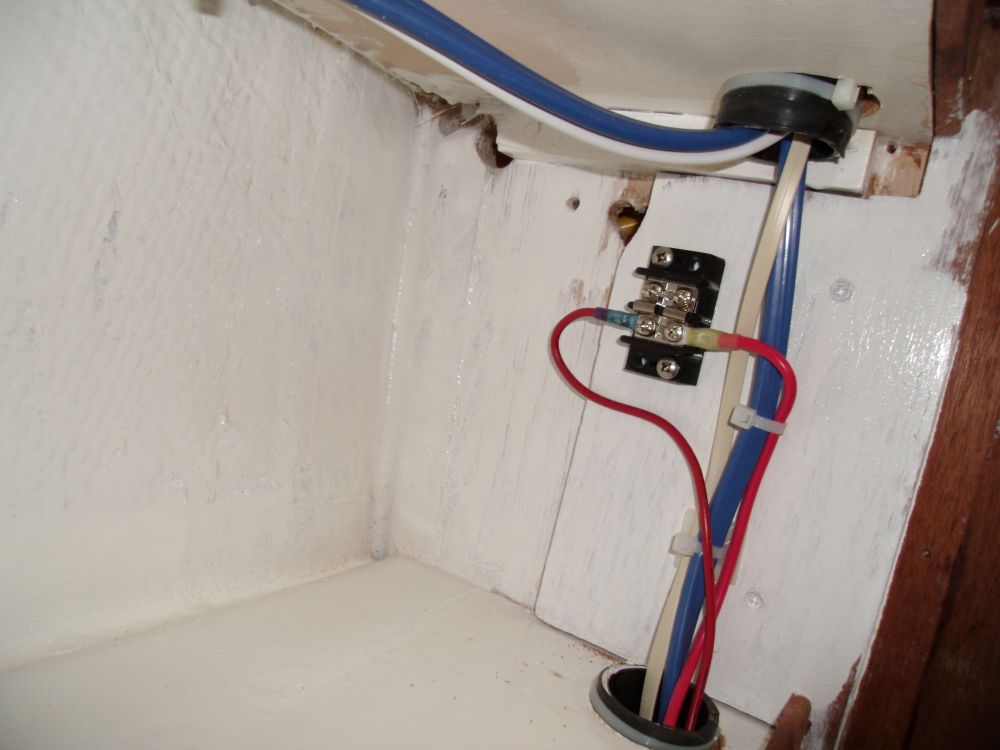
Taking care of another loose end, I installed a terminal block (equipped with jumpers) to form an "always hot" buss, which I powered off the hot side of the battery switch. For now, the only connection to this buss came from the automatic electric bilge pump.
Total Time on This Job Today: 5.75 hours
