
110 Cookson Lane | Whitefield, ME 04353 | 207-232-7600 | tim@lackeysailing.com
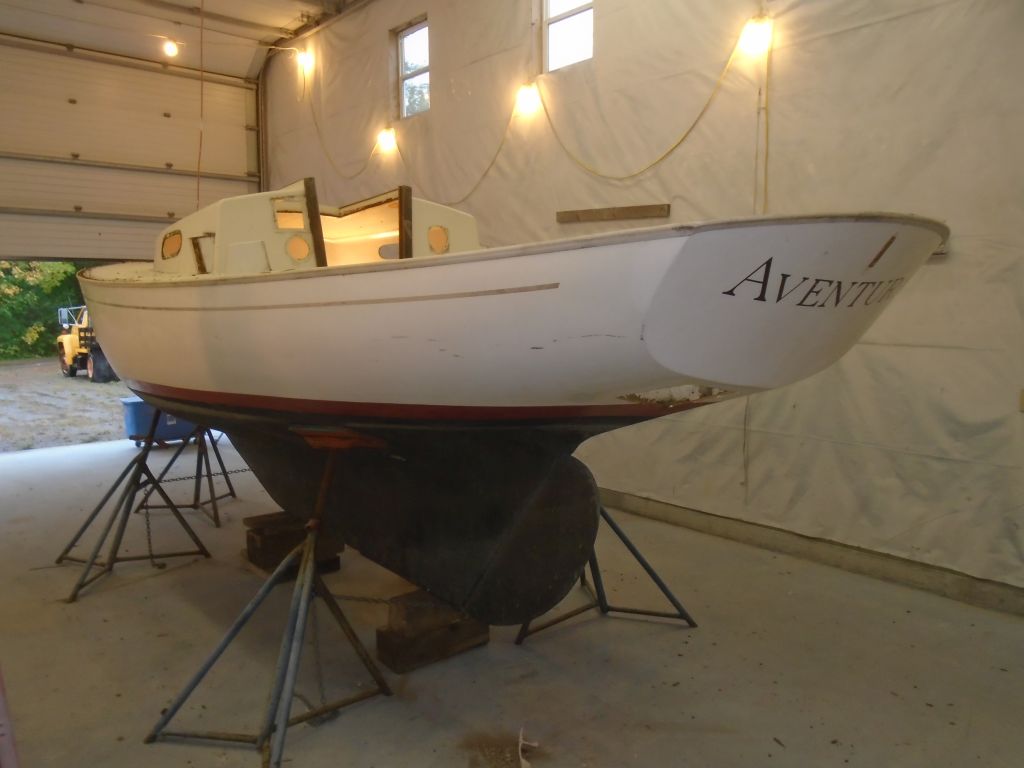
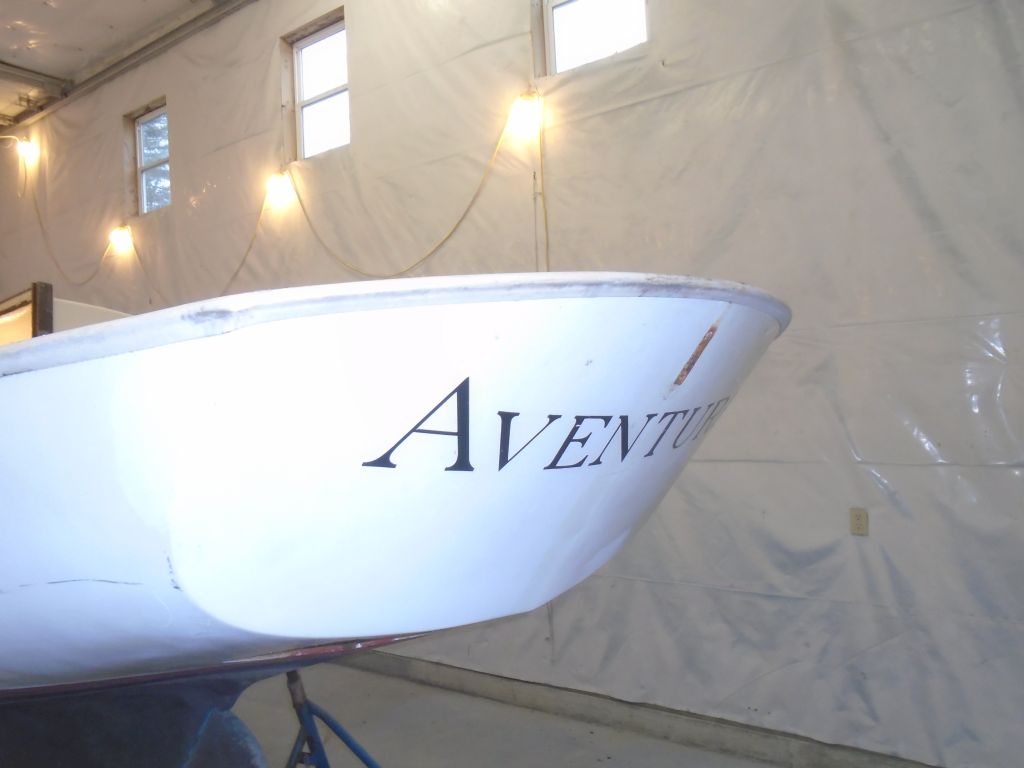
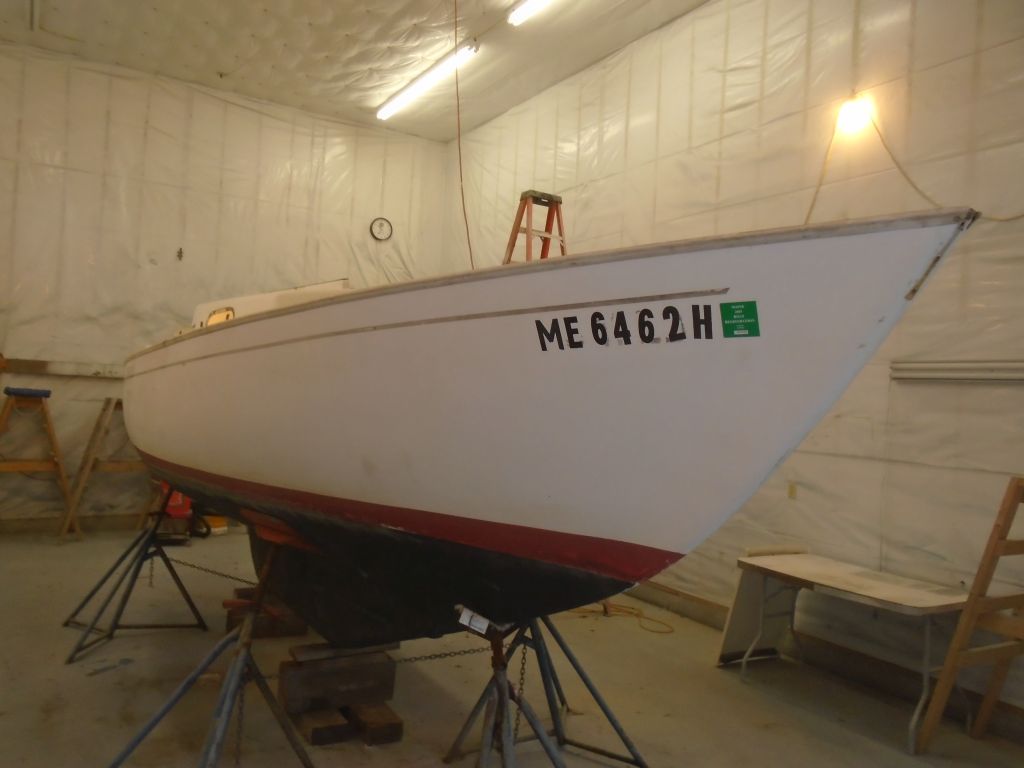
Aventura | Wednesday, September 30, 2015
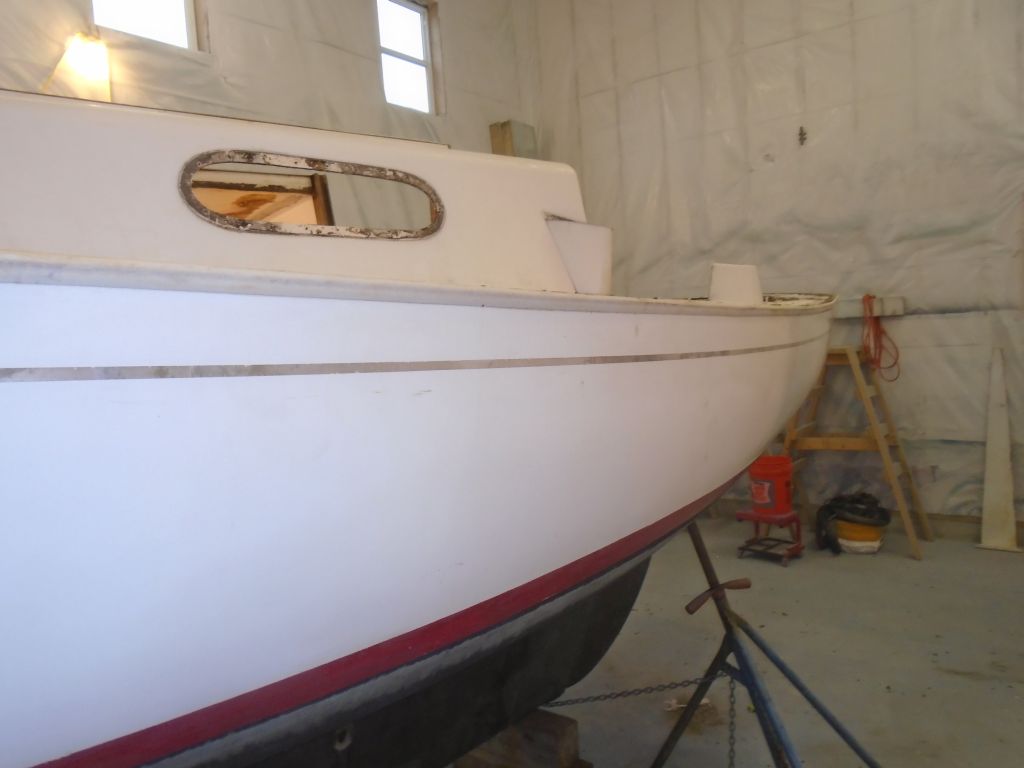
Before starting work on the hull, I decided to clean up the vinyl rubrail. With solvent, I cleaned the rail, greatly improving its appearance.
Before:

After:
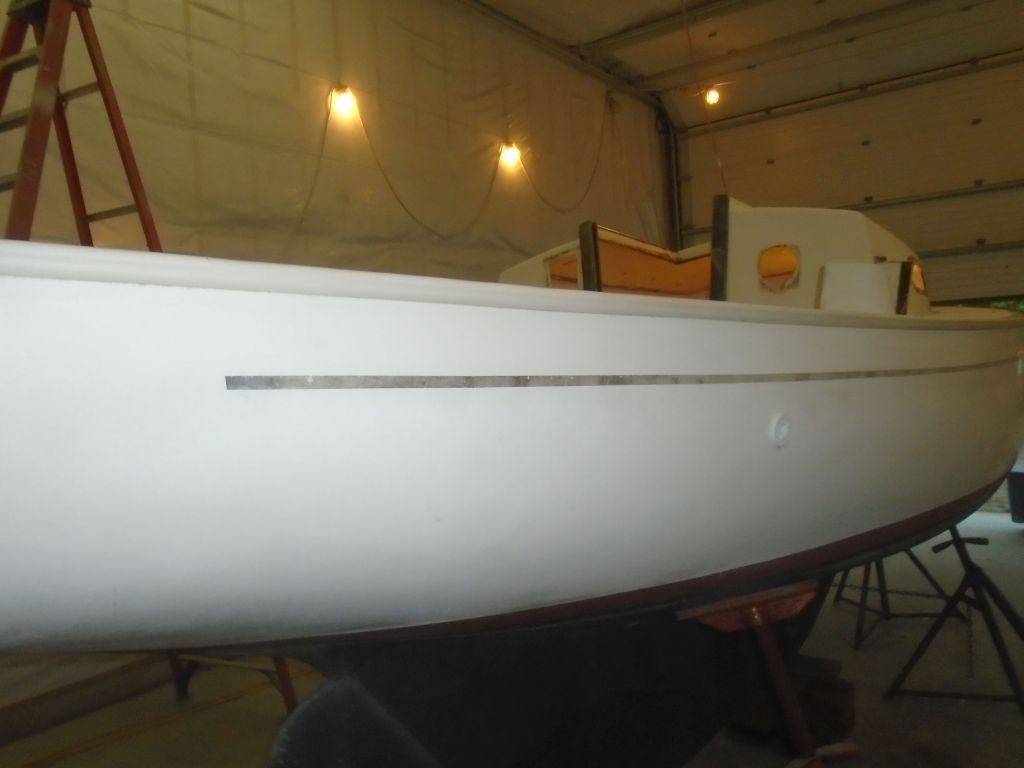
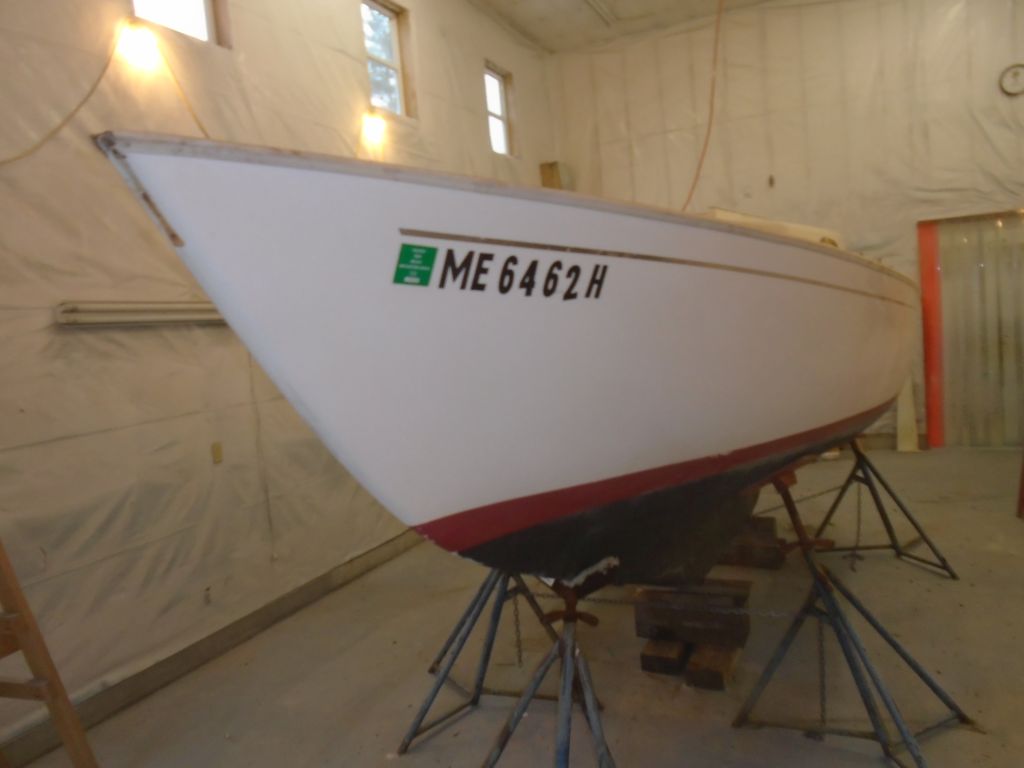
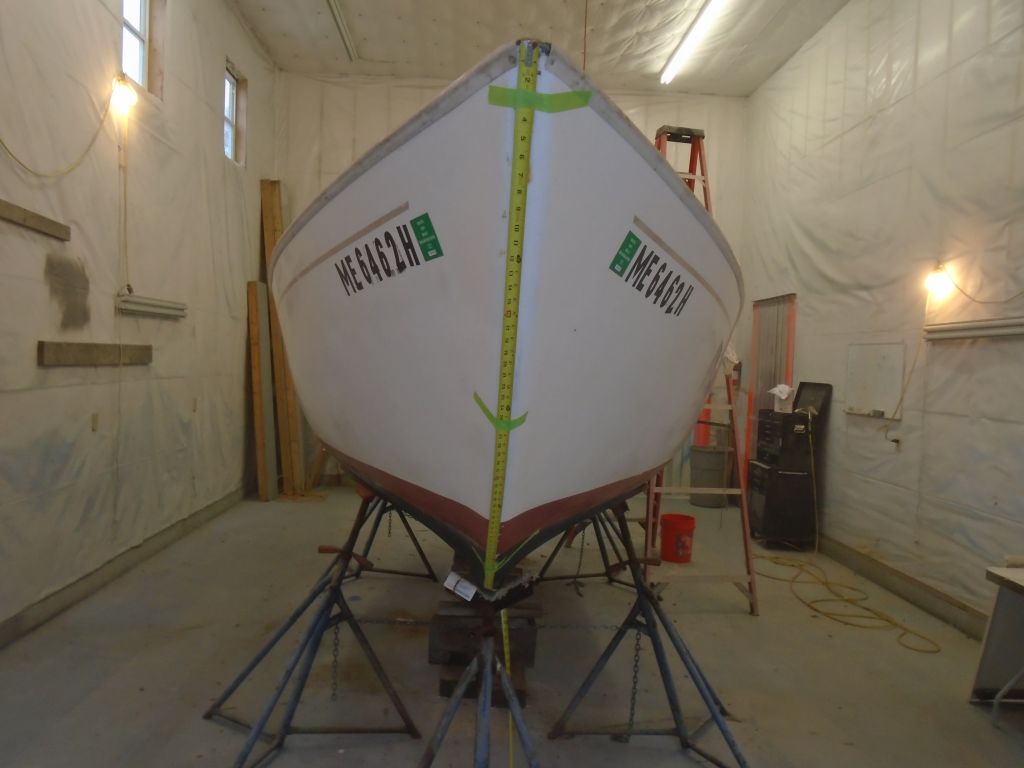
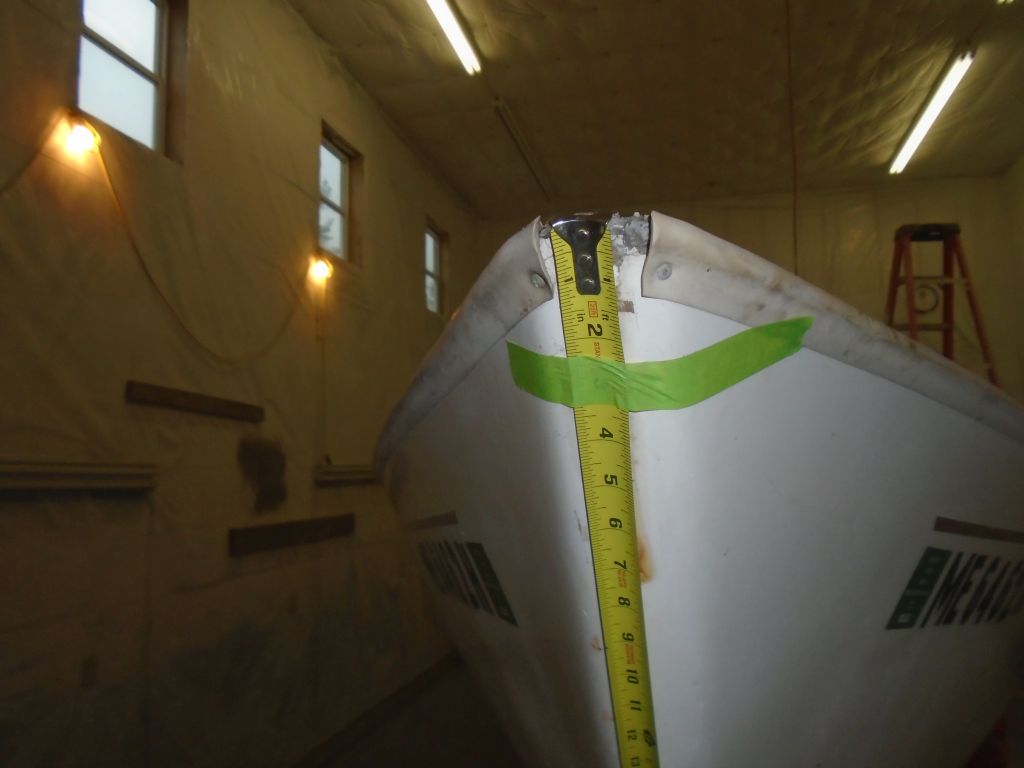
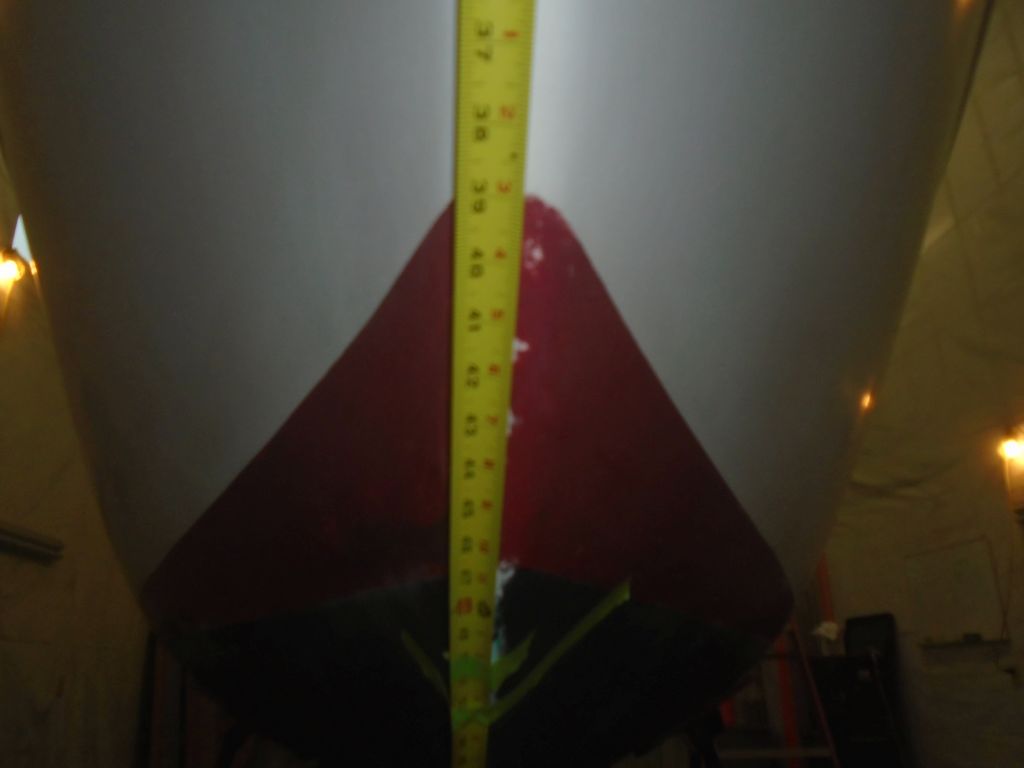
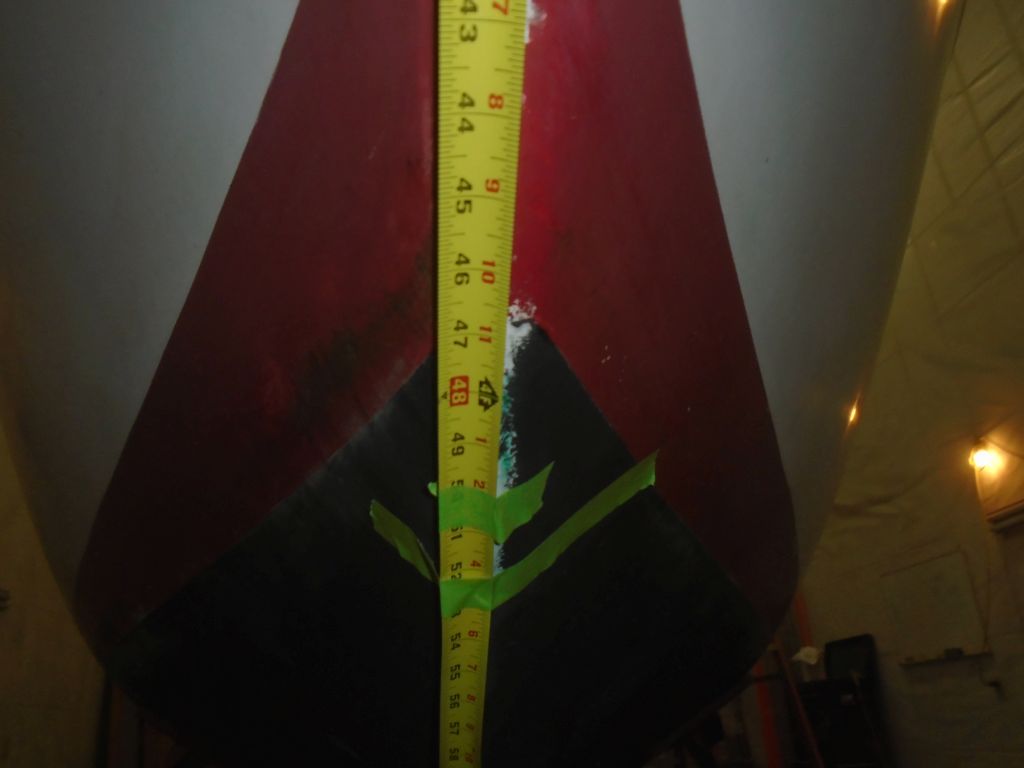
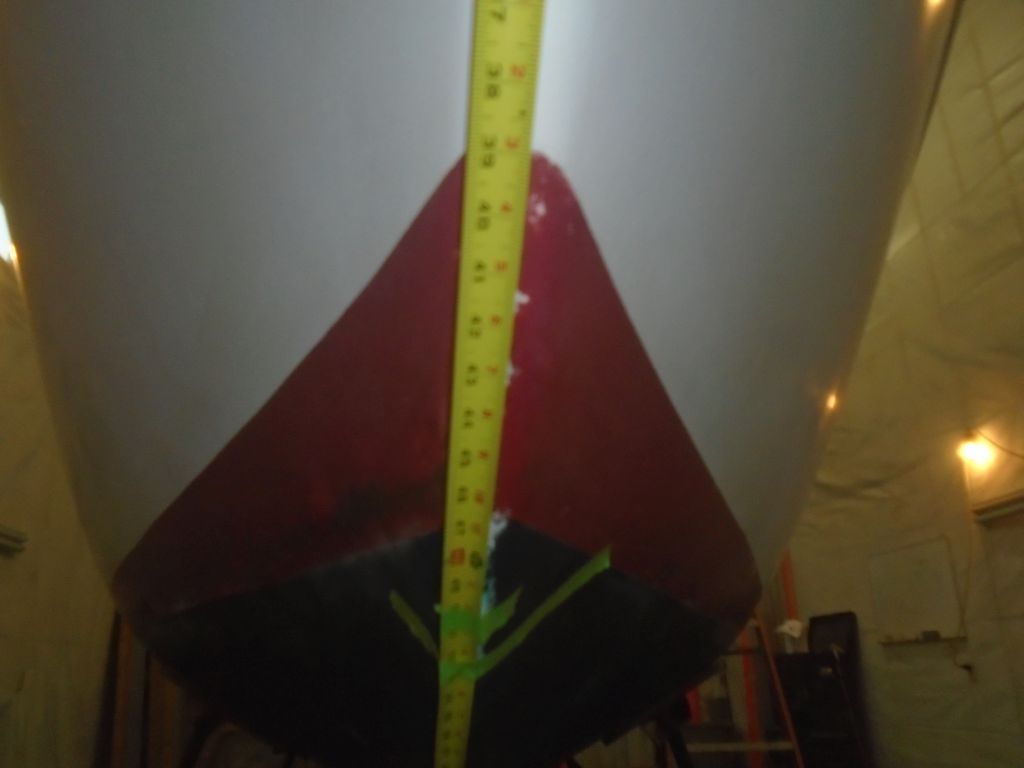
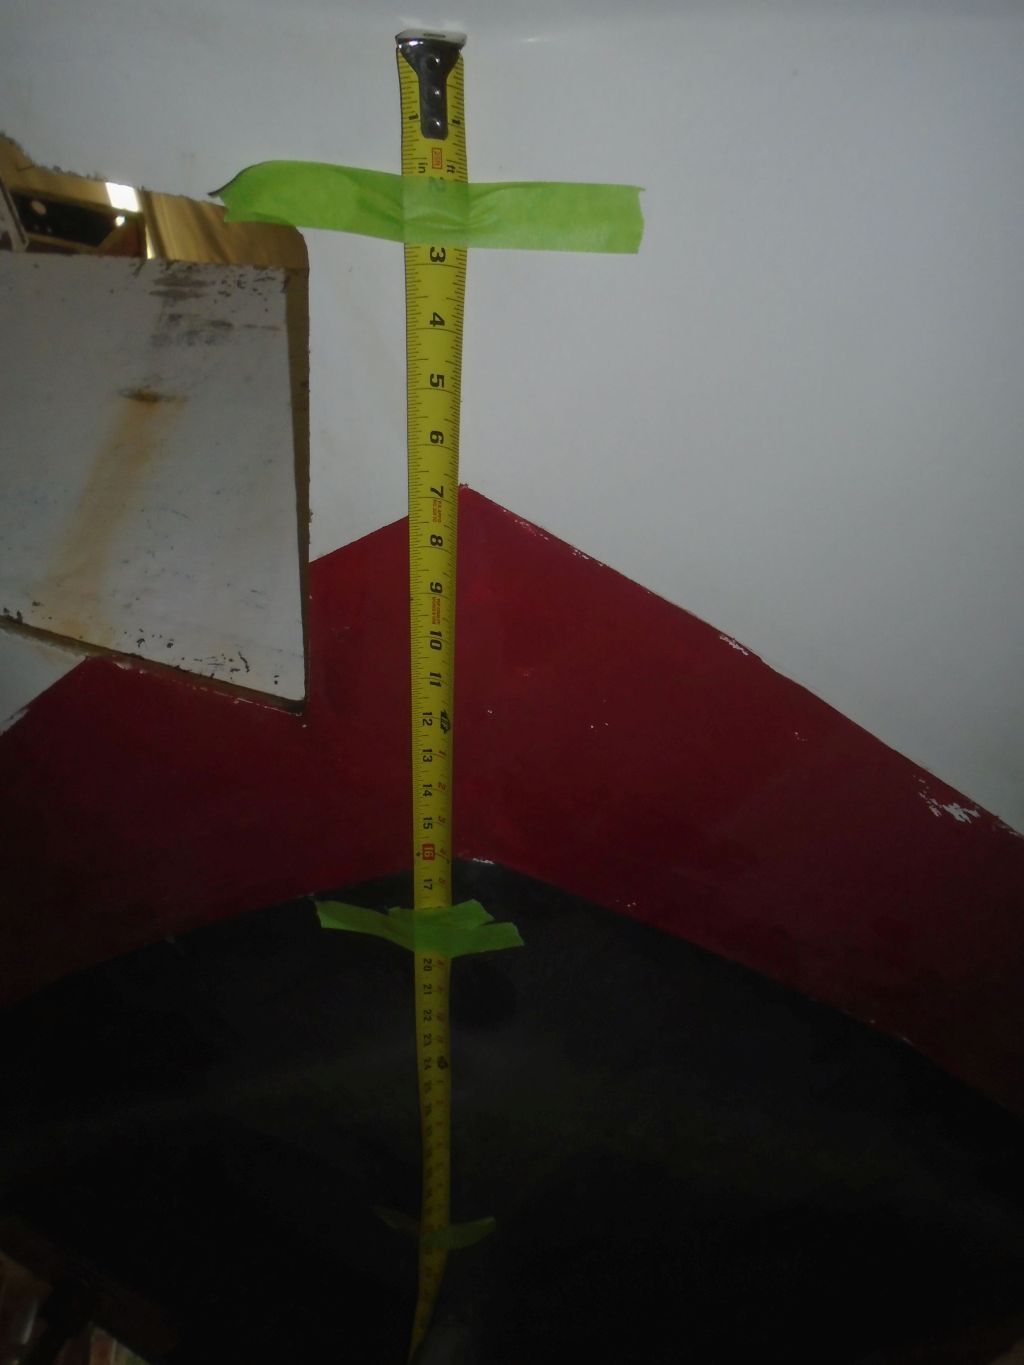
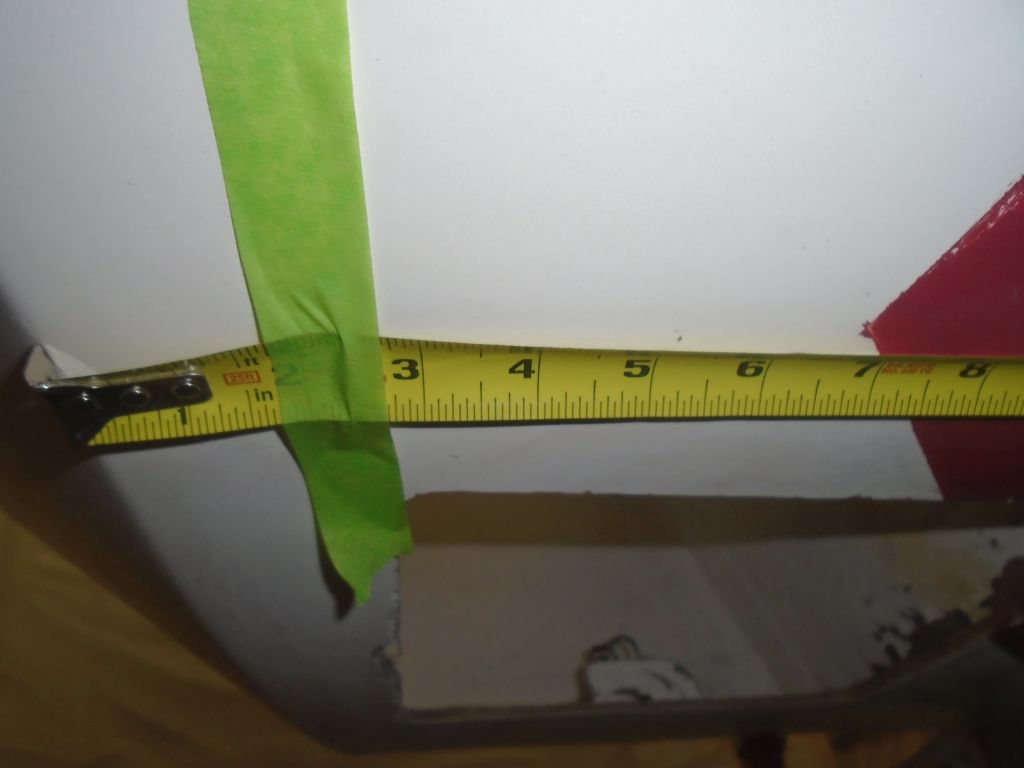
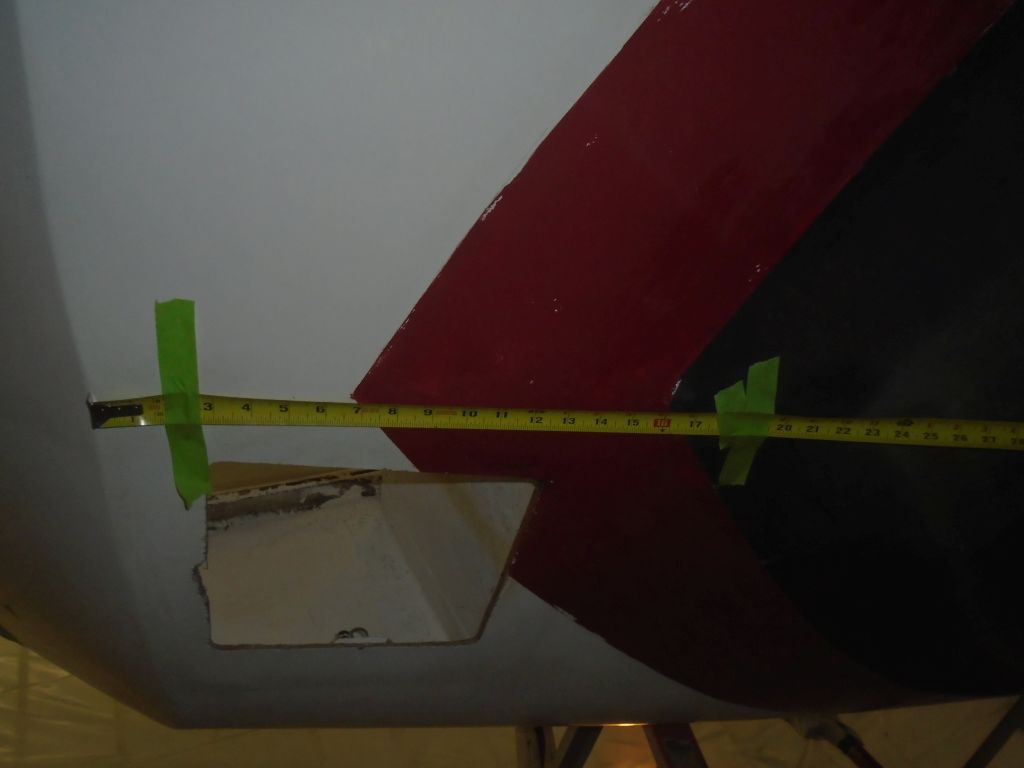
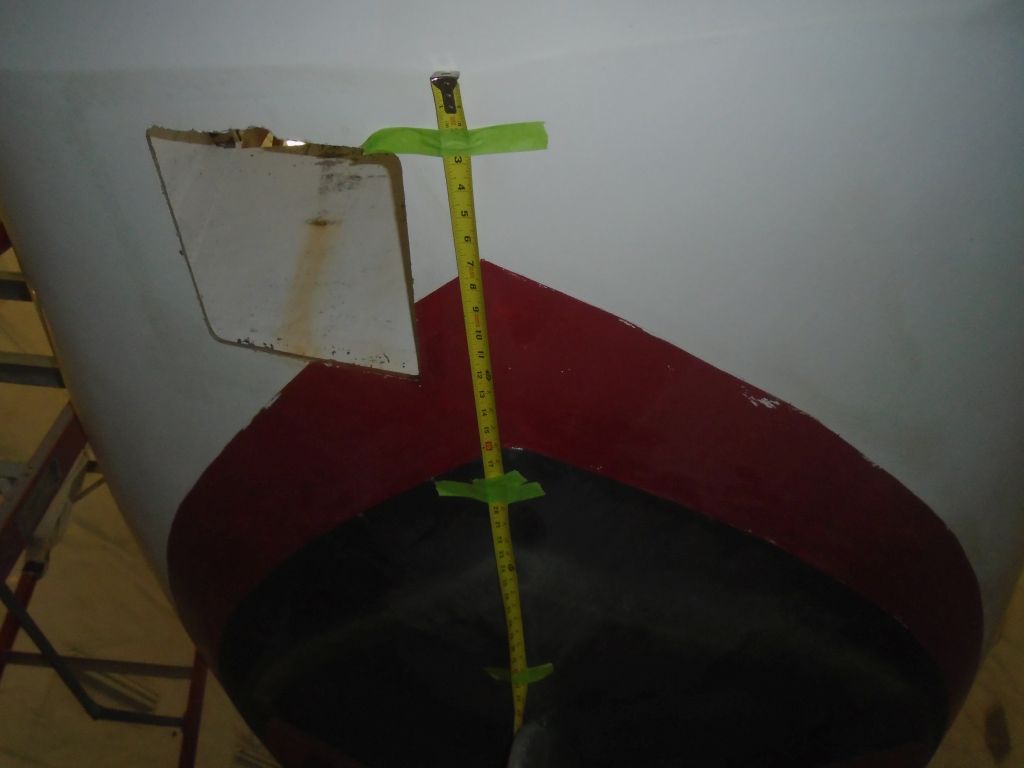
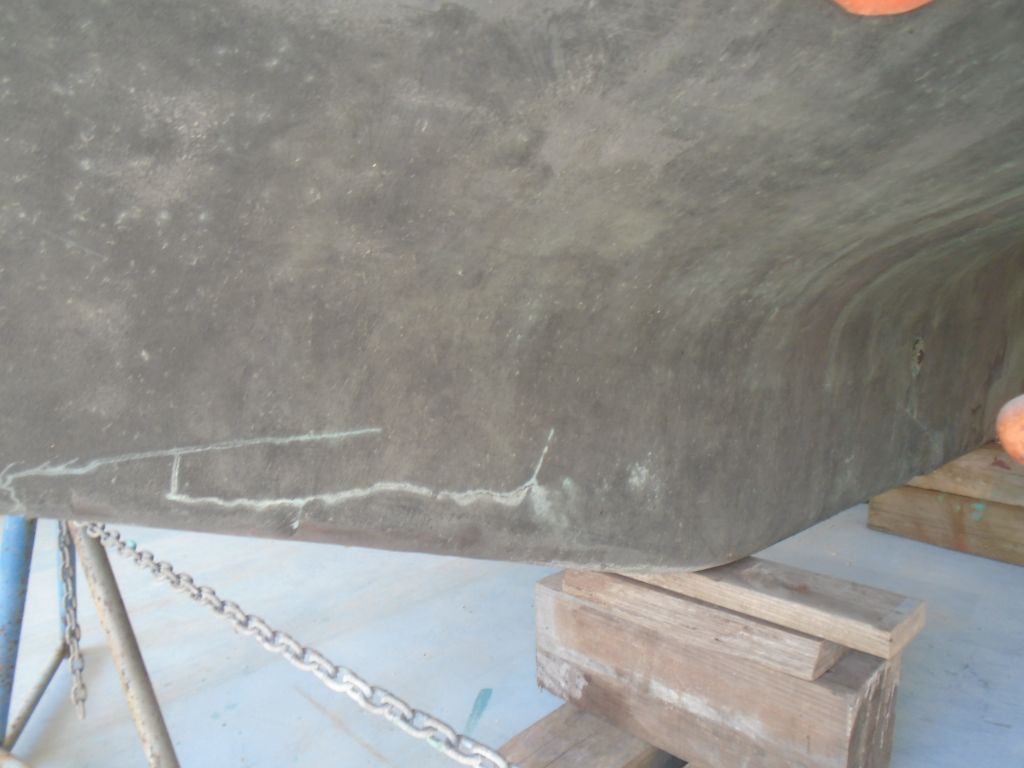
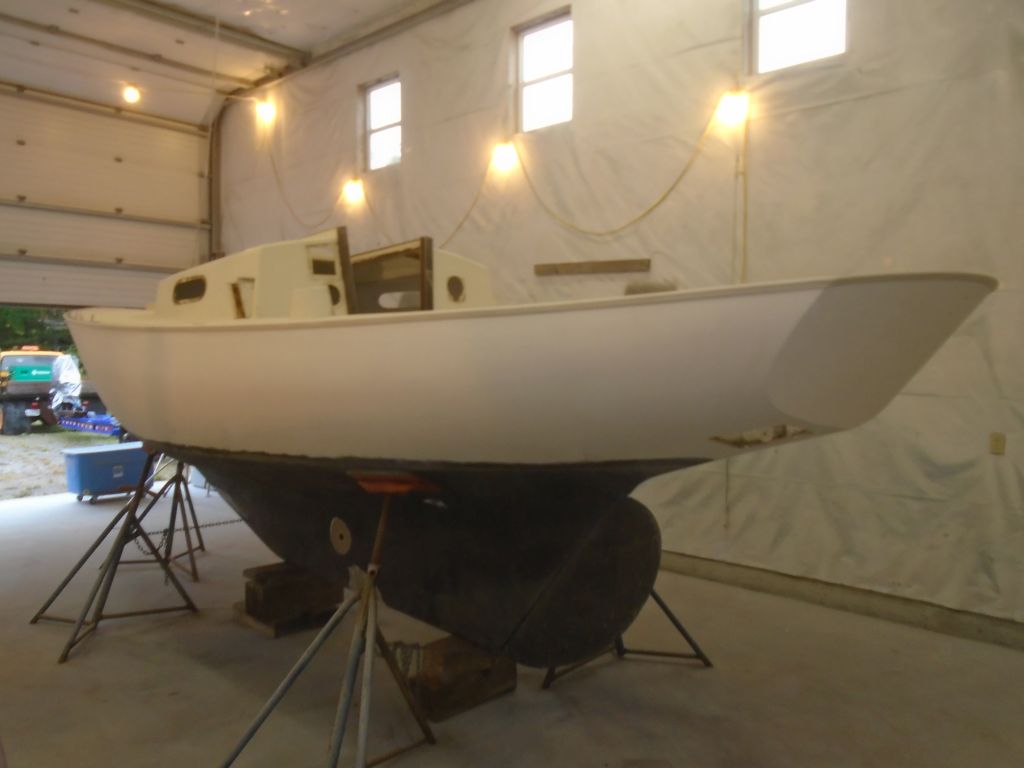
Next, I measured and noted the existing positions of the boottop and waterline (i.e. bottom paint) for future reference before I began surface prep. There was also a clear scum line denoting where the boat actually sat in the water, with the typical Sea Sprite nose-down attitude, so I noted this position as well.

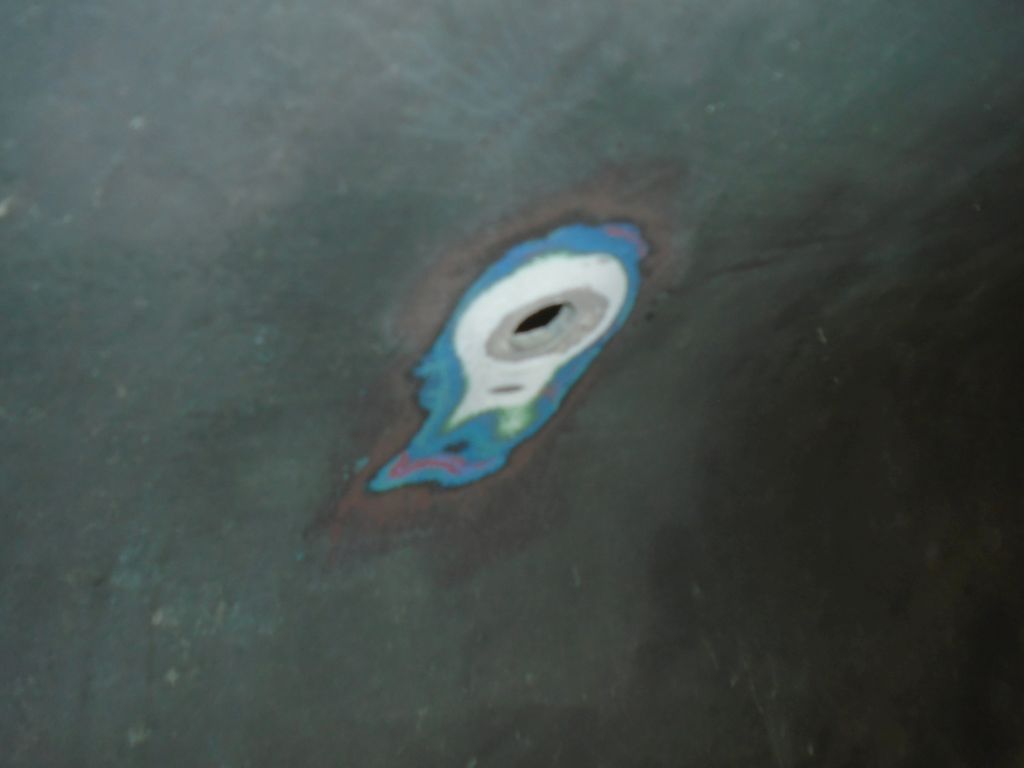
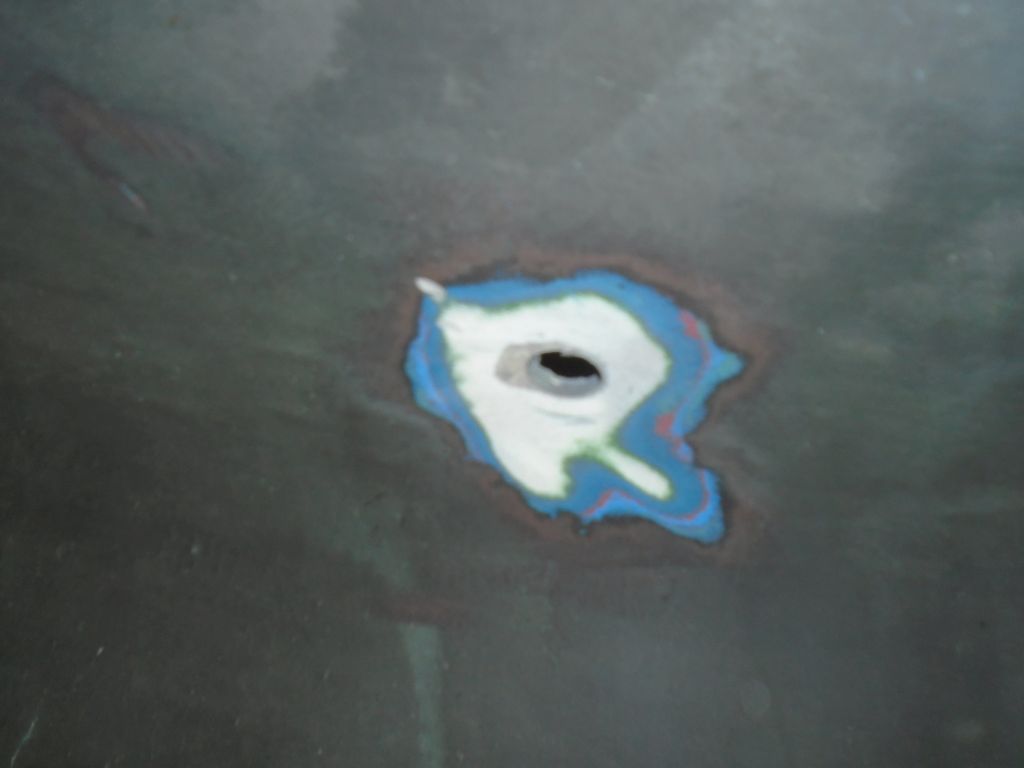
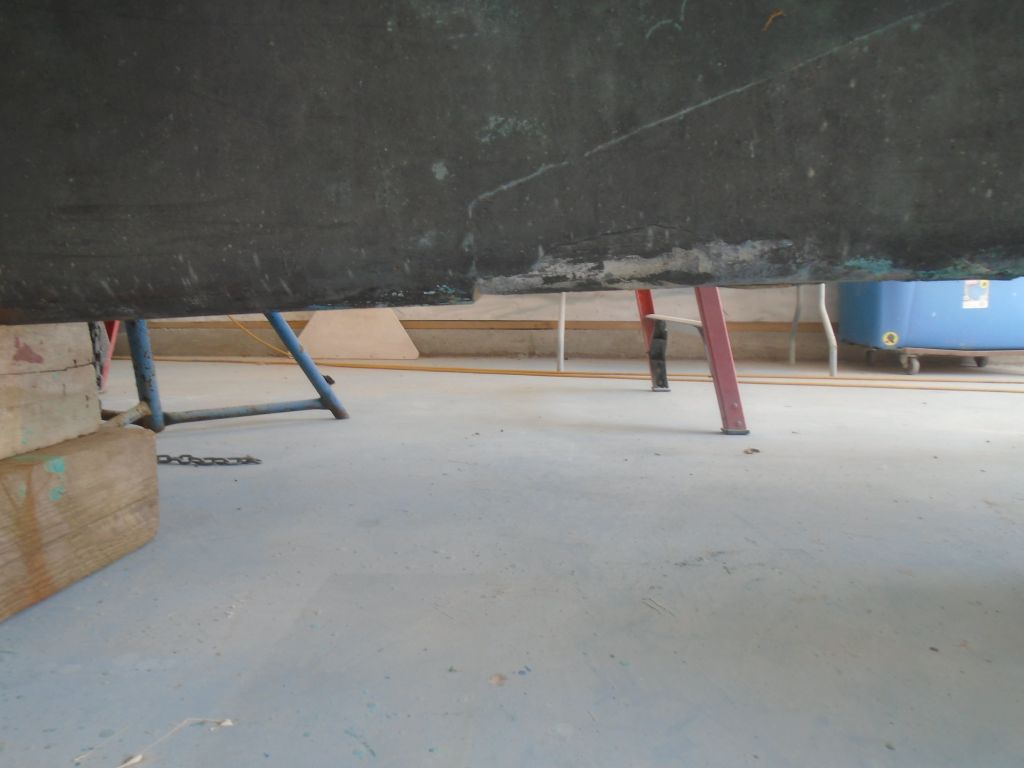
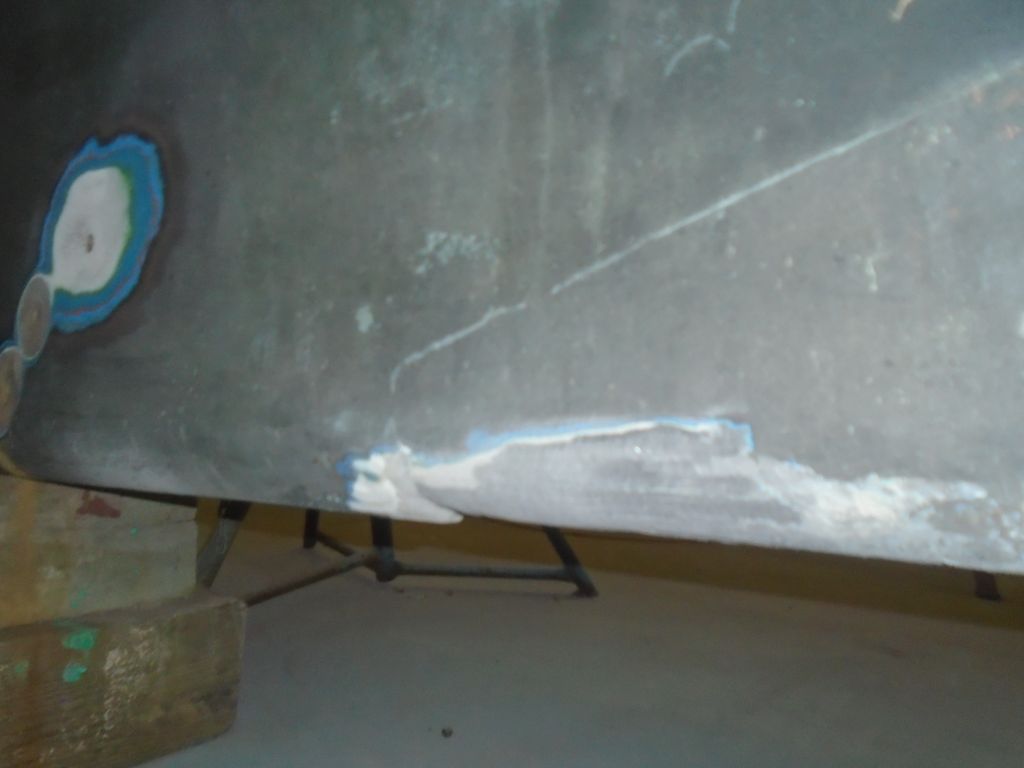
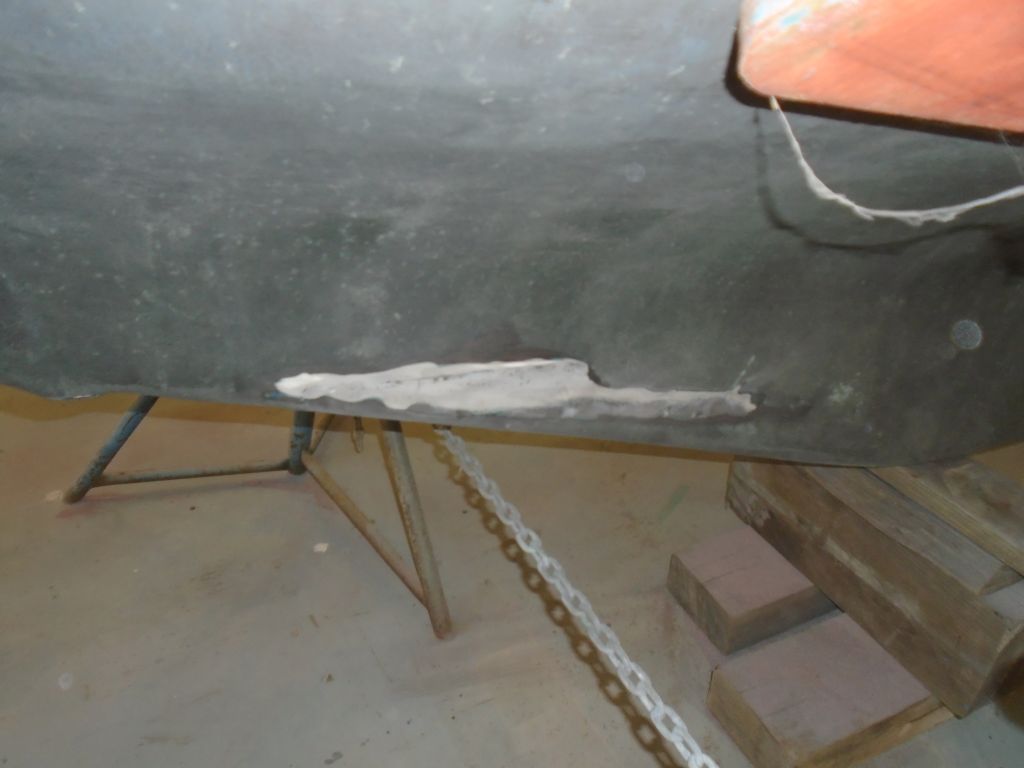
The bottom was in pretty good shape, and the owner did not want to strip the paint--I shed nary a tear--but there were a few areas requiring some attention nonetheless. At each of the through hull locations, I sanded away old sealant and paint to allow the new fittings a clean bonding surface.

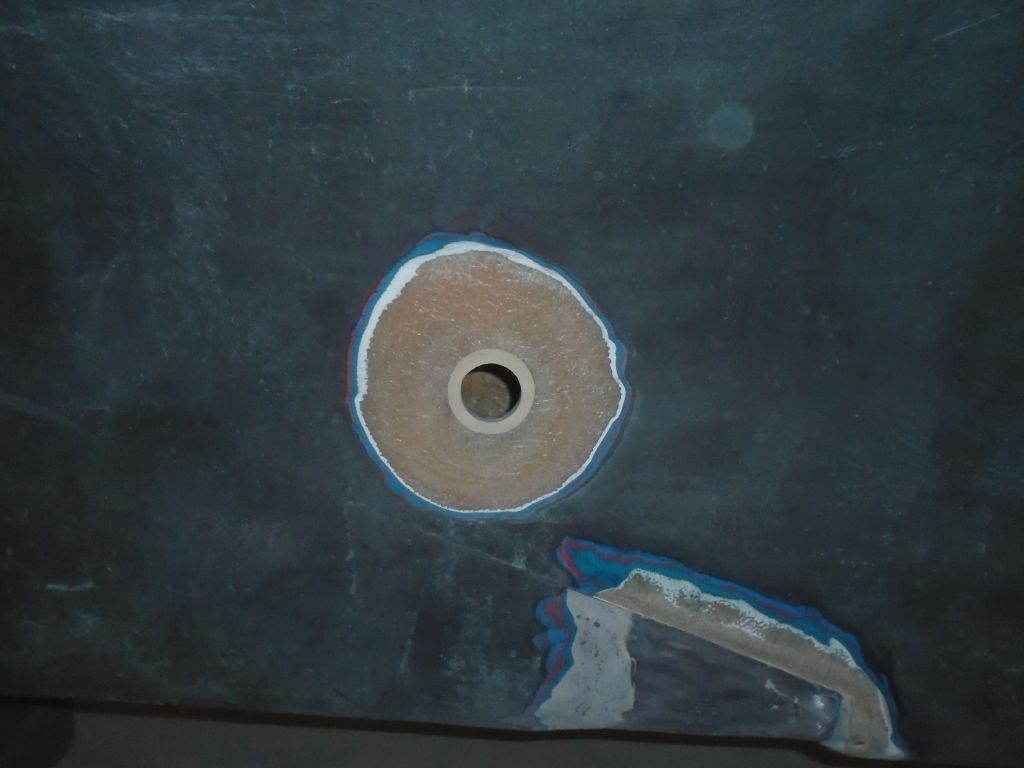
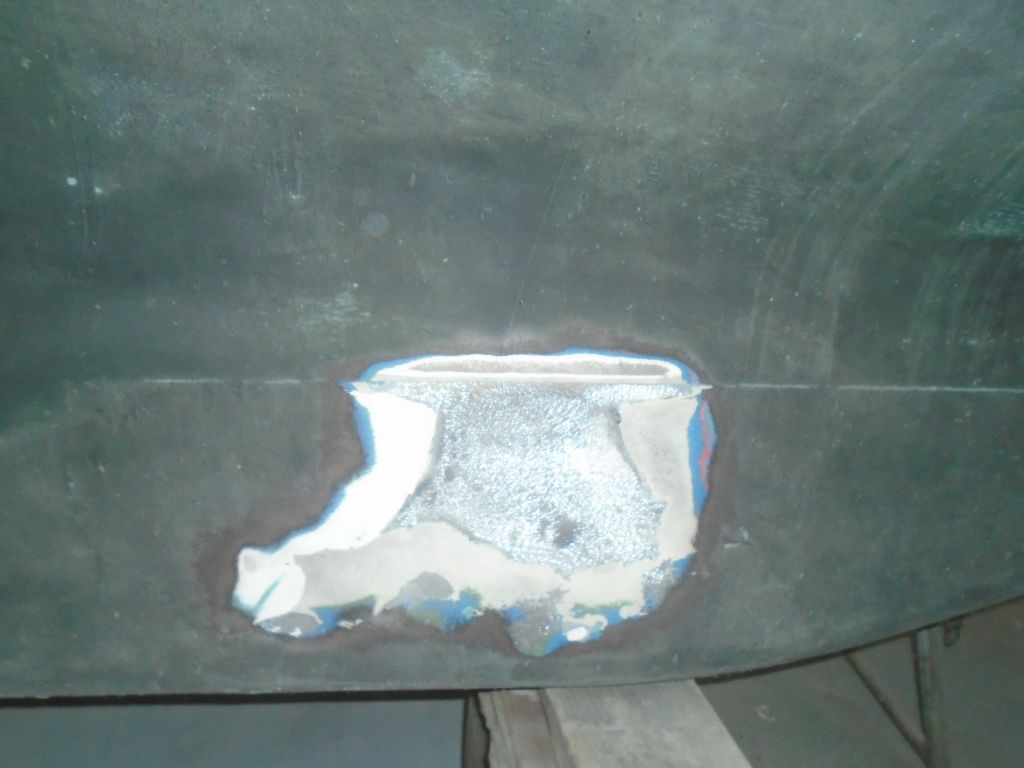
At the old knotmeter location, I ground out a larger circle, removing all paint and gelcoat and forming a dished area to accept the fiberglass patch for this obsolete hole.
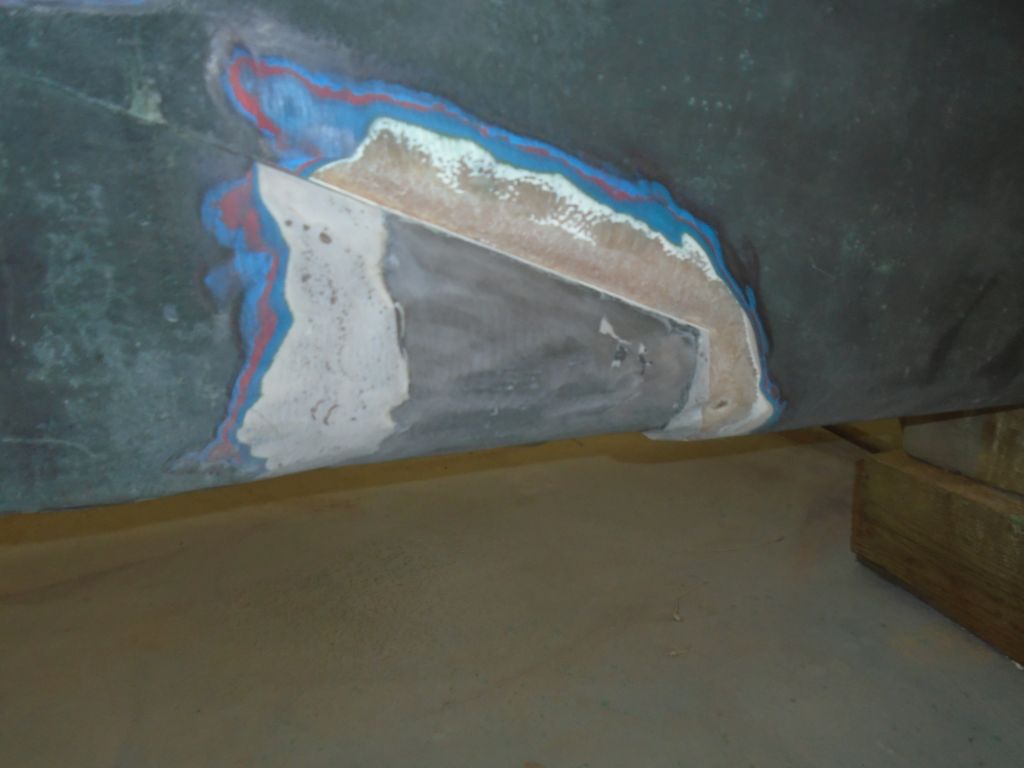
The external lead ballast keel was at best a casual approximation of the shape of the molded keel to which it was attached, and this meant that at the time of manufacture the builder was required to add a substantial amount of fairing compound to provide a clean and smooth transition between the casting and the molding. In some areas, mainly on the port side, it was apparent that there was at least 1/2" of fairing material. While there was nothing wrong with the installation per se, in several areas the thick, old fairing compound had failed, either cracking or in some areas, leaving large, deep chunks missing.
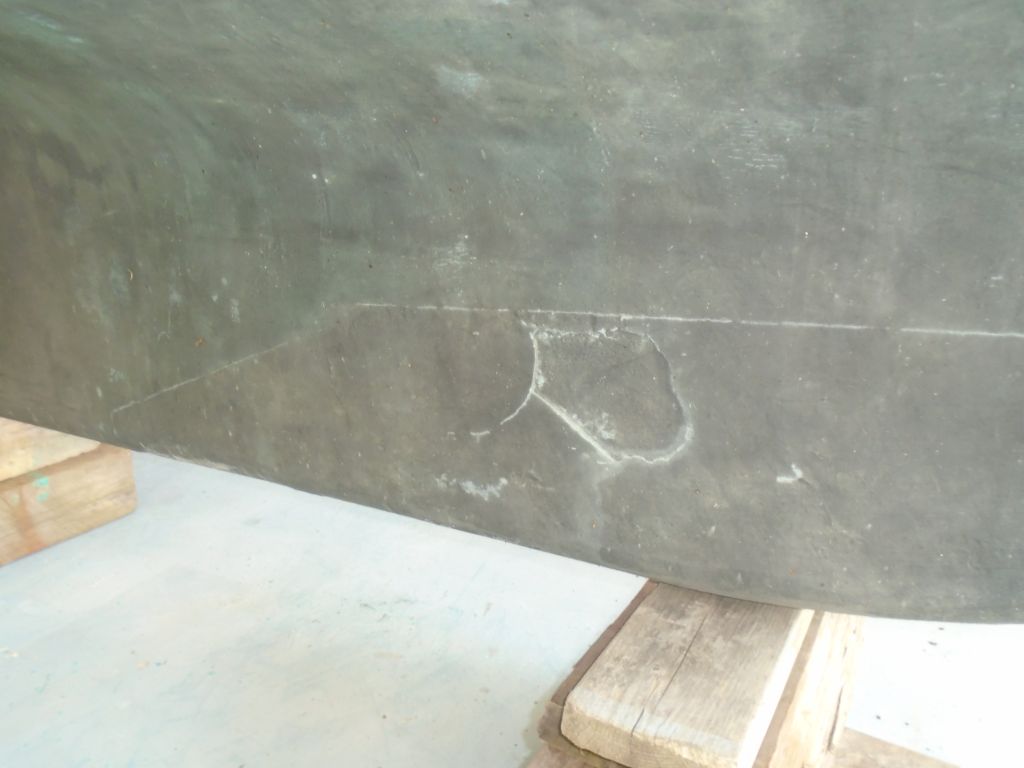
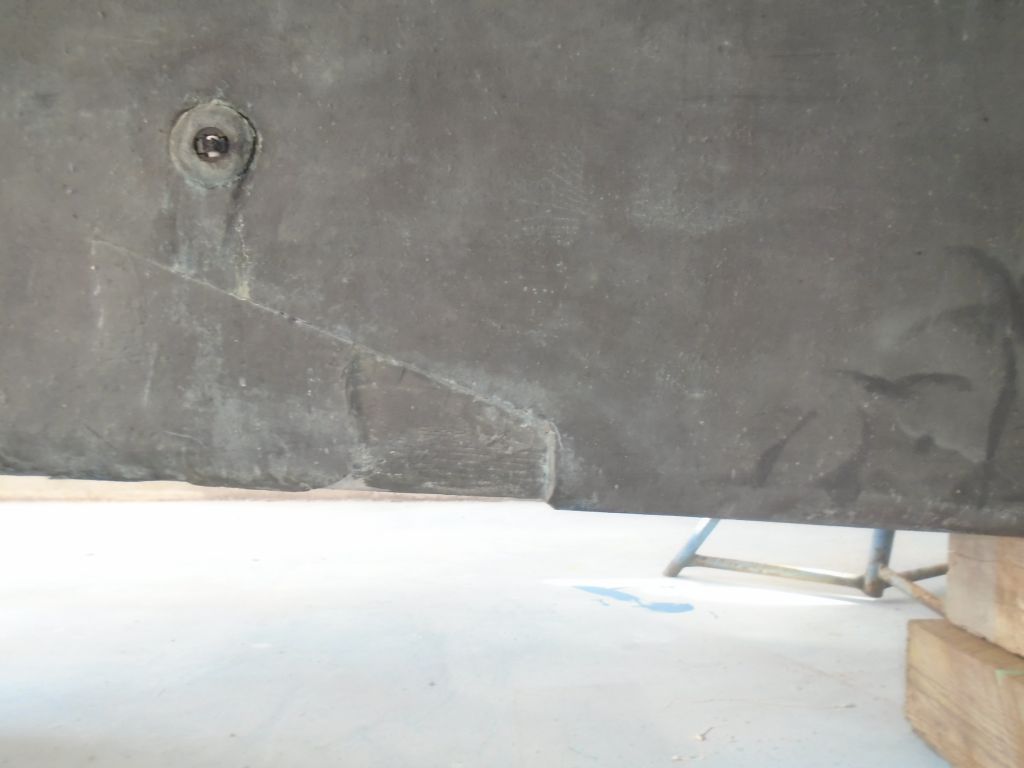
To prepare these areas for additional cosmetic filler, I ground the edges down to provide a transitional bonding area between old and new, and removed all the paint from the areas in question. I'd repair these areas in due course.
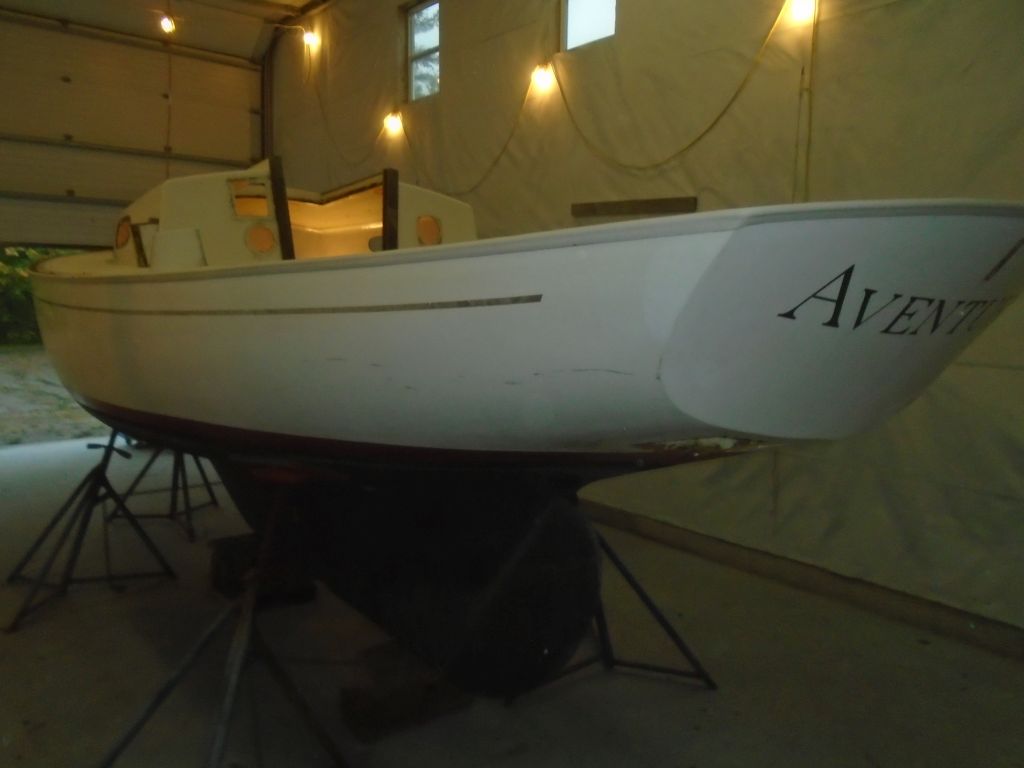
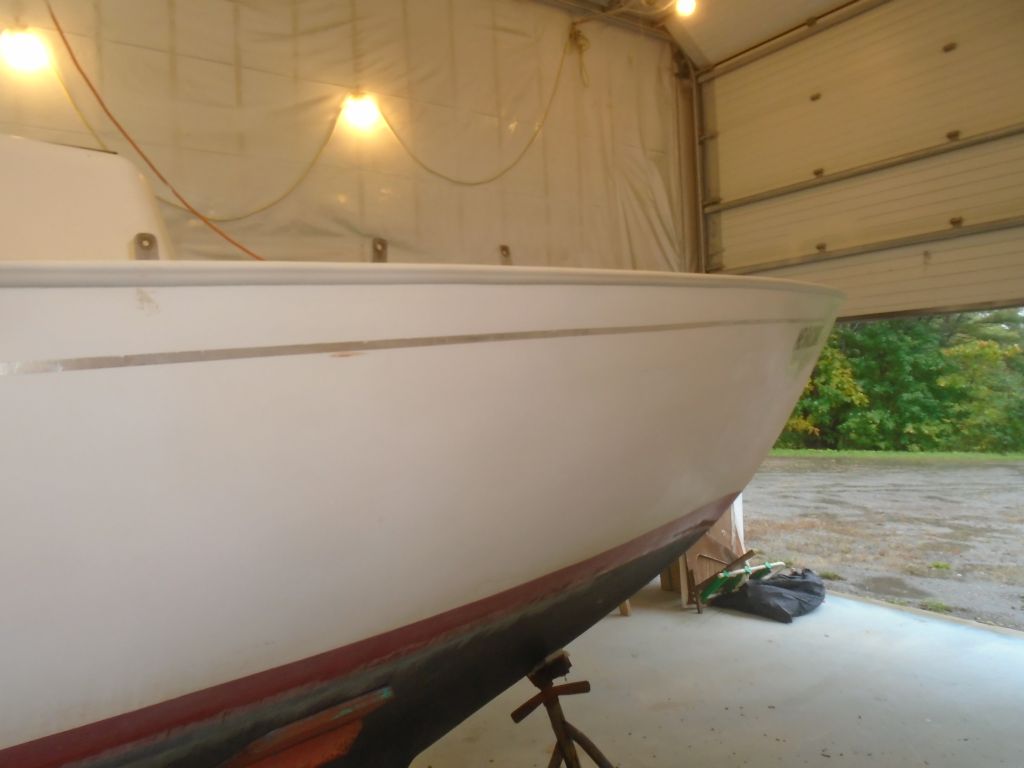
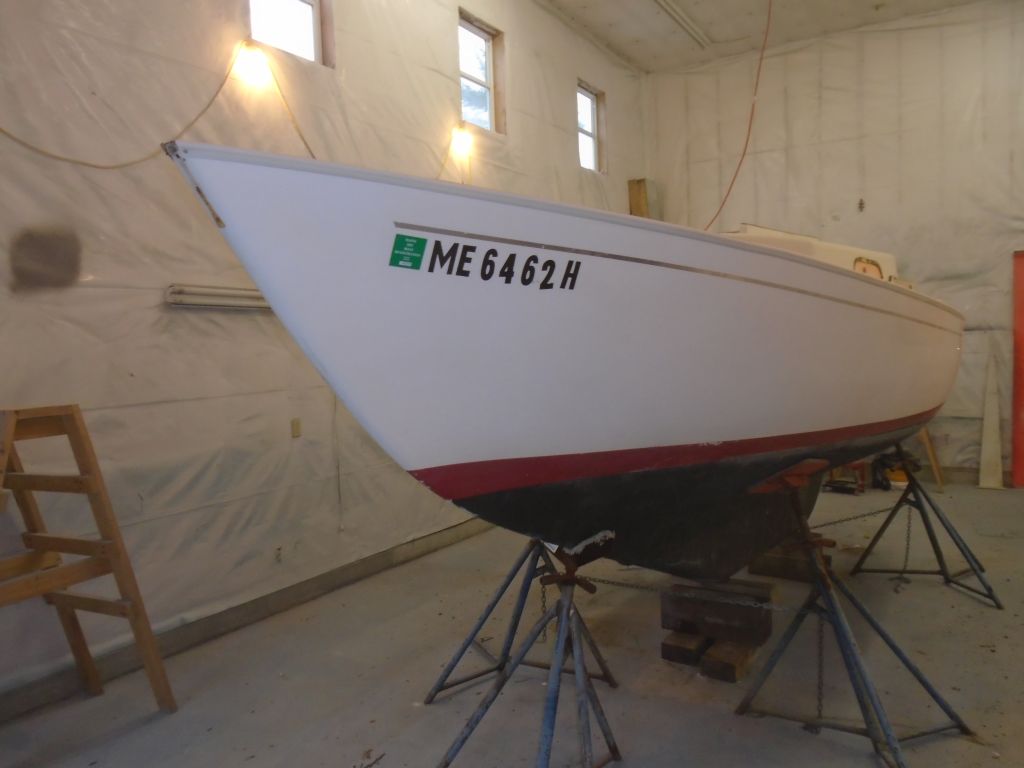
The hull was original gelcoat, and in generally good condition from a damage/structural standpoint. Cosmetically, the original surface left something to be desired, which of course was one reason the boat was here in the first place. However, there were only a few surface gouges to be found on the entire hull, so pre-painting preparations would be straightforward.
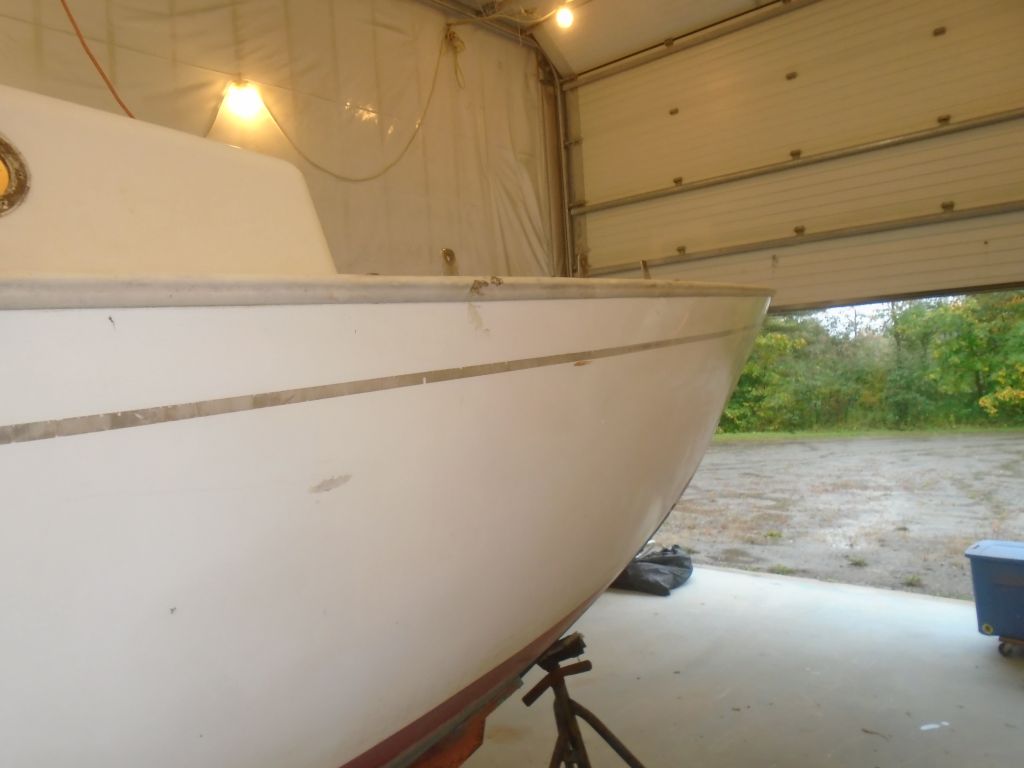
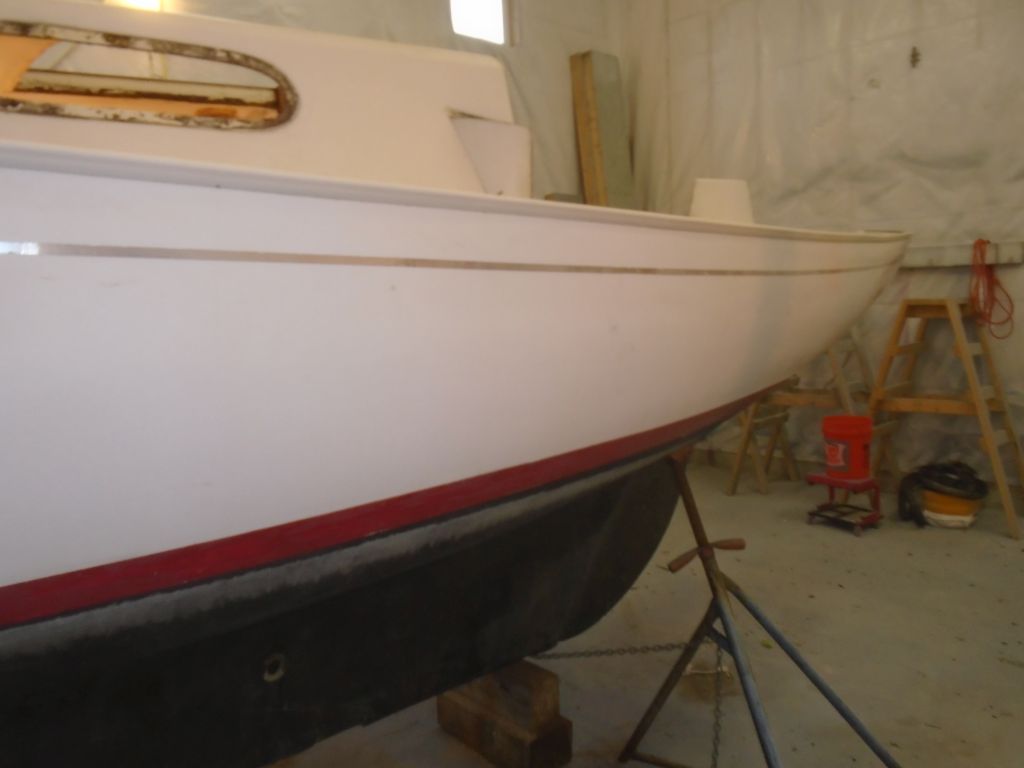
To begin, I solvent-washed the hull to remove contaminants before sanding. Then, I sanded away the the boottop paint and the top inch or so of the bottom paint, using two coarser grits of paper on a 5" right-angle sander. I also sanded away the vinyl cove stripe and name, and the old registration numbers. Afterwards, I switched to a 6" orbital finishing sander, and, during the remaining course of the day, sanded the topsides twice, with 80 and 120 grit paper.
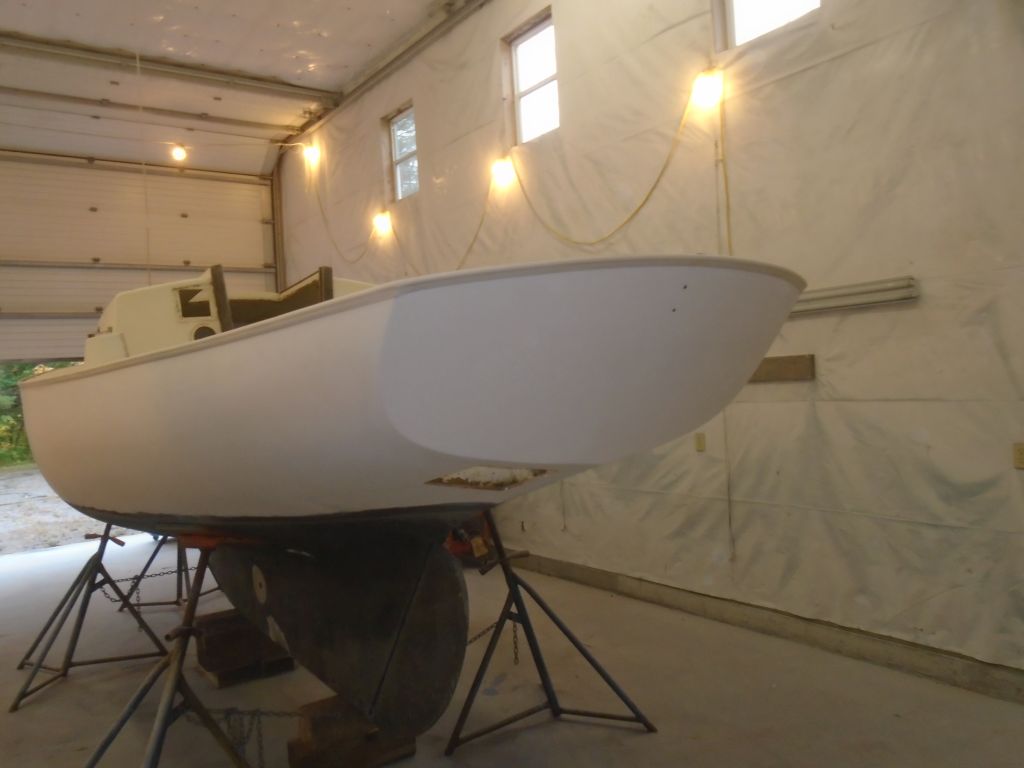
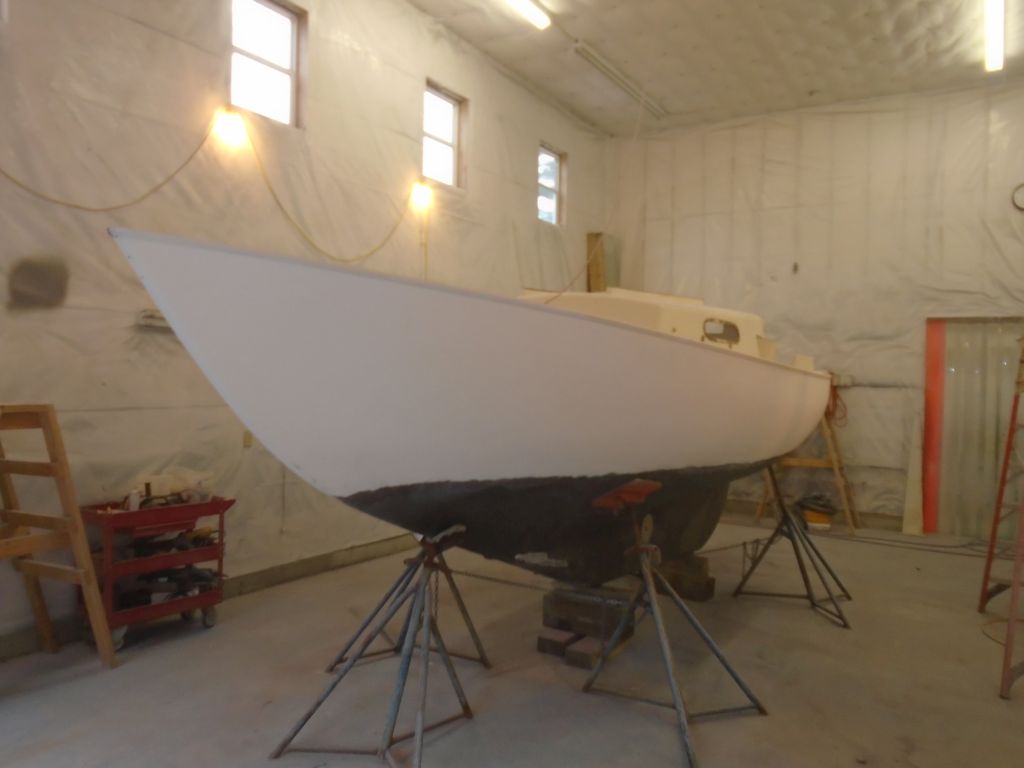
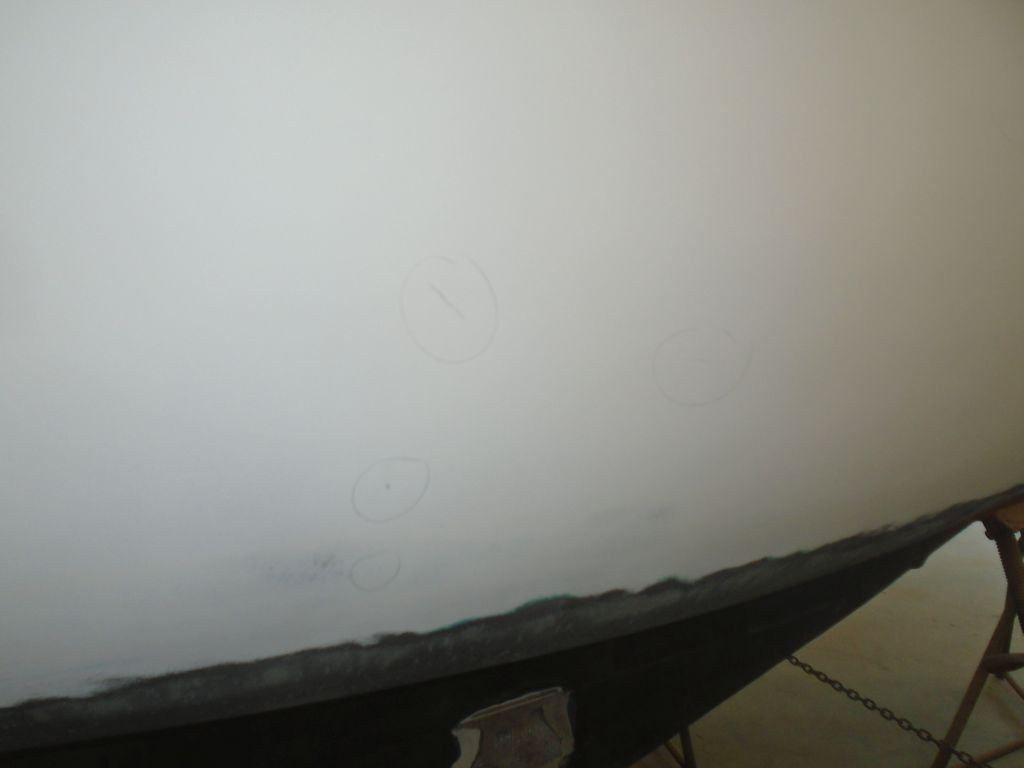
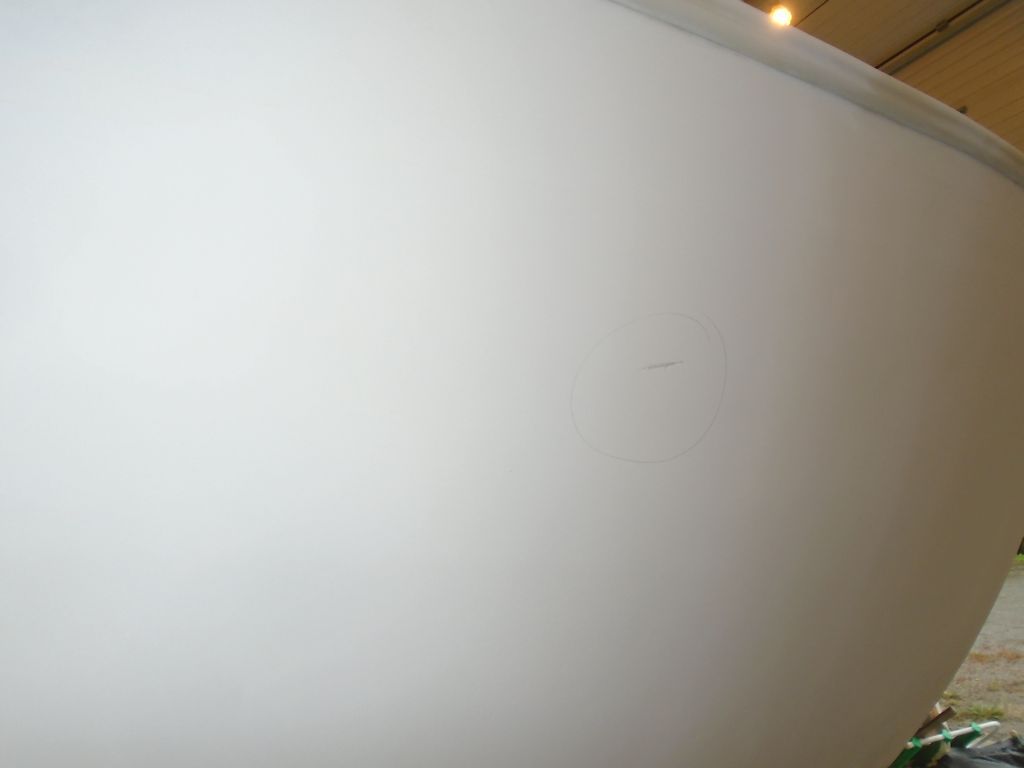
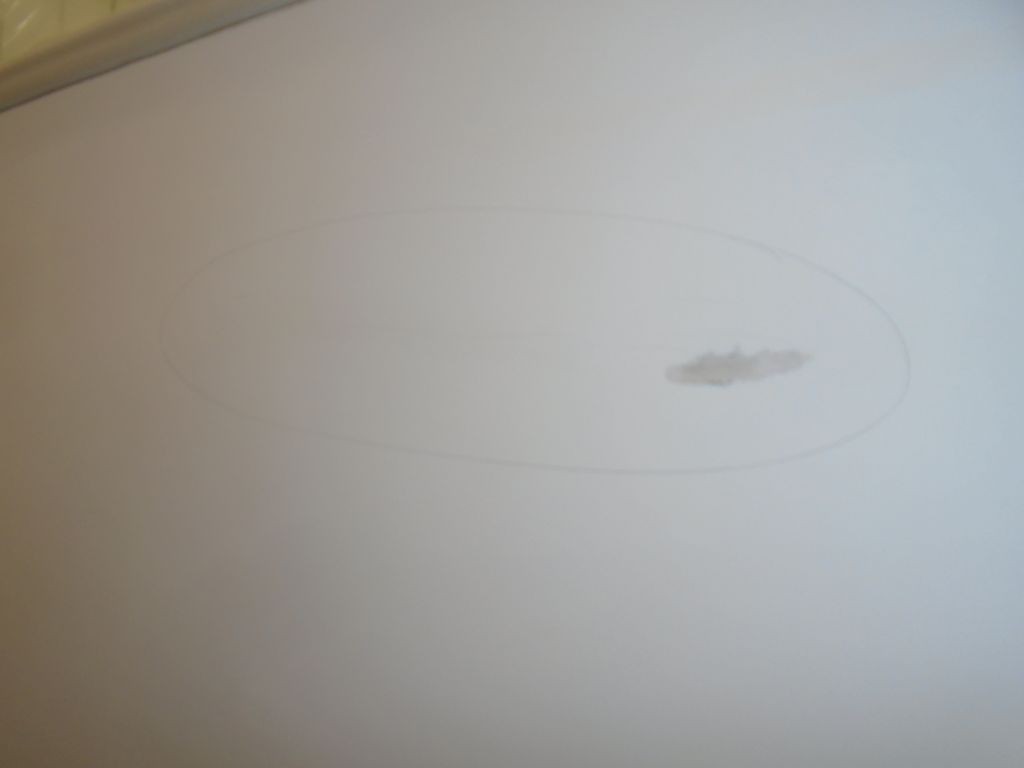
After cleaning up, I went around the hull closely and marked any surface voids or gouges that would require additional attention. There were few, so this would be a quick process.
Total Time Billed on This Job Today: 6.75 Hours
<Previous | Next>
0600 Weather Report:
60°, muggy, foggy, showers. Forecast for the day: rain, heavy at times, temperature falling through the 60s and mid-50s.
