
110 Cookson Lane | Whitefield, ME 04353 | 207-232-7600 | tim@lackeysailing.com
Ashantee | Tuesday, March 31, 2015
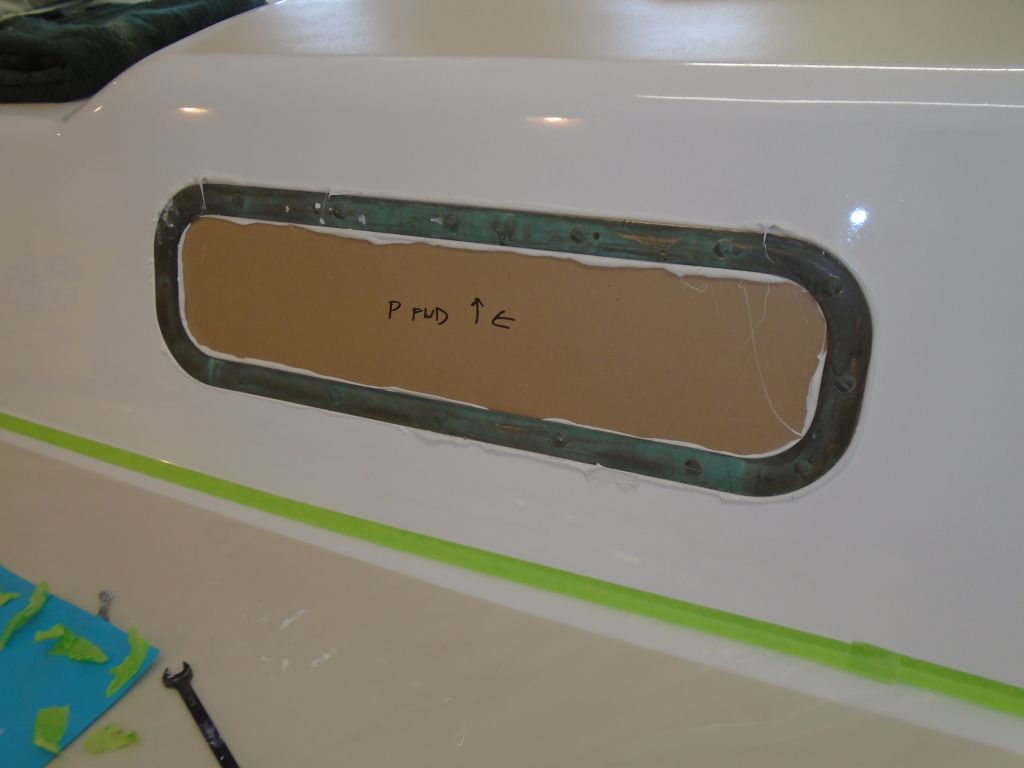
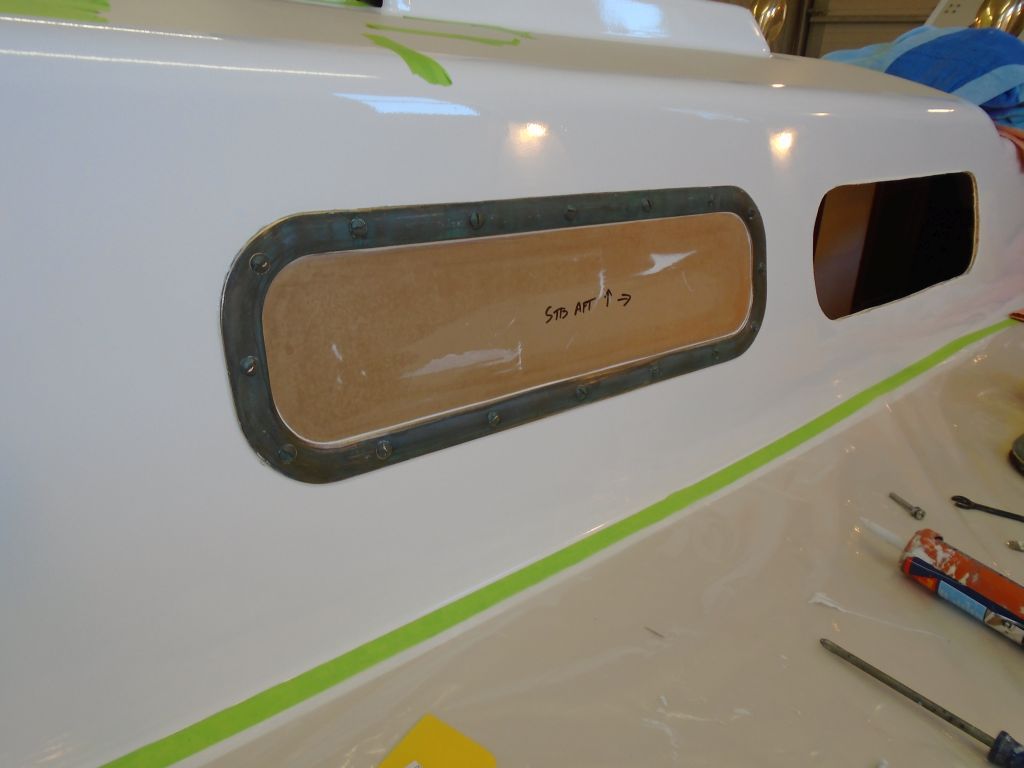
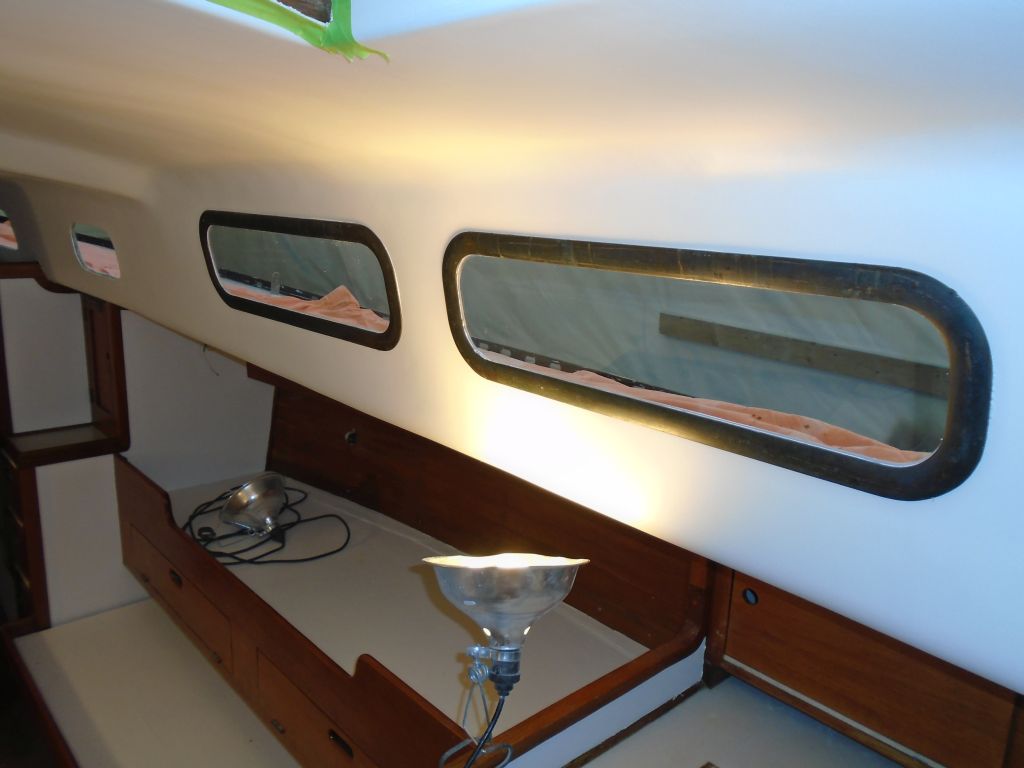
My focus for the morning was the deadlights, for which I'd lined up some help since installing deadlights of this nature was one of the only jobs I could never find a way to do alone. The inner frame, which incorporated threaded pockets for fasteners (along with a channel into which I'd already attached the new lenses), had to be held tightly in place from within, which in theory allowed me on the outside to apply sealant and screw the outer frame into place.
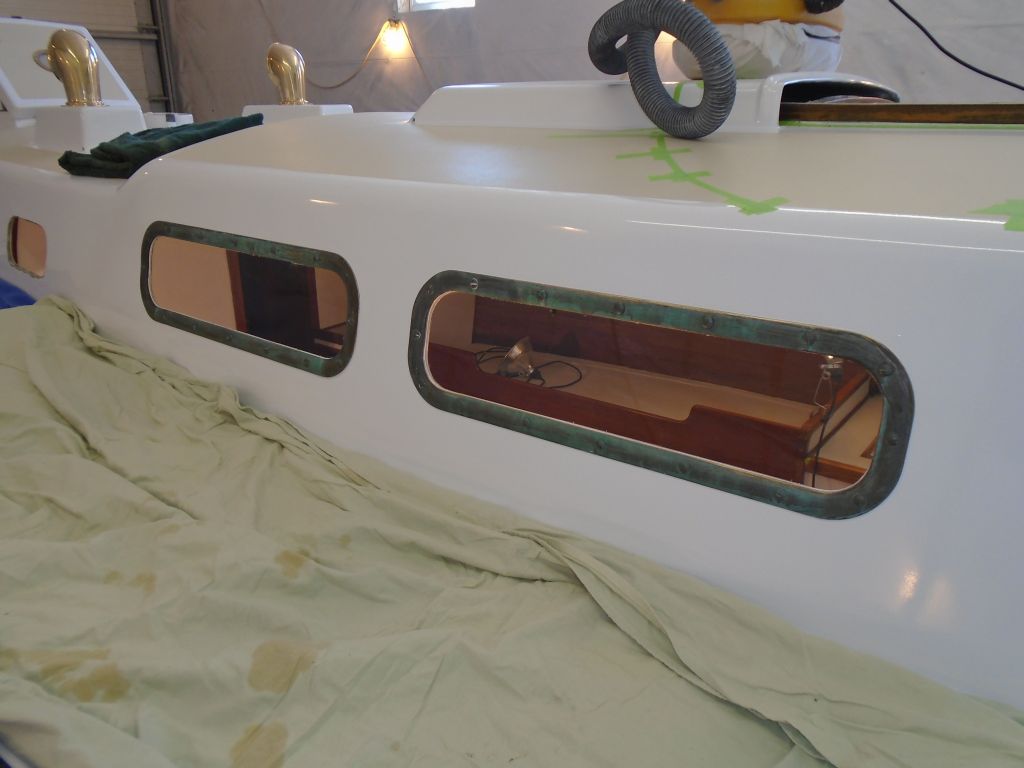
In practice, vagaries of the way the molded liner and cabin sides interacted with each other--or, as in the case of the port side, didn't really interact with each other--meant that getting the short, blind fasteners started could be a challenge, and indeed this was so. On both frames on this side, I found a need to use temporary longer machine screws with nuts threaded onto their shanks in order to pull the frames together enough to start the screws on the upper side. With the lonnger screws thdeaded in as far as they'd go, I tightened the nuts against the frame, slowly cranking the whole assembly together. I started the actual screws in their holes wherever I could, just enough to hold them, till I had screws in every hole, after which I tightened everything down carefully, working around the frames sequentially several times.
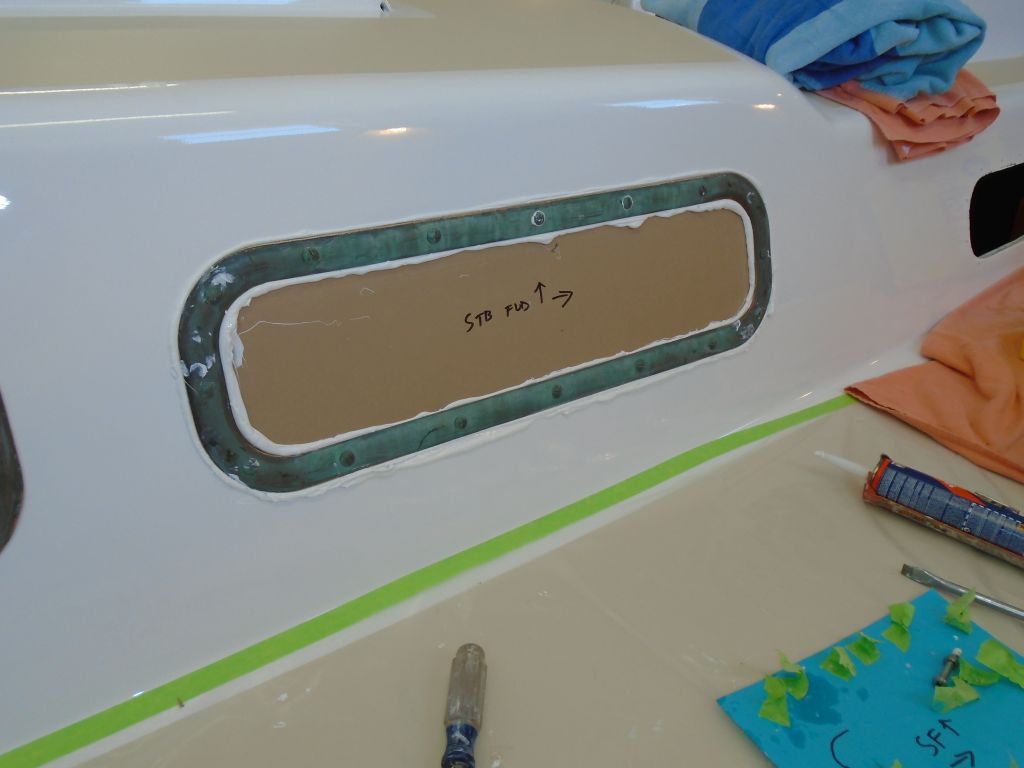
We repeated the process with the second frame on the port side, and I cleaned up the excess sealant from outside. I applied no sealant to the inside part of the frame.
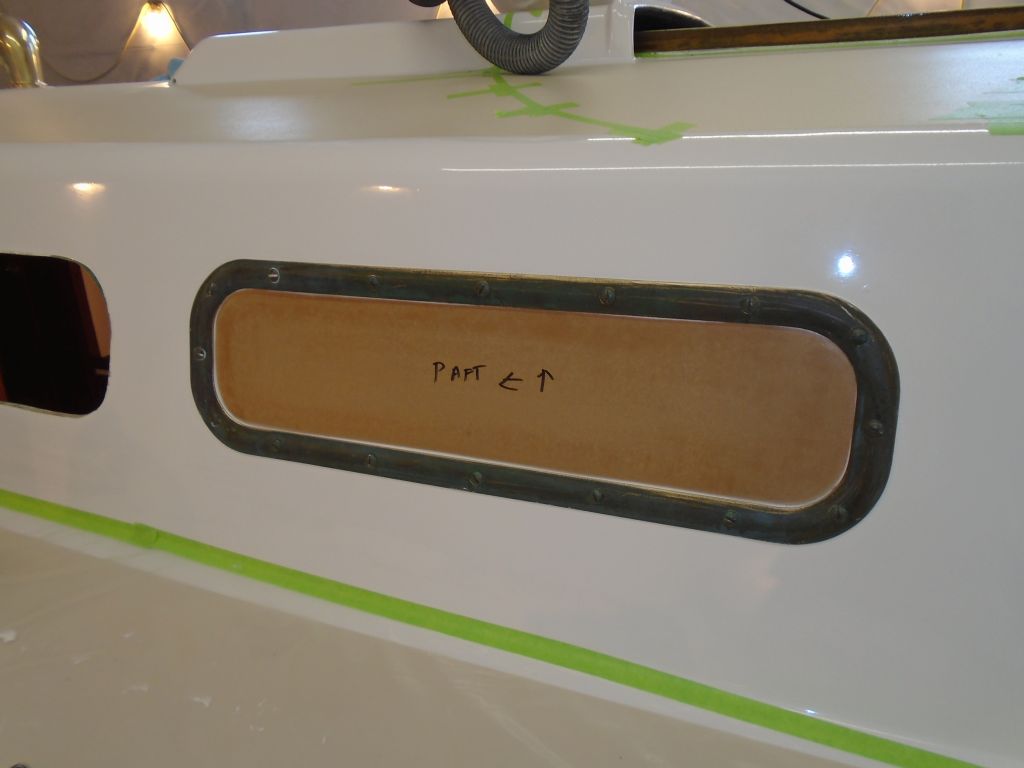
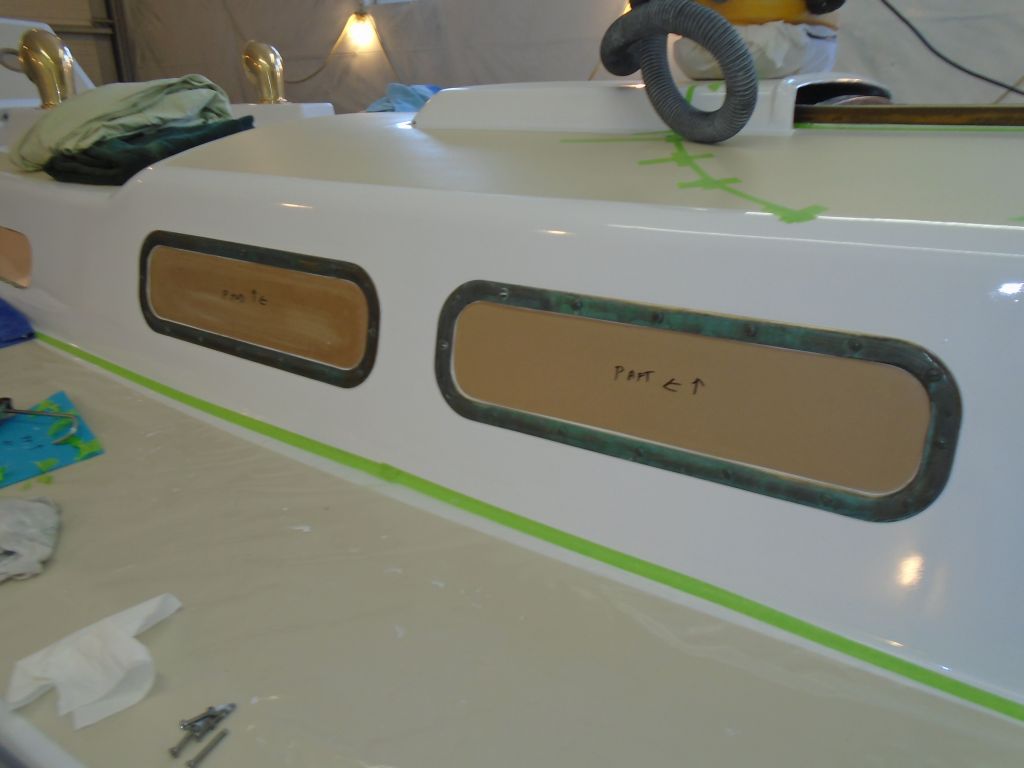
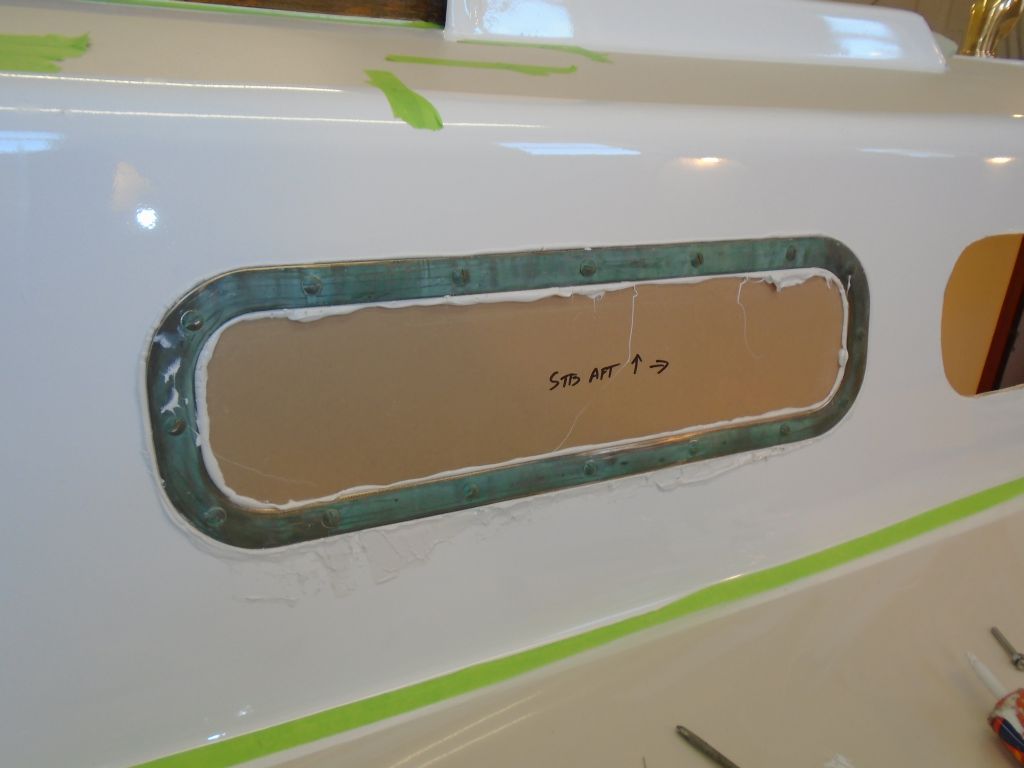
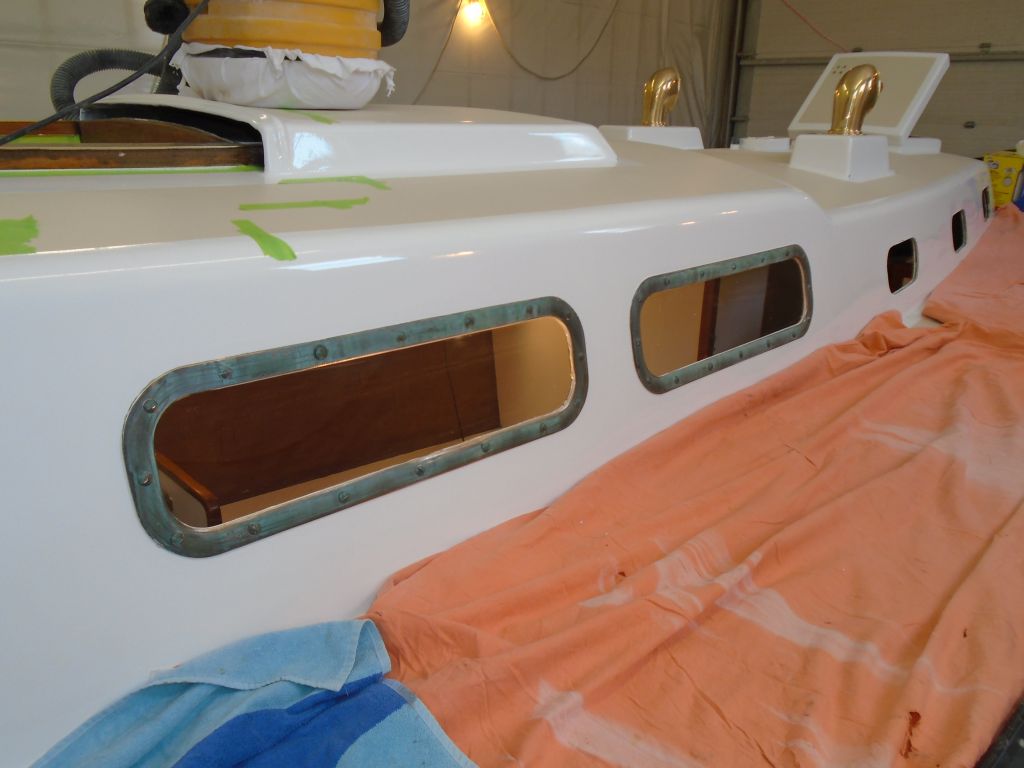
The two frames on the port side, with their substantial gaps at the onset of installation, required more sealant than I'd anticipated, and I found that I didn't have enough on hand, an embarrassing and frustrating shortsight. With help lined up only for a brief time, I had little choice but to take the 90-minute round trip for more sealant so we could continue. Afterwards, we moved to the starboard side, and in short order finished up the two deadlights there. This side was made easier since the liner and cabin trunk were already pulled together tightly, which meant that the frames fit together much better from the beginning. I found that it was still helpful to use two longer, temporary screws just to start the alignment process, as I could see where their shanks were headed before I had to press the outer frame into the beads of sealant.
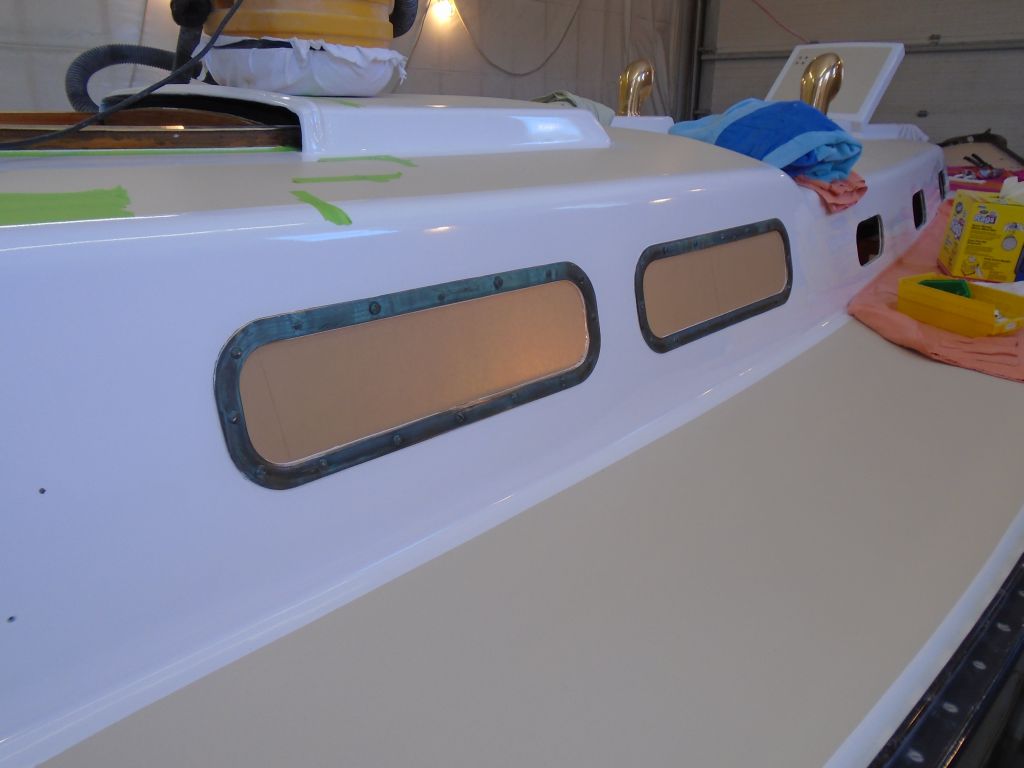
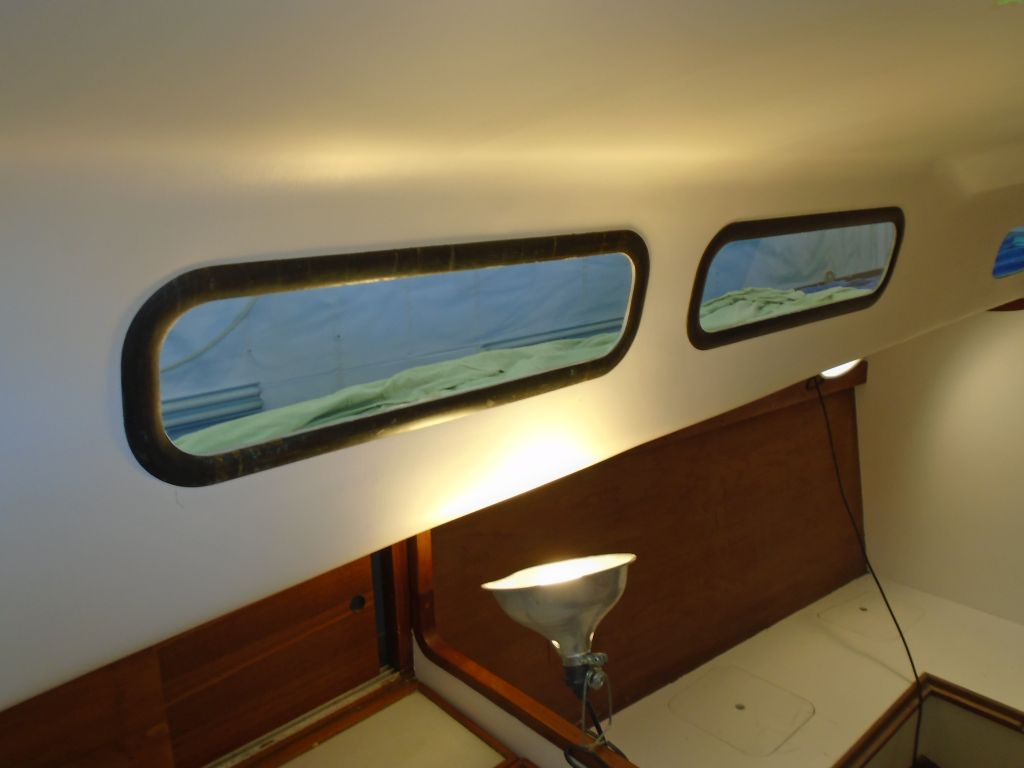
Later, I removed the protective mask from both sides of each new dealight.
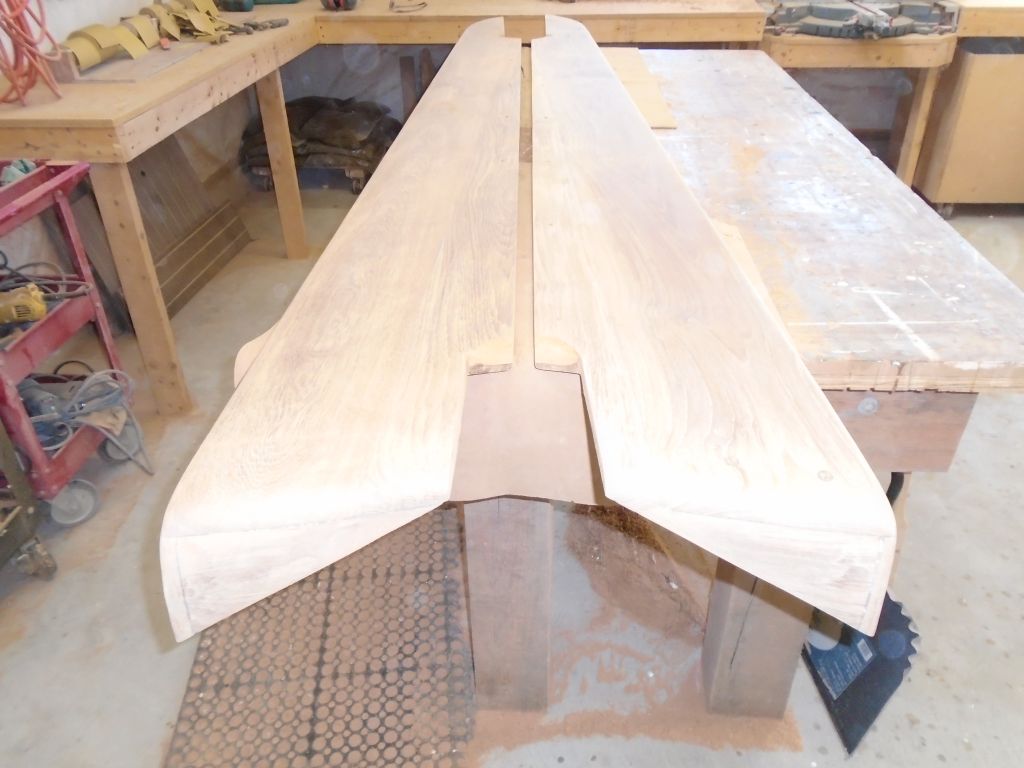
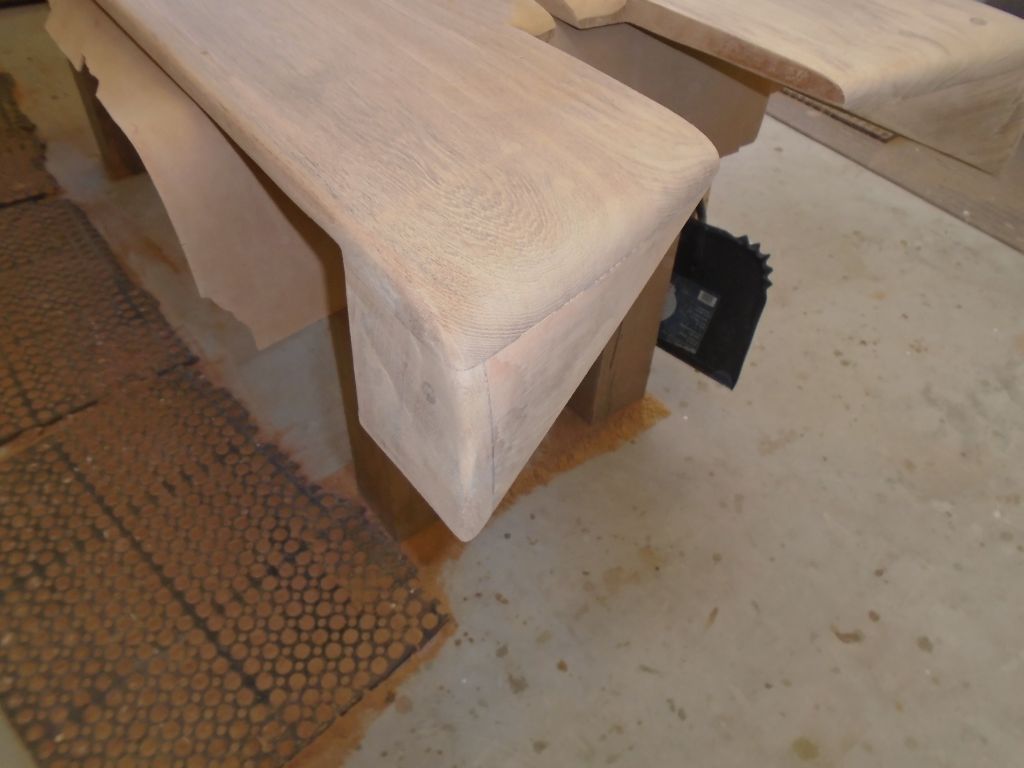
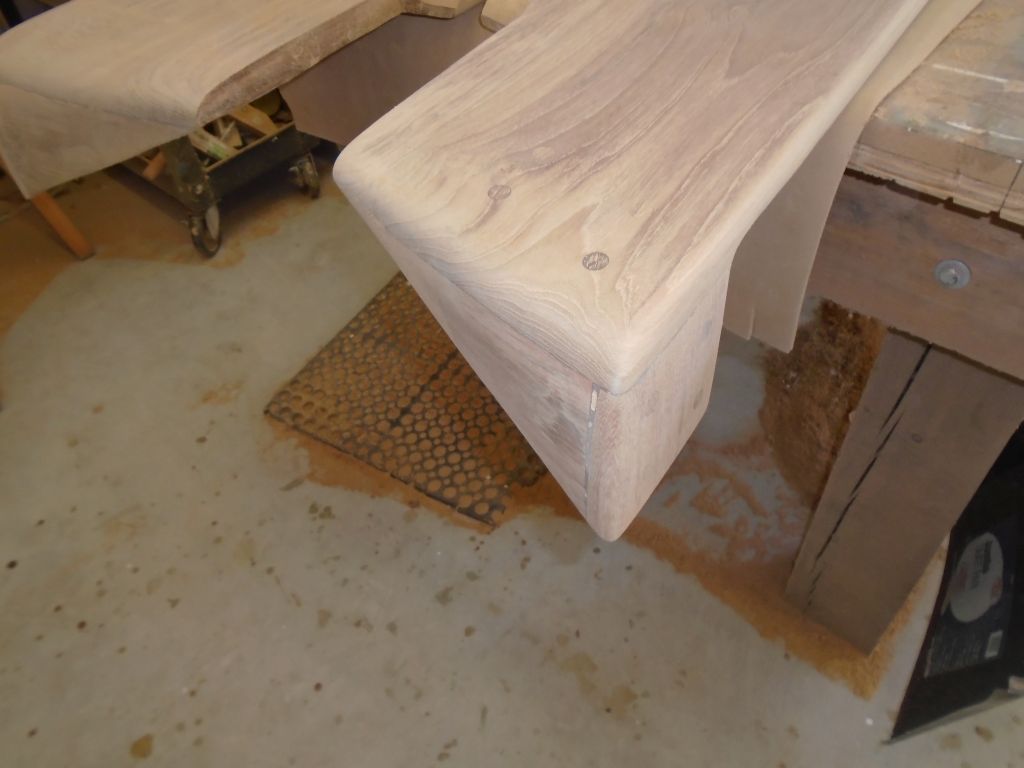
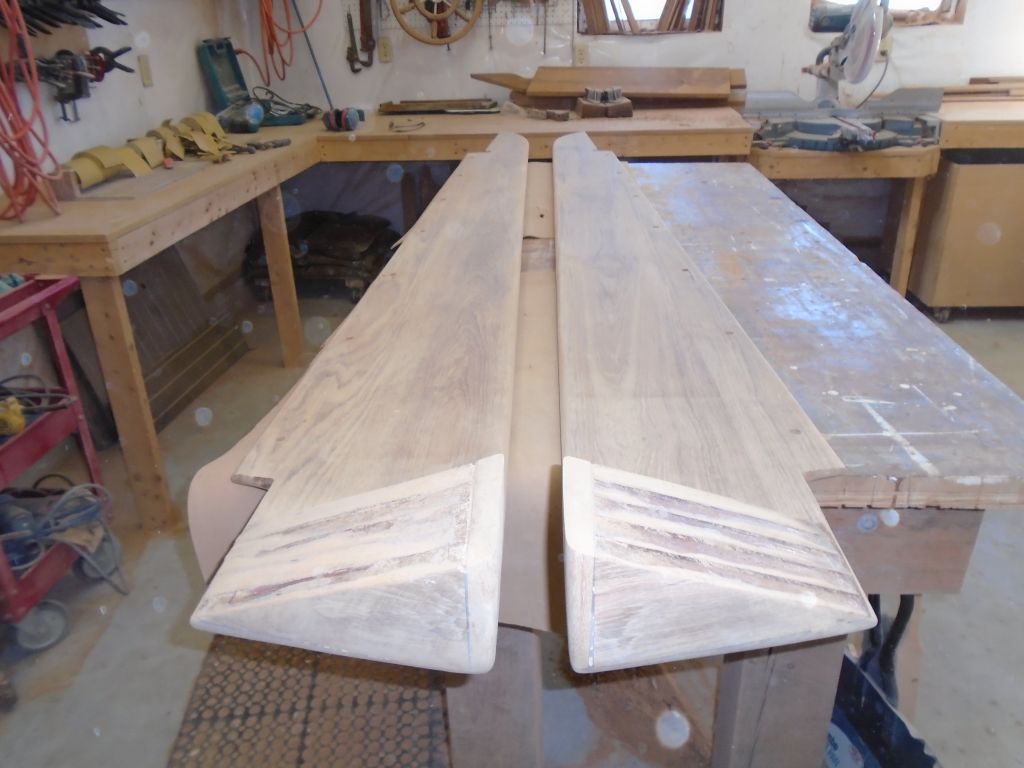
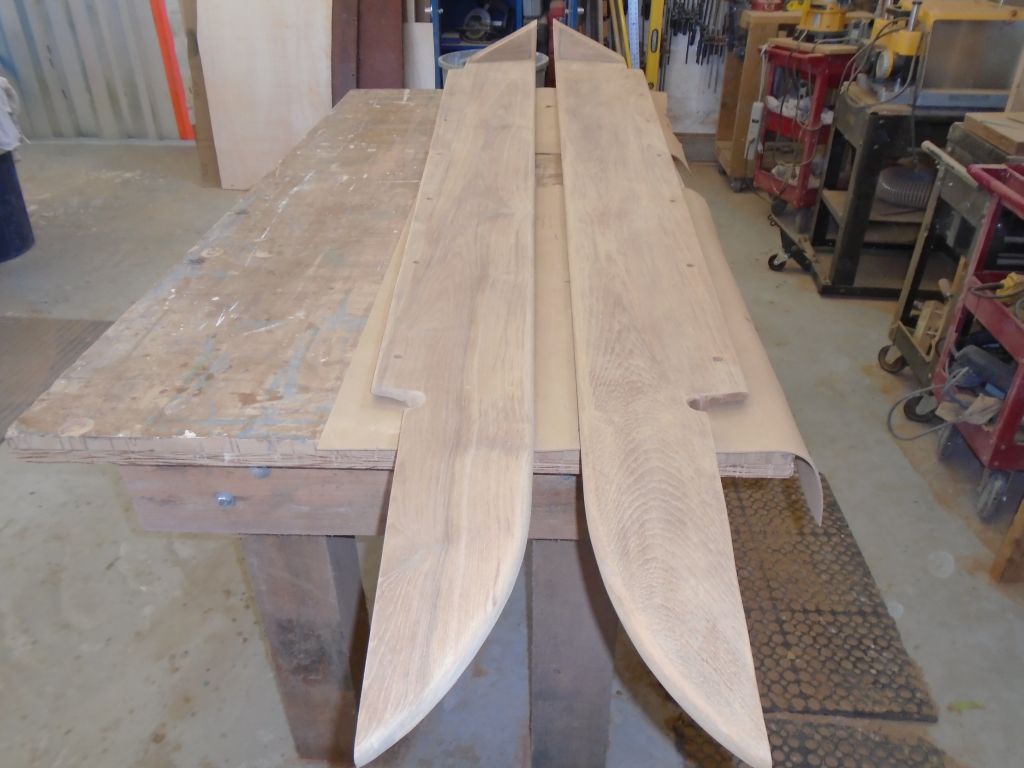
After a celebratory lunch--I think I dread deadlight installation more than any single job on any boat (maybe I'll start calling them "dreadlights")--I returned to work later, alone, to continue on the cockpit coamings. Over the remainder of the day, I trimmed the excess wood from the coaming blocks and sanded them smooth, as well as forming a pleasing curved profile at the forward ends. Then, I milled rounded edges on the tops of the coamings and elsewhere as needed, before sanding both coamings smooth and clean through 220 grit to prepare them first for temporary reinstallation, then initial finishing before final installation soon.
Total Time Billed on This Job Today: 5
Hours
0600 Weather Report:
Clear and calm, 25°. Forecast for the day: sunny, about 40°
