| Triton #680 |
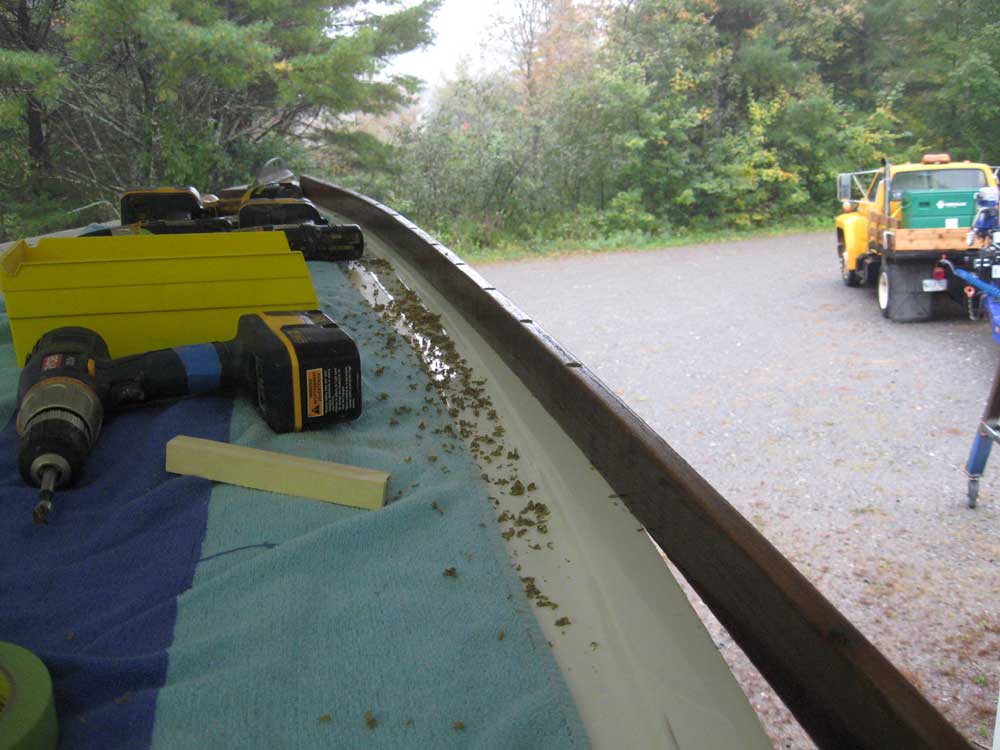
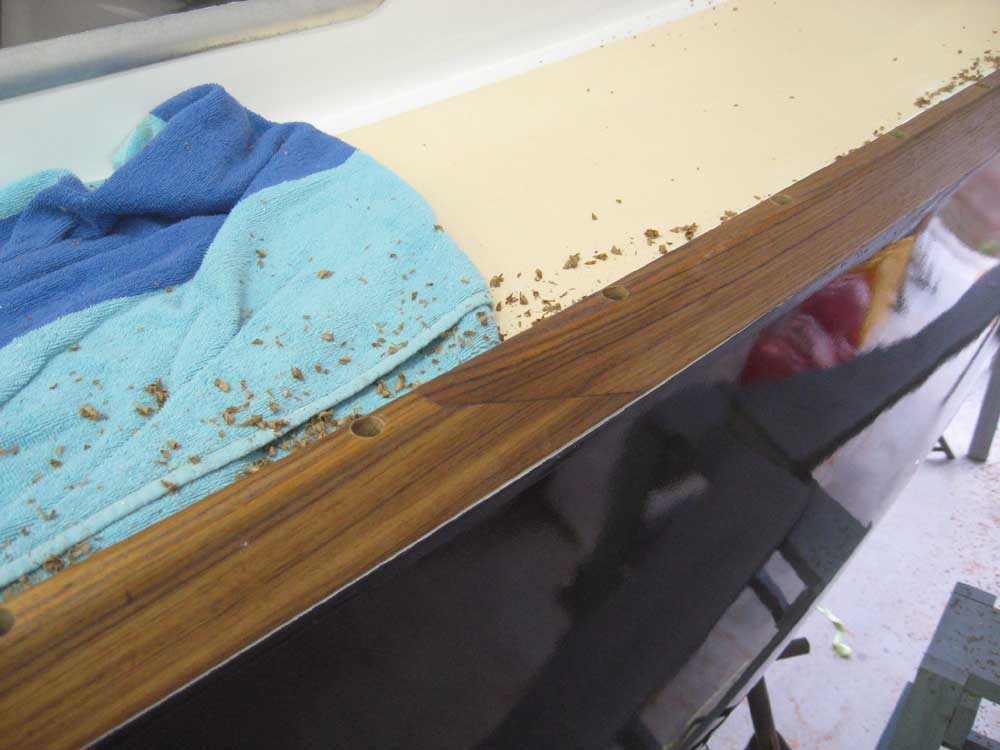
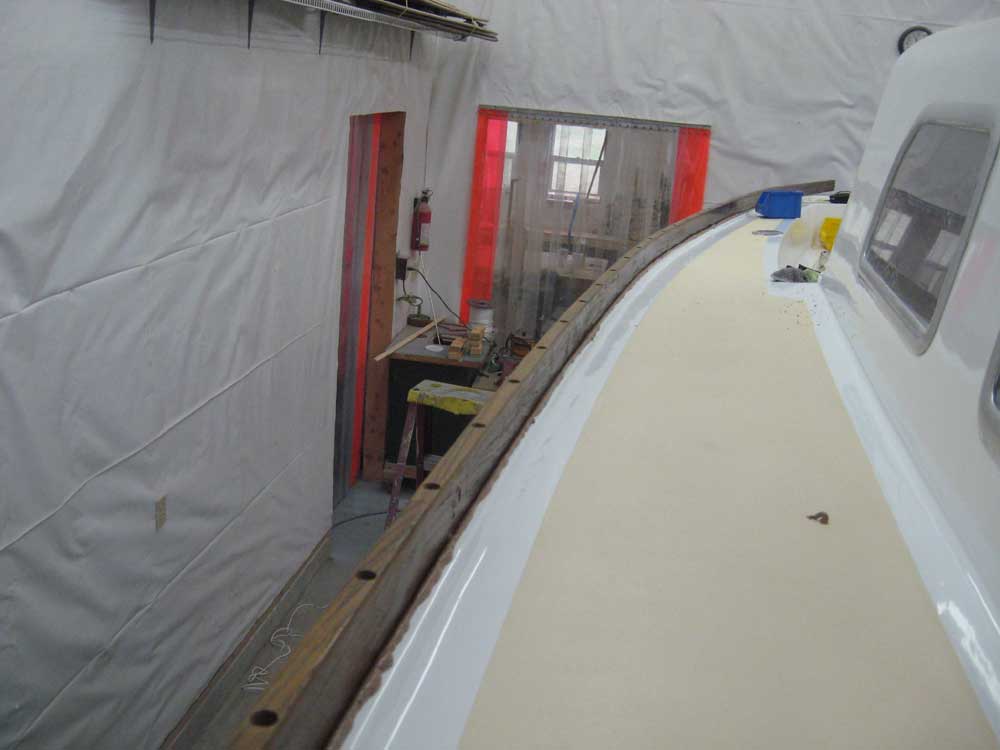
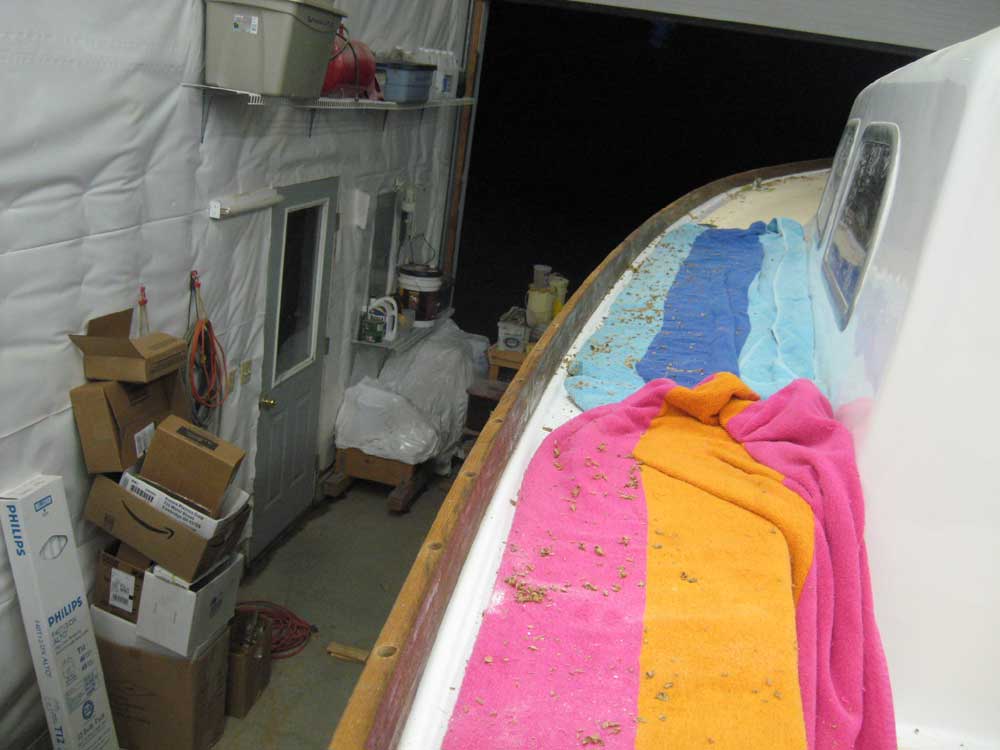
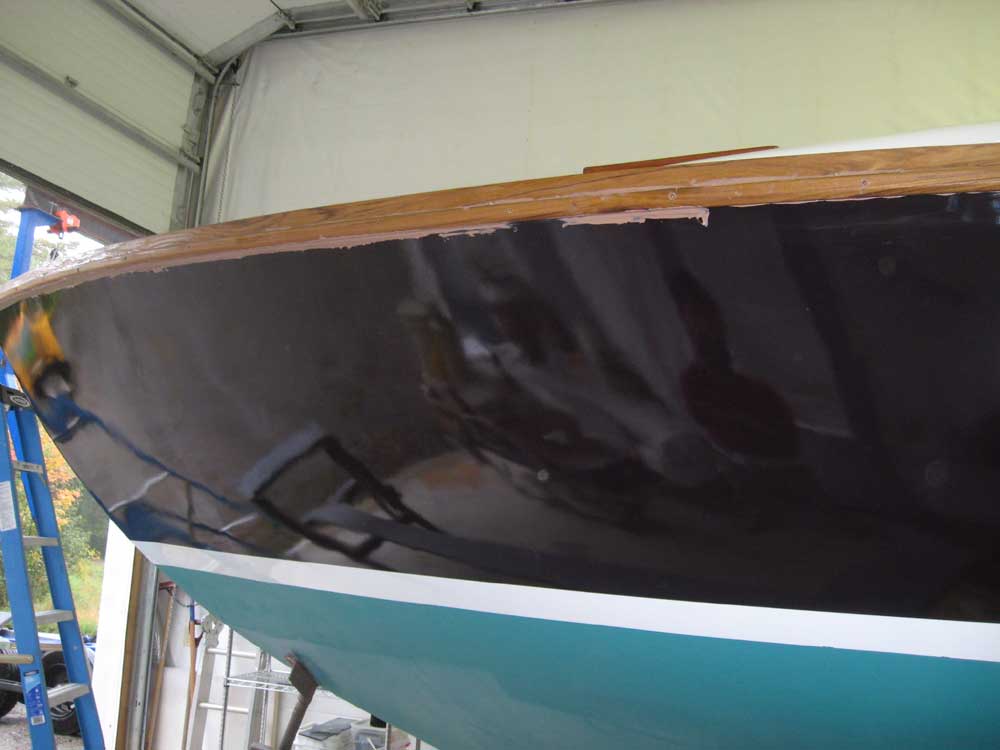
Saturday, September 27, 2008 & Sunday, September 28, 2008 After last Tuesday's milling operations, the owner spent some time cleaning up and sanding the new toerails and rubrails to prepare them for installation, and applied two coats of varnish to all surfaces to seal them. Our original plan had been to install the toerails on Friday, but a problem with the varnish left it still sticky on Friday morning, so we postponed the installation till the next day. On Saturday, we installed the toerails, beginning with the starboard side. After cleaning up the forward end, which had to fit into a notch cut into an existing wooden "breasthook" on the boat, the two of us worked to dry-fit the toerail in place, a relatively slow process because of the numerous drilling operations required for each hole and fastener: first a 1/2" counterbore for to recess the screw head and allow for bunging; then a pilothole for the screw through the toerail and into the fiberglass deck; then a larger pilothole to ream out the toerail hole slightly larger for the screw shank; and finally installation of the screw. I spaced the #12 x 2" panhead fasteners 6" on center along the length of the rail, and after a couple hours the entire rail was dry-fit and in place. |
|
|
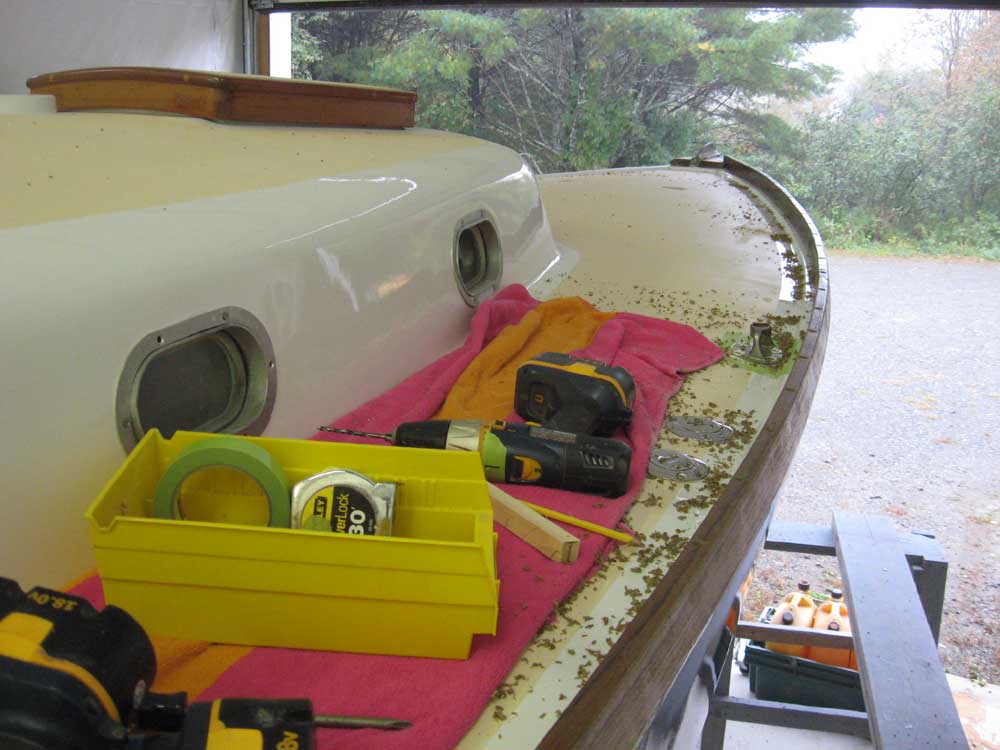
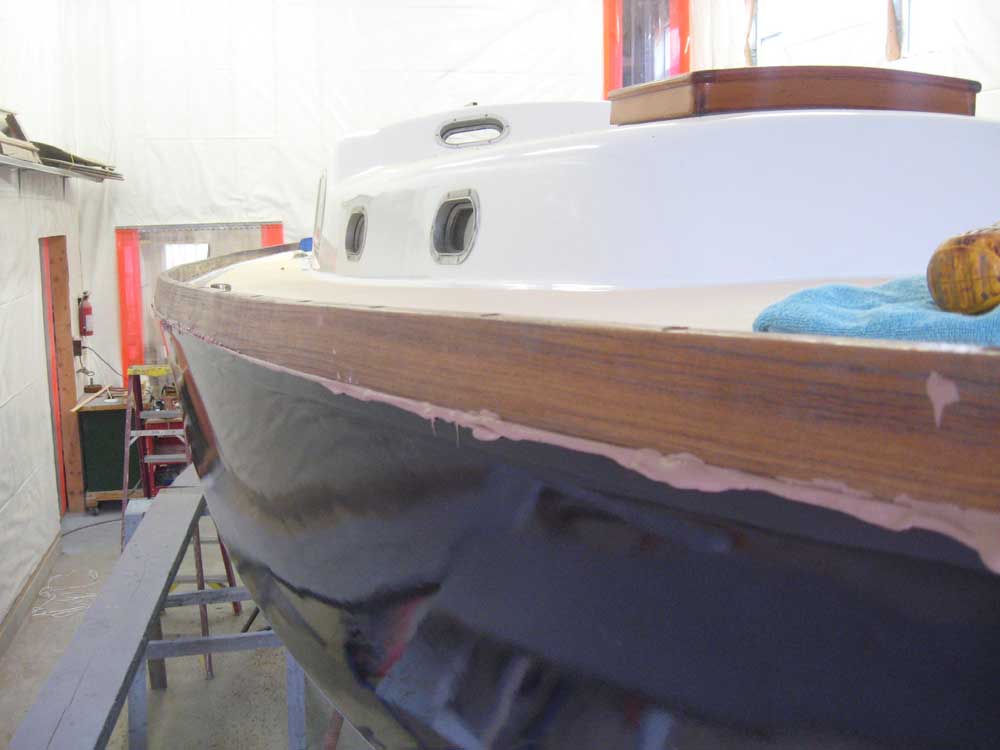
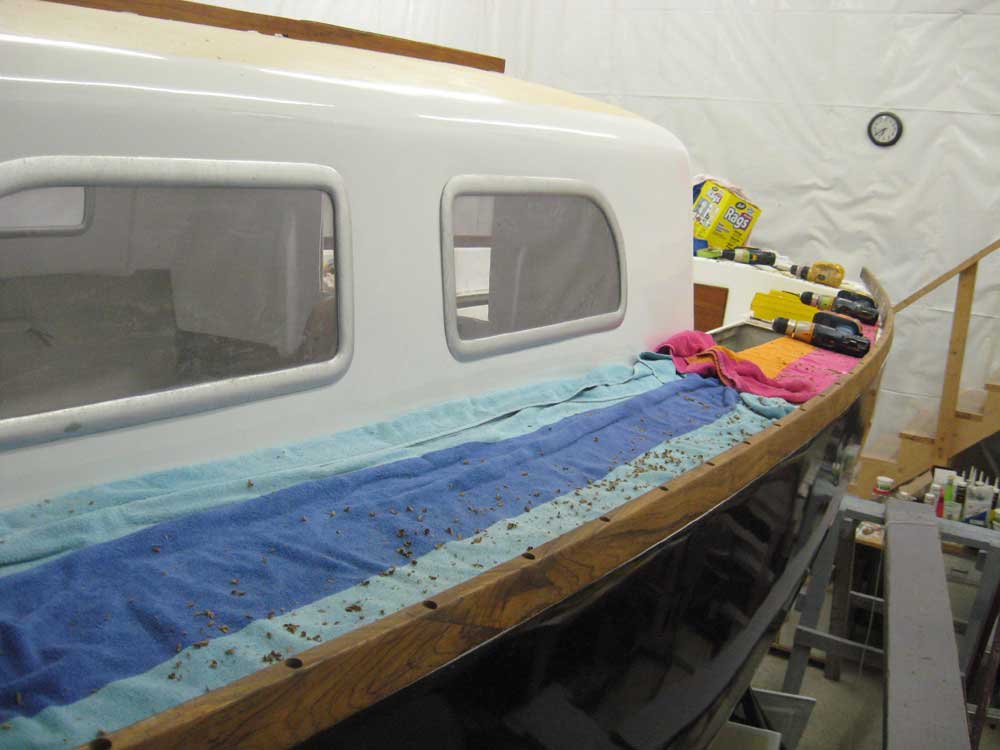
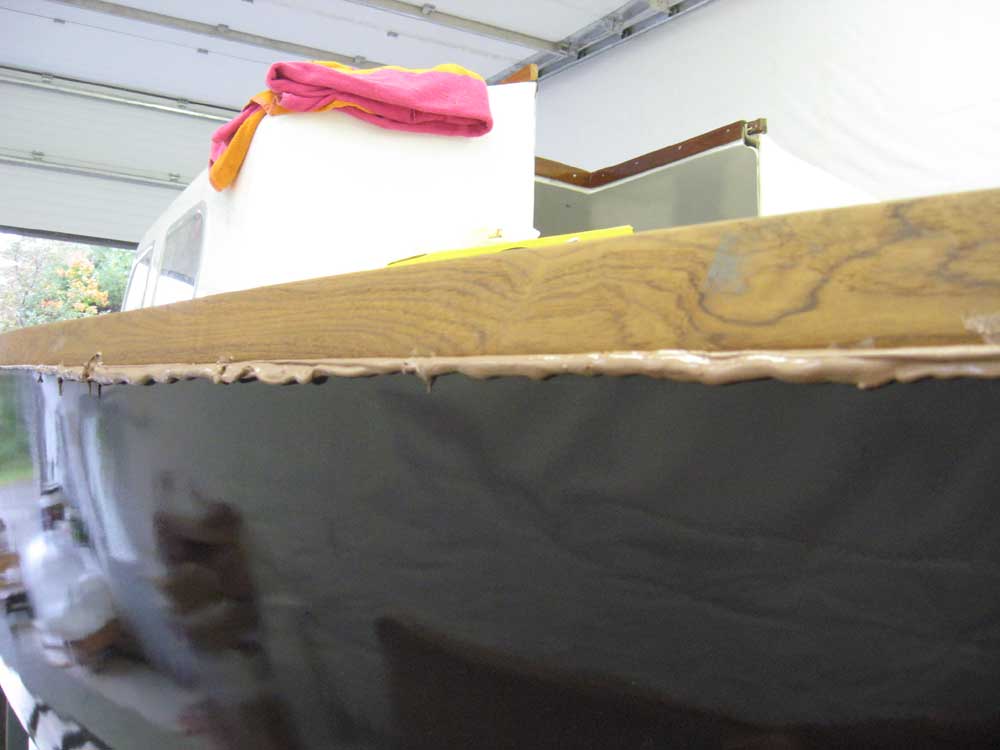
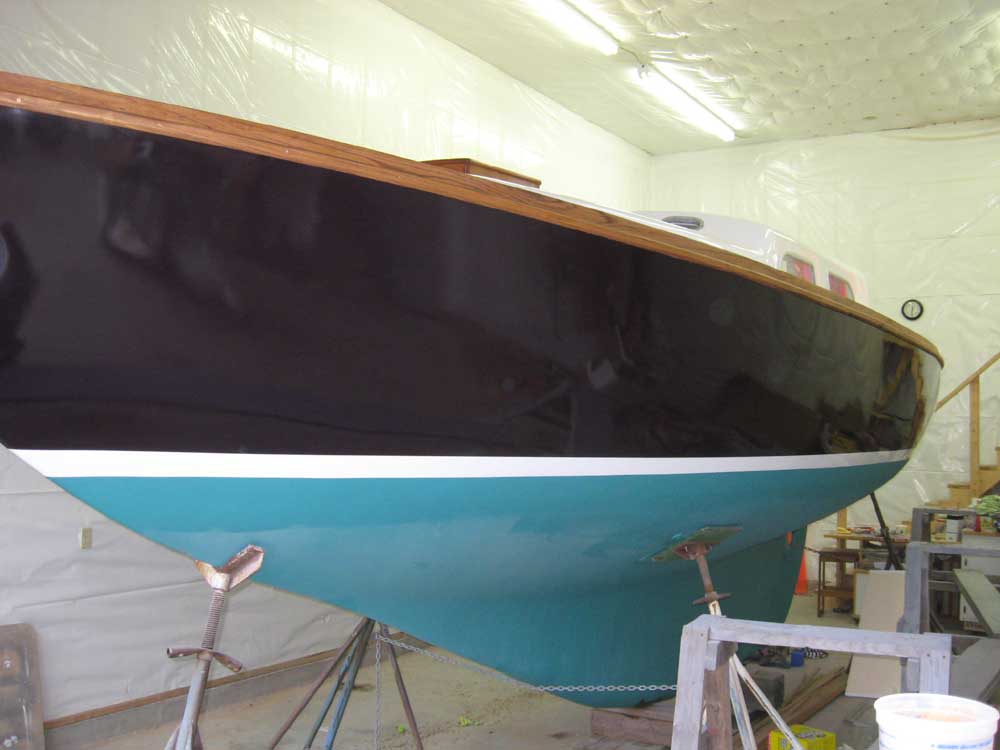
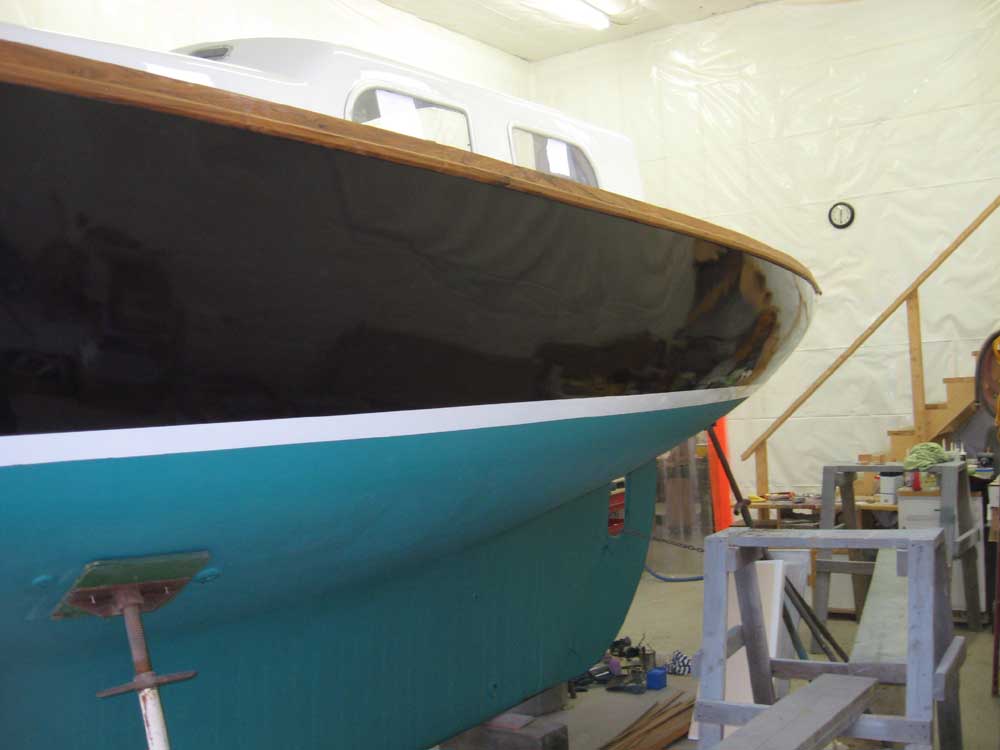
Staying on the same side, we removed the rail now, cleaned up the boat to remove wood chips and the like, and then permanently installed the rail in a heavy bed of teak-colored polysulfide sealant. Once the rail was secured, we cleaned up the excess sealant. |
|
|
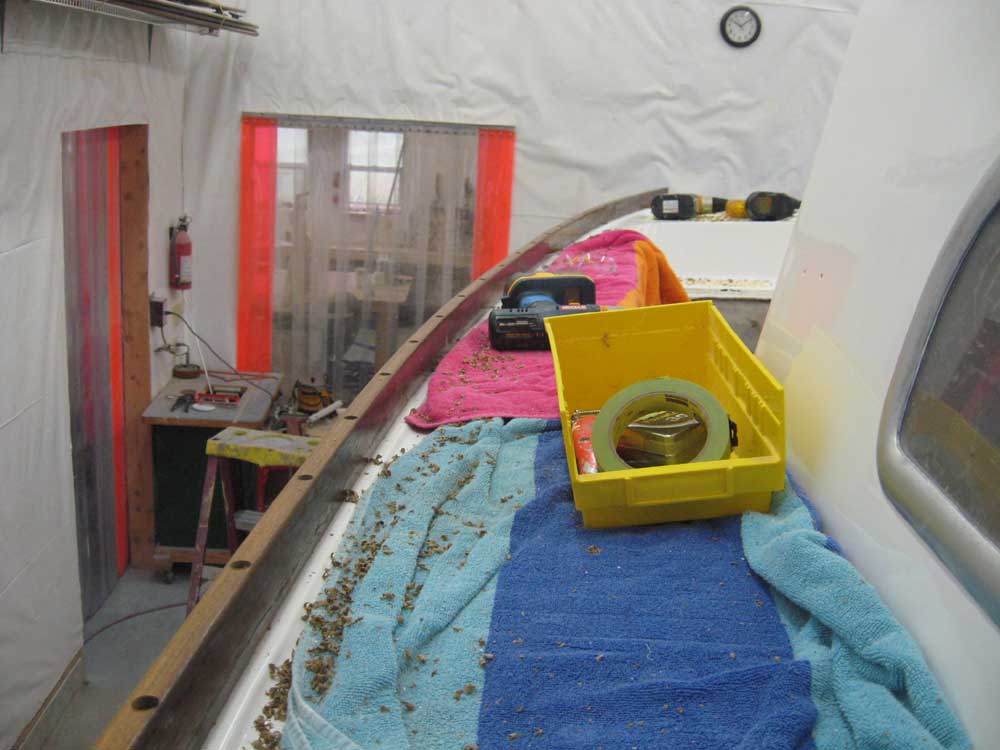
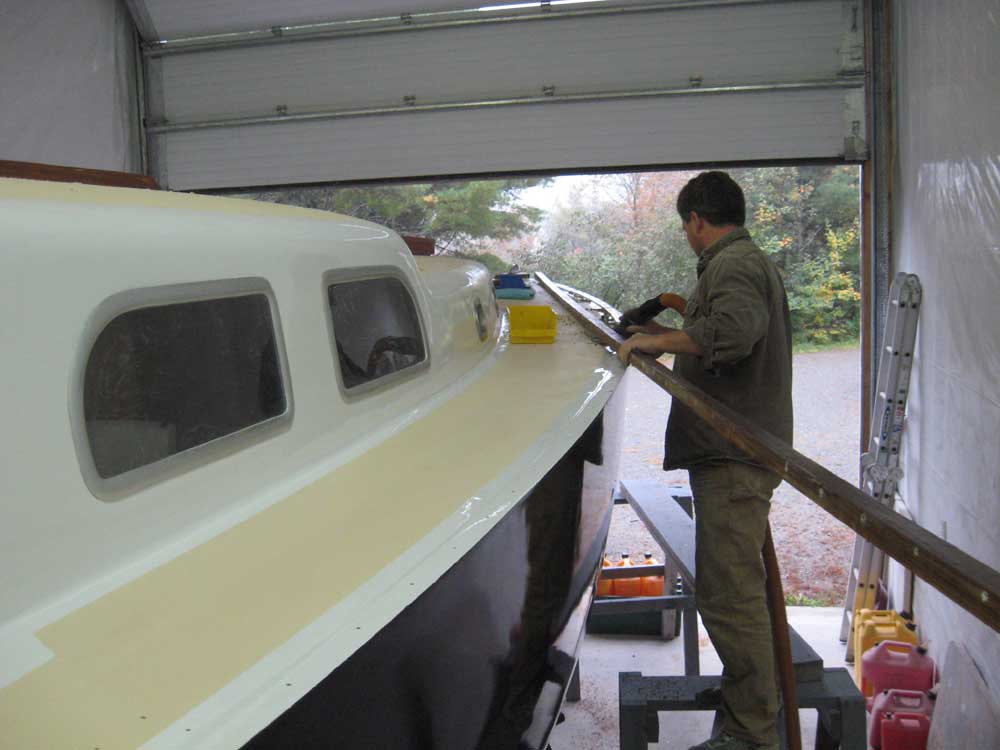
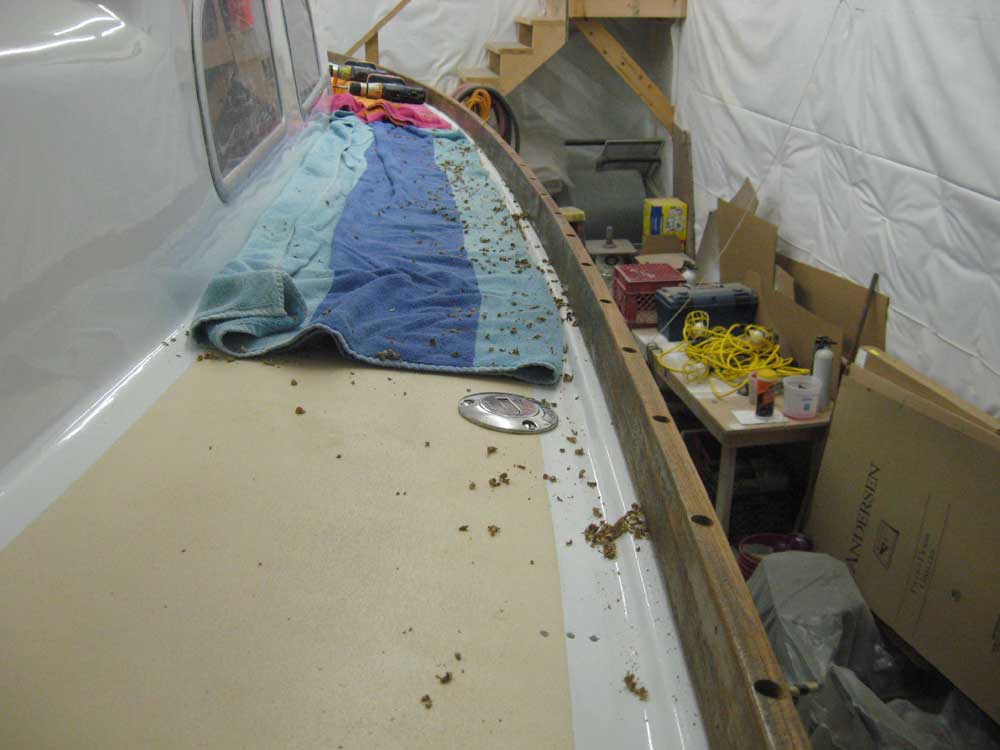
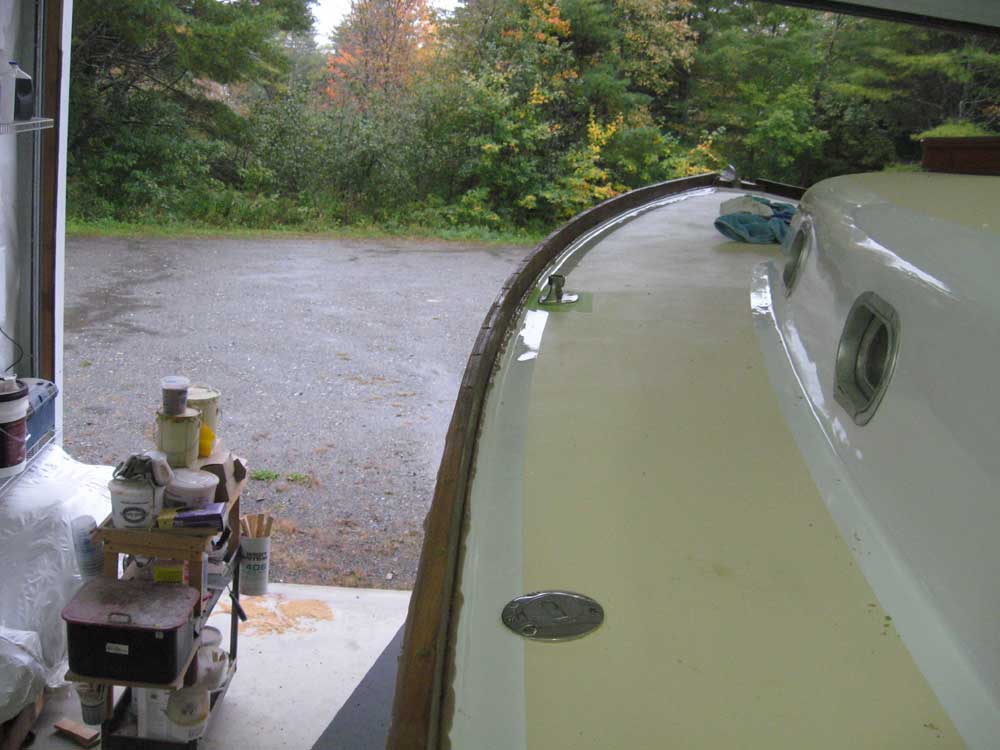
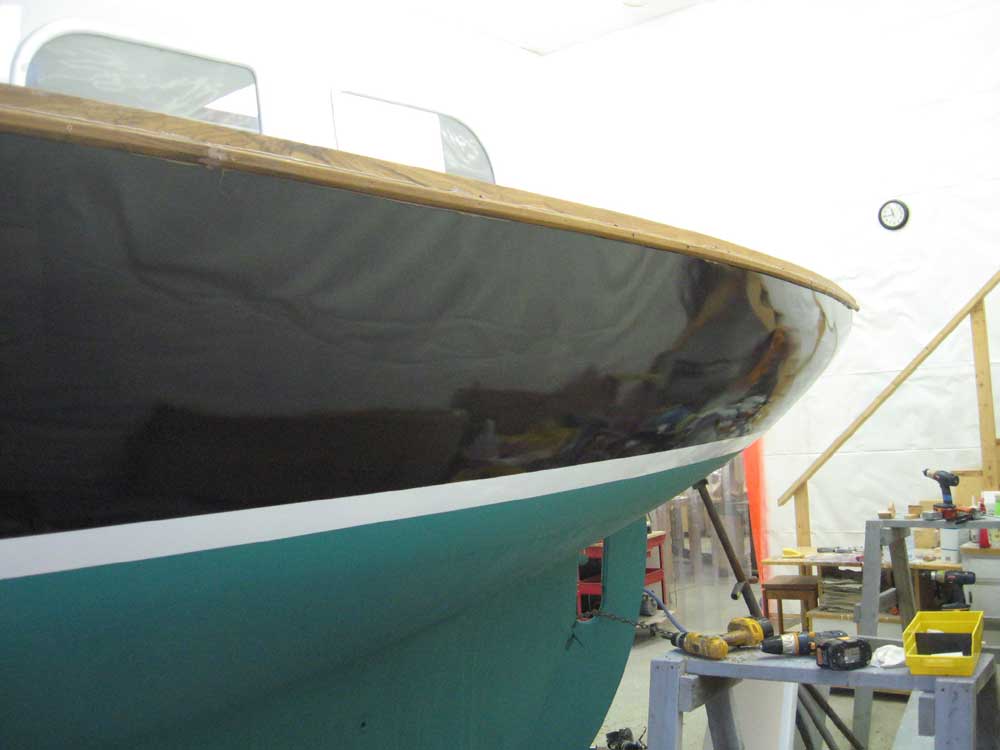
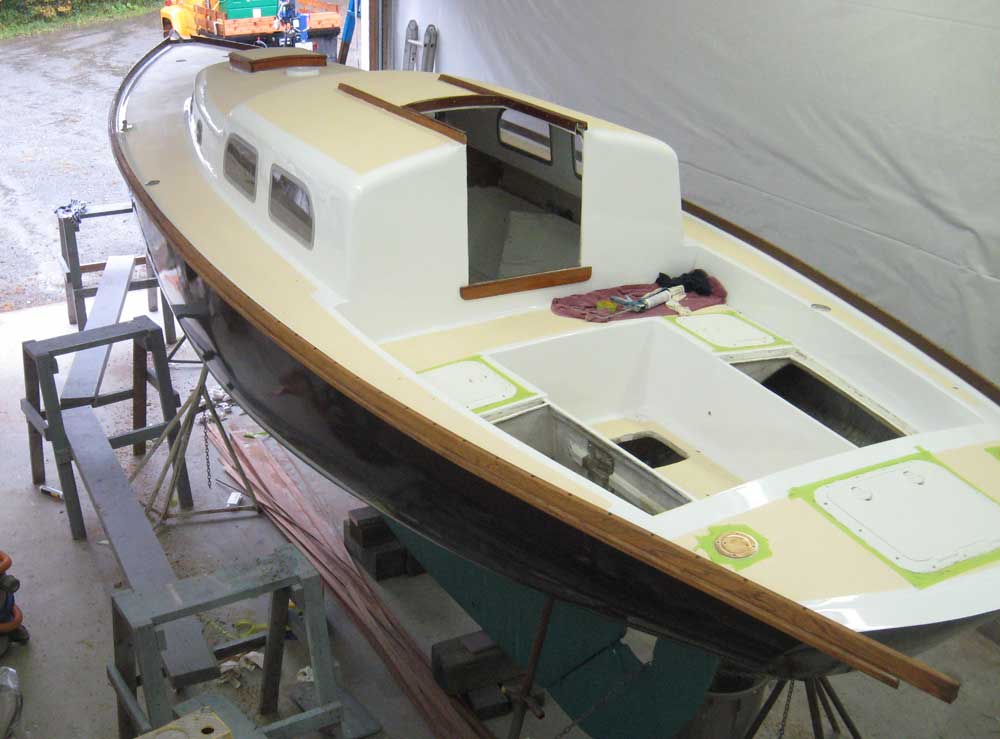
| Moving on, we repeated the process on the port side. Because of another commitment late Saturday afternoon (namely watching the launching of Bolero, a recently completed project, live on webcam from the west coast), we were unable to get to the final installation of the rail until Sunday morning, at which time we completed the job in short order. |
|
|
|
Unfortunately, we ran out of sealant after the first side, and had to postpone the final installation yet another day. |
|
|
|
|
|